
Johanna
-
Posts
9,656 -
Joined
-
Last visited
Content Type
Profiles
Forums
Events
Blogs
Gallery
Store
Everything posted by Johanna
-
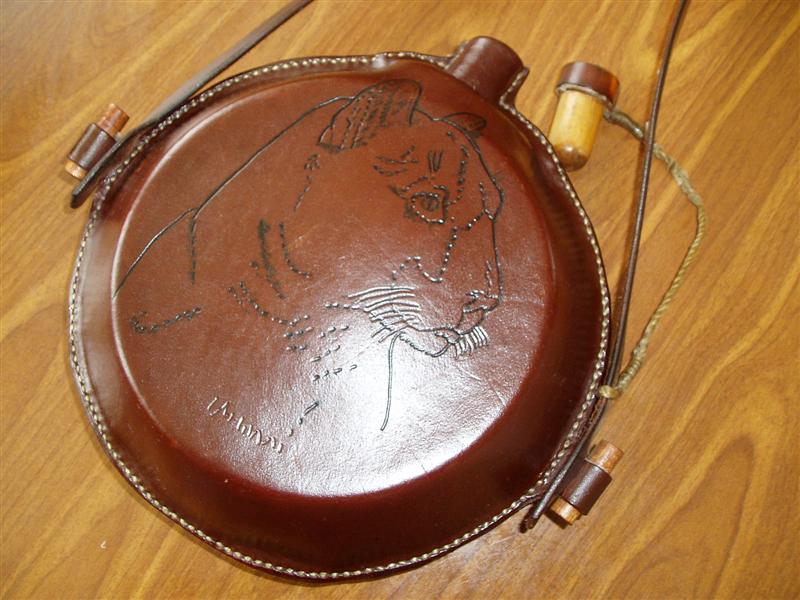
Here is one of the canteens John Henry made during one of the hardened leather workshops. The sinew that holds the cork on is damaged, and I would imagine that had something to do with one of my kids. This hangs in the dining room. It holds water, but it tastes terrible. Johanna
-
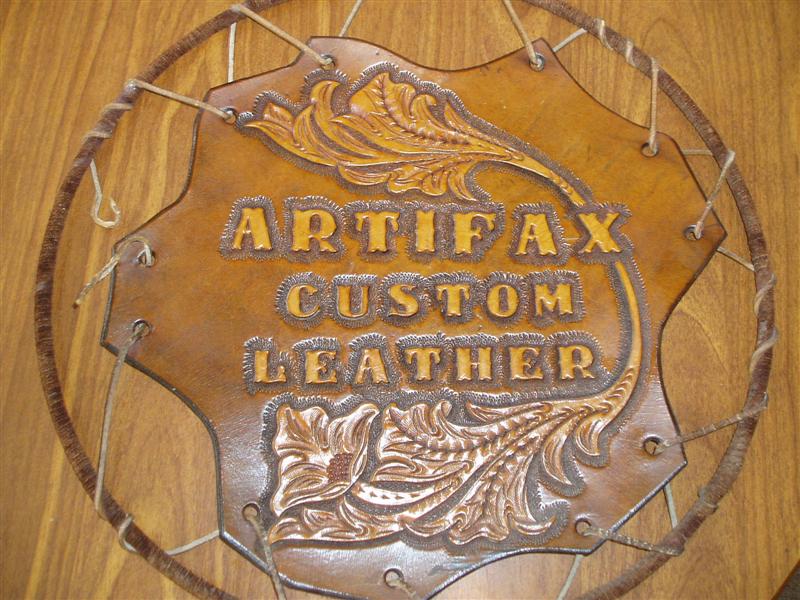
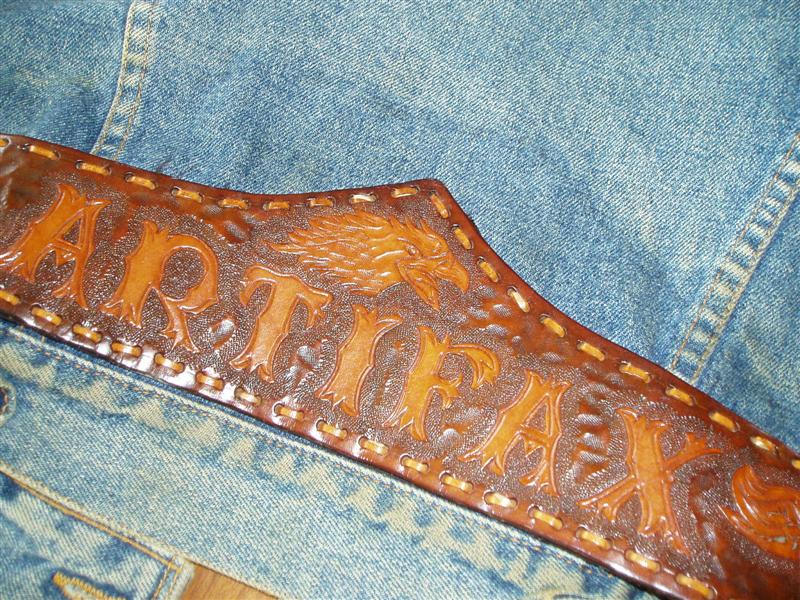
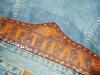
This sign hung on the front door for five years in Macon's sunshine and rain, and all I need to do is relace it (the suede rotted). It is 12 years old. I wrapped it with suede because I didn't have enough regular lace at the time. LOL Jon made the sign. Johanna

-
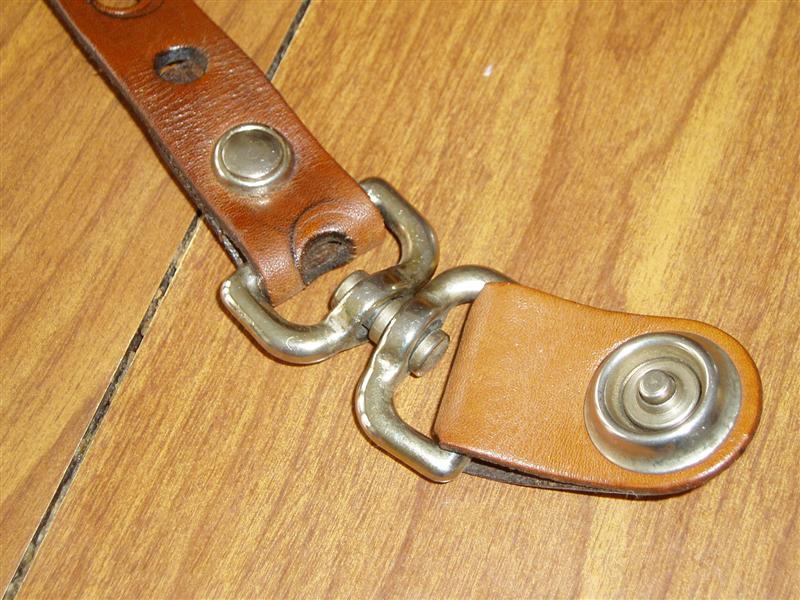
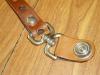
Nothing special about this carved and padded strap, except the swivel. If you play the guitar, I don't have to explain how handy this guy is. Johanna
-
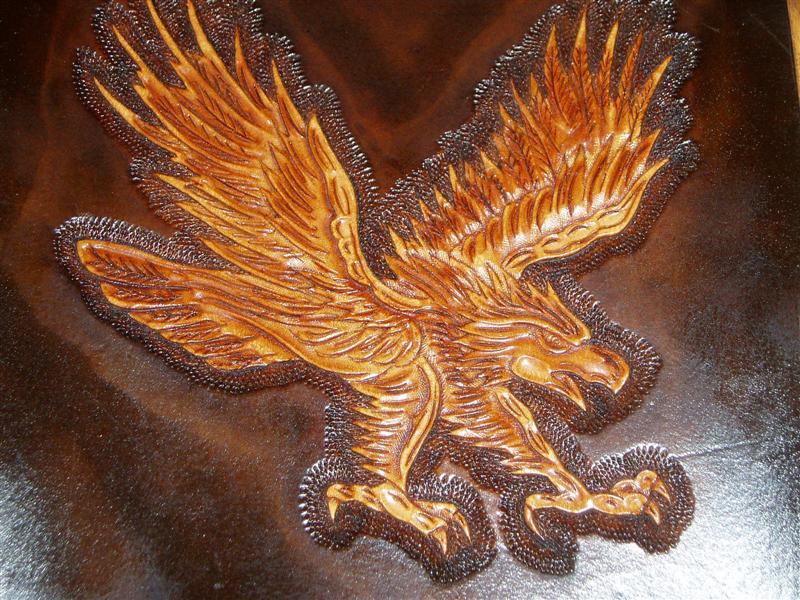
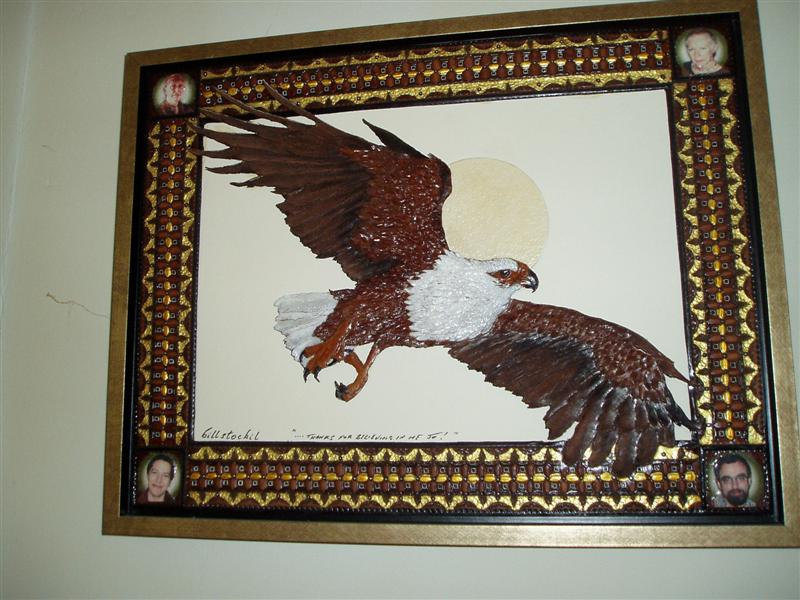
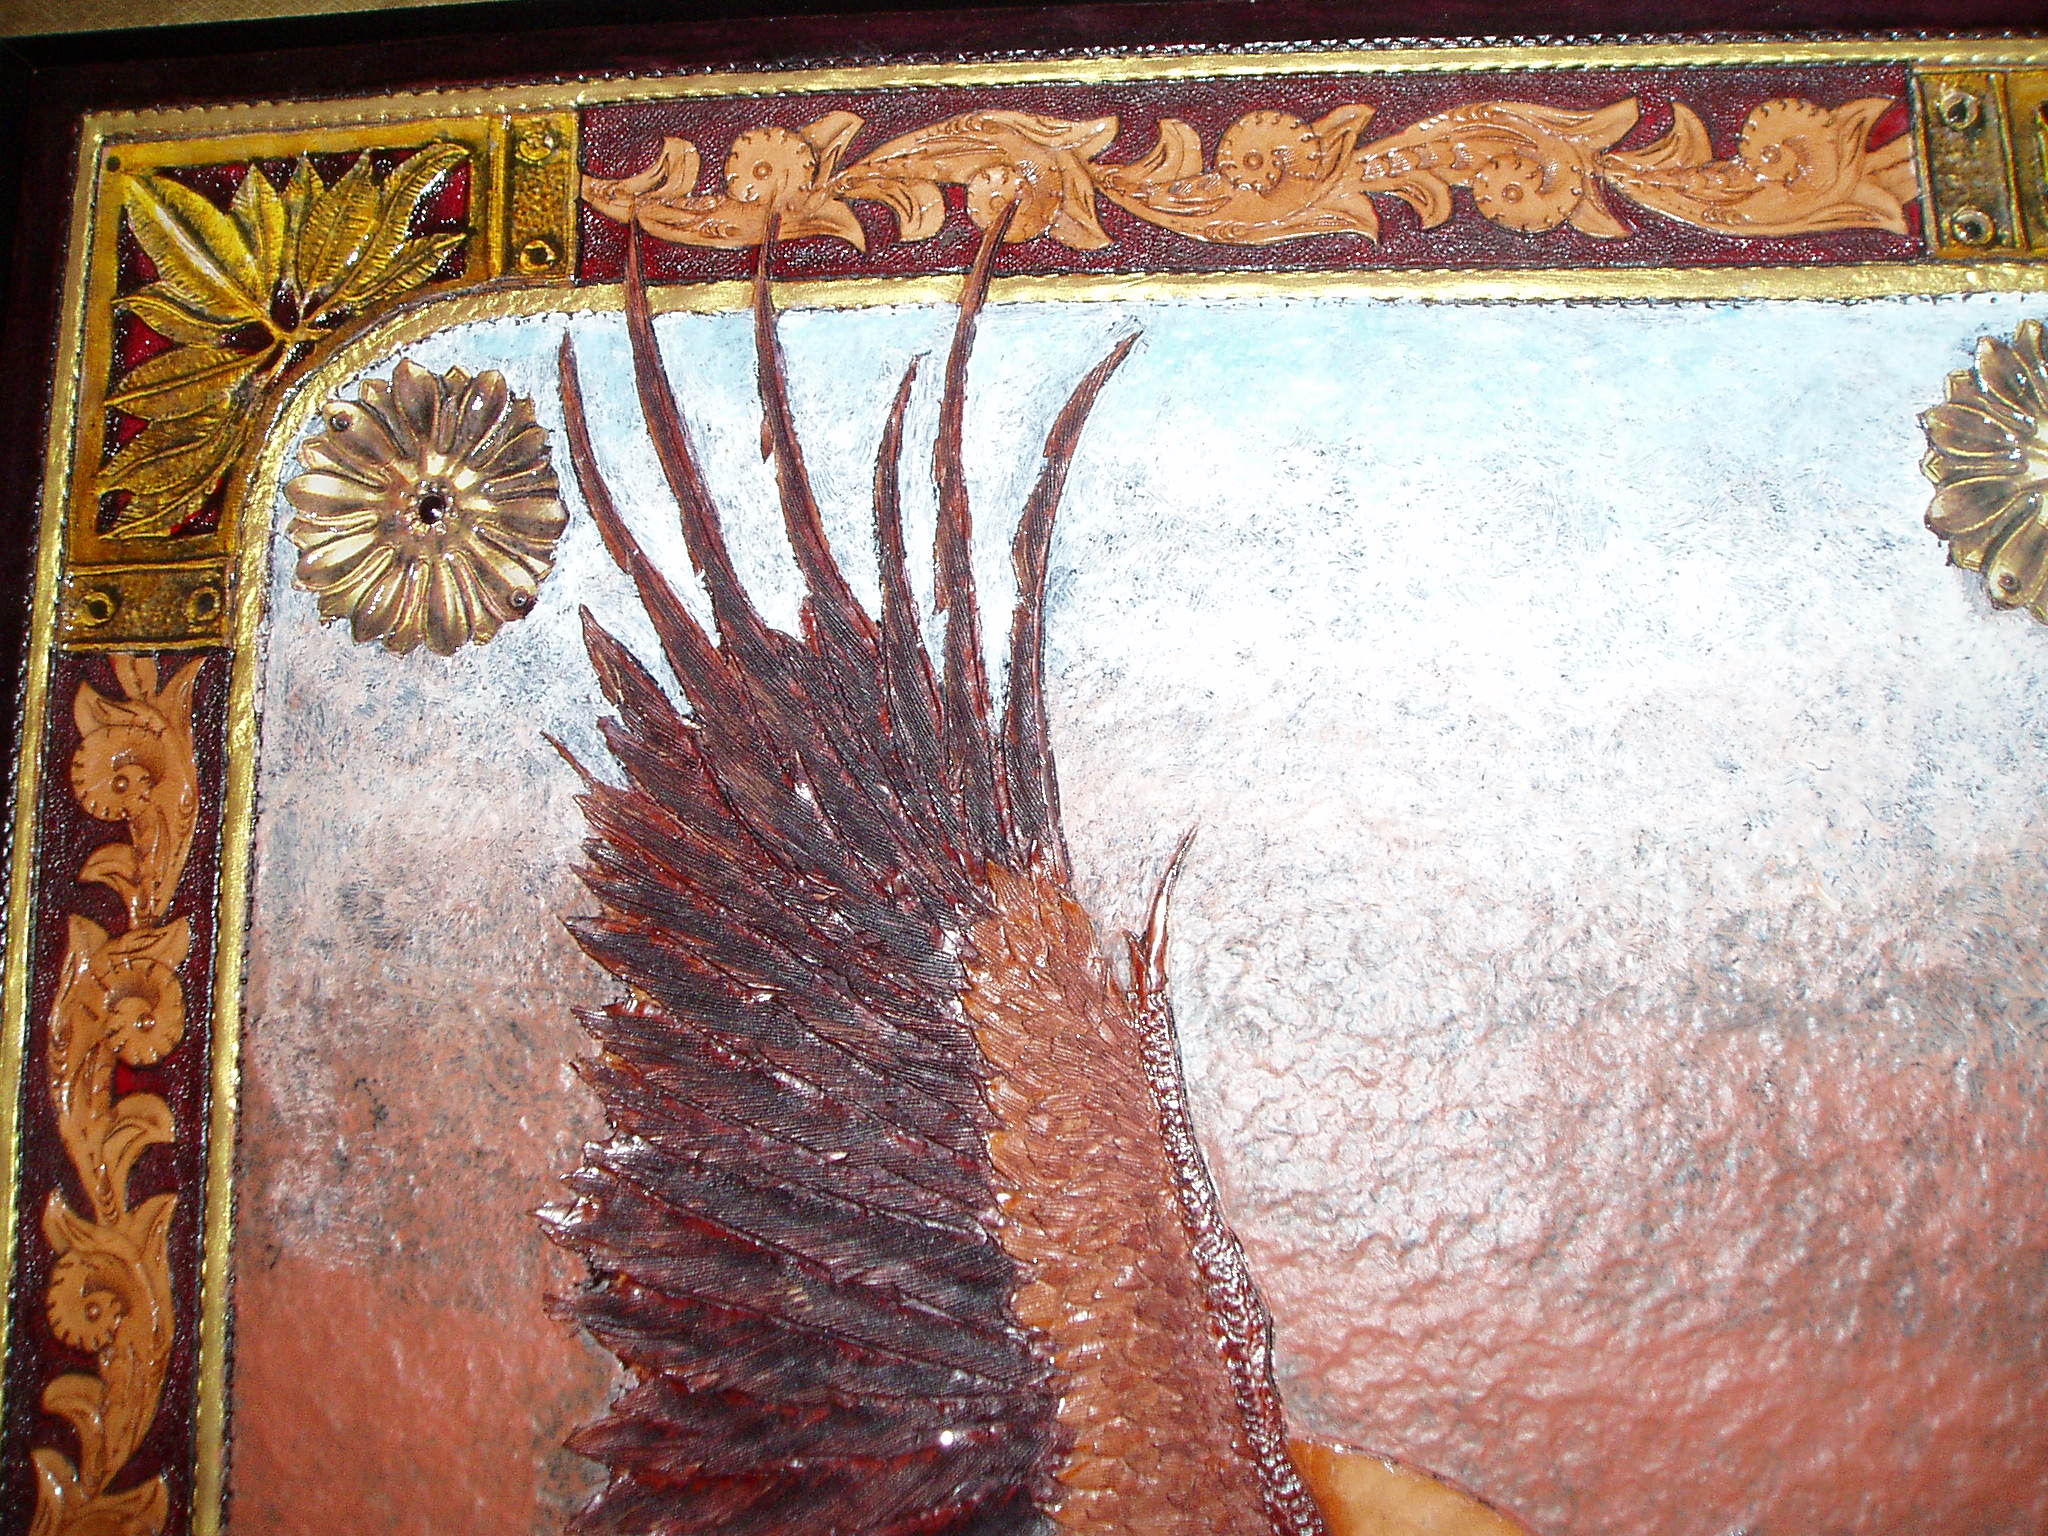
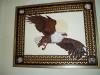
A couple of Jon's eagles. These were done by 2-shews, Bill Stockil detail Johanna


-
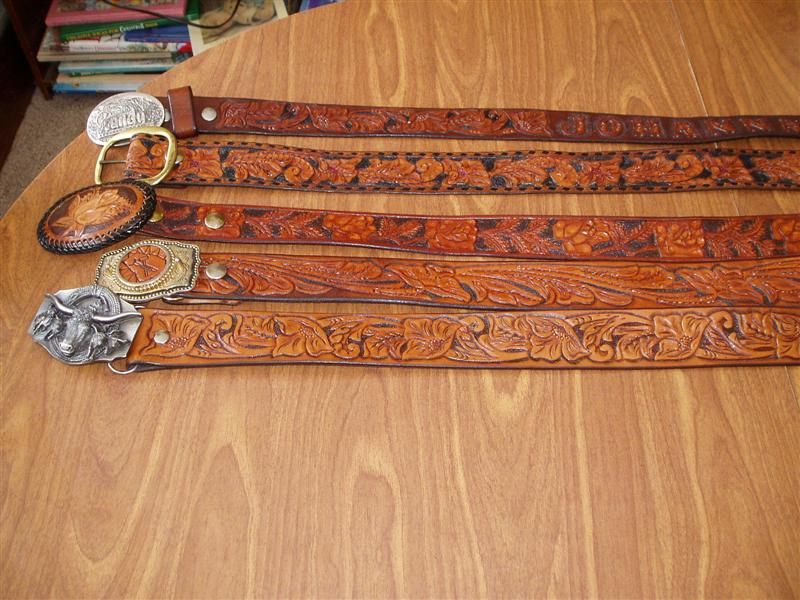
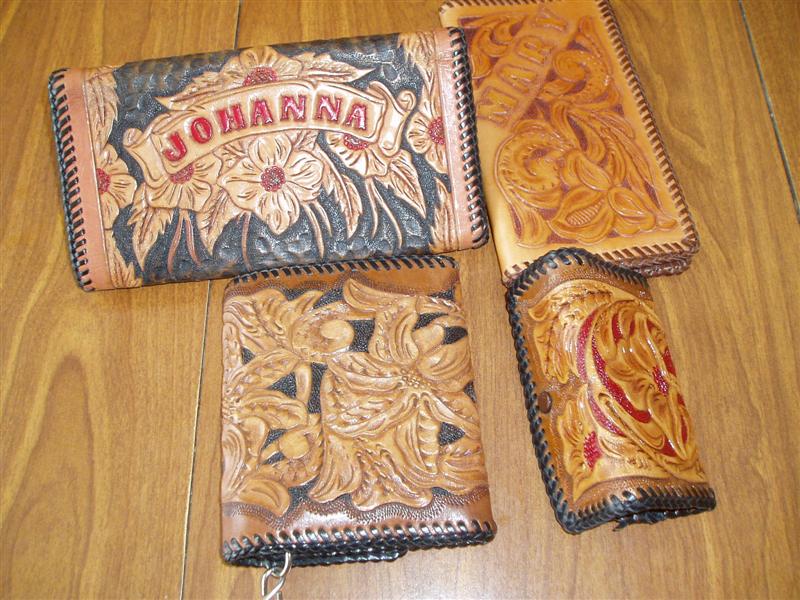
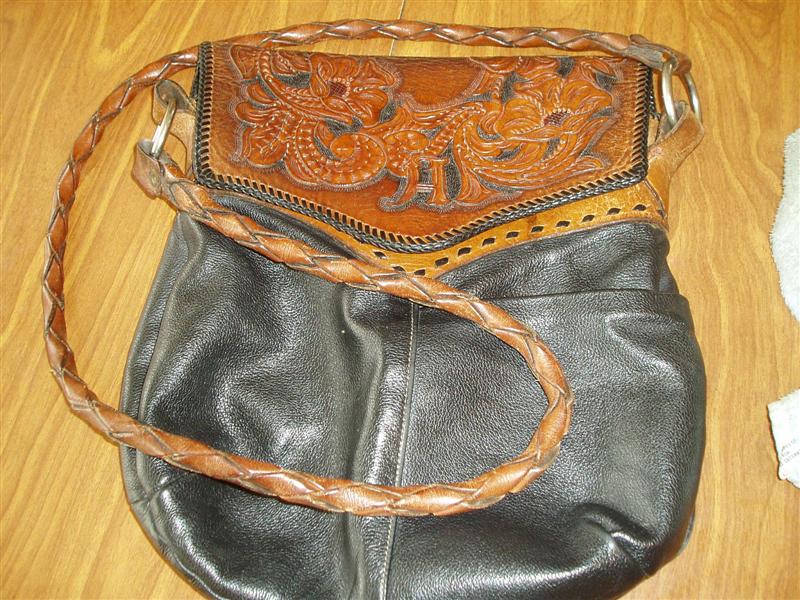
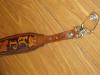
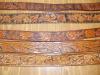
Thought you might like to see some of my belts...guess it's obvious I wear the Johanna belt the most, huh? and some other stuff laying around.... My favorite purse. It's based off the Tandy Jeans bag pattern. I love the braided strap because it never pulls my hair. All of these things were made by my first husband, Little Jon Alger. That makes them at least 10 or 15 years old. Johanna


-
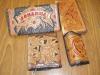
 aarrgghhhh So far, what I've learned about coloring leather is sometimes you bite the bear, sometimes the bear bites you. http://www.leatherworker.net/forum/index.p...findpost&p=1282 I'm sticking to the natural look! Johanna
 -
I had no idea how easy it was to get "pick a lock". This is pretty self explanatory. http://www.youtube.com/watch?v=bgxlY2rv8cE...=related&search Scary. Johanna
-
I've been asked how to back up files a couple of times, and thought it might be helpful to put this in here for reference. Backing up your XP computer The goal of a successful backup strategy is to minimize data loss and your recovery time. If you suddenly had a bolt of lightning come through your window and smoke your computer, what would you lose? If the thought of a catastrophic failure makes you shake or sweat, your back up plan is not sufficient for your needs. How much effort you want to put into your backup routine is proportional to how valuable your data is to you. You may need a combination of the following suggestions. Partitioning Is Your First Line Of Defense Today's huge hard drives can be more manageable after partitioning. It is easiest to set up partitions when you originally install XP. You can also purchase software like Partition Magic to do it for you. Partitioning your drive is sensible for three reasons: (1) To reduce time spent doing maintenance (like defrag) on redundant files. (2) Your backups are so easy to do that you won't dread it. (3) If you do trash XP, your data remains safe on the other partition. Backing Up Your Files External Drives For absolutely critical data you should have an external hard drive. From a pocket flash drive to a full hard drive and case, they are all relatively inexpensive insurance. By using your computer's USB ports you can transfer data quickly between drives. For crucial data, back up and store the other drive in another physical location, preferably in a fireproof, waterproof and secured access place. For things you cannot lose, in a pinch, you can use a camera or other device with memory, synch with your laptop, or upload to a webhost. The important thing is that the files exist somewhere other than your hard drive. Media Back Ups CDs DVDs & Floppys are in this group. Relatively inexpensive, disposable, and convenient to copy files to. Do not entrust precious back up media to "rewriteables". Care must be taken to preserve the quality of the media, too, if the data is to last any significant amount of time. Keep media clean, dry and cool. Drive Images Drive Imaging software (like Norton Ghost, Acronis etc) is available for purchase, too. Many people use Drive Imaging to ensure there is a good copy of the entire system, a "snapshot" at a given point in time. The main advantage to this software is the speed with which you can put your system back together, the drawback is the potential to carry over errors. Drive Imaging also requires the discipline of the user to stick to a schedule. The XP native back up utility is sufficient for casual users, and relatively easy to navigate through. ~insert link~ What to Back Up Windows Address Book (Outlook Express) Default location C >Doc & Settings> User> Application Data> Microsoft> Address Book> User. WAB Outlook Express Messages OE messages are saved in .dbx files, and can be backed up in that format, but not read without importing into a functional OE, where they will overwrite files names the same thing, so be careful. You can buy software like DBXpress to open them outside of OE. OE messages can also be saved individually to the folder of the user’s choice in the .eml format. Default location: C> Doc & Settings> User> Local Settings>Application Data> Identities> Long string of variable numbers> Microsoft> OE> My Favorites- IE bookmarks Default location C> Doc & Settings> User> Downloaded Programs Keep a folder somewhere for programs you download. Get into the habit of "saving" downloads, and doing your installing from this designated folder, instead of directly from the download. Back up that folder periodically to ensure easy reinstall. My Docs XP, by default, puts your albums, e-books, pictures, music and movies into the My Doc folder. You may need to set up other folders outside of "My Docs" of these same file types, don't forget to include them in your back up routine. Themes & Preferences If you use a particular skin or theme, screensavers, sounds etc, you will want to back up your settings and preferences, unless you are confident that you can restore them manually. You can even save your cookies. Insurance Buy a UPS (Uninterruptible Power Supply) This is not a surge protector. It has a battery in it that will run your modem, monitor and tower long enough for you to save unfinished work, and allow you or the UPS software to initiate an orderly shutdown, and a UPS levels out any spikes or dips in the current going to the power supply and motherboard. “Brown-outs†and lightning surges cause hardware failures. The better models even regulate your cable or telephone connections with jacks to use between the cord and the computer. Other XP Recovery Tools Recovery Console click here Automated System Recovery click here System Restore click here Repair Install XP click here Clean Install of XP click here Johanna
-
Okay, important poll question here. Need your feedback! Johanna
-
The board changes your title after so many posts, and you go from "newer member" to "leatherworker". If anyone wants a custom title, let me know. I can edit it to say anything. Johanna
-
I kinda lumped it in with Floral Carving. How about if I change the title to Floral & Sheridan Carving? Johanna
-
I can host websites inexpensively with no ads. PM me for details. Johanna
-
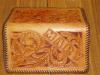
When I do resists I use Neat Lac. I sometimes use two coats, letting it dry in between. Then I get a wet sponge, a bucket of water and play with the color until I like it. I let it sit awhile and dry, then "wash it" and maybe do it again, or use a different antique...I play. Each hide acts differently, and absorbs unevenly. A benefit of using the antique finish is letting the grain of the leather show under natural colors, like Jack's case, above. It looks rich and pretty- admit it, it would look like plastic if he would have dyed it bright green instead. Antique can be used to rescue splotchy dye jobs, too. I like to resist floral carving. I dye my backgrounds with a triple ought sable brush, then Neat Lac names or the scroll patterns or whatever, then antique the whole thing. For a finish, I like Leather Balm with Atom Wax, heavily buffed, or spray Neat lac (if the item won't see much flex) Johanna
-
Anybody can send anything, in any format, to johanna@nktelco.net and I will upload it to leatherworker and post the link. If you just want a gallery, all I need are the pictures. If you have captions for them, even better. If you have a website, this is a great way to encourage traffic to your site because I can make your pages link to your site, which will promote your business and reputation. Sidney, send me what you have and I'll be glad to give you a section of your own. I have unlimited space, so don't worry about size. There is going to be a whole other side of leatherworker.net that is not the forum, and I'd be thrilled to include your work, too. If there is anything special you want, send me a PM and I'm sure we can work it out. Johanna
-
Oh please oh please post on the board...that way we all learn! Johanna
-
Anything like that that anyone wants to share can also be hosted right here on leatherworker.net. I'll be glad to help any way I can. I can also make pdfs for people to download. Sidney, I am anxious to see what you're working on. Lacing, braiding and knots are fascinating to me, and I'm sure other people will be just as interested. Johanna
-
This is still a freebie program, I think: KnotTyer3D Celtic available here: http://www.abbott.demon.co.uk/knots.html I got this Celtic Knot Pattern Maker for Billy 2-shews to play with a few years ago, and he loved it. You use your keyboard to make patterns, and it's fun to use, as well as functional. Even I liked fooling around with it, and I don't do leatherwork anymore. LOL Clanbadge It costs about $70 I think, but it's worth it if you want to do knotwork and make your own designs with your computer. From the site: Johanna
-
You don't HAVE to put any Shene or Neat Lac or finish on the leather before you antique it, unless you want the "resist", which means the antique doesn't absorb into the areas you treated. Leather absorbs water and chemicals at different rates, even different places on the same hide will accept dye differently. If you used nothing under that antique, I would take the piece to the sink and wash it, getting off as much antique as desired. If it won't come off, check the bottle and be sure you didn't accidentally use a dye. After antique is applied is when a finish coat is essential, or the piece will eventually get wet and bleed. Don't worry if the leather gets soggy, it will dry out. Just don't lay it in direct sunlight. Johanna
-
Wet the sponge and "wash" off the extra? Johanna
-
More floral-carved pool que cases
Johanna replied to Justis Cases's topic in Satchels, Luggage and Briefcases
Is your artist in Mexico by chance? Johanna -
February 2007 SIX DAYS of stats: Don't be shy, jump in and have fun. We have a great community of leatherworkers. Don't forget to let your light shine. Post your pics and your links and Google will love you. Post your pics and your experiences and your fellow leatherworkers will love you. In case you missed it, Clay showed us how to carve an elephant. The idea came from this thread which made me hit my head and go "Duh!" when I saw the modified dowel rods Clay used to get an elephant texture. I love this place, and hope you are having fun, too. Johanna
-
I have a friend who is into designer purses. I told her that we had been discussing getting fair money for hand made hand carved custom handbags... You aren't going to believe what she showed me: This is The Bag Forum (pics of purses celebrities carry, too) The Purse Blog or Purse Forum (note the # of posts!) The Bag Snob (OMG! Look at the prices!) Bag Trends I can't imagine this world Personally, I have seen very few well made designer purses. My friends don't carry designer purses anyway. But the next time one of you give someone a low price for a real honest to goodness custom leather purse, go look at these links again. These women are carrying around imported junk that costs more than my car is worth because of a label...a reputation. Prestige. I would like to think lots of women are smarter than that, and would prefer a leatherworker's real deal custom purse to that above...ummm "stuff". (Don't know how to say it politely!) Maybe some of you should join one of those groups and show your talent, and let the rich ladies line up with their credit cards. I'm going to have bad dreams tonight of Paris Hilton's gold lame diaperbag looking plasticky thing! (shiver!) Johanna
-
Handbag
Johanna replied to Dan Hammons's topic in Purses, Wallets, Belts and Miscellaneous Pocket Items
Well no wonder. The lady is going to love it! Did you draw your own pattern? I like the way the lacing borders the bag. Sweeeet!!! Nice size, too. A bag like that would look pretty with fringe, too, and you could probably charge double. You've been cranking out some fine work, Dan- keep it up! Thanks for sharing with us! Johanna -
If you go into Windows Explorer and click the drive that the cd is in, all you see is "new folder"? And that folder is empty? Bad cd. FrontPage is a jazzed up version of Word. You have to make a folder for the pictures and point the graphic inserts to that image folder, while Word will automatically make that folder for you. Other than that, the only other big difference is the way you view the source code. In Word you use the View command, in FP you have the option on the bottom of the screen to look at your work in progress, a split screen, the code itself or a preview of what the thing is going to look like. You can't edit the preview screen, so you won't get mixed up. Play with FP a little- you know more about it than you realize, Bill, just from working so hard with Word. Johanna
-
To me, ultimate leatherwork is the art of combining beauty and style with durability and function. Your handsome poolcase fits that description. WOW! What to you line them with? How many cues will they hold? Is there a chalk pocket? How long does it take to build a custom case like that? Do you shoot pool? Glad you found the board, looking forward to getting to see more of your work and learning about it. Johanna