Evo160K
-
Posts
497 -
Joined
-
Last visited
Content Type
Profiles
Forums
Events
Blogs
Gallery
Everything posted by Evo160K
-
Singer 45K Treadle Base Parts Information or Parts List
Evo160K replied to Evo160K's topic in Leather Sewing Machines
Jimi, Thanks for your kind words. You know how it goes when you're trying something new.....two steps forward (maybe) and one backward. The next challenge is figuring out how to come up with that support. Best regards, -
Singer 45K Treadle Base Parts Information or Parts List
Evo160K replied to Evo160K's topic in Leather Sewing Machines
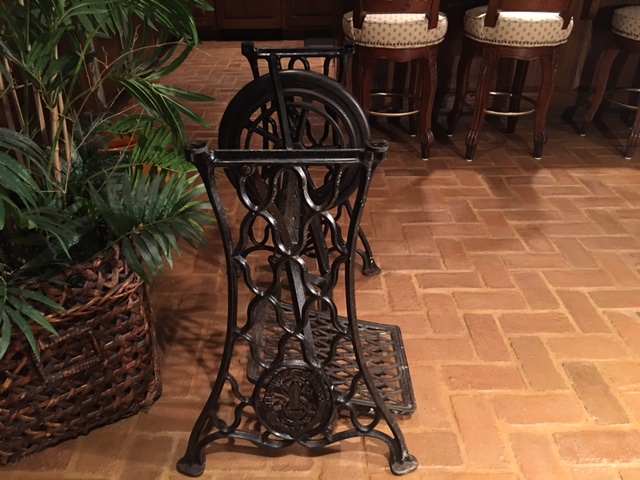
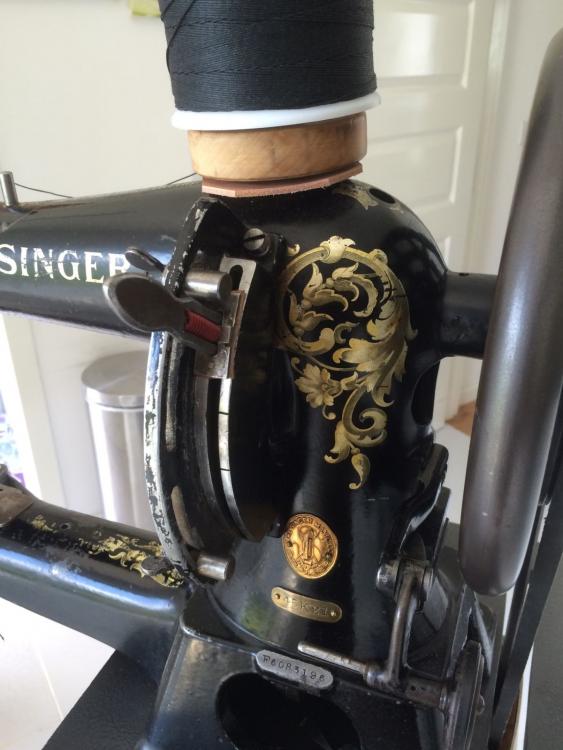
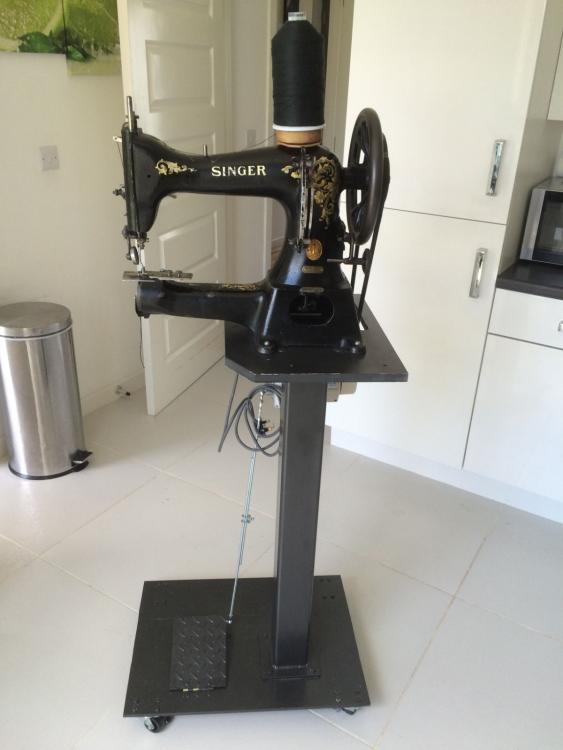
Well, there's good news and not so good news. The good news is the three packages of base parts arrived safely, no problems. The not so good news is the support, it's tapered mounting bolt, it's nut and the two top mounting screws are missing. The seller contacted the previous owner who said he had never seen them. So there's no way in h-ll I'll ever find those parts for sale unless a miracle happens. That, of course, means I either jury rig a support or figure out how to have one replicated. The base has been assembled, oiled and adjusted, it works smoothly, silently and well. It's built to Singer's usual specification.....like a brick s--t house.....that flywheel is massive, I'm pleased with the quality. It'll come apart later for cleaning and whatever. In the meantime, I'll use it as a platform to fabricate a top for it. Here are a few pictures of the base. You can see in the first picture, the round, tapered hole to the upper right of the "R", where the missing support is supposed to attach. It's always something isn't it!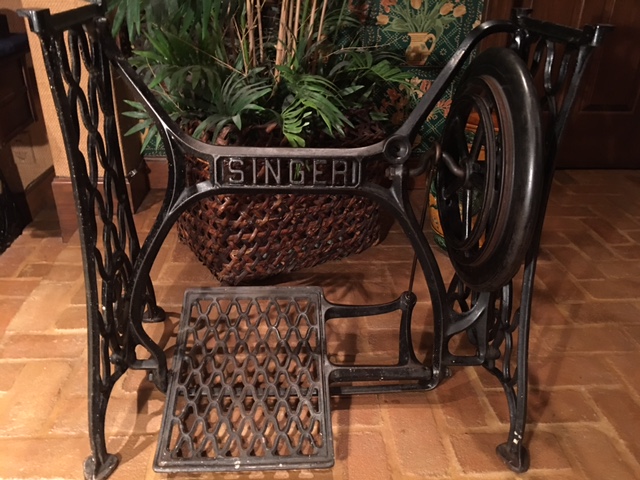

-
Johan, If it is a 96K41, here's some literature http://dixiesewingmachine.tzo.com/MANUALS/SINGERPARTS5/96K40 TO K45 AND K60.PDF
-
Thanks for making them available to us, Eric.
-
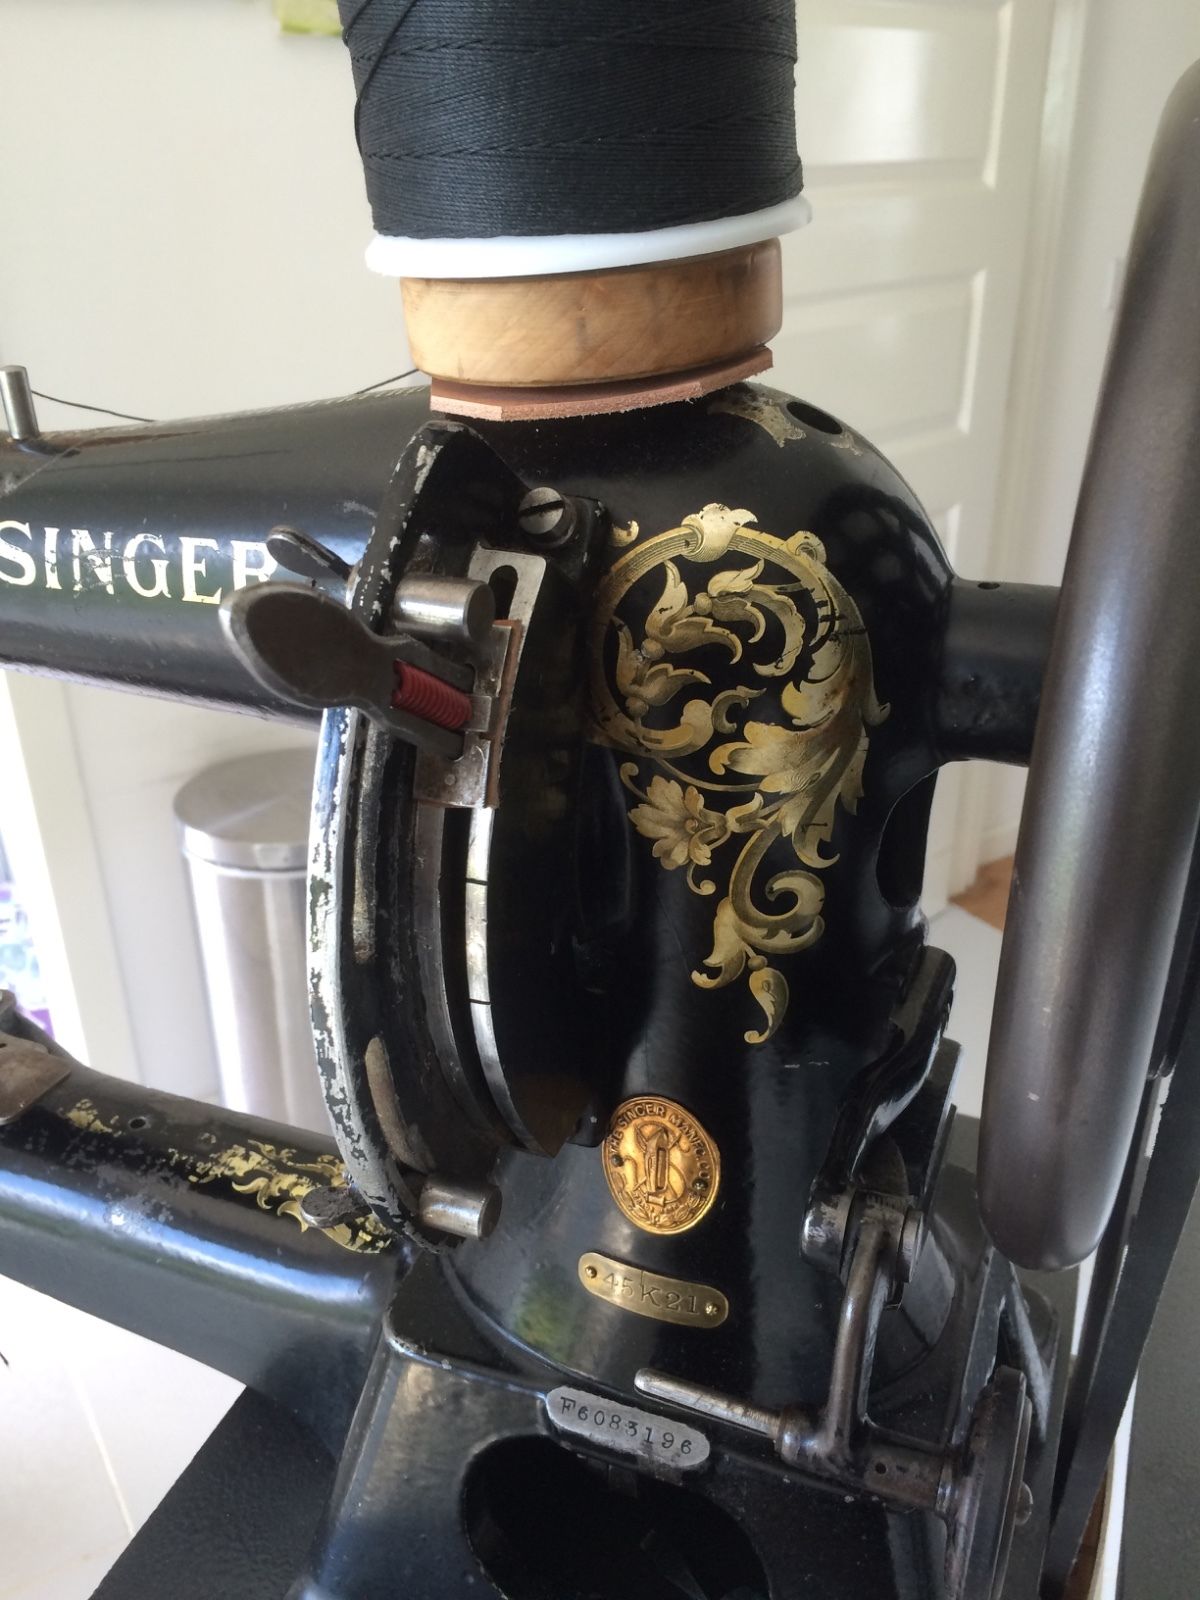
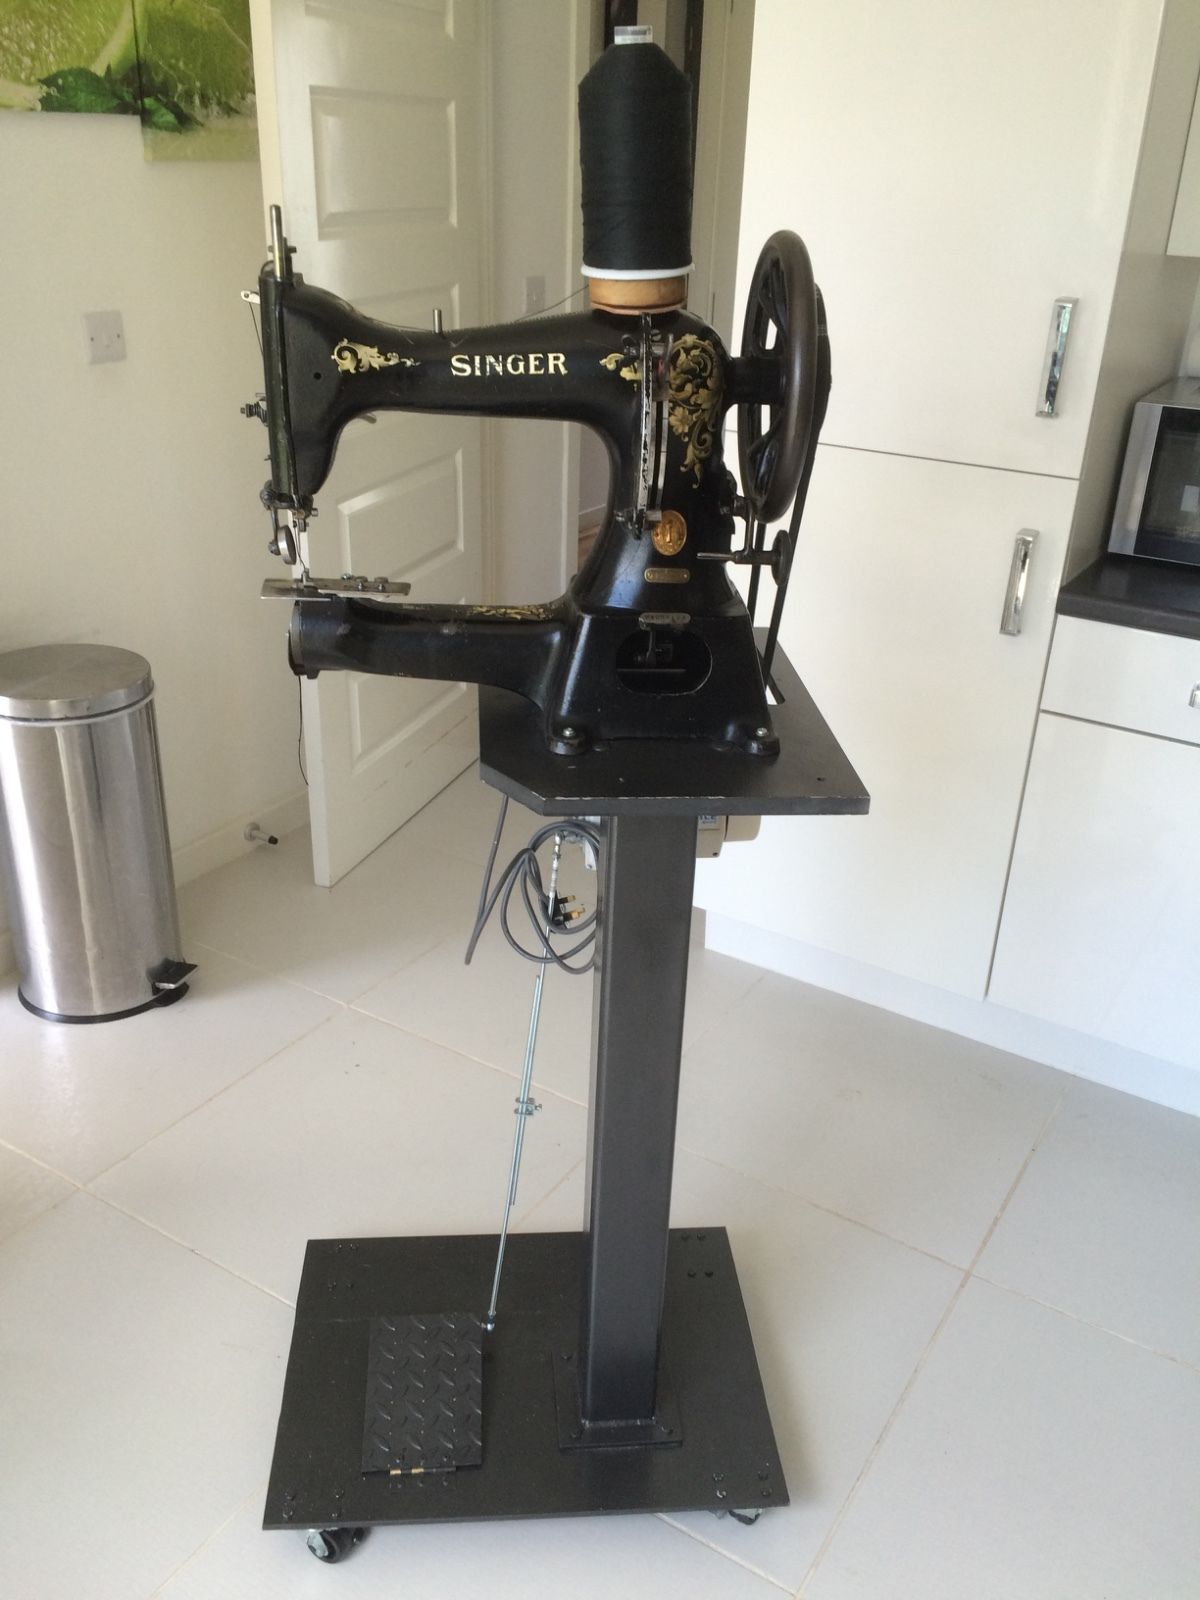
Is it original or someone's modification? The machine is badged as a 45K21, but obviously has a roller foot. The serial number seems to put it's birth at 1915.
-
Thanks for looking. I've checked over my parts. I'll send you a PM this evening.
-
Certainly, you're welcome. Let me pull out those items and I'll get back to you shortly. Do you have any Singer 45K25 or Singer 45K53 parts to trade? If you have some Singer or Simanco parts and are not sure what they fit, let me have the numbers, I'll know if they fit my machines. As I mentioned above, my first choice is to trade because the old parts are near impossible to find. Thank you.
-
Hi dseddn, Yes, I believe I have most of it. What items are you needing? Thanks
-
First Try at Japanning On a Restoration Project
Evo160K replied to Evo160K's topic in Leather Sewing Machines
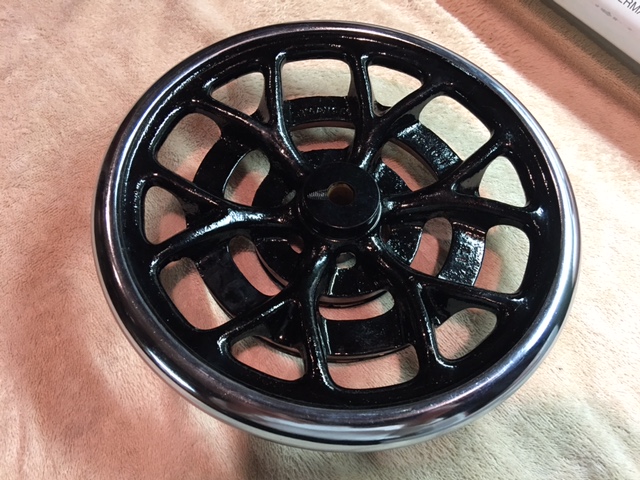
Thank you one and all for your comments. Your experience and knowledge with restorations and your willingness to share it are the primary reason I'm tackling such an unfamiliar project. @ Constabulary You're correct, spraying is easier and cheaper when you're set up to do it inside or have warm weather outside.. I can't spray inside, and spraying outside wasn't a consistent and reliable option over the winter. Japanning was ideal in my case, plus I'm a bit of a pathfinder, so that as you know involves taking some arrows.. Thank you for your compliment on the hand wheel, wish I could take credit for it, but it came to me that way. I believe it and the faceplate are nickel plated. @ Jimi Thanks Jimi. I plan to start on the head shortly. We have a room upstairs without hvac ducts and windows, so it's a dust free environment. It should be an ideal place to do the japanning and to set for 30 days to cure . Keep your fingers crossed.. @ Dikman Thank you. Let's hope I don't take a fatal arrow on this last path. -
First Try at Japanning On a Restoration Project
Evo160K replied to Evo160K's topic in Leather Sewing Machines
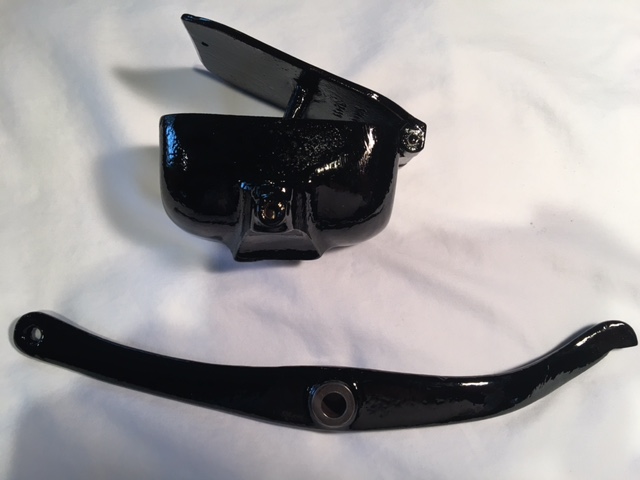
You'll recall from reading my previous post in December, the japanning on the test piece developed micro cracks throughout. Needless to say, I was extremely disappointed, particularly after doing so much research, thinking and testing. Well the Pontypool japan finally arrived in early March from Liberty On the Hudson, it's totally mixed and ready to apply. Attached are a picture of the original test piece that cracked, was stripped and was coated with Pontypool, as well as several pictures of other pieces that I coated recently. They each have three thin coats, each coat sat in a dust free environment overnight, and then each coat was heated in the wifes electric kitchen oven as follows: 2 x 250 deg. F, 2 x 325 deg. F and 1 x 395 deg. F. They all turned out glossy and hard to the fingernail. So far I prefer the Pontypool to mixing my own. If the parts don't crack in the next two weeks, I'll call it as good as my patience permits and go ahead and japan the head. Since the head won't fit in our oven, it'll have to japan it and air cure for 30 days. Well that's the latest. The japan goes a loooong way, that $85 quart will for sure cover quite a few machines.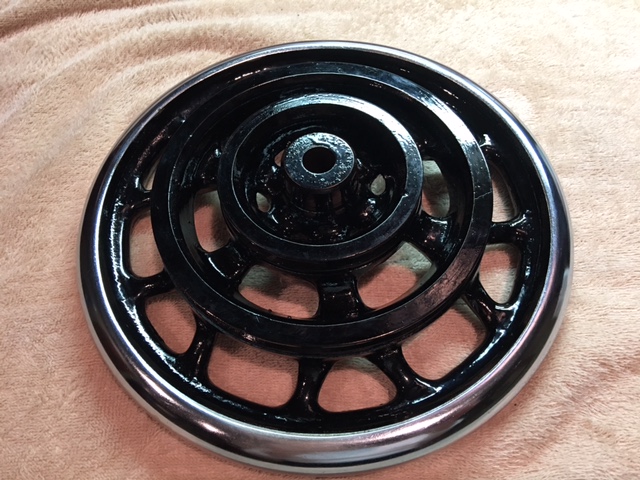
-
Singer 45K Treadle Base Parts Information or Parts List
Evo160K replied to Evo160K's topic in Leather Sewing Machines
Davidmadd, Your flywheel is the same diameter as the one I acquired recently with the base, yours has three belt pulleys, mine only two. I have no idea what base uses your wheel. You're correct about it being heavy, I paid $60 USD to bring it to the US from the UK. -
Singer 45K Treadle Base Parts Information or Parts List
Evo160K replied to Evo160K's topic in Leather Sewing Machines
Thanks Jimi. -
So this is perhaps a bit off topic, but it's so unusual...at least for me....I thought some of you might appreciate it. This is courtesy of my friend with the broken vintage fan, he repaired it with the pins and Loctite method mentioned above. He went on to say, and I quote, " on my suzuki TS-125 I had the head bolts pull out of the cylinder, so I just drilled a small hole through the casting and pinned the head studs in place, it held and was able to torque down the head. I used steel brads for that repair. saved me having to get helicoils or some other drill and retap method." Now I thought that was trick.
-
It might be useful to mention that having insurance on a package doesn't automatically mean you will collect. An antique fan collector friend received one recently through FedEx that was broken, FedEx refused the claim stating the fan was improperly packed. The pictures obviously showed it was badly packed. The buyer and the seller worked it out between them. So the morale of the story is, the shipper needs to be fully aware the item must be packed properly....insurance apparently doesn't cover negligence on the part of the seller.
-
G-d said, "let there be light", and Lucas said, "No". Steve, love that replacement part.
-
Singer 45K Treadle Base Parts Information or Parts List
Evo160K replied to Evo160K's topic in Leather Sewing Machines
Jimi, thanks for explaining that to me. As long as I have to make the table from scratch, I'll try to replicate the edge on the small board and put it around the edge of the table. Judging by the first picture above, it looks like the "cut-out" portion doesn't have an edge. What do you think? Thanks Jimi -
Singer 45K Treadle Base Parts Information or Parts List
Evo160K replied to Evo160K's topic in Leather Sewing Machines
Jimi, It looks like the table has a routed profile on some of the edges. Would you be able to take a picture of that profile? Thank you Jimi. -
Singer 45K Treadle Base Parts Information or Parts List
Evo160K replied to Evo160K's topic in Leather Sewing Machines
Jimi, No problem with the metric measurements, I use them frequently. Thank you for your help. Your pictures and that sketch are perfect, exactly what I need, thank you, thank you very much. I owe you Jimi. Regards, -
Singer 45K Treadle Base Parts Information or Parts List
Evo160K replied to Evo160K's topic in Leather Sewing Machines
Jimi, About 2/3 of the base has arrived so far (see pic), so I'm starting to think I may actually own one of these grand old treadle bases soon. That's assuming the treadle and the back piece arrive safely, they're the most vulnerable. In any case, I'm beginning to think about fabricating the top, but have no dimensions. We still don't know about the support. Would you mind taking a few pictures of your table top with a measuring tape along side, like you did with the support piece? That will show the dimensions. Would you also tell me what kind of wood the top is made of, and if the top is one solid piece or if it's laminated like a "plywood"? Thank you, Jimi, thank you very much.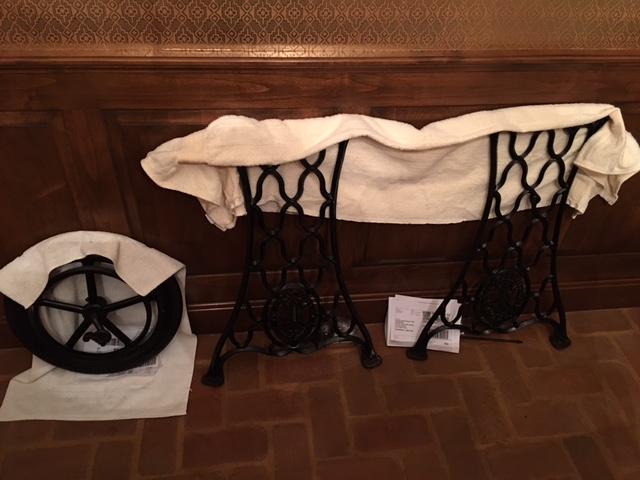
-
Does that mean the 128 will sew in reverse using the treadle? @ Kayser If it helps, we just tried a piece of 10 ounce veg tan in my wife's K28 hand crank, and it sewed no problem.
-
"American" big iron machine - anyone ever seen one of these?
Evo160K replied to Cantab91's topic in Leather Sewing Machines
Thanks for the big laugh people. -
Cortella, what machine do the current sewers use? That might give you some direction.
-
Singer 45K Treadle Base Parts Information or Parts List
Evo160K replied to Evo160K's topic in Leather Sewing Machines
Jimi, that was a lot of work for you, thank you, thank you very much. I had no idea the support and fasteners were that involved, sure hope they're not missing when the base arrives. Good pictures, Jimi, very helpful.. What machine are you using on your base? K21? Thank you again, Jimi. Al -
Singer 45K - Unsual Needleplate + Feed Dog
Evo160K replied to Constabulary's topic in Leather Sewing Machines
Fascinating Jimi!! Thank you. -
Singer 45K - Unsual Needleplate + Feed Dog
Evo160K replied to Constabulary's topic in Leather Sewing Machines
Jimi, where do you find all of that marvelous literature you have? Sure would like to purchase a copy. Regards