TwinOaks
-
Posts
4,513 -
Joined
-
Last visited
Content Type
Profiles
Forums
Events
Blogs
Gallery
Store
Everything posted by TwinOaks
-
..one little, two little, three little MAP torches.... I like the idea, Marlon, and I might just do that. I think I'll pick up a 'spare' from Tandy before I do, though. I wouldn't want to irrevocably damage one of the ones I've inherited from my father.
-
Obviously I missed the first round, but would like to get in on the second and consecutive rounds. Whenever the list gets regenerated, add me to it. Mike D.
-
Yeah, Clay, there is. It sounds like a form of acute tendonitis in the index finger. This, as you know, could lead to debilitating arthritis. And the end of your career Tell them the replacement will be ergonomically correct for your hand (and make up something about a right handed world and a bunch of conspirators). Back to reality...I've often wondered about the yoke on top of the swivel knives. Who decided it should be that shape? I'd prefer one with a rounded/ melted edge.
-
Hold the train, I'm jumpin' on too! My wife and a friend are starting a horse based business, can definitely use your skills, Corter. And, for mine, later on, waaaaaaaay down the road, I'll come back to you. Hey folks, how about this situation? Instead of doing stuff to get leather, now we're doing leather to get stuff! Corter is a lucky guy to get paid in leather- heck, he might be able to start his own gallery with all the pieces we send him. Corter, PM me a list of whatever you need.
-
Very nice work Marlon and Anne! I haven't tried any embossing since I half embossed a dog portrait a while back, but I think this may be enough to inspire me to pick it back up. Go ahead and invest in some tools for her. Worst case scenario is you end up with some spares. Best case scenario is that you partner up on some projects and turn out some masterpieces. Can't you hear the conversation at the dinner table? " pass the oil dye please...." Mike
-
Looking good, Shorts! Keep 'em coming.
-
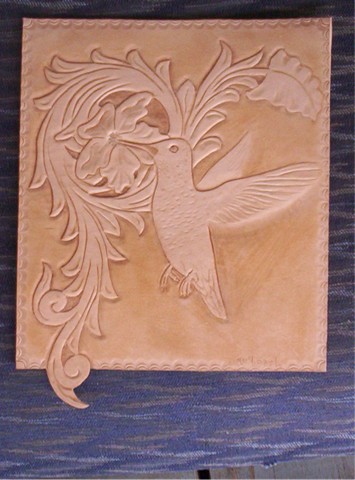
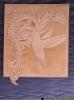
Monthly floral pattern (March)
TwinOaks replied to ClayB's topic in Special Events, Contests and Classes
It is remaining natural, with a nice coat of super sheen. It was a gift to my mom ( hummingbird lover), and since I'm still learning to color, I didn't want to mess it up. Also, from the closet-o-wonders, she found my old airbrush and brought it down when she visited. I didn't have time to relearn airbrushing, and dying, before she was scheduled to return home. So...natural it is. But, I have the patterns (overlayed the bird to the monthly challenge) and will probably do another once I get the color application down. The only problem with doing hummingbirds is trying to get the little buggers to hold still while you sketch them!!!!! -
my new wallet help
TwinOaks replied to walletman's topic in Purses, Wallets, Belts and Miscellaneous Pocket Items
You can do either, to tell the truth. If you tool in the background, the image will stand out from the surface. If you tool in the image, it will be called "Inverted Carving". If you're planning on using acrylic paints with this, inverted carving will give the paint a place to set below the surface and avoid excessive wear. -
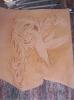
Monthly floral pattern (March)
TwinOaks replied to ClayB's topic in Special Events, Contests and Classes
Hi to all. I appologize for the late posting , but I've had loads of fun replacing the hard drive on my laptop and recovering what data I could. So, that said, here's my submission for the March floral design: Image transferred, and first cuts made tooling completed and, the final product. Let me know what you think. Mike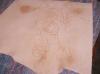
-
Bob, you're on to a pretty good idea about the book. I have a suggestion to make about it. Instead of one person writing it, which would give only one perspective, let's see if Johanna or one of the moderating team can archive these posts. The posts from individual members could then be grouped, and categorized by specific subject (pricing, design, customer service, etc.) and the entire thread ocnverted to downloadable .PDF. The result would be a Leatherworker.net E-book. And since I'm sure the Mods don't have enough to do, this could be done in just a few days.. Seriously, though, I'll offer my assistance if anyone wants to do it. I'm by no means a professional Editor, but if I can help, I will. Mike
-
Two other sources of knots: BSA handbook- this covers most of the practical knots that one may need in day to day life Ashley Book of Knots- THE definitive book on knots, including turks heads, buttons, et. al.
-
Wow, a bona fide Anti-Q!!!! As far as preserving the leather, if it's already cracking, it may be too late. I'd think some oils would do well to remoisten it, but at that age, I'm really not sure. One thing you can do is make sure it stays away from harmful UV light as much as possible.
-
Utility Holster 1
TwinOaks replied to Shorts's topic in Gun Holsters, Rifle Slings and Knife Sheathes
Luis, The tension screw usually is attached to a T-nut inserted from the rear of the holster. Between the two layers of leather (front and rear of holster) it's not uncommon to have a compressable spacer. Something akin to sorbethane- firmer than neoprene, softer than typical nylon spacers. Basically, the tension is adjusted by tightening the screw and squishing-for lack of a better description- the spacer. Shorts, Very nice work. Nice and clean, and the stitches looks great. -
New guy + questions
TwinOaks replied to dickf's topic in Gun Holsters, Rifle Slings and Knife Sheathes
Once you have a basic pattern, and lay out your stitch lines, use a removable contact cement (along the lines of rubber cement) to hold the pieces together while you groove, mark the stitches, and punch the holes. You can cheat on the holes by using a dremel or drill, but fair warning- an awl punched hole will reclose around the thread and in my opinion, look better. Drilled holes will always be drilled holes, and you have to use a drill bit / thread combination in the right proportions or you'll have ugly stitching. I see Randy is reading this at the same time, and is probably typing a small book to add here. So, since he's a bit more experienced than me, I'll let him offer his methodology to you. Mine isn't really any different, and I've modified mine to reflect some of his advice. So, that said, look for RandyC's post- it's good info. -
Consistent Dying
TwinOaks replied to adamncl's topic in Dyes, Antiques, Stains, Glues, Waxes, Finishes and Conditioners.
One of the things I've discovered is that some dyes are easily resisted by finger/hand prints. Cleaning the leather before adding color is definitly a good idea -
Concealed Carry Holster
TwinOaks replied to BOOMSTICKHolsters's topic in Collars, Cuffs, Leashes and Leads
Very nice work there! If you have plans for a left handed version, I'd like to link this page to a member of another forum I frequent. The person in mind would probably be very interested. I have to agree with Ron on the molding of the safeties, but I'll offer that on a well built 1911 (or any pistol for that matter) the safety should have positive engagement/disengagement and not be prone to unintentional movement. -
knives not in sheaths
TwinOaks replied to Luke Hatley's topic in Gun Holsters, Rifle Slings and Knife Sheathes
Nice work, Luke. I have a question though....what's that shiny part on all of them? -
Glue for leather
TwinOaks replied to MarkS's topic in Dyes, Antiques, Stains, Glues, Waxes, Finishes and Conditioners.
Brent, Don't worry about getting the cash, I'll take magic beans if you happen to find anyone peddling them -
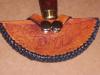
Headknife sheath
TwinOaks replied to TwinOaks's topic in Gun Holsters, Rifle Slings and Knife Sheathes
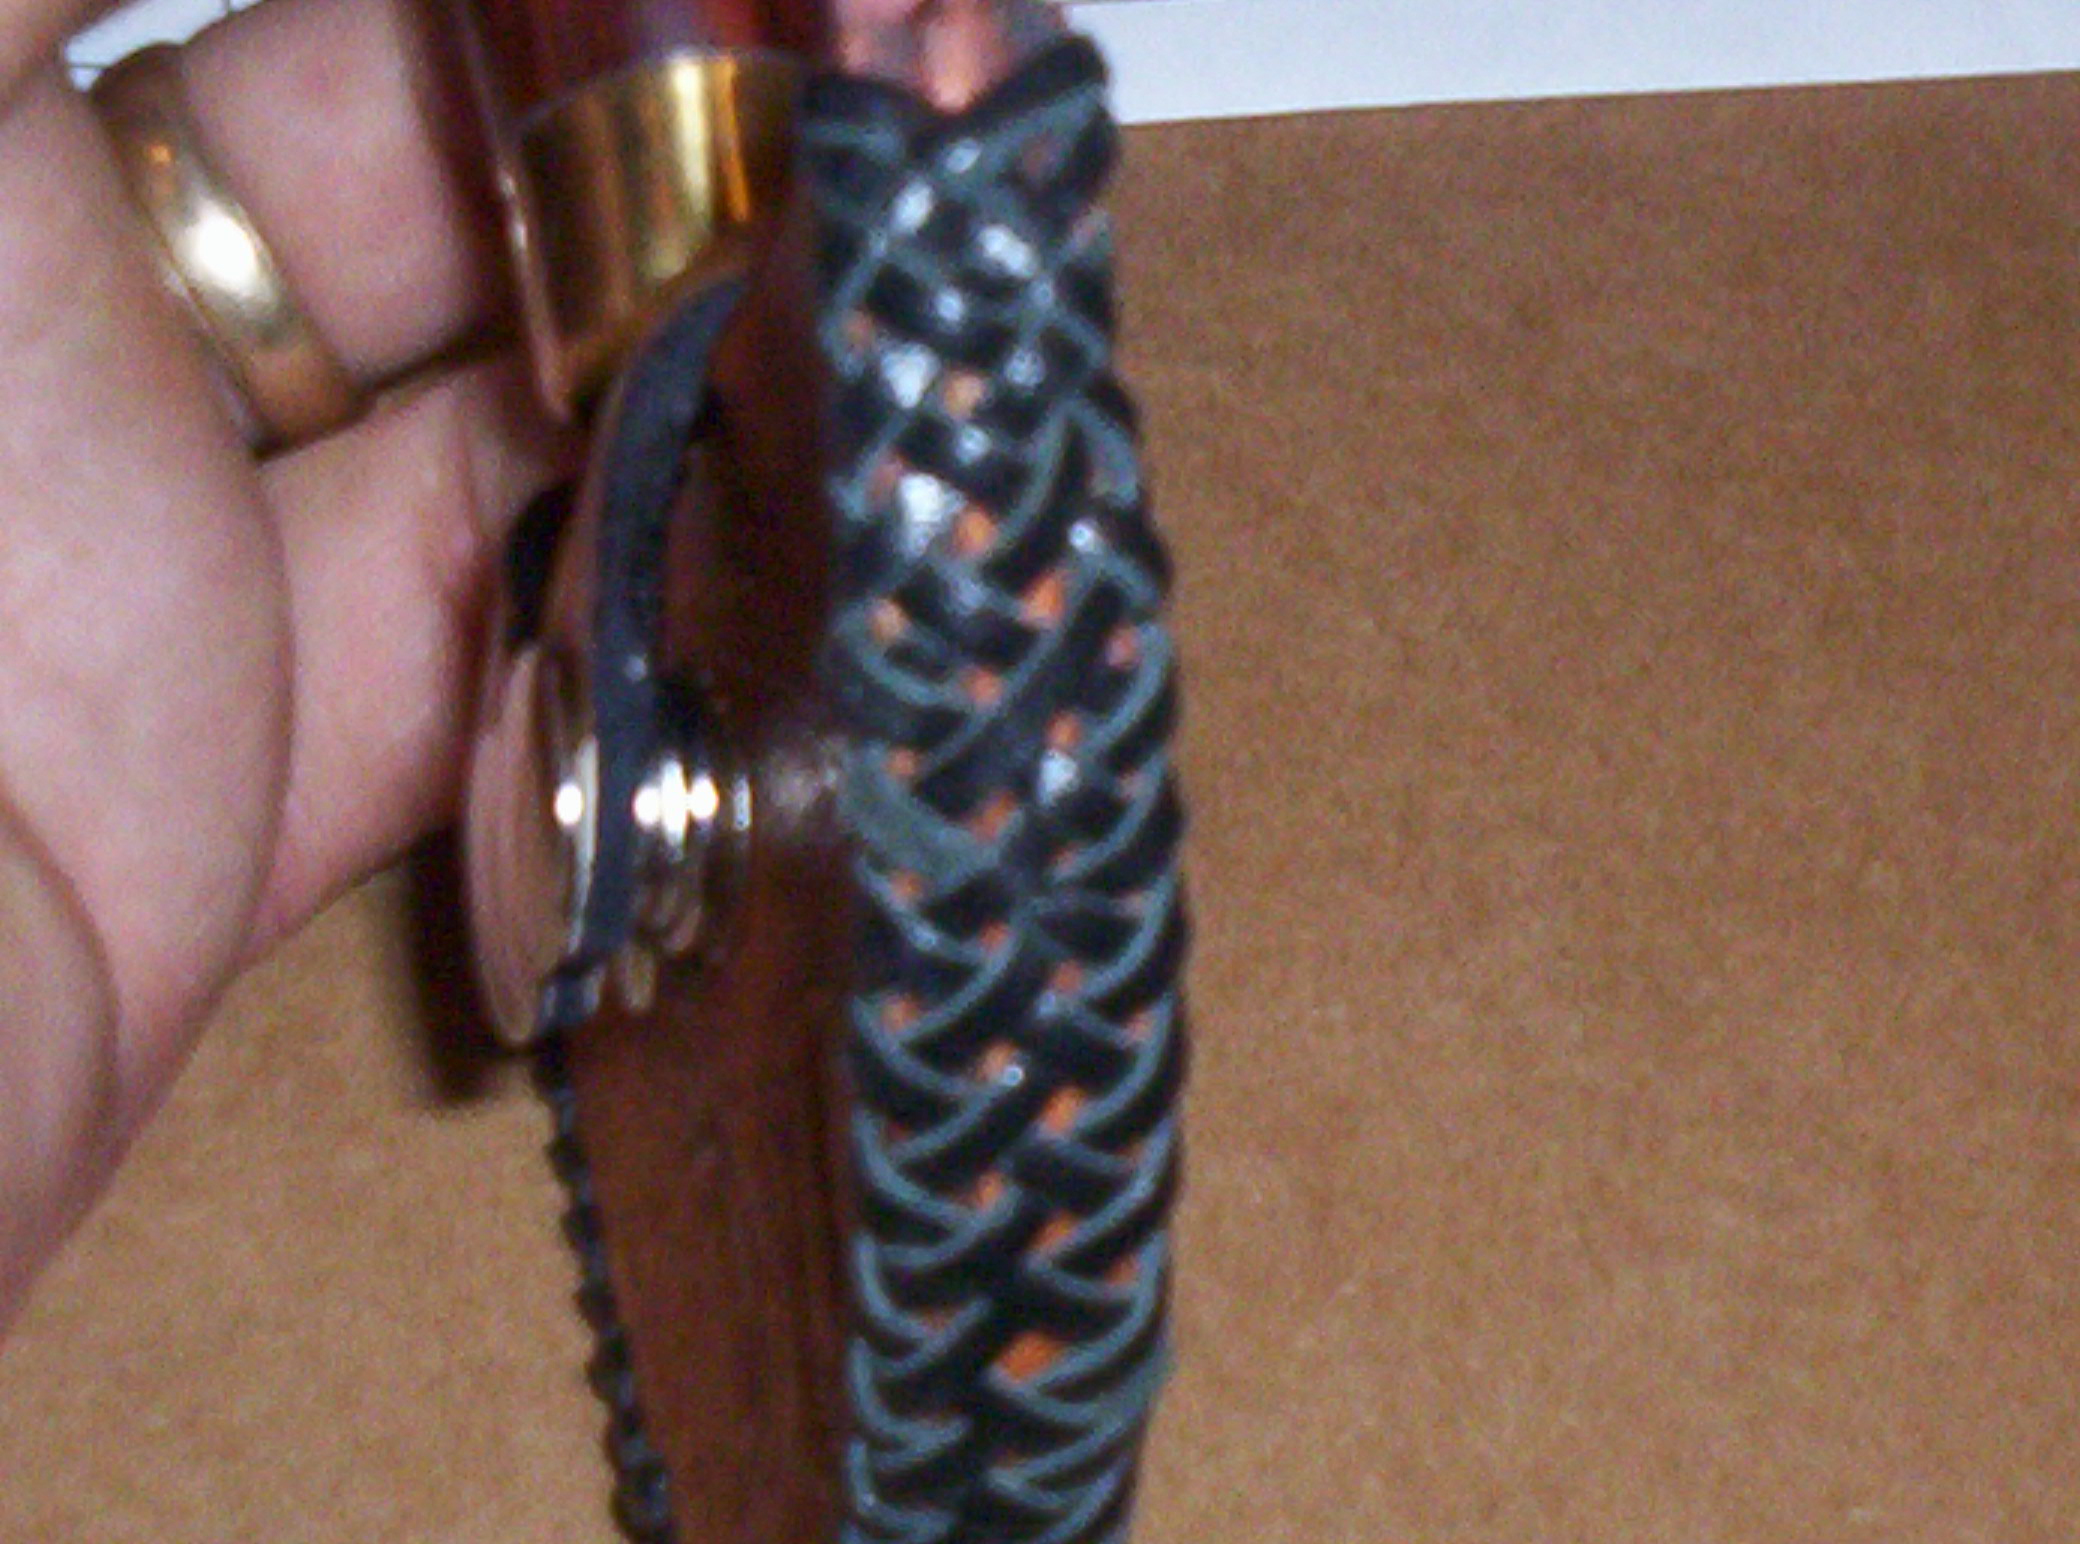
Great info, and thanks to everyone. Ken, thank you so much for the layman's explanation. And Dave...wow! Thank you for posting those pics so I could see what is possible with lacing. Since this one is for the tool box, I won't be remaking it, but for the other braiding projects I have scheduled, I know how to 'fix' it. Thanks bunches, Mike -
Headknife sheath
TwinOaks replied to TwinOaks's topic in Gun Holsters, Rifle Slings and Knife Sheathes
Don't ya hate it when you haven't reloaded all the prog. files (after HDD replacement) and can't resize anything? Here's the other photo...that wouldn't fit on the OP.
-
The sheath came out just fine, if a little oversized, but I'm wondering why the braid isn't as tight as I thought is should be. Is it b/c the lace is thin? I'm pretty sure I could use a bit more care on the alignment of the lacing holes too. Tell me what you think.
-
Prototype Ruger P95
TwinOaks replied to rdb's topic in Gun Holsters, Rifle Slings and Knife Sheathes
not bad looking at all! And you ain't kiddin' about the scrawny part -
Why a leather holster is always better
TwinOaks replied to ryan's topic in Gun Holsters, Rifle Slings and Knife Sheathes
The video presented a "worst case scenario", I think. But, I gotta agree with most of what's written above- use the right material for the application, and anyone can be disarmed given the right circumstances. P.S. I prefer leather...it's purdy-er. -
Help for green horn
TwinOaks replied to drof99's topic in Gun Holsters, Rifle Slings and Knife Sheathes
Hi all,Pardon the absence, but I was workin'. Drof, the piece of leather around the mouth is to help keep the holster open when the pistol is out. Yes, it is a wrap-around style that mimics one made by member JORDAN, and is kin to the Aiskin (<---did I spell that right?) (if you didn't, you should read the entire thread I linked) and there are advantages to both, but the most important thing is your preference. Pancake hosters usually lay flatter against the body, and IMO conceal better. The type I made (again IMO) makes for an easier grab and draw. They also use a bit less leather than a two piece...but just a bit. Sweat shield is optional, and doesn't make sense to me on a belt holster. Primarily, it should protect the pistol from you, and provide a little comfort if your pistol has sharp corners ( think 1911 with a spur hammer). The carry position on the body also GREATLY affects how well a hoster can conceal a pistol. I made a holster for my wife's M&P compact, using the one linked as a basis. I wear it about 5:30 and the whole rig disappears. I wear it any further forward, and I need a heavy jacket to conceal it. If my wife wears it at all, it sticks out at an odd angle, and she can't draw the pistol with anything resembling smoothness- so back to the drawing board for hers. Keep body shape in mind for holster design! Okiwen,The drop of dish detergent acts to break the surface tension of water, and helps it penetrate leather better. Other alternatives are Lexol, and Procarve. The file folder patterning can be used for both holster types. -
Looking good so far as I can tell! Something you might want to consider: A lighter weight holster will take less room ( I know, I know, we're talking fractions of an inch here) than 8oz, and you can modify your carry options to eliminate some of the drawbacks. One example is to build the holster to ride under the belt instead of attached to it. Thinner leather is a plus here, and you use the belt to stabilize the pistol in the holster, in conjunction to the thumbstrap, which helps retention. Mike