-
Posts
2,221 -
Joined
-
Last visited
Content Type
Profiles
Forums
Events
Blogs
Gallery
Store
Everything posted by Uwe
-
This hooks and awls business would surely benefit from a proper naming convention, like needle system numbering. I’ve never worked with a Champion stitcher, so know little about them, sorry!
-
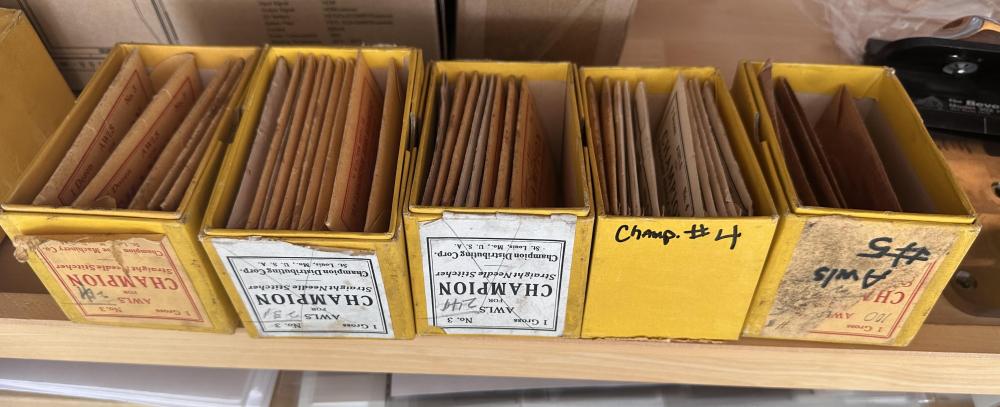
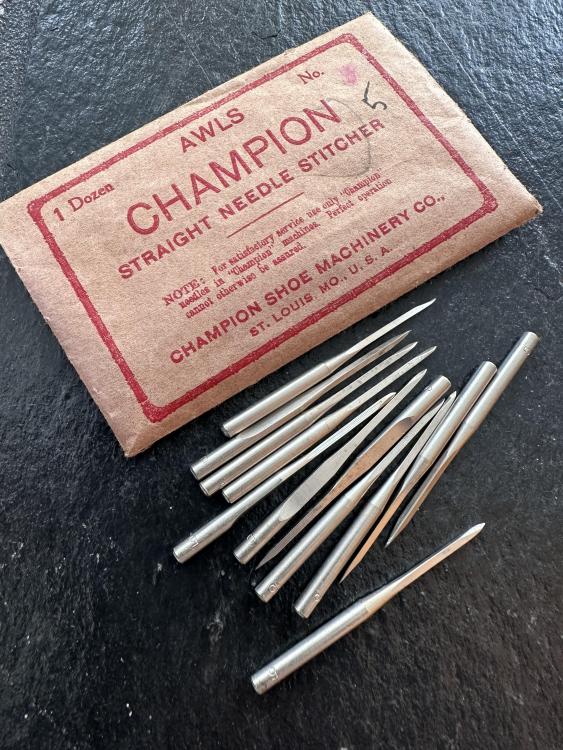
I have a bunch of Champion awls, but no hooks. Send me a PM if you’re interested in the whole lot ($100, 30ish packs of 12 awls ea.) Not interested in selling individual awls or packets, sorry!
-
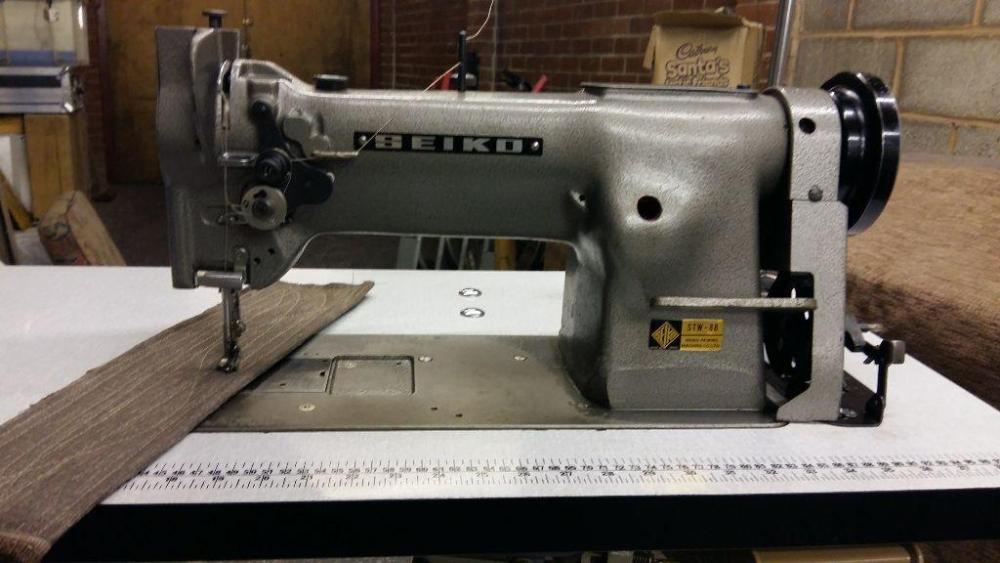
That’s a copy of a Seiko CW-8B (Consew 227 in the USA) Here’s the manual: Seiko CW, LCW, NCW Operator’s Guide.pdf
-

JUKI LU562 stich synchronization forward to reverse
Uwe replied to 1788Leather's topic in Leather Sewing Machines
I have a feeling the design of that class of machines may not be capable of doing what you want, namely to perfectly match forward and reverse across the full range of all stitch lengths. You can fairly easily perfectly match forward and reverse for a particular stitch length using the various limiting devices. The design of that feed mechanism in those machines is about a century old and they didn’t invent reverse until a few decades later. I’m guessing it was not a priority for the target customer, i.e. factories where the operators were generally not allowed to change settings. If anything, the design focus was on preventing the operator from making changes, while allowing the resident mechanic to easily dial in one perfect, matching stitch length for a specific operation. If an operation required a different stitch length, they would set up a separate machine just for that. The hobby/craft user who frequently needs to change stitch length was not a major factor in the design of the machines. Modern designs are a different story. They often have fundamentally different feed mechanisms, many of which do allow to match forward/reverse through the entire range of stitch lengths, or easily switch between two stitch lengths via a simple switch. If you look at anything in the current production lineup for upholstery class machines from Pfaff/Adler/Juki etc., they will very likely be able to do what you desire. A vintage Juki LU-562 is very cheap in comparison to the new designs, but it does have some limitations. See if you can live with the limitation, and if not, start saving up for a modern machine..- 2 replies
-
- stich setup
- juki lu 563
-
(and 1 more)
Tagged with:
-
Your best bet might be asking the folks at Global (https://globalsew.com). They’re based in the Netherlands. Global’s Model descriptions indicate that only the LP9971 R-LH has reverse. LP 9971 – Single needle postbed machine with top driven roller, wheel and needle feed with standard hook. LP 9971 C – Same as LP 9971, but with Chinese hook. LP 9971 R-LH – Same as LP 9971, but with manual back tack and large hook. LP 9974 – Double needle postbed machine with wheel feed and top driven roller presser ( no needle feed) and equipped with standard hooks. Standard needle gauge 2,4 mm. LP 9974 C – Same as LP 9974, but with Chinese hook. Their manual for the 9971 machines shows an old Singer 111W style feed motion eccentric. I doubt that you can upgrade this to add reverse. https://globalsew.com/wp-content/uploads/2017/03/LP-9971-TD-Manual.pdf
-
With an “8B” in the name, chances are good it’s a clone of a Seiko STW-8B, sold in the USA as the Consew 226r, and cloned many times over. https://issuu.com/davidmannock/docs/seiko_stw-8b_226r_owners
-

Hand wheel swap Adler sewing machine
Uwe replied to Historicalbeltworks's topic in Leather Sewing Machines
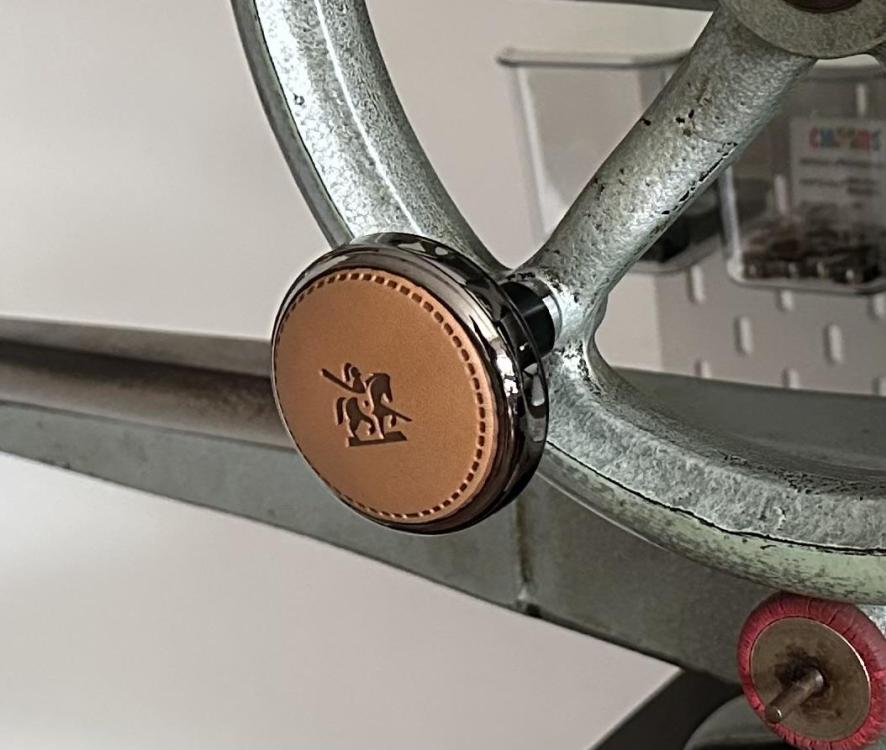
As for hand knobs I really like the one I used to replace the missing one on my Adler 30. It works great, looks kinda pretty and was easy to adapt for my installation. I got mine on Amazon for $15 (https://www.amazon.com/gp/product/B07P6ZRVY2) -

Hand wheel swap Adler sewing machine
Uwe replied to Historicalbeltworks's topic in Leather Sewing Machines
In my book the proper way to solve this issue would be installing a servo motor with needle position sensor. You may never have to touch the hand wheel again. Aside from that option, the hand wheel on this DA 669 is designed a little different than standard balance wheels on many vintage machine. The hand wheel is separate from the pulley and it’s just a piece of plastic that’s attached to the pulley via the three screws you see. You can probably make your own, larger version with simple tools like a reciprocating saw and a hand drill. Or ask a friend who has wood lathe skills or a 3D printer, or something along those lines. A plain round piece of wood with a hole in the middle and three mounting holes would probably work just fine. Use longer screws to attach it if need be. -

A few questions on the Adler 30-1
Uwe replied to Scorpio Leatherworks's topic in Leather Sewing Machines
Yes, that’s a suitable motor, I think. You’ll have lots of flexibility mounting the speed input, motor, and control box wherever you need them to be. You don’t need to use the mounting brackets that come with the kit. You can create custom mounting solutions like I did in my setup shown in the pictures I posted earlier. Your table is not designed to accept the standard 3-hole mounts, so you’ll have to get creative. These motors, controller, and speed input also lend themselves to simple clamping installation, for testing or permanent use.- 20 replies
-
- adler 30
- treadle power
-
(and 1 more)
Tagged with:
-

A few questions on the Adler 30-1
Uwe replied to Scorpio Leatherworks's topic in Leather Sewing Machines
Great, she’s a beauty! The decals are gorgeous and in great shape. You might be able to mount/clamp a servo motor under the top surface at the rear to drive the big, currently unused pulley. That would act as a HUGE speed reducer (perhaps too big to use with a position sensor) Disconnecting the linkage between the pedal and the big wheel would allow you to connect the existing pedal to the speed input. You’d loose the ability to pedal-drive the machine, but the front hand wheel is a great option for slow manual stitching.- 20 replies
-
- adler 30
- treadle power
-
(and 1 more)
Tagged with:
-

A few questions on the Adler 30-1
Uwe replied to Scorpio Leatherworks's topic in Leather Sewing Machines
This feels more like a smart phone support forum at times. A simple “Samsung photo resize” search reveals these instructions: https://www.samsung.com/sg/support/mobile-devices/how-to-resize-photos-in-the-gallery-app-on-your-galaxy-phone/- 20 replies
-
- adler 30
- treadle power
-
(and 1 more)
Tagged with:
-
This 467 is not the manual sewing machine you are looking for. Don’t buy it. The effort (and pain and suffering) involved to make this a manual machine is significant and it may not yield satisfactory results. Unless you have access to a warehouse full of vintage Durkopp Adler parts, it’s an exercise in futility. The knee pedal is not a foot lift, by the way, it’s likely to activate the alternate walking height. Reverse is done via a little finger switch near the needle. Foot lift is via pedal heel action. The entire machine is crammed full with air cylinders and actuators. It’s a thing of beauty and functionality, but only if that’s what you’re really looking for. Otherwise it’s a nightmare.
-
Your hook doesn’t catch the top thread loop to wrap around the bobbin - it can’t bring up the bobbin thread like that. There’s a dozen possible reasons if not more as to why it’s not doing that. Post some pictures of your whole machine including the type plate so we can tell what model it is. Also post some close-ups of your top thread path and needle area. Check your needle/hook timing first. The hook needs to catch the loop, otherwise you’ll never sew anything. After timing the hook, bring the bobbin thread to the top before you attempt to sew anything.
-
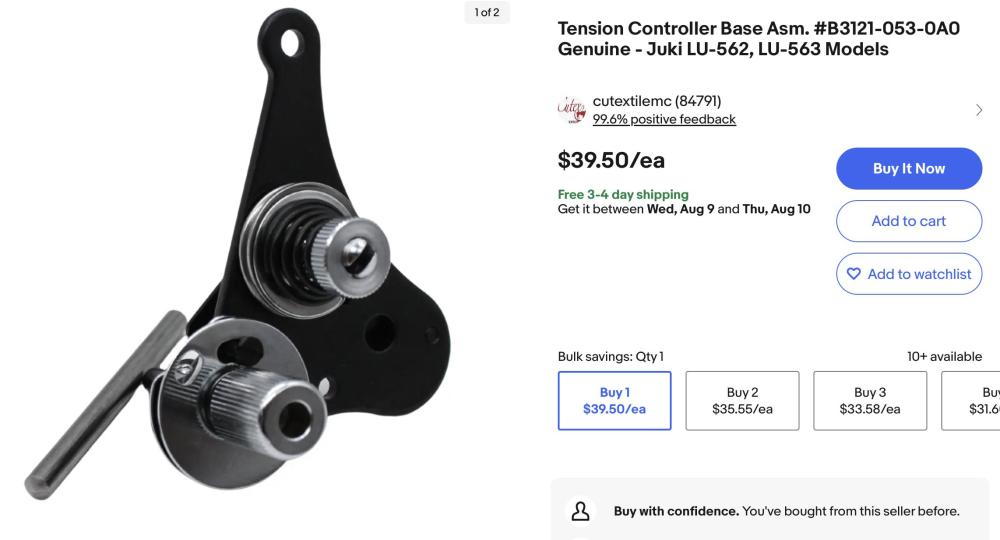
I tend to look for OEM Juki parts in those instances. The tension units are interchangeable between Juki LU-562/563 and Singer 111W /211W models. Juki makes very nice quality parts that are often a big step up from the generic versions. I bought a few different generics and the OEM Juki tension unit a few years back just to compare them. The Juki was the nicest one of the bunch, but also the most expensive. You kinda get what you pay for. The cost for the Juki tension unit (part #B3121-053-0A0) is about $40 here in the U.S. I’m pretty sure they’re available from Juki dealers worldwide. College sewing also carries it. Here’s a screenshot from a current Ebay listing by a US based seller I’ve bought from before:
-

A few questions on the Adler 30-1
Uwe replied to Scorpio Leatherworks's topic in Leather Sewing Machines
That’s a Cowboy CB3200, waiting to be put into service.- 20 replies
-
- adler 30
- treadle power
-
(and 1 more)
Tagged with:
-

timing timing on a Thor gs1341 cylinder
Uwe replied to FleurFeroce's topic in Leather Sewing Machines
If you’re going to rewrite the manual, make sure you get the hook timing section right. If the original Juki instructions don’t work on your machine, you need to figure out why they don’t work. -

A few questions on the Adler 30-1
Uwe replied to Scorpio Leatherworks's topic in Leather Sewing Machines
You just wrap the uncut, too-long piece of leather belting around the hand wheel and treadle wheel and hold the ends so they overlap. Where the belts ends overlap, that’s where you cut. Use a metal clip to connect the ends. Use a normal tape measure to estimate how long the belt material should be, then buy it a little longer to be on the safe side. Having some extra also allows you to practice connecting the ends before you work on the actual belt. I’d recommend using urethane belting instead of leather. It’s easy to make custom belts from urethane belt stock and they will very likely last much longer. Depending on your treadle base design, you may have to connect the belt ends after you thread the open belt into place (sometimes it’s not possible to hook up an already-closed belt.) Please post a bunch pictures of your machine and treadle from various angles. We want to see what you have, and it’s often useful to just add an arrow to a picture rather than composing a long paragraph to describe what we’re talking about.- 20 replies
-
- adler 30
- treadle power
-
(and 1 more)
Tagged with:
-

A few questions on the Adler 30-1
Uwe replied to Scorpio Leatherworks's topic in Leather Sewing Machines
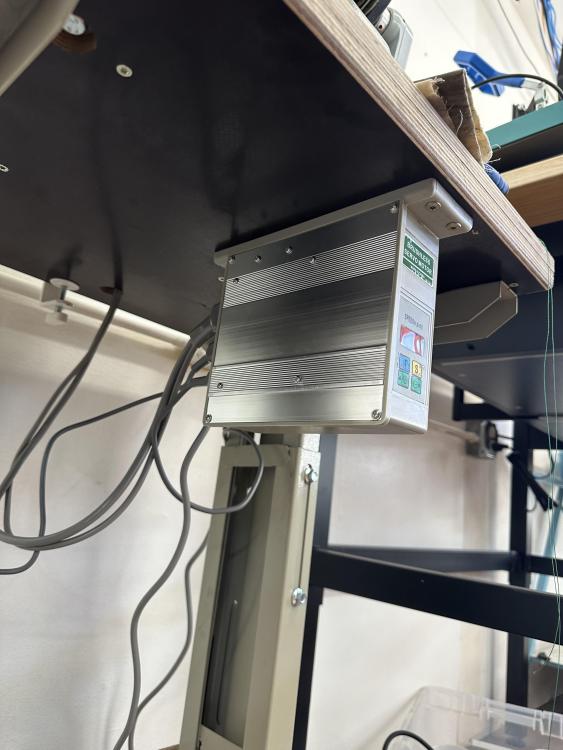
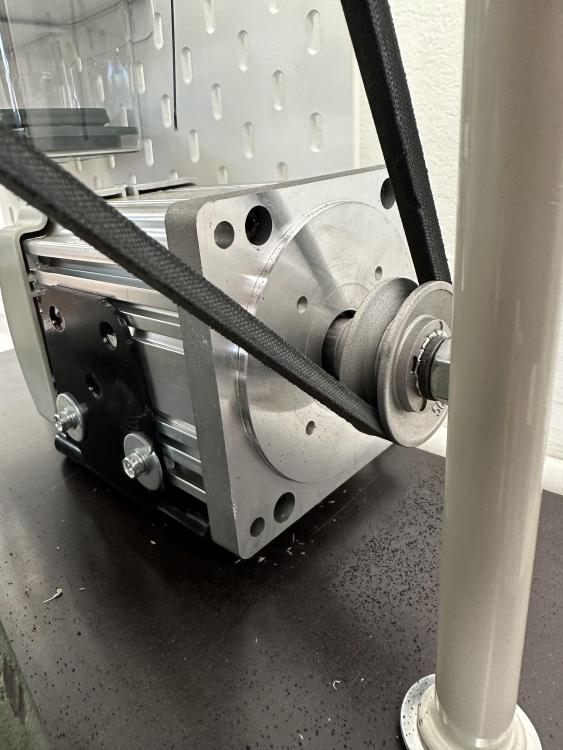
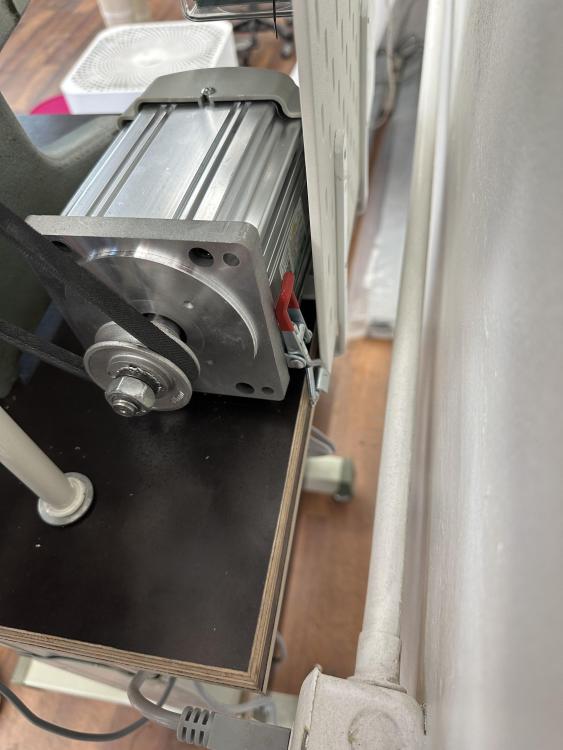
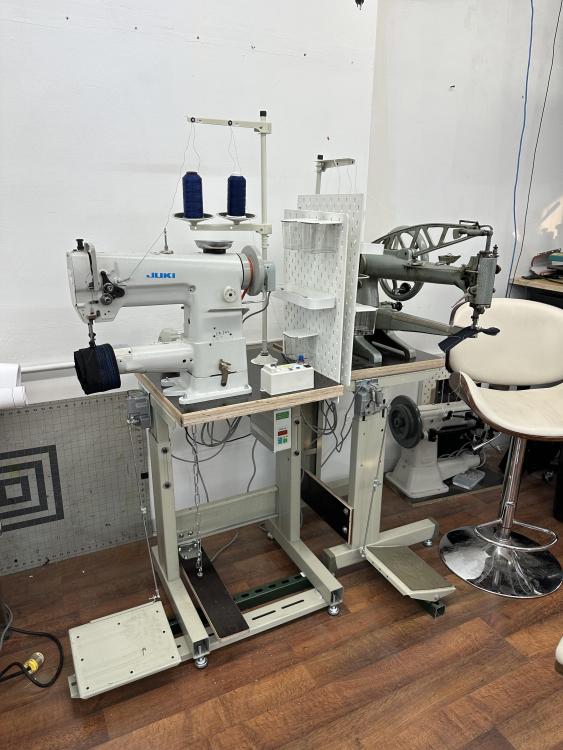
I set up an Adler 30-1 recently, using a 1,500W servo motor with a 50mm pulley and a needle position sensor. It works beautifully, especially with the needle position sensor. I can adjust the needle stop positions to perfectly catch the brief moment where the foot lifts up, to easily change direction. The other needle stop position for the perfect position to pull the material out of the machine. My table is a custom made piece with the motor mounted on top just behind the machine. Your cast iron table may have a very different layout, but it may be suitable for mounting the motor in a similar position. My preference is for three-piece servo motor sets (motor, controller, and speed input are separate pieces , not integrated.) This allows for the most flexible installation options, in my experience. I happened to have a suitable 3L belt on hand to use with my setup. You can also use a 5/16” (8mm) polyurethane belt material to make a custom length belt in about five minutes, and it’s much easier than trying to find a belt at the hardware or automotive store. Here are a few pics from my Adler 30-1 motor installation. The motor is mounted on a hinge, with an adjustable latch to change belt tension. This picture shows the door hinge I used to attach the motor to the table: This picture shows the adjustable latch to put tension on the belt: I used a similar setup for a Juki LS-341. This picture shows both machines and how the speed input is mounted and connected to the pedal. The motor on the Juki is mounted in a fixed position directly to the table. I adjusted the length of the polyurethane belt to provide the correct tension. The polyurethane belt is a like very thick rubber band and can be stretched a little to install and remove the belt. This is particularly useful if the machine doesn’t tilt back, like the Adler or similar patchers. This may not be the exact same setup you’ll use on your Adler, but looking at different installations may help you figure out how you can solve your particular installation problem.- 20 replies
-
- adler 30
- treadle power
-
(and 1 more)
Tagged with:
-

Seiko STW-8B Stitch Length Adjustment
Uwe replied to HectorsZsazsa's topic in Leather Sewing Machines
Yes, the video actually explains that in detail. -

Seiko STW-8B Stitch Length Adjustment
Uwe replied to HectorsZsazsa's topic in Leather Sewing Machines
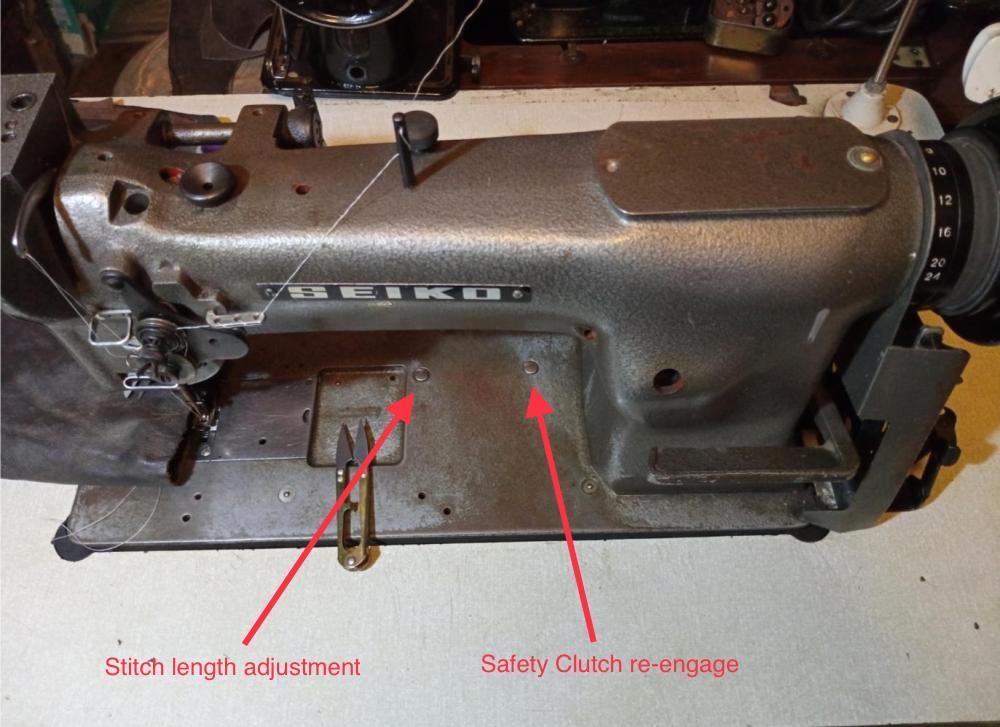
You may be pressing the wrong button. The left button is for the stitch length adjustment, the right one is used to re-engage the safety clutch. The video below is using a similar machine. It shows how the stitch length mechanism works at the beginning. The stitch length adjustment on your machine should work the same way. -
Perhaps your bobbin tension or bobbin threading is not right. I’d check that first. Also, the top thread path may contribute to the problem. Perhaps the thread take-up lever is not working correctly. A few pictures would be great. Show us your top thread path and how you thread the bobbin. A video snippet of the machine misbehaving would be really good, too. Best way to share videos here is to upload an unlisted video to YouTube and post the link to it here.
-
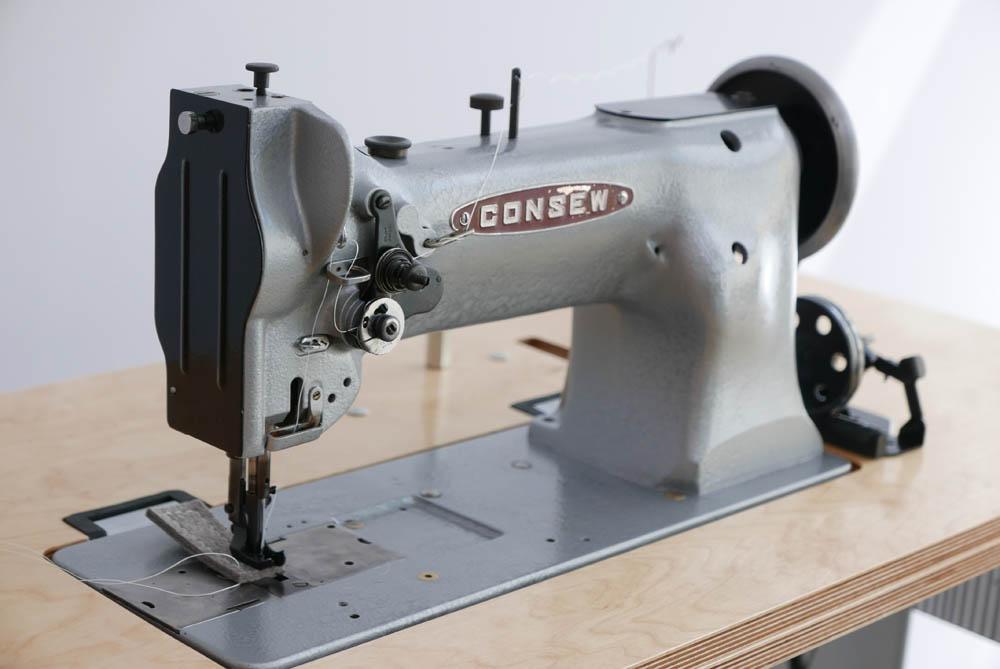
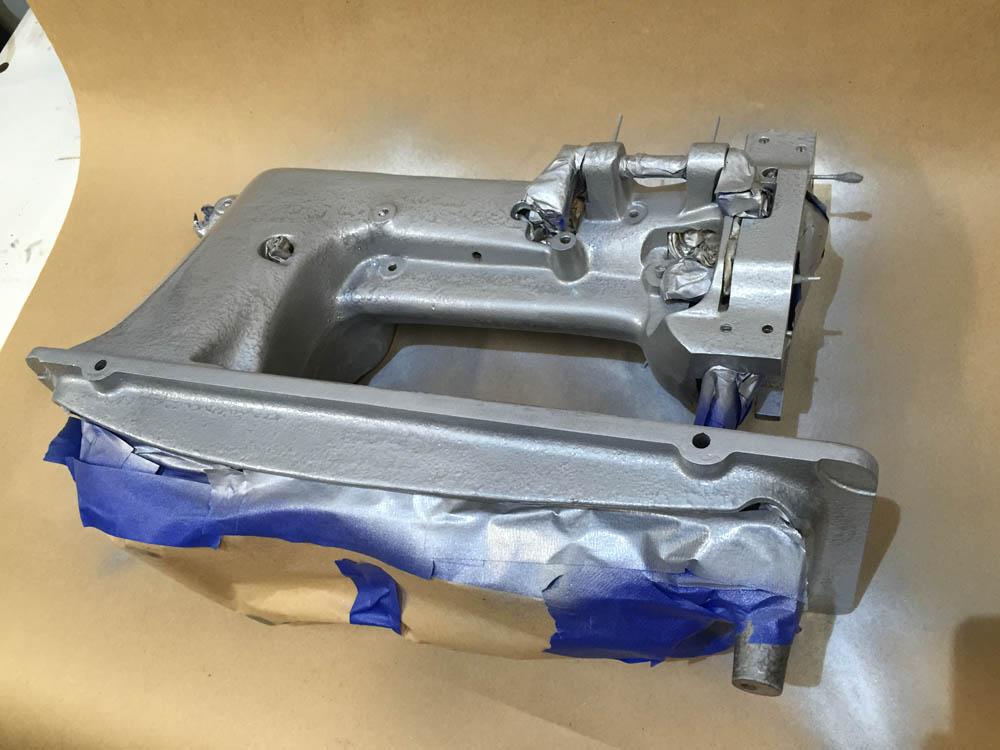
Congrats on your new toy! The hammered paint rattle can is not a bad option, actually. I painted my Consew 255 using that and it came out looking quite nice. It was a lot of work prepping the machine, removing all the small bits, plugging holes, etc. There’s several topics here on LW of people restoring and repainting their machines, and suitable paint options. Try a targeted Google search like “site:leatherworker.net sewing machine paint”. It may give better results than the built-in search engine here on the LW website. Simply embracing the vintage clean workhorse look is also a valid option. Also, don’t be shy about starting a new topic as relevant questions come up. Individual, focused topics are easier to read and search for than run-on, everything-but-the-kitchen-sink type topics.
-
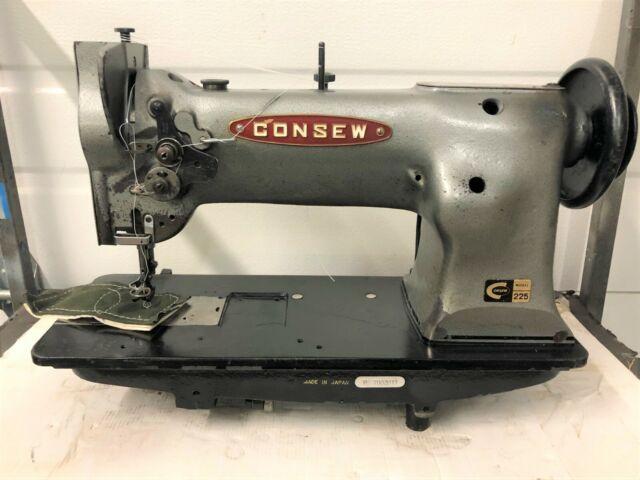
Yup, German import here, from the Lake Constance/Bodensee area. That machine in the pictures sure looks like a Singer 111W155 or Consew 225 class machine, or some other variation. It does appear to be a compound feed machine with top/bottom/needle feed. No reverse. If it’s a Singer, it’ll say Singer or Simanco on many of the parts inside. Otherwise, it’s likely a rebadged Consew, and you may seek Seiko markings. These are generally good starter machines, easy to work on and to learn sewing machine maintenance. Parts are generally cheap and readily available. My first industrial machine and gateway drug was a Consew 225.
-
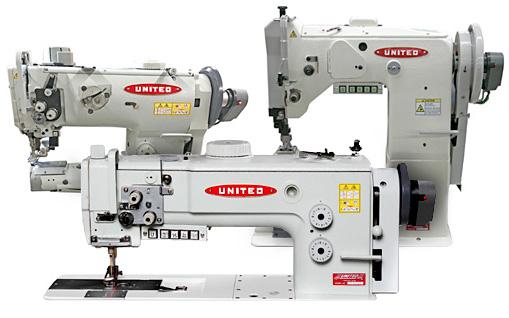
We’re gonna need a picture of that machine. That tag may be just the serial number. We also need some location info, Europe, North America, elsewhere? Here in the U.S. there’s a United Sewing company that apparently sells rebranded clones of Juki, Durkopp Adler, and other machines. http://unitedsewing.com/united_machines_sewing.asp
-

Newbie needs help getting a neglected Seiko Stw 8b up and running
Uwe replied to MaliMac's topic in Leather Sewing Machines
You’re holding the wrong thread. In your video you’re holding the bobbin thread and the top thread gets pulled into the machine. Instead, hold the top thread and pull it tight after it gets wrapped around the hook - that pulls the bobbin thread up through the feed dog and to the top.

.jpg.d60258221c476480a6e073a8805645bb.jpg)

