David
-
Posts
1,216 -
Joined
-
Last visited
Content Type
Profiles
Forums
Events
Blogs
Gallery
Everything posted by David
-
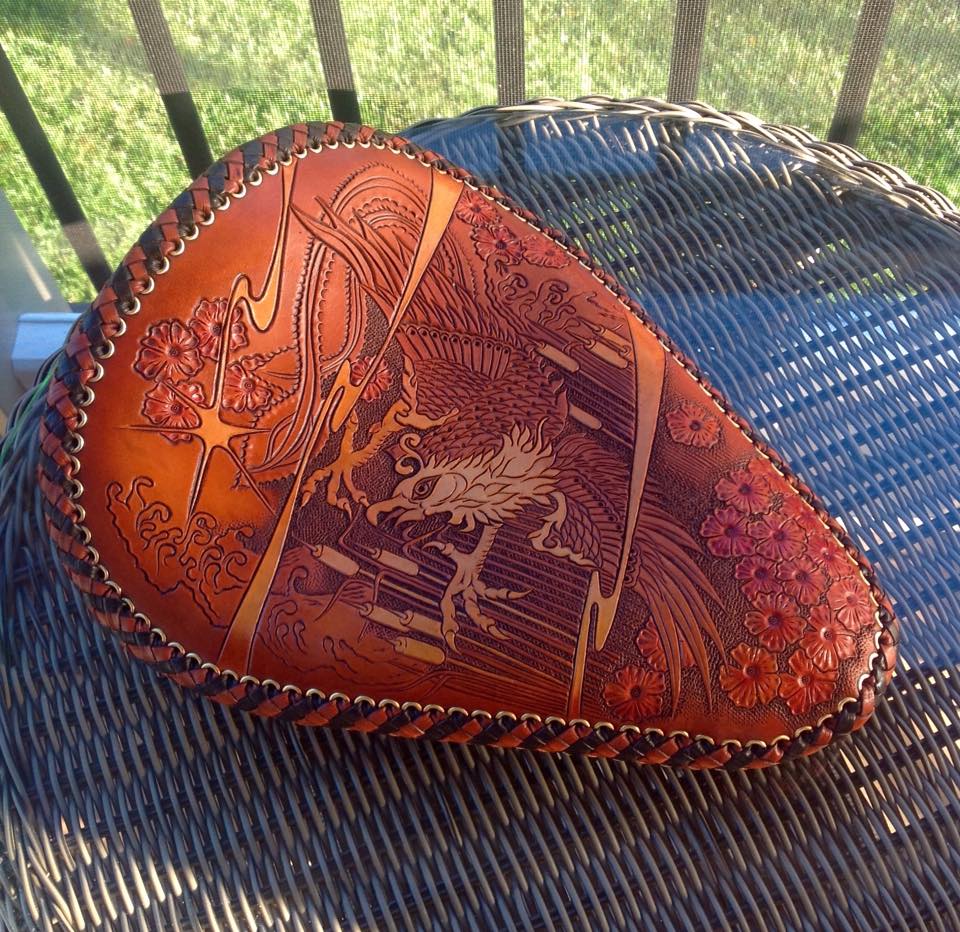
I use only Fiebings spirit dye applied with an airbrush. Followed by Fiebings antiquing paste. When dry for 2-3 days I use Fiebings Leather Balm with atom wax. Buff when dry.
-
I don't mean to rag on your seat, its very nicely done, but, I've never seen a seat done that way.....The graphic and lettering are upside down from the usual way of doing things. Dave Theobald
-
one word of advice, if your making motorcycle seats, you don't want to dye your seats black. It rubs off and your customer will be walking around with a black butt. They won't be happy! There is NOTHING that will prevent the rub off, trust me on this one guys, lots of guys say they can prevent it with satin sheen, or super sheen. Well as soon as that sheen rubs off the black will rub off also. AVOID BLACK DYE. Any black seats that I do I use factory dyed black leather with no tooling..... Dave Theobald
-
The edge braiding is two color Mexican braid. Thanks everyone for the kind words.
-
These seats were made for the International Federation of Leather Guilds annual show last year. I hope you enjoy them.

-
Your art work and airbrush work is impecable. I doubt its longevity. I'd like to see one of these seats after a season of heavy riding.. Good looking seat though, I just think its a show bike seat.
-
One question, have you done a black seat with white paint on it before?
-
I always hated doing "read-a-seats" had a customer that wanted an entire 35 word verse plus a gothic cross, with flowing banner and roses...... I told him I would put the name of the Chapter and the numbers of the verse. He didn't want that. I try to limit my writing to 3 words...... Just works out better that way. I declined the job. He had another leatherworker do it. The guy used Tandy letter stamps......oh man it looked like .....well you know. So happy I never had to put my name on that one.
-
I guess I'm just a bit weird, I love to lace…..The bicolor stuff looks complicated but once you get started its not bad. Just takes time. And it doesn't take a huge amount of time to pick up the basics, again its just time and repetition. I was fortunate, I made my first seat and the right guy saw it……then I made about 300 seats for them in a 2-3 year span. So, now doing a seat is like …. falling down… its easy to do…. Thanks for the nice comments. Dave
-
There are several Tandy Craftool stamps with that texture. A889 A888 A888-2
-
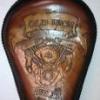
Just finished my first seat in a while. I wanted to try lacing with brass grommets in both sides. I also wanted to try heavier leather. This seat is all 11-12 oz. leather. I normally use 8-9 oz. leather All in all, I think it turned out ok. I liked tooling the heavier leather of course. But lacing with grommets.....it may be quite a while before I do that again. The two color lacing was a lot of fun. I like the look of it, but it is time consuming. Dave Theobald

-
Anyone have info on this show?
-

24-32 Kangaroo Leather Romal Reins
David replied to RossCustomLeather's topic in Saddle & Tack Maker Gallery
No idea what they are for, but they sure demonstrate incredible craftsmanship. Thanks for sharing. David Theobald -
Hand Stiched Holster
David replied to Modad2010's topic in Gun Holsters, Rifle Slings and Knife Sheathes
Beautiful work, that hand stitching is amazing. I like the tooling just as it is. Dave -
High density neoprene from Foam and More do internet search for them. Dave
-
2001 Harley-Davidson Heritage Softail Tank & Fender Bib
David replied to Spinner's topic in Motorcycles and Biker Gear
Nice paint work on the bibs. Dave -
stealfdawg there is only one product to use for lacing a motorcycle seat. Kangaroo lace....Its tough, and is hard to break.
-
David your work is what inspired me 3 1/2 years ago since then I have used goat lace very successfully, thanks for the response. The idea was mostly for a different look on my seat, since the 10th I have changed my mind and am going to stitch the seat instead of lace it. It will be my first stitched seat. Thanks again.
-
-
Nicely done!
-
Shadowryder, I've made a few solo seats. Maybe I can offer some advice. Your leather is way too thin. I finally hit on 8-9 oz. as being the best for a solo seat when you use the construction method you use. (It's the same way I build seats.) Lace, use the best! That would be kangaroo lace. I used 1/4" lace and 1/8" holes. The bad part is it is expensive! Regarding the holes, mine are 1/8" holes 3/8" apart (on center) and set in 3/8" from the edge. The holes must line up, and remember the top and bottom leathers are neither the same size or shape if you use 3/4" padding like I did. So line them up carefully. There are several posts on here about how to do it. When you finish lacing, tap your lace with a mallet. It will make it lay down flat and look more consistent. Make sure your splices and endings are invisible. No one should be able to tell where you start or stop. Regarding seat expense, mine cost me $320 to make so be sure you charge enough! I bought my pans so that added $60 to materials cost. Keep building, it will come!
-
Don't Like Black Tooled Belts
David replied to Chief31794's topic in Purses, Wallets, Belts and Miscellaneous Pocket Items
Very nicely done belt. Thanks for sharing it with us.....I agree about black Dave -
I'd love to see it, but the link takes me to a page about carved cow horns. I just noticed how old the post is, Probably out of date. Dave Theobald
-
Tony, My advice is to learn to build a traditional saddle, then start making modifications. By the time you have mastered saddle construction, I would wager that your antler idea will be the last item on your "to do" list. By the way, a saddle for your first project....not a good idea. Dave Theobald
-
The foam goes on first then rivet the back. What size holes are you using? I use 1/8" holes for the 1/4" lace. My seats had 100 holes around a seat that had a 36" circumference.
-
My solo seats are all 7-8 oz. front and back. All of my seats are 2 piece. For a frame mounted seat 7-8 for the top and 3-4 for the sides which are pulled around and riveted to the back. Again check out the posts by Roger for frame mounted seats. The Christian bike seat was my how-to for spring mounted solo seats.
-
Skull And Flames Motorcycle Seat(My First Seat)
David replied to Solofalcon's topic in Motorcycles and Biker Gear
Very nicely done. It looks like you used some sort of gloss finish on the black. Be careful doing this, a bit too much gloss and you may find the finish cracking. If the finish cracks it will begin to peal off. My advice would be to apply your gloss with a lint free rag in thin coats and rub it in. I understand the need for something over the black dye because the black WILL rub off. The gloss will prevent that for a while at least. However as soon as you wear off the gloss, the black will begin to rub off also.