-
Posts
89 -
Joined
-
Last visited
Content Type
Profiles
Forums
Events
Blogs
Gallery
Store
Everything posted by mikesherman
-

New to the Forums - Eager to learn
mikesherman replied to RedNose's topic in Gun Holsters, Rifle Slings and Knife Sheathes
Ditto on what the other folks have already said...I could learn a lot from you...Nice work, me likee... -
-

20160514_131629-1494x2656.jpg
mikesherman commented on Bawarrior's gallery image in Gallery- Our Leatherwork
-
Beautiful, thank you for sharing.
-
fredk, thanks for the reply, good idea on the rubber washers...that's all the encouragement I need...Thanks again!
-
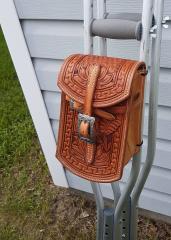
Just wondering what folks think about mounting a small, lightweight motorcycle bag using bolts through grommets...I have an idea for a custom bag for my bike, and due to the odd planes of the mounting surface, I was thinking this might work. Just a small bag for paperwork, phone, wallet...any thoughts on how well grommets might work for mounting directly to existing frame points?
-

Western Computer Bag
mikesherman replied to farns005's topic in Purses, Wallets, Belts and Miscellaneous Pocket Items
Very nice work! You must have a great deal of patience. -
Incredibly nice work!
-

Shield 9 pancake
mikesherman replied to mikesherman's topic in Gun Holsters, Rifle Slings and Knife Sheathes
Well...again, thanks all...I'm going to give it another go with this pancake, and I'll be considering all the tips you've given me...one more day to get this one right (if possible...) for Christmas delivery... Dwight...totally agree with you on the excess leather at the barrel end... alpha2...hadn't thought of that...I'll keep it in mind... -

Shield 9 pancake
mikesherman replied to mikesherman's topic in Gun Holsters, Rifle Slings and Knife Sheathes
Thanks all for looking and for the tips...I really appreciate it. Alpha2 - it was completely dry when I stitched it up...over two days...I was confused by the puckering, never had that happen before... -
Well...just thought I'd share. This is the first pancake I've made...designed the pattern myself That's about all I'm happy with... I was thinking I should trim the end up nice and close to the end of the barrel, any thoughts on that? The stitches are terrible and 'puckery', stitch lines are a bit 'wobbly'...okay, a lot. I guess I'm happy with the tattoo work, turned out better than I thought, and the forming isn't terrible. There's no way I can deliver this, so someone's Christmas gift is probably going to be a little late... Anyways, as I said just wanted to share...as always, pointers are always welcome!
-

Long Wallet
mikesherman replied to mikesherman's topic in Purses, Wallets, Belts and Miscellaneous Pocket Items
Thanks for looking, I appreciate it. Stitching is all by hand...mark, poke, stitch. In my case stitchwork is all painstakingly slow, but I'm tryin... -
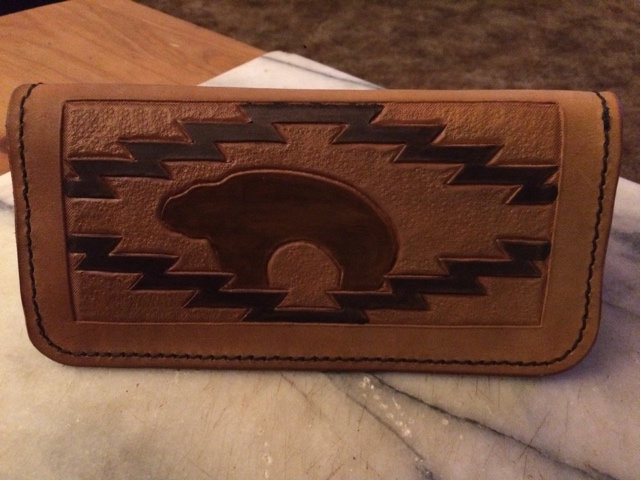
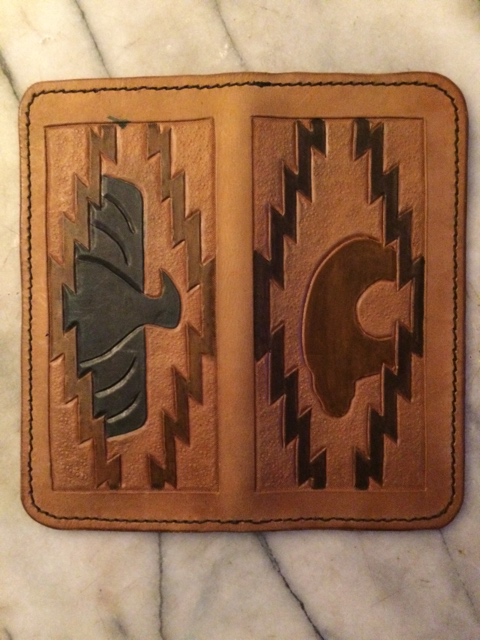
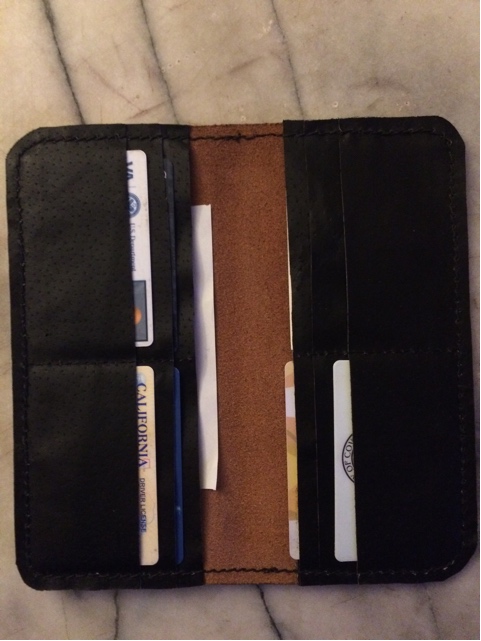
Just finished a long wallet for myself...haven't done a wallet in a while, and now I remember why. They're so d*** fiddley... Anyways, ~5 oz veg, pattern and design by me, oil after dye, no top coat (probably going to wax it in a couple of days), simple guts cause I'm not very good at wallet guts. I'm also not particularly good at anything else, but I'm all ears
-
I'm using a Rogue rotary pen with Cheyenne 3RL cartridges. Shading is a complete mystery to me, so I still need TONS of work on it. Still playing with speed and depth; never tattooed anything before, so I can't say much more at this point. For leather, I'm planning mostly line art, like the beautiful work I'm seeing all over the 'net. I'm guessing that cured, tanned animal skin acts a whole lot different than living people skin, so I need to figure out how to practice that... I'll probably be tattooing myself soon...just don't think I can resist...looking forward to the pain, contortions, and squeeling...LOL.
-
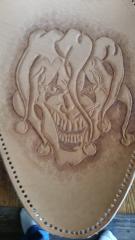
Day 2 learning to tattoo leather...first time with a tattoo gun in my hand was yesterday... Using black antique gel, cause it runs nice and slow (dye is too thin, just oozes out of cartridge as soon as the needle touches leather), no surface treatment whatsoever...no pj, no resolene, on dead dry completely untreated 4 oz veg. No running, dripping, splattering, smearing...a bit more practice and I'll be ready to tackle the project I wanted to learn this all for... No excuses, I need to work on my lines, steady my hand, probably a million other things...but, I did this in like 20 minutes, just trying to see how to get it to work with leather dye rather than tattoo ink. The ink runs nice and smooth, but even when dry for a day it smears at a touch. I feel like leather dye will stay put once dry, so finishing will be much easier. Here's to hoping...
-
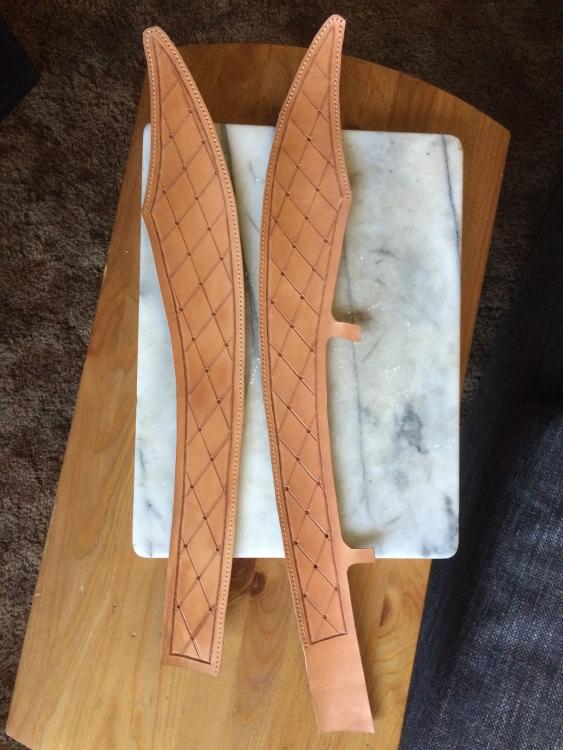
YinTx - the back of the scabbard is open down to the widest part, the two small flaps in the pic are for snaps... DJole - no welts, but I think next time I'd like welts, as much for aesthetics as for interior purposes...and you are correct about the back of the scabbard being open for sheathing the blade. The lines are incised, I never thought of stitching them, but what a great idea! I'll have to try that sometime as well, next I use this geo-pattern. Thanks all for the ideas and for looking!
-
Well...just finished a scabbard for a scimitar. 5oz veg with a simple geometric pattern, no frills dealio for a friend. I was excited to get some pictures up and show off my first sword sheath. Delivered it...he was happy with it, and all was well. Got home and realized I didn't take any pics of the finished product...duh. Maybe next time! Anyways, below is the only pic I took during the project.
-
Again, thanks all for comments and tips...thanks for clearing up my questions about tap-offs, I'll be creating some when I get the time to tool tools! And thanks YinTx for the article on casing...as usual, I'll be adjusting my process until I figure things out.
-
Bikermutt, Kiwican, and cowboycolonel, thanks for responding...I appreciate it. After more than ten years at this on-again/off-again, I'm beginning to find I enjoy the work much more when I move slowly and deliberately - but I still get anxious to finish a piece and ooh and aah at it. I'm working on it though. Cowboycolonel, what do you mean by tap-offs? Never heard the term before, so I'm curious as to what I'm missing...? Above is a picture of the project I'm currently working on (Wil Gormley Weeping Heart Bikini holster pattern.) I've moved much slower than ever before, and aside from a slip with the undercutting tool, I'm very pleased with the results so far. But I'm struggling with the leather drying out. I case my leather as best as I can using the wet/bag overnight/remove/tool when color and temp seem right method, but it seems to me that it drys and stiffens very quickly, say 30 minutes. I try to re wet the leather as little as possible, but I still can't seem to work this out...It's not the greatest piece of leather in the world either, but it's going to work out very well for this project, if I can keep from screwing it up. As for tools, mostly Tandy stamps and tools, with a smattering of other stainless stuff I've taken a liking to along the way. Nothing special. The project above was done with a 1/4 inch angled swivel blade, B808 beveler, A808-2 backgrounder, Tandy small modeling spoon, Tandy small stylus, and a stainless steel harbor freight carving tool for undercutting. I'll be finishing with some lettering and the medium Tandy pebble matting tool most likely. Then color, antique gel, wax and stitching.
-
Okay, first off I really wasn't sure if this belonged somewhere else, so here it is... I know that completion time varies based on complexity, skill, tools, materials, etc. But, I'm just wondering how long you all think it takes on average to finish tooling a project. Just as an example, lets say something varying in size between a wallet and a holster...not including casing, dyeing, and drying times. I'm wondering because I'm beginning to find that if I want really, really good results, especially concerning issues like cutting and backgrounding, that the time I require perform these tasks seems almost unreasonable. I just finished a small practice piece that's about 6in x 6in, and tooling took me like two hours. Granted, I was freehanding the whole thing, and trying to work out some things, but the minute amount (less than one square inch, very small areas) of backgrounding took took like 40 minutes. At this pace, casing is a moot point; the entire piece is bone dry by the time I'm ready to move to a different area of the work. Am I ridiculously slow? I'm hoping that patience is finally beginning to find it's place in my life...
-

The Safety's Off
mikesherman replied to mikesherman's topic in Gun Holsters, Rifle Slings and Knife Sheathes
Boriqua, thank you for checking it out...I totally agree with you on the stitching. I cut the stitching groove too deep and this was the result. I usually lace everything, so this was a first for me, trying to show off stitchwork. Next time I'll definitely use heavier thread, as well as spacing a little farther apart. Thanks again! -

The Safety's Off
mikesherman replied to mikesherman's topic in Gun Holsters, Rifle Slings and Knife Sheathes
x101airborne...I'm guessing that's the 101st Airborne Screamin Eagles...thanks for serving! Thanks for looking...I also sometimes feel that subdued stamping is desirable...in this case, the stamp itself just seems to have some 'soft' edges, but I'm happy with the way it came out, and so is the owner. Now if only I had 12 bucks... -

The Safety's Off
mikesherman replied to mikesherman's topic in Gun Holsters, Rifle Slings and Knife Sheathes
Garypl...Good call...it's a hardware store model, not military issue, but was built in '21, almost all original! Thank you for the feedback. -
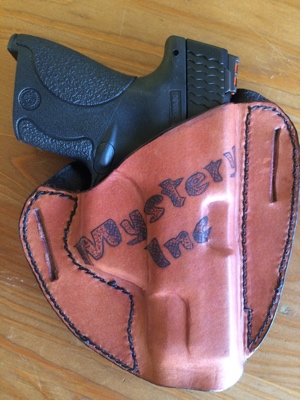
Pic of my latest...as usual, please critique, and tips on how to improve are always welcome...Thanks to all! The holster is my own design...not great but I like it; mahogany antique, pigskin lining.
-
Welcome! Just checked out your website...beautiful work you're doing!


.thumb.jpg.50c087b8c25a0ac6d5c443958413aa13.jpg)
