
TomBanwell
-
Posts
371 -
Joined
-
Last visited
Content Type
Profiles
Forums
Events
Blogs
Gallery
Store
Everything posted by TomBanwell
-
Beautiful!
-
I am pleased to announce the availablity of my leather steampunk creations in poster form http://www.zazzle.com/tombanwell
-
Will it work on veg tan leather, which is then cased and shaped? I'm a mask maker. Thanks,
-

PIcture This Transfer Medium - Where to get it?
TomBanwell replied to JohnBarton's topic in Suppliers
If I remember right I got it on the Amazon site. They had Joanne's ship it as a third party. Took a few weeks to get. -
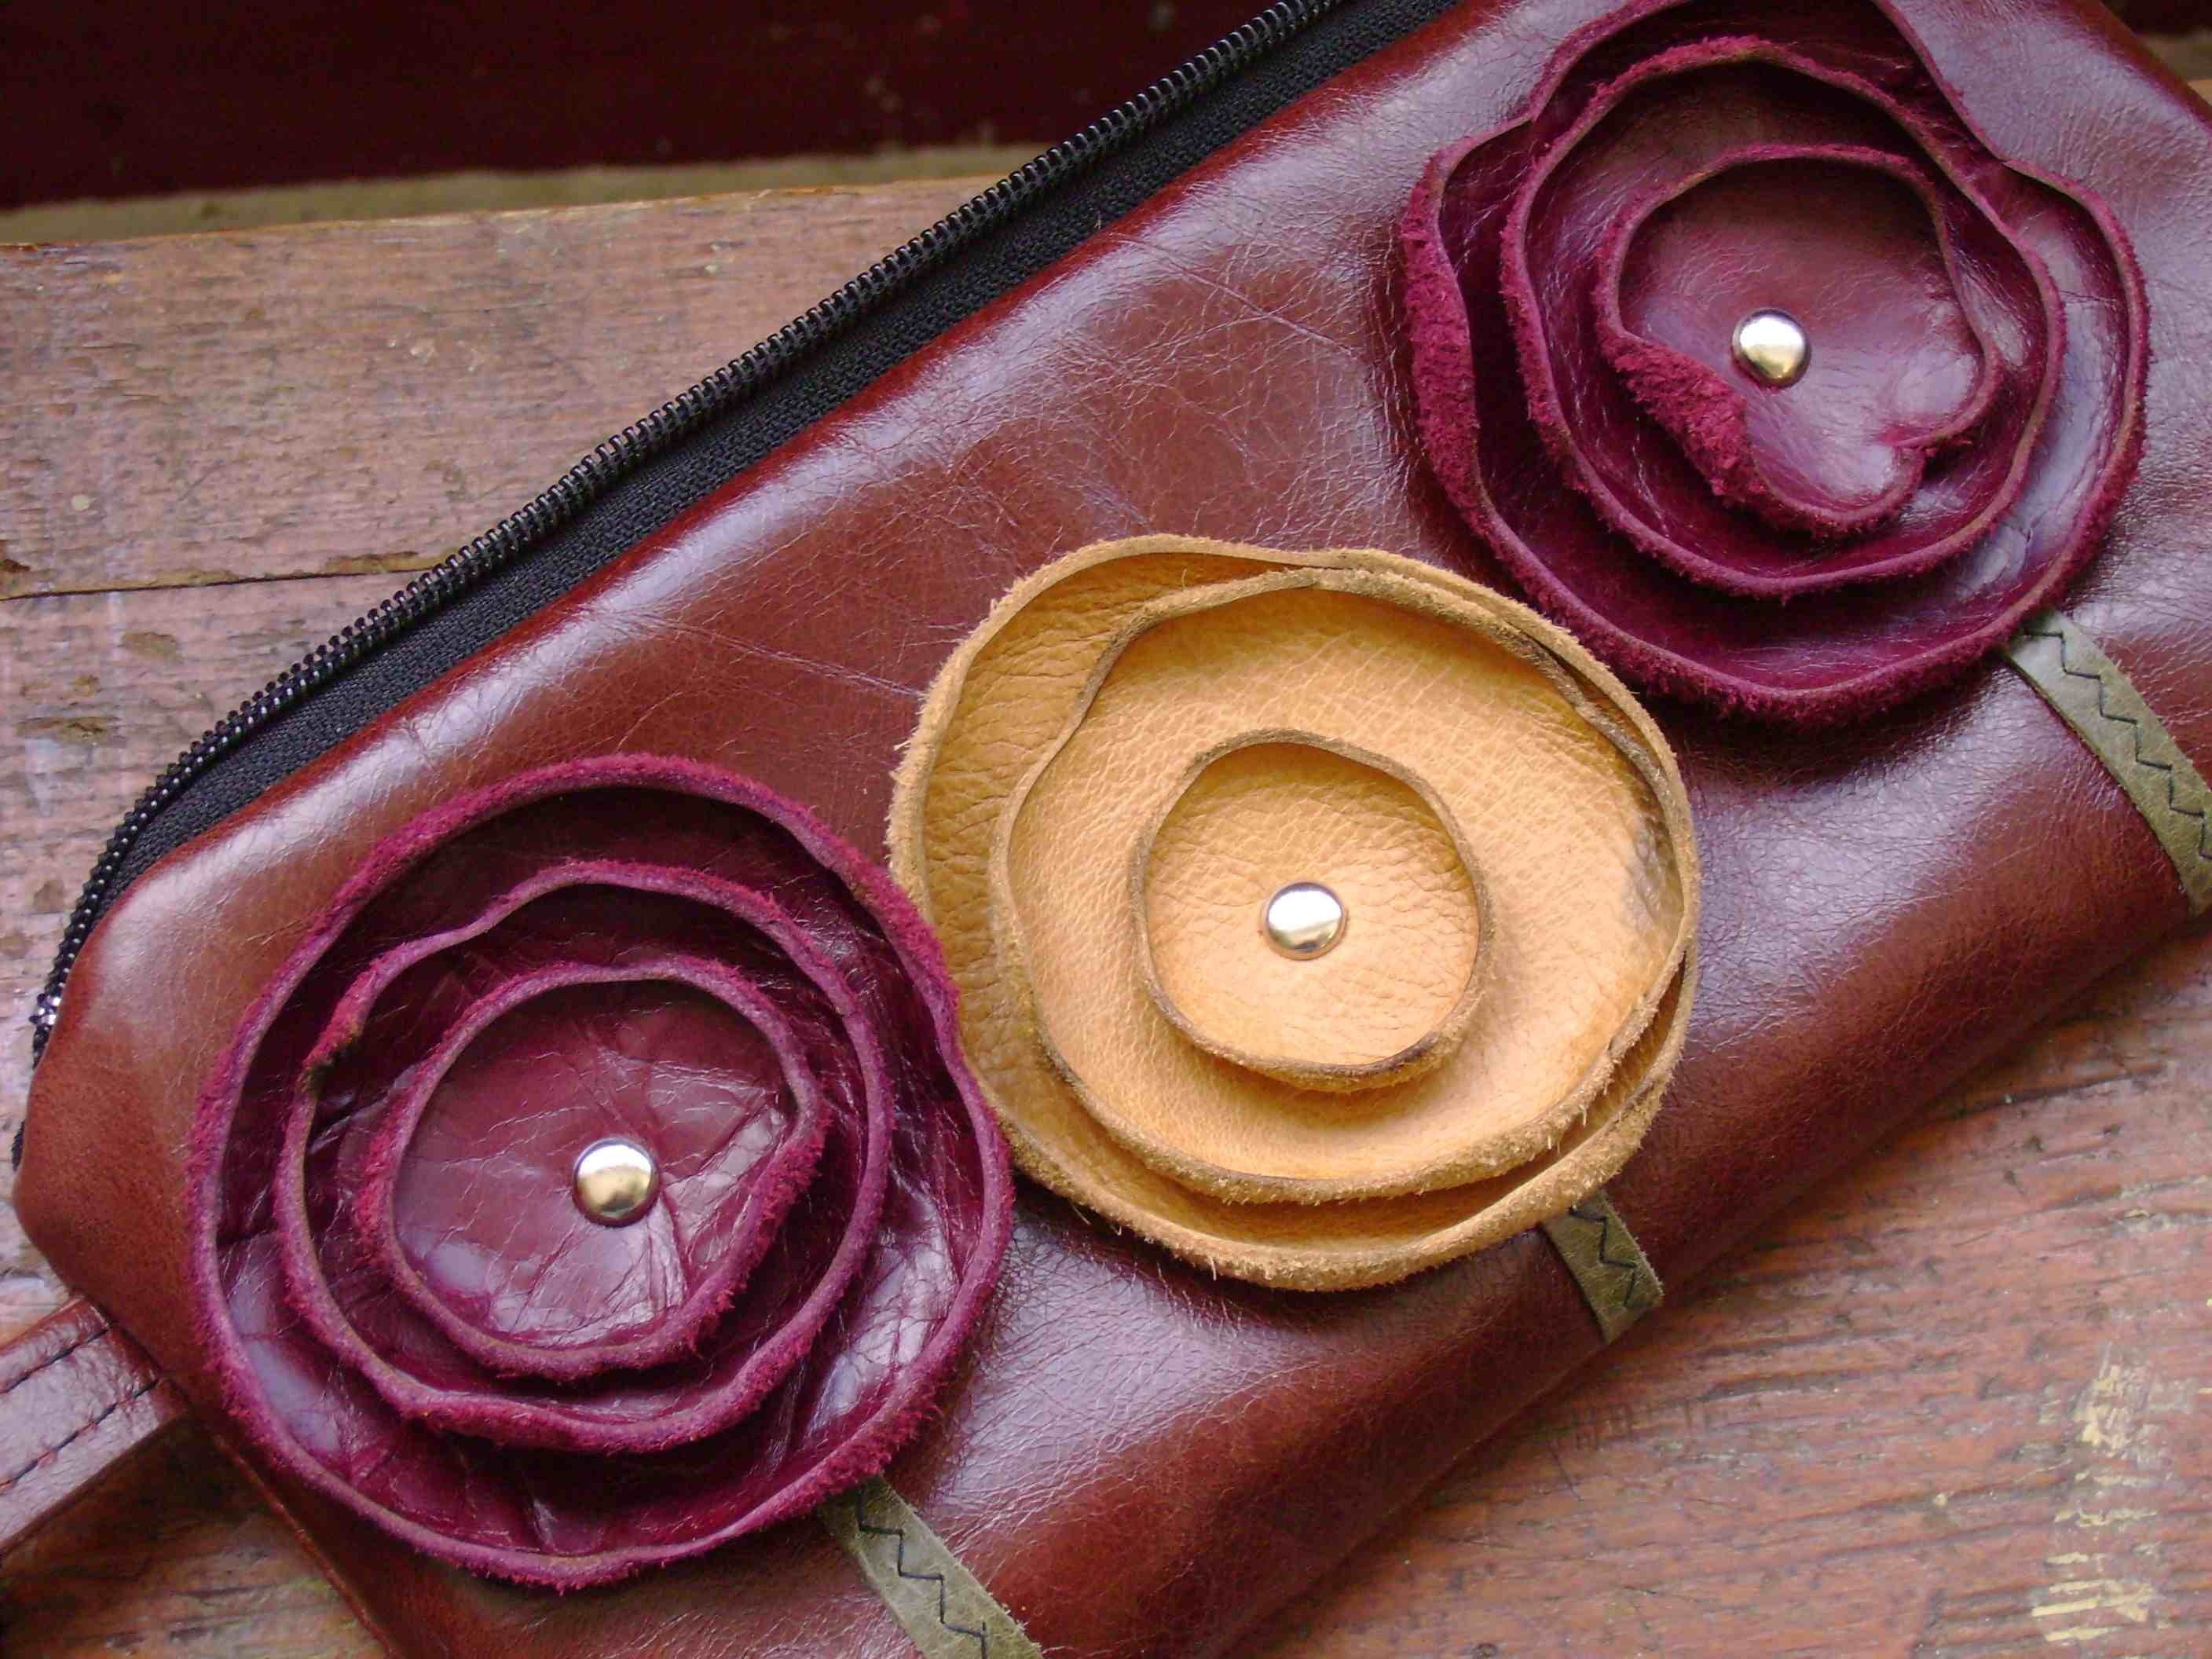
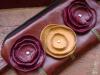
How are these flower petals curled, other than using veg tan? Thanks,
-
Love the faces!
-
Yes, buying old belts is a cheap way to amass a collection of buckles.
-
Top hats; AGAIN!?
TomBanwell replied to TTcustom's topic in Purses, Wallets, Belts and Miscellaneous Pocket Items
Very nice. Glad to see you could use the pattern. -
Great job. I love the attention to detail.
-
Very cool, Spider! Bet you get some looks wearing that thing!
-
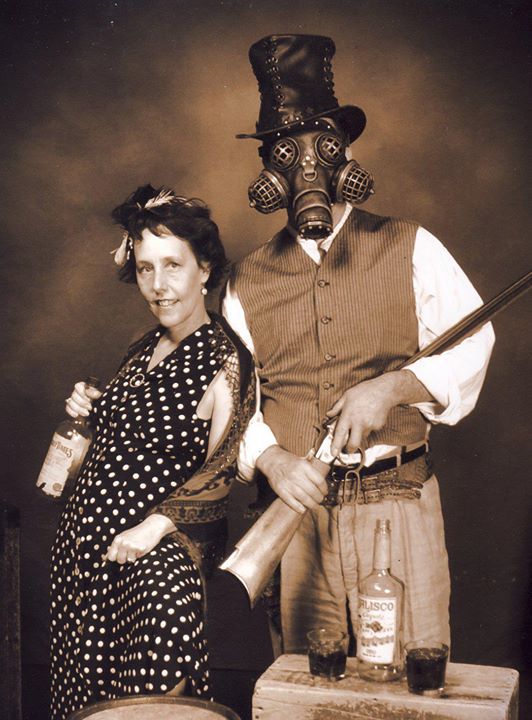
Indeed, corsets are quite popular with the ladies of steampunk, and the lacing on the hat reflects this.
-
Here is the pattern I used to make my top hat. This is for a size large. The width of the crown should measure 23.8". The crown has four optional darts (butt seamed), which give it the modified hourglass shape. The crown joins at the back with a butt seam. If you add a seam allowance you can convert it to an overlap seam and sew it on a machine. The wavy bottom gives the brim the nice shape of down in the front and back and up at the sides. The dotted line on the brim is where I folded the edge in over a wire. See the diagram at the lower right for construction details. First, sew the crown to itself. Then stitch on the top and turn inside out. Then pull the brim down over the crown and glue, then stitch. Lastly sew the brim outer edge over a wire. Hope this all makes sense. Good luck!
-
First terminology: The flat part is the brim. The raised part is the crown. The uppermost piece is the top. The crown opening should be smaller than the brim opening. Take something like a hardhat that you can pull the crown down over so it won't collapse when you put on the brim. Put contact cement on the outside lower edge of the crown, and the bottom inside circle of the brim. When dry, carefully lower the brim down over the crown and press them together. It helps to mark a line in ink first on the crown so you know when to stop. You can then stitch the two together on a flat bed sewing machine from the inside. (You have stitched the top onto the crown to begin). Turn over the perimeter of the brim and stitch it to itself, with a wire inside it. This will give your brim shape. Use thin leather for all parts. The hat should be lightweight so it doesn't give you a headache to wear it.
-
Since Froghunter posted his top hat I thought I'd show mine. Completely different. Black. Steampunk. Grommets and leather lace. Made of 3-4 oz veg tan.
-
hat
TomBanwell replied to richard55's topic in Purses, Wallets, Belts and Miscellaneous Pocket Items
Is there a wire around the brim? The wrinkled brim (in front) would look better if it were smooth. I suggest putting a wire around the perimeter that is under pressure, that is made as large as possible and held with a wire connector. -
-
Basic machine sewing questions - thoughts - practices
TomBanwell replied to Regis's topic in Leather Sewing Machines
Regis, Can you explain what you mean by "clip" the leather together? What do you use to clip it? Thanks, -
I've been seeing a lot of items for sale lately that are made of "vegan leather". Now, I don't know about you, but personally I don't think we ought to be persecuting people based on what they eat. I mean, if they don't want to eat meat, fine, that's their business. But I really think someone's getting out of line if these vegetable eaters are being skinned and tanned. Heck, who'd want leather made out of a vegan, anyway?
-
It turned out very, very nice!
-
A Message from Billy 2-shews
TomBanwell replied to Johanna's topic in Announcements and Administrivia
Does Billy's technique for coloring leather work on veg tan that you can case and shape after coloring? Thanks -
After six weeks I've finally finished this project. I've posted more pictures on my blog http://tombanwell.blogspot.com/2009/07/def...tally-done.html I was honored in being asked to exhibit my steampunk masks at the University of Oxford steampunk show. http://www.steampunkmuseumexhibition.blogspot.com/
-
One way to do this (not the only way) is to add Bondo or epoxy putty to your polystyrene head, and sculpt it just how you want the mask. Then case your leather and press it into and around the head. That way you control all those details. I'm pretty sure Leatheroo would just form it free hand though.
-
What is this and how do I use it?
TomBanwell replied to DreadPirateRedbeard's topic in Leather Tools
Yep, I agree. You need to find what kind of hardware fits it. Does it have interchangeable top and bottom pieces? Every rivet, snap, etc. will have its own size. -
Thanks, Andy. In my real life I make custom trophies, which means I have a laser engraver. I engraved the text on a thin sheet of plastic designed just for this purpose, with a thin silver coating over a black base. The laser burns off the silver in selected areas.
-
Thank you, everyone. I reallyl appreciate your kind words.