Brokenolmarine
-
Posts
592 -
Joined
-
Last visited
Content Type
Profiles
Forums
Events
Blogs
Gallery
Store
Everything posted by Brokenolmarine
-
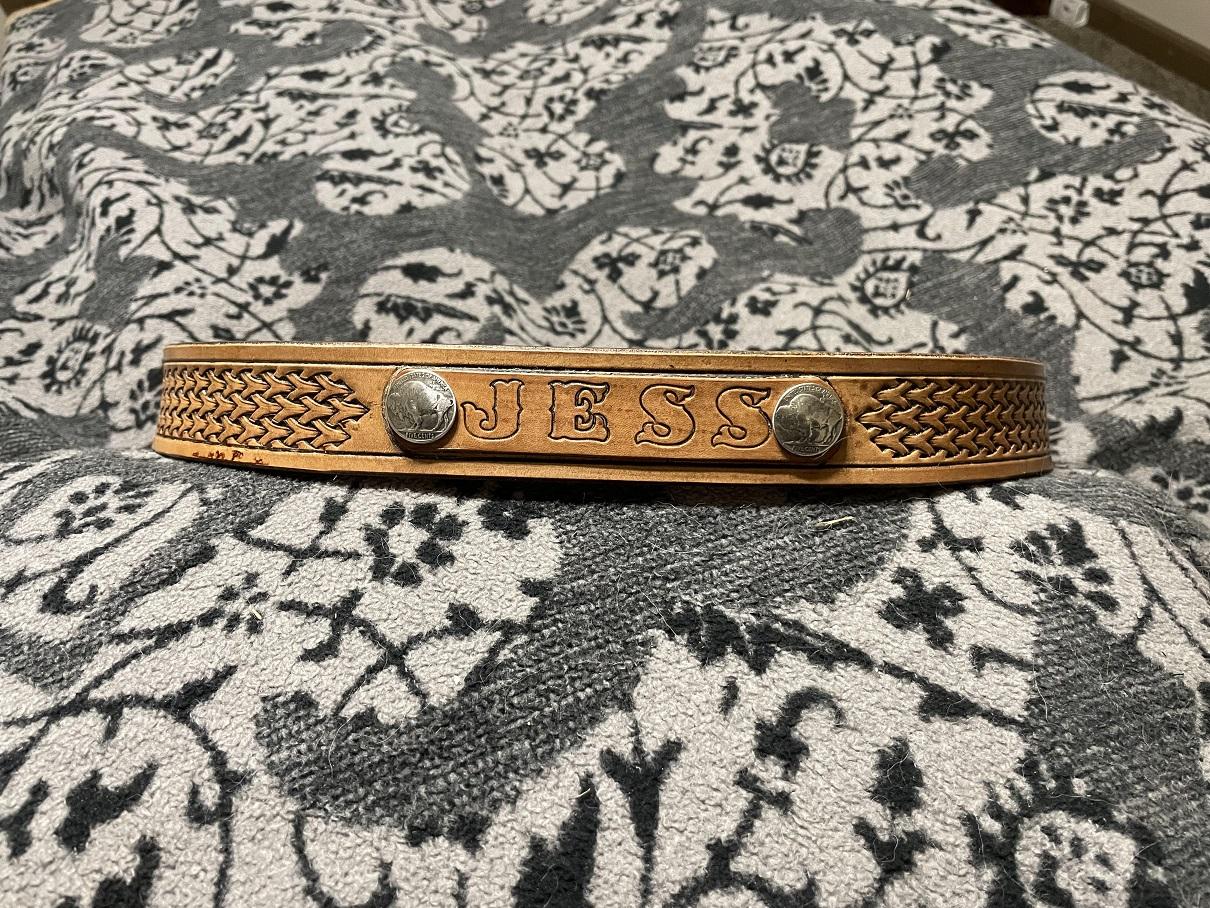
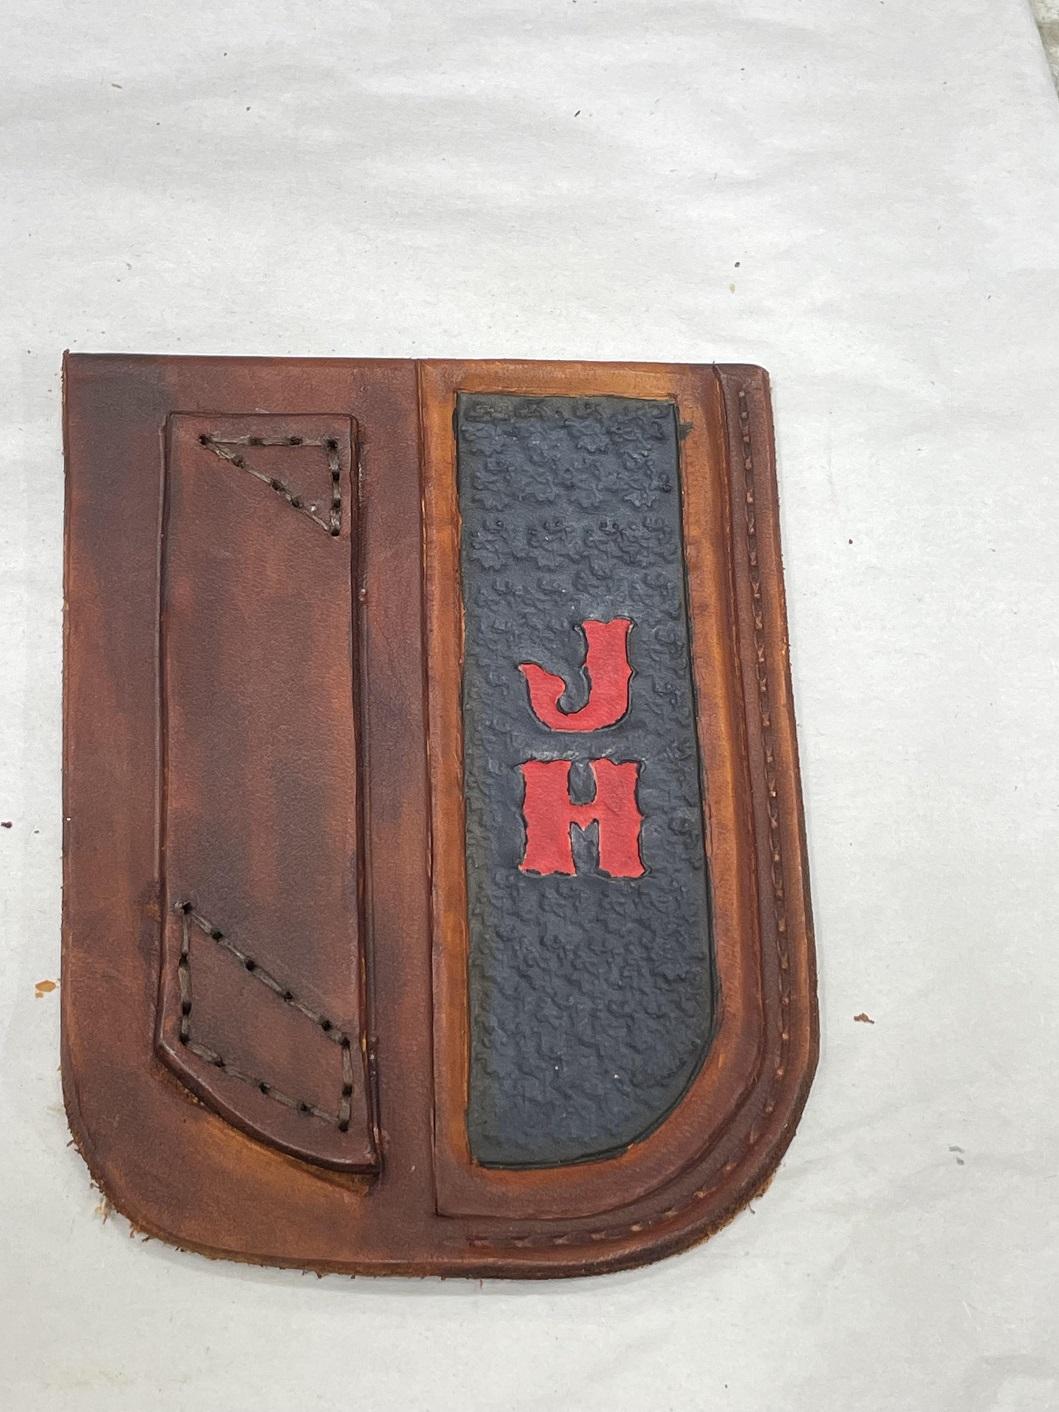
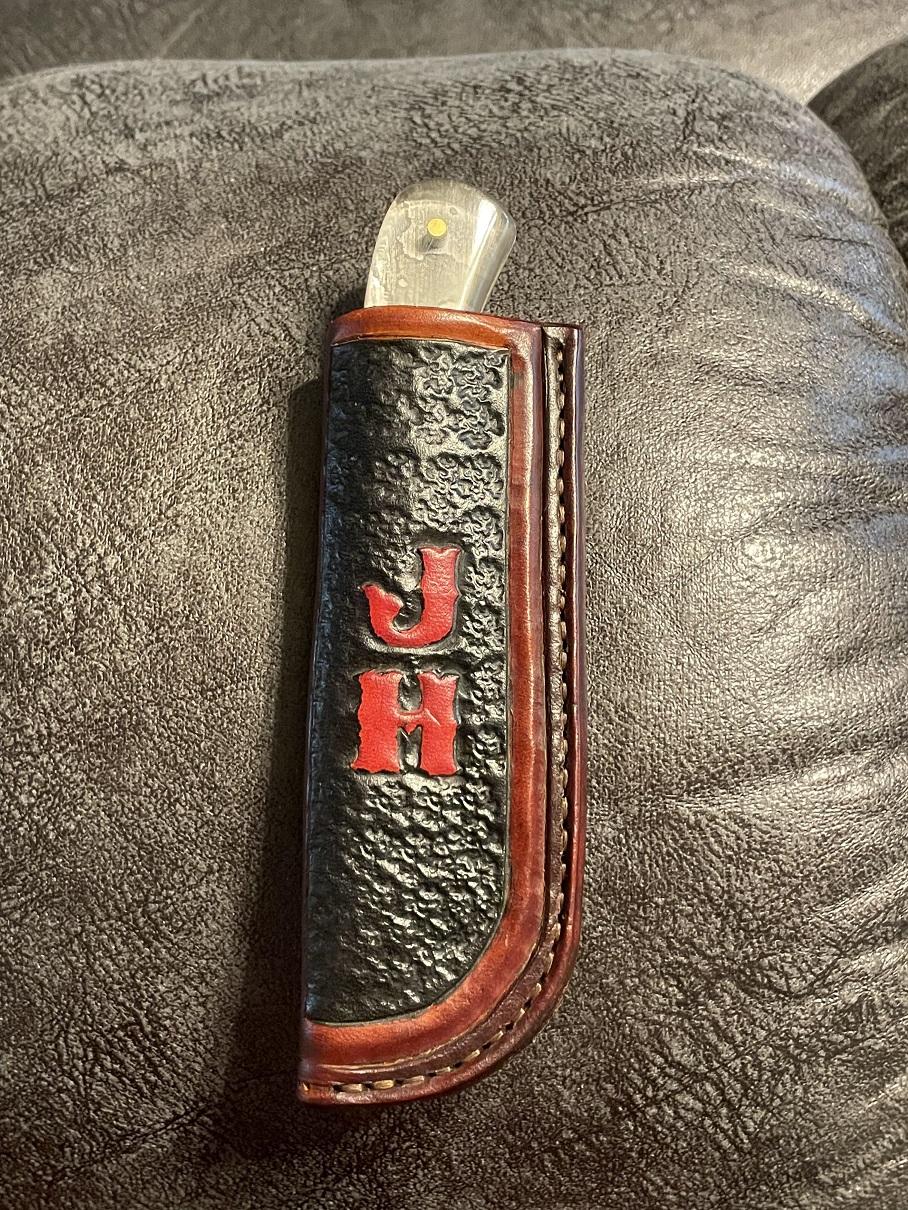
I won't go into all the details, but one of the changes was I put a strip of kevlar blended rubber on the lower end of the welt and trimmed it to follow the profile once the contact cement cured. That would stop the push through. I also saddle stitched twice around the stitch line. I like the thicker look, plus with the belt loop and the welt and sheath edges contact cemented, it all should hold up well. I won't go into a build along thread, I drilled through the welt when I glued it to the single side, then again when I folded over the sheath and cemented it in place, to insure the holes were straight through. My stitch lines on the back are becoming more uniform like those on the front, learning from practice and tips from the forum and youtube. Touched up the stitch lines with the Light Brown Dye, burnished the edges and added a second coat of red dye to the initials. Sheen for the finish coat and two coats of bees wax buffed out. Looked pretty good. I think he'll like it. I don't sell my work, I present it to family and friends or donate it for auction. Paying things forward these days.
-
I made a sheath for a friend after Christmas. He had gotten a custom knife as a gift, and I posted the sheath here. He loved it, but had wanted a minimal sheath, as thin as possible. No welt to make it tight against his belt... I made it angled as well, as he had asked. The knife was incredibly sharp, so I cautioned him to not push too deep. Last week he came by and said he had gotten a little overzealous with the insertion and stuck the knife out the bottom of the sheath. Could I redo the stitching? I told him I'd make another sheath, using this one as a pattern, and see what I could do to protect against future errors. I deconstructed the one above, and laid out a pattern, with some changes.

-

Ode to the US Military, Veterans, and POW/MIA
Brokenolmarine replied to PastorBob's topic in Show Off!!
Once a Marine, Always a Marine. I don't make and sell items with the emblem, but I did buy a couple embossing stamps to use as part of my maker's mark, "Brokenolmarine." Thirty surgeries later, I earned the title, and the use of the emblem. I give away my work, dont make money on it. The guidelines seem more focused on those planning to use the emblem for self promotion or business use. I think they would have a hard time telling all the military folks, "Okay, you left active duty, sorry but that tattoo belongs to the Federal Government. This won't hurt... Much." I mainly put it on holsters, belts, sheaths, etc that Miss Tina and I use. The guidelines aren't clear about personal use for individual veterans, but the exchange sells a LOT of those patches and decals for our use. A contridiction, I'd say. -
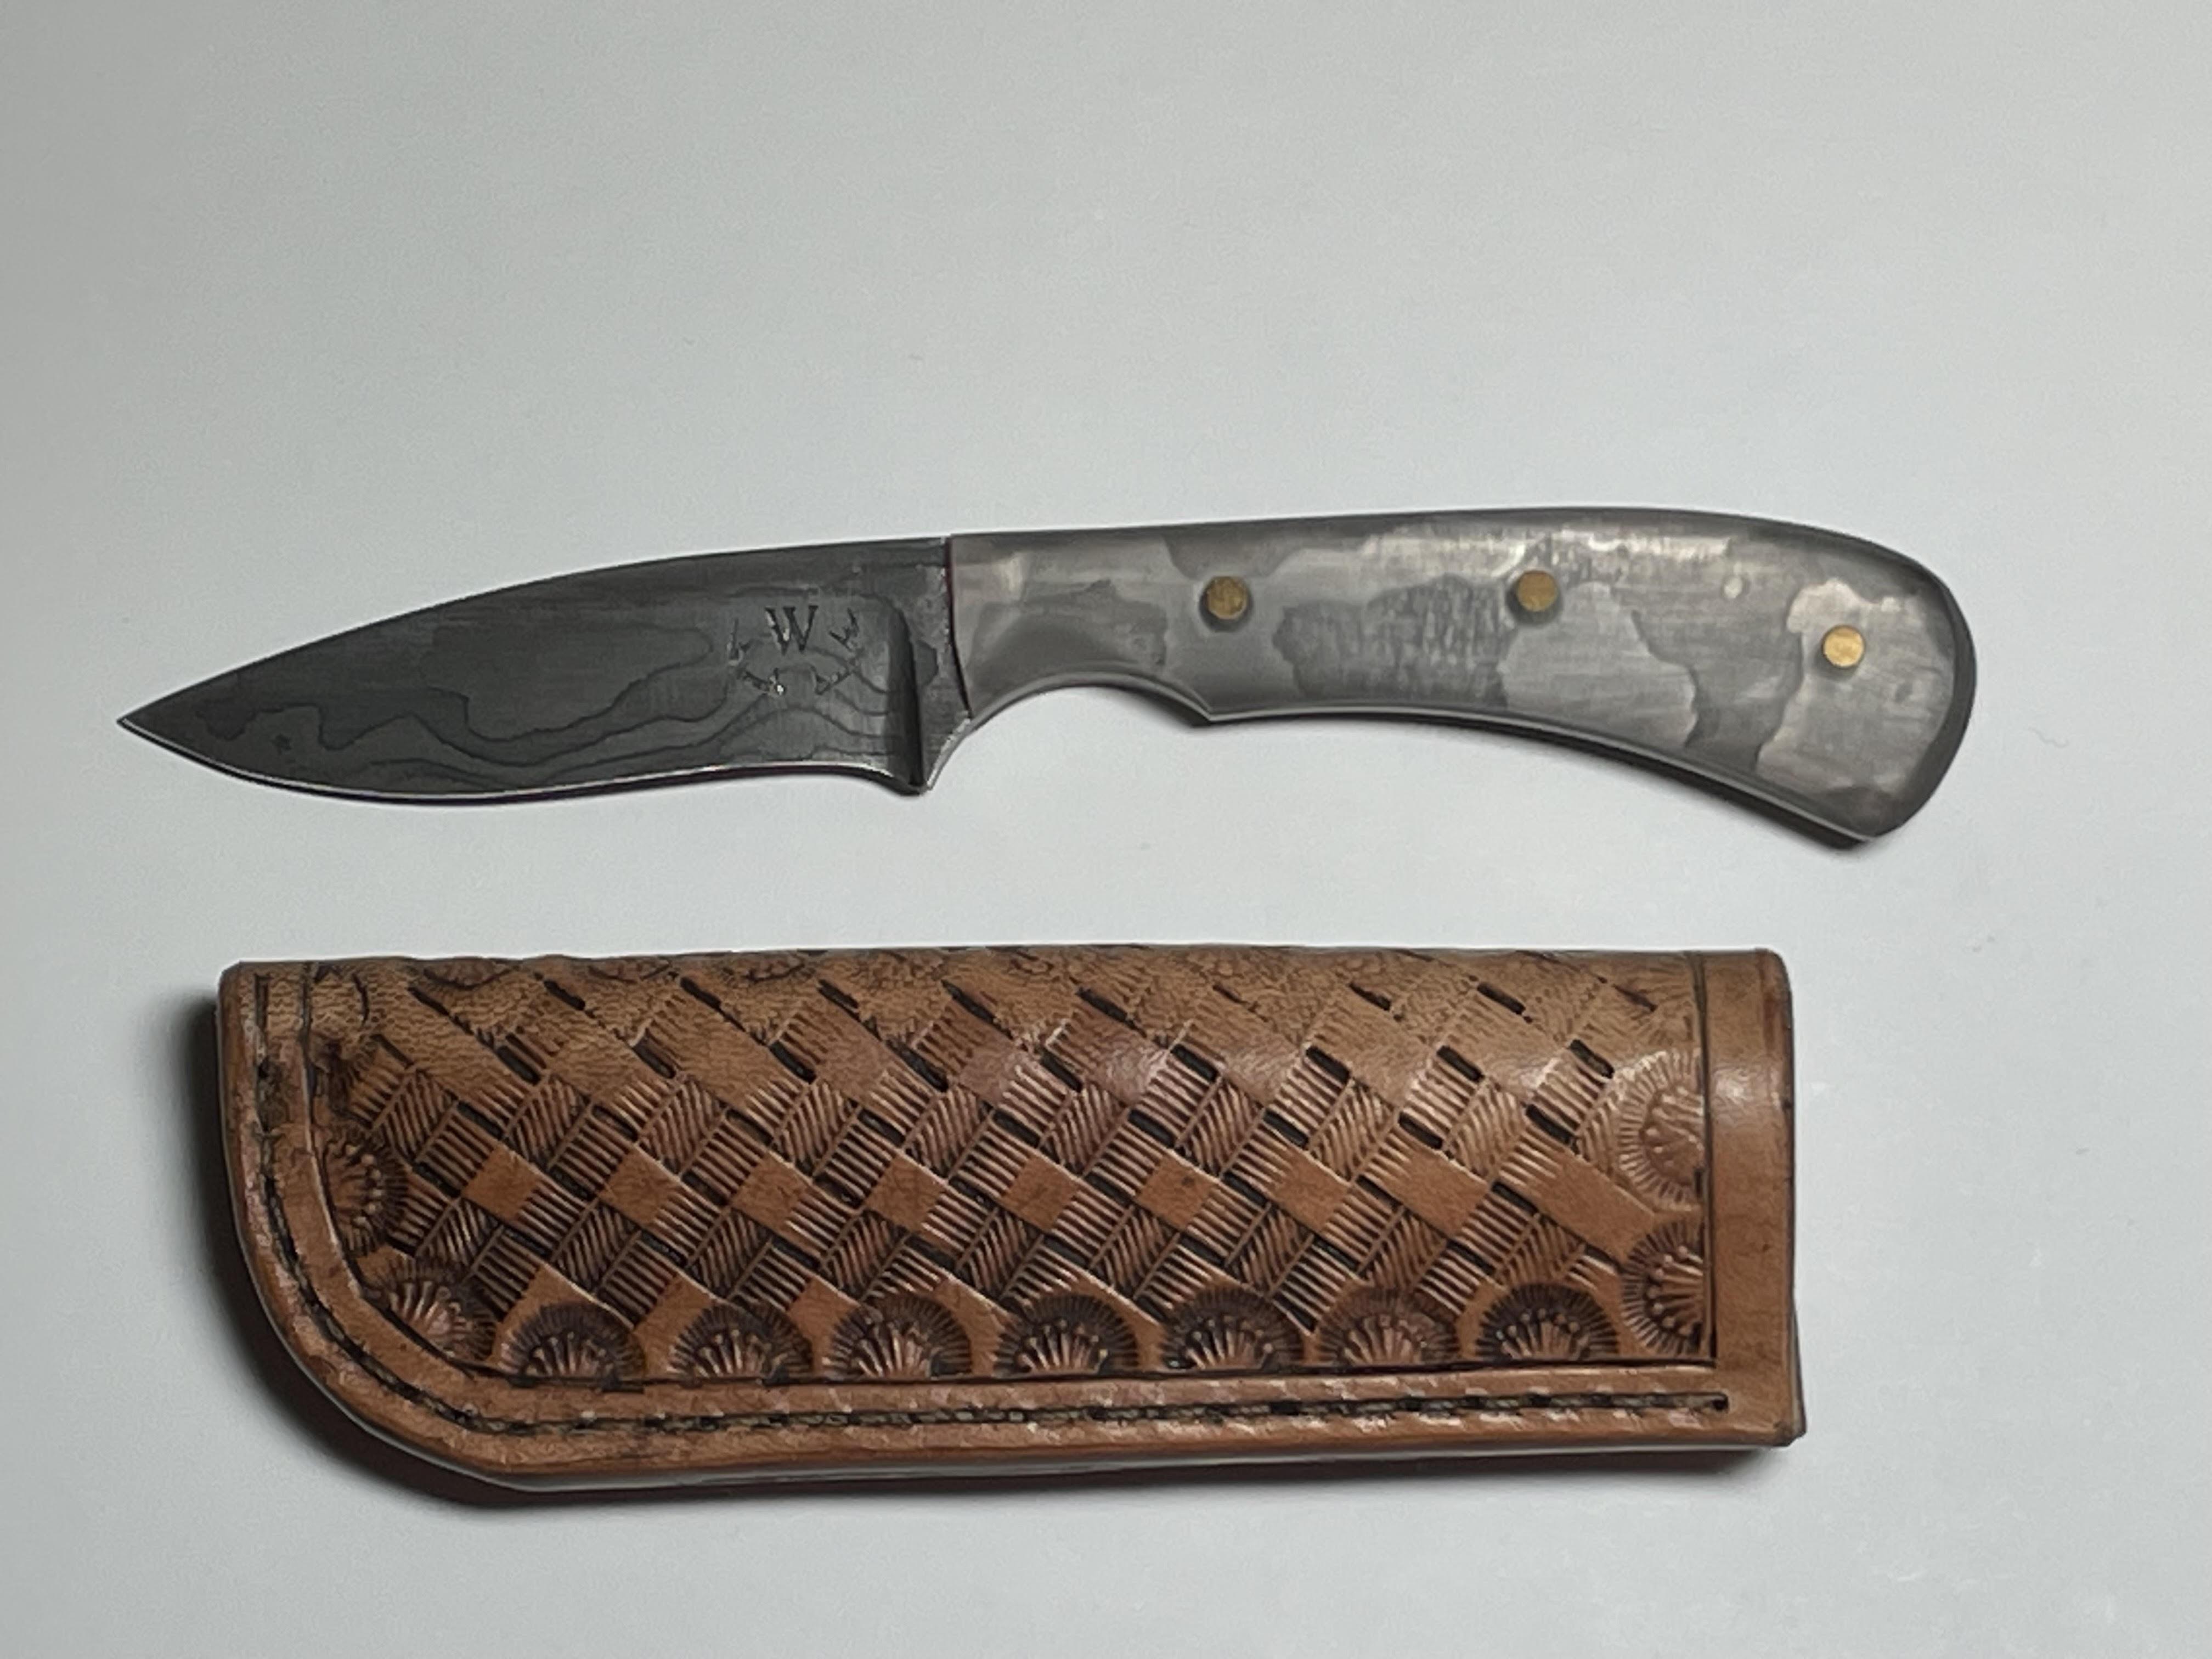
The leather came in. It's very nice. When I finish the knife I have on my bench I'll tool a sheath, we'll see how the new leather tools, burnishes, and finishes. I'll keep yah posted.
-
Here is the Build Along for the Display case (If you are intersted.) https://leatherworker.net/forum/topic/120263-knife-display-case-wip/
-
Been there and done that, and I wasn't offended. I knew what you meant, thus my answer saying that I did the same thing on my larger projects. I have a build along post here on the sight for a Knife Display Case where I combined my Woodworking, Leather Work, and Knife Making hobbies all into one, making the knife display case, tooling a leather background, and then displaying all the knives I hadn't passed to friends and family in the case. The tooling for that project took something like a week, and I used my 60" ruler to cut in the lines on that Qullted pattern and the borders.
-
I know it's been a bit, but I called Maker's Leather and asked their advice on Herman Oak or Wickett and Craig. They advised that both were good products and were US Tanned Leather.... but the weights I wanted weren't in Stock right now. They also confirmed that tooling would turn out much better than the leather that I bought from Tandy. However, he did have leather from Texas Oak, an import. Better Quality, very nice tooling leather, and had that in stock. I couldn't order sides, they only sold shoulders, but I could try shoulders and if I saw an improvement in my work using better leather, the next time I ordered, I could move up to HO or W&C. Worked for me. I ordered a shoulder of 5/6 and a pair of 7/8 shoulders. They said they would get it out asap. We'll see how it goes, and I'll keep y'all posted. Thanks for all your input folks.
-
I do the same thing on large patterns with long lines.
-
Very nice work, the tooling on the large quilting is excellent.
-
Thanks, I'll keep that in mind when I place my first order. Most of my leather work follows the same pattern... Holsters, belts, sheaths...
-
I have done a lot of research on the various techniques for dying, staining, painting, and the treatments such as antiquing and finishes over the last five years. I have blown some nice work with poor finishes in the beginning... But learned valuable lessons from it. You just keep moving forward... and practice and more practice. Before I apply a finish these days, especially on a larger project with a lot of time invested, I use an off cut of the leather I use on a project to test the stain and finish I'm going to use.
-
I have, but there wasn't room in this design on this width belt as it distorted the groove accent on the edge on the test piece so I did without it. I liked the effect that was created by the stamp along the boarder in this case anyway. On a wider pattern, a holster or 3" gunbelt, I have a favorite border tool I use. A couple in fact. I keep a bunch of offcuts in an old canister on the back of the bench to try various layouts before I start on the belts.
-
Thanks guys... I have worked hard to improve, and had decent results with my craft, but have been told several times that my burnishing and depth issues were more a function of the tandy leather than MY failures. I have purchased a decent amount of leather tools from Tandy, Weaver, and Springfield... and was about to order some HO leather from Weaver, but the wife wanted to surprise me with a better quality SET of bevelers from Weaver and paid for Priority shipping. Took ten days for the order to arrive. NOT Weaver's fault, the tracking showed they got the order out the same day. USPS took their sweet time. I'll check the other resources you guys mentioned. I plan to order some quality leather in the next month. I have a good supply of leather still, but when I do belts and Gunbelts, or tooled sheaths in the future, I'd like to start the project knowing the tooling will have a fair shot. LOL. I just finished this belt for my daughter, and the tooling turned out pretty nice, but as you can see, the depth could have been better, and the leather had some spots and defects I didn't see until I applied the finishes. She won't complain... she uses the things I make for her. Knives, sheaths, holsters... she is a farm girl, runs a boarding barn. Works it herself. The other belts I made and the gunbelt all would have benefitted from better leather I think.
-
I have been working and practicing now for several years and the quality of my work has gotten increasingly better, as it should. In any hobby, if you work at it, you'll improve. I keep reading about Hermann Oak Leather being THE leather to use for the best tooling results, and THE leather for Holsters, Belts, Sheaths and the like. I like the results of many of my projects but feel my tooling isn't as deep or as sharp as I think it "Could" be. I read that some of the root cause might be lesser quality leather. Tandy vs. Hermann Oak. Input? What say the peanut gallery? Those with experience using both? If Hermann Oak is a better leather, anyone recommend a really fair source. I know it will be a higher cost... I see several sources offering the leather. Who is recommended based on price, customer service, and consistent quality? Thanks.
-
I really like it. Our Pastor in Hawaii had a custom tooled cover for his personal bible. It was very worn around the edges. Protected his bible, but showed it got a lot of use. His cover had been a gift from a saddle maker in his previous congregation.
-
That's awesome. If you can't find, or afford, what you need, make it. Someone did. Great find... I'll bet the person made a LOT of things with those and loved them.
-
Looks good. When you have a limited edition knife, you can go with a limited edition sheath.
-
Nice clean work. I can see where it would sell well. I have a few buck knives still, including a collectable issued by the Fish and Game when I worked for them. I gave a few of them to the kids as they moved away and might need one to keep in the car or whatever.
-
I made a couple 22 ammo pouches to dump loose 22 ammo in for walk around plinking with the rifle or handguns. The first was a belt mounted pouch, and the second was to be clipped on a cross chest or shoulder strap. Both would hold about 100 rounds or so easily. It was a challenge, I had to learn the box stitch and the design was my own, so the first one had some glitches to work out. I enjoyed the process as much as the finished pouch.


-
I personally finish the underside of all floorboards before I put them down in the rooms I install them in. I know, I know, you can't see the underside, but "I" know what's there. I also tend to sand the inside of boxes to a glass like finish before I cover them with velvet... But it's just me. Nah, jk. I make knives, and you do roughen the tang under the scales to insure a better adhesion of the epoxy, you also rough up the underside of the scales.
-
I have a Cobra 3200 I am trying to learn, but it's slow going since I don't sew that many large tasks and still do a lot by hand. I will make more Gunbelts in the future, but won't go with high round counts unless I make one on request and they specifically overrule my recommendations. Not likely since I don't normally make gear for anyone but friends and family... I don't normally sell my work... just makes life easier.
-
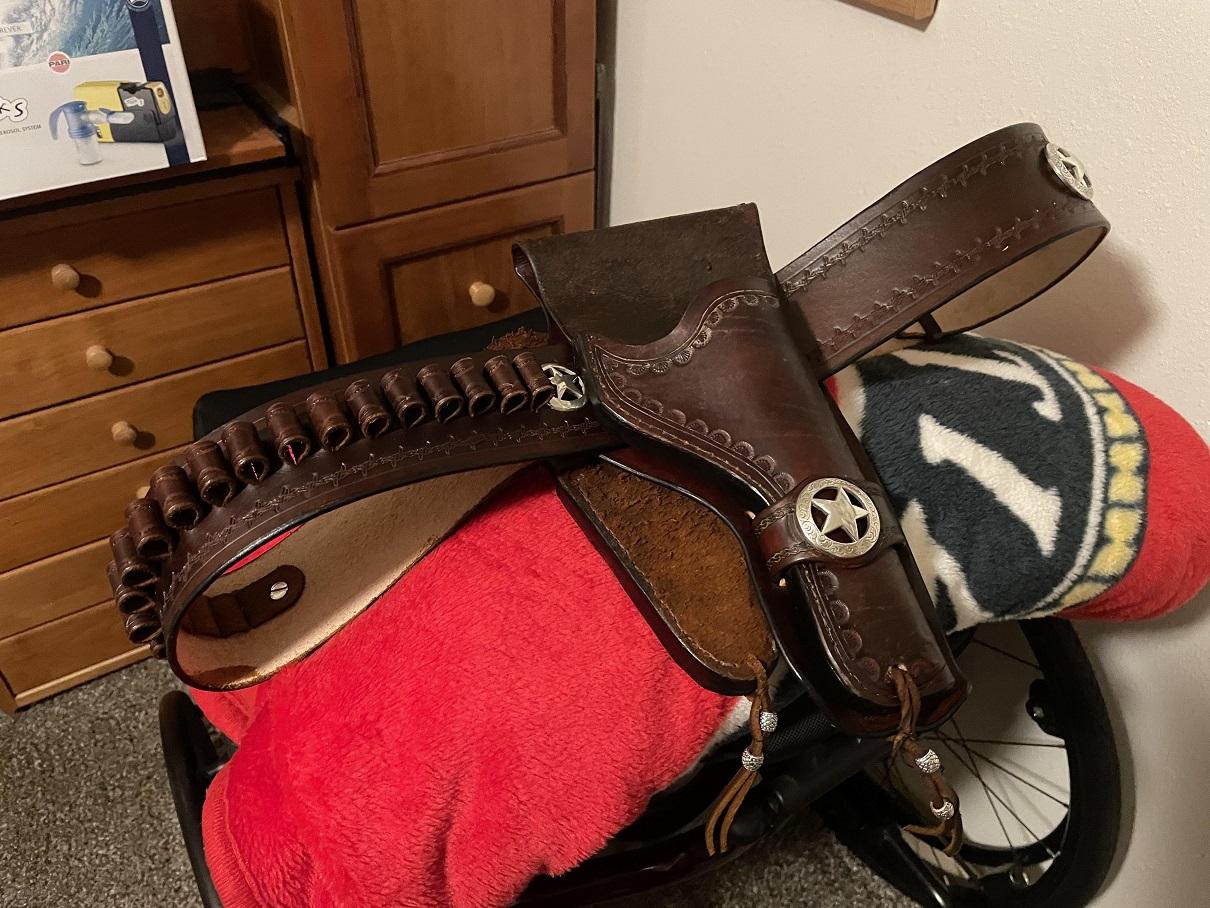
Nice work. Have you tried the belt on with both guns and all the loops filled? I was shocked at how much my belt weighed with 18 rounds, 4-1/2 inch Uberti 357 Birdshead, and the stag skinner. . I'm thinking my next will be the holster, sheath, and two six round loops.
-
The Sun did it's job and the melt off finally occurred. UPS arrived today and Edge Kote in hand I headed to the shop and worked the edge kote around all the edges. Holster, sheath, and of course the gun belt itself. Once that dried, I re-burnished all the edges to a high sheen. I am pleased with the black accent. I call this one done!

-
Thanks, choosing a knife was an issue for me as well. Choosing... My wife told me to slow down on the knife making... She was kidding. SHE is knee deep in Quilts. Hopefully all the orders will arrive today, the snow has melted away.
-
Beautiful job.