Brokenolmarine
-
Posts
592 -
Joined
-
Last visited
Content Type
Profiles
Forums
Events
Blogs
Gallery
Store
Everything posted by Brokenolmarine
-
Thanks, I remember an old woodworker I learned a lot from who had a note card in his shop that said, UNLESS someone sees you do it, or you can't fix it, it's NOT a mistake, it's a learning experience.
-
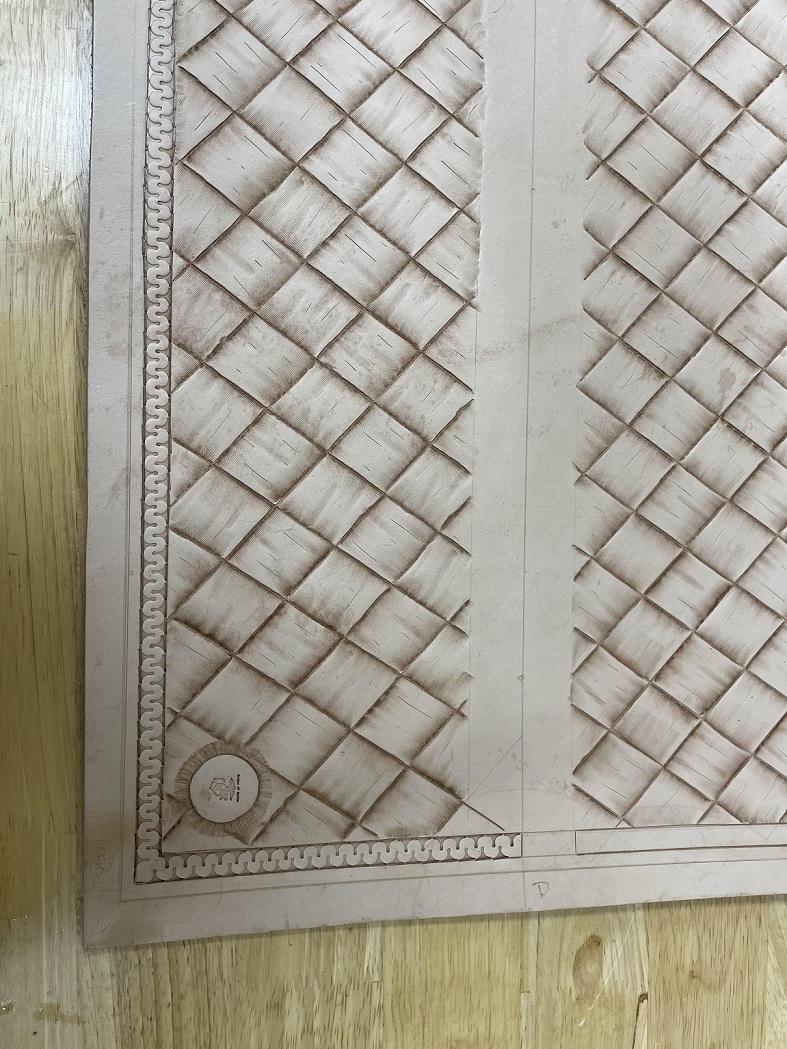
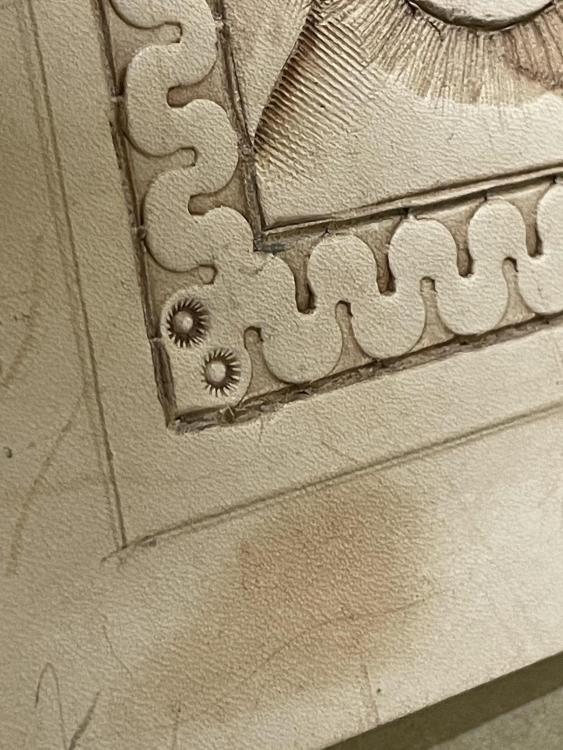
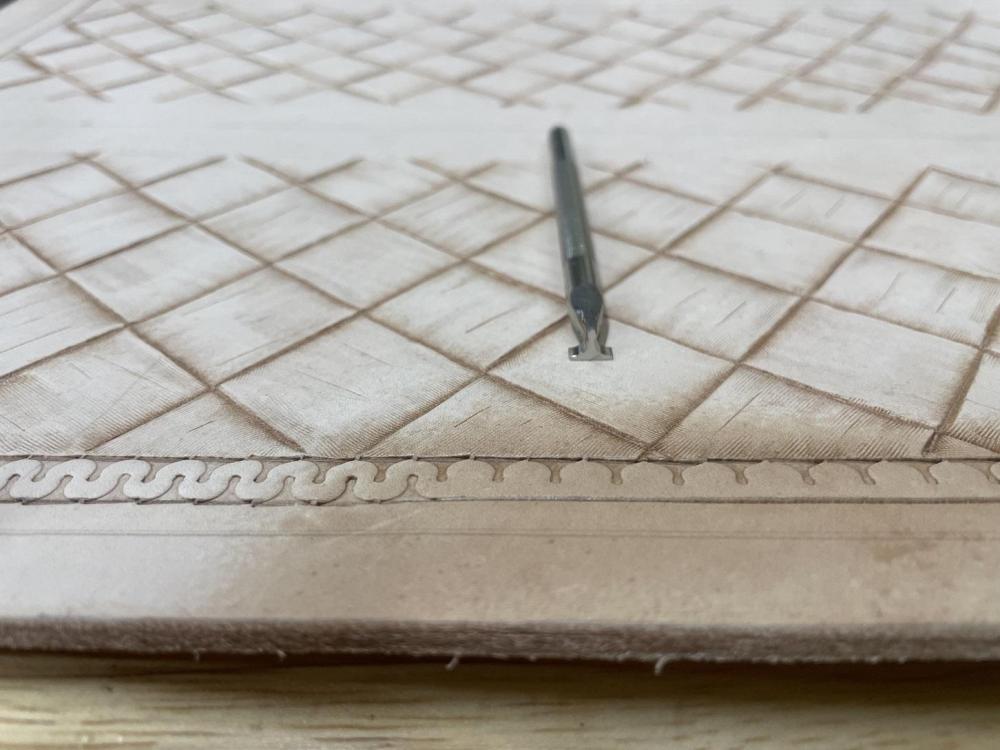
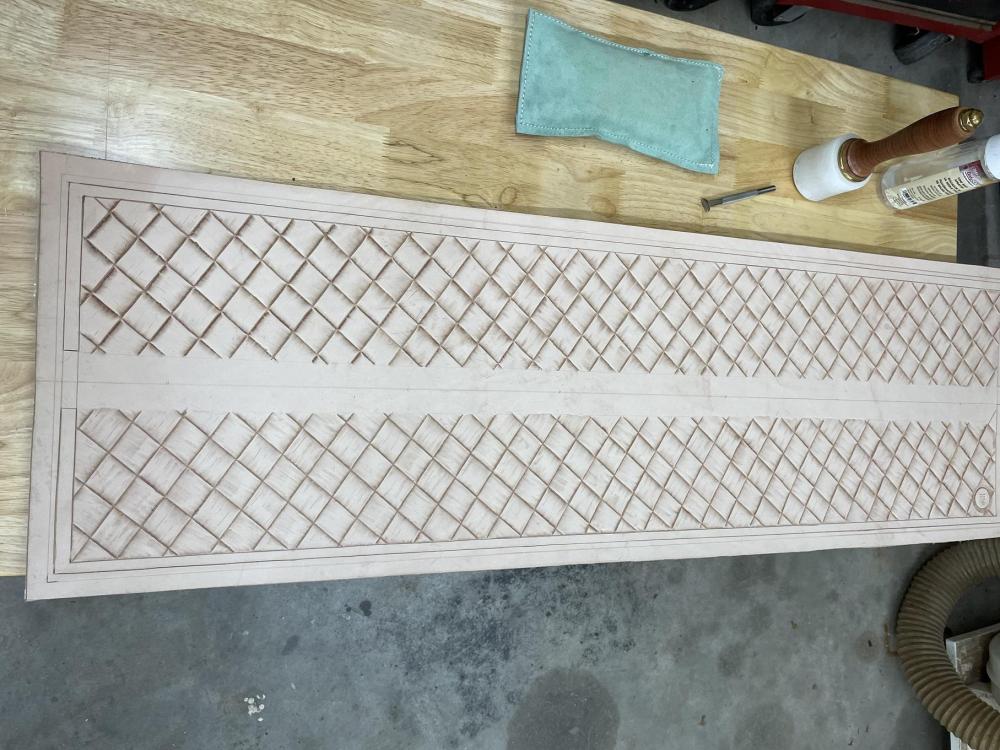
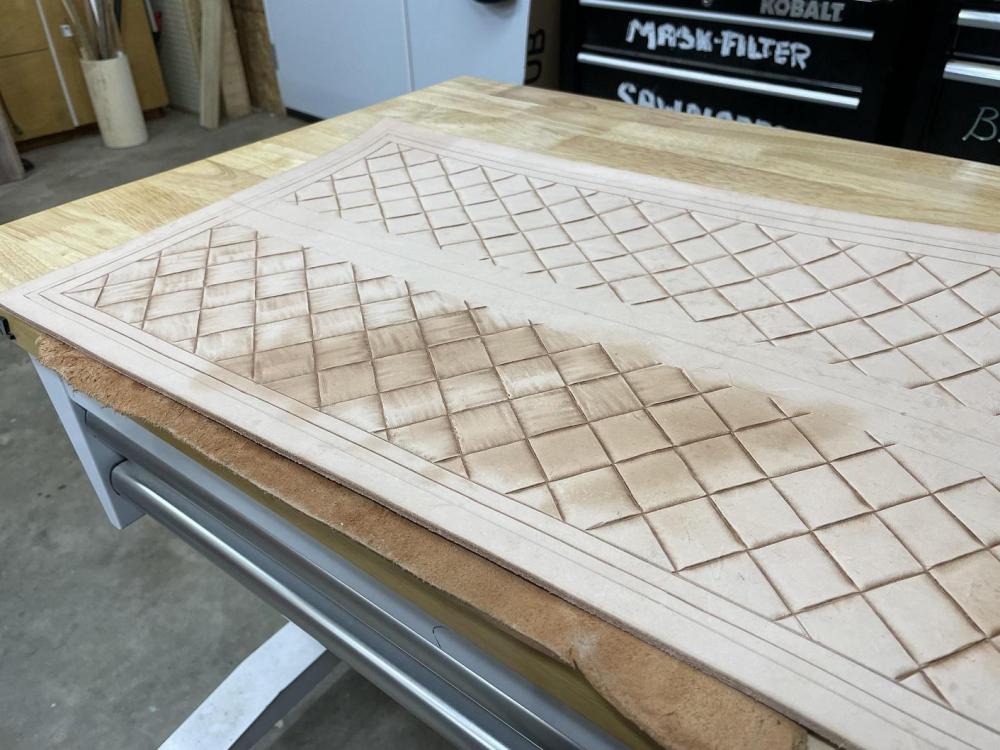
Back out for a last session this evening. Used the stylus as planned to knock out the tics and then added one personal touch to the border. I always thought the corners in this pattern looked like snake heads, so I give them eyes. It's called a Serpent (ine) pattern after all. After that, I went ahead and covered the table and dyed the panel yellow as a base. It's JUST a base. A lot of folks don't like the yellow and stroke out when they see it, but it's a BASE. Once it's antiqued and then the Watco Natural Oil finish is applied it settles in to a soft glow, toned down by the secondary applications.
-
Because the old man screwed up... Caught me. That error will (should) be covered by the magnets, so that mistake won't show, thankfully. If it did for some reason, I would simply run the border together on both sides, and let the mags cover what the will. (Sigh)
-
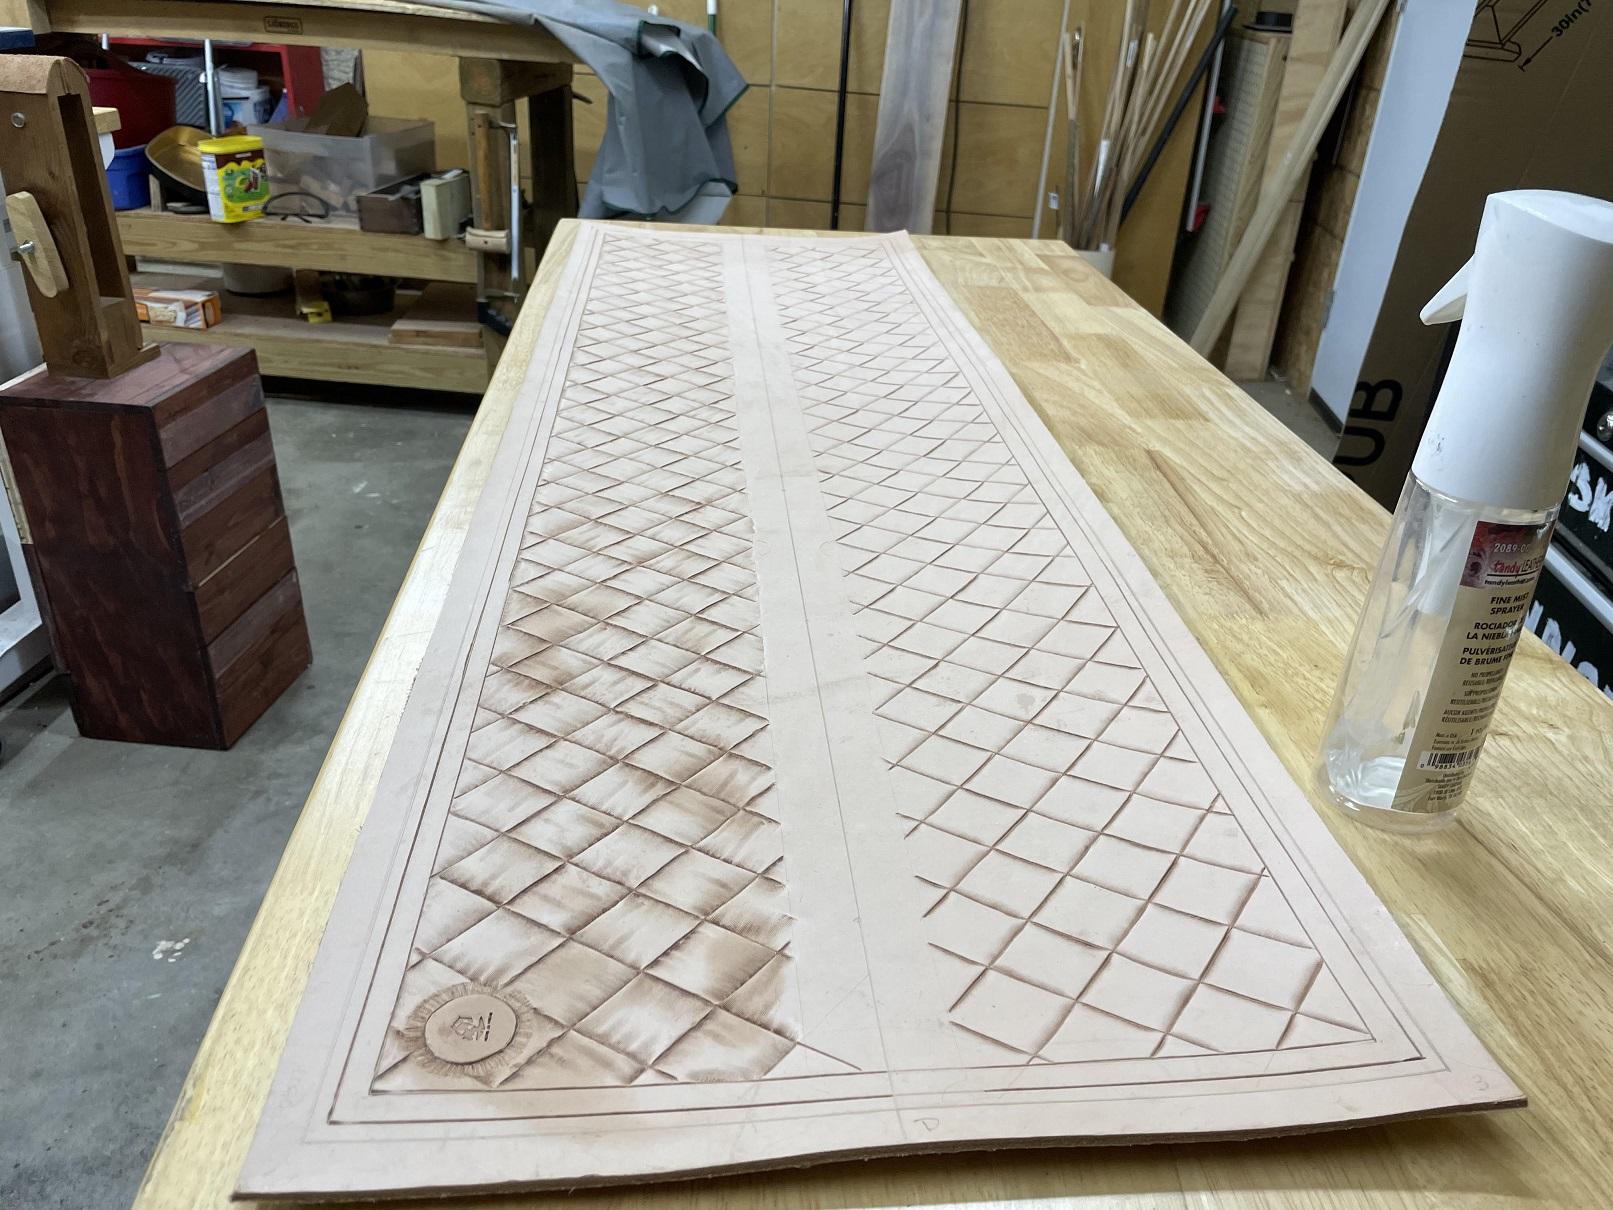
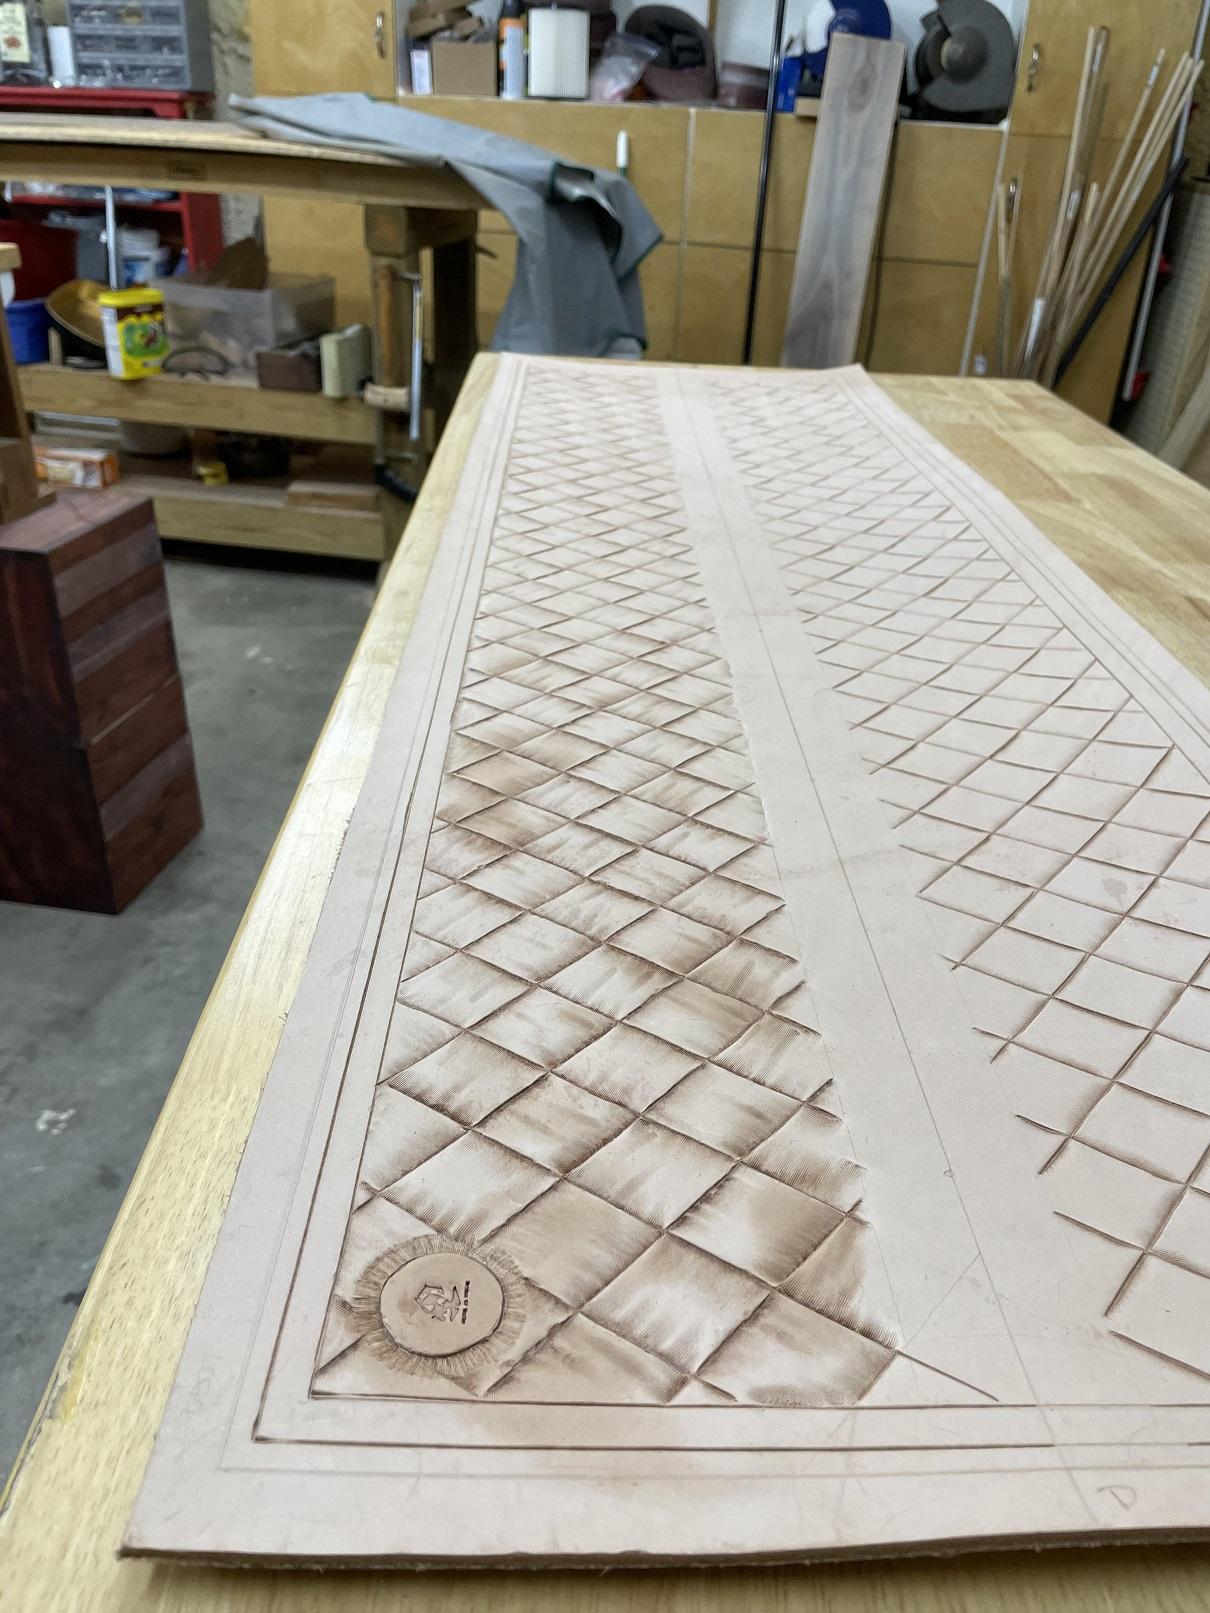
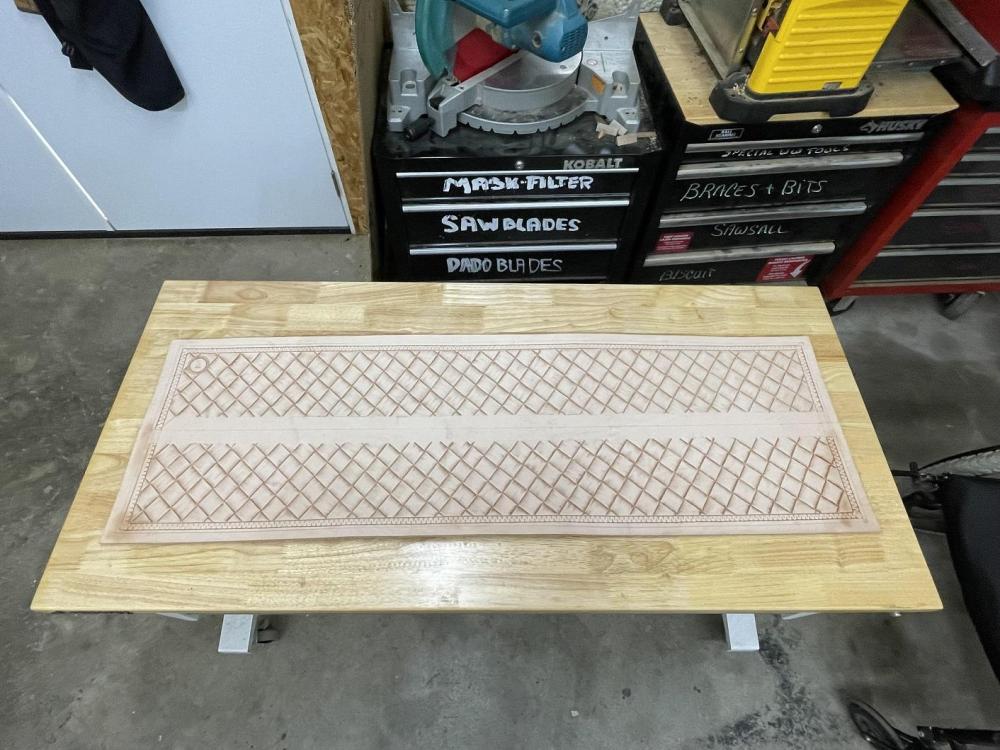
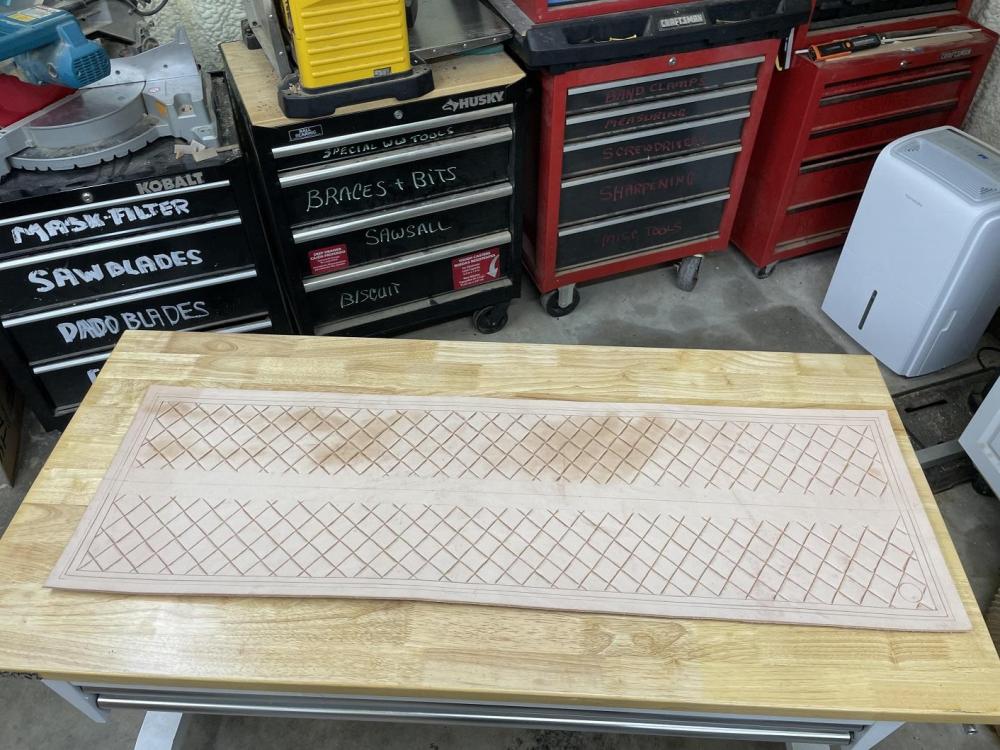
Here is the long view... I left it to dry overnight and tomorrow, after checking for final areas that might need attention, I'll consider starting on the staining and finishing. I might go around and use the spoon end of the stylus to flatten any of the tics left from tooling the Serpentine pattern you see in the above pics. Some do, some don't. They are caused by the small space between the tool that gives the design it's flow. While the stain dries, or the other finishes, I'll start on the case again.
-
Got both sides done without error, and was really happy with the result.
-
I finished the one side without a noticeable error. All it took was to go slow, and look at each reference point. On the first row, you just check to make sure both rear edge points are ON the line before you strike and you are golden. On the second pass on the opposite side of the tooling window, there are three areas of interest. Are you ON the line. Are you square to the line. Are you centered on the loop across from you; your original spacing may not be exact, you always check.
-
Yeah, No... Got back out this afternoon to tool the Serpentine border. It's a one tool job as well. I made mine from another Tandy tool, grinding off one leg of the H shaped tool. You simply stamp the tool along the border, keeping the edge square to the edge with the point to the inside, careful to space the stamps with the ends touching. Then come back on the opposite side, shifting half a space so the point is centered on the loop.
-
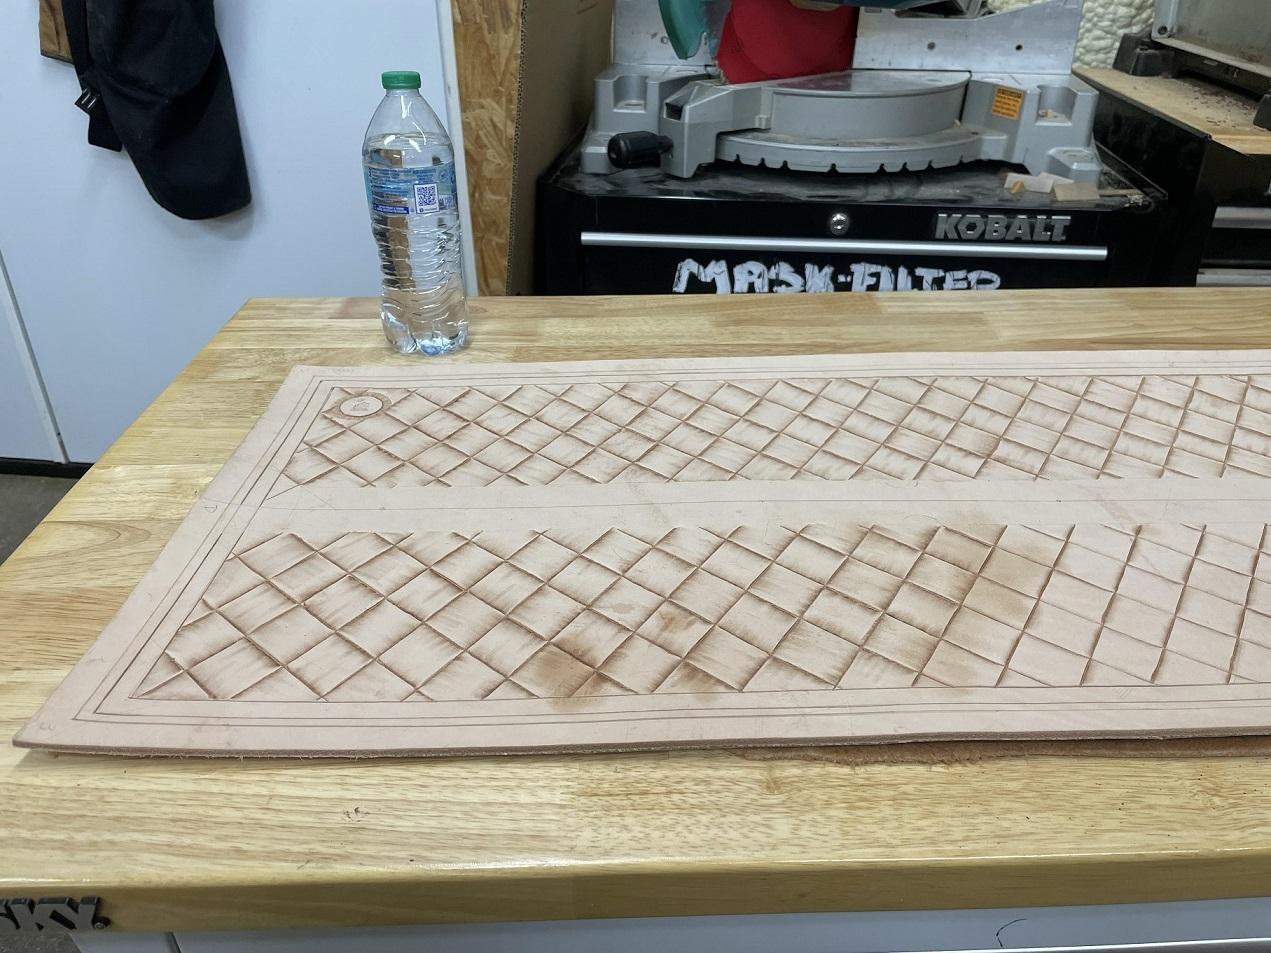
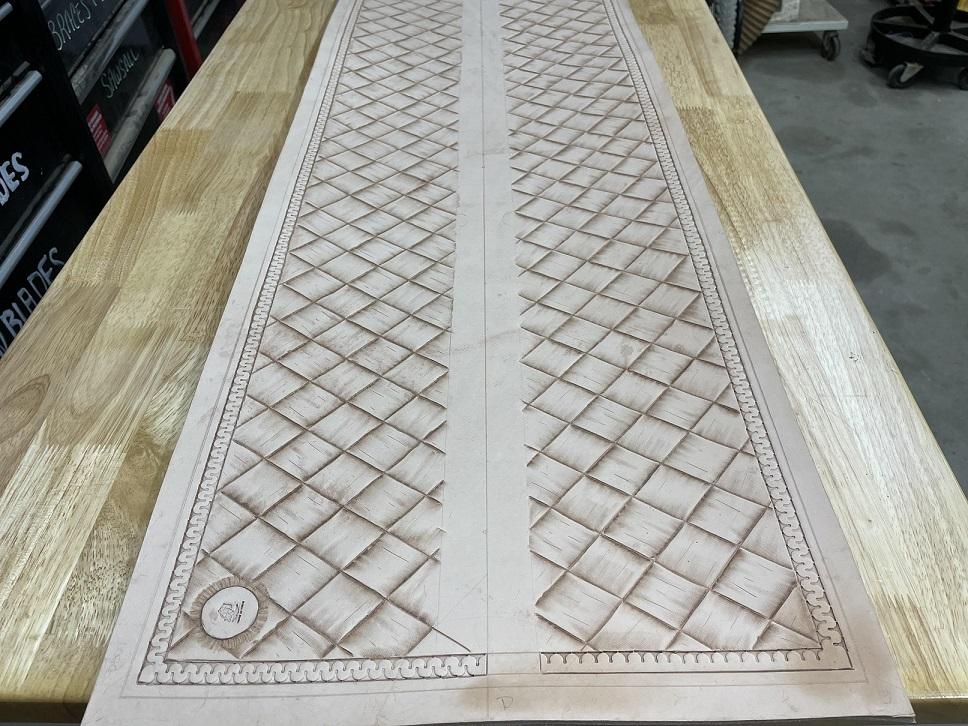
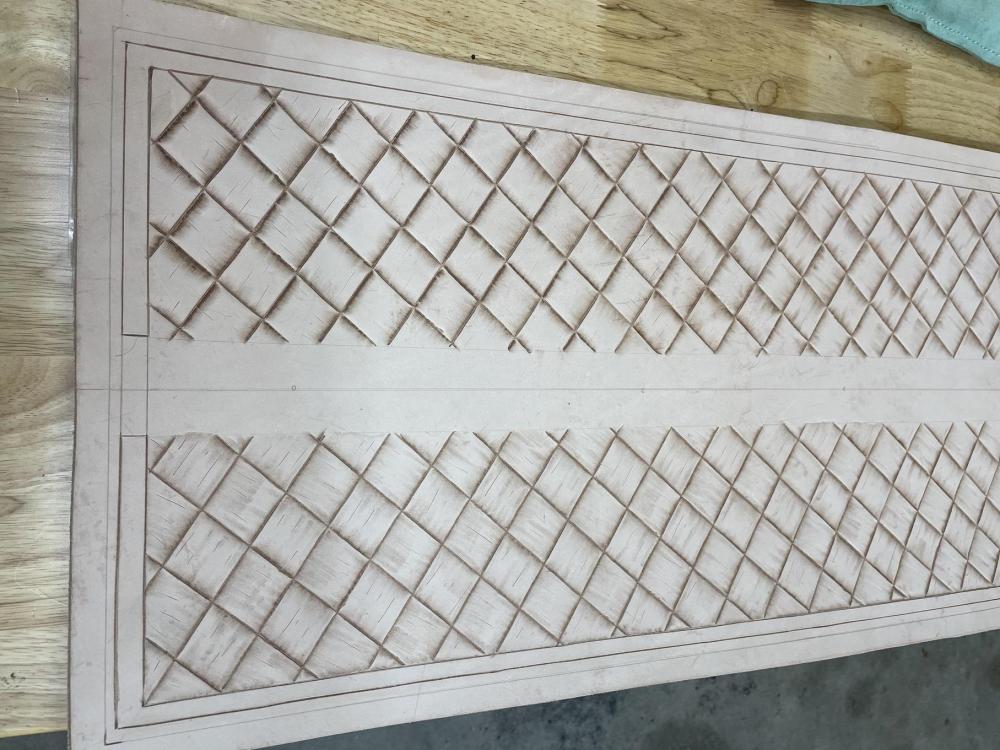
I got a session in the shop this morning, a long(ish) one. I got the internal tooling done and then the accent cuts on each block. I will keep an eye peeled for any blocks that may need individual correction to tune their look, but I'm pretty much ready to start on the tooling of the border, been looking forward to that. Here is a bit closer look at the two sides. One looks a bit darker as it's still wet from the morning's tooling. They do match when they are both dry. Once the border has been tooled, I can move to dye / stain work. While each phase of that is drying, I'll work on the construction of the case again. Flipping back and forth between work on the leather panel and the case itself. Can't see the light at the end of the tunnel yet, but at least I don't feel stuck in a traffic jam with that big tooling job on the open basket weave... THAT was a big job.
-
Those look great... good work.
-
I sent Tim an email query late Sunday evening, got my reply early this morning. We sent emails back and forth for a couple hours. I just paid my invoice. Thanks for the suggestion. His stamps aren't inexpensive, but they aren't Cheaply Made in china either. I expect it will outlast ME. I should have it in a couple weeks at most.
-
I should be able to work another session this afternoon or evening. I can feel the leather calling.
-
I got out this afternoon and worked on the new side, tooling the lined footprint shader as I had on the first side. I had been tied up all morning running errands in town. Those are usually handled by the boss, but she is down with the flu, (Hopefully). She has had Covid twice, but mild cases both times. This Flu has been kicking her while she is down. Face swollen, stuffed up, headaches, coughing, body aches, temp... We both have medical backgrounds and if it gets too bad, she will go to the doc, but she avoids them like a plague center. Miss T doesn't send me to town normally, she can be IN and OUT before I can get IN... plus she knows what she wants, without a list, I forget stuff. But, she feels like she is dying, so she gave in... and sent me. I didn't forget much... and remembered the important things. TP and Ice Cream... Where was I? Oh yeah, shading. I knocked out about a third, but didn't want to push myself and make a mistake, so I quit for a bit. I am pretty happy so far... I"m looking forward to finishing the inside and starting on the serpentine border. I enjoy it, but you have to go slow and make sure of the work. One slip, a poorly placed tool or missed strike and you can ruin the look. The mistake is glaringly evident and the formal pattern is broken. In a belt or wallet, you can start over, but with this large panel and all the interior work? Not... so careful, SO careful will I be Master Yoda.

-
Yup, When they started to pile up....
-
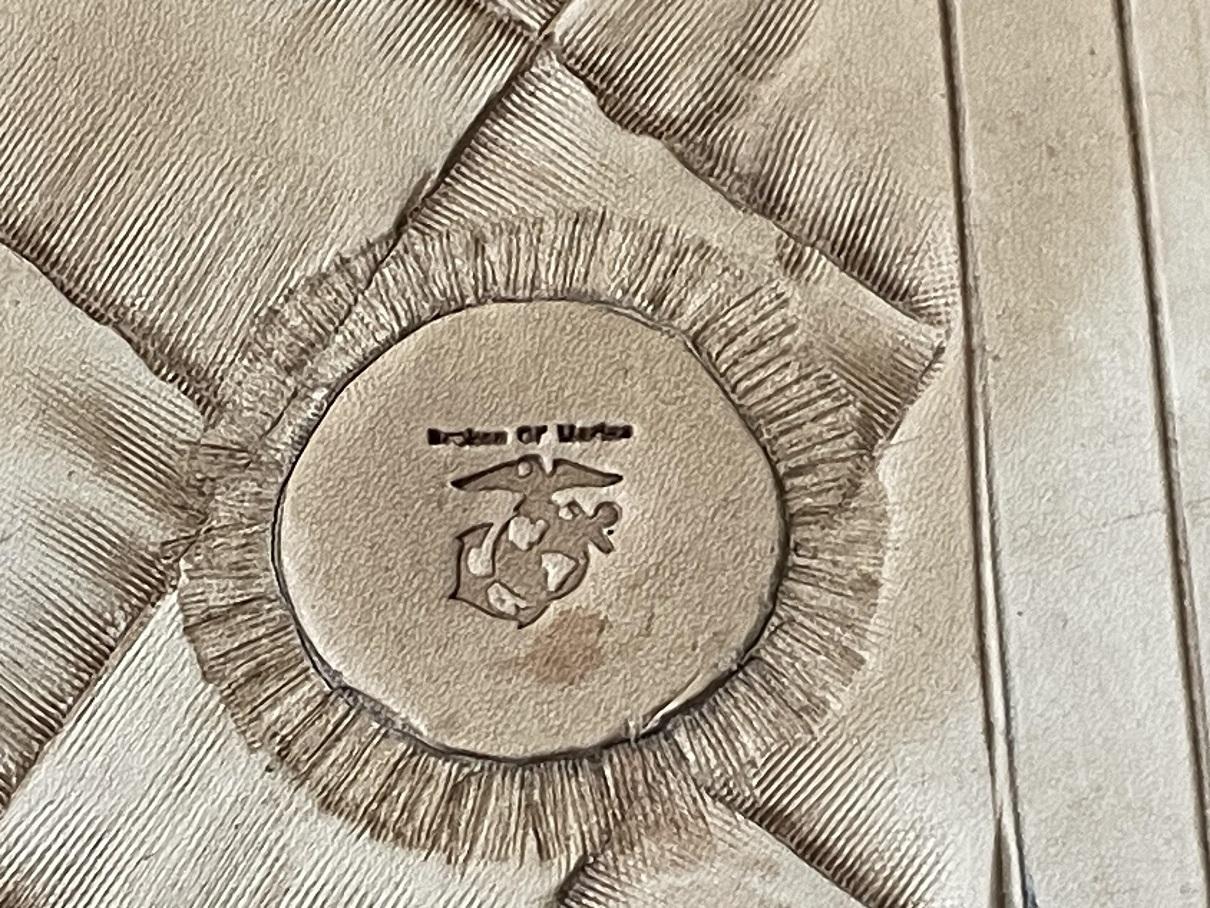
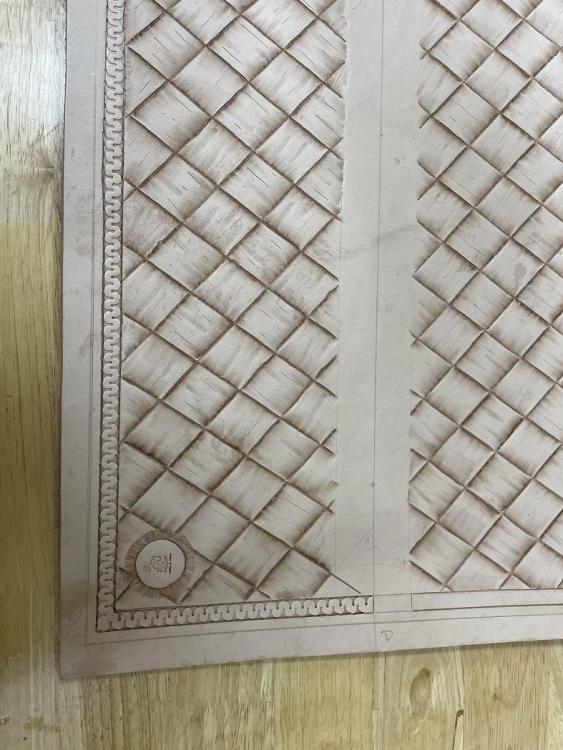
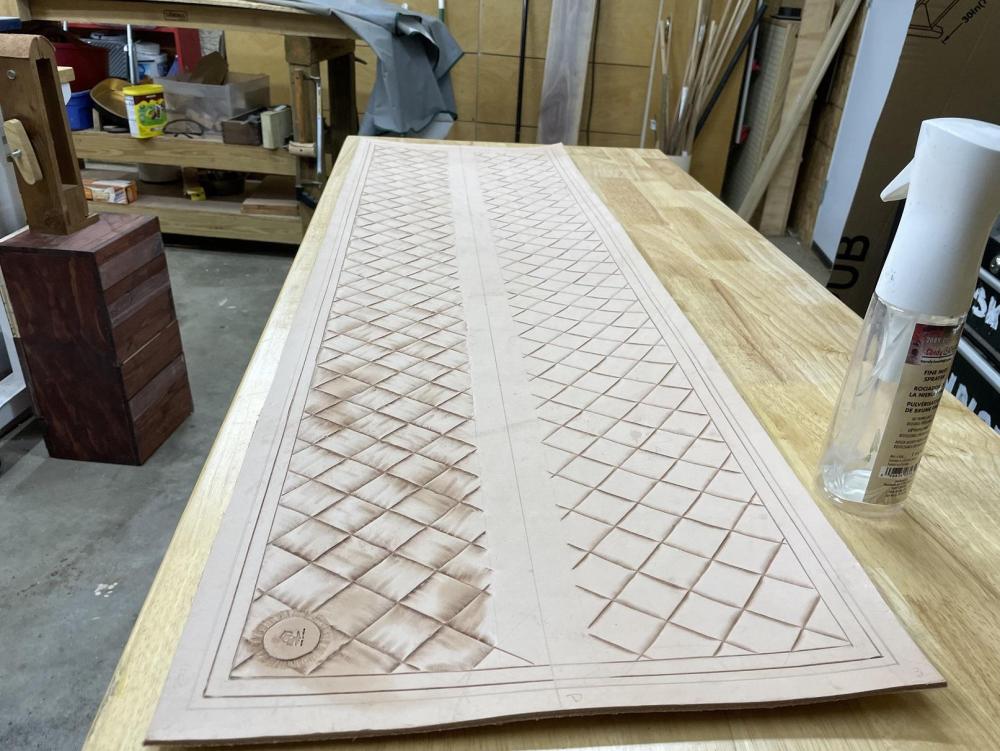
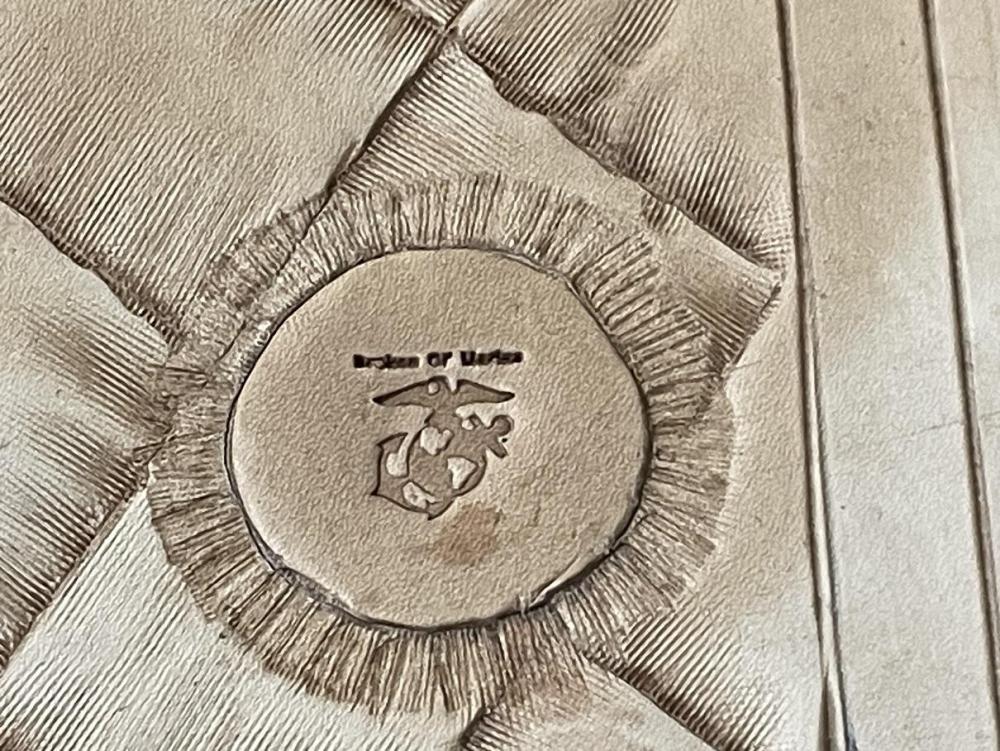
Thanks. I did get out this evening for a long work session. I finished the tooling on the one side. As you can see in the comparison pic, this step really brings the side to life. I also worked on the Maker's Mark since the spot for it was on that side. There were a couple dings in the edge tooling the rays around the edges but I'll correct those prior to adding dyes/stains. Those won't be applied until both sides are done, and the borders are tooled. This side still gets accent cuts. Here is a somewhat closer look at the completed tooling so far on this side.

-
The leather was purchased on sale at Tandy, but good call. Yes, it will be the most expensive component of the case. The plexiglass is second. The rest was pretty much on hand other than the piano hinge. You are welcome to follow along and share the ride, I am looking forward to seeing where it ends myself.
-
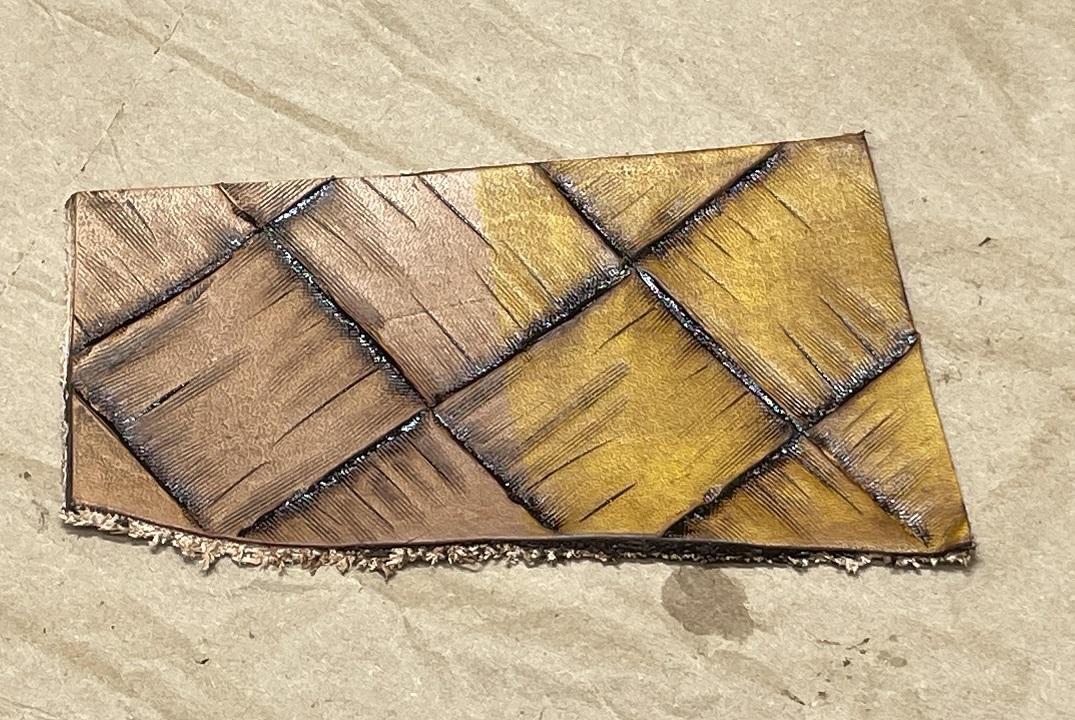
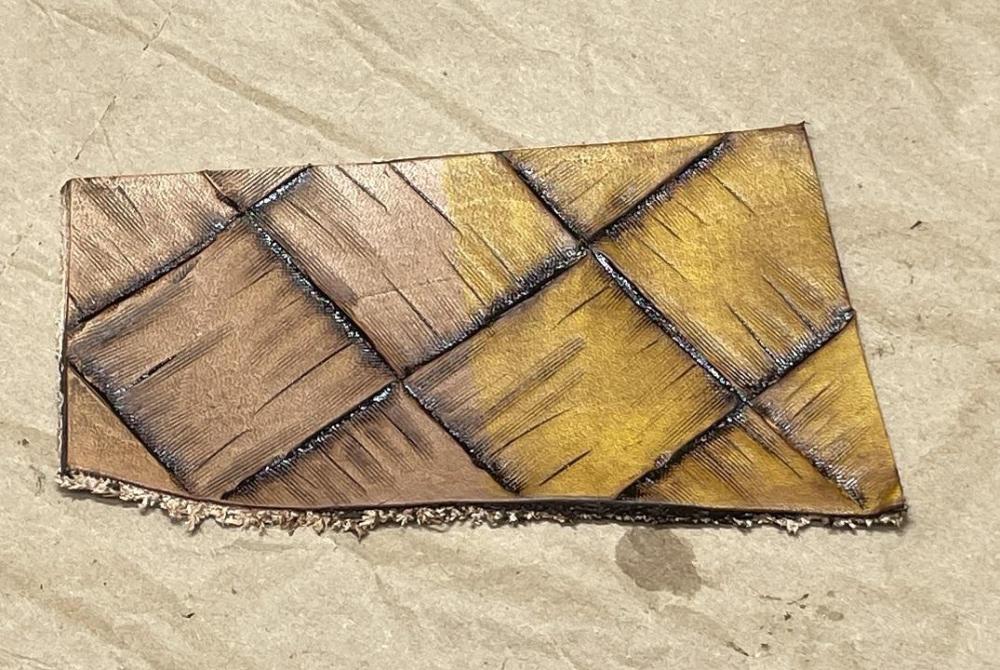
I went back out to the shop for a bit intending to work for an hour or so with the lined footprint shader. I didn't get far before a headache set in. I got four columns done. I'm not going to push, don't want to make any mistakes. I did, however, take the opportunity to try a finish test on that scrap panel. I stained half the panel with yellow stain and let it dry. Then I covered the entire panel with Watco Natural Oil. I let that dry. Then using Medium Walnut Antique, I wiped it down. I'm liking the side with the yellow base. But, there is plenty of time before I have to make a final choice, I think I'll tool another test panel and try just Watco Golden Oak finish... Lot of work going into that panel, may as well make sure of the finish before I apply it.
-
Thanks, I'll check them out.
-
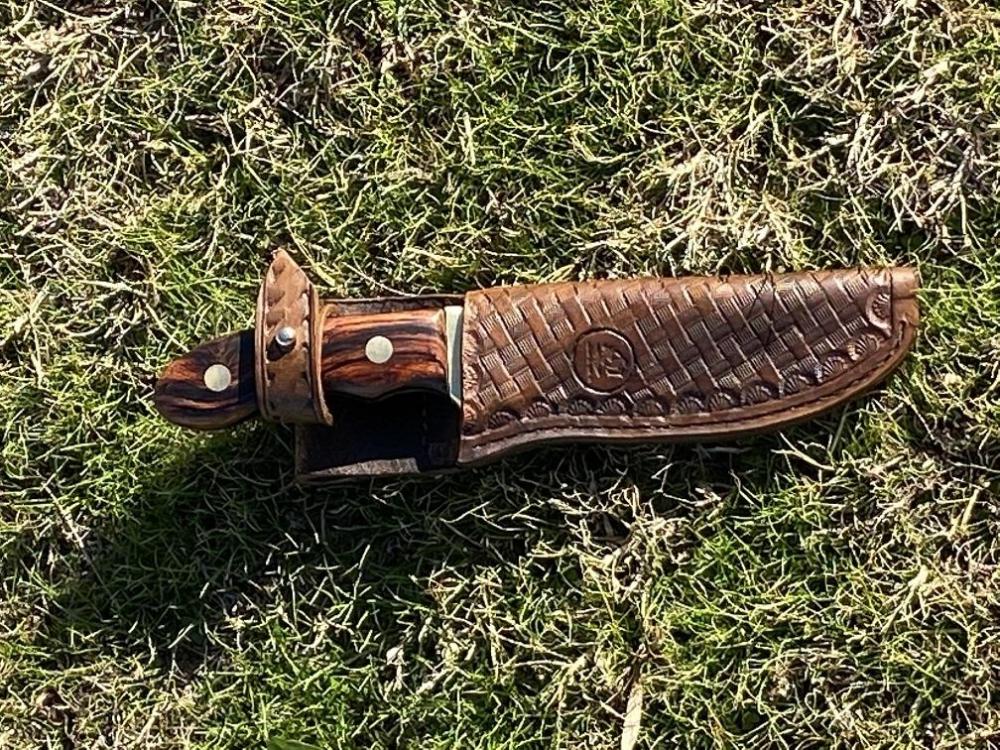
A question for the peanut gallery. I have a maker's mark stamp in brass that I like fine, but it's small... about a 1/2" I'd like a larger stamp, possibly an inch or more. Anyone have one they like and would care to share where they got it? You can see my maker's mark stamp on the sheath, here:
-
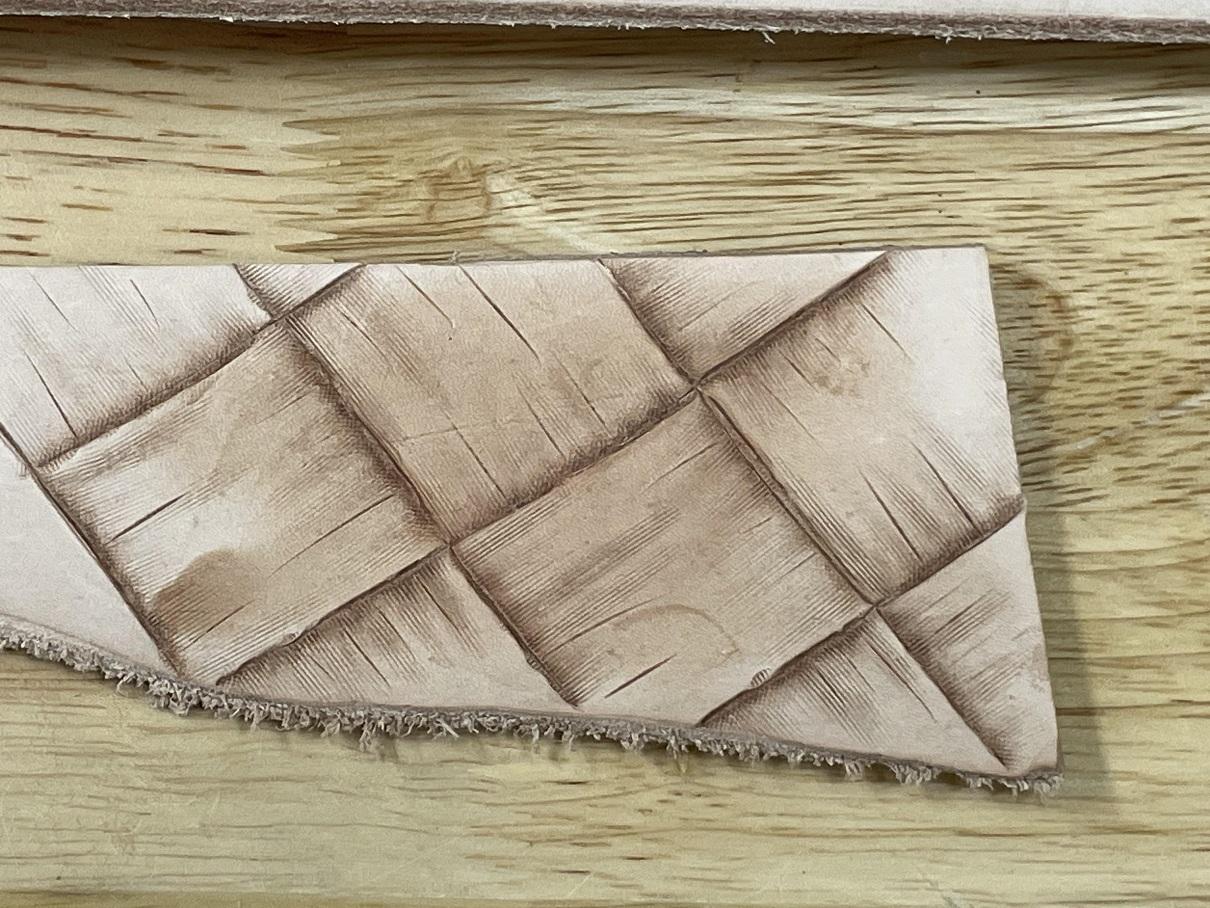
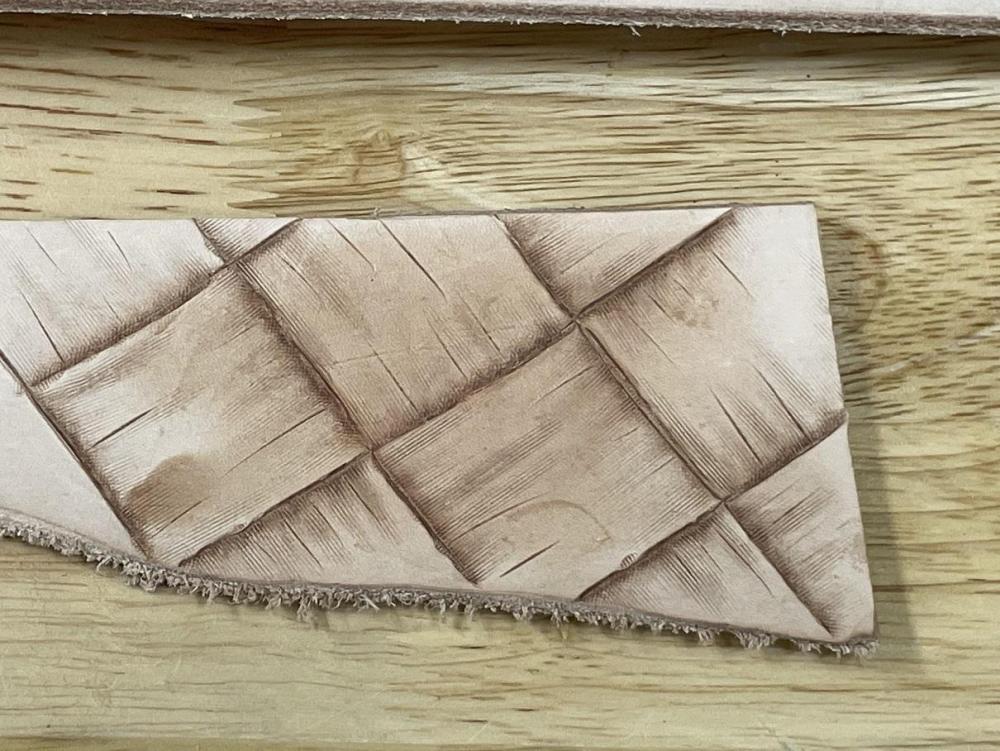
Out this morning to work on the panel. I had rewatched the section of Gonzales video on the toeprint tooling and was raring to go. But, as I looked at all the work I had done on the large panel, I thought, "Wait One Second," and went over to the tooling bench and pulled a scrap out of the bucket. I quickly tooled a small section up to the point where the toeprint was required and attempted the techniques I'd watched several times in the video by Gonzales. Okay, turned out pretty good.... I even added the accent cuts. Now I was ready to work on the BIG panel. I cased the panel, settled into my chair and got to work. Slow but sure. NO mistakes. I did learn ONE thing this morning. This is going to take a while. There are about thirty five columns on each side, and I knocked out ten before I was told it was time for a break. "Arthur" tells me when it's time and I listen. If I don't, I end up having to take a day or two off. If you look at the progress so far, you can see the ten columns I have done so far, and tell the difference it makes. I think this will look great, especially paired with the border.
-
Thanks for the comments...
-
You are thinking of the Quilted Pattern. I've done that one as well, and I used the seeder to tie the blocks together on that. The tool I wanted was a Shell Pattern, but couldn't find it anywhere. This Basket Weave doesn't use anything in the corners to tie them together although Don Gonzales does mention it as an option in his video. I have watched several, most all of my skills come from YouTube since there are no classes in my area. (I live among the cows, hayfields, and woods... by choice.) Yup, will start with the shading today, if the arthritis allows it.
-
This closeup gives you a better feel for the beginning emergence of the basket weave tooling. I have mentioned the magnets several times, here is a peek at the magnets that will run across the center of the display.. you can see their outline on the leather tooling.


-
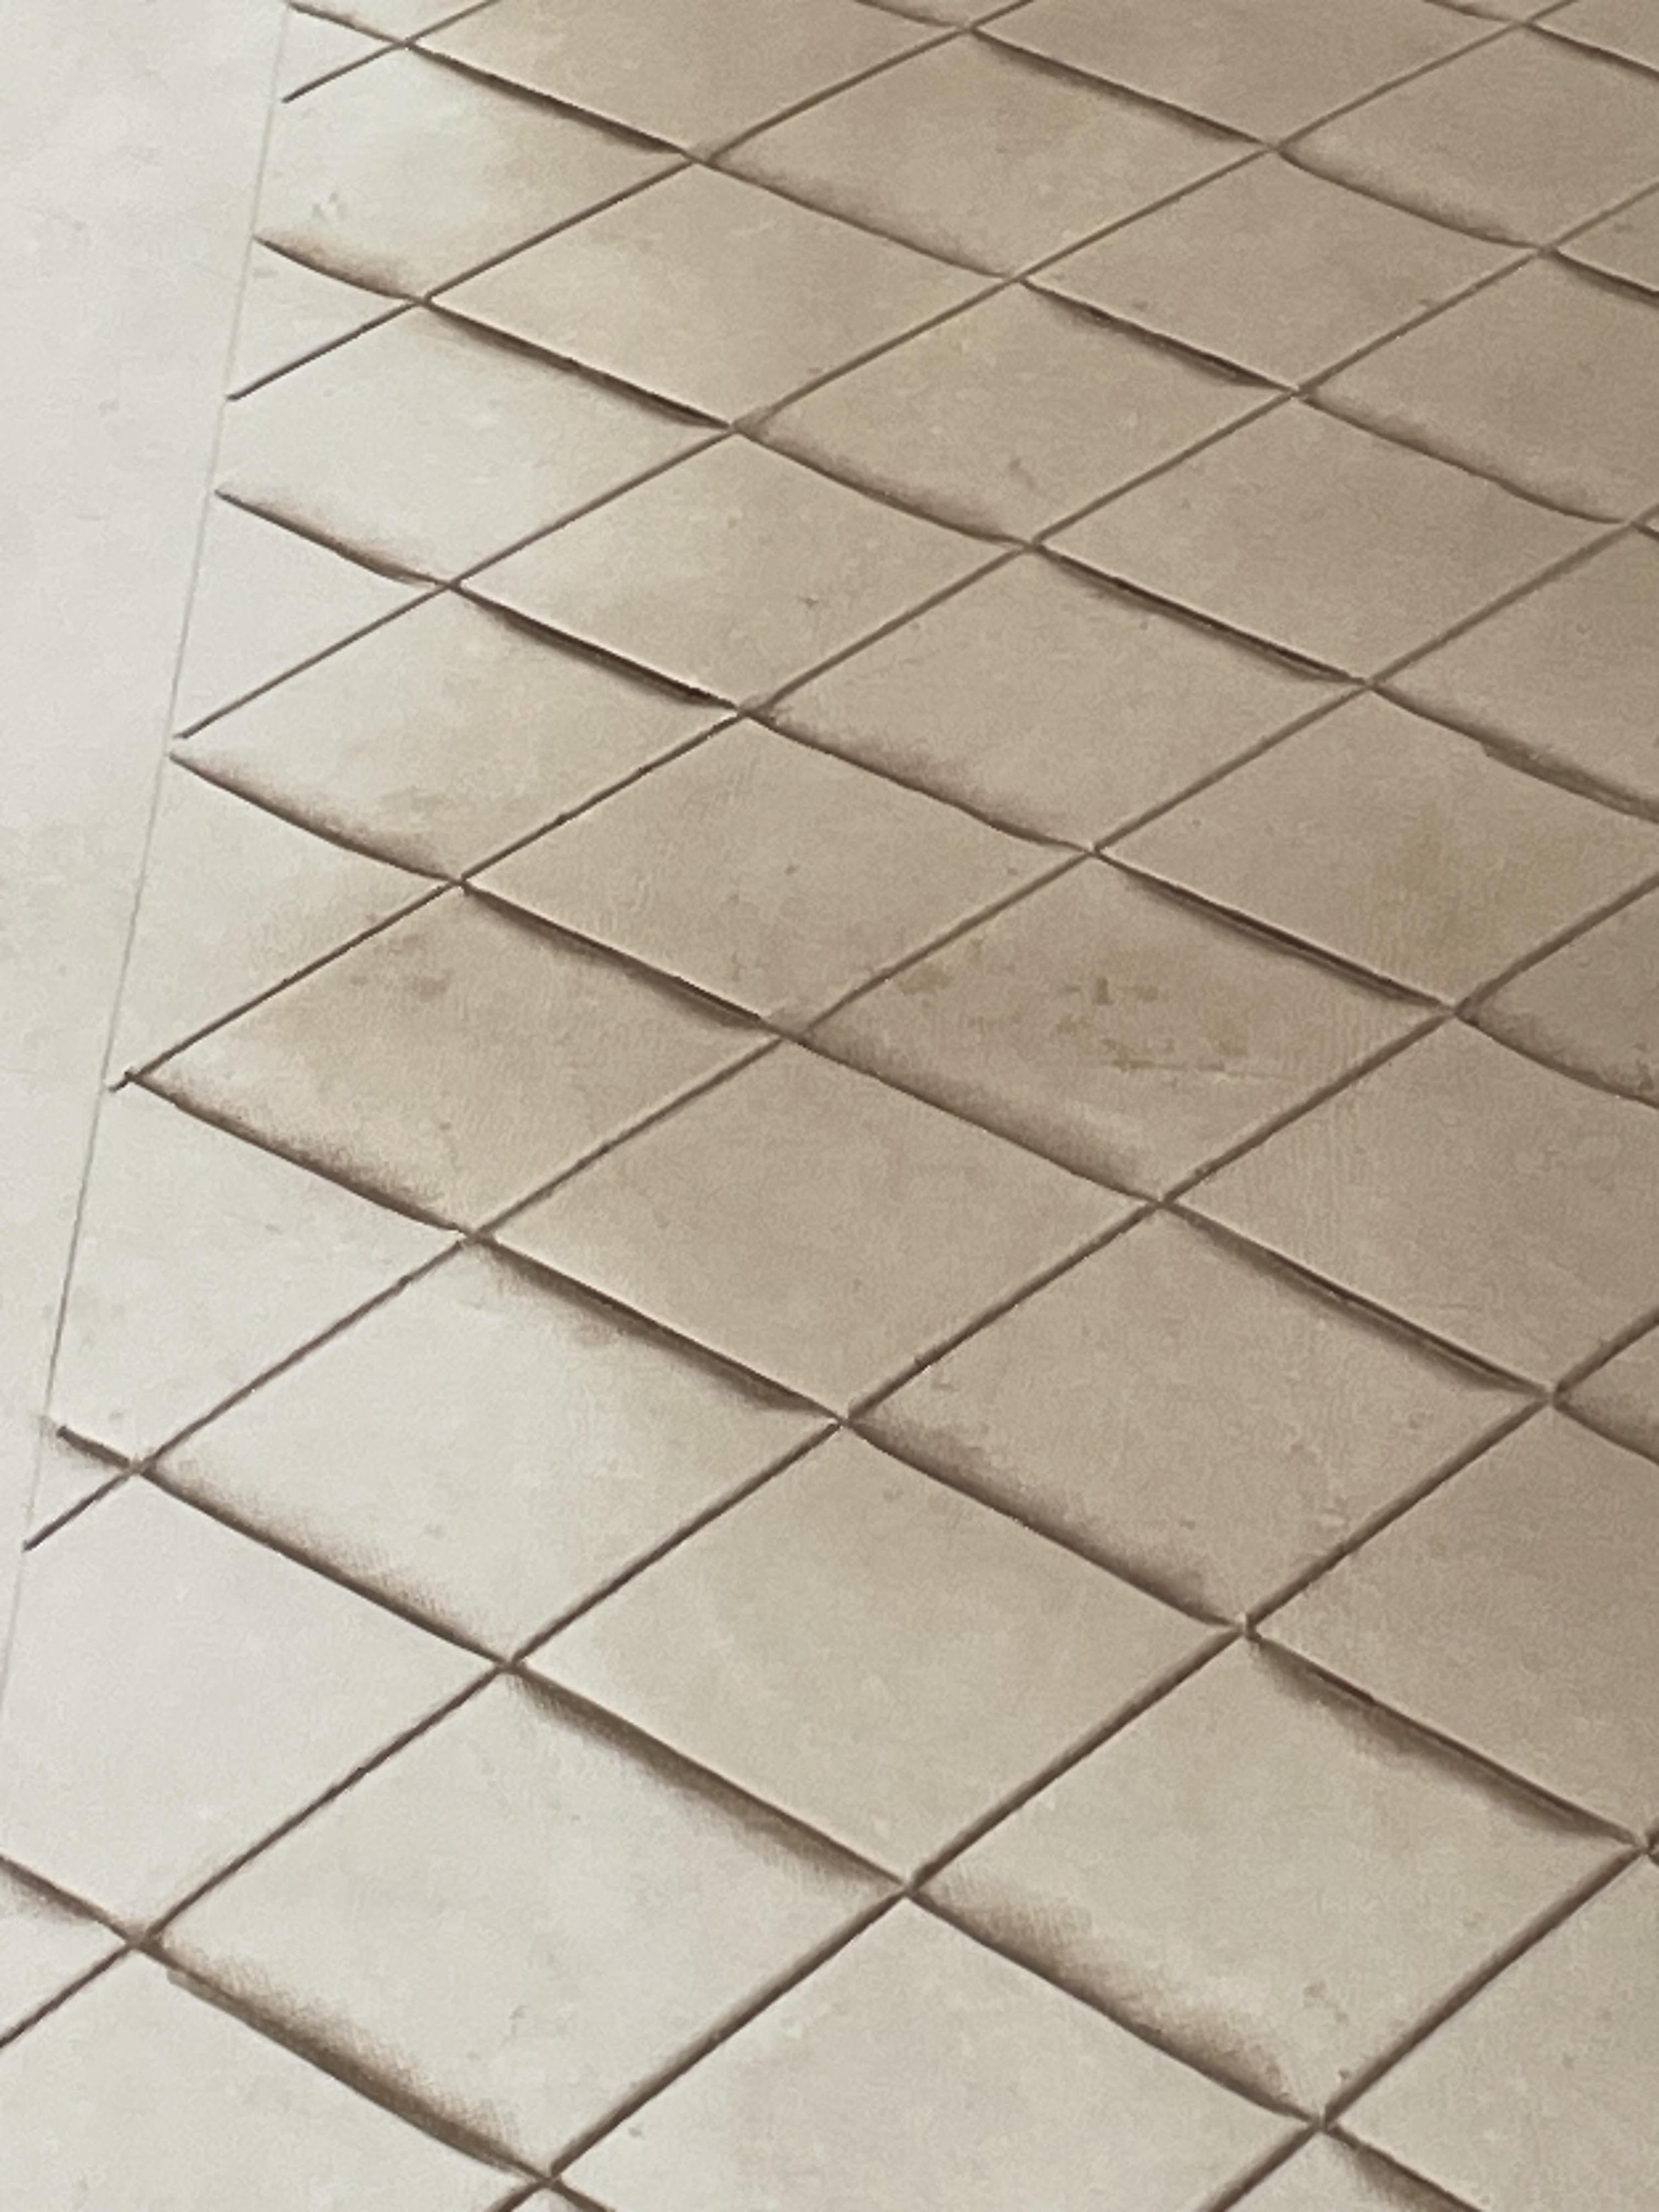
I spent two days, and about six one hour sessions (arthritis) on the basic beveling, and it's gotten me to this point... the basic beveling is done. A close up look at the emerging pattern. Tomorrow I'll start enhancing this beveling with the lined footprint by extending the bevels to create a more 3D look and further create the appearance of the over and under effect. A couple more steps after that and the basket weave will be complete, and I can start on the serpentine. Then, I have the magnets to install, the lighting, and the glass front frame and hinges. Yup, we are so close to complete. NOT. Watch this space, so much more to come. So many more opportunities to fail. LOL.

-
I decided to start beveling the lines for the basket weave pattern. The serpentine pattern will be last, as I don't want to distort THAT tooling by resting my hands on the border while tooling the inner pattern. That's a lot of tooling inside, and with my arthritis, I'll be resting my hands a LOT.

-
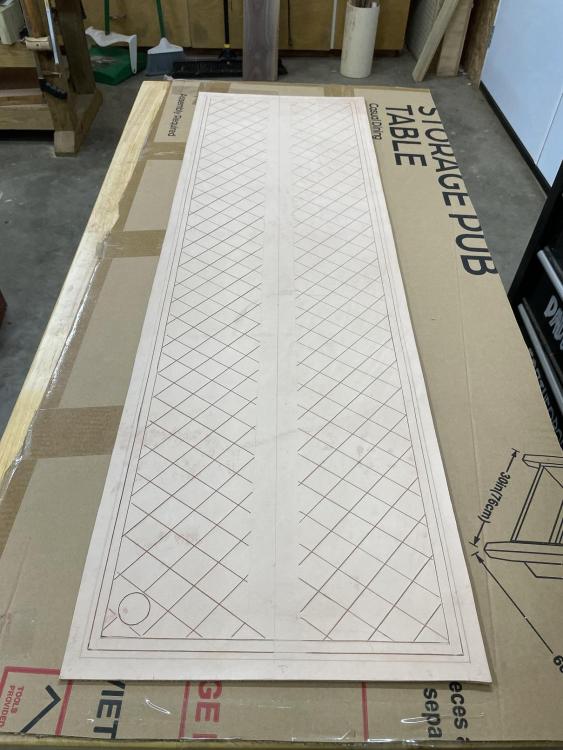
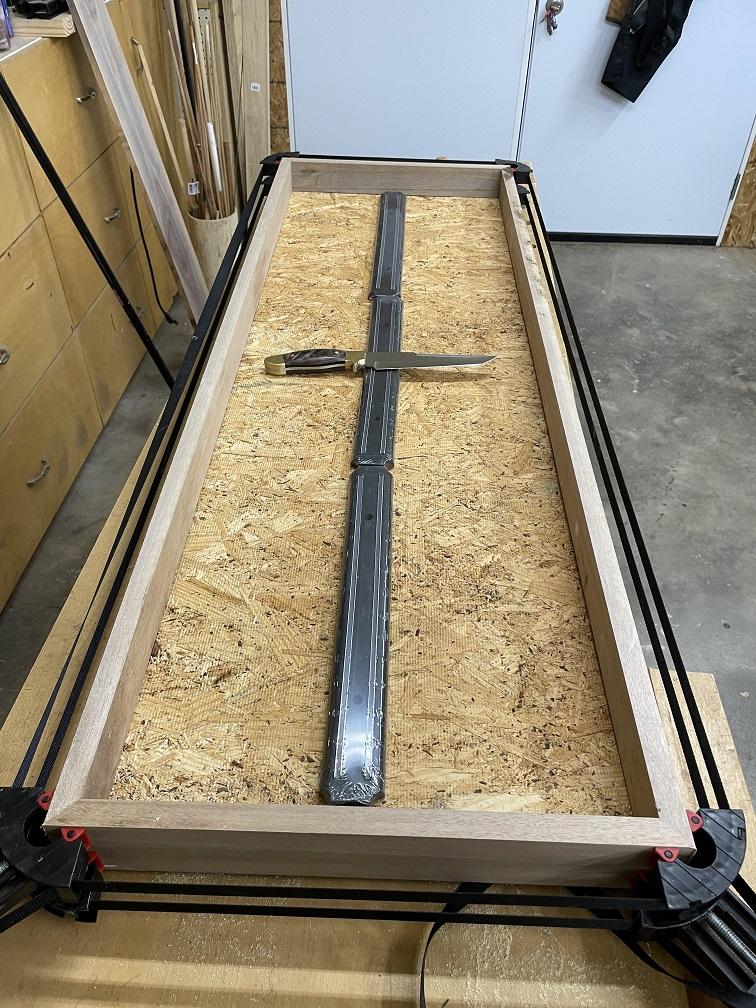
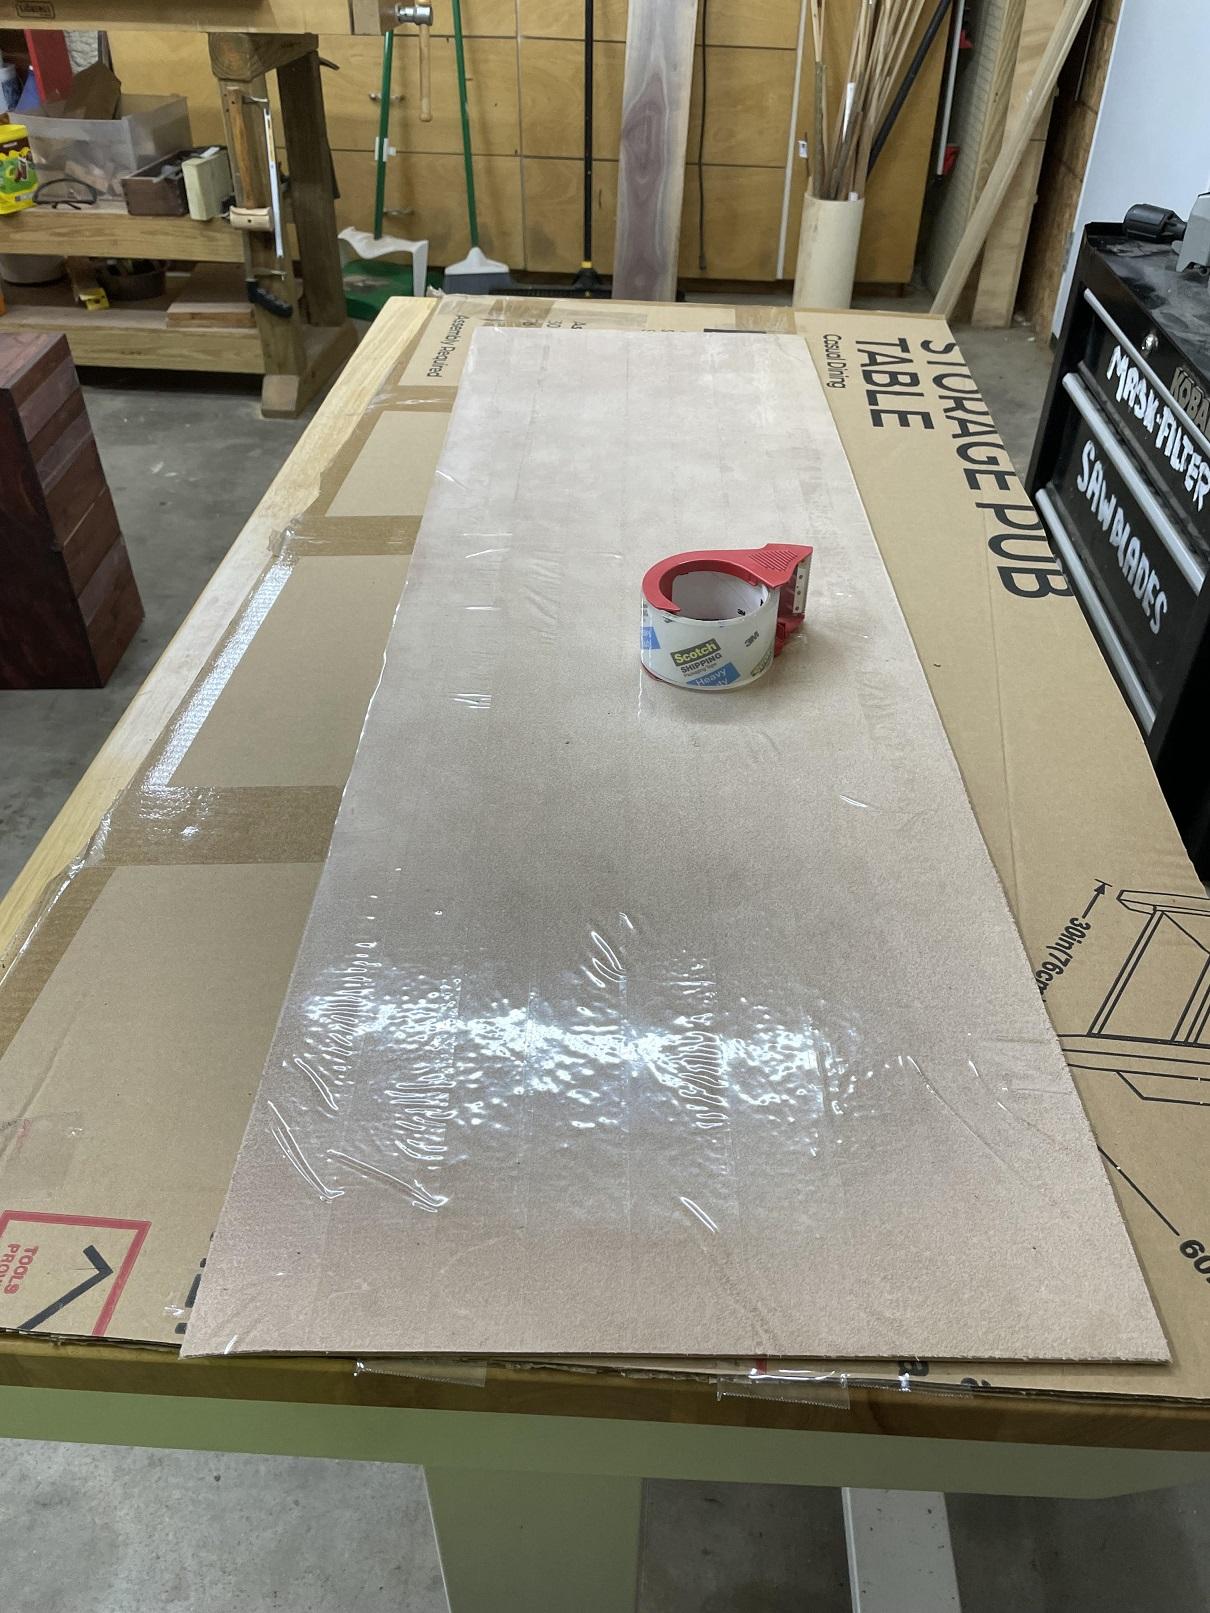
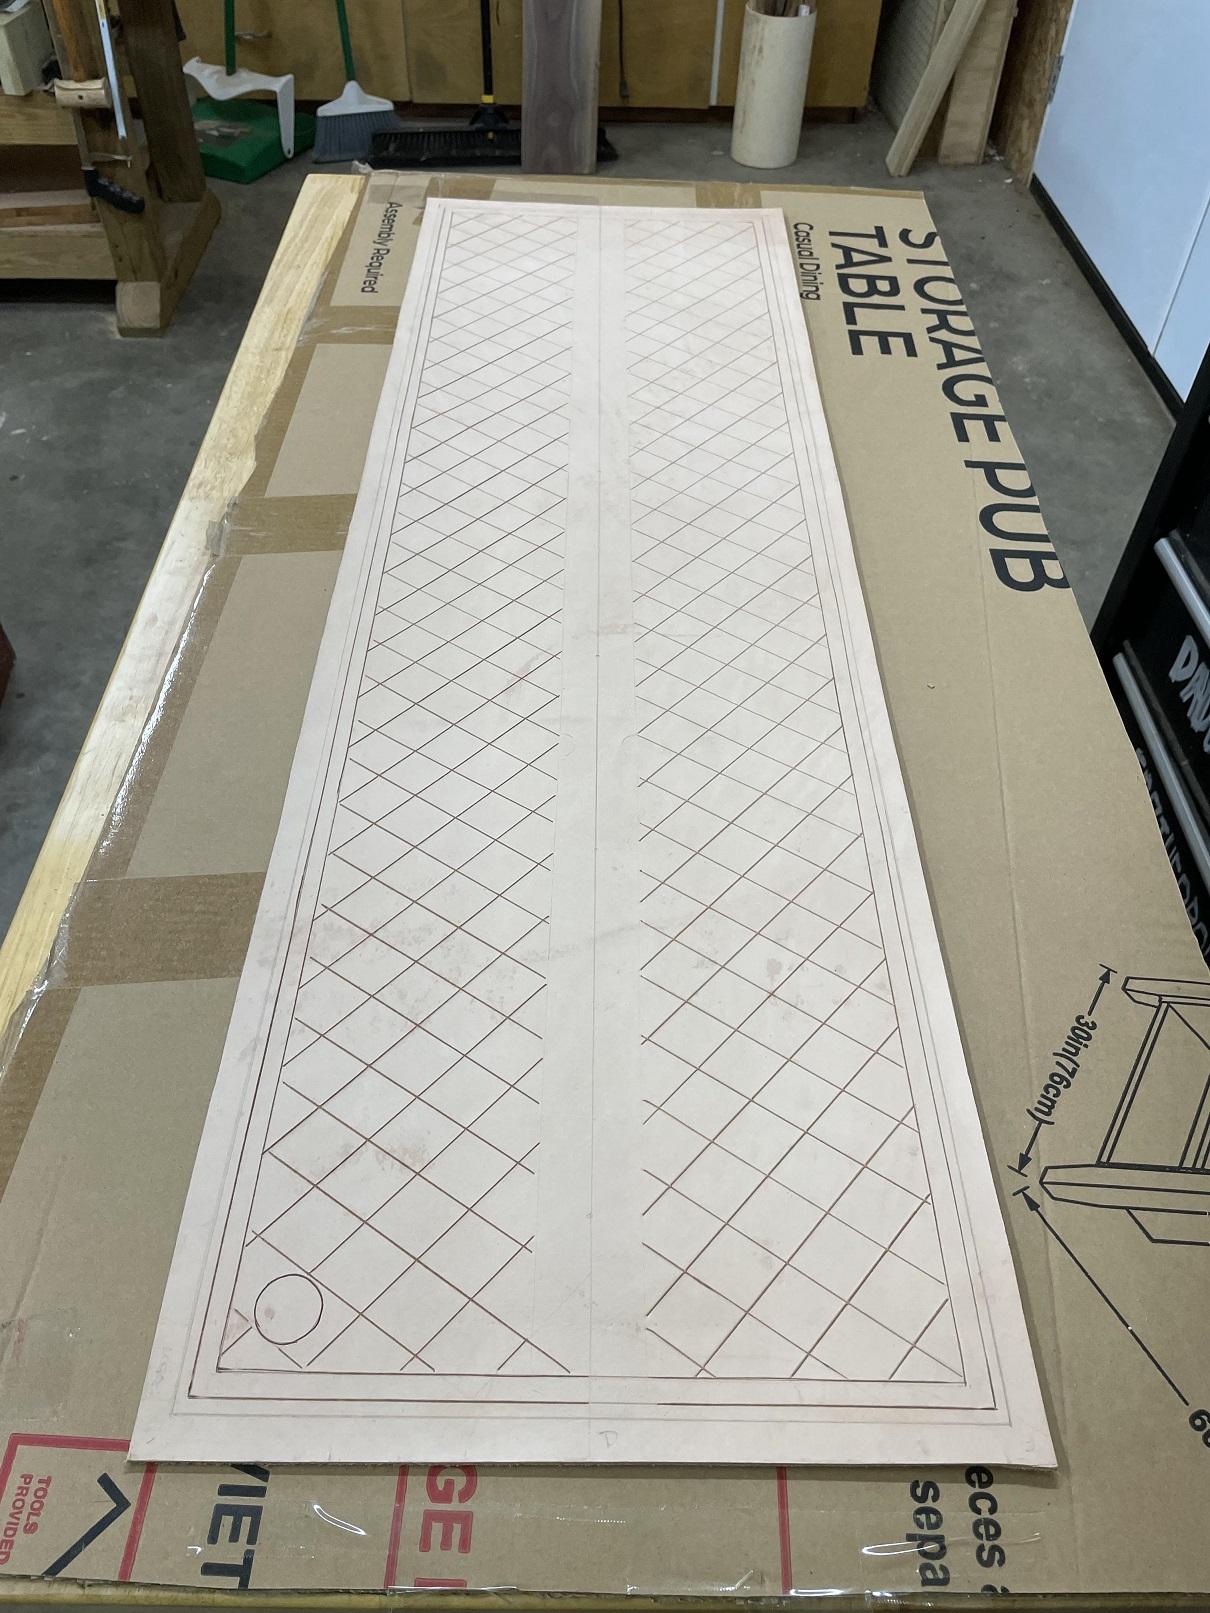
After all that time agonizing over the layout, I settled on a serpentine border for the edges, and a wide tooled Basketweave under and above the magnets. I carefully laid out the design, with a heavy ruler and a sharp pencil. Then cased the leather and cut it in. It was looking good. In preparation for tooling I taped the back of the leather to prevent any distortion of the panel. With the amount of tooling I'll have to do, I don't want to take any chances.