


BlackDragon
-
Posts
493 -
Joined
-
Last visited
Content Type
Profiles
Forums
Events
Blogs
Gallery
Store
Everything posted by BlackDragon
-
Also if you can tell us where you pulled the pic from, link would help, we may be able to track it down better.
-
Wow. One very large thread to hold the pocket down. At the very least you have a wallet to use as a template. There are a lot of youtube videos on making different types of wallets. Watch several different makers because everyone has a little different way of making their wallets. Corter leather is a good one, Don Gonzales is also very good.
-

Alternative Leather Tool Source: Bookbinding
BlackDragon replied to RidgebackCustoms's topic in Suppliers
Yes they do overlap a bit but Talas is one of the last companies I would buy from. I've priced their stuff for my books but when you factor in the shipping it makes it unfeasible. That $5 bone folder is $9 for shipping. I ordered $40 in bookcloth and the shipping was going to be over $30. Out of curiosity I added in some Davey's Board and the shipping went up to $71 through Fedex, they didn't give me any cheaper option to ship. So when looking at the "cheap" prices be careful of the shipping. -
Along with what Fred said it also looks like they didnt skive the lower parts of the inner pockets making it bulge out. They didnt glue the layers down so it lools like it's separating along the bottom. Some of the stitch holes arent evenly spaced. Personally, I wouldn't have put stitching along the top unless there was a liner.
-
Decorative Stitching/Embossing on a Driving Bridle
BlackDragon replied to TomE's topic in How Do I Do That?
Not sure why I didn't remember using thread as a filler, I do this on the spine when I rebind books. I looked Catrien Coppens up a little and she does some amazing work! That would be so cool if she could do that. Maybe she would be will to do a basic webinar on the embossing. -
Decorative Stitching/Embossing on a Driving Bridle
BlackDragon replied to TomE's topic in How Do I Do That?
I believe it's known as trapunto-style leather stitching. Basically it's similar to making a raised brow band but much more elaborate. You need a core made out of leather or cork, then you mold and glue your leather around the core, then stitch in place. -
Practice, practice, practice and steady hands.
-
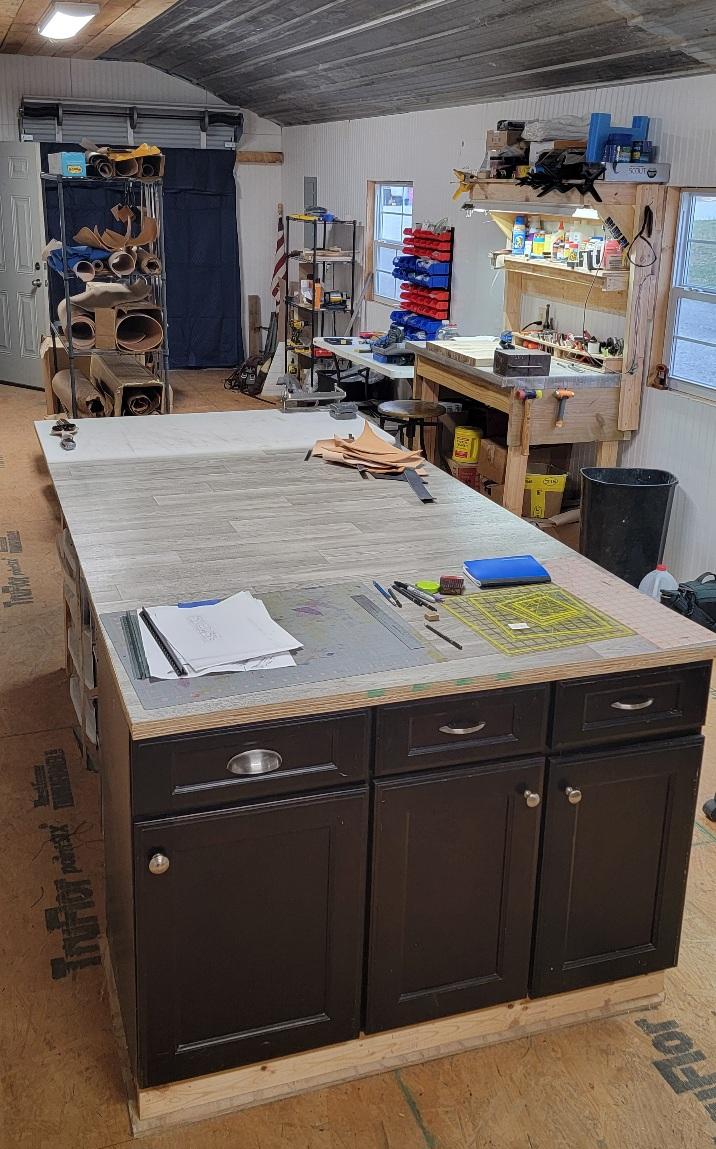
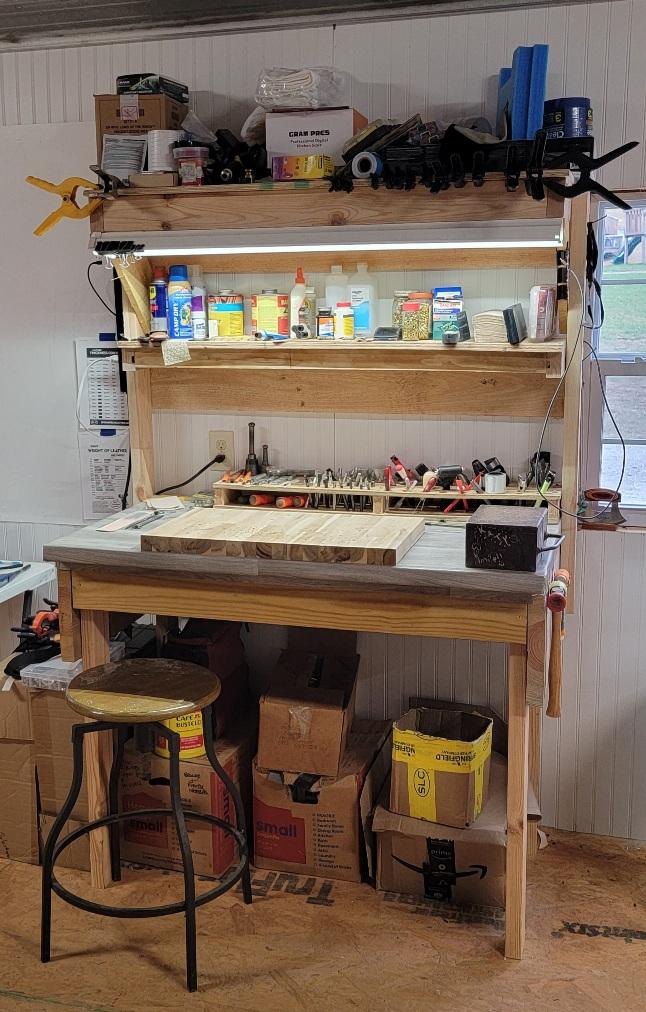
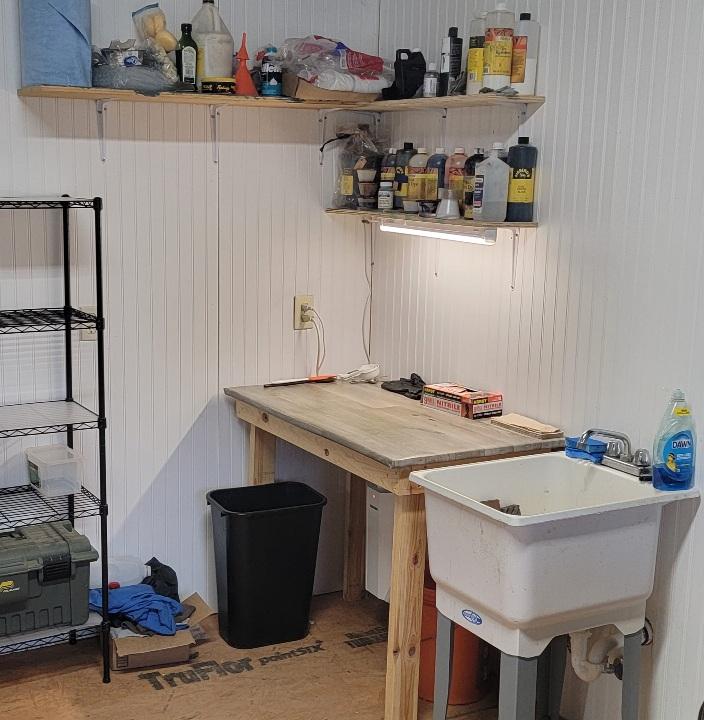
Setting up & organizing the work bench
BlackDragon replied to cspeedyrun's topic in Leatherwork Conversation
It's really going to depend on what you do the most. If you do a lot of tooling then your stamps and mauls should be easiest to access on your bench. I use drawers for storing supplies and things I don't often use. I have stations. I have a dedicated tooling bench where I do tooling and the occasional hand stitching. I have a large station where I can roll out a side to cut. My knives are usually sitting on my cutting board. I do most of my layouts and design work on here as well. I have a hardware area where I do things like rivets and anything that requires a little more aggressive work. I also have a dye area where I do any wet work.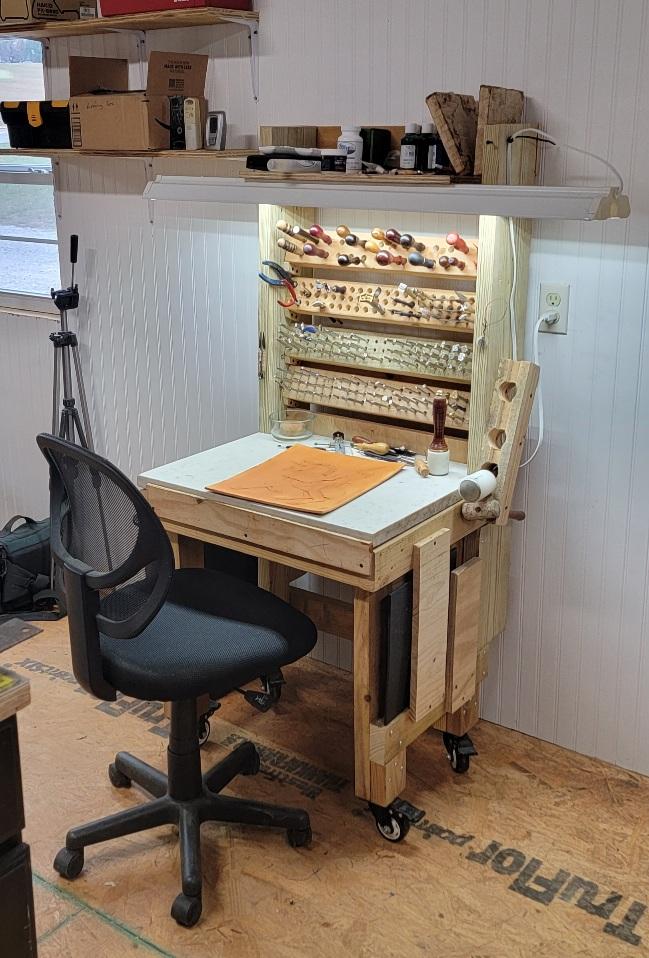
-
Wow! Wish I had one of these when I was in construction!
-
Internship and maybe a new start
BlackDragon replied to Tove09Tilda's topic in All About Us and Off Topic
Not sure why I didn't see this thread until today. I've been in the work force since about the age of 15, I started out in a company that made sails for all types of sail boats. I sewed banner flags and bags for the sails, then slowly worked up to laying out the sails on hardwood floors to later on sewing them together. It was great and it taught me a lot and still carry much of that experience to this day. I understand completely the frustration about getting a degree and not having that degree produce a job. I got a degree in advertising design in Florida and after graduation I applied to a lot of companies to try to find work, I even tried Disney & Warner Brothers (Bugs Bunny). Most of those companies were very small roles and they all had similar statements "You don't have enough experience". Which didn't make much sense to me because they were jobs for starting out. I couple companies actually stole some of my ideas during the interview process. I did a few small odd jobs here and there as a freelance artist but not enough to pay for fuel, lol. I went to work in various manufacturing companies over the years and most of those companies are not for people that want to express their artistic talents. This would include a company that manufactures saddlery. They have a set way to make a saddle and unless you get into a company that actually wants to change the way it used to be done you're not going to have much say in how to change it. When I worked in manufacturing I've seen the dead look in peoples eyes as they did the same repetitive jobs over and over, every day, for years. I've even had that look myself. I learned to balance my time outside of work to counter that feeling. I was a bit of an adrenaline junky, jumping out of planes, became a dive master, cave diver, deep diver, and did beta testing for various companies. If you can't find something you love to do as your career it's not the end of the world. Do your passion while you're in the job you need to survive. You can still follow your passion without it being your career, just balance your life. Even if you're following your passion as a career you'll have to do the things you hate in order to do that career. Like taxes! LOL -
Fender repair...
BlackDragon replied to Brokenolmarine's topic in Saddle Identification, Restoration & Repair
Best way I've found to straighten leather when it comes in to the shop is to dampen it a little and letting it lay flat. You can cut it while it's slightly damp, the knife will go through it easier too. It's not going to hurt the leather just like when you case it for tooling. I like the tooling options 2, 5, and 7 and would be happy with which ever matched my saddle the closest. -
Looks great!
-
Fender repair...
BlackDragon replied to Brokenolmarine's topic in Saddle Identification, Restoration & Repair
One trick I learned about taking a picture of something I want to color match is to take the picture along side of a known color. I would take a colored object like red playing card and take a picture of the item next to the card. When you have the picture and the card in hand you know know the amount of difference between the two. -
Pigskin liners
BlackDragon replied to ThisIsMyFirstRodeo's topic in Exotics, Reptiles, Furs and others
That's one of the issues with gluing in an interior. The wrinkles will even happen with fabric. One way to combat this a little is to glue the liner into the shape of the bend. The issue you'll have with this is that it will be harder to open because the liner won't give when you try to straighten it out. So it's a bit of a balance you can try less of a bend and hope you strike a good balance so when you open it you don't see wrinkle and it's not fighting the user to keep it open. This just came into my shop for a little TLC on the piping and other leathers. Notice the stains and grime. Since I'm removing the piping the liner (cotton canvas) will be free and I may be able to clean it up a little but the ink probably won't come out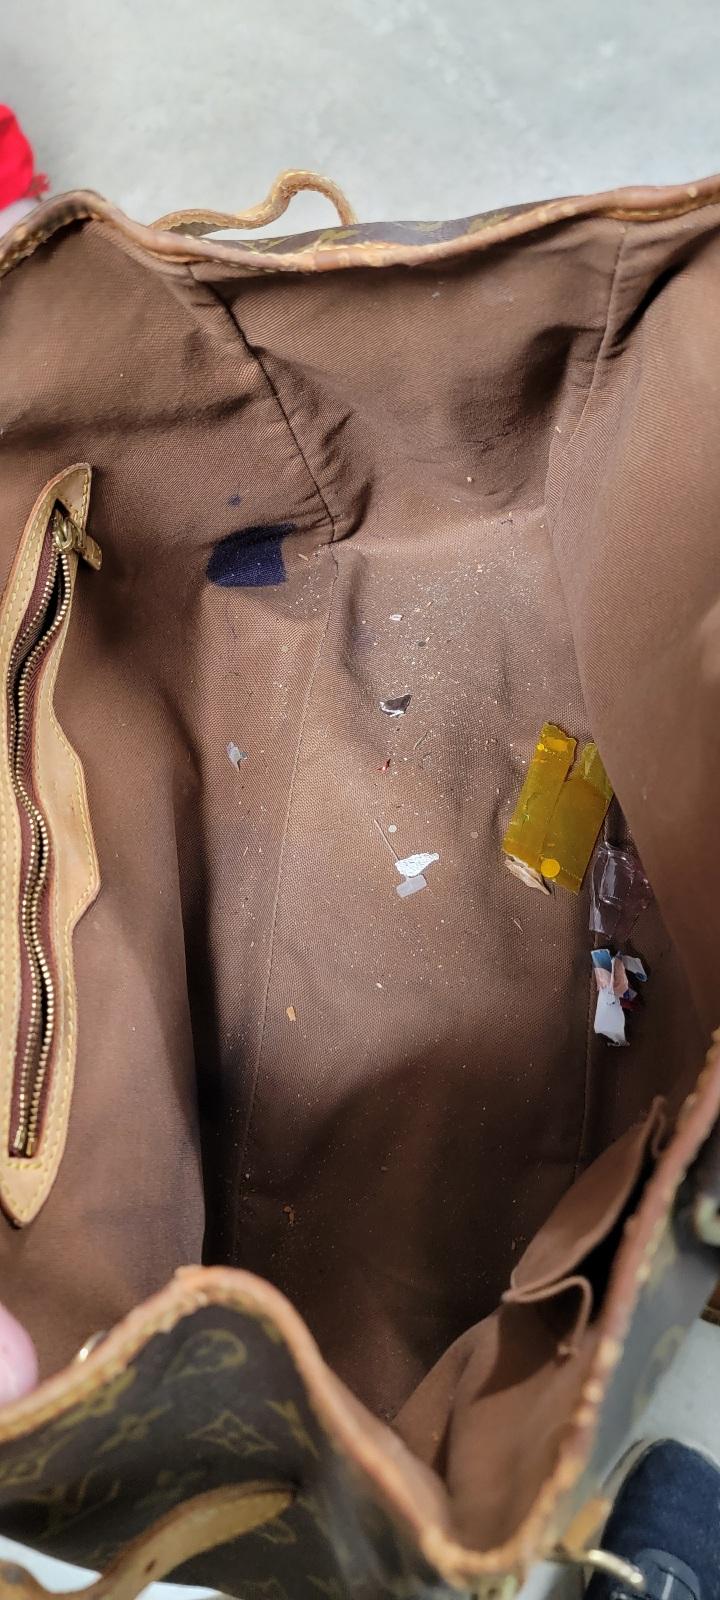
-
Fender repair...
BlackDragon replied to Brokenolmarine's topic in Saddle Identification, Restoration & Repair
Great beginning! One thing that will make it a little easier for you on the next fender. To remove the rivets on the Blevins buckle I take a large slotted screwdriver and use it like a chisel. I put it in between the leather and buckle and give the rivet shaft a couple of hard wacks and it'll cut right through the rivet.
-
Great craftsmanship! My hands were screaming at the thought of hand stitching all of that. lol You can find harness leather split to your liking from Wickett & Craig. I've been using their leather for a while and it's great quality.
-
Pigskin liners
BlackDragon replied to ThisIsMyFirstRodeo's topic in Exotics, Reptiles, Furs and others
I would shy away from lining a purse with animal skin unless it's a specialty purse or a purse that's just a fashion piece. Purses get really dirty on the inside because of makeup and just things that fall into it. Imagine not emptying your pockets for months/years at a time lol. Most purses I make are lined with a cotton material that's easier to clean. With that said I make fashion purses from time that I line with pig suede and it holds up well but it's pretty thin. You can use vegtan pig, lamb, goat as a lining but it'll be pretty thin, it's more expensive, it'll get dirty or stain easily, and it won't get clean. -
Great job! Color matching can be pretty difficult especially when you don't do it often. I went to art school in the early 90's and I still mess it up lol.
-
need help finding hardware
BlackDragon replied to stampingdelight's topic in Leatherwork Conversation
Do you have a photo of the whole item not just the concho? It may help locate the source. -
Thanks! I really appreciate the kind words. Next is the LOTR trilogy. The books will be in the same style but the box will be a bit different. It'll be a clamshell/slip cover hybrid so I have to invent it lol. I want to make it so the front opens like a pair of doors with the doors of Durin on the front.
-
Typically they used the Spanish mustangs but later on would trade horses. So they may of had a few different types, plus they would cross breed their mustangs. The Spanish mustangs has Barb and early Andalusian, think of a Spanish war horse. Today's American mustang has very little Spanish and a lot more European blood lines, it's closer to a Quarter horse.
-
Welcome back!
-
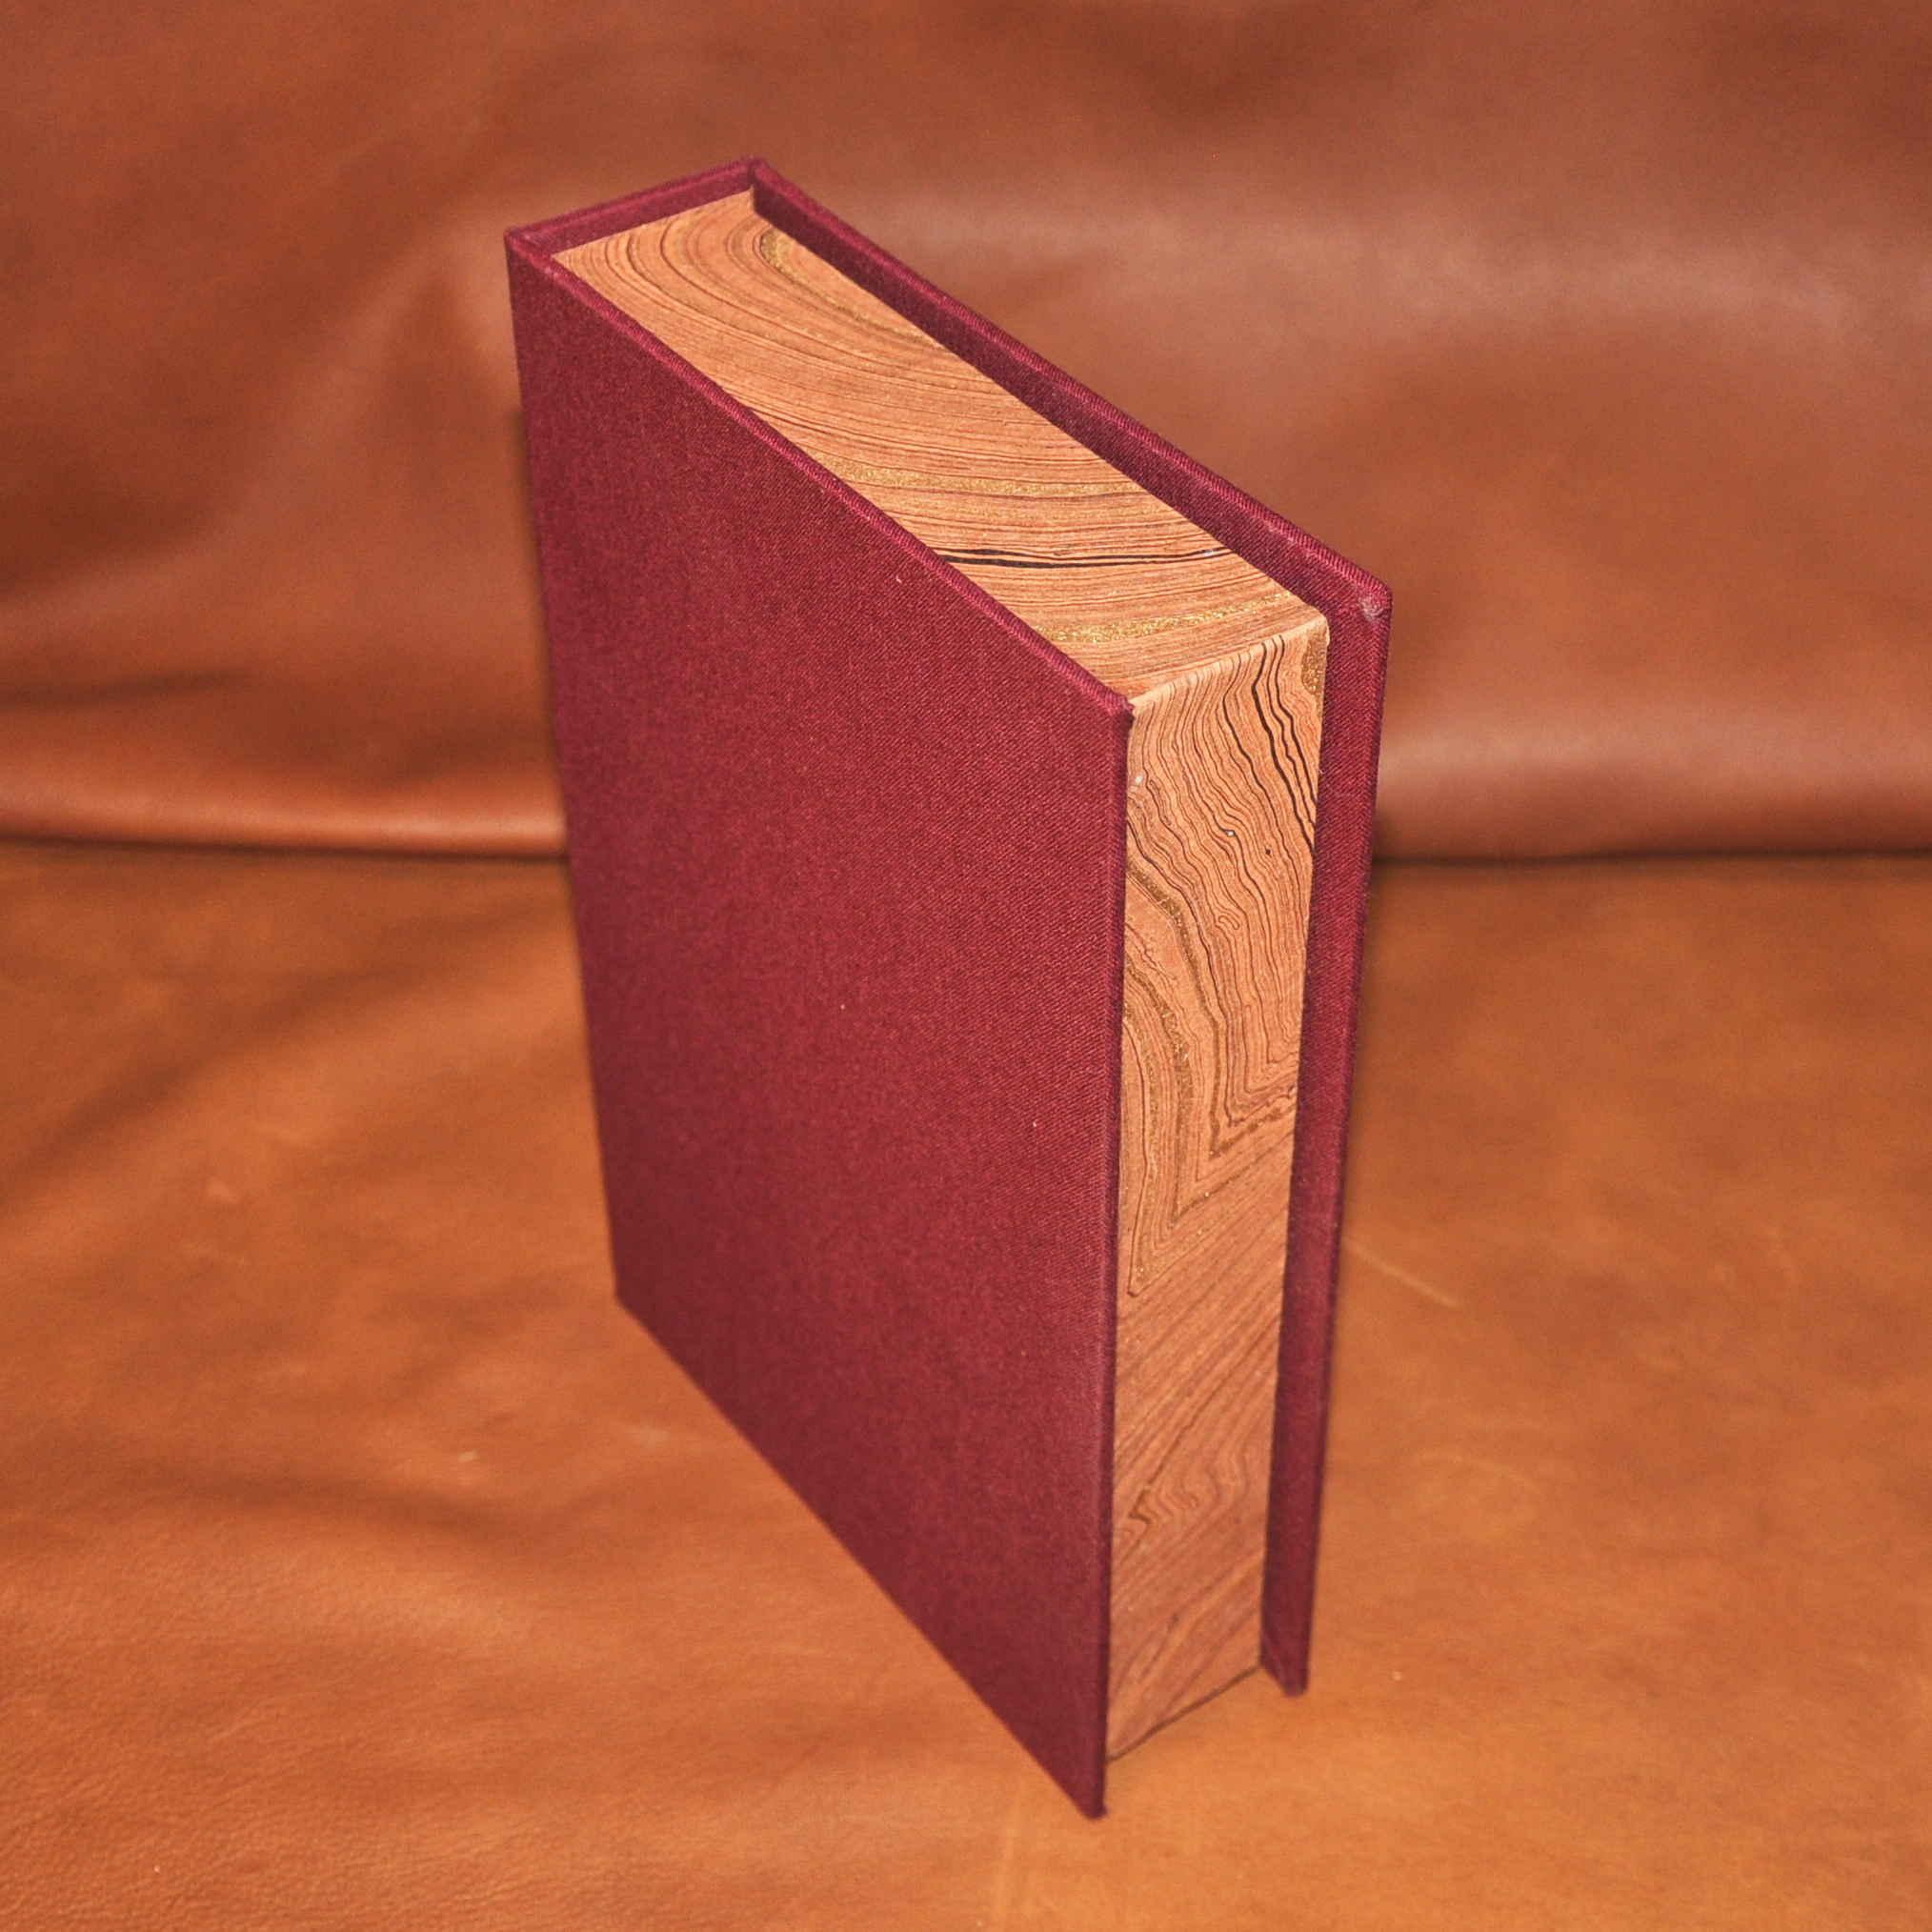
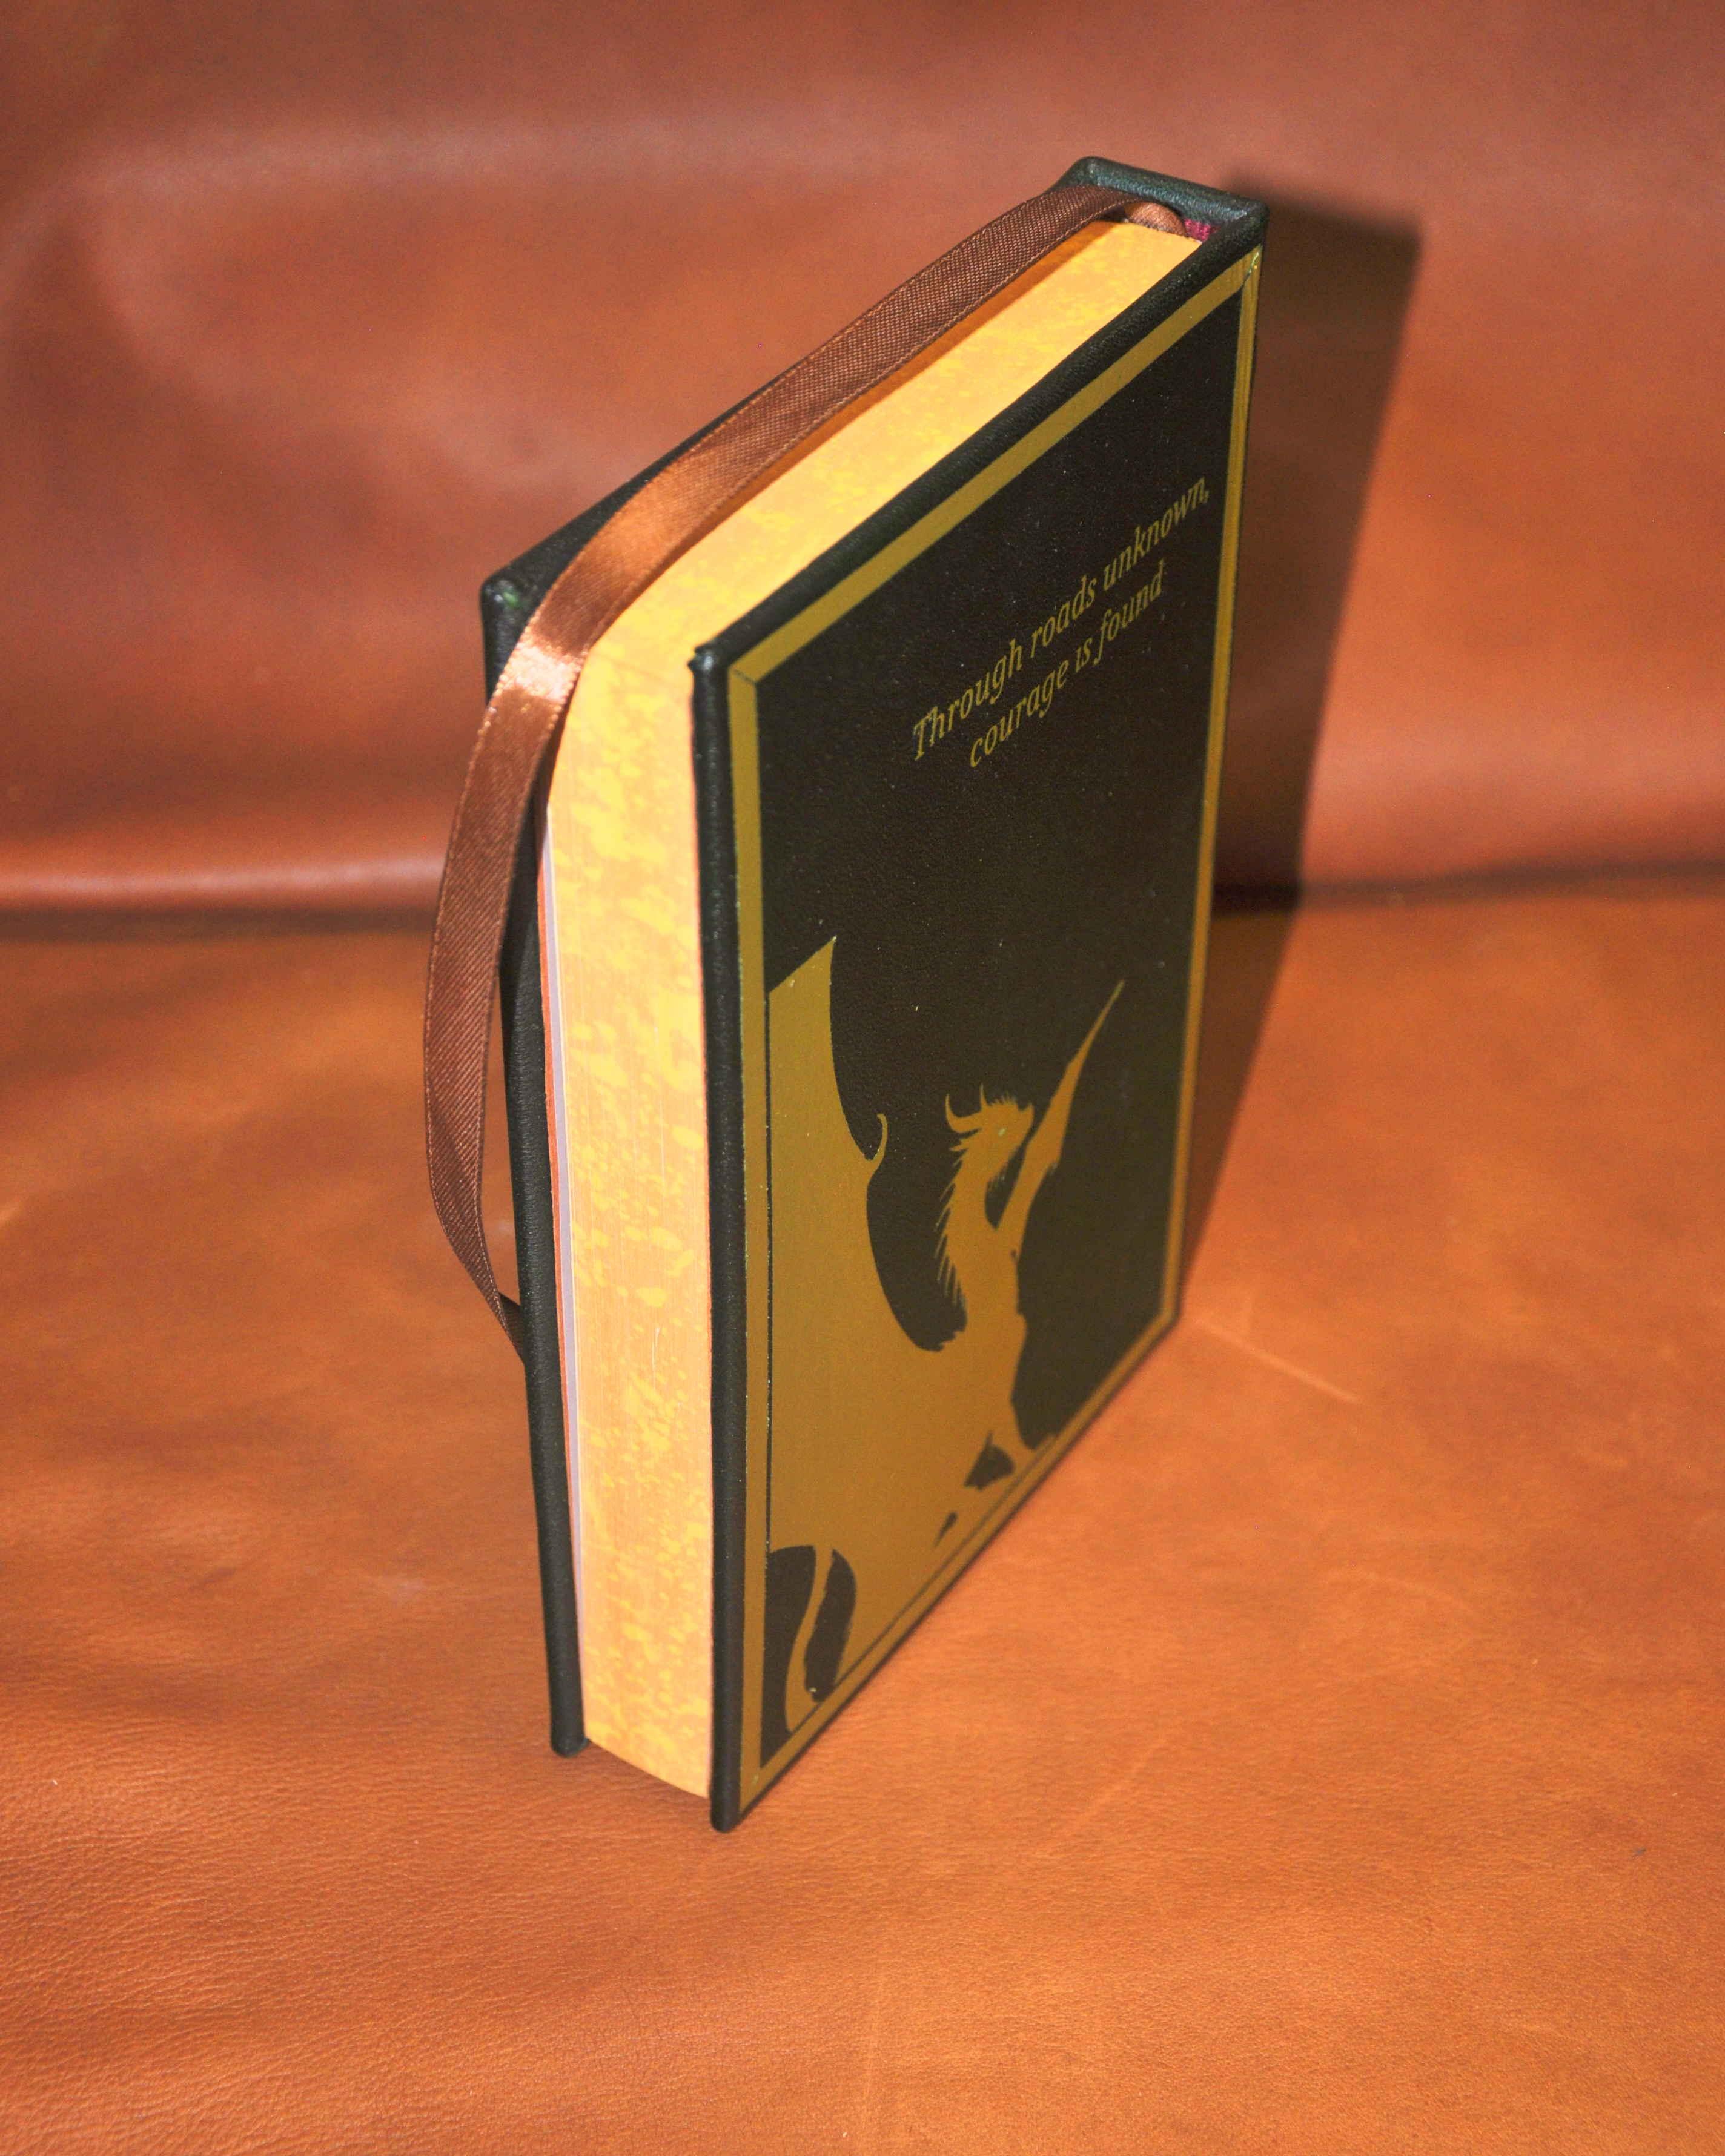
Got back in the shop after the holidays and finished up The Hobbit rebind. This one is going out to the same friend as The Silmarillion rebind I did here: https://leatherworker.net/forum/topic/132484-book-rebind/ This book has the same specs as the last but I added a gold border on the front and back, I think it ties the cover art pretty well. I used holographic htv for the "queer symbol" Gandalf put on Bilbo's door and Smaug's eye on the back cover, which are difficult to see in the pics. The end pages and the book ribbon are earth tones to represent the Hobbits love of growing things in the soil. The page edges are light brown with a dark yellow speckles.


-
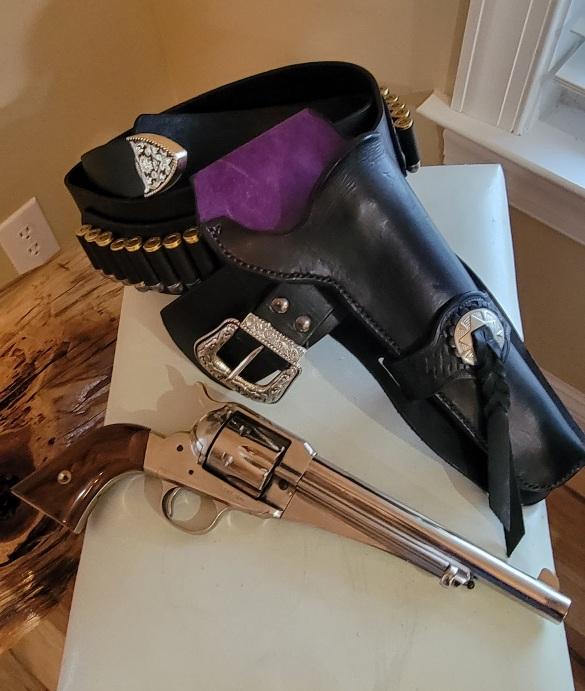
I use Ballistol on my rifles and pistols, it's a great product, but I wouldn't use it directly on my holster. You may get some transfer from the weapon to the holster but I'm guessing it extremely minimal if you use it as intended. I use NFO on all my holsters and customer's holsters and never had an issue. Again you use it as intended and you shouldn't have a problem. I'm sad to say I did this to my first cowboy rig and I paid the price. I grit my teeth each time I look at my revolver.
-
Just be aware of how you restore/conserve the saddle. There is a difference in the two and you can ruin an antique saddle if not done correctly.