Mablung
-
Posts
576 -
Joined
-
Last visited
Content Type
Profiles
Forums
Events
Blogs
Gallery
Store
Everything posted by Mablung
-
Leather dyeing
Mablung replied to jarheaddoc's topic in Dyes, Antiques, Stains, Glues, Waxes, Finishes and Conditioners.
Is there a particular reason you think a standard dye wouldn’t work? Water-based might not as easily, but an alcohol/spirit-based likely would. Unless the stuff you used strikes it in a way that prevents effective dyeing. -
Lol. That’s two of us, then.
-
Glad to help in some capacity. What kind of leather are you using?
-
There’s likely a Tandy nearby, or at least near enough to make a day trip. Take a basic construction class and bring your tools, or just go in and ask questions. Skiving takes practice and a scary sharp blade. The “safety beveler” tool makes skiving easier but requires regular blade replacements. How thick is the leather you’re punching through? Most chisels need some sharpening and will need a good hearty whack with a mallet or maul to go through. You’re probably doing fine and have decent enough tools and just need some practice using them.
-
Snazzy; I like that look. I’ll try that on the next one. Thanks for the suggestion.
-
What kinds of issues?
-
Thank you! It’s a dream to use. Just needs a little tuning as I adjust how I use it.
-
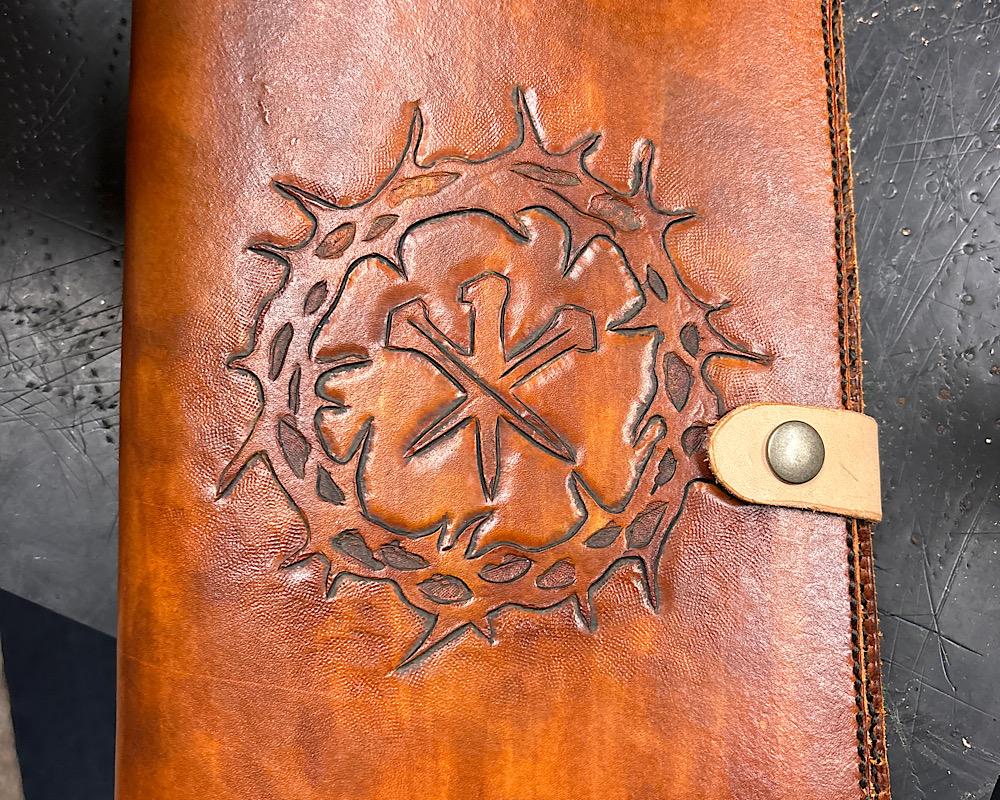
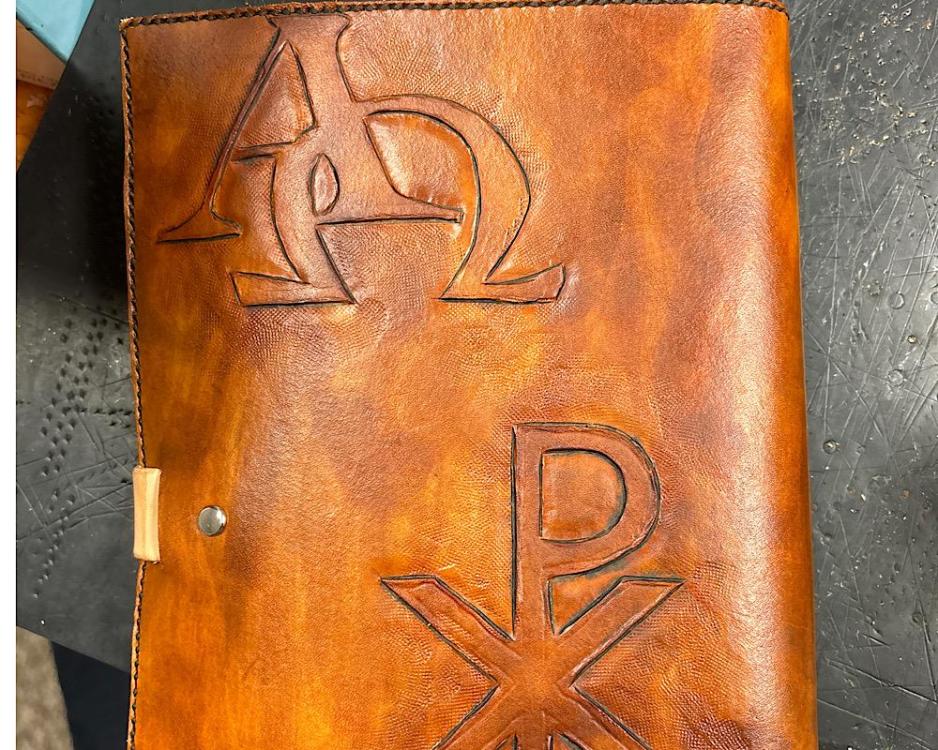
Just make the dimensions a bit bigger. I made it slightly too small for my sermon notebook, so I cut it down for this other notebook and still made it a bit small. So for the notebook I carry to church every Sunday, I need a bigger cover anyway. This one will mainly live on my side table at home, so I don’t feel like trying to match the dye. I’ll just mix a new batch for the next cover and dye every component all at once.
-
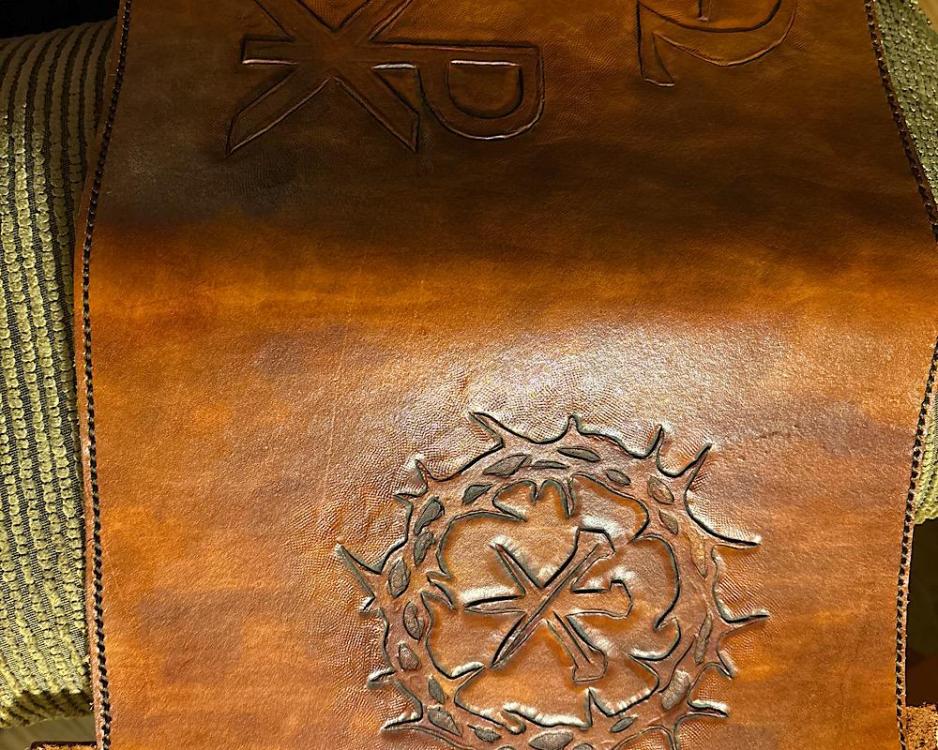
Finished product. Antiquing isn’t great, partly because I started applying the SuperSheen topcoat too soon and smeared the antique paste a bit. But it still turned out pretty sharp, I think. Left the closure tab raw because I’ll rebuild this thing eventually. It’s been put on a smaller notebook than the one I carry for sermons on Sundays.
-
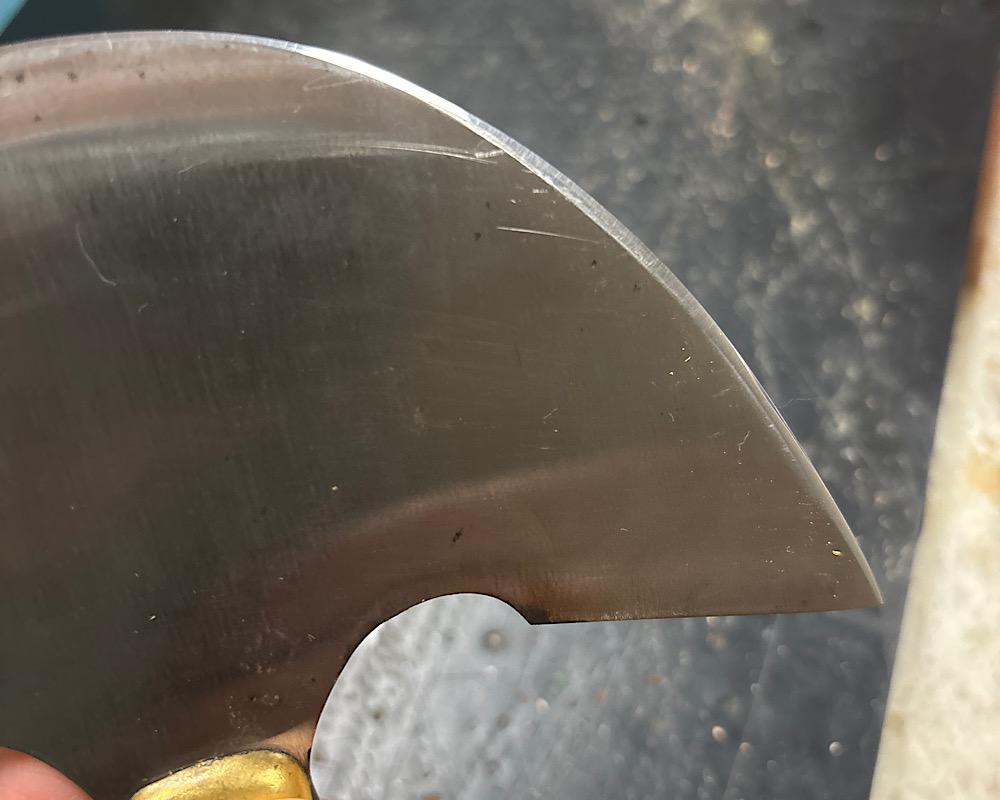
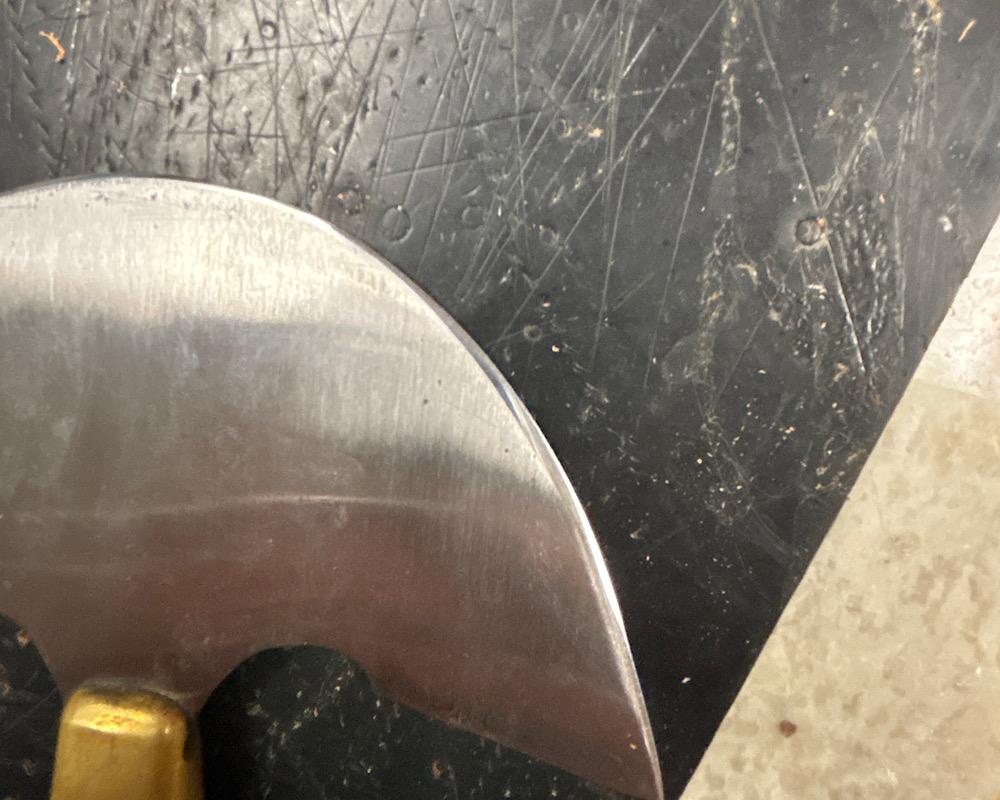
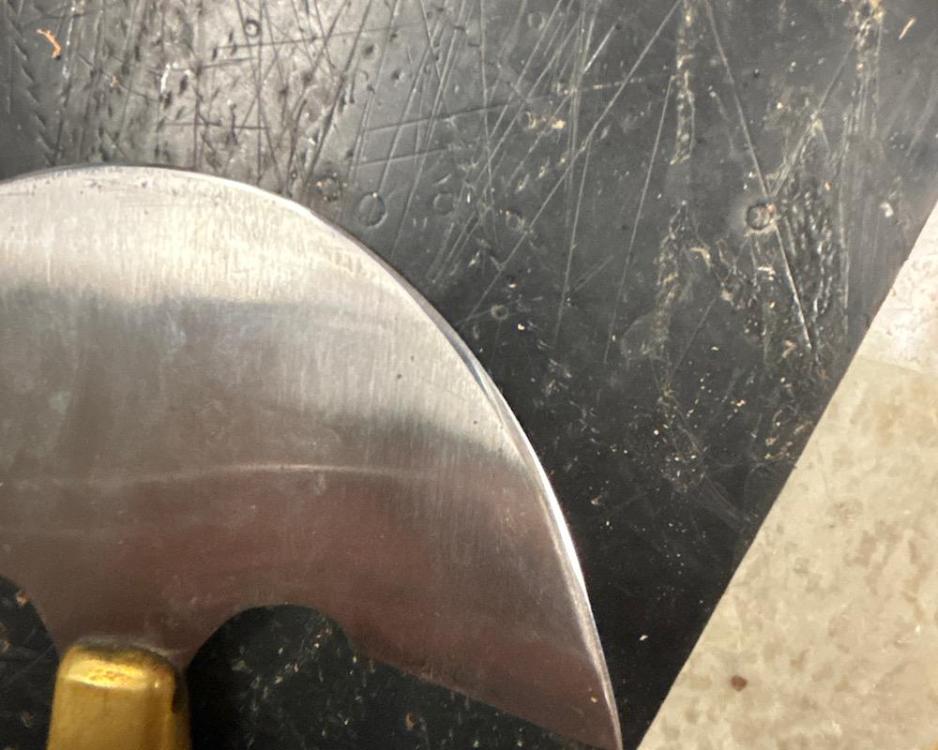
Couple of closeups of the edge. I couldn’t get a macro shot to focus, but this gets the idea across about the bevel and degree of polish. It looks more scratched in the pic than it really is. The bevel is fairly shallow, so at some point I’ll reprofile it again to make a more aggressive bevel to give it some extra strength. As long as I strop it every few cuts and don’t press down too much (a bad habit I developed when working with my dull Stohlman knife), it lasts several feet of cutting before it needs stropping. I like it a lot.

-
You know how you asked in another thread when to become proud of your work, @Thadrick? You’re there. This is beautiful work. That doesn’t exclude improving it, either. There’s always something to improve. But this is great and something to be proud of.
-
That stimulates a strange mental image.
-
Holster making literature
Mablung replied to JLopez38's topic in Gun Holsters, Rifle Slings and Knife Sheathes
I didn't explain myself all that well, I don't think. I may need to just reply later with some photos of the holster and a few arrows to try to depict, rather than explain in words, what I mean. It's also by no means impossible that I don't quite understand what my own question is regarding that particular holster. I do know that one of my questions is how to determine on an 80/20 design how to calculate where to place the stitch line. It looks, in the pics you shared, as though you have the stitch line about as close to the firearm frame and sight channel as you can put it, pretty much right along the molding crease. I tried to do that with my holster but am not sure I quite got it right. The retention is generally fine while it's in my belt, for what that's worth. (And I may have described a problem that doesn't really exist, as a result, for all I know.) Tell me if that still doesn't really make sense and I'll try to rejigger my explanation this evening. -
Holster making literature
Mablung replied to JLopez38's topic in Gun Holsters, Rifle Slings and Knife Sheathes
@JLSleather, thanks for the pattern instructions. That simplifies the process for me greatly, which my non-spatial, non-mechanical mind needs. I’ll use this for making a couple pancake holsters and refining others I make. When adapting to more of a 80/20 molded holster, where do you generally place the stitch lines? I’m planning to remake an AIWB holster I made a while back, in part because I think it stretched around the stitch lines too much. Trying to figure out how to keep a snug fit without making it excessively tight (some of which will come from improving my boning technique, I acknowledge). One complicating factor is that I have a WML on this particular pistol. -
I do not, though I have been considering getting a machine. Not in the budget for a a bit yet, but it sure would make things easier.
-
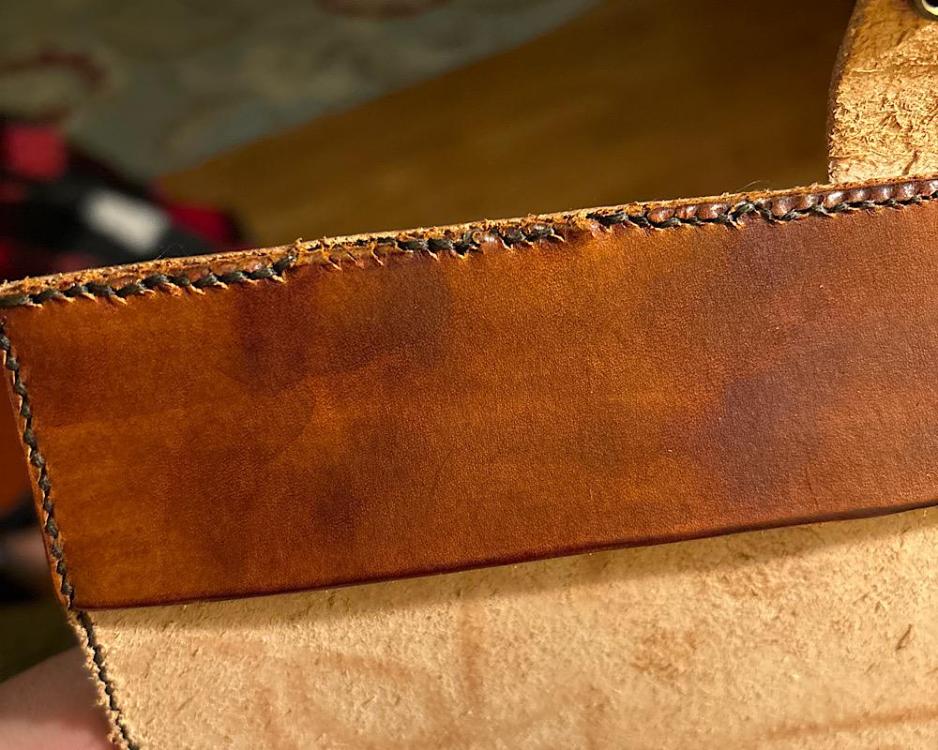
Couple shots of the vertical edge stitching and finishing. At a couple points it’s truly atrocious. But the rest actually looks halfway decent on the exterior.
-
Yeah, hand stitched. I didn’t fully appreciate just how small the stitches are until I looked at the first major line on this thing. Good grief. I used a set of Craftool Pro Fine stitching chisels I have, I think the 3mm ones. I like the narrow holes because they close up well, compared to my regular Craftool chisels. But man do the holes make it difficult to pull a large-eye needle threaded with 0.8mm Ritza thread through. I learned the benefit of using a stitching awl to stretch the holes. (After I made a real pudding of my stitch lines along the long seams of the cover flaps, but that’s a different set of photos.) Anyway, because I’m a glutton for punishment, I’ll make another soon that will fit my larger notebook. I’ll post that one, too.
-
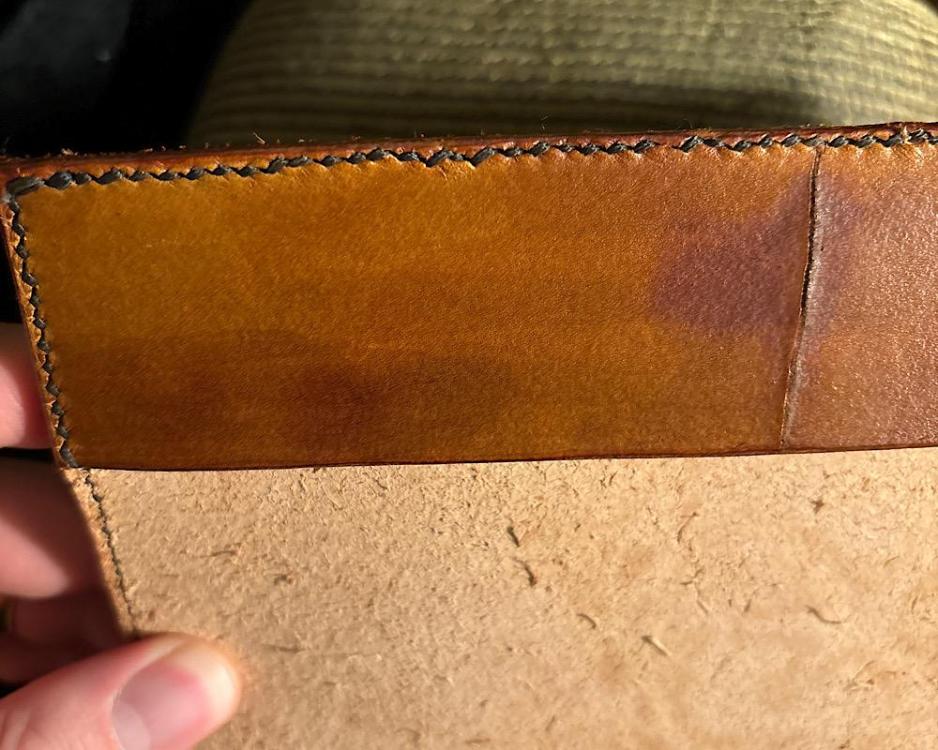
All but final trimming and edge work done. The stitching is atrocious, as I experimented with using my chisels as a pricking iron and finishing the holes in the cover flaps with my awl. My goodness the stitching process was tedious and time-consuming, absurdly so. But I learned a bunch of valuable lessons in making this thing. Looking forward to finishing it and putting it to use. Color is wrong in the photo, but I’m too tired to fiddle with the pic. It’s more of a medium brown and not nearly as yellow as it appears.
-
I like it. Good stuff, especially that portfolio and the handbag. I like that bag particularly; that shoulder strap really pops with that leather color and surface finish.
-
Plain gussets stitched either seam in or out seem pretty strong alike. I’ve made them both ways, although my inclination is to say the seam in is stronger. But that adds a couple complications to construction, although none that are insuperable. (I made a tote bag for my mom that is 5/6 oz S.B. Foote boot leather that I turned out; that thing is bombproof.)
-
Oh, I gotcha. I must have misunderstood what the real issue was. It looks almost as though the main panels are wider at the top, like trapezoids. You might try using some heavy cloth or craft foam of a similar thickness to develop the pattern from trial and error.
-
Re: dip dyeing technique, Chuck Dorsett, who does the Leather Element videos for Weaver Leathercraft, recommends punching stitching holes before dyeing so that the dye penetrates the holes, and then using a piece of small-gauge wire hooked into a stitch hole to draw the leather through the dye. I haven’t tried it personally, but that would eliminate the dark spots from your fingers. Mr. Dorsett also wears gloves to keep dye off his fingers, which I do sometimes. FWTW.
-
I’ll share some tomorrow or Saturday. I’ve decided, after a few weeks of using it, that I need to adjust the bevel at a couple points, as I was less consistent with the angle than I thought. But overall it’s in great shape now and extremely sharp. I’ve nearly skived my finger once or twice due to mild carelessness regarding hand placement.
-
Skive the edges well and you can probably keep the seam bulk to a minimum.
-
That’s not a bad design idea. I might borrow it for making a beater strap for my Tissot I bought a month and a half ago or so.