Search the Community
Showing results for tags 'messenger'.
-
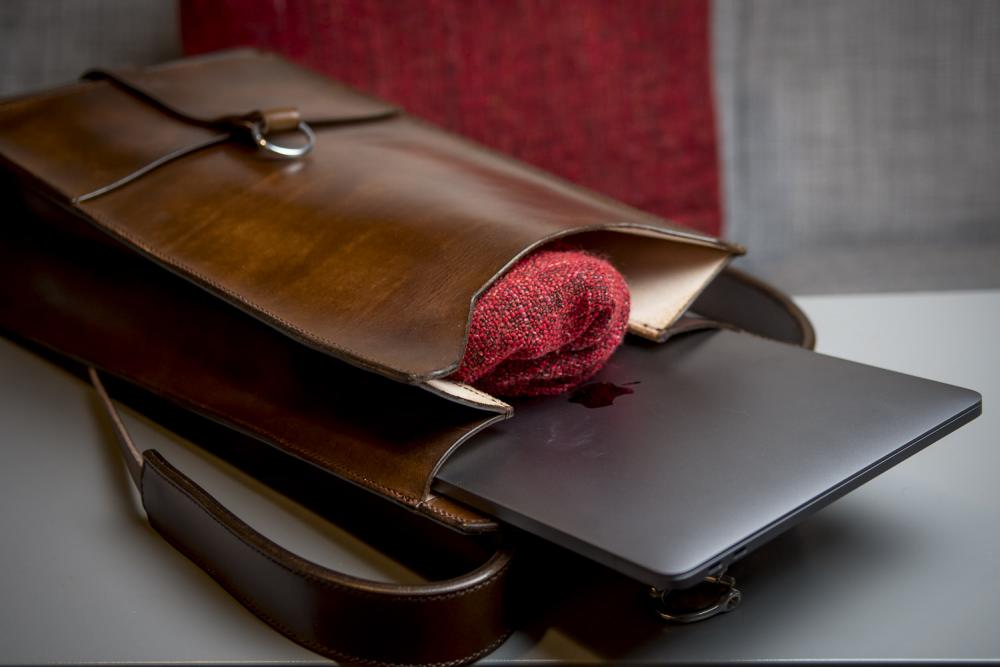
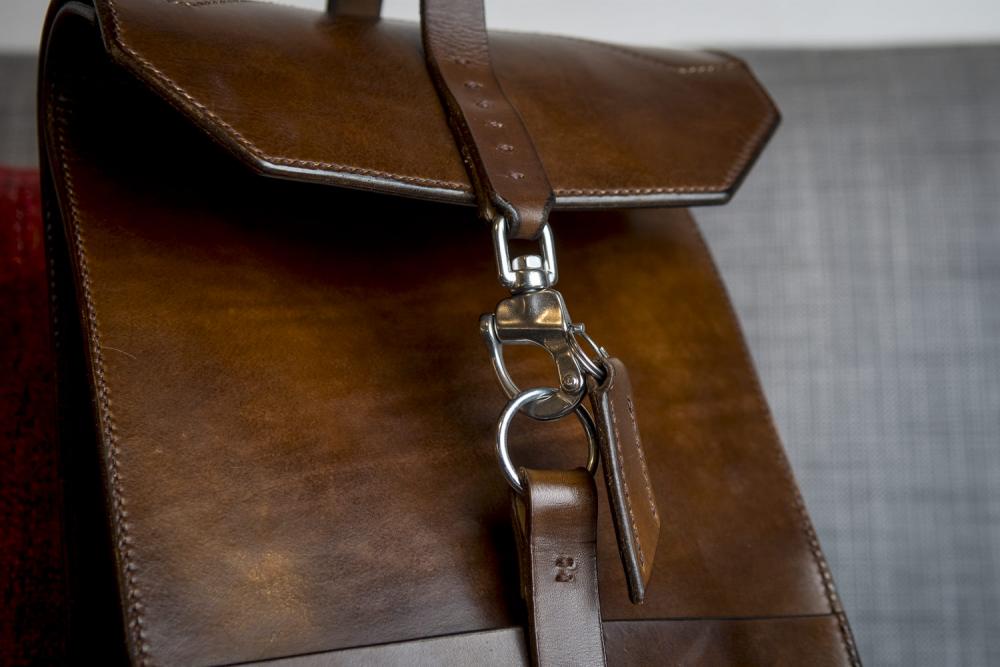
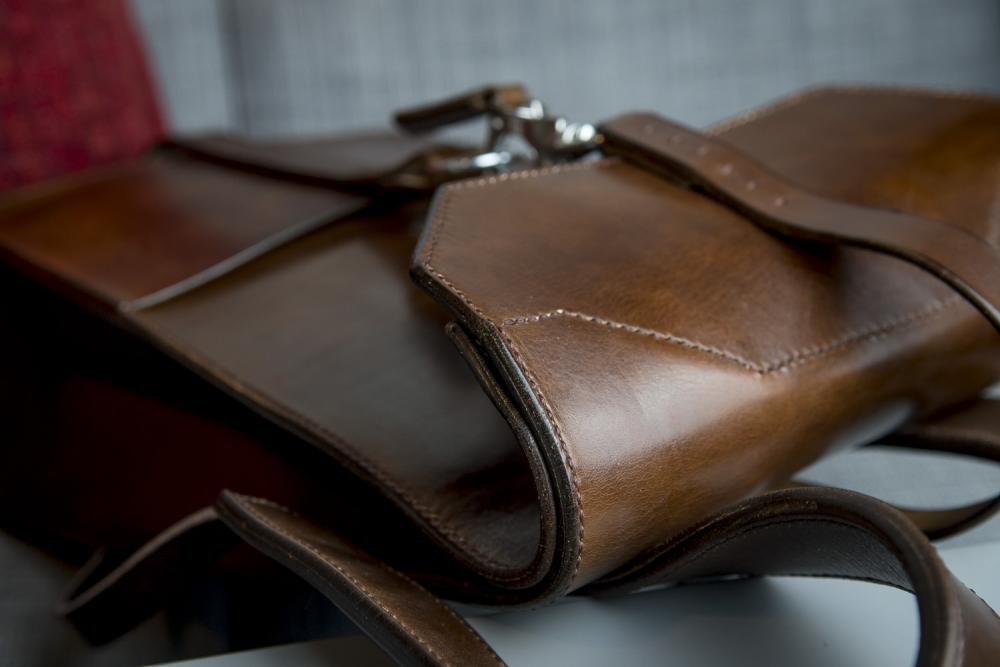
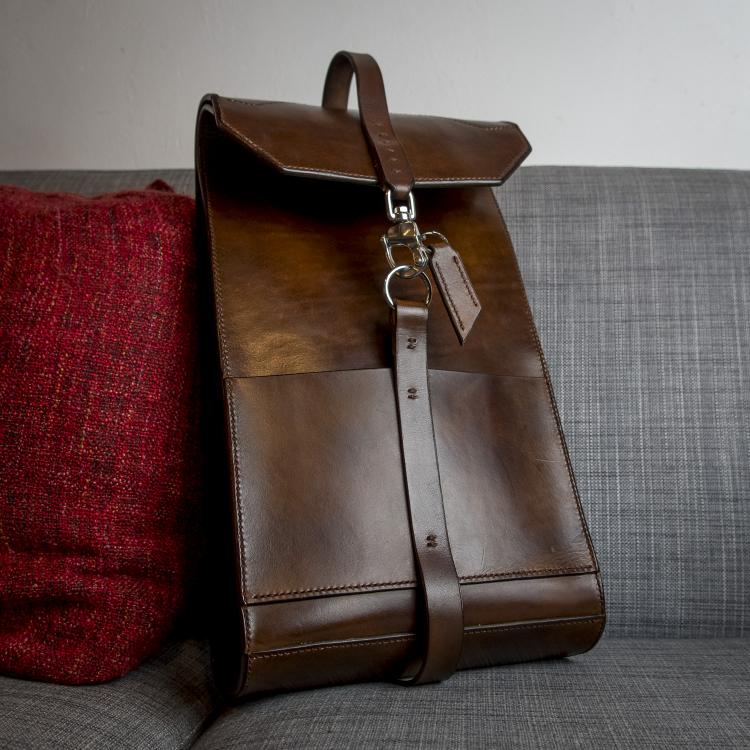
Hello everyone, Thought I'd show off some restorations/conversions that I have recently done. While not as impressive as making my own stuff, this was my first foray into larger leather items outside of watch straps which I started making about 6 months ago for myself. While looking for material for watch straps I came across some beat up old swiss saddlebags in a box under a table of an old military surplus store. This first set was from 1939 and were in pretty rough shape. The bags were so nice that I decided I wouldn't reuse the leather for straps and instead put them away and began a slow process of softening up the stiff leather. Fast forward a few months and I bought another set, these dated 1941 and 1942. These were slightly different from my previous set and in much better condition. It was with these that I decided to try my hand at converting them into something different. For this first bag I did the following: Removed all threads and rivets Cleaned and flattened the leather pieces Conditioned the leather Put it all together again by hand using Tiger thread that was a good match for the original thread and custom made aluminum rivets I also added some additional pieces: Handle (used the original connecting strap between the bags) A back pouch for papers (this used one of the original saddlebags that wasn't restorable) a lower luggage strap (used a 1942 K31 swiss rifle sling) An upper luggage strap (this used the pieces/hardware from a 1946 Swiss canteen) Shoulder pad (used more leather from the 1939 nonrestorable saddlebag) Should strap (2 K31 rifle slings from 1945 and 1952). A Swiss Army dog tag A center strap using swiss army accessory straps Modified single ammo pouch from 1944 (also torn apart, cleaned and restored) A large ammo pouch from 1962 (same as the rest) The 2nd bag is one of the originals from 1939. Unlike the 1942 bag that had 2 straps on the interior for horseshoes, this one only had a single pocket for one horseshoe. In the process of restoring this bag I again took it apart, cleaned it up and restored it. At some point in it's past a connecting bar had been poorly riveted to the back that I had to remove. It also had its original D-Rings for attaching to the horse saddle removed so I had to add new square rings to accomodate the shoulder strap. When I put it back together I decided to add an additional pouch to this one and installed it between the front piece and the gusset and the welt. I also added a pencil pouch from a Swiss Army Officer's Bag from 1970. I also installed one of the straps from the unrestorable bag and moved the interior pocket to the side. I also decided to make a sleeve for my Macbook Pro just for a bit of added protection and used the same leather that was used for the handle wraps of both bags. Modifications done to this one: Removed all threads and rivets Cleaned and flattened the leather pieces Conditioned the leather Put it all together again by hand using Tiger thread that was a good match for the original thread and chicago screws I also added some additional pieces: Handle (used the original connecting strap between the bags) A pencil pouch (from a 1970 Officer's bag) Shoulder pad (used more leather from the 1939 nonrestorable saddlebag) Should strap (2 K31 rifle slings from 1943and 1944). A front center strap using swiss army accessory straps A large ammo pouch from 1962 (same as the rest) Thanks for looking.
-
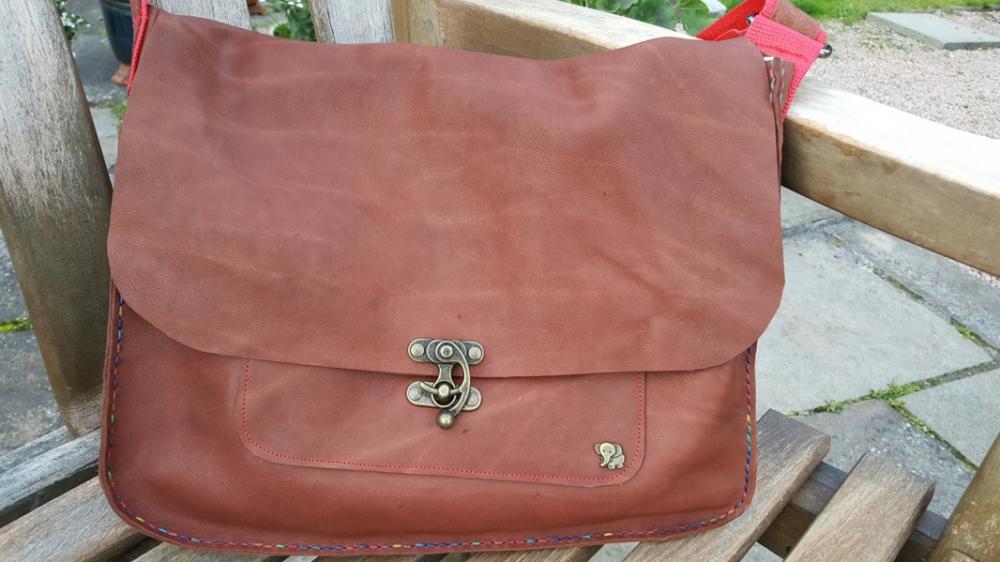
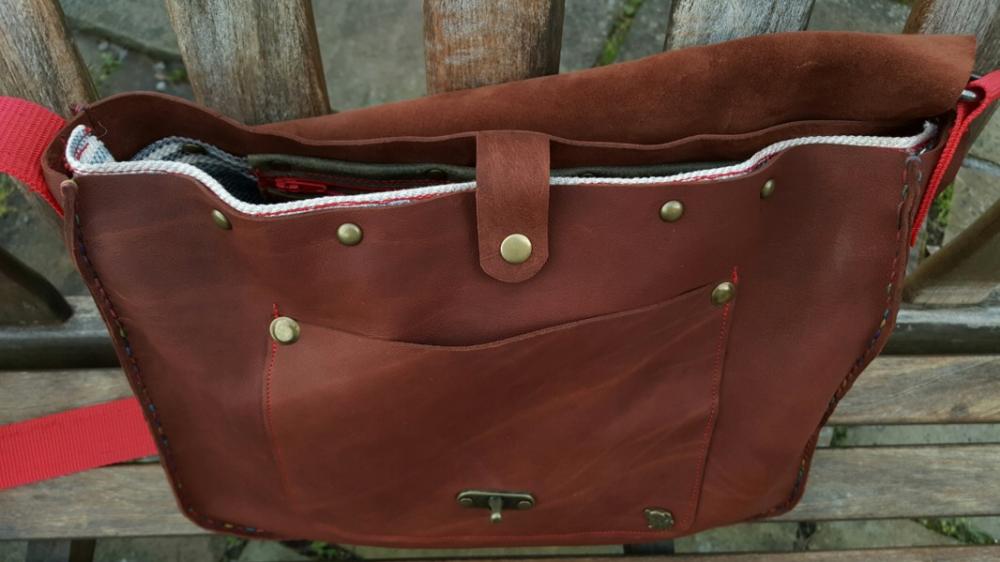
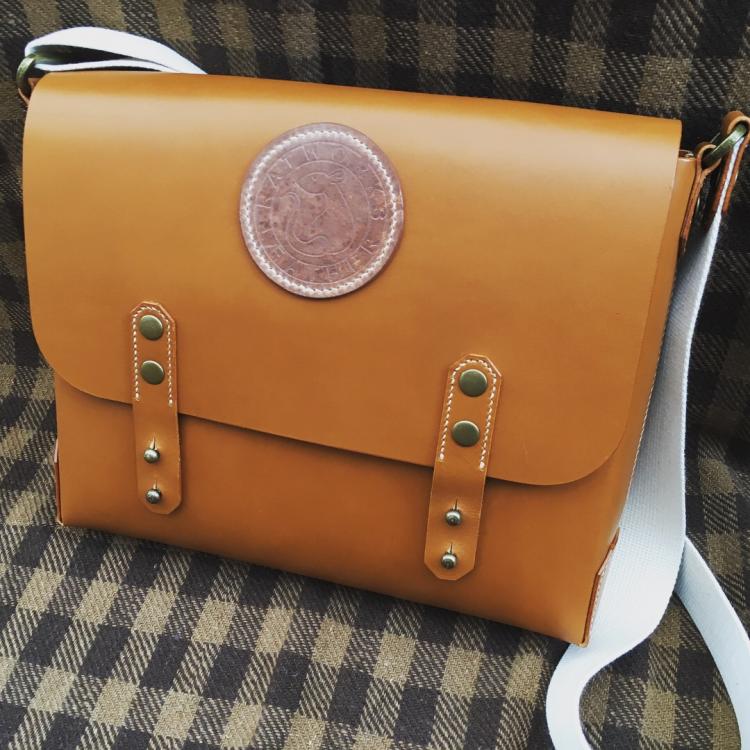
A little over a year ago I did a 1 day course in Matlock learning how to make a bag, then never got round to making another. So last week I decided to make a new one building off the design of the first, and it came out alright. This is one of the bigger projects I’ve done in some time, and I really enjoyed that. Dyed through veg-tan, 2-2.5mm, with solid brass hardware. The strap is some heavy duty canvas- couldn’t be bothered doing a leather one. There’s some off stitching, I was trying to figure out the corners and botched a couple. It also could do with a bit more shaping so it’s a bit more defined in its shape. And that logo needs to be better placed. But it works, and it suits my taste a bit more than the first one. Feel free to critique!
-
This here is my second project, and as usual, I bit off more than I could (easily) chew, but I think it turned out OK in the end. I needed a travel camera bag. I wanted it to fit my camera and 2 additional lenses, filters, extra batteries, along with regular city necessities, all in bag that didn't just scream "camera bag". As far as my design choices, I wanted something to push my abilities, (or in this case push my patience). I met wet forming in my first project with success, so I wanted to incorporate that into my bag somewhere. I also wondered why all the bags I saw were either stitched and turned inside out so thread doesn't show, or the leather was sewn back to back. I wanted to make something in between, and find out why it's not all that common. I found out I also wanted some sort of pattern to keep things from being so blah. Stamp work isn't really my thing, so I was looking around at various leatherwork I have around me for inspiration. I noticed the broguing on my boots; that line of holes and stitching has a fantastic ability to dress up a normal pair of work boots to the point of being nice enough to go out on the town in, but it will prevent a pair of dress shoes from being "fancy" enough to be worn to formal occasions. I have hole punches, calipers and time. Man, stitching this took FOREVER!!!! It went fairly well while everything was out in the open, but once it was wrapped up, I was making every half of every stitch completely blind. I easily have 15-20 hours in stitching alone. I really like how it turned out, but holy cow did it take a long time to make this bag! On to the pics, 'cause that's what clicked on my oh-so-clever title for, right? Wet forming one of the sides So. Many. Holes. We lost power one night so I ended up stitching by candlelight for a few hours. The the casual viewer may notice that the handle attachment points aren't level. The keen observer would point out that the cuts on the flap aren't perfectly symmetrical. Ehh... Oops? This was before I cut the excessive strap and stitched it. I wanted this usable before my 3 week, 16000 mile trip, which I completed the bag for with a comfortable 5 hours to spare. The difference between the leather colors is due to the fact that I worked on the main flap outside in the sun. I liked the slight contrast so I brought the leather for the strap attachment outside to tan too. I wanted to peen those rivets better before I left, but my friend totally flaked out on letting me borrow her ball peen hammer, so I peened them out using my father-in-laws (after these pictures were taken). I'm also chapped because I ended up marking the leather because all I had was a claw hammer - now I know not to depend on her for anything. Also, I I had to make those D-Rings by hand - we just don't have brass hardware on island. Those splotches are sweat stains. I used a towel to try to protect the piece while I was working on it, but when it's 85F and 85% humidity, sweat just pours off of me, errant drips are inevitable. On the inside I put a button stud at each strap attachment point. I have a plastic mock up for a camera and lens hanger so the camera is always held at the top so it's easy to reach, and so the lens isn't at the bottom of the bag, making room for another lens or just general stuff when I don't need 2 additional lenses. I want to make this out of leather eventually, my plastic version worked for my trip, but isn't going to last forever. I thought I had some pics of the inside, but I can't find them, and I'm recovering from the flu, so mustering the energy to take some pics is asking alot . Comments, critiques, and any helpful pointers are welcome. My stitching is better this go around, but still needs practice (at least the visible stitches look decent!) I'm going to reburnish the strap and the flap when I get the energy up; I came down with influenza the day after I got home, so there's work I still want to do, I'm just too exhausted to do it.
-
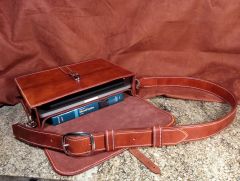
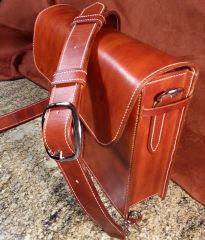
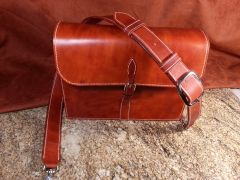
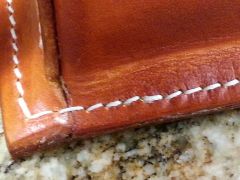
Hi guys, After taking up leatherwork about 5 months ago, I'm now starting to get quite accustomed to making simple bags and small items like card holders and wallets. I'm really quite pleased with the way my latest project turned out and wanted to share it here for critics and advice as to things that could be improved in future projects. This is fully hand-made and hand-stitched from 2.3mm thick veg-tan leather (just under 6oz. leather) and 1mm synthetic thread. I used Fiebing's oil dye (walnut) on it as well as neatsfoot oil and gum trag for the burnishing. The leather is very stiff on the sides (gussets?) and I'm hoping it will loosen up with time.
-
Hi, here it goes a small messenger bag that I did from a pattern. I done it some months ago and now the leather has a beautiful patina that contrast with the colorful dye. Hope you like it
-
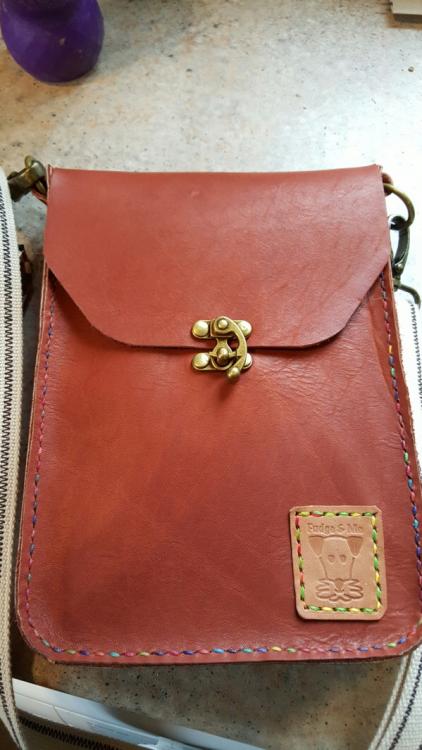
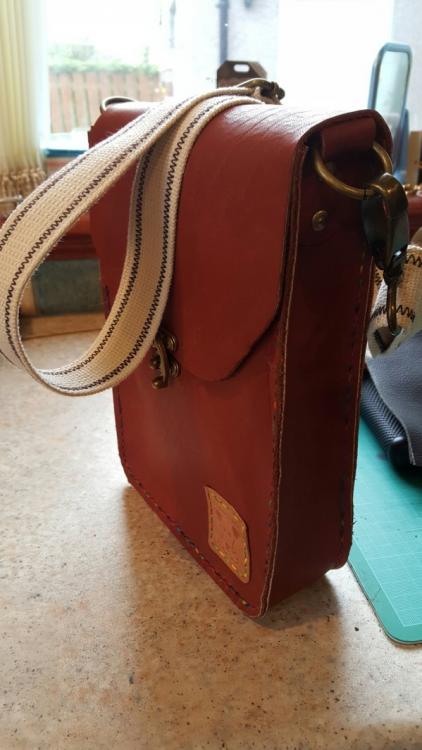
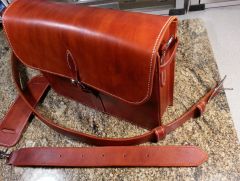
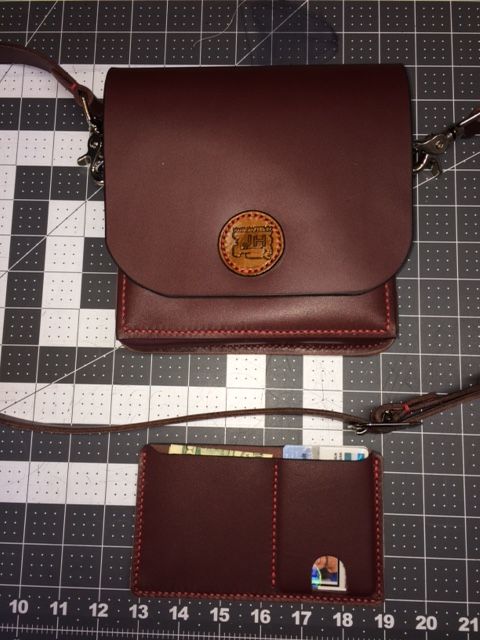
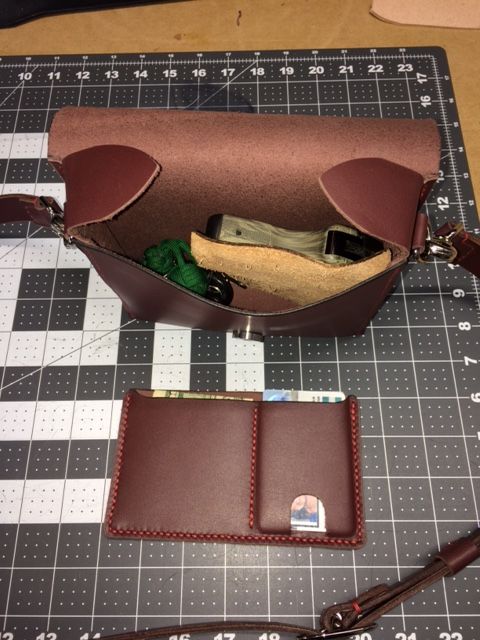
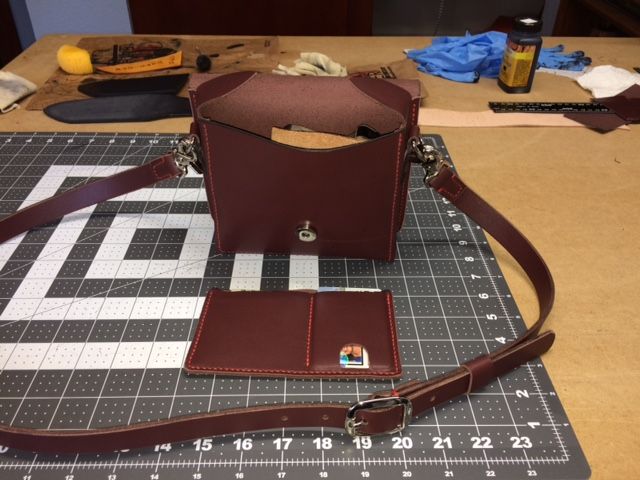
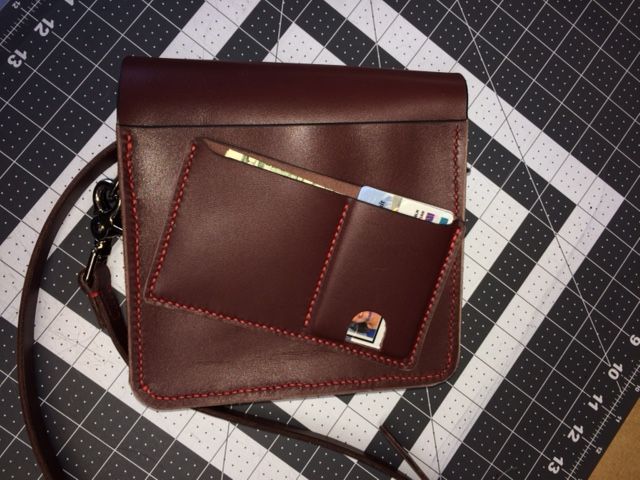
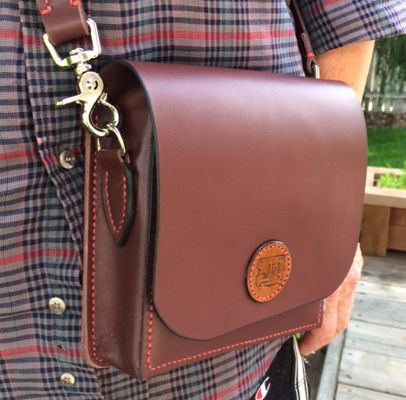
I figured I had to try one eventually, and my trophy wife indicated a desire for something small, cross-body, lightweight, that would carry her Ruger LCP, 3 cards, a bit of cash, and keys. Oh, and an i-Phone. Mission accomplished. It took a bit of design, re-design, re-re-design, to make it small and lightweight. In the picture, the front flap looks huge, it's actually the same width as the back of the bag. I'm thinking of tapering it after it makes the top bend. The additional sleeve is very thin, and will carry the cards and cash either in the bag itself, or in the rear pocket. The outer bag stitching got a little erratic on the back side. I didn't particularly like doing the corners on the gusset. I did this type of construction so I could try an inner and an outer join of the gusset to the bag. Basically taught myself as I went along. I did do a small practice corner for the front overlap corner. Good thing, it was a challenge. Okay, I took another picture of the bag, from an angle. It doesn't look at all like the picture above where the flap looks huge, it's actually not bad in person. The flap stays. The boss sez she likes it that way.
-
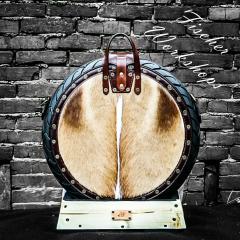
From the album: Fischer Workshops Designer Tire Bag
-
It has been a while since I poster here since I have mostly been focusing on wood working. The other day I decided to do a little crossover project and make a wood and leather messenger bag. The gussets are made out of Ambrosia Maple. The leather is 5/6oz. Overall dimensions are roughly 12x15. This is a project for me, but I've already had a lot of interest in it. I may make a few more.
-
Just finished this briefcase and thought I'd share. Purpleheart and aluminum handle with a cotton vintage cloth lining. I tried to keep this one crisp and clean with as little fuss as possible. It's a lovely balanced bag to hold. The handle pivots very freely on the bag so no matter how you hold or wear it , it always stays vertical. By swinging the handle towards the back it creates a clever stand for the briefcase. Comments and criticisms are welcome.
-
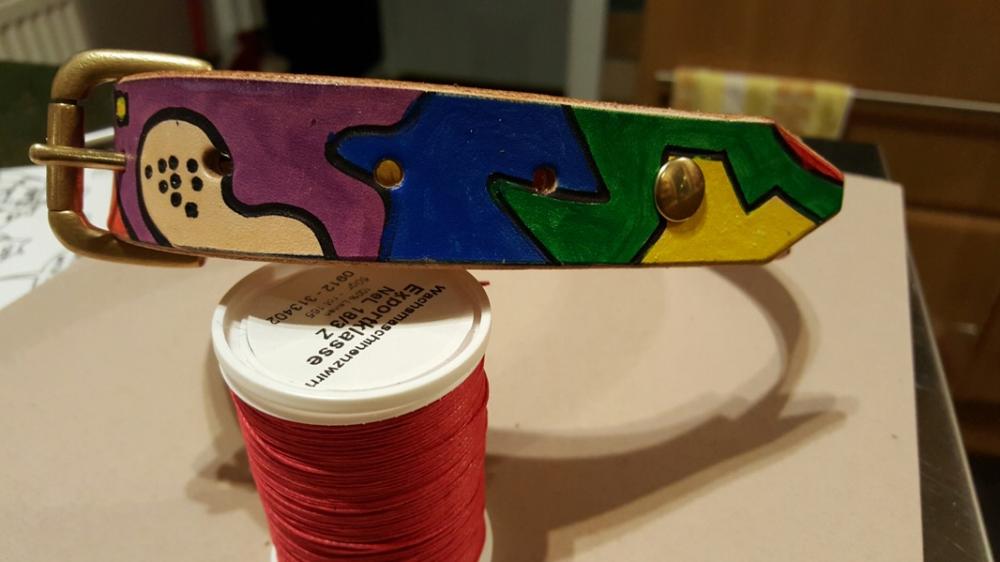
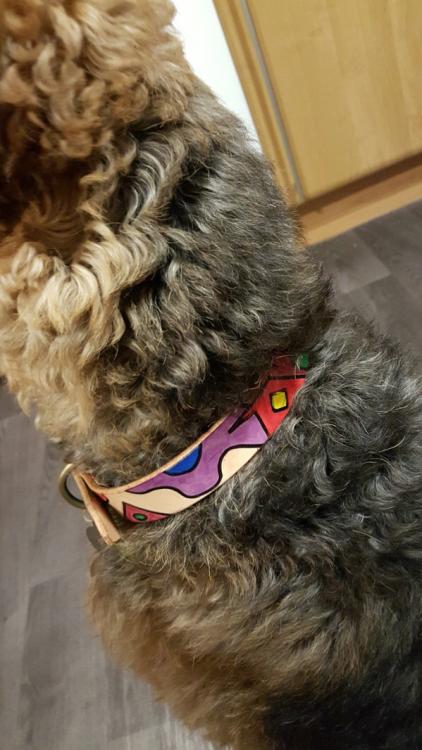
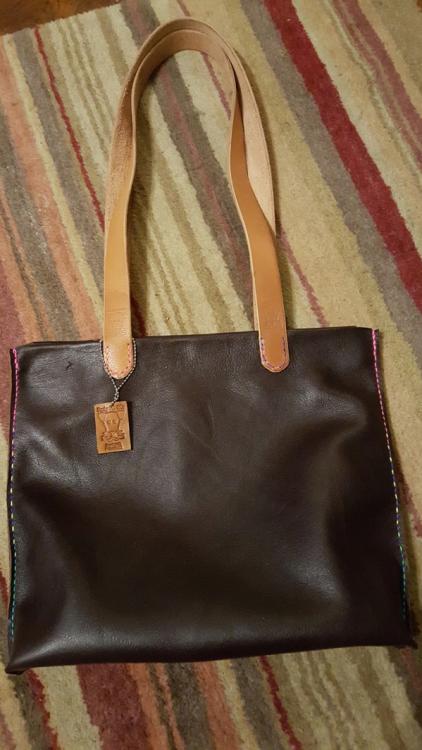
He'll fellow leather workers. I've been pottering with leather for a couple of years and have taught myself everything I get wrong! The wonders of you tube! Below is a selection of things I've done.
-
This is my latest bag. It's been about a year in the making as I had to put it aside for client orders. Finally took the time to finish the handles and put it all together. Fully turned briefcase with English suit wool accents. Entirely hand stitched as always. I made the handles out of solid brass and wrapped them with leather for comfort. One exterior pocket on the gusset for pens and such and one on the body for a phone or a pair of gloves. I had thought about building it with piping, but I'm glad I didn't on this one. I like that it's clean and understated. Comments and critiques welcome.
- 19 replies
-
- briefcase
- laptop bag
-
(and 5 more)
Tagged with:
-
Just delivered this case this week. Very happy client Comments and suggestions welcome. I'm always trying to make these better. Kai
-
-
From the album: Laptop Bag
This is the fit up I was expecting on the previous image but was unable to accomplish. YinTx© YinTx
-
From the album: Laptop Bag
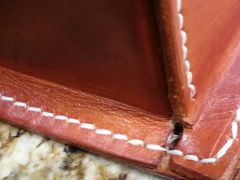
This is the gap in the bottom of the gusset that is difficult to avoid. Open to suggestions on making sure this does not occur. I did get better results on the remaining fitments. YinTx© YinTx
-
From the album: Laptop Bag
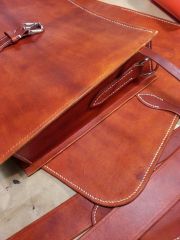
All the stitching is done, still need to tap down the stitches and trim the ends and finish burnishing the edges! Happy to say I had a bit of a breakthrough today on the evenness of my stitch backsides. Not perfect yet, but big improvement. YinTx© YinTx
-
From the album: Laptop Bag
Finally taking shape. Still have to stitch the back panel and the straps, and finish burnishing the edges. Easy to see the "streaky" dye job. Will try a sponge or small rag next time to see how it goes on. YinTx© YinTx
-
From the album: Laptop Bag
Closer up. Still trying to get more even stitches with the linen thread. Also, this is the "battle tested" Tandy leather full of scars, brands, marks, etc. I will need some practice getting the dye more even, it seems the Large size swab doesn't cut it for big pieces of leather. Maybe a sponge next... suggestions? YinTx© YinTx
-
- 2 comments
-
- leather
- hand stitch
- (and 4 more)
-
From the album: Laptop Bag
Hand stitched gusset tabs for the shoulder strap attachments... YinTx© YinTx
-
From the album: Laptop Bag
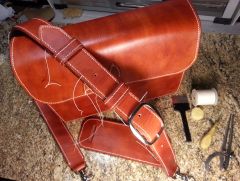
Working on a handcrafted laptop messenger bag. First one, so this is practice. "Battle tested" leather, I must say... YinTx© YinTx
-
This is my latest briefcase, designed for a client out east. I custom make all of the handles and large buckles for the bags and belts in my shop. This one is egyptian olive wood and solid brass. The flap is lined with italian wool. Gives it a nice flash when you open it up.
-
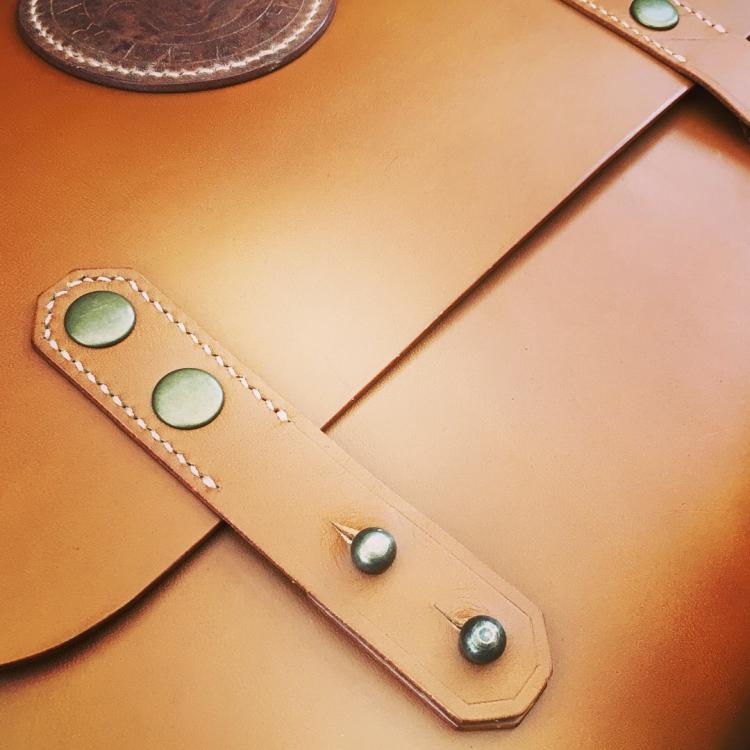
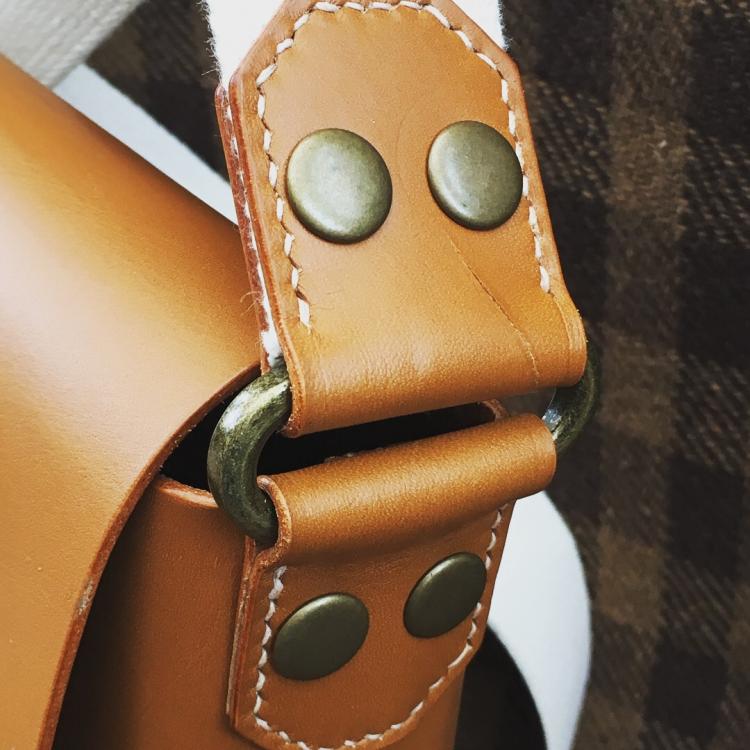
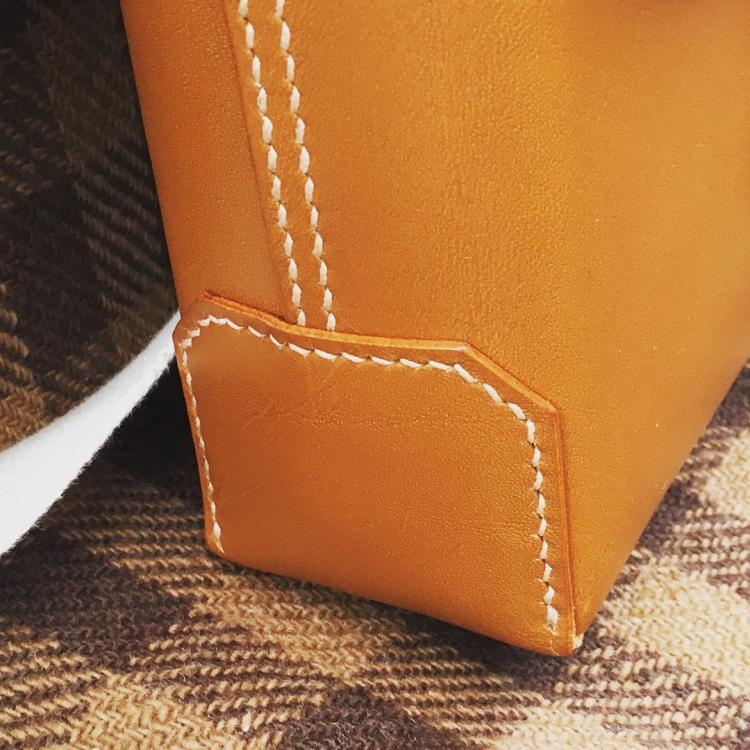
I've been experimenting with some briefcase ideas, incorporating some of my hand-made brass and exotic wood handles and hardware. This one is also lined with an Italian wool men's suit material. Simple single gusset brief, but I've adopted/adapted the rod look from the music breifcases. Great littel bag, and with the brass and Purpleheart handle, it really is nice to carry. Overall I'm quite happy with it, though I think that the leather would be more suited to a turned bag...that'll be next on my list.






.thumb.jpg.d5a9cf726a0c0ebf95ccef0f85cd1574.jpg)
-3.thumb.jpg.4a1a47544b463b46a21ec5c91b18f0f3.jpg)
-4.thumb.jpg.e366d704d9a92b779c51af80f696b6ed.jpg)
-5.thumb.jpg.8c574a22b5ef6d2b3a599a705e1c4d3d.jpg)
-6.thumb.jpg.6e808c901d1ccafcbdf3ac603adf2d69.jpg)
-7.thumb.jpg.17a280854547a1762d34219635190ffa.jpg)
-15.thumb.jpg.fdcf4f6476193572b0a082fa6d416619.jpg)
-17.thumb.jpg.ff5c18a6e3962facb52745f9e6b88faf.jpg)
-21.thumb.jpg.6165ce25eaf1f49fd3e64ff4270583a0.jpg)

