All Activity
- Past hour
-
 A thermostat controlled convection heater?
 - Today
-
 Thanks for the response and specifications, Dwight. If regular 100 watt incandescent bulbs were still available for sale, that's certainly the setup I would use.
 -
 My box is about 16 x 16 and 48 tall. I bought 100 watt incandesent bulbs . . . 5 of em sitting on the bottom . . . gives me a 140 deg box up at the top. Never had any problems with that setup May God bless, Dwight
 -
I seriously considered a hairdryer, and looked into this as an option, as they're designed to gently dry damp organic material without burning it. However, the fatal flaw in this approach is that apparently your typical hairdryer is only meant to run continually for 15-20 minutes, and leaving it running for longer than this can cause it to overheat severely. I think for proper stiffening a holster should be heat dried for around 30-40 minutes, which would probably melt down a hairdryer. Heat guns are the same story, they produce more heat than a hairdryer but still shouldn't be run for longer than 20 minutes. I hadn't considered this until just now, but I suppose you could buy two hairdryers and switch them out after 20 minutes, giving the first one a chance to cool while the second one takes over heating the box. This could work very nicely.
-
What about a hair-dryer?
-
I'll be shortly building a heat-drying cabinet for drying wet formed holsters, and I have a question or two about the optimal heat source for such a project. It seems to me that most of the members here who've built heat boxes for holsters have used and recommended standard 100 watt incandescent light bulbs, typically 2-4 of them for a full-size heat box. However, a couple years ago, the hippy tree-hugging types managed to ban the production and/or sale of incandescent light bulbs for some silly environmental reason or another, so this doesn't appear to be an option anymore. In fact, everywhere I looked, there wasn't a single offering of 100 watt incandescent bulbs for sale, only 100 watt equivalent LED, which of course don't produce the necessary heat for this purpose. This led me to consider a reptile heat lamp instead. However, I'm concerned that a heat lamp will yield too much concentrated heat on the leather, as they're designed to heat a small area intensely, rather than the less concentrated radiant heat that a standard incandescent bulb produces. For reference, I'm thinking about building my heat box out of 3/4 inch plywood, and making it roughly 22" wide, 15" deep and 30" tall, but this is just an approximation. I also considered bumping the height up to around 5 feet or so if the heat lamp is too concentrated, just to give a little more distance between the bulb and the leather. As for the exact heat lamp, I found a 150 watt heat lamp with a dimmer switch, which would allow me to fine tune the temperature. I'm not sure if I should use the 60 watt, 75 watt or 150 watt heat bulb for a box of this size, but I'm figuring on the 150 watt bulb, since I can back off the heat with the dimmer switch if it gets too hot. Given that a dedicated heat lamp bulb produces more heat than a regular incandescent bulb of the same wattage, I'm thinking that the 60 or 75 watt heat bulbs might be the closest thing to a 100 watt regular incandescent. I also think that a single 150 watt heat bulb would likely meet or exceed (possibly by a large margin) the heat output of even 4x100 watt regular incandescent bulbs, so I mostly just wanted to be sure that this option wouldn't create so much concentrated heat so as to overheat or cook the leather. Have any of you used reptile heat lamps for a heat drying box, and if so, could you inform me on what wattage heat bulb you used and the approximate dimensions of your heat box? I'd be appreciative for any advice.
-

Juki 1541s feed dog and walking foot
Wizcrafts replied to Scifidelity's topic in Leather Sewing Machines
Smooth bottom presser and alternating feet are standard on the Juki 1541. It is unusual to find feet with teeth on that model. serrated feet are normally used on dual feed machines that have a bottom feed dog and top presser foot that pull the work back in sync. These machines are made to sew heavy vinyl and upholstery fabrics through the machine. Your Juki 1541 is a triple feed machines meant to sew leather. The only reason for there being serrated feet is that the previous owner had to sew some heavy weight or slick material that would slip under the smooth feet. -
All of the cases i make have a bit of excess around the edge just wide enough for the (441 clone) machine to sew without changing the foot. Once sewn, i sand the excess off,then edge dye, burnish, etc HS
-

spring flowers and good food
Handstitched replied to chuck123wapati's topic in All About Us and Off Topic
@fredk they look quite good 👍 my late mother made some of those but in felt of different colours with a little mouse sitting inside the boot, so cute . I still hang them on the tree every year. HS -
Thank you for the assistance and advice, everybody. It's much appreciated.
-
 Alienleather joined the community
 -
Your not going to find an in-line for your Juki compound feed. So just use or buy a narrow zipper like people mentioned above in posts . 441's are easy to find for in-line press-foot. You can also just cut and make your own in-line foot. If you use a thin zipper press-foot, It really NOT going to matter much for your application . All that matters is if you have a 'full' flat heel on that thin zipper foot for good press contact. What I mean with a 'full flat heal' is one that does Not have a radius cut Heel . Your L-foot is mute anyway, and just going to float off the edge, because it not touching the material, and you have open boundaries on the left. The thin zip-foot is reallyNot in the way, and you can just cut it off and leave the Heel if you want and make that foot a in-line . With an in-line press-foot riding back behind your center feed foot, and getting to those tight looking right radius curves. Your in-line foot is going to swing-off your stitch line and probably not even touch your material until you get around it and back to a straight-line stitch. So when you get to those R-turns. You needing to go slow and use your fingers to press and do a slow walk with the turn with center press-foot. - What you Really NEED to do is trim/cut a nice center foot on the needle-feed, and that lets you walk tighter, and helps give you a nice clean visual. I just did one tonight on my 1541 for doing similar to what you asking about. It easy to cut and shape feet. I mostly use just a dremel and a grinder. Just keep dipping in cool water as you go so not to harshly over-heat the steel. - Center Foot ( cut and shape ) that started out as a full size width/length, not split-toe Foot . - Thin Zipper Foot with a full flat Heel . -
.jpg.23a12c2a6b8f856a6d01b7d8d0db900d.jpg)
.jpg.52f157711de726885e834cb9bb9f8c28.jpg)
-
I just made a couple of bigger (longer and deeper) rests, one for horizontal use and one for vertical use. The coarsest grit I've got at the moment is 100, which came with it, but it's pretty good at ripping into the metal even with that.
-
maybe wet binding leather performs better, just a guess
-
Can you run the binding leather through by itself to see if it's actually folding correctly? Maybe trying to do a double fold with leather is asking too much of it?
-
Should have known that you would have already done it Chuck!
-
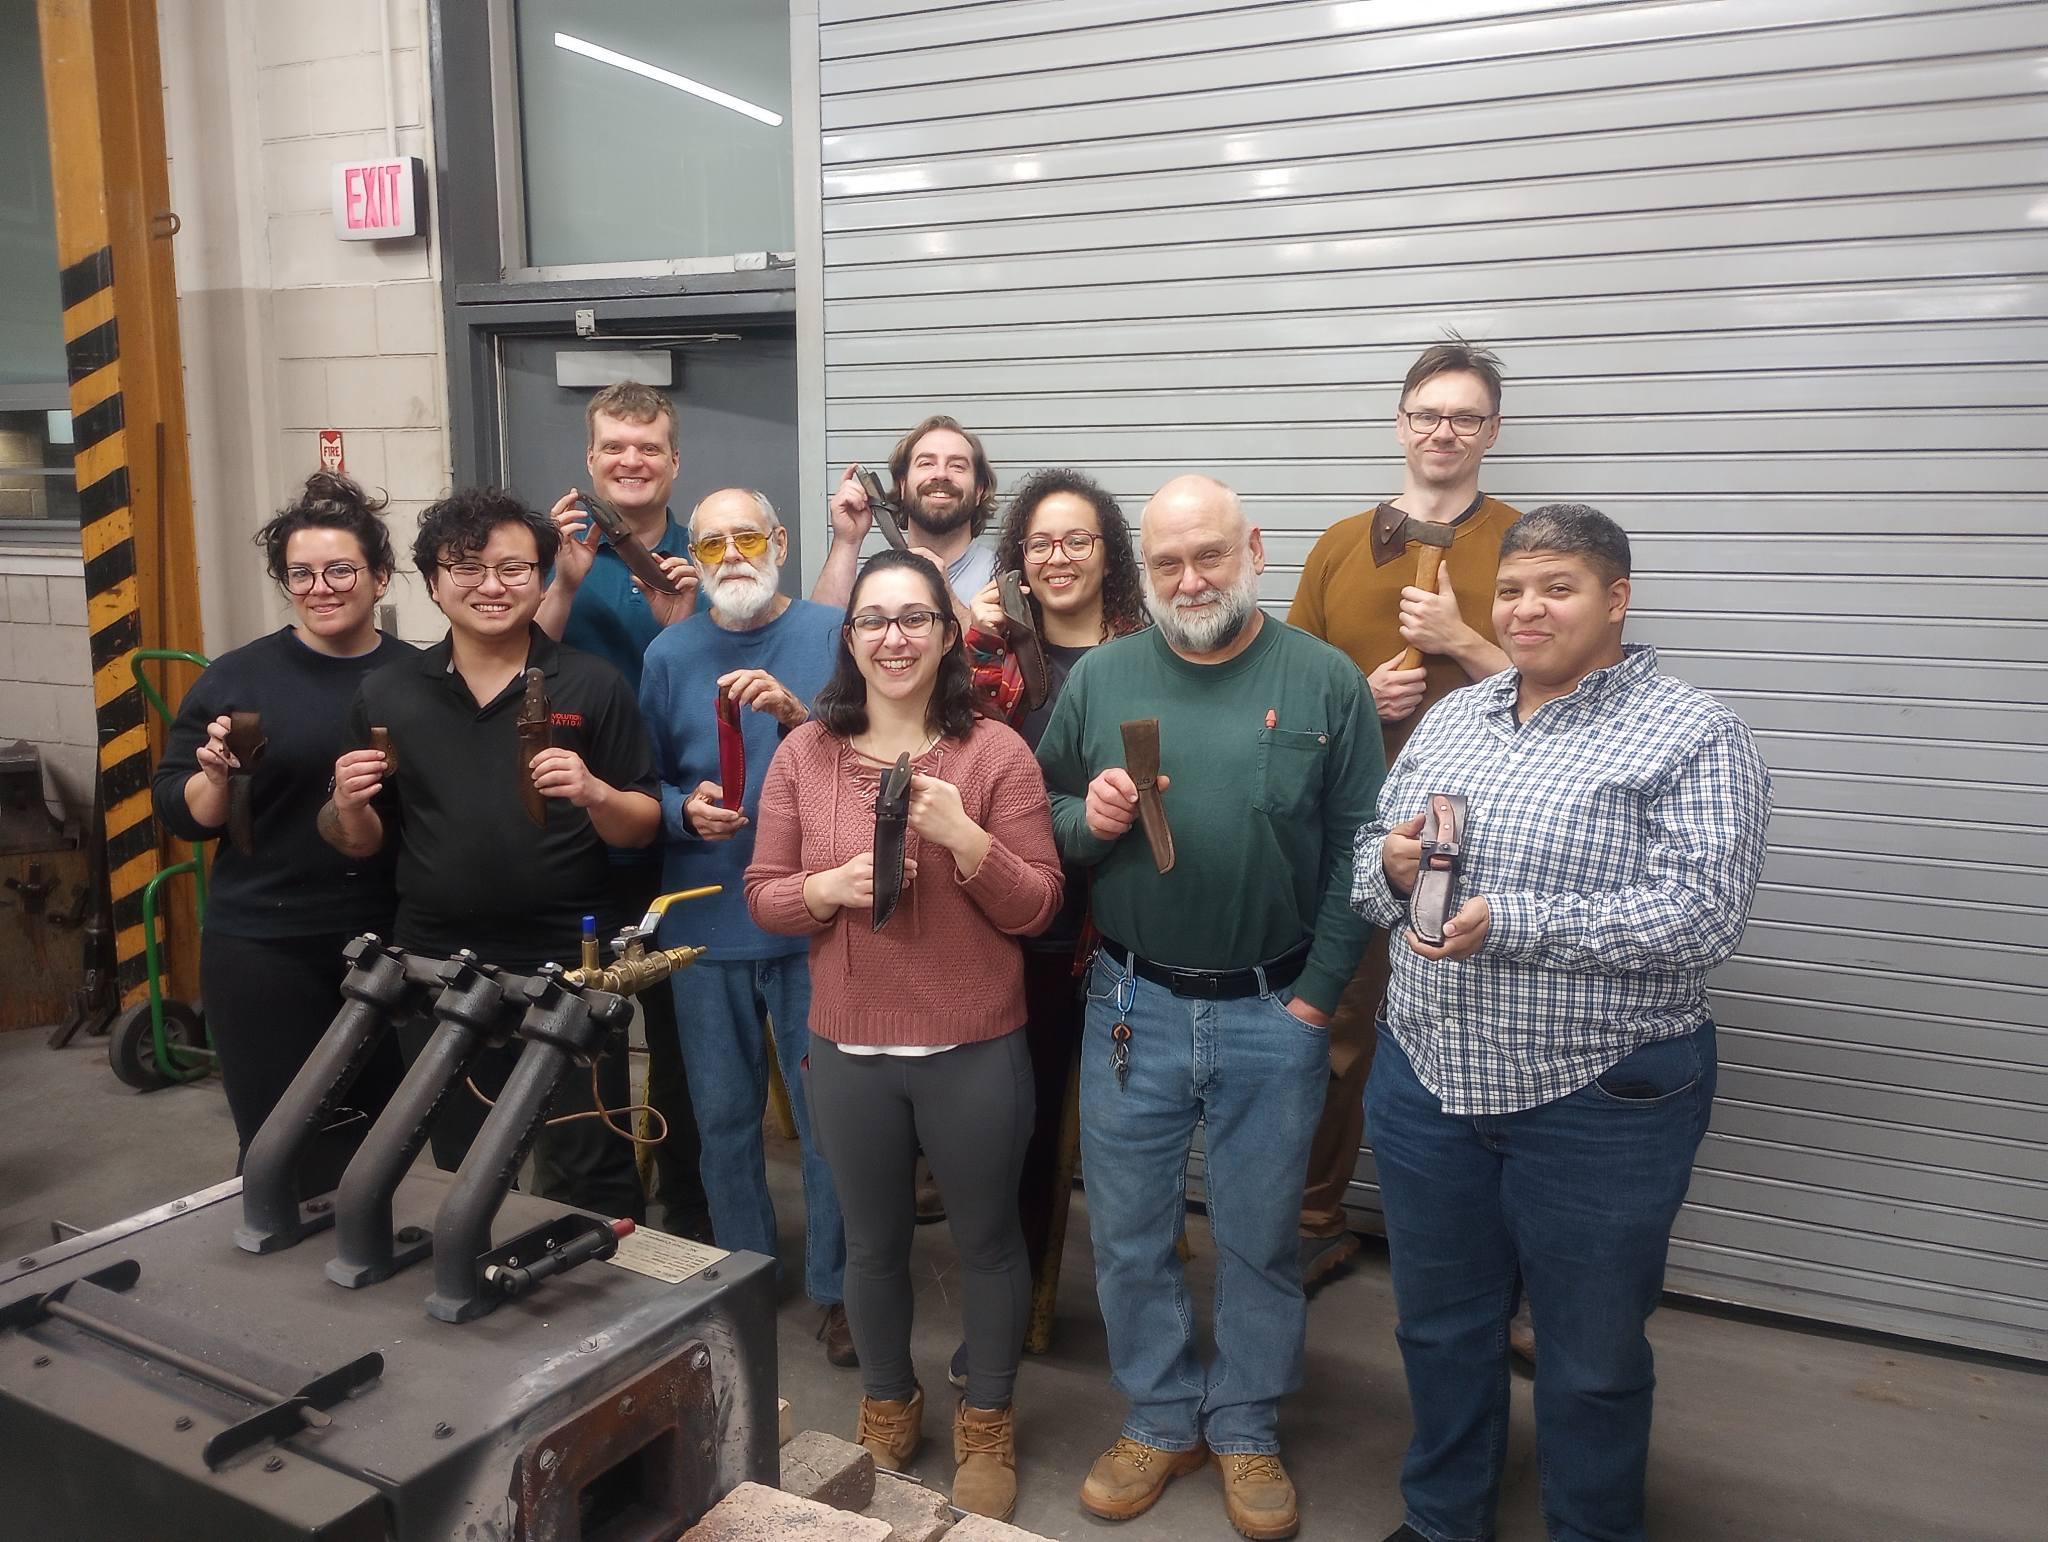
The sheaths are not my work but I showed them all how to do it. This is my second class teaching sheath making. we spent a little time making a simple keychain that was featured in a "Skiver" newsletter many years ago . This served as a lesson in cutting stitching and dying before moving on to designing a sheath and working with larger pieces of leather. Most of the students had taken a knife making course at the school and now wanted a sheath for their creation.
-
Mighty fine idea. Chuck, those you turned down look outstanding. Good thinking, thanks for the tip(s).
-
It doesn't really matter what the size is. It's determined by the thickness of material you're binding. The question is how to ensure that both sides are equal. the binder in this case is a 36mm double fold.
-
 Brad denham joined the community
 -
-
Are you using a double fold binder? & what size binder is it?
-
 ACM5708 joined the community
 -
Still trying to get the binding sorted out on my 341 clone. Got the swing away binder holder and the alternate front plate and feed dog but still can't get it to work. First let me explain what I'm trying to do; Want to use thin leather rather than tape. Have lots of upholstery leather in lots of colours for contrast. Want a double fold to leave a nice turned edge. First problem was couldn't get the swing away attachment to get into position without removing the bobbin slide cover. Then, after a lot of fettling o get the binder in line, I thought I'd cracked it. Then I turned it over and found this. Two things here, Firstly note my secret decorative stitching and secondly, the holes in the black stuff are from a previous attempt. The problem now is what to do with the holder to get a balance on both sides. I'll keep trying but wondering if the holder needs modifying or do I look for another? I have to say there's precious little help online. Not even a cut size for a given thickness of material for singl or double folds. As usual all the Youtube videos use the basic easy stuff. Any advice would be extremely welcome. Thanks.
-
The inline foot is obviously worth a look. Using a zipper foot would be my first go to simply because I already have em.They come in right and left flavours. Another approach would be to build the flanges oversize and cut to size after sewing.
-
Gotta love a practical repurposing. Well done.
-
Thanks Chuck. Don't know why I didn't do it long ago, been bugging me forever. @Darren8306 Grinder.
-
 Laura C joined the community
 - Yesterday
-
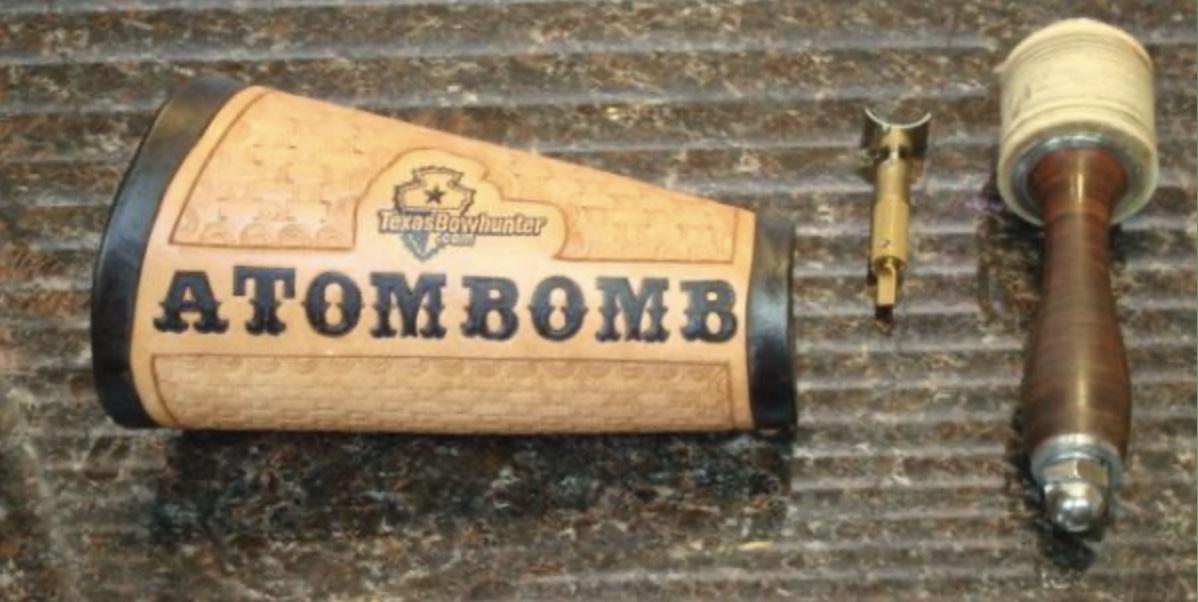
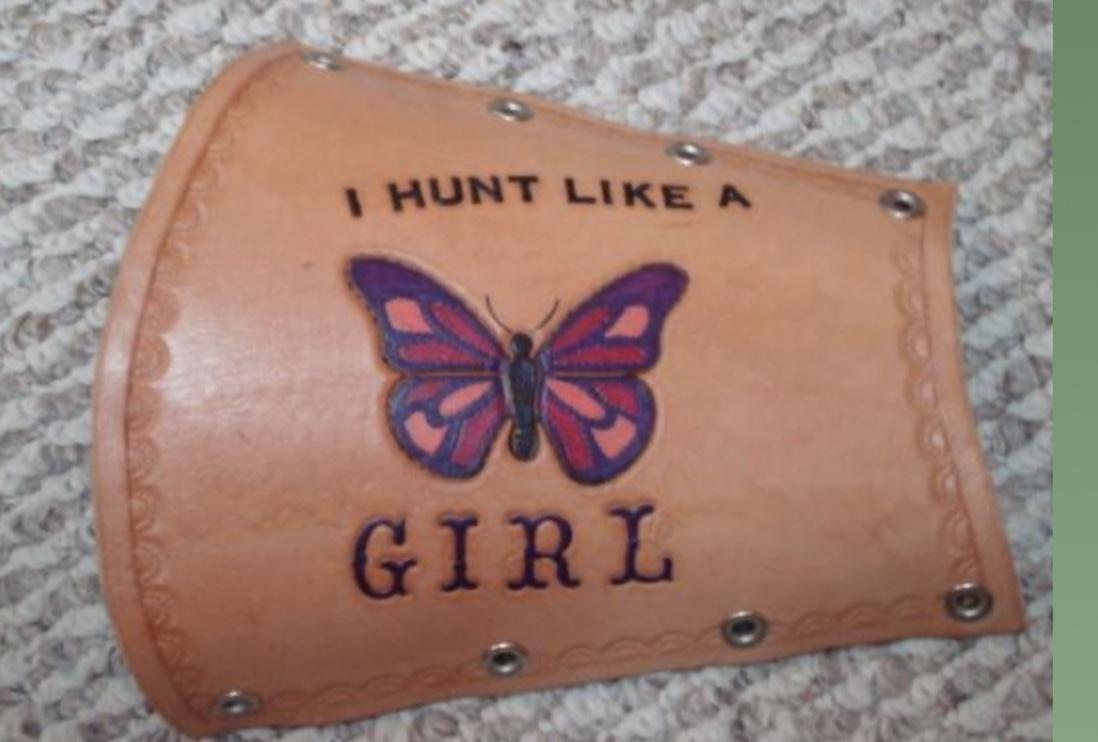
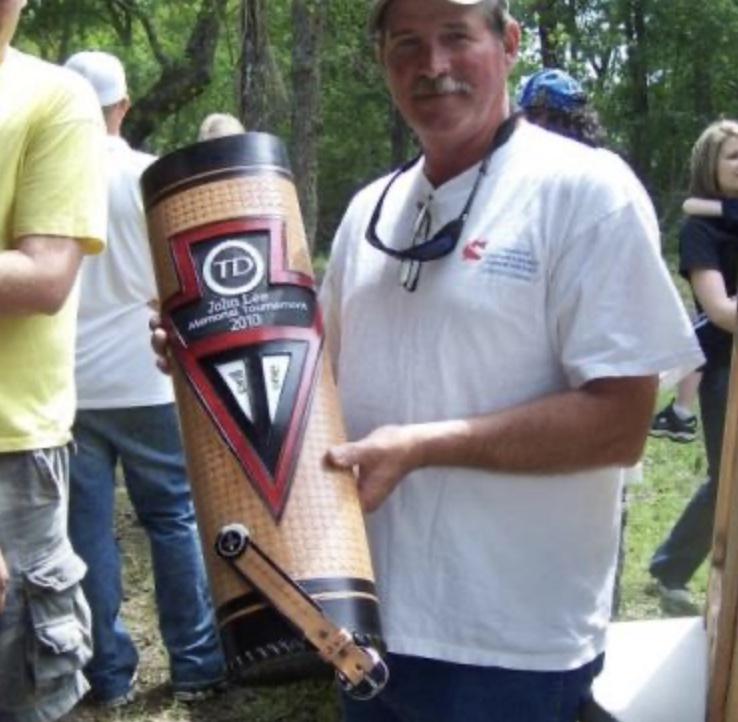
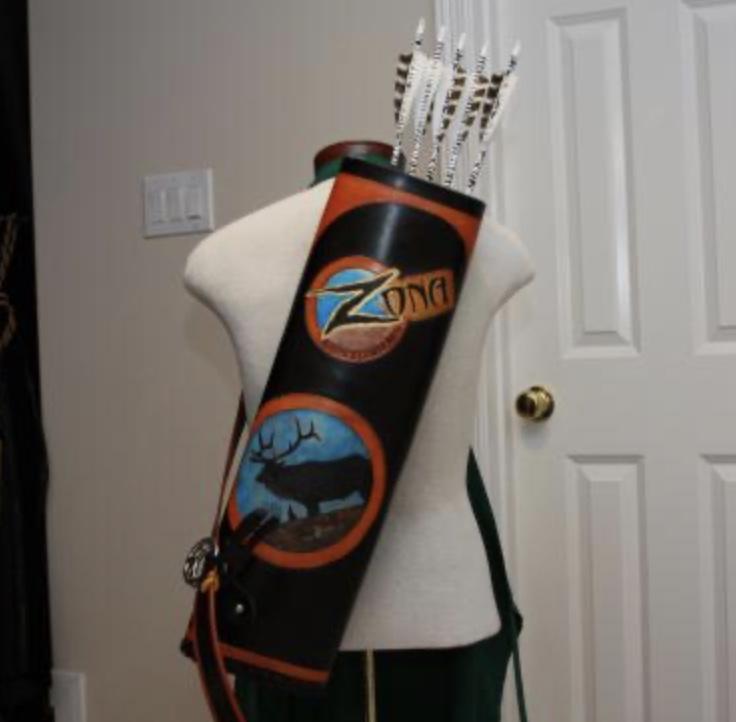
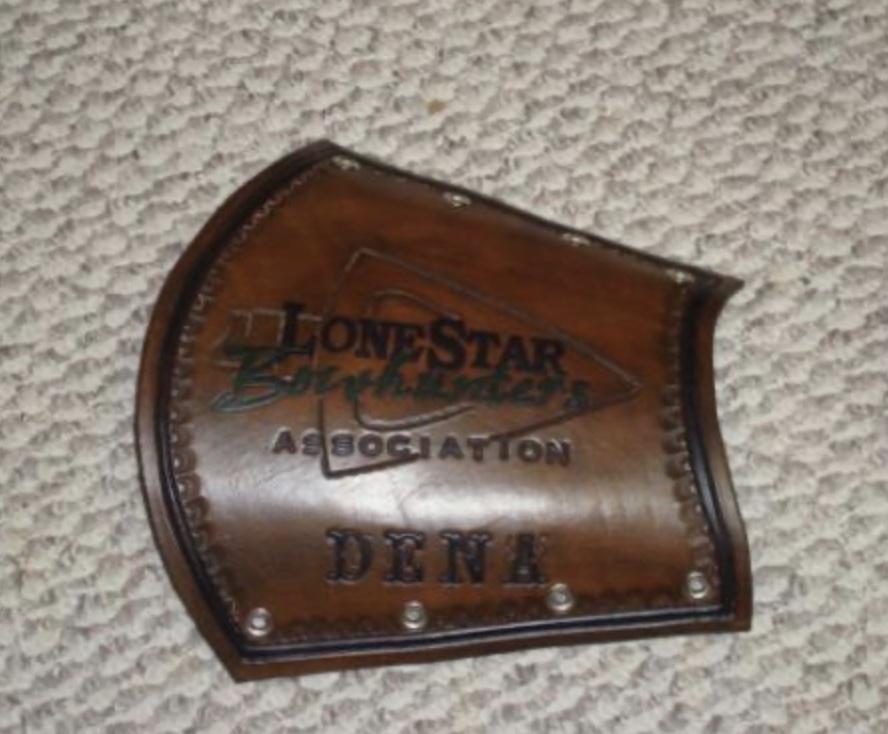
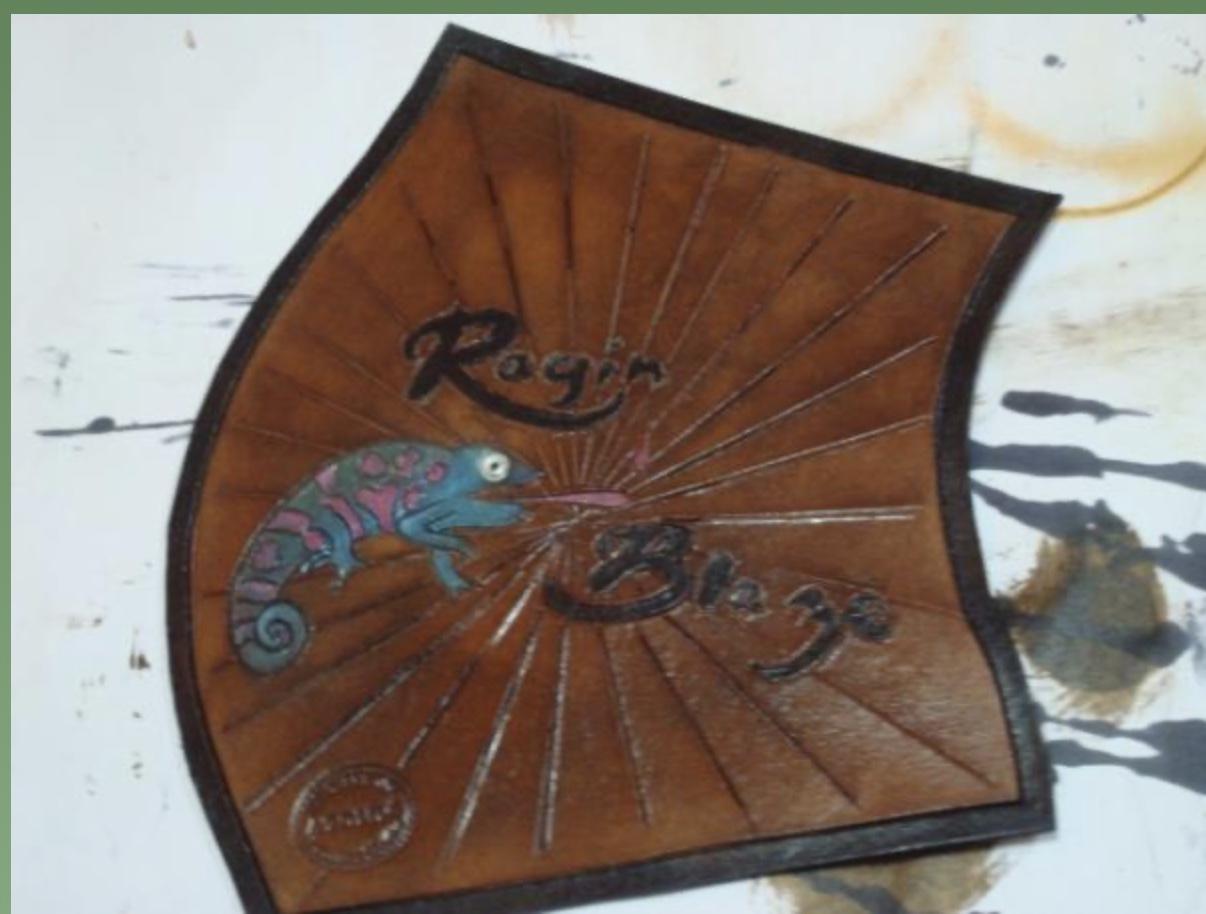
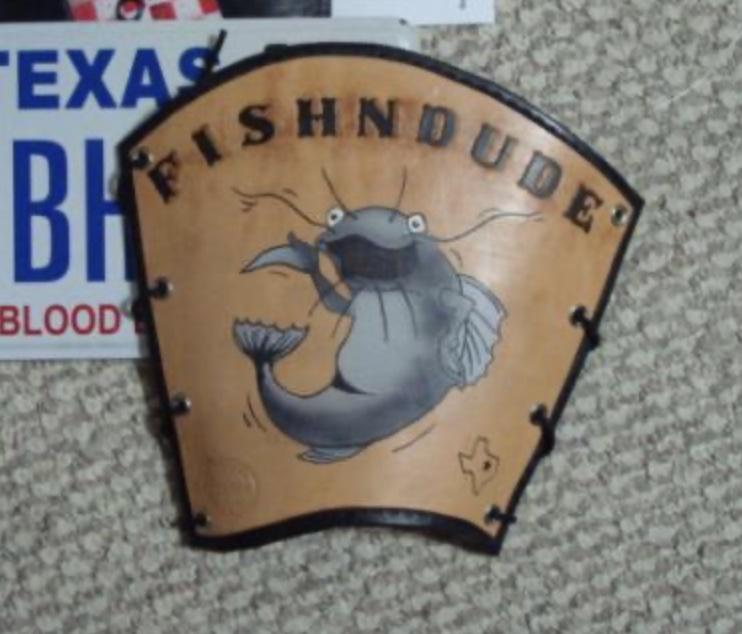
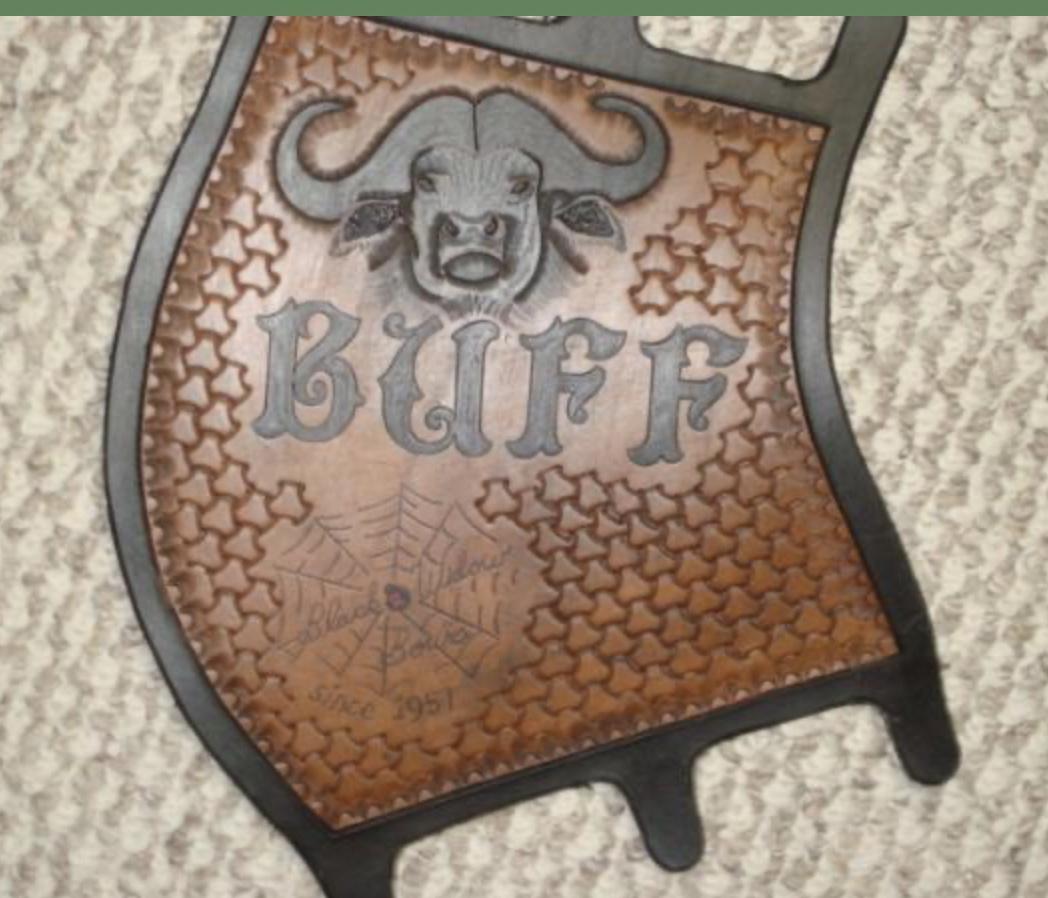
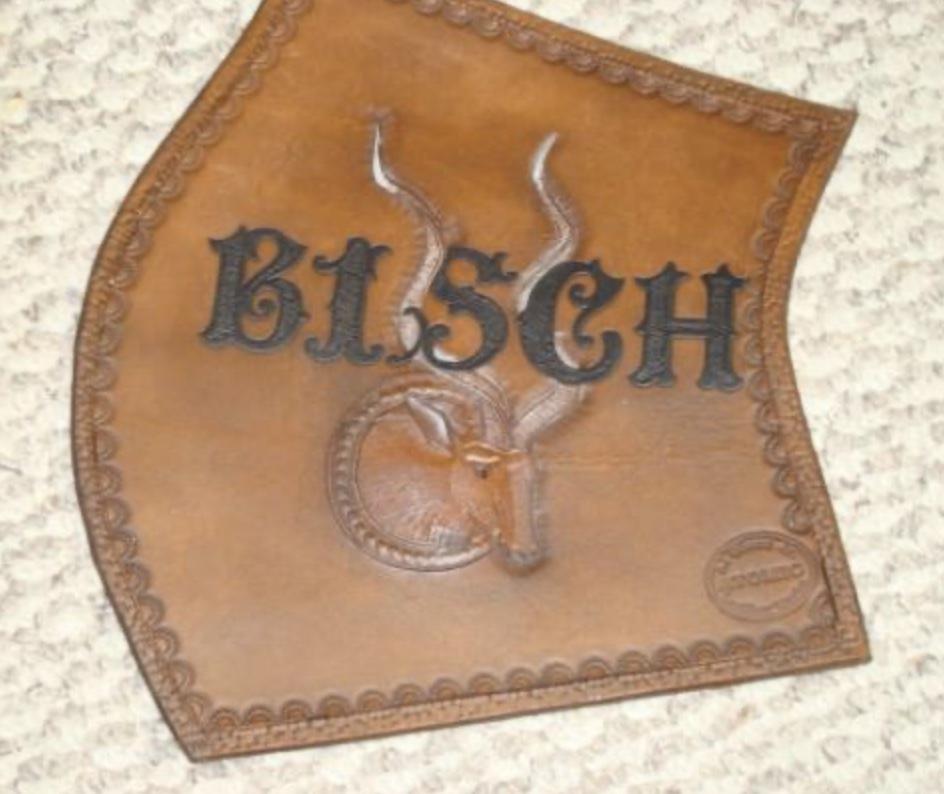
Went back and found some pics of a couple of quivers and armguards I made for charity auctions and gifts when I first started leather working… the TD quiver is completely basket stamped, and was the last quiver I made that was completely covered in tooling...
.JPG.17c64749a70fc9dc024c7e30c15799ab.JPG)
.JPG.5b4aa42d7a76c95d491339557f83fe05.JPG)