All Activity
- Past hour
-
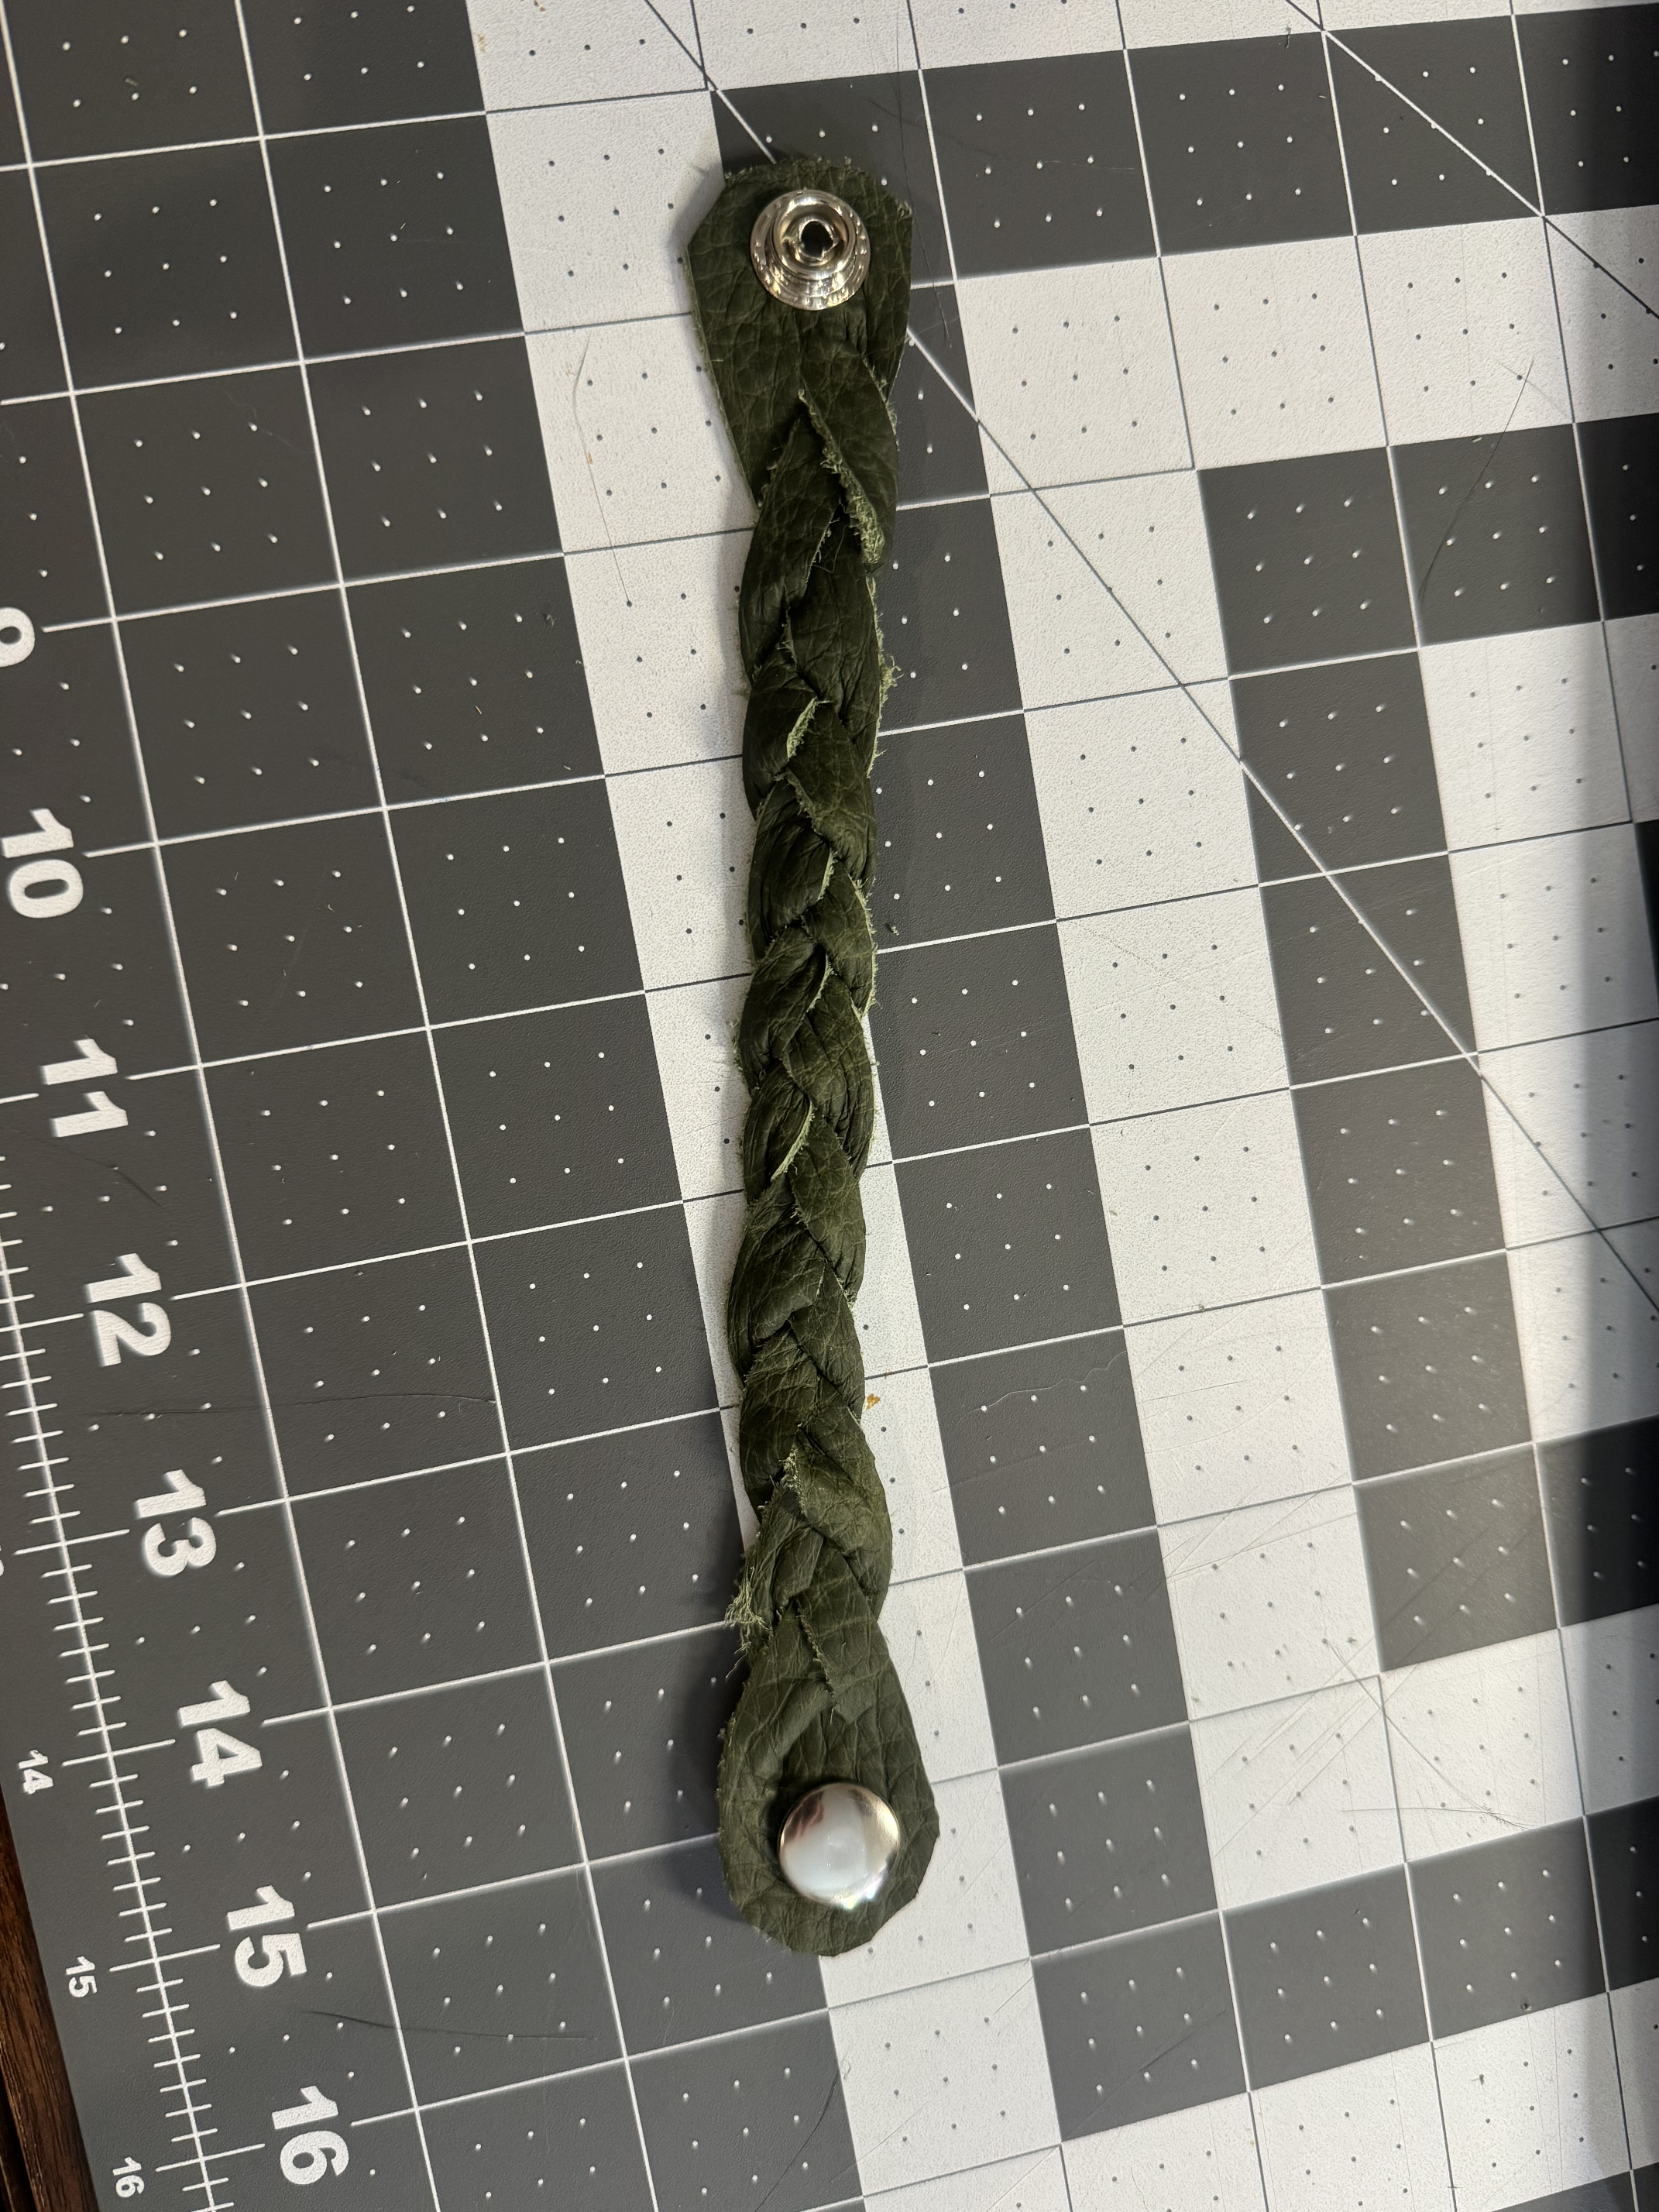
Good evening everyone. I am Mike. I am just getting started in my leather working journey. I am starting off small and simple and plan to work my way up to crafting some leather cosplay armor. I made my first leather purchase yesterday- a bag of scraps from Hobby Lobby and finished my first craft today. A simple mystery braid cuff. It won't win any awards, but I'm satisfied with it. I found some videos on doing a 5 strand mystery braid and want to try that next. On another note- I had to do a captcha while signing up to this site, then another to start posting, then ANOTHER halfway through this post. Is that the norm? Because it was annoying as hell... Hope to be here learning a lot!
-
oh yea!!!! I knew something good would come of it lol.
-

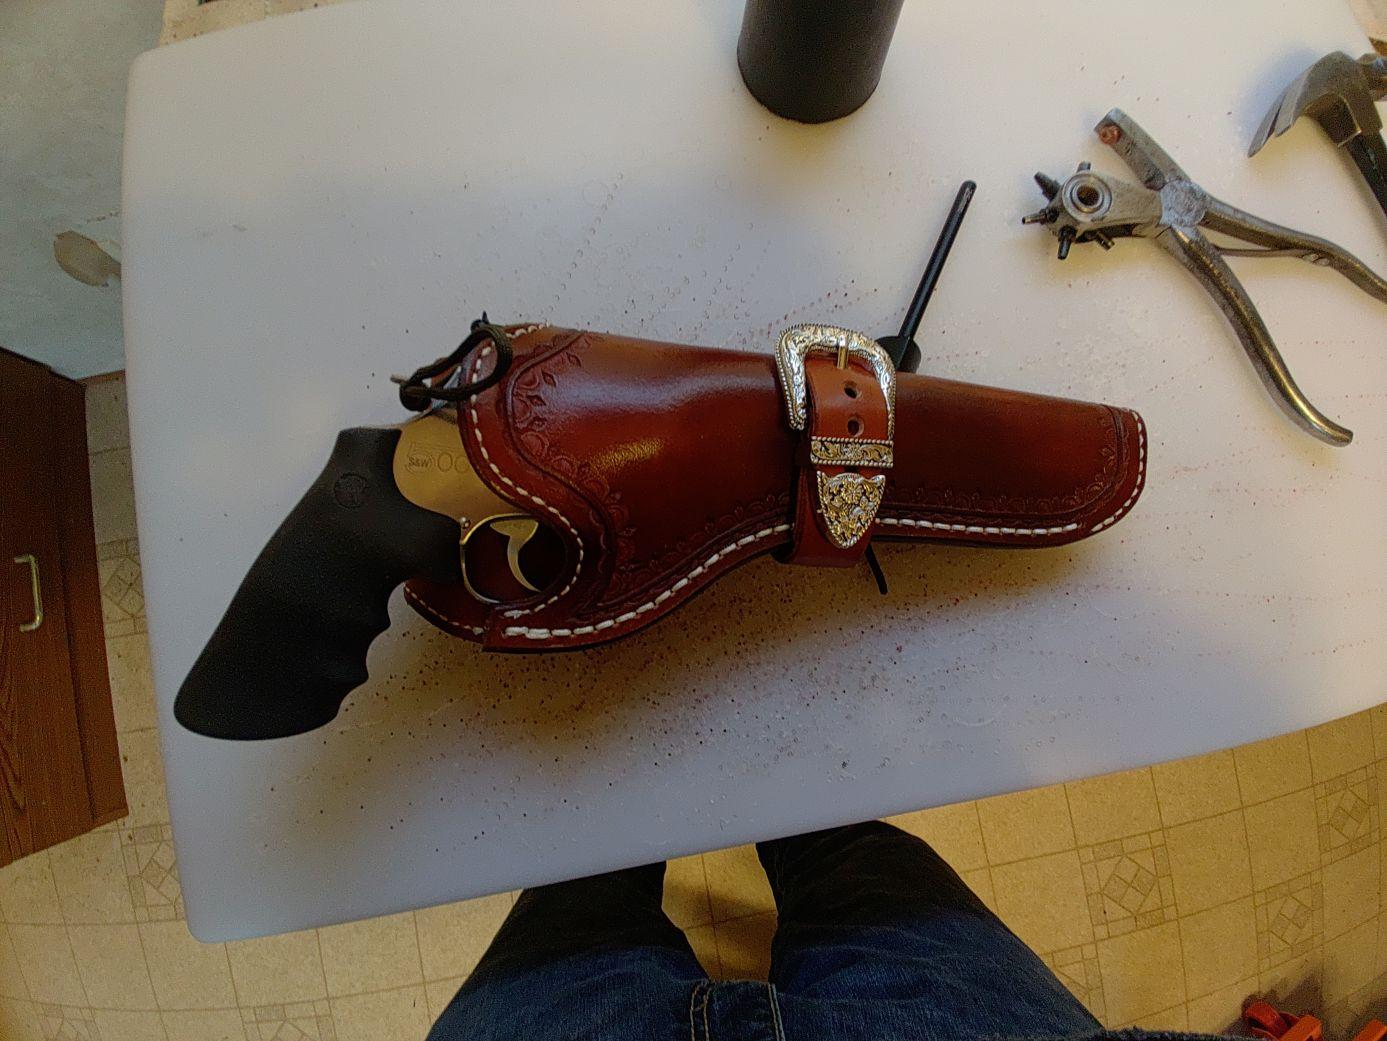
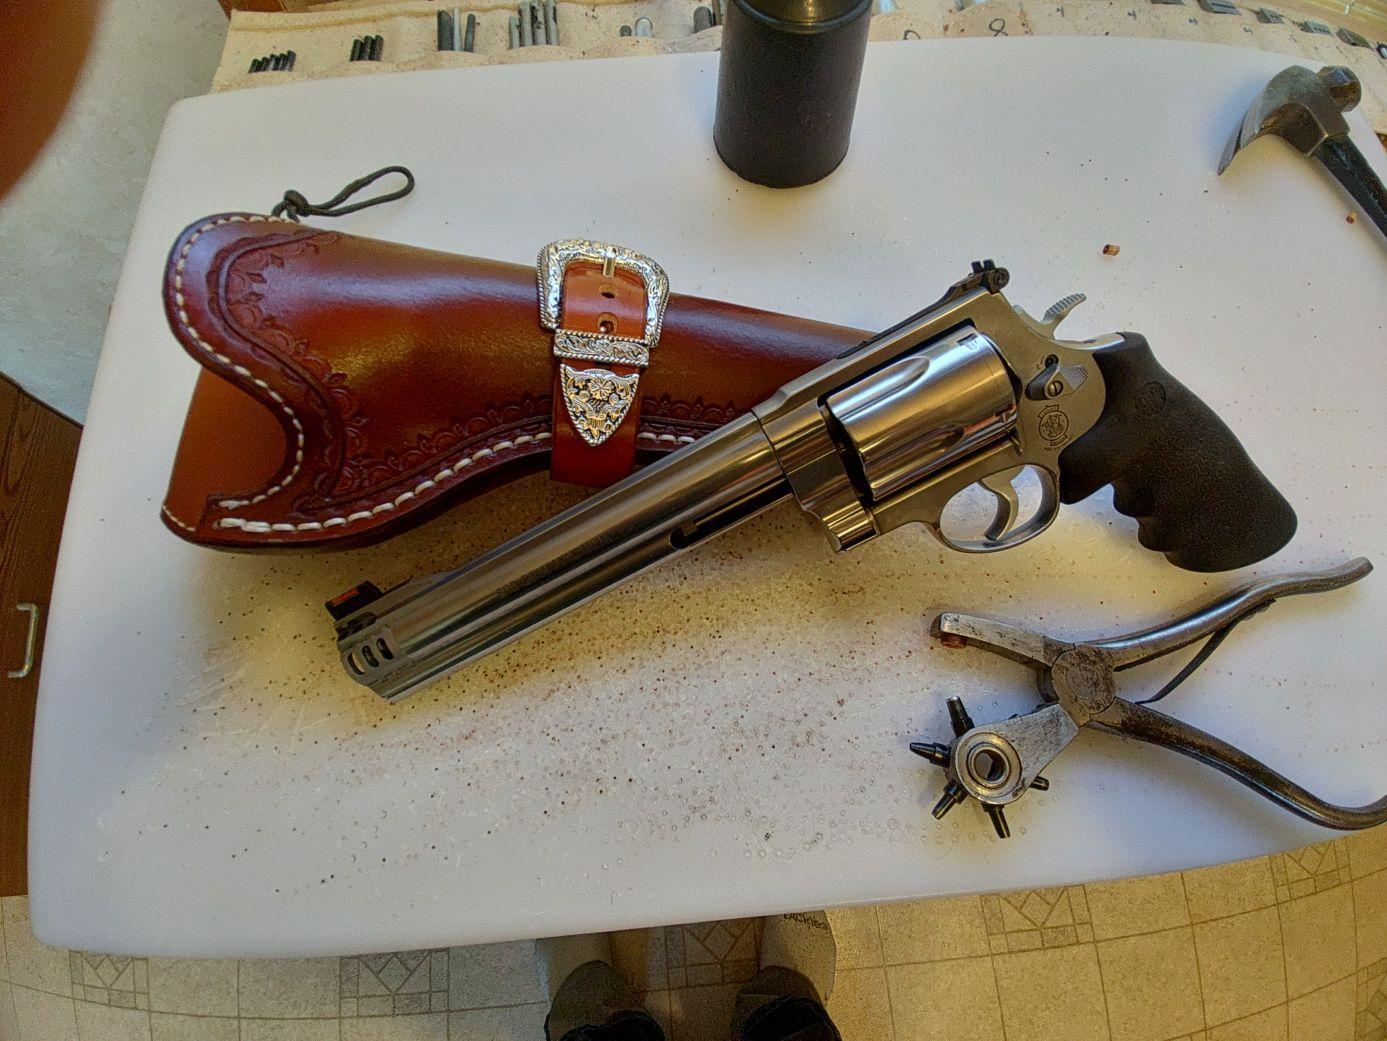
Chiappa Rhino 60DS drop holster (stange situation)
chuck123wapati replied to DoubleKCustomLeathercraft's topic in Show Off!!
yup that's some nice work!! Hope they don't jack it up. - Today
-
Certainly, regarding getting stuck by the awls. But i can just turn them down and the problem is gone! Im working on resharpening them so i place them down once finished.
-

Chiappa Rhino 60DS drop holster (stange situation)
Hildebrand replied to DoubleKCustomLeathercraft's topic in Show Off!!
Very nice holster, as others said very clean. Hopefully the other shop doesn't completely ruin the look. Todd -
My first thought too, all those pointy bits sticking up made me cringe! I can guarantee I would stick myself!!
-

Chiappa Rhino 60DS drop holster (stange situation)
dikman replied to DoubleKCustomLeathercraft's topic in Show Off!!
Very nice. You did a good job of keeping it clean considering all the handling it would have gone through. Given that you have no idea what the other shop is going to do I think I would have gone with dark brown/black stitching? Certainly a strange situation, what sort of "custom" shop does Western-style gunbelts but not holsters? -

Fender repair...
Brokenolmarine replied to Brokenolmarine's topic in Saddle Identification, Restoration & Repair
I told them they needed replaced, they told me to use them. I was going to make new leathers. They told me to use the old ones. If they decide to replace them when they come up. I'll order new leathers and blevins, and drill out the rivets. I don't ride, so I go by what they told me. -

Tubular Rivets and Caps, best sources, recommended Setter
MClark replied to JackLeather's topic in Hardware and Accessories
I hope this isn't too late to help you. You should really consider #12 or #14 solid copper rivets. If you go that route I recommend either the C S Oborne rivet setter or you can find another nice set of rivet setters at: brucejohnsonleather.com Call Bruce and tell him what your'e doing and he'll get you set up. Good luck Mark Clark -
.thumb.jpg.be873fe3cafed424774b187cfb1a470f.jpg)
Chiappa Rhino 60DS drop holster (stange situation)
Bert03241 replied to DoubleKCustomLeathercraft's topic in Show Off!!
Thats Beautiful work -
Nice
-
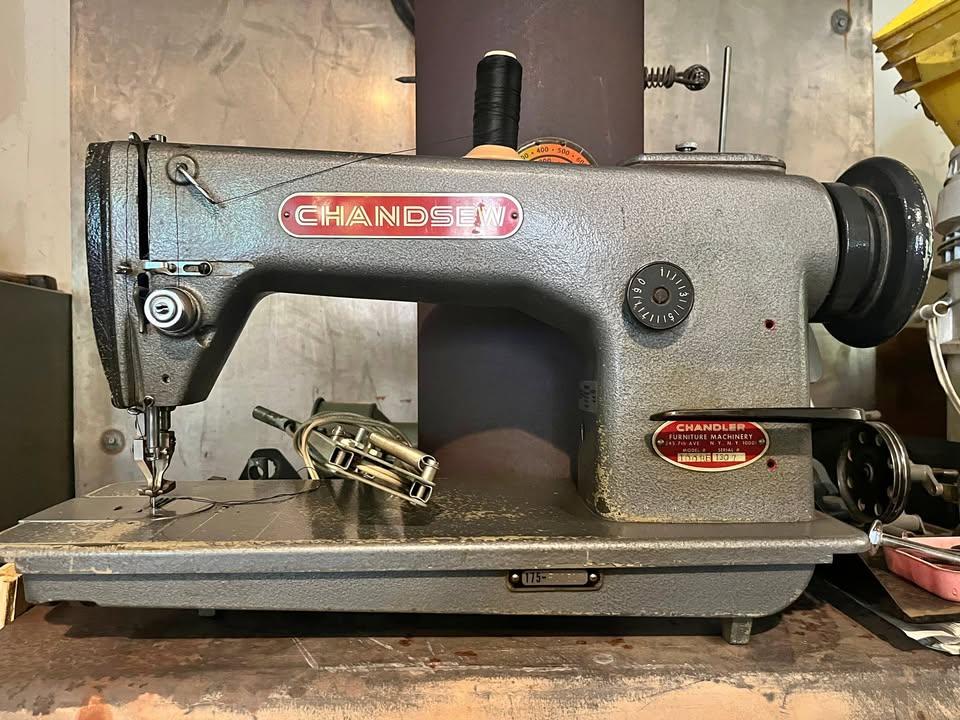
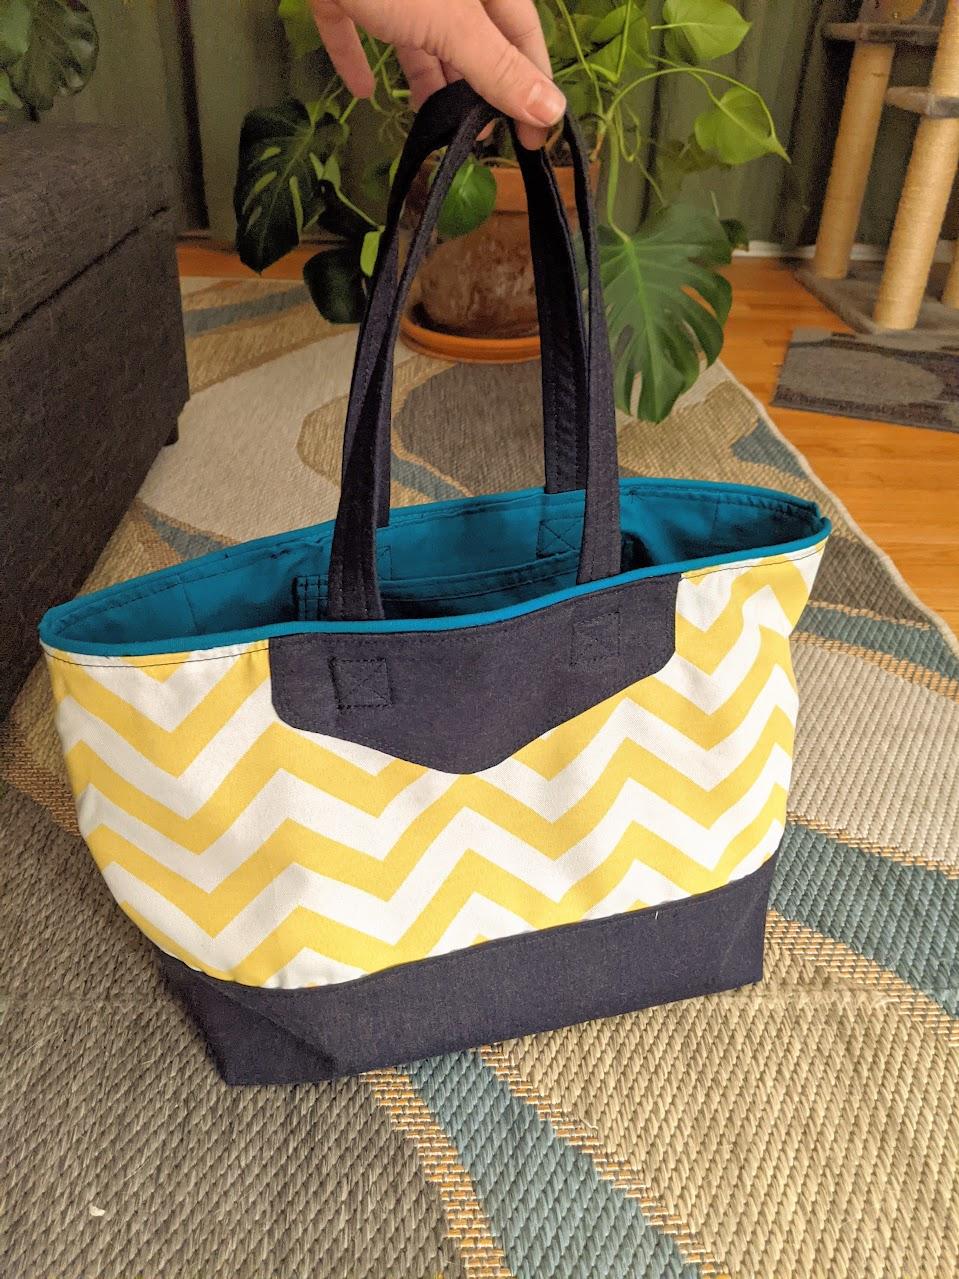
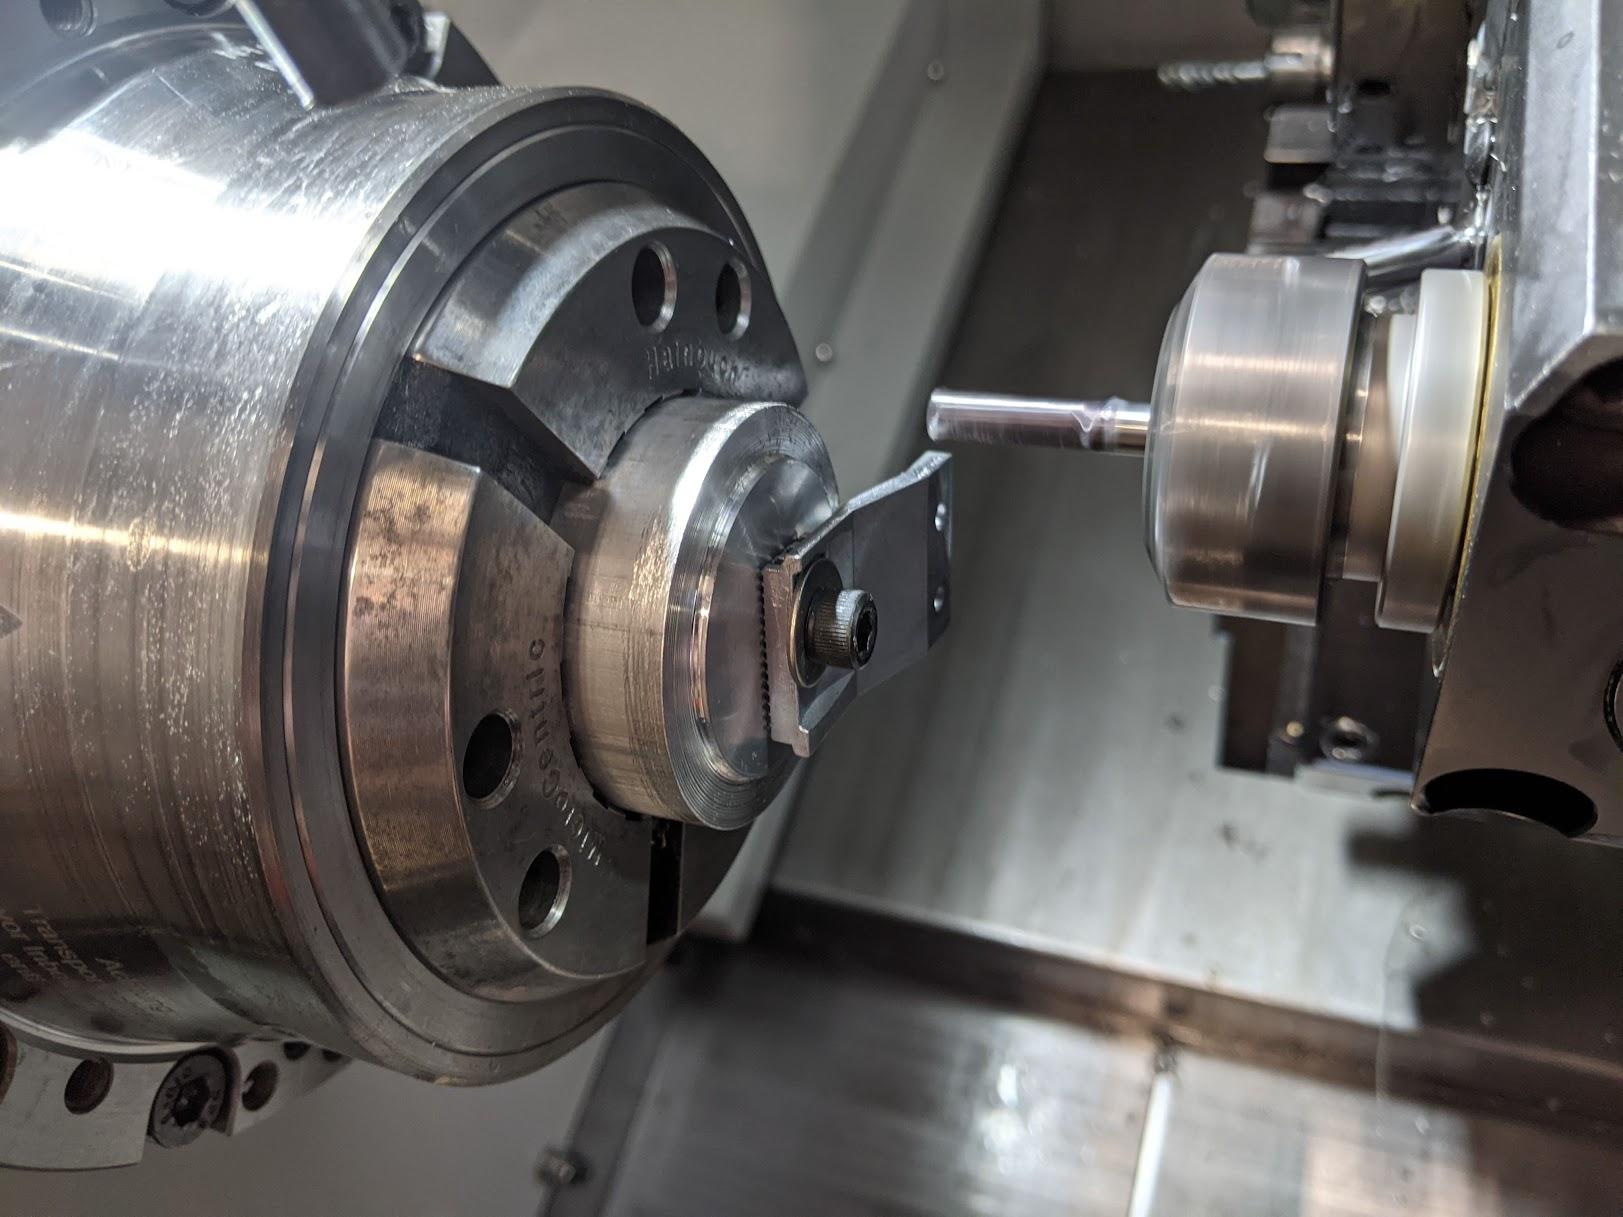
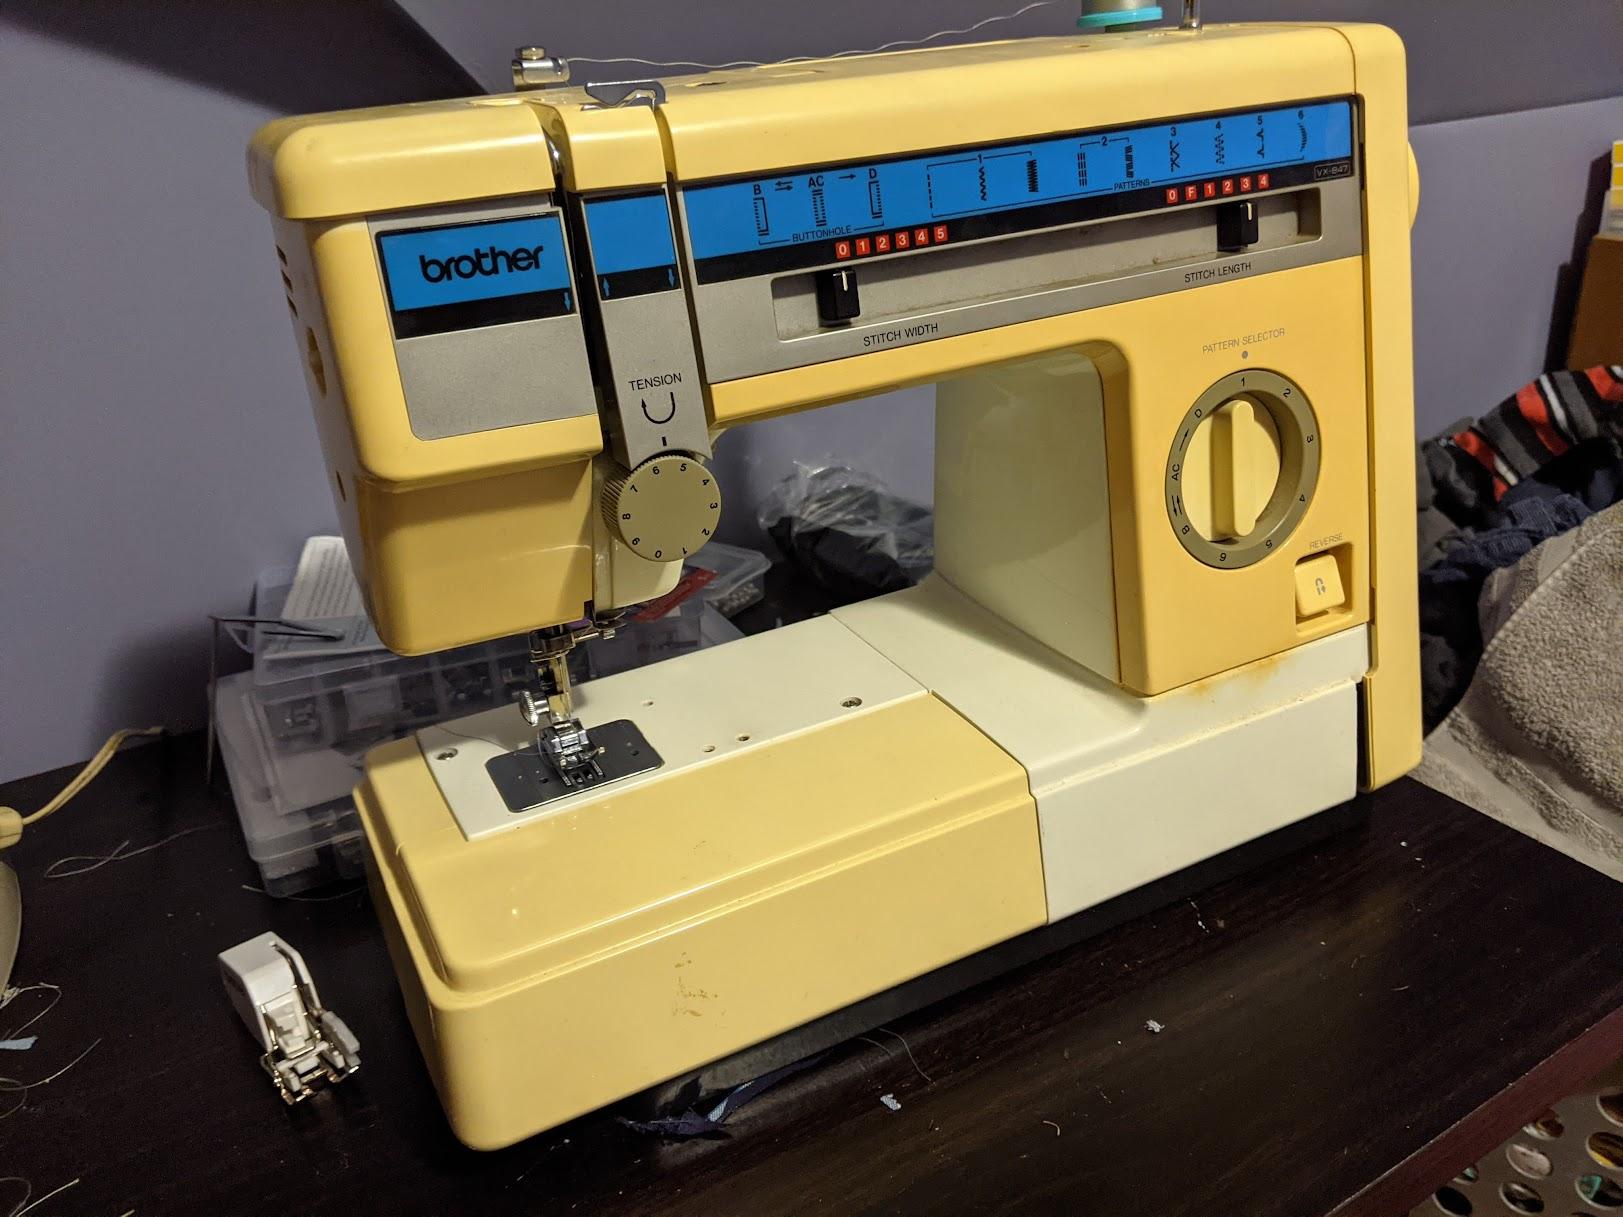
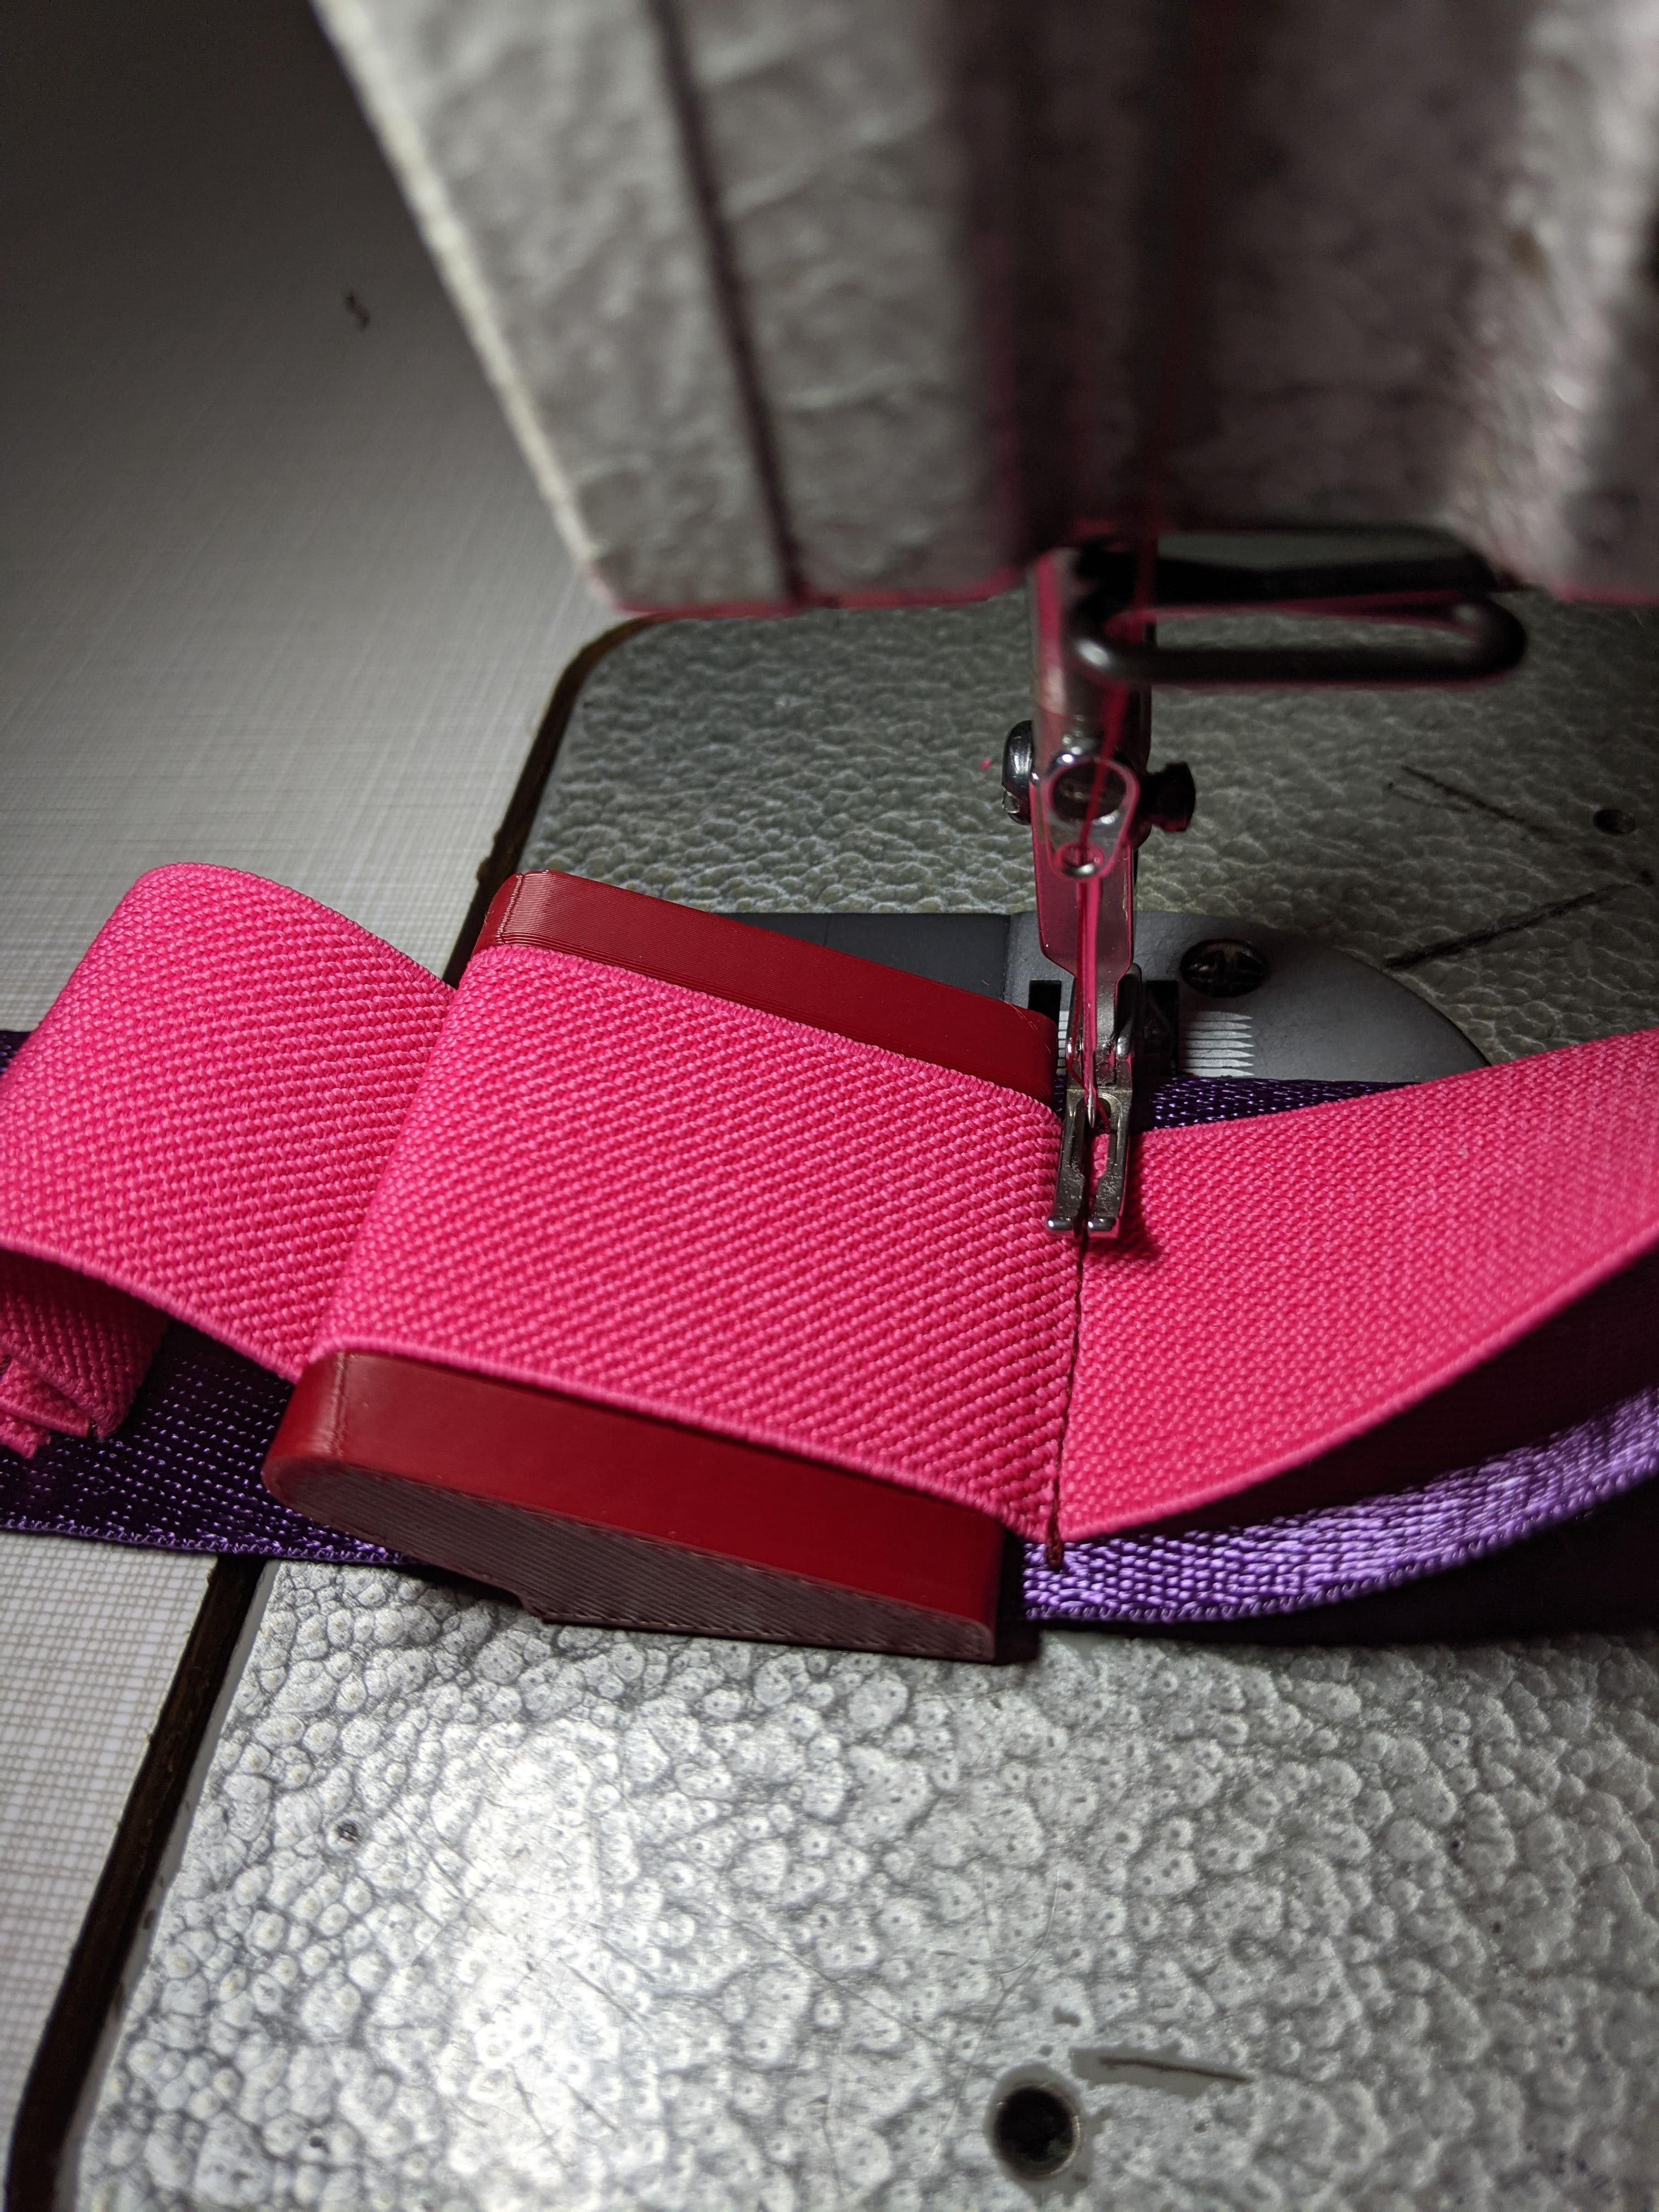
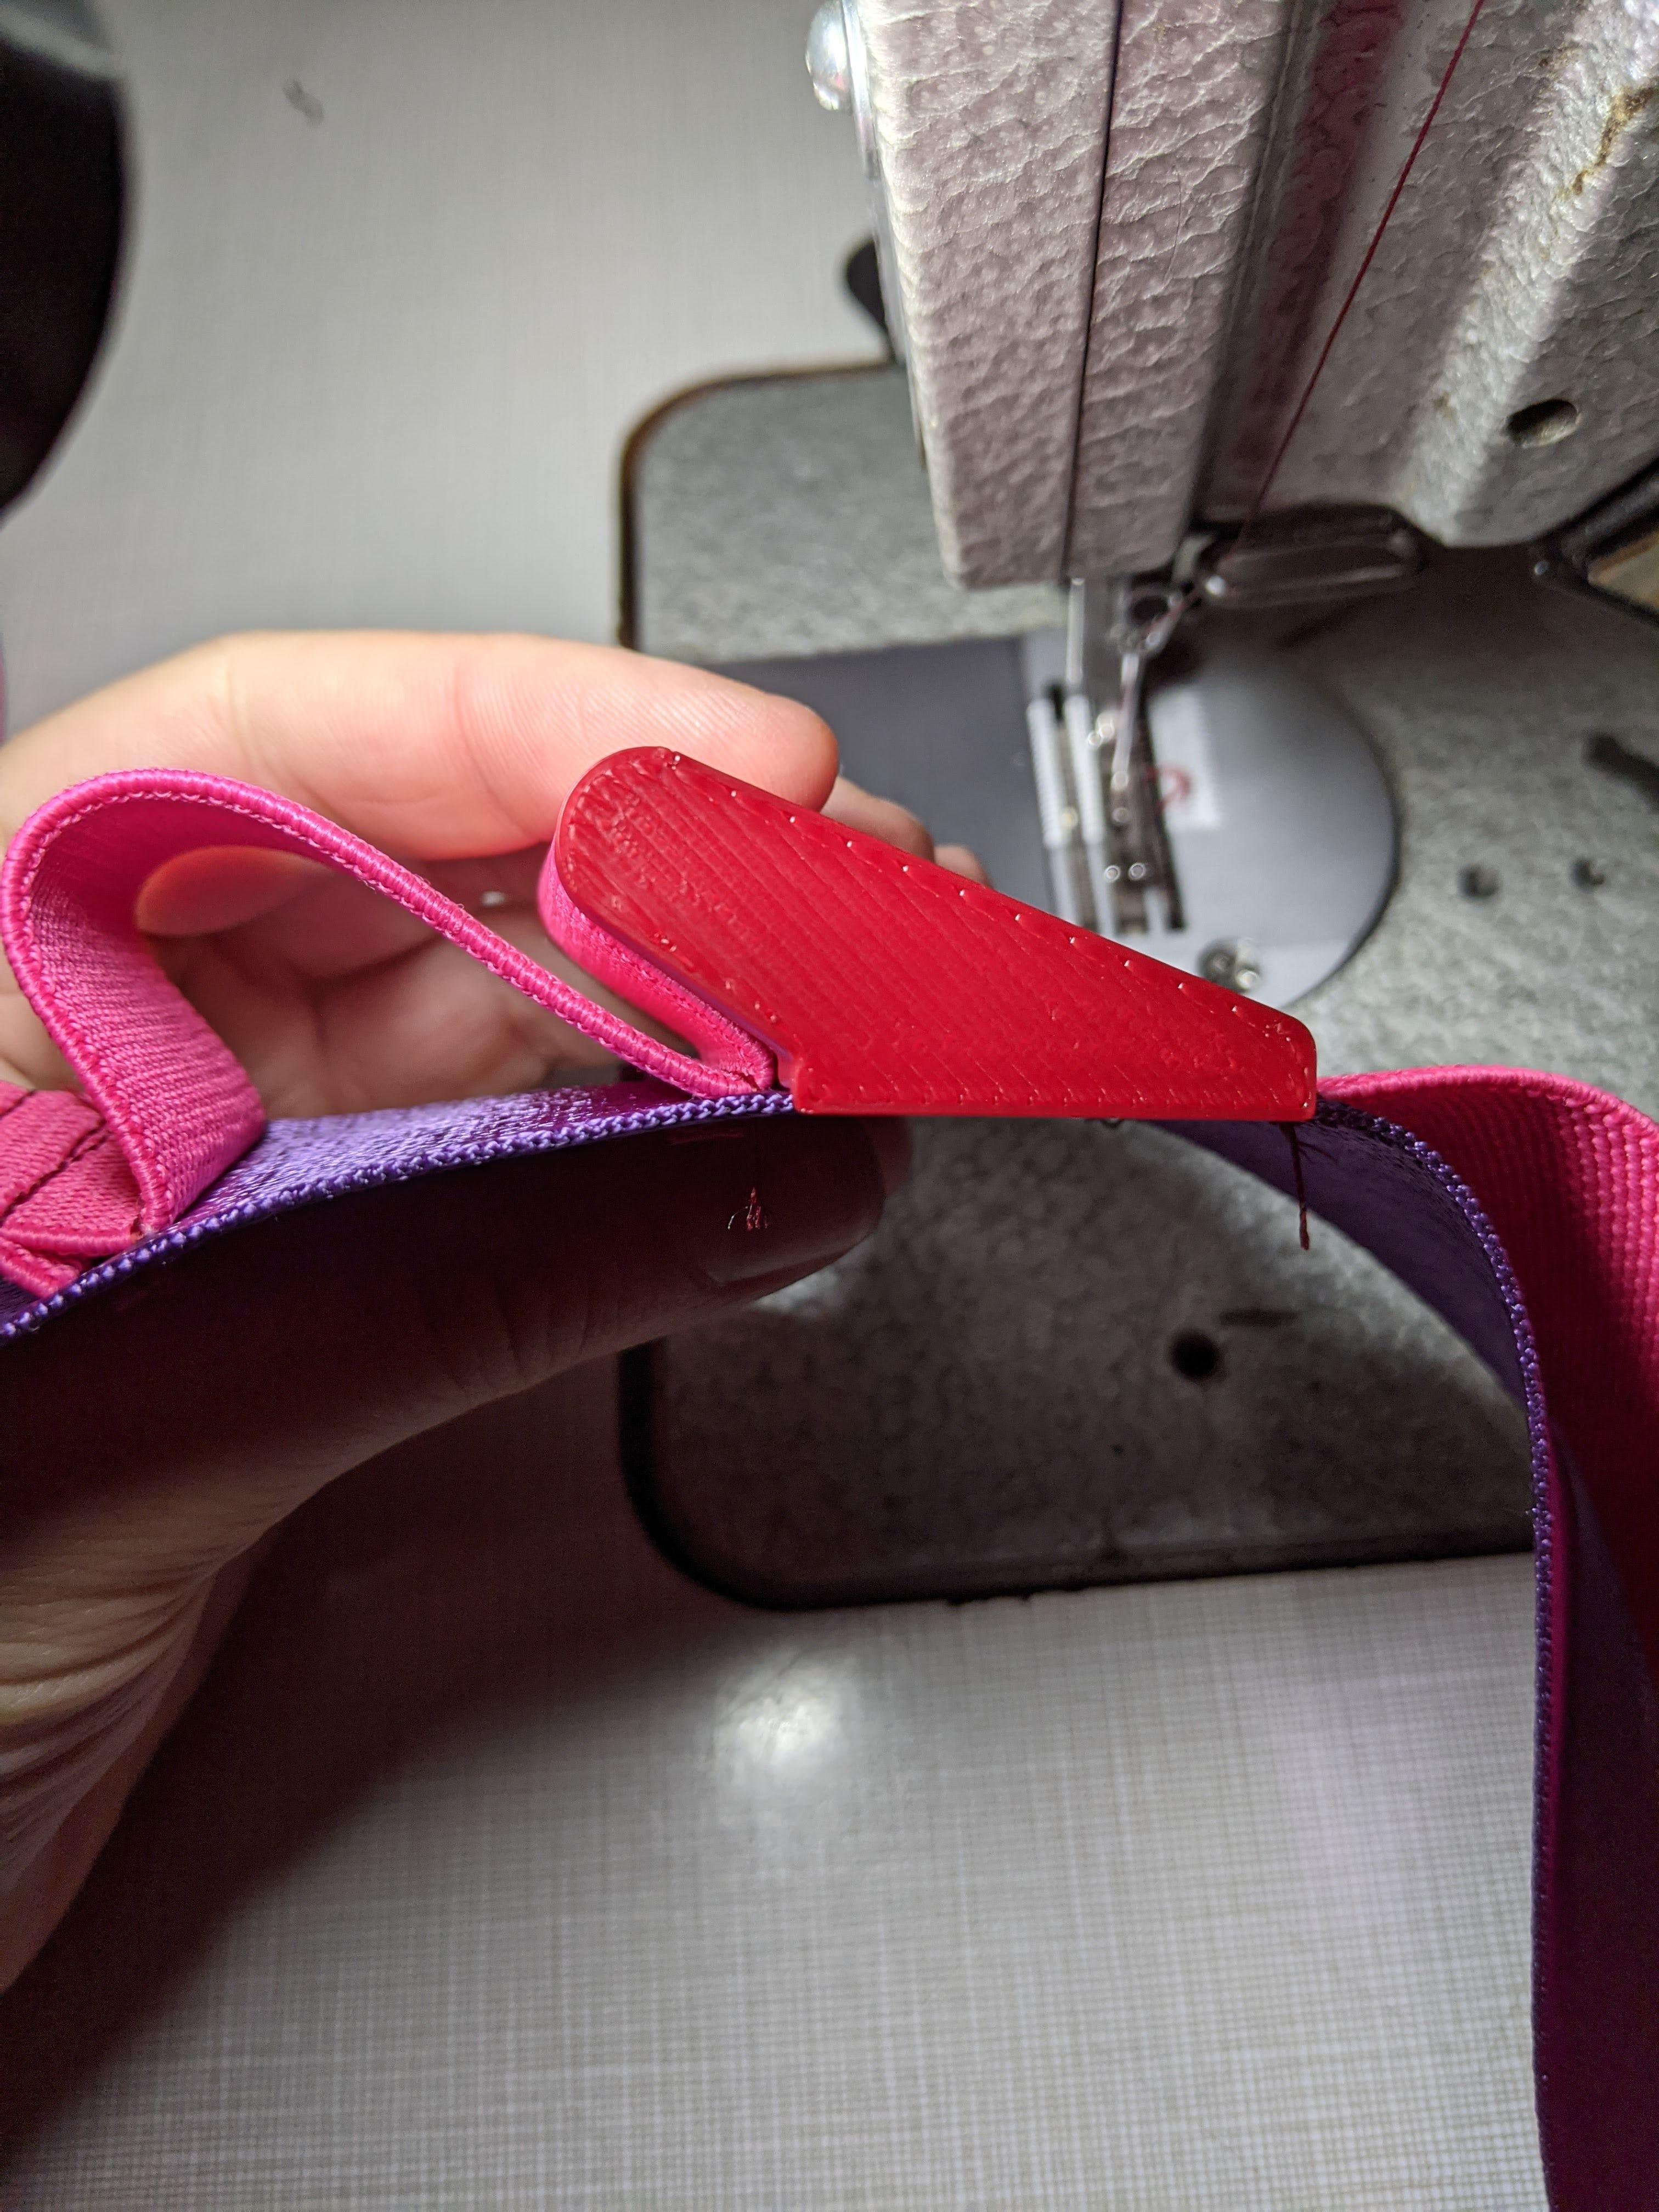
 Hey all, Figured I'd introduce myself - I'm a self-employed machinist in upstate NY (capital region), and I've been working with metal for over half my life at this point. I have a couple bar fed, dual spindle CNC lathes in my shop and I make small parts for large steam turbines, nerf blasters, and hydrogen fuel cell systems. I also run a couple Formlabs Fuse series SLS printers. I've had a lifelong passion for making stuff that eventually turned into a passion for using, modifying, and maintaining industrial manufacturing equipment of all kinds. I found this forum when I got back into sewing about a year ago (mostly bags, some hats, and I'm now learning pattern drafting for garments) and quickly fell down the rabbit hole that is industrial sewing machines. This site has been an incredible resource for information about the range of sewing equipment that's out there! I started off with an 80s-era Brother Walmart-grade domestic machine, which was...frustrating, to say the least. The feed dogs were out of square with the presser foot and needle bar axis so it defaulted to sewing about a 6" radius curve to the left. Not great! I took it apart and remachined the mounting surface on the feed dog plate, which was out of parallel by somewhere around .020" across the ~1/2" wide mounting face 🫣 Didn't have a mill at the shop at the time, so it went in the lathe with a sketchy setup - tried turning that face initially, but the overhang was just too much and it chattered like crazy. Live tooling came to the rescue though, and I cleaned it up by jogging an endmill back and forth across the surface. Parallelism between the feed dog teeth and the mounting surface was greatly improved, on the order of .001-.002" as far as I could measure. The machine still pulled to the left a bit after that, though it was far more usable than before. By that point, it became clear that I needed something more capable, and I'd already started researching industrial machines. Within a month or so, I picked up a Durkopp-Adler class 272 needle feed machine with an Efka Variostop system on it, which I converted to 110V from 208V 3ph with a reverse fed transformer and VFD that I had laying on the shelf. That Efka system is incredibly cool from an engineering standpoint and is also much easier to convert to residential power because the motor runs continuously, using an electronic clutch and brake to drive the machine, rather than starting and stopping on demand like a modern servo would. Later last year, I grabbed a "Chansew" (Chandler) Model 100RB for a price that was too good to pass up, which is one of the various flavors of top/bottom feed machines imported under the Chandler, Consew, and Seiko names. Still working on putting together a table for it, and I'm debating how I wanna approach the drive system, since it came with an old clutch motor that I'm not very interested in using. The obvious route is a Chinese servo system, but I'm particularly interested in building my own out of some Clearpath servos I have leftover from an old project, with the eventual goal of adding a stitch programmer that I can set up for various repetitive tasks. All of my sewing so far has been fabric-oriented rather than leather, in part because it's more accessible, but also because it makes more sense for a lot of my applications so far. The 272 above is firmly a garment-class machine and could at best handle lighter leathers, but it's definitely not made for it. The Chandler is likely going to be my introduction into leather sewing after I get it set up, and I'm particularly interested in making leather bags with it. Currently lusting after a cylinder arm machine of some kind, ideally with a synchronized binder, as binding raw edges is currently one of my biggest struggles. Some of my work is below: Designed and made this tote bag yesterday! Needed a better bag for grocery-getting. This one's got two cargo pockets on the inside ends in addition to patch pockets near the handles and has a total volume of 16L. One of my other interests is in making tactical gear for Nerf blasters, where bright colors are preferred over the camo and dark solid tones traditionally available in that space. I made a bandolier a few months ago for some 3D printed shotgun shells that hold a variety of soft ammo types in various quantities, and printed a little jig to handle sizing and spacing the loops so I didn't have to measure and mark out each seam location. It's sized for my centered zipper foot and worked extremely well for the ~50 loops on the sling. The elastic ended at exactly the right spot and the whole thing went together very quickly - a very satisfying evening project. PXL_20251018_001414964.mp4
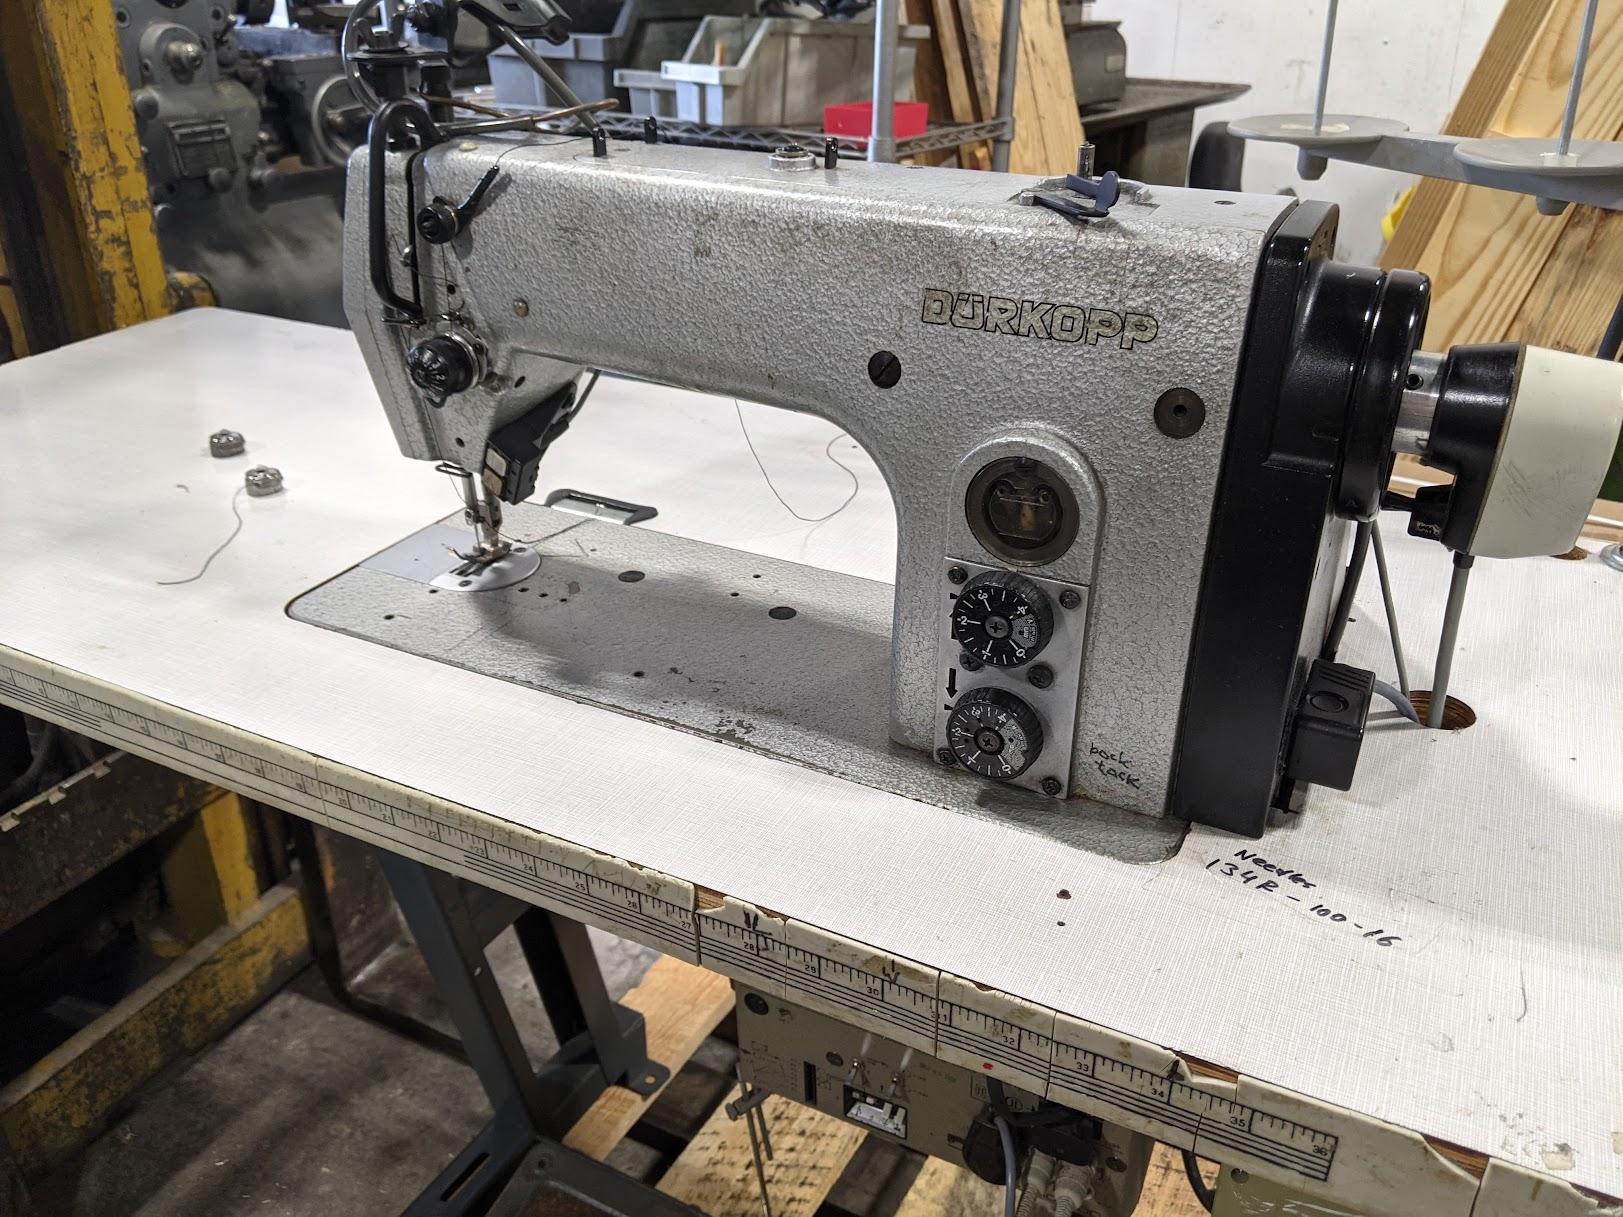
-
Had a new toy follow me home so had to start a new leather project. I always do a trial holster first to ensure my pattern is good so now that test fit is good I can start a bling bling holster.
-

It's been a minute since I've posted anything
Thadrick replied to DoubleKCustomLeathercraft's topic in Show Off!!
I found some really nice Buffalo at Montana leather company. I prefer to go up there and choose the sides in person but be sure to bring your entire savings because they have some really nice stuff and you won't get out without having to sell your first born. I always come home with way more than I had planned. I think I have the other side to that Buffalo. It's nice and easy to work with. Nice job -
I saw it was an old post. I'll list it in classified section but may wish to try local sale first. Western Colorado is the location and delivery is easier than packing to ship. i'll keep watch to see if the post is archived then i'll figure he will not be answering. =bob=
-

Help a Newbie Develop an Eye for Quality
wizard of tragacanth replied to OGL's topic in Getting Started
Thought I made a post here a few days ago but perhaps I logged out without sending it. I will try to reconstruct it. You will learn to work without making any finger nail marks. Focus on working with the pads of your finger tips, or sometimes a knuckle (for wet molding). I would not bother to groove this project. It is difficult to grove over holes as a beginner and you have a great chance of spoiling the project. Grooving is normally done prior to punching holes. Besides, this is a thin leather and grooving will only make it thinner and possibly harm the integrity. You could run a creaser because it would glide across the holes but I see no real point to that. Also, you would need to dampen the leather but you have already put a finish on it. Save grooving for a future project. There is no grain to leather but I do recommend sanding in one direction, e.g. left to right, not scrubbing back and forth. You need a variety of sandpaper grits. Depending on the projects that you do, that could vary from 80 grit to 600. Often, you will start with a lower grit and finish with a finer one. As a maker, it is your choice to set the style. Styles run from primitive, crude to high-polish dress. You can have unfinished edges or glass-like edges. What is your direction as a maker and who is your customer? Nick -
I like the idea too lol, but yeah i cant see good enough to keep them pointy end up. I would have to add a Band-Aid box.
-
That's looks good. It'll last s lifetime and I'm sure the owner will love the custom work.
-
Ah, I will give piping a try! Thank you!
-
.thumb.jpg.327685d8c1787fa894323fed9a6b2dac.jpg) Chuck I honestly thought the back cut was only one side not both. So that totally makes sense. I should have known, but this new distributor I'm using doesn't have great explanations on the site and it was too late to call when the question popped into my head. I can always count on the knowledge here. Thank you
Chuck I honestly thought the back cut was only one side not both. So that totally makes sense. I should have known, but this new distributor I'm using doesn't have great explanations on the site and it was too late to call when the question popped into my head. I can always count on the knowledge here. Thank you -
I will definitely post some pics if I get them. That's up to my client to send me some, but he said it'll be no problem. I wore fresh rubber gloves during the recipe prices of making this so I didn't risk any dirty from my hands rubbing off. I heat with wood and live in the forest so dirt just like to appear out if nowhere haha. Double stitching always looks great on a holster, but I'm a hand stitch guy so I don't often offer to do so. It takes so long and I don't typically charge extra
-
Thanks. Montana leather co. Any time I have an order with bison they're my first choice. Thanks for the comments. It really keeps me motivated to read them.
-
Do you have a user's manual and/or parts list. Have you watched it in slow motion while hand-wheeling it? Loosen the needles and reset them all the way up into their mounting brackets. If that doesn't fix it, one of the loopers may be bent, or pulled out of alignment. Also, make sure that it's threaded correctly and all the tensioners are set right. Sometimes, it helps to rethread these a-hole machines to get things working again. For me, it's a love/hate thing with sergers.
-
What material, thickness and diameter is the piping? Are you using a properly matched piping foot set? If it's thin leather, try rubbing Carnauba Creme on the area that's going to make the sharp turn before it gets to the feet. Or, apply it to the entire length in advance. Carnauba Creme softens and preserves leather and can be polished with a piece of wool fur. The added flexibility may help get rid of the corner wrinkles. If the wrinkles persist, try skiving it down a little thinner. If it's cloth or vinyl, check on upholstery forums, like https://www.theupholsteryforum.com/.
-
Amen !