All Activity
- Past hour
-
-
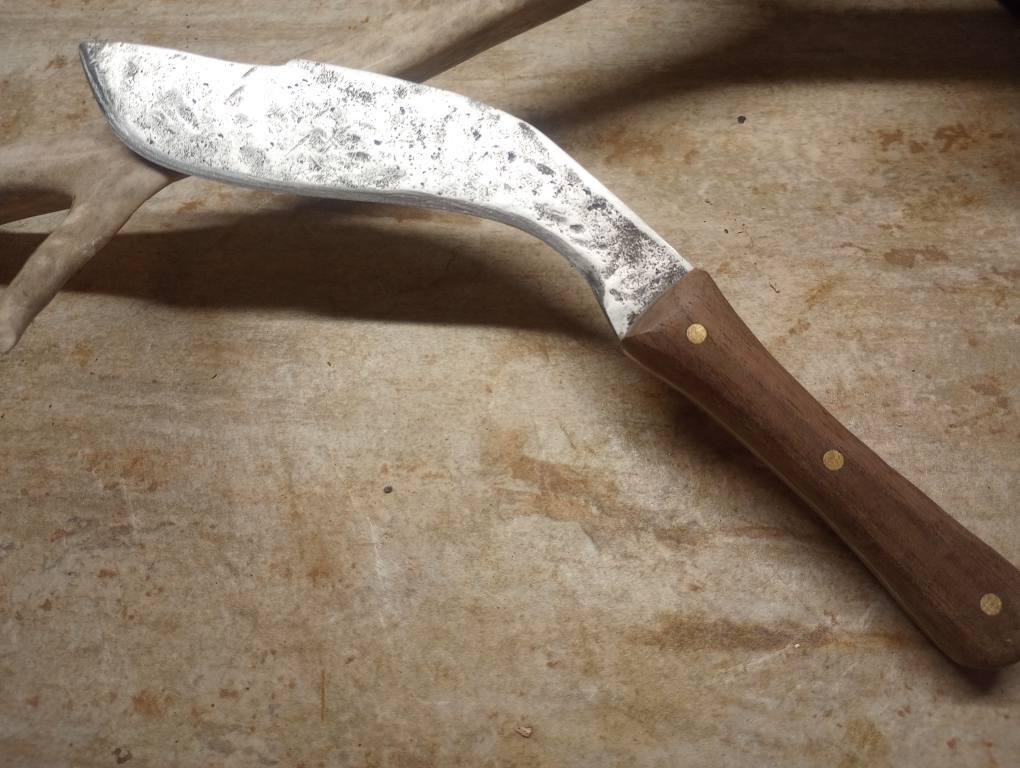
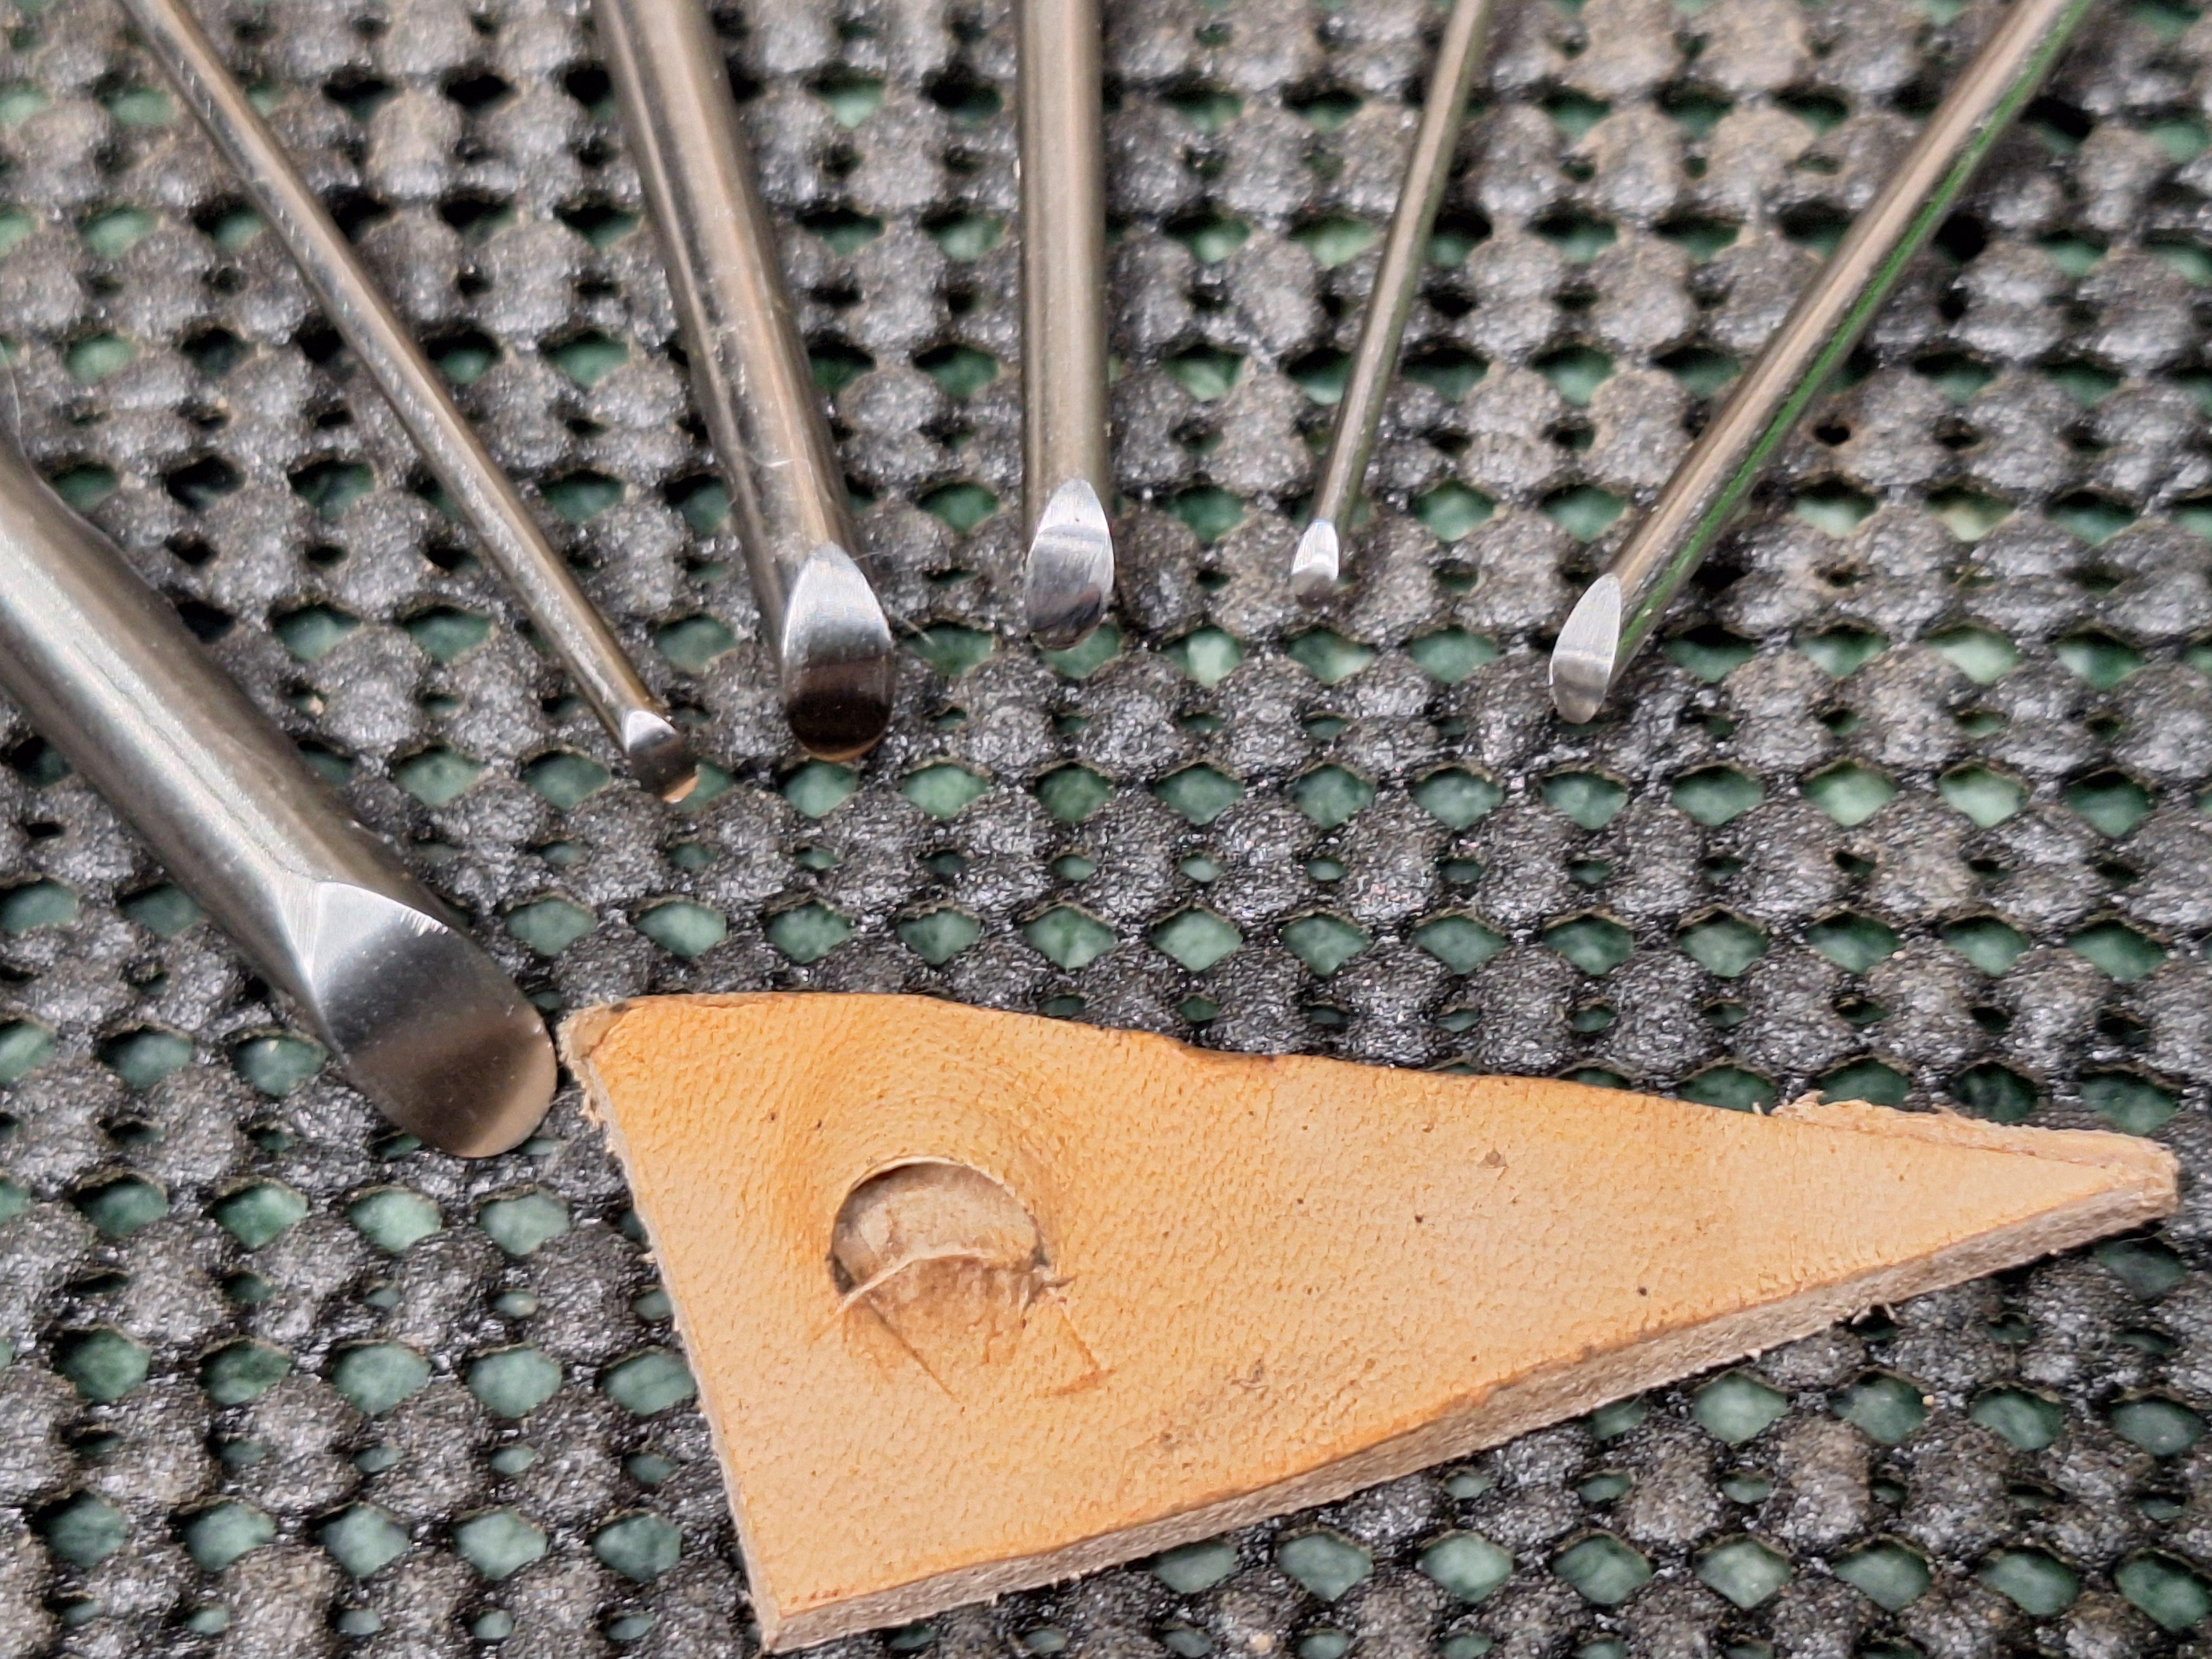
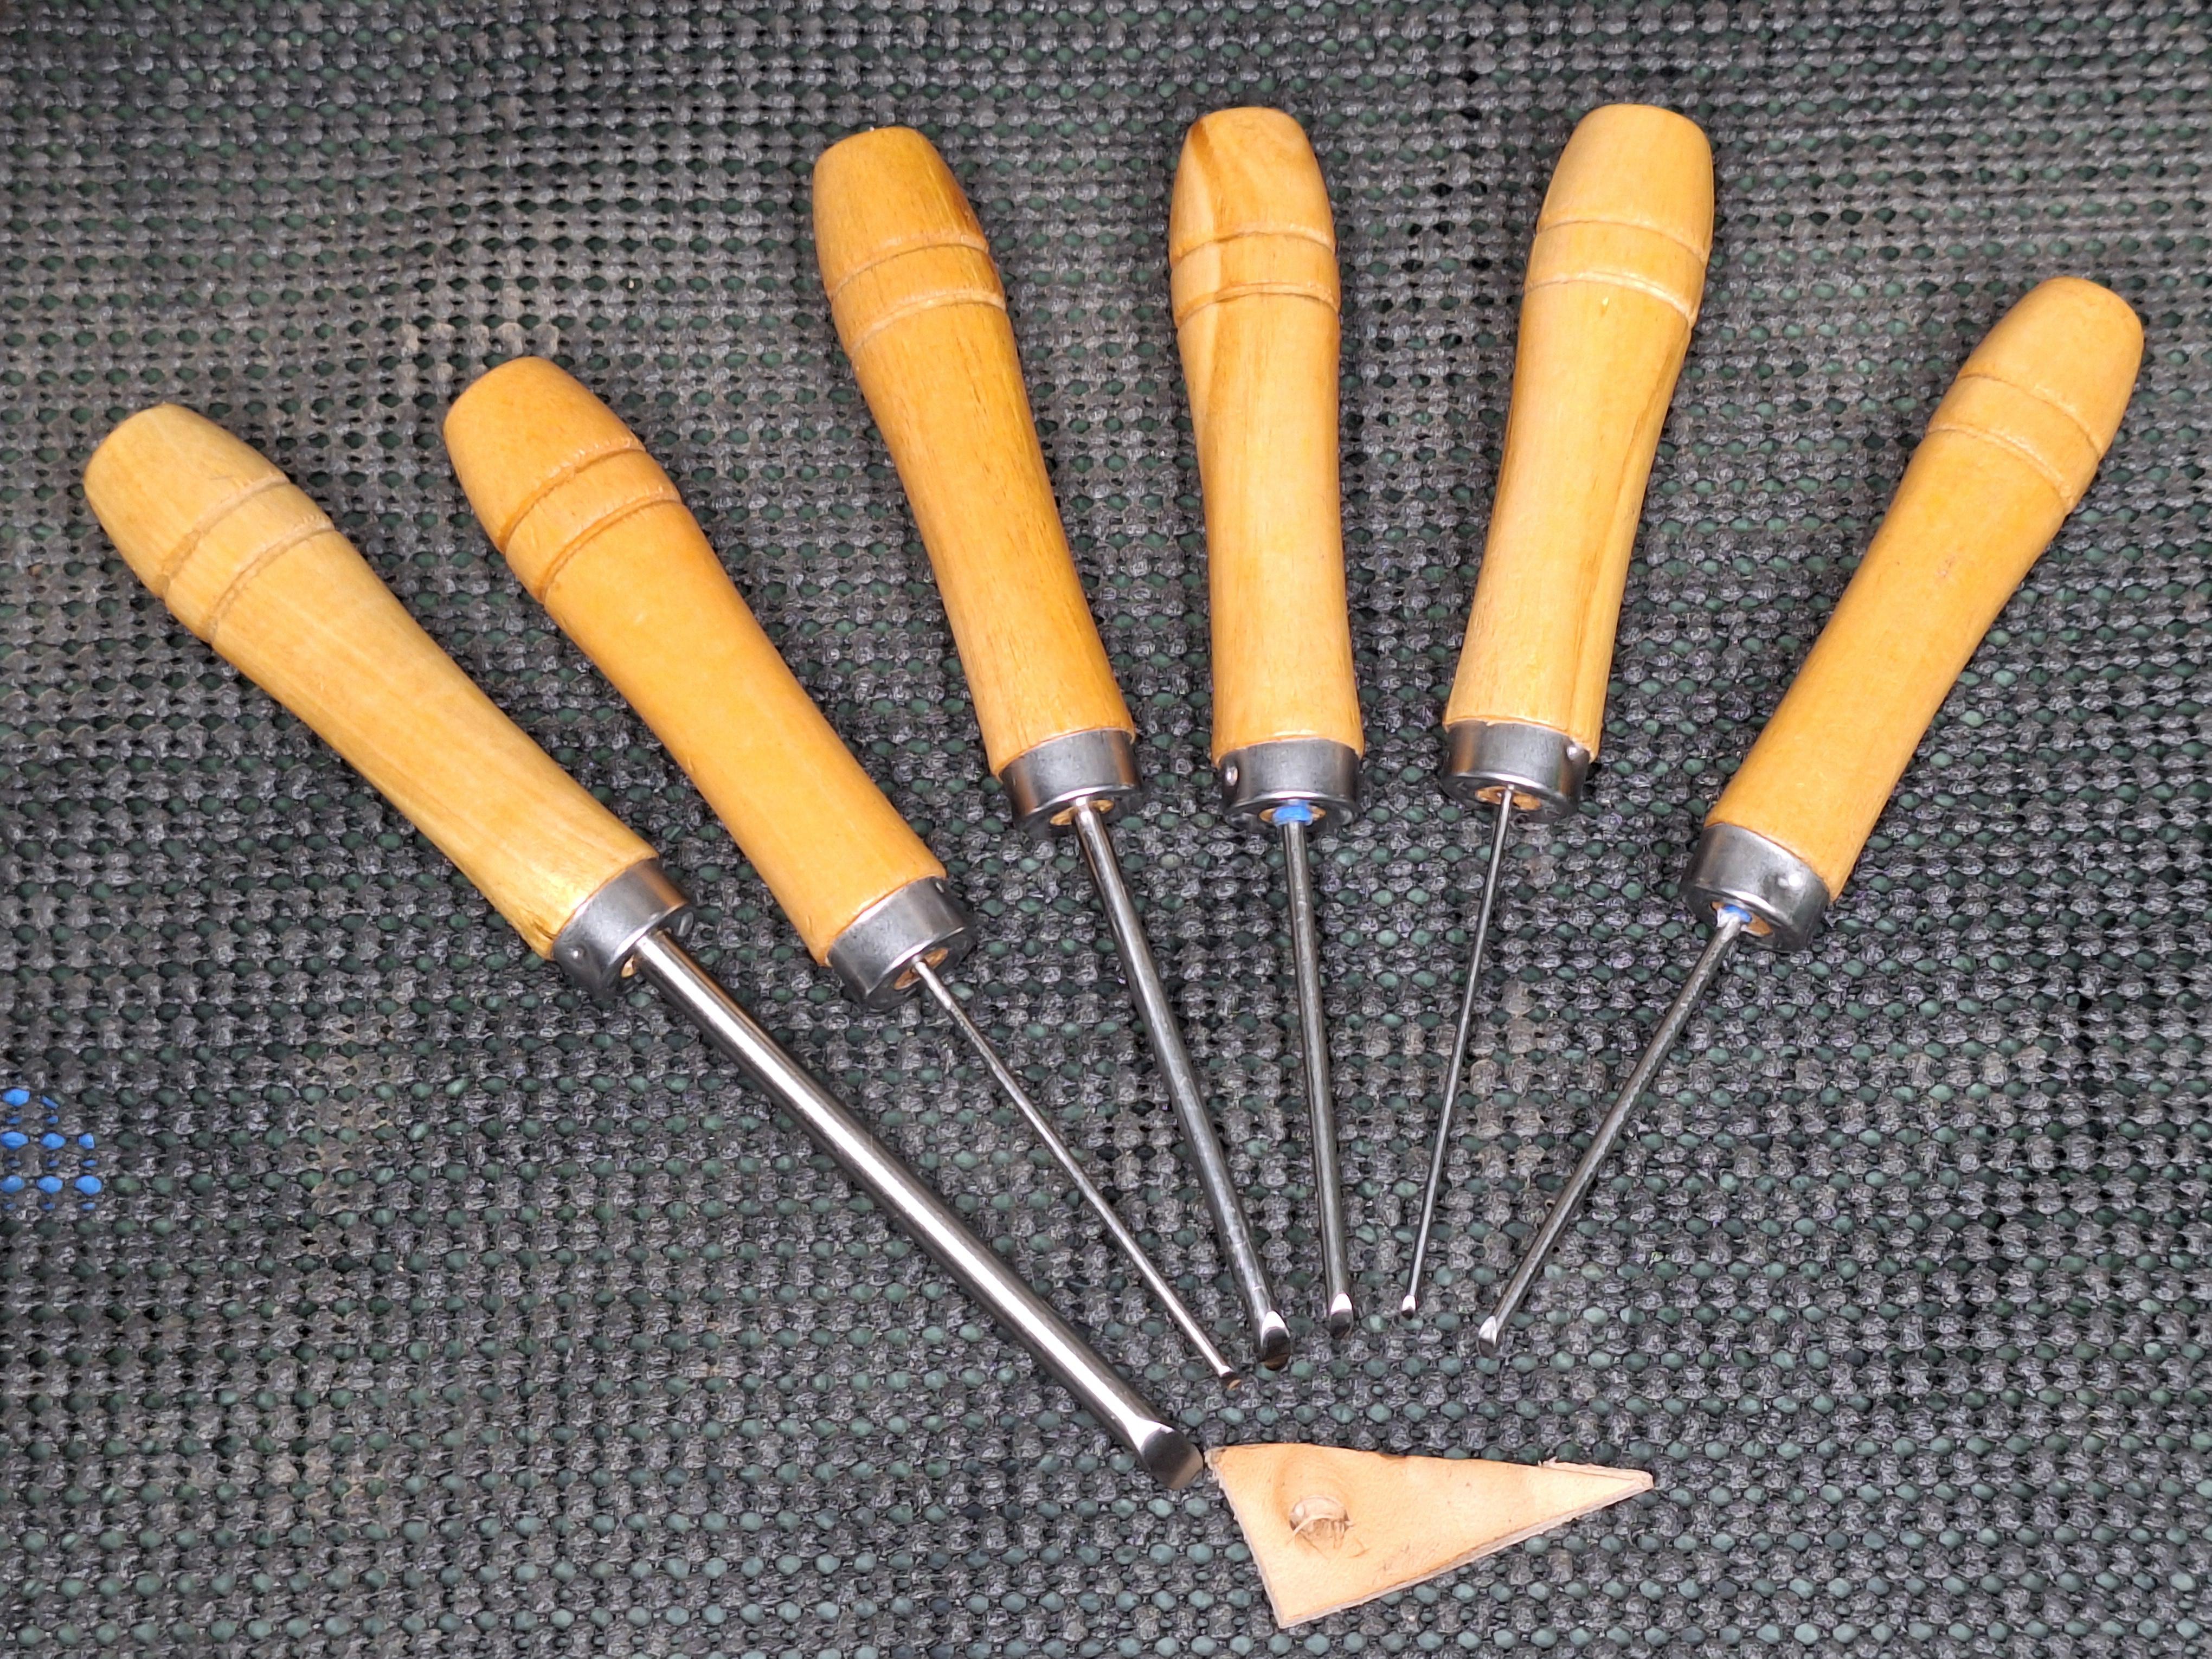
Wanted to do some petal lifting, making the leather look more 3d by stretching up certain sections. Mine are in NC, didn't want to buy an expensive set. For under 20 dollars and an hours work here we are. Pretty happy. The items, Stainless rods, handles, super glue, I found a set of stainless rods 1.5mm to 8mm x 60mm long these were 8.99, the handles are file handles got 12, 6 large not used and 6 small, 6.99. Put the rods in the handles, for the small ones wrapped painters tape around the top for a snug fit then used some super glue down the hole to fix them. The grinding to shape can be done many ways bench grinder, files, dremmels, the angle isn't precise we are after a cutting edge. I like the angle around 45 degrees with the heel radiused. Used a course grinder to get shape and then went to a finer belt grinder. Then used sharpening stones to clean up the scratches, finished with 2000 on the stones and then used a strop with polishing compound to bring a mirror polish, we want it to be razor sharp at the tip as it is a cutting tool..
- Today
-
Nicely done, very clean.
-
 Bringing this thread back to life. Which of these models could someone recommend for making leather jackets? I use an .8mm and a different 1mm cowhide mostly and will start to use horsehides soon. I also will run some horween veg 5oz or less through it some times. Jackets will be the primary and my vintage Adler 167-373 has trouble getting over thicker seams.
 -
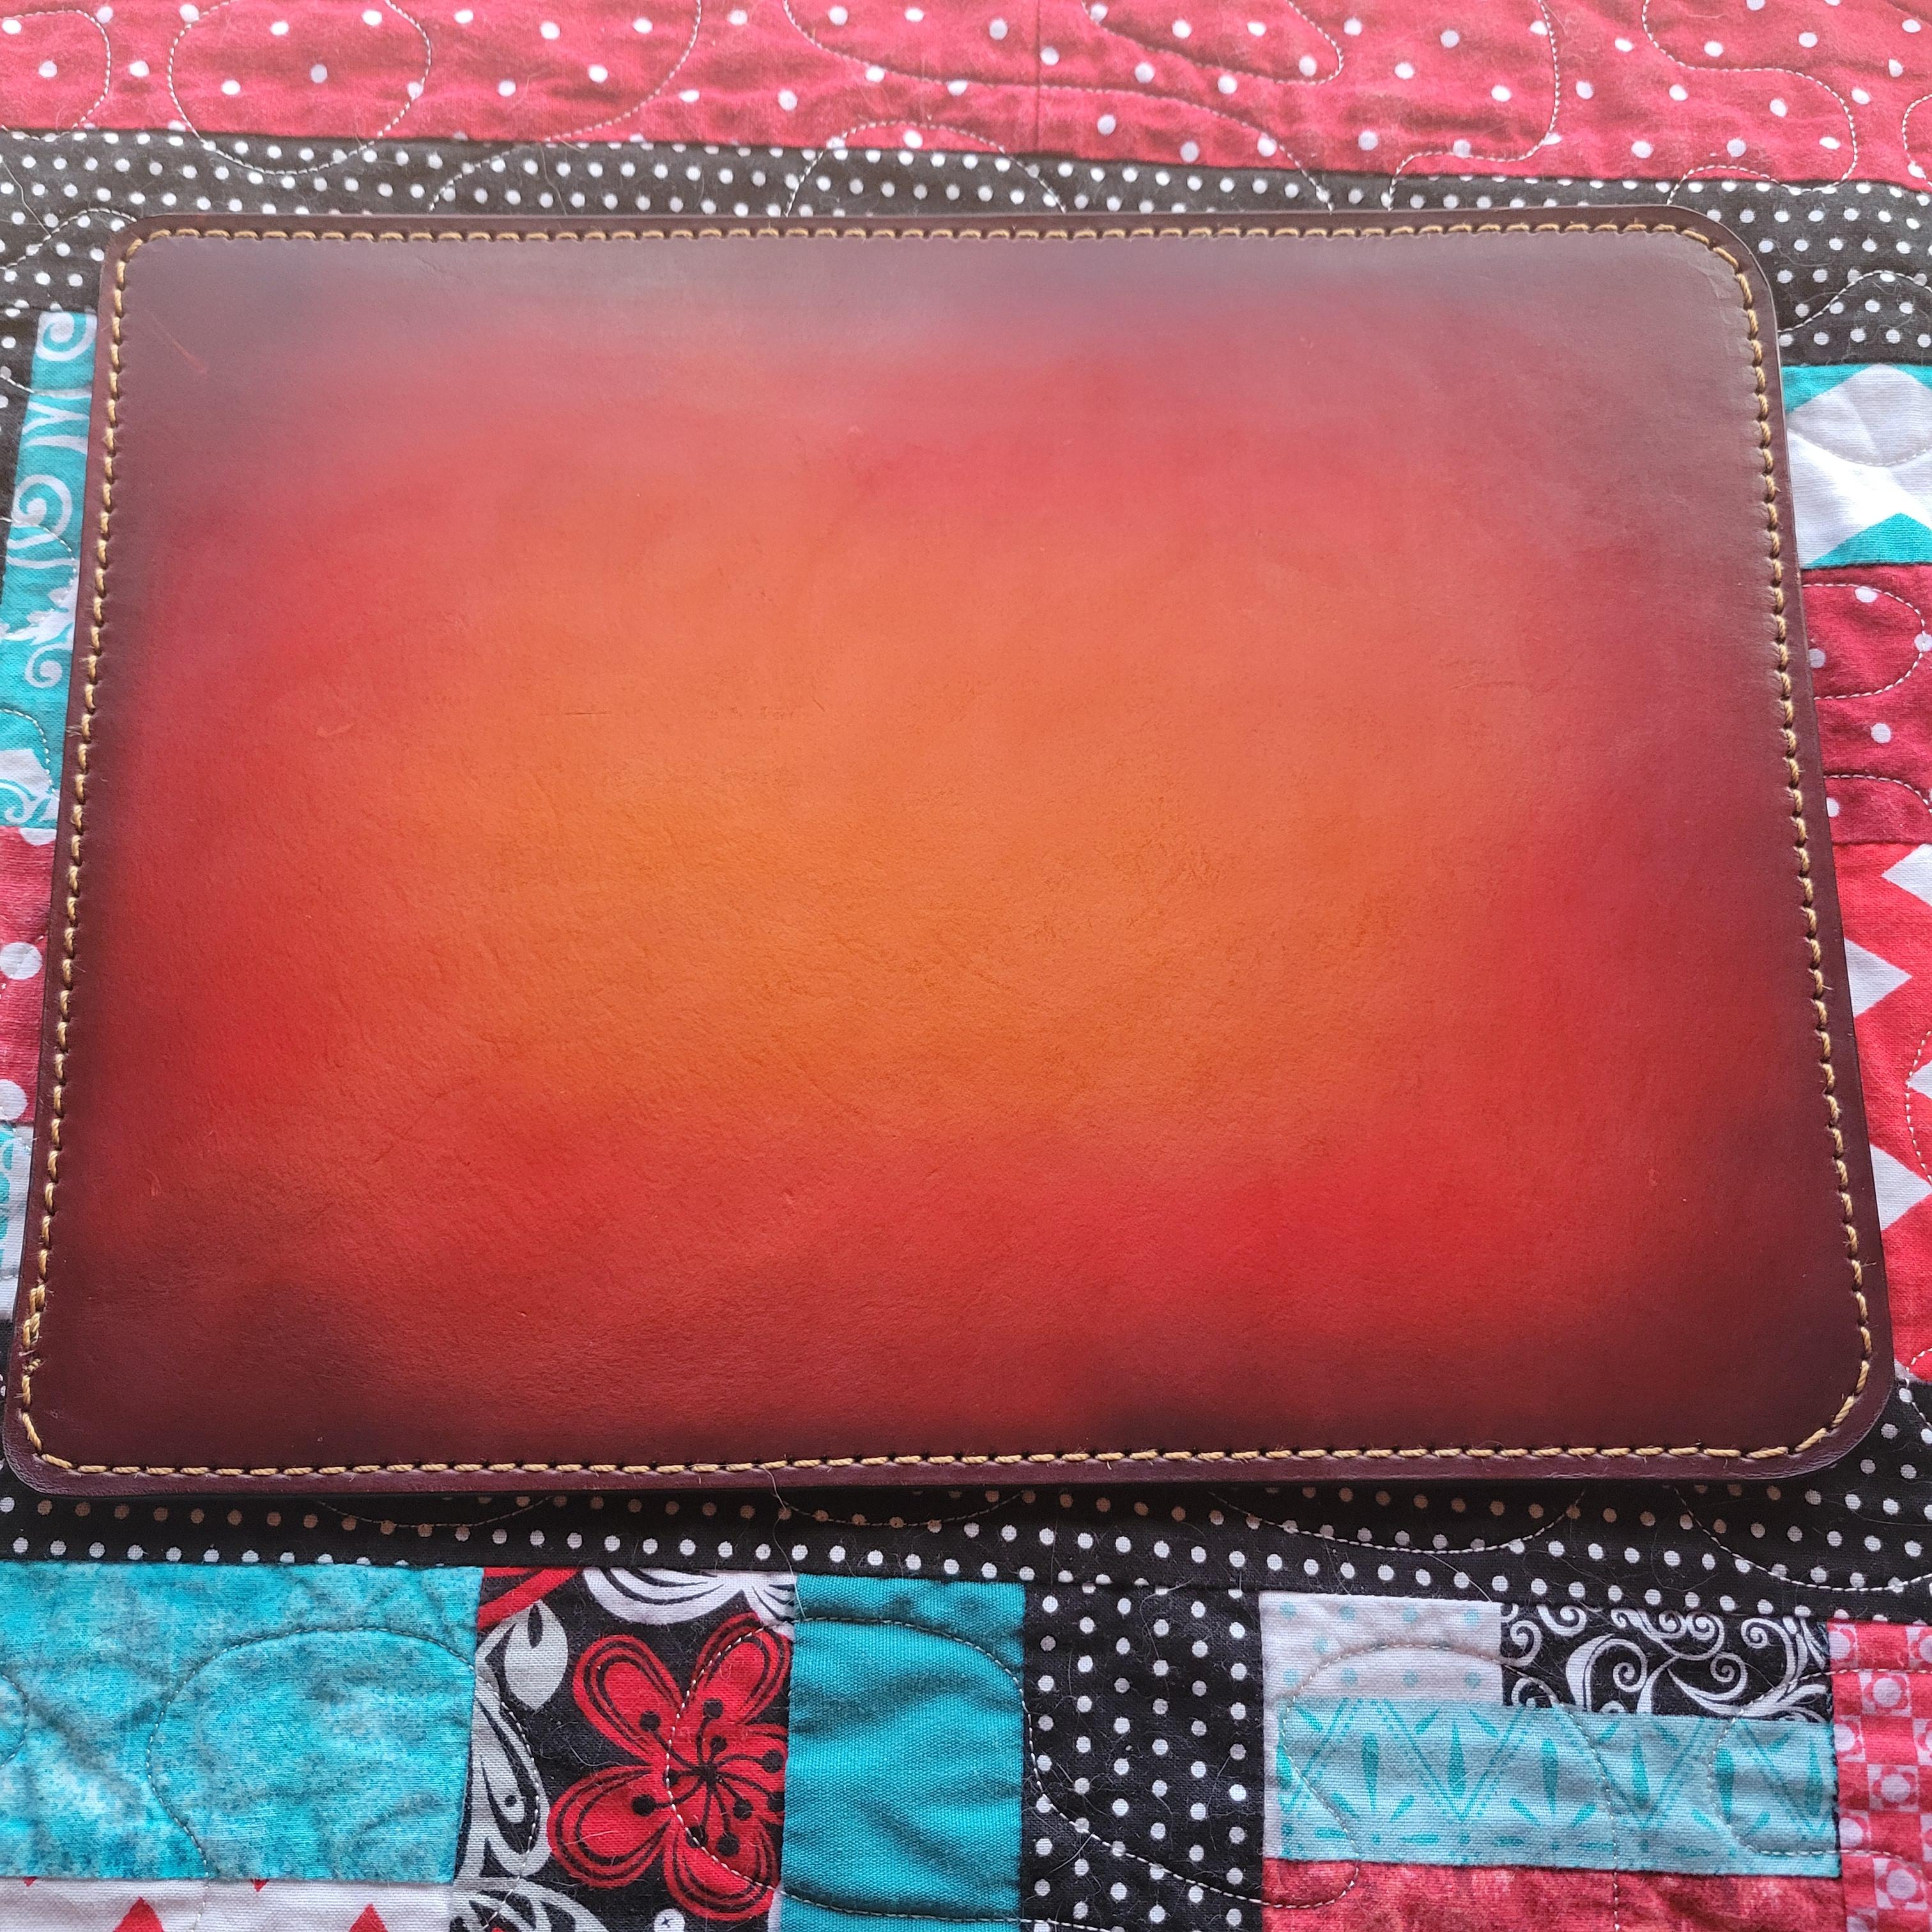
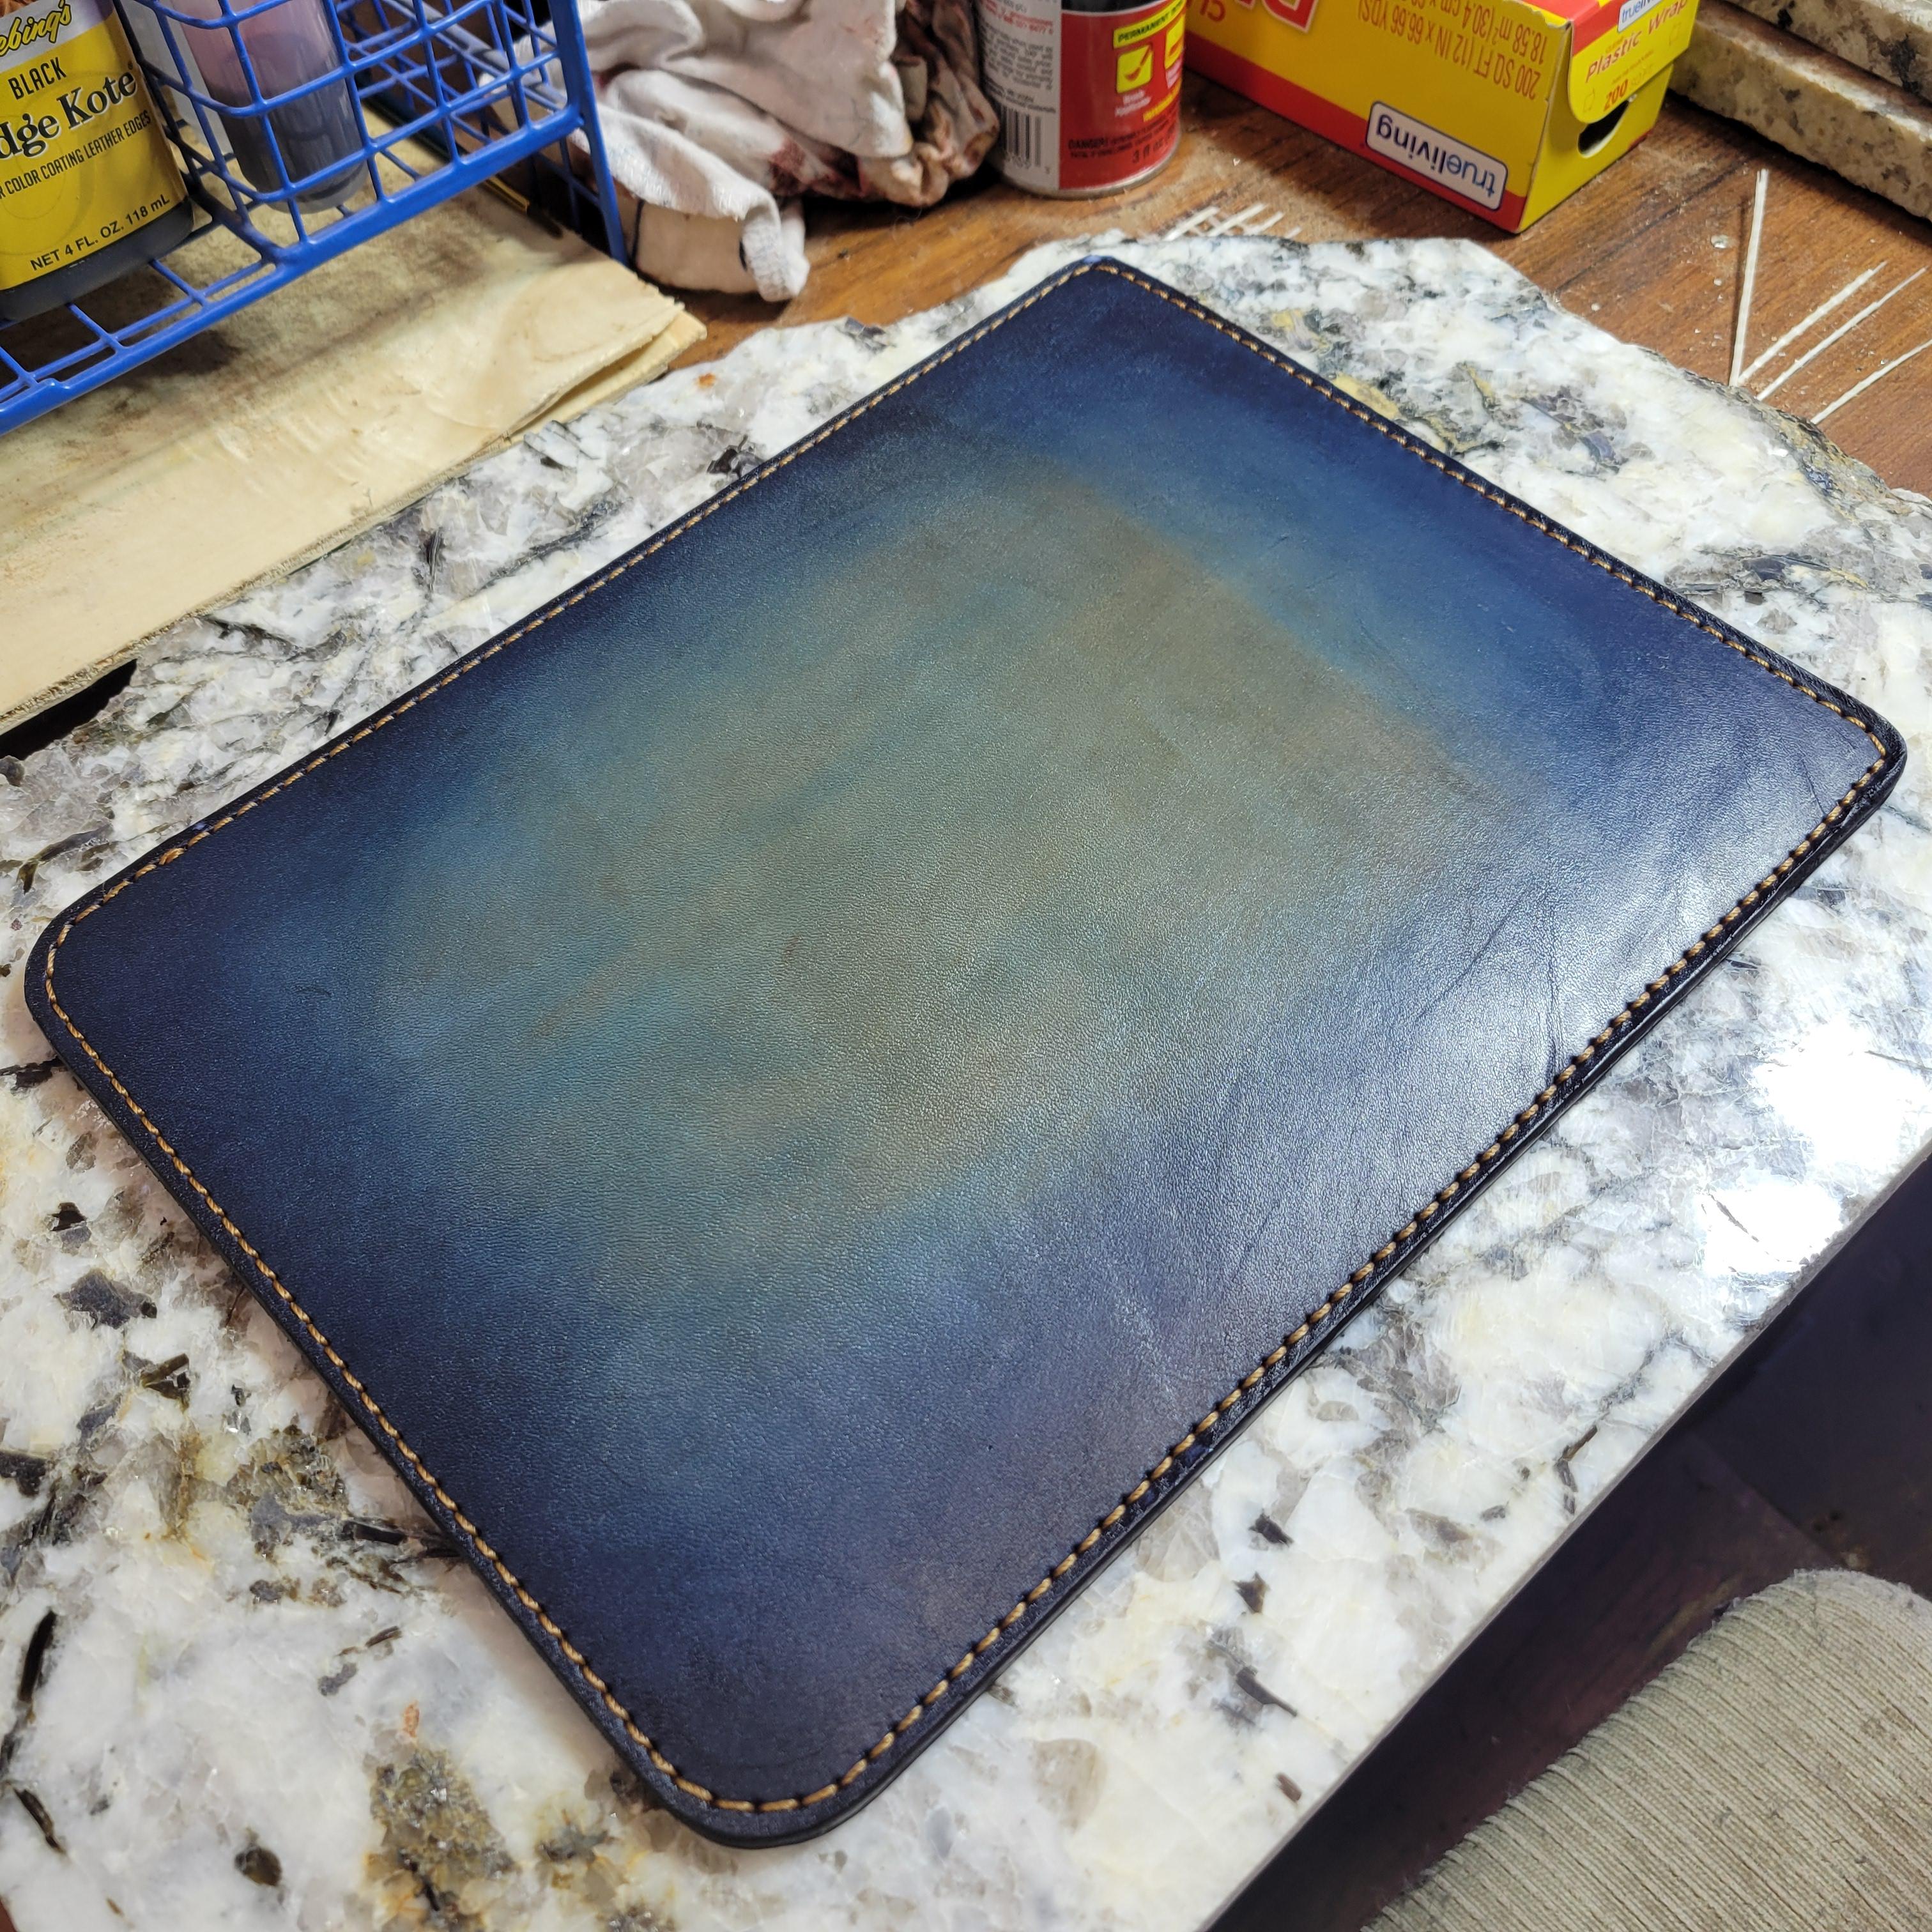
Finished a second mousepad that's been on my to do bench for months. Both backed with 1/8th neoprene for heft and to help it not slide so much. First one I made a few months ago: And the one I just finished (sadly the leather quality is a bit lower) : Finished with a resoline coating. Both were airbrushed with dye by my wife as her first projects. Honestly I think they both turned out really well.
-
Depends. If it's a personal item and I can't fix it, I might live with it. If it's a sale item and I can't fix it, I'd start over.
-
I guess we need a Cobra guy to come along and say if it's right or wrong.
-
Gotcha, I misunderstood your question. That does seem a little odd.
- Yesterday
-
I lightly case the leather and mark with my wing dividers, and typically run over the groove 2-3x for a nice deeper groove without cutting through, so only my irons (and maybe my awl) actually pierce the grain. — AZR
-
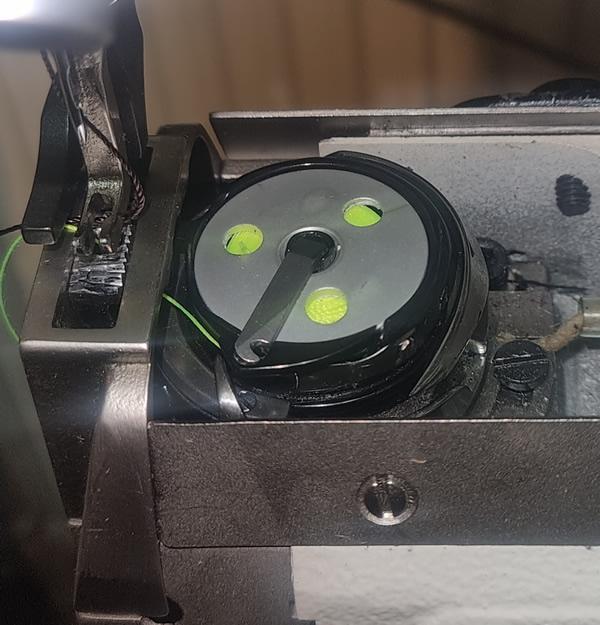
Yes but I don't see a slot on the Cobra. It's where it goes after the tension spring that's got me puzzled? There's no way my thread can double back after coming out of the tension spring and go through the little notch on the bobbin retainer on the top like it is on the Cobra.
-
Yep. The bobbin thread runs through a slot/notch and under the tension spring on the bobbin case. EDIT: I'm not sure what machine you have but when you drop the bobbin in, there will be an angled slot somewhere in the case. The bobbin thread will go into that slot *in the same direction that the slot is angled up*. That notch you refer to should be the top end of the slot. Pull the bobbin thread up and out that notch. The bobbin thread then changes direction and passes under the spring. Every machine I have operates this way.
-
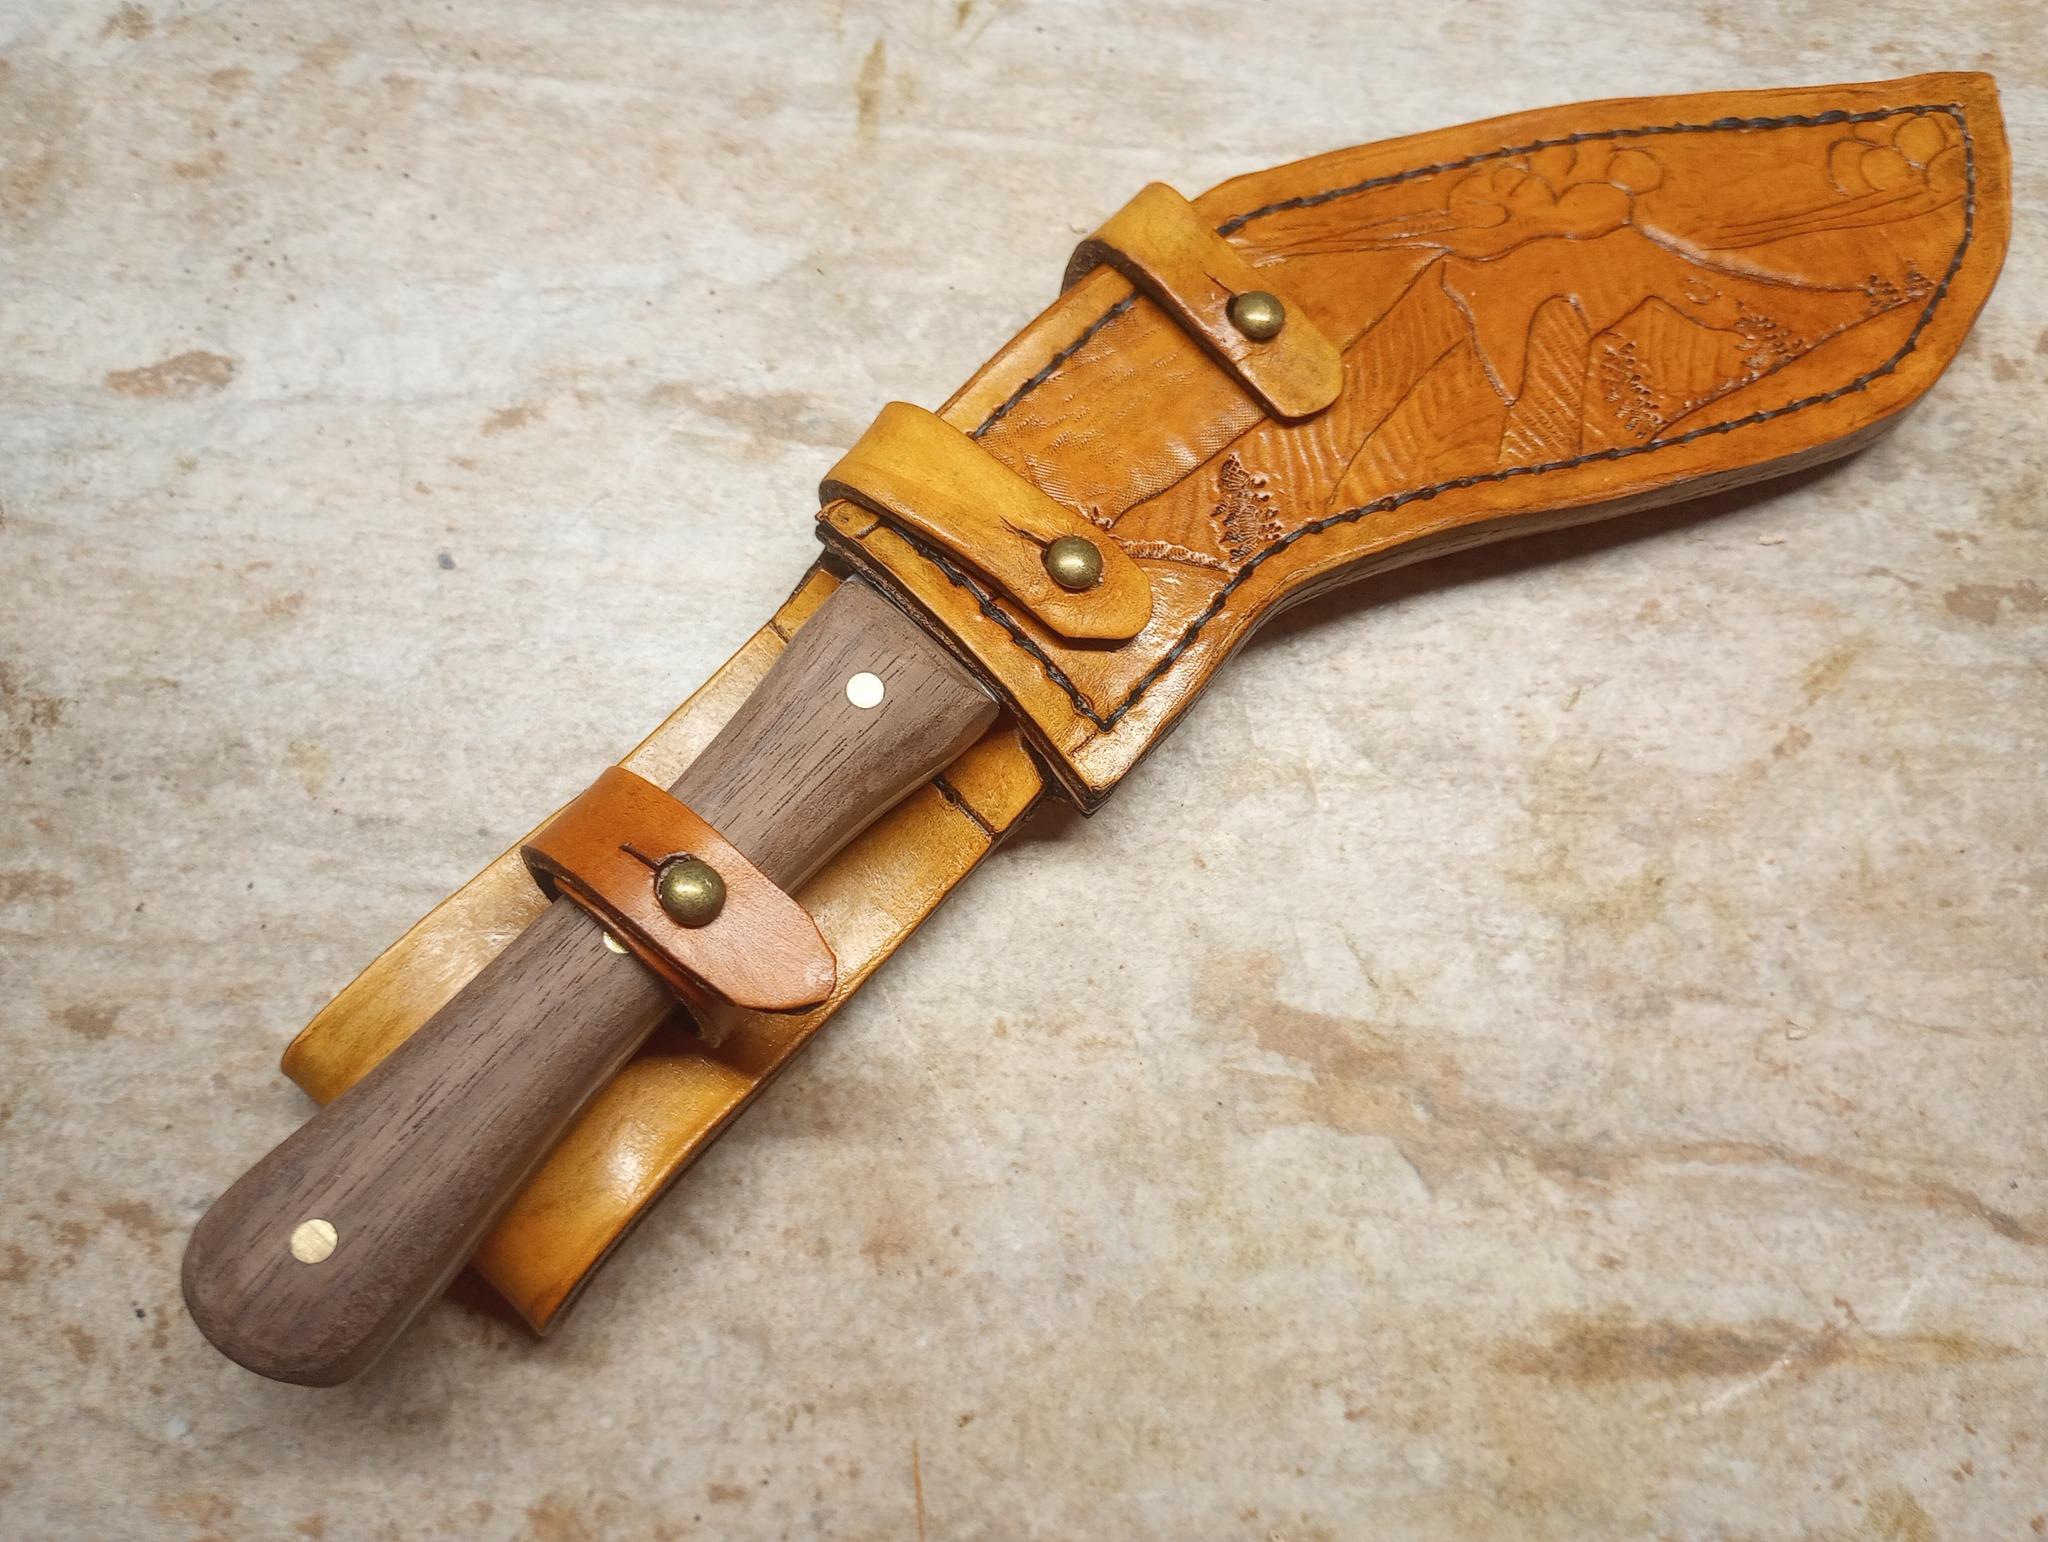
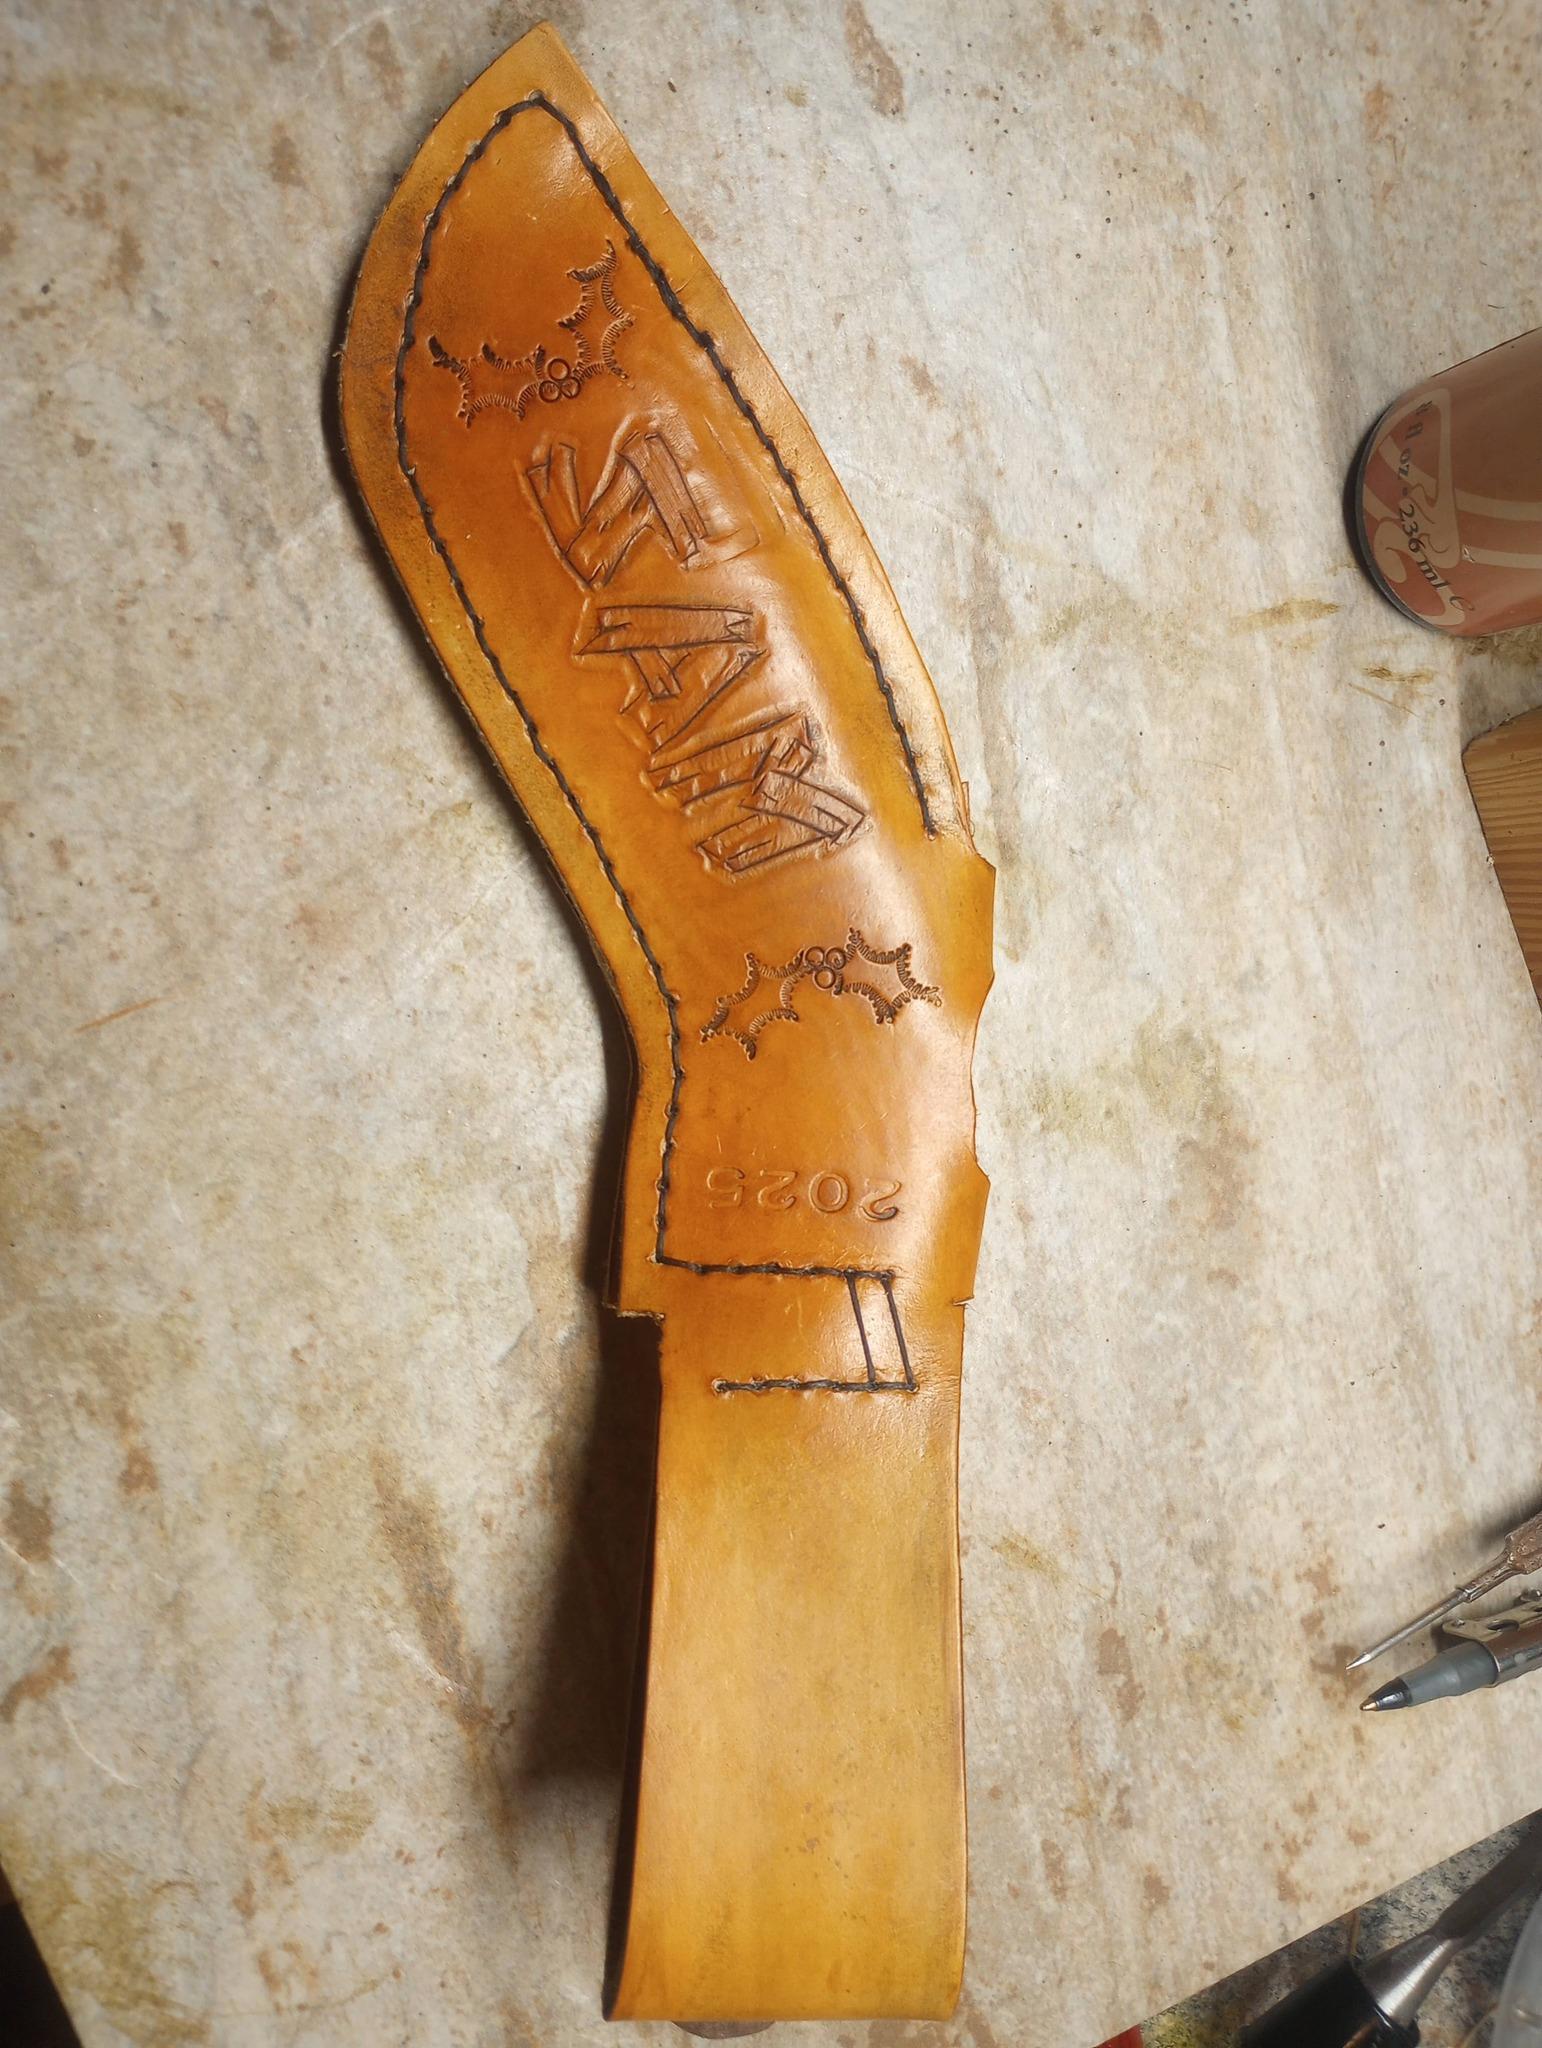
Damn I love you all and this community... Any kind of advice is good I really appreciate it . Seems like some people that are also starting are getting and providing some knowledge from this thread. For sure I will show you some of the work i make once I start. Thanks for the advice on the knife sheat I work in a kitchen so I think would be nice to make some sheats for my knives of even a knife roll (yeah ). Thank you all.
-
Very good advice. Making all your rookie mistakes on the first project.
-
When you say groove line are you meaning an indentation with something like a compass or an actual groover where you're taking off the top layer of the hide? If it's the first one I would do it as Bruce said. You may be able to undue the indent and it won't be noticeable. If it's the second I'd start over. I would keep that belt for myself or someone that doesn't mind a blemish but I wouldn't give that to a customer that's paying top dollar for a belt
-
Keep a straight stitch line and remember to watch the groover next time. I would rub out the errant groove line as best I could and regroove it before I stitch.
-
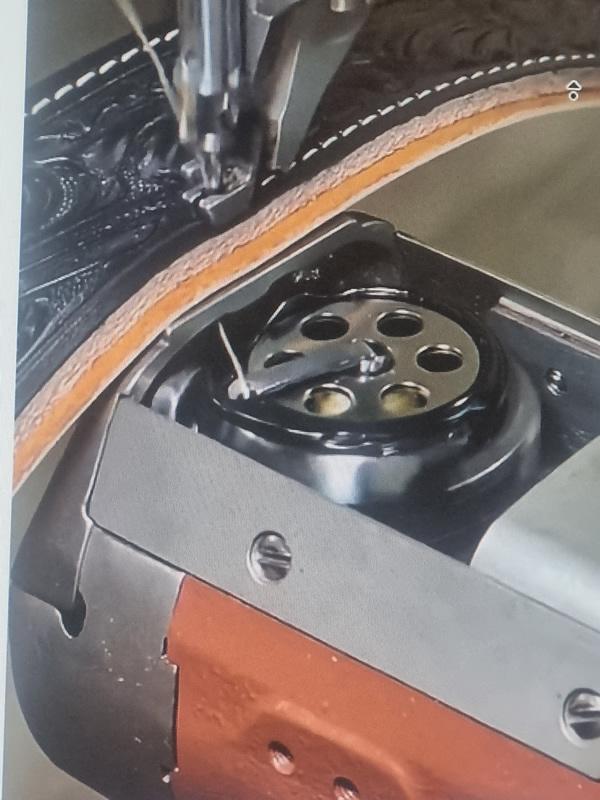
Saw this on a video short. Guessing it's a Cobra and noticed the thread going through the notch in the thingy that holds the bobbin in place. Is this standard because I don't see any way I could do that on my machine? Of course i could always be missing something.
-
Hey all, OK quick question… Let’s take a hypothetical here: Let’s say that we’re stitching something long and straight like a belt or purse strap, and our stitch groove has a wobble or so. Is it aesthetically better to keep a straight stitch line, or to follow the groove that isn’t necessarily straight? May you never burn your bacon, AZR
-
Hi all, I am looking to see if it's smart to upgrade from my Adler 167-373 to either a Juki 1541s or 1508n. My main use for the Adler is leather jackets and some Horween bag work using 5oz or less leather. I do run into some difficulties with the Adler for leather jackets that I had posted about years ago and the solutions didnt really make a difference, especially on the transition of slimmer seams to extra bulky seams. My Juki 8700 lockstitch can handle so much that I am looking to see experiences with either Juki above would be a huge improvement over the vintage Adler. Thank you.
-
I’m also very new to leather work also. All these tips are very good. I agree with buying a pattern and learning how to make it. Look for patterns on Etsy that have construction videos. I’’d suggest finishing the piece even if you mess up a stitch line or have a weird cut. There are several techniques that u learn from working a project from start to finish. I’ve messed up so much stuff but also have learned several skills along the way. I’d suggest getting a small card wallet pattern or something easy that u can build skills on.
-
Interesting information. Thanks for sharing.
-

spring flowers and good food
Darren8306 replied to chuck123wapati's topic in All About Us and Off Topic
when sewing boxing style mittens, the back is larger than the palm. To gather them evenly, they are handsewn with single stitches at first. One stitch at 12 o'clock, one at 4 o'clock, one at 8 o'clock. Then split the difference... so next at 2 and 10 o'clock, then continue single stitches at the biggest gaps. This makes the gathers even, but again, no machine works that way, except the human hands. -
often Ebay is a bit cheaper than Amazon - even from the same seller. Just saying...
-
My two cents worth: Notes i) The recommended size of needle for Tex135 (V138) is a 140 (#22) thin material, 160 (#23) medium material and 180 (#24) thick material. ii) Your 130 needle is really meant for Tex90 (V92). A good reference chart is ( https://www.tolindsewmach.com/thread-chart.html ). iii) V45 has a breaking strength of 7.5 lbs iv) V69 has a breaking strength of 11 lbs v) V92 has a breaking strength of 14.5 lbs vi) V138 has a breaking strength of 22 lbs If I'm not mistaken the 269 is cylinder arm and by adding a simple table top attachment you would have sorta kinda a flatbed for versatility. Personally I wouldn't bother changing the thread size and do all the sewing with Tex135 (V138). kgg
-
@AlZillaCorrect, not inexpensive at 120€, but if I try it out and it runs fine, I think I'll just go for it as I have neither the time nor the inclination to find a used machine from a private owner and try to get it back in shape.
-
Thank you for your replies. It gives me some assurance that they should be good.