.jpg.d60258221c476480a6e073a8805645bb.jpg)
All Activity
- Today
-
 @JukiFan There are quite a few reasons for skipping but one very overlooked one is a wore our needlebar,from tightening the needle set screw over many years the hole gets enlongated to the left side forcing the needle to set @ an angle so the thicker your sewing as the needle goes in it will pull it away from the hook causing skipping.The test is loosen the needle set screw & note how far it moves left to right.
 -

spring flowers and good food
chuck123wapati replied to chuck123wapati's topic in All About Us and Off Topic
Will Chedder brauts and tater tots work? I don't want to dishonor my clan, Montgomery. -
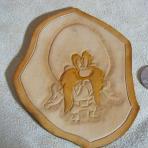
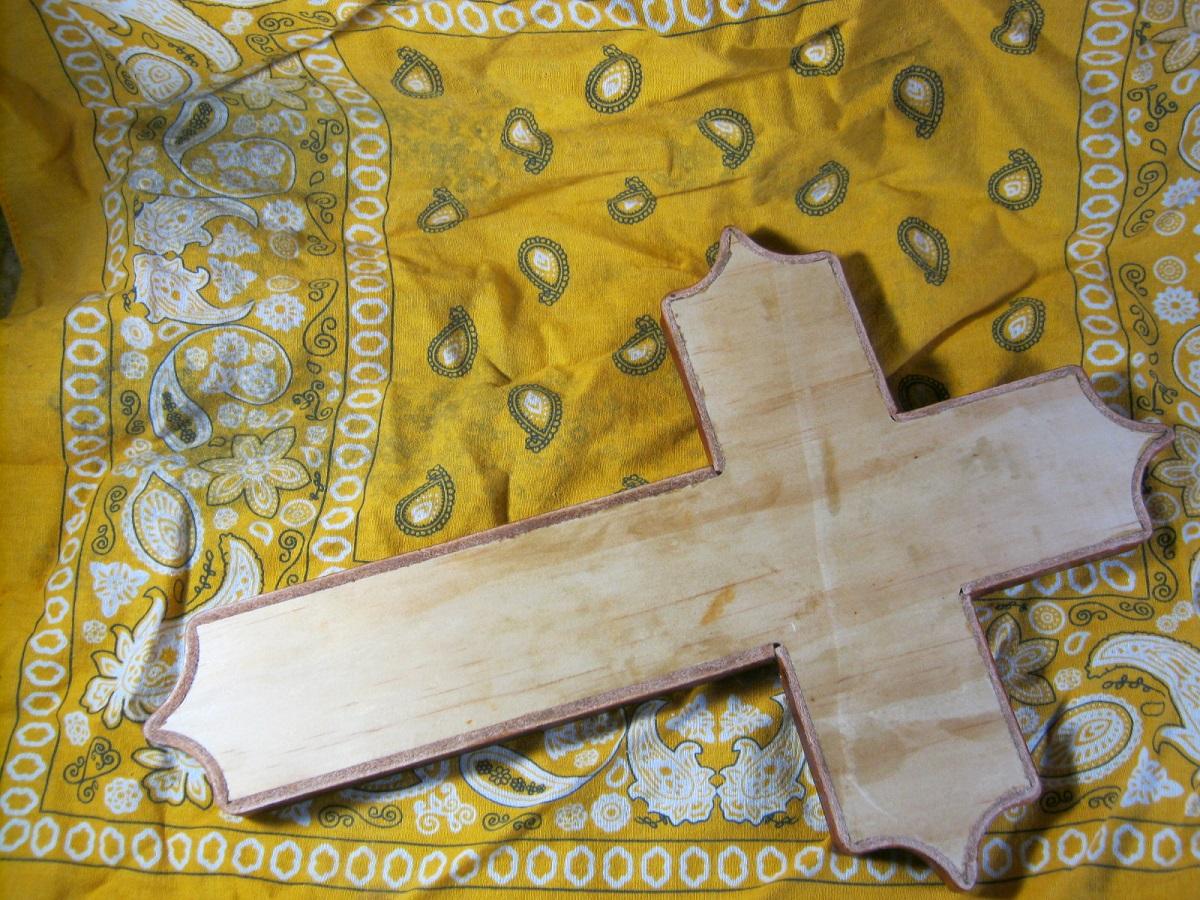
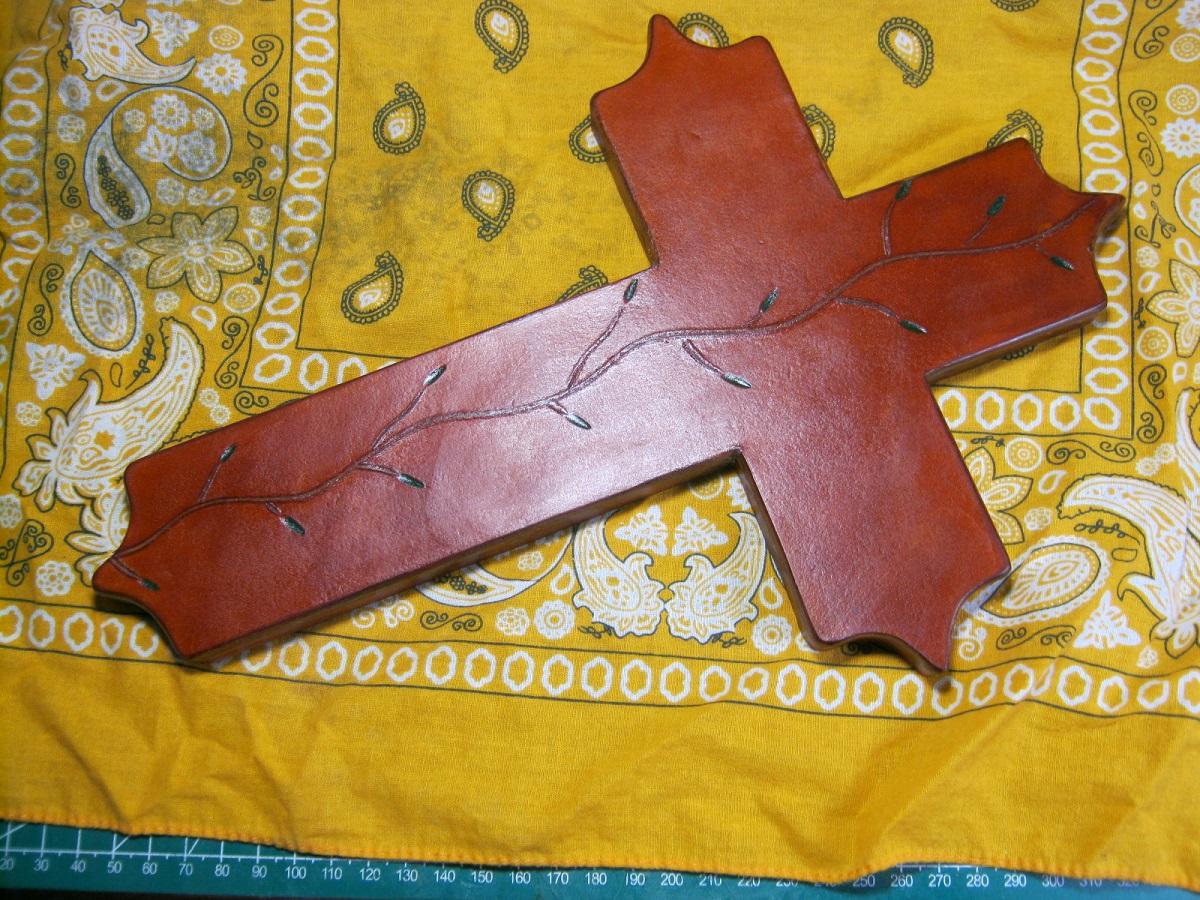
Did this for a local fundraiser . First time covering something wooden
-
Beautiful.
-

spring flowers and good food
Sheilajeanne replied to chuck123wapati's topic in All About Us and Off Topic
Posting this in honour of Burns Night:
-
 Here is a thread and needle matching chart that I had a hand in creating. Where two sizes of needle are shown, use the smaller size in thin or soft material and the larger in thick or denser material. When it comes to the accuracy of the thread sizes, trust the name brands over no-name spools. Name brands have some degree of quality control. Avoid the cheapest thread (e.g., off-brands on eBay or online Marketplaces). The thread chart includes the strength of each thread size. This is its breaking strength. That can be used to determine the best thread for a particular job. For instance, if you are going to seam a cover that will be pulled tight over an object, or otherwise subjected to stress along the seams, use one size larger that the smallest thread. It might be a little harder to totally hide the knots on the backside, but the stitches may hold up better. I usually use the largest thread that allows me to bury the knots. There will also be different compositions of thread available to you. Choose the type of thread that fits the material. If you're sewing denim, you can buy a type of thread called Denim Thread. It's washable and stable when washed and dried. If you're sewing indoor upholstery, buy bonded nylon. If the job is for outdoor use, like a porch chair, or an awning, outside banner, or a cushion on a boat, use bonded polyester thread that's UV resistant.
 -
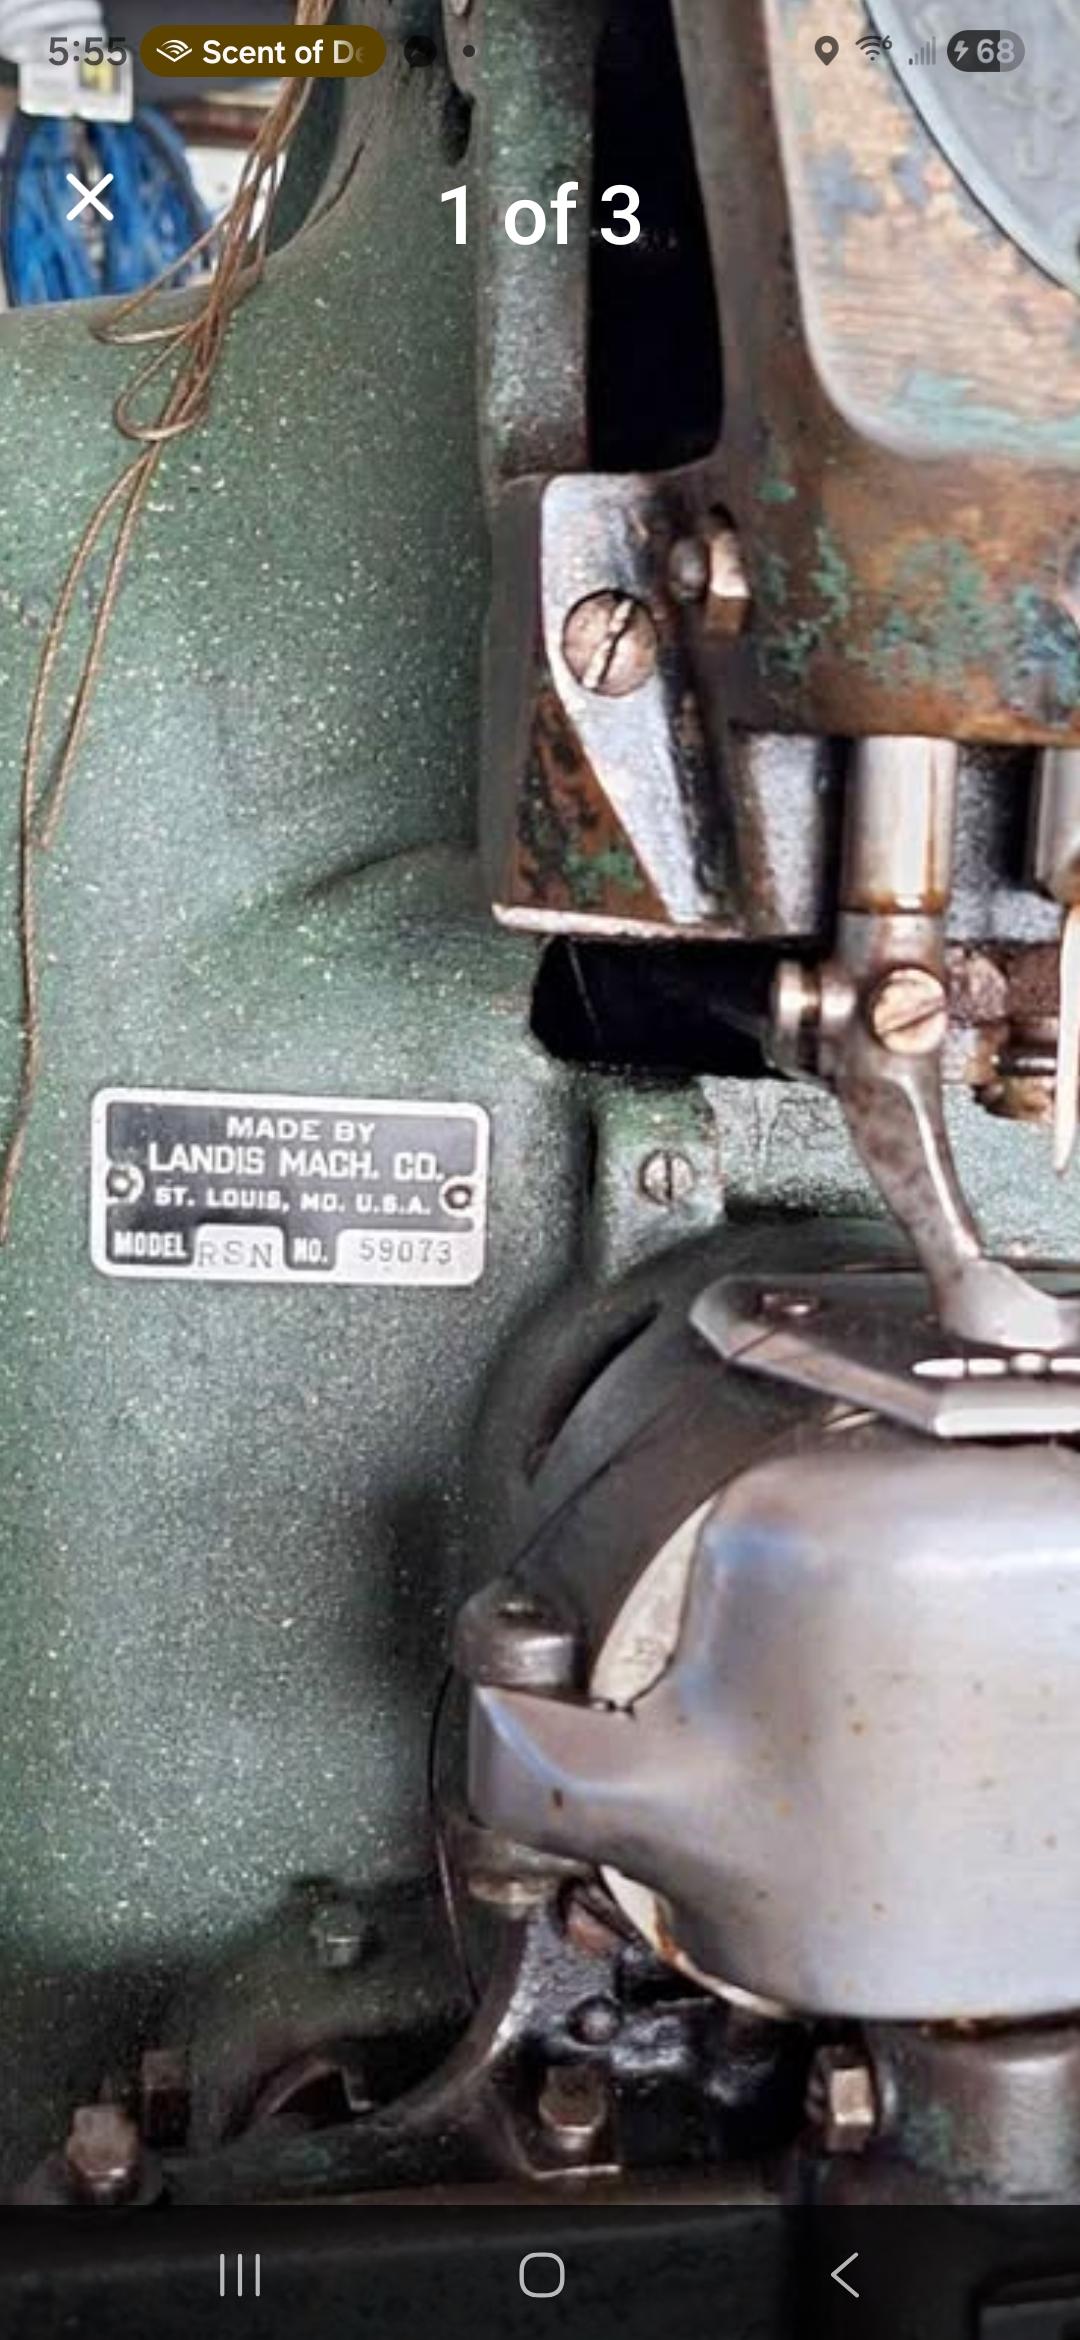
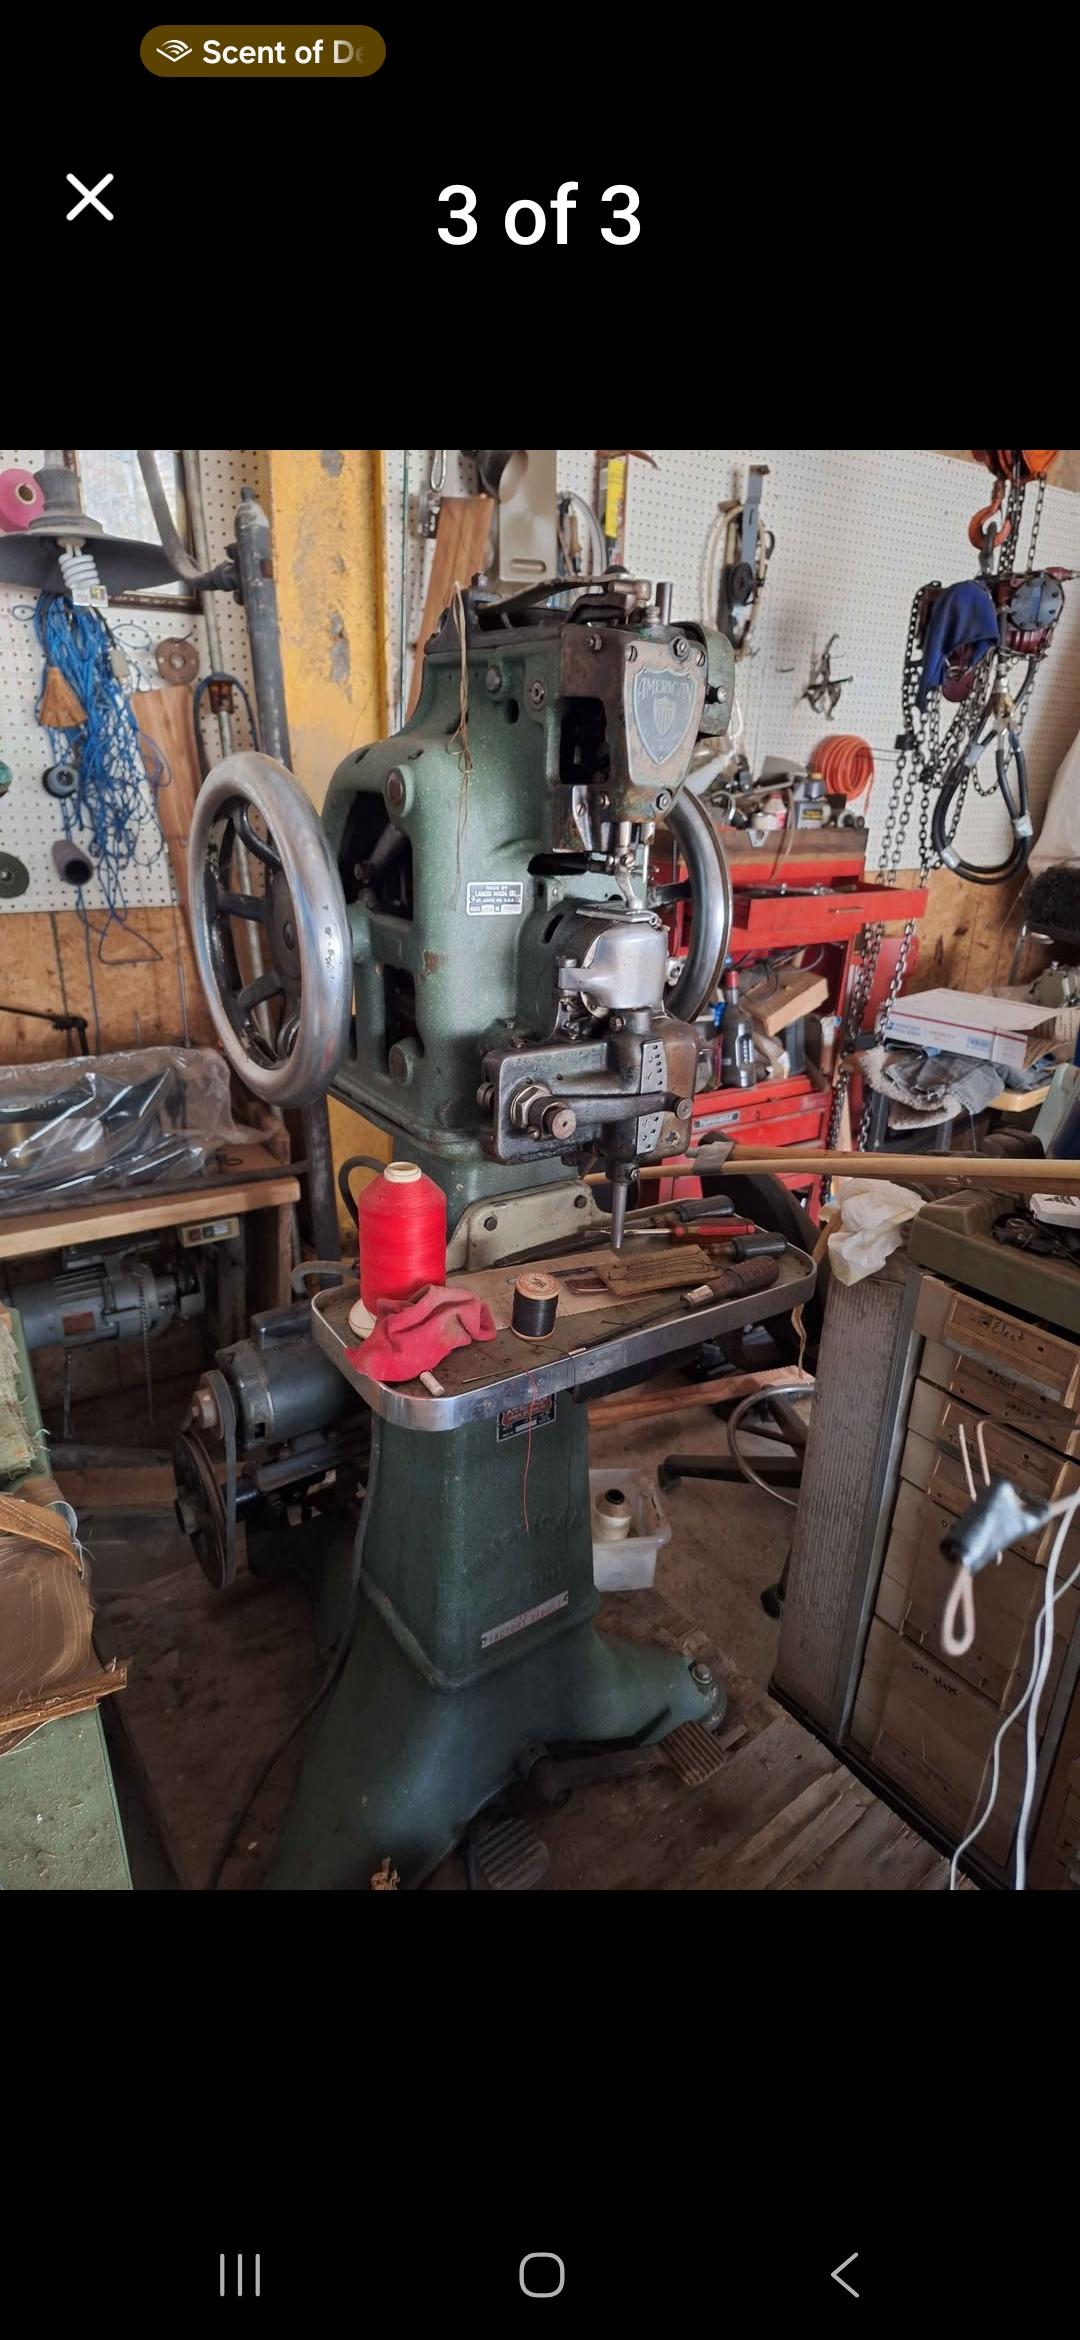
Info on machine. Looks older and huge.
Wizcrafts replied to bigsig11010's topic in Leather Sewing Machines
That is an American Straight Needle harness stitcher. The machine is from the early 20th Century and has a needle and awl. They were made to use waxed linen thread. It was made to sew along the edges of harness and saddle straps. If you remove the edge guide, it has a depth of about 4 inches from the needle to the body. Here is a video explaining how to thread it and operate it: https://www.youtube.com/watch?v=vgt0AUp3emU -
In this photo from the parts manual, see part #224113. It's a collar that clamps to the shaft to prevent play. But I'm not seeing such a collar in your video.
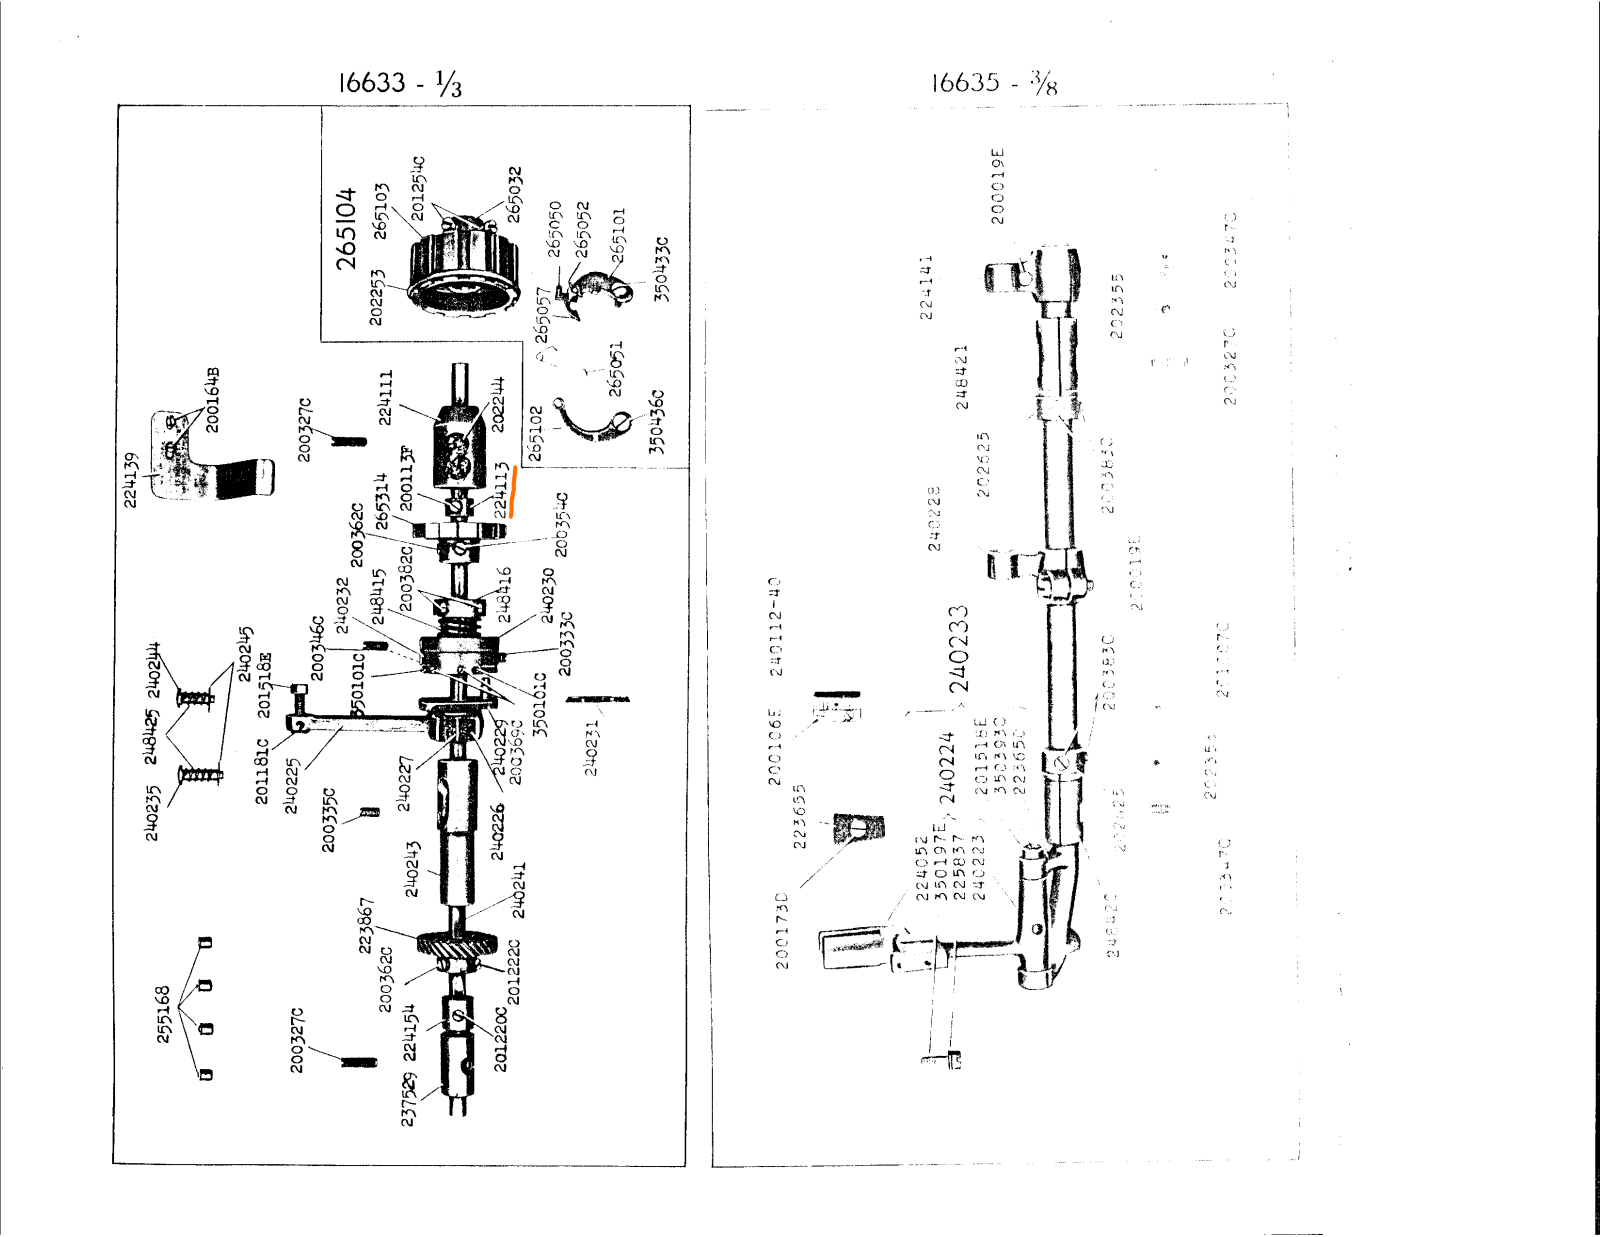
-

Unknown Chinese servo motor controller manual needed
friquant replied to Einherj's topic in Leather Sewing Machines
Ah that's cool. -
With the motor disconnected, and the bobbin cover plate slid to the right, you can watch stitches form as you turn the handwheel. Once you can identify what it looks like when a good stitch is made, and what it looks like when the thread jams, you can start to trace out how the jams are happening.
-
This machine is for sale in my area. Could anyone tell me anything about it? What kind of leather projects is it used for. It looks old and huge but then so am I so...
- Yesterday
-
good plan. i believe the axle of the handwheel is 12mm but ill take it of and measure it out and see what i can find. yeah ill learn the work the clutch. it takes time but also cool to learn. easy system for sewing machines instead of the servo motors stil have not found the problem with the tread jamming. see allot of videos, but either they show nothing or extremely to much XD
-

Unknown Chinese servo motor controller manual needed
Einherj replied to Einherj's topic in Leather Sewing Machines
I know. I didn't have a small enough tool handy at the time, but I had a soldering station. I was testing the P-06 some more, and it seems it is actually a limiter for the maximum number of stitches the machine sews while holding down the pedal. If I set it to 1 the machine does one stitch, if I set it to 4 the machine does four stitches, etc, no matter how long you push the pedal, that's the maximum number of stitches it does. You have to lift the pedal to do another round. This setting requires a needle position sensor, of course. When the setting is at 0, there is no limit. -

Unknown Chinese servo motor controller manual needed
AlZilla replied to Einherj's topic in Leather Sewing Machines
Thanks, @Einherj. The more of this that can be collected in one place, the better we all are. -
that looks like a pretty good system.
-
 Leather Artisan joined the community
 -
I must awa agin tae the meet shoppe an git me a haggis for Burns Night is nearly oun us
-
 Aussie_Mark joined the community
 -
Unfortunately, in gearing the machine down we reduce the mechanical impedance that the clutch motor sees. That is, it will be harder to feather the clutch once it is geared down because the motor will have an easier time bringing the machine head up to speed. That said, now is a great time to practice feathering the clutch if you're game. And to make sure the clutch slide linkage is good and lubed so there's no hysteresis.
-
For mine, I removed the hand wheel, measured the diameter of the arm shaft, and ordered a generic pulley (300mm diameter) to fit that size shaft.
-
spring flowers and good food
Sheilajeanne replied to chuck123wapati's topic in All About Us and Off Topic
Fred, thought this would especially interest you, as they came from your part of the world! -
I realize this post is a few months old, but I did want to mention a different style of sharpener that I've used with some success: https://www.amazon.com/TrueCut-TC-01-1345-TrueSharp-Linear-Sharpener/dp/B07ZWGX3DH/ref=dp_prsubs_d_sccl_3/133-5690165-7664204?pd_rd_w=zRq1I&content-id=amzn1.sym.be3a2f09-77ee-4ba3-b2da-1b73c76c3fe2&pf_rd_p=be3a2f09-77ee-4ba3-b2da-1b73c76c3fe2&pf_rd_r=DZ721CH81TF02JS63SM7&pd_rd_wg=WZGeF&pd_rd_r=63833c2a-5555-465e-8890-9635e3c15f1d&pd_rd_i=B07ZWGX3DH&psc=1 You pretty much just roll the blade through it as if you were cutting something, no need to remove the blade or anything.
-
good thinking. ive been raised with a servo motor 😆 sure i always hold on to the ends of the tread. but the needle was always in the up or down position. with the clutch motor ill need to keep my eye on that i geusse. good tip. ill keep my eye on that. i have been looking for a bigger handwheel pulley but didnt find any. so ill keep looking and see if i can find one for this machine. thats would help slowing it down to.
-
i dont have the machine running i was turning it by hand to check if it would sew right. im stil waiting for the new pulley before i can get it running with the motor. i checked the safety clutch that was all good and yes good idea to look for a new belt especially with the smaller pulley smart thinking thank you. yup i believe i ordered the 45mm pulley
-
Have you oiled up the slide on the clutch motor so it doesn't stick? And short stitch length is your friend when learning a clutch motor. Won't run away so fast You can also replace the handwheel with a 300mm pulley 🎡 😀
-
I have only done one so far but I used the double gusset method shown in the YouTube video by Makers Leather and Don Gonzales, it is fairly simple once you watch them do it a couple of times and it worked well. Todd
-
For industrial machines, this start/end sequence works for me: Start each seam with the take up lever at its highest position. (Otherwise thread yanked from your fingers) Hold the top thread for the first couple of stitches (Otherwise thread jams) Finish each seam with the take up lever at its highest position. (This locks the final stitch and allows you to pull the material away from the hook)