TomG
-
Posts
1,025 -
Joined
-
Last visited
Content Type
Profiles
Forums
Events
Blogs
Gallery
Store
Everything posted by TomG
-
Dustyn: Read the whole thread here and/or look up the Peter Main method of casing - I think it's outlined in this thread.- don't have time to search through 4 pages for it <g> He uses some sort of artist board. It's a bit expensive to keep replacing though. I use a sheet of acrylic that I got from Hobby Lobby for $2 and use rubber cement to attach the leather. Wet, let dry to the proper level and cover with a piece of taped up window glass. Works OK, but I think Peter's method of using a larger piece of thick plate glass would probably work better to help distribute the moisture better. Tom
-
Probably subliminal I've read somewhere about the differences between spirit and oil based but can't remember off the top of my head. I did know they both have alcohol. I'm OK with the spirits cause they have lots of colors, but I won't use anything BUT oil based for black. Too much rub off with USMC Black. Tom
-
How are you applying the dyes? Dry sponge, wet sponge, fleece scrap, dauber????? Cyber is right. EcoFlo dyes have their own issues. Fiebings are my preferred dyes. The spirit dyes work well, but my experience is that the oil dyes are better. But I'd guess 70+% of people use spirit over oil. And that's just a guess from all the reading I've done. With the spirit dyes, you can dilute them to get different shades as well. Personally, I use a damp sponge and apply the diluted dye in a circular motion, trying to keep a consistent pattern and depth as I apply it. Just remember, you can always apply more dye to darken it but it's tough to remove it and go lighter. Oh.. Pictures posted here can help people help you. Tom
-
Thanks for all the help and suggestions. I think I'm going to cut a decorative piece, form it and sew it in place of that bend as mlapaglia suggested.
-
Let's see if I can get a couple to stick here

-
Well, I feel the Resolene was not the cracking item. I dilute it 50/50 with water and I used a mist type spray from my airbrush. Let it dry and made a second light coat. I looked like the leather actually cracked. I've used NFO before but usually on belts that are darker shades. I have some Lexol 4-way but haven't done much with it so far. I mainly use the Leather balm applied like a block dye, as a top sealer to block the antiquing from darkening the leather. I only want it (antiquing) in the impressions. Although it does do a little softening, it's mainly on the surface from my experience. I guess I need to play with the NFO some more and see how it works first hand. I've never even heard of oiling before tooling!. How does it affect the water used for casing? As for the mink oil paste, it's mink oil in a paste form. The mink oil liquid, like the NFO, can easily be applied too heavily and change the color or shade of the leather. The paste form makes it much easier to apply the oil evenly and consistently. I mainly use it on my collar, leashes, belts, bracelets and other strap try products. It takes a stiff strip of finished leather and makes it soft and limp as a noodle.... Wh`at about wetting after all of this is done. is it recommended? How wet... won't it affect the dye/stain??
-
Nope. It had dried, been dyed, antiqued, waxed and oiled from the back with mink oil. I didn't know how wetting the interior would affect all of the finishing on the front. Especially since it had already had the mink oil applied.
-
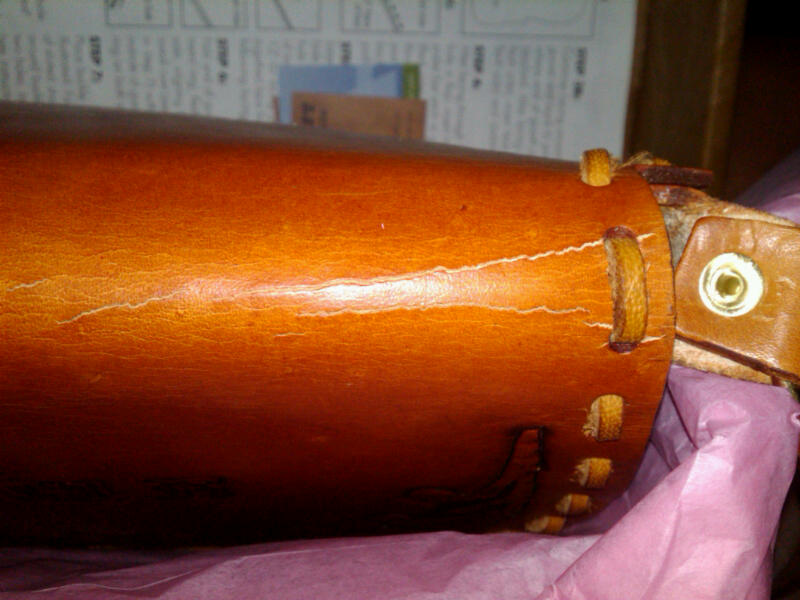
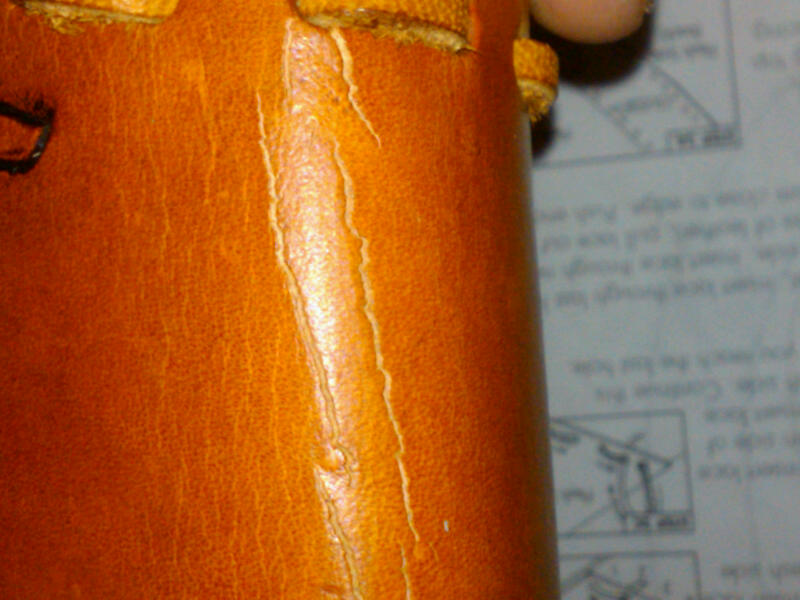
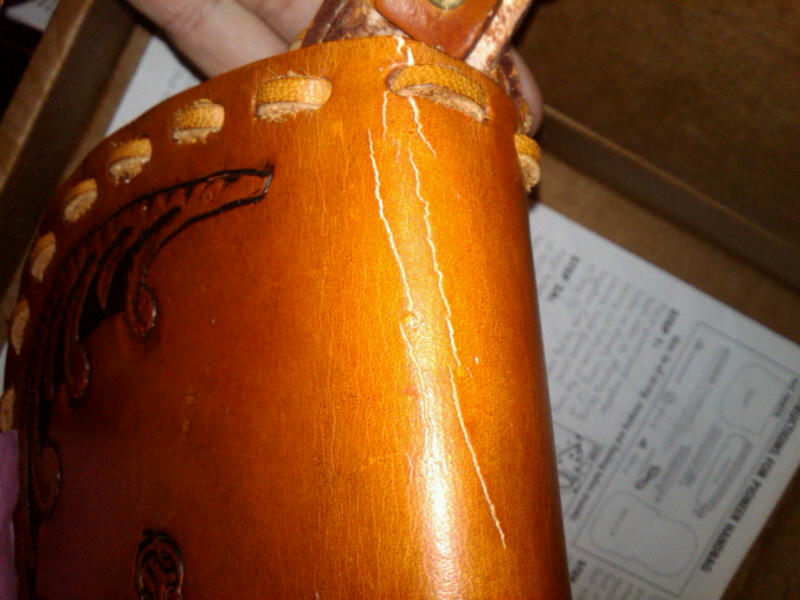
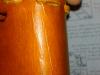
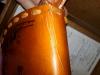
I just finished a Tandy purse kit and the final step was to fold over the top flap. Bloody thing cracked across the top!!!! I cased (Peter Main method), carved and tooled. Then dyed using the new Tandy Professional waterstain. Applied a light coat of neutral leather balm with atom wax. Antiqued with Feibings antiquing. After dry I laid down 2 very light coats of 50/50 diluted Resolene with a airbrush. Next day, put on a couple of coatings of mink oil paste on the flesh side of everything. Then assembled. All looked and felt great until I bent that flap over. Anyone have any clues as to why this might have happened? Personally, I'm thinking old, dry leather and that I should have maybe used NFO... but I didn't want to darken it. Clues? Ideas??
-
Thanks.. Are you the guy who has a home made edge burnishing cream or liquid? Your profile picture looks familiar. Someone out your way offered to share how they made it a while back and I never heard back from them.
Tom
-
Wow.. no responses... surprising. I did see some at some Chinese wholesale site, but I would have to order 1000 of them. Not gonna happen . Oh well. Back to the web search. Tom
-
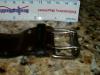
I am at the end of my wits looking for this. It is a double prong, roller buckle and is used on watch bands. I can find the entire band premade, but I'm doing a custom band to replace my customer's old, broken one. His original had the buckle but it's pretty worn. It is for a 1-1/2" strap, but the depth is only about 7/8". I found some 1-1/2" double prong roller buckles and ordered 5, but they just came in today and they are way too long and the prongs are huge. OK for a belt, but not usable on a wrist. Does anyone have a source for these? I have tried OTB but no luck. Thanks Tom
-
I've sent several PM's to what I thought was the admin but not heard anything back. Can I get access to the over 18 forum please. Thanks Tom Name: Tom Gregory UserName: TomG IP Address: 146.1.1.1 Email Address: tom@legacyleathercraft.com
-
OK.. Thanks. I never knew that. I know my wife's home machine never had that issue with fabric, so we assumed the commercial machine was the same. It really knocks out my confidence in our - not one - but 2 local repair places/techs that I discussed this at length with. But if that's what it take, so be it. I DO have a feeling it might be the combo of leather/ needles/ thread. When we first got this machine, we were primarily using it to sew up folding chair backs after embroidering them. I don't recall having that issue with it on those. But it's been a while, so I could be just having senior forgetfulness. I appreciate all of the help. And to all who are looking for a machine and piecing it together... Be SURE to get a GOOD servo motor with small pulley. I find that I like to sew REAL slow on smaller items or when close to an edge. My servo is a Consew 3/4 HP and the only issue I've seen is that at the very lowest end of the speed range, it doesn't have the torque to go through the leather for the first couple of stitches without help on the handwheel. Speeding up just a hair eliminates the problem. But also, at those low speeds, I don't have a lot of speed control with the foot treadle. Lessons learned on buying a used machine from all of this??? 1) take some product you want to sew when buying a machine. 2) Make sure they have the needle/thread that you will need to use. 3) If you buy it, video the seller doing a threading, top and bottom. 4) is anything has to be dismantled, take lots of pictures (learn by helping someone reassemble theirs. 5) Read.. Read... Read.. Ask questions . Thanks to everyone for all of their help on this. Tom
-
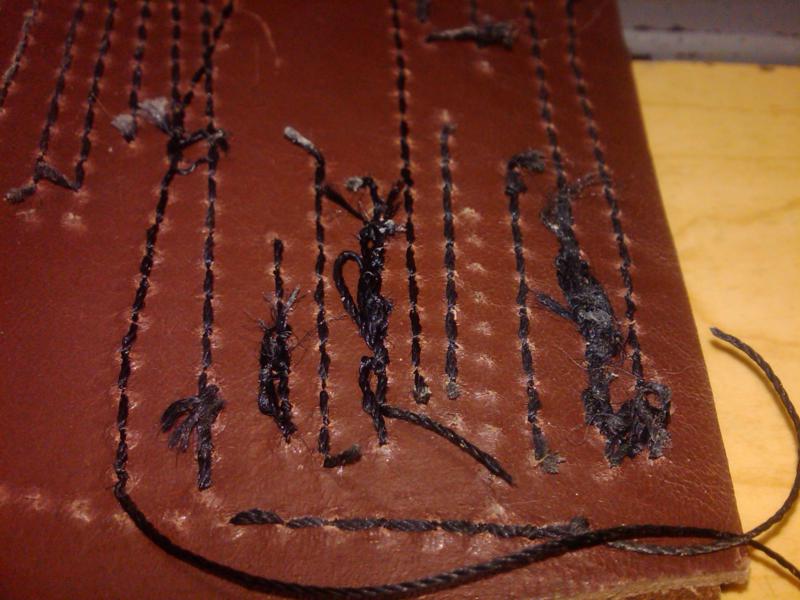
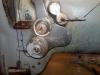
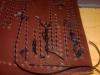
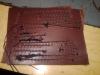
OK.. I do NOT have enough hair left to go much further with this. I posted a thread a while back about my machine and the J-hook issues. Well, I did bite the bullet and had a local "top notch" shop install it and adjust it. The had a sample with 20+ stitch runs without issue, under the needle when I got the head back. I got it home and loaded up some 138 and tried it on a couple of pieces of 3oz put together and it bunched up.. I figured, OK, they used 69 and maybe the top tension needed to be tweaked. No matter what I do, it bunches up UNLESS I grab the thread tag ends and pull some tension on them for the first 2-3 stitches. Then it's fine. I have adjusted the tension from sloppy loose to OMG tight and it will still not sew without bunching those first stitches. Knowing my luck it's probably something simple and stupid, but who knows? Taking it back right now is not my first choice - I was bad and have let it stay here for a few months without saying anything to them. I doubt they will do anything about it without another $100+ shop checkout charge. My fault, of course. Anyone have any clues as to where to look or what to try? The pictures with the bunching are without tension on the ends of the thread and the "normal" ones are if I pull back on the ends. Tom
-
I emailed them for a quote for one for a Singer 111w155 and they "were not familiar with that machine". Does anyone know which of their listed guides are for one of the Singer clones? Thanks Tom
-
Are any of these machines that have been discussed clones of, or similar to, the old Singer 111W155? Tom
-
I made up a couple of batches back in the fall. I didn't like the smell either. I was told that if you have dissolved as much metal as the vinegar will eat, there should not be any vinegar smell left. The last batch didn't have as much of the vinegar smell as the first, but it does have that musty, rusted metal odor, with a slight vinegar undercurrent. A couple of issues I had during the learning process. Now this may have just been me. Too much soda in the wash will take all the oils out of the leather, leaving it brittle and stiff. If you rinse it under plain running water and rub it, you can feel the oils in the leather coming to the surface.. You can actually wash them all out if you're not careful. So, rinse lightly. The smell can take a week+ to go away. Best results I had: Dip the item for a minute or so, then take it out. Don't over do it. Often, it come out grey but within minutes in the air, turns jet black. Different leathers came out jet black right away. Rinse lightly and wipe down lightly. Immediately put a LIGHT coat of pure Neatsfoot oil on the flesh side. Let it dry thoroughly. Sometime, I will put another LIGHT coat of NFO on the flesh side once dry and let it set overnight. Too much oil and any SuperSheen or Resolene flakes off in a short time. All of this being said, I love the depth and intensity of the black that I get.. But.... I usually don't have the time to wait for the smell to go away. If I do, then I use it. I used to use the USMC Black spirit dye for everything. Got tired of burnishing the excess dyestuffs off. Now, for the fast turnaround jobs, I use the oil-based black. It's as close to the Vinegaroon as I've found. Tom
-
Just remember to practice first, of course <g>
-
I made the mistake early on, of doing my atom wax and first resist coat of Super Sheen/Resolene before burnishing my edges. I found that it would sometimes seal parts of the edge a bit so the water/saddle soap wouldn't absorb well. So now, I do the edging and burnishing first. Then the wax/coatings. THEN my antiquing , edge coating then sealing. Works for me Tom
-
What I do , and many others from what I've read is to use an edge beveler tool on both the top and bottom edges. I then do all of my stamping/tooling. Then dye - including the edges if needed. Next I take a wet sponge, and dipping a side in water, and rubbing it on saddle soap, then use that to wet the edges only. You don;t have to go crazy, but you need them damp. Since you can't use power tools, you can use a round plastic pulley wheel type of slicker, or, what many do is to use a piece of coarse canvas to burnish them. If I don't feel like going down to the shop and am doing a single collar, for example, I'll take the canvas in one hand, put the strap in it and use the grooves of my fingers and thump to create a channel, pull the strap through while applying pressure. It doesn't take long to get a nice hard edge. I finish the edges with edge dressing most of the time. Instead of the saddle soap, you can also use Gum Trag which will seal the edges. Same procedure as above. Tom
-
I can think of 2 methods to do this. First, is to use a product called "Picture This" from Plaid. It's seems to be an involved process, but I've seen pictures of some very nice work done on leather wallets with it. The other method, and the likely one, is that it was printed on using a DTG printer. A DTG printer is basically a high-end Epson color inkjet printer engine that has been modified/built to print on T-shirts and other items directly. Yo would just place the item on the flatbed table carrier and print. Drawbacks??? They start at around $15,000. . TO try it, you might check with screen printers who have them and see if they would do a test run for you. Tom
-
Hi Sylvia, Back on Page 1 I think, was a drawing of a device with 2 small holes and a larger center hole. I'll bet money that if you made one of these and used it to punch at the edge of your awl mark, you'd be a lot better off. It is self centering no matter what the width. But I've found the key to REASONABLY accurate hole spacing is to put the edge of the punch on the awl mark and not try to center it over the mark. And with Plexigalss, you'll be able to see where it's going. All of that being said, I did have a similar problem once when using a leather template. Same issue you've mentioned. the strap cutter had tapered the end of the belt ever so slightly. The template was flush for the inner hole but around 1/32 wider at hole 6. AND I missed putting the exact center of the punch on the awl mark so that added a little error. It was enough to see. Using the ruler to line them up may work IF the strap is not curved... ie one edge is held flush against something straight. But to guarantee that, you're back to the square, clamps and liquor!. I'm going to make a couple of the plexiglass center finders and see how they work next week. I'll keep you posted. Tom
-
Can anyone tell me about this machine? Thread size, how thick will it sew, etc? Pros - Cons?? A friend has one and I'm trying to help him figure it out. Thanks Tom
-
I do something similar with Line 20 snaps. I use my Line 24 setter and tap the top of the post lightly to flair it a little and then use the Line 20 setter to finish it Seems to work for me
-
Here you go. Be sure to copy and paste the entire URL into your browser. I noticed that it's wrapped onto 2 lines here. http://www.westmarine.com/webapp/wcs/stores/servlet/ProductDisplay?productId=17049&catalogId=10001&langId=-1&storeId=11151&storeNum=50692&subdeptNum=50698&classNum=50699 Tom