Tree Reaper
-
Posts
1,870 -
Joined
-
Last visited
Content Type
Profiles
Forums
Events
Blogs
Gallery
Store
Everything posted by Tree Reaper
-
I have the one from Princess Auto that resembles that one and may be the same. It's 10 ton and you will have no problem clicking with it. The area is the only limiting factor so if your combined clicking area is within 6 inches wide by 10 inches long it will work.
-

Multiple Name Stamps Required - Cheapest, Easiest Way?
Tree Reaper replied to BDAZ's topic in Stamping
It's easy to do but the problem is multiple letters in the same name, you would need at least two and maybe more identical letter stamps. -
Edge Finishing Problem - Discolored Leather Near Edge
Tree Reaper replied to danboy295's topic in How Do I Do That?
"burnish my edges, dye, and finish my piece" dye, finish with sealer, burnish, assemble. -
Herman oak belly strips from Springfield are pliable.
-
From the album: Tree Reaper
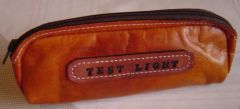
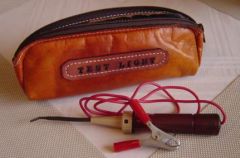
12 volt test light pouch. -
From the album: Tree Reaper
12 volt test light pouch -
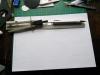
What style of laser is it?
-
The bottom line looks like it got flattened out by a hand or something that was resting on it. The other two aren't bad but long steady runs are better than short strokes with several stops in between.
-
Steelcity, do you have a picture of that one? Thanks.
-
I can do that, thanks.
-
You'll nail it sooner or later. Are you keeping the deer fed over there?
-
That's what I was looking for, thanks Wiz. Can you modify those or do the need that plated finish?
-
Jake; You would probably need to start with a solid core of leather and wrap that.
-
Is there an illustrated list of presser feet options available for the cowboy 4500?
-
Search for pattern stitching machine, call the dealer and ask if they have a customer near you.
-
Thanks for posting that video, I didn't know I could use the reverse lever half way through a stitch to back up from the edge.
-
...or use a hole punch, glue the discs together and then compress them in a block of wood with the same size hole using a release agent on the wood. Use a tapered reamer on a block of wood, add particles of leather and glue, use a release agent and compress that together.
-
I wouldn't reinvent the wheel on this one, a company like Duluth Trading has been making these for years and I'm sure they have all the problems solved. Have a look at their products.
-
Wetting it would cause it to stretch which in turn would make the wraps tighter. Another option would be to glue multiple layers together flat and then finish it using a rasp and sandpaper while turning it in a drill press or lathe. Cut it rough on a band saw first and then rasp it.
-
I was thinking a hammer drill would not only spin but hammer at the same time. A standard rivet setting tool might work in the chuck. I plan on trying this sometime.
-
Drawing A Square With A Compass/dividers & Rule
Tree Reaper replied to Tree Reaper's topic in How Do I Do That?
You're welcome Andy, you did a good job explaining the process. -
The pins are rivets, buy the proper length and the tools to set them, the other is a line 24 snap, again the proper length required for the thickness of leather and the setting tools. Leather thickness usually goes by weight so you should be looking at 6 to 8 oz. which would be about 3mm.
-
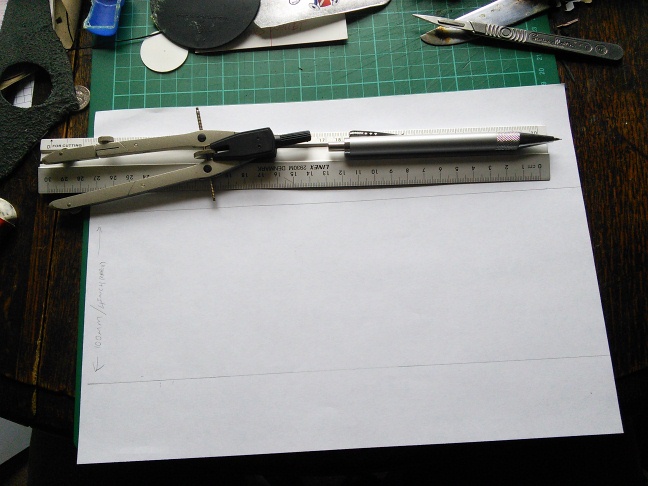
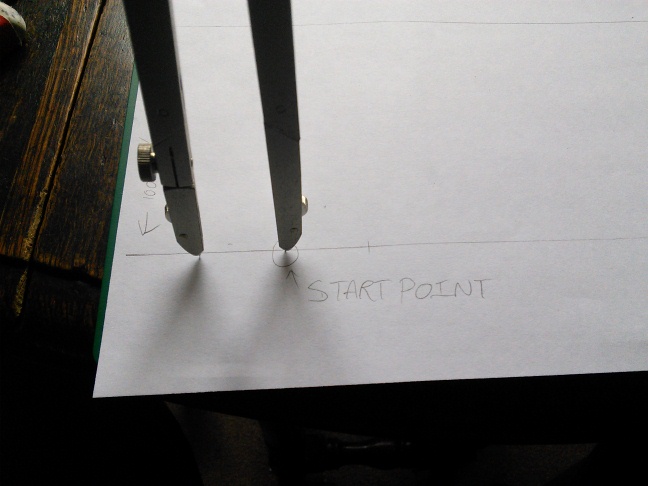
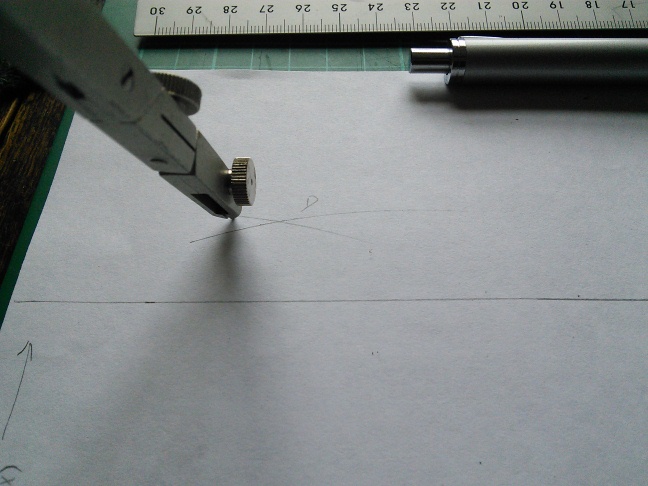
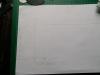
By Redochre Drawing a square with a compass/dividers & Rule. You will need: Compass/dividers, rule & a pencil. Steps: 1. Draw 2 parallel lines the height of your square apart (for this I did 100mm approx 4") 2. Decide on a start point. (Point A) Pic1 3. Set compass to approx 25mm/1" and mark both sides of point A. These will become point B & C. Pic2 4. Open the compass approx 125mm/5". From point B & C mark an arch high above point A. They should cross over, this is now point D. Pic3/4. 5. Draw a line through point D & A. You should now have a 90degree line. Pic5 6. Repeat steps 2-5 for the final side of the square or simply use the rule & measure across. This great for template making when you don't have a set square. You can use Pythagoras to make sure the line is 90degrees.


-
OK; Have a blast!
-
I use rubber cement and glue it down to cereal box cardboard, there are other options like cutting the leather large and taping it down then cutting it later depending on what you're doing to the flesh side of the leather. Double face tape would be another option. Once the leather has been oiled and dyed it should remain flat, just tape the edges of the cardboard to something flat so it stays that way until it's completely dry.