bruce johnson
-
Posts
4,401 -
Joined
-
Last visited
Content Type
Profiles
Forums
Events
Blogs
Gallery
Store
Everything posted by bruce johnson
-
 Looks really nice - clean work!
 -
He has bought and referred people to me to buy Gomph round bottom and Gomph common edgers from me.
-
I clean rusty tools and stamps on a near daily basis. I would not use an acid but that's just me after having a few etch several years ago. I use EvapoRust. You can buy it at most auto parts stores (O'Reilly's is my go to), Harbor Freight carries it, and some home improvement stores. It is an oxide and rust chelator - removes rust and not good metal. It's magic sh*t. You can soak from 12 to 48 hours. Rinse and wire brush any carbon staining. To speed the process along - you can lightly warm it in a pan with the stamps. My thermometer is my finger - Cool enough I can stick a finger into the solution, too hot to leave it there. A 5-7 minute simmer and rinse then brush. You can strain the solution and reuse it until it stops working. The one caveat - it removes oxide finishes so if you have any Robert Beard stamps it will remove the black oxide finish he uses. safe for hands, wood, rubber, etc. WD-40 makes a similar product and Metal Rescue is another. Once clean, you can apply a finish to prevent rust - wax, light oil, WD-40, Boeschield, there's a bunch.
-
Improve Look Of Back Side Of Stitching
bruce johnson replied to Kcinnick's topic in Leather Sewing Machines
No, I am talking about using an overstitch wheel on the bottom side of the stitching after machine sewing. This will dress the stitches and make them look more like the top stitches. -
Tandy sold them for a while. I’ve had several and two on hand now in collection of cool tools. I’m gone from the shop and can’t get pictures of the originals.
-
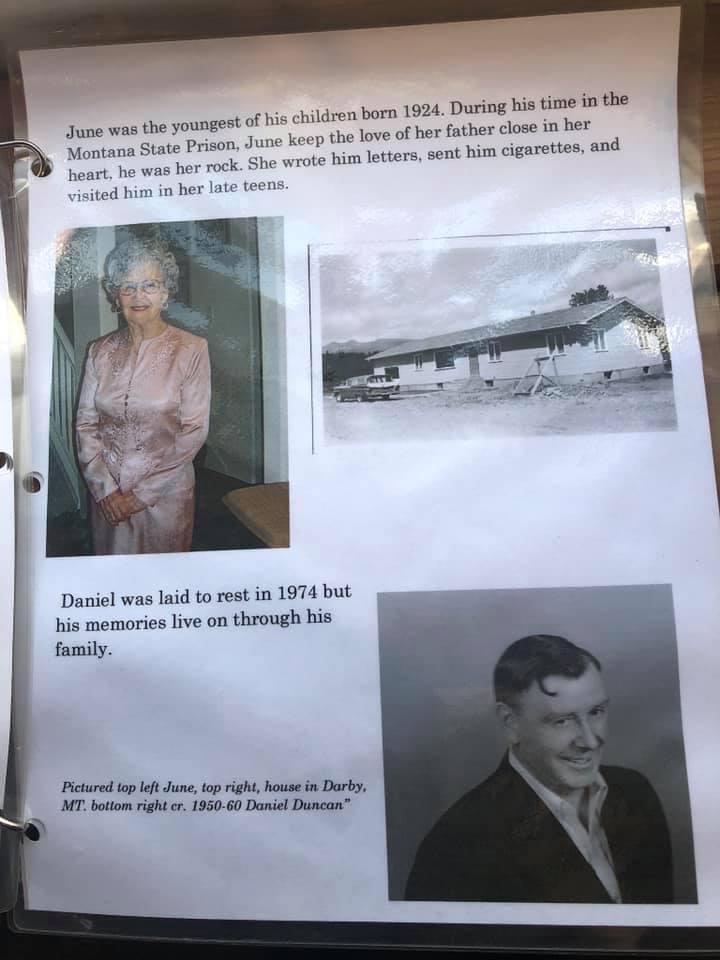
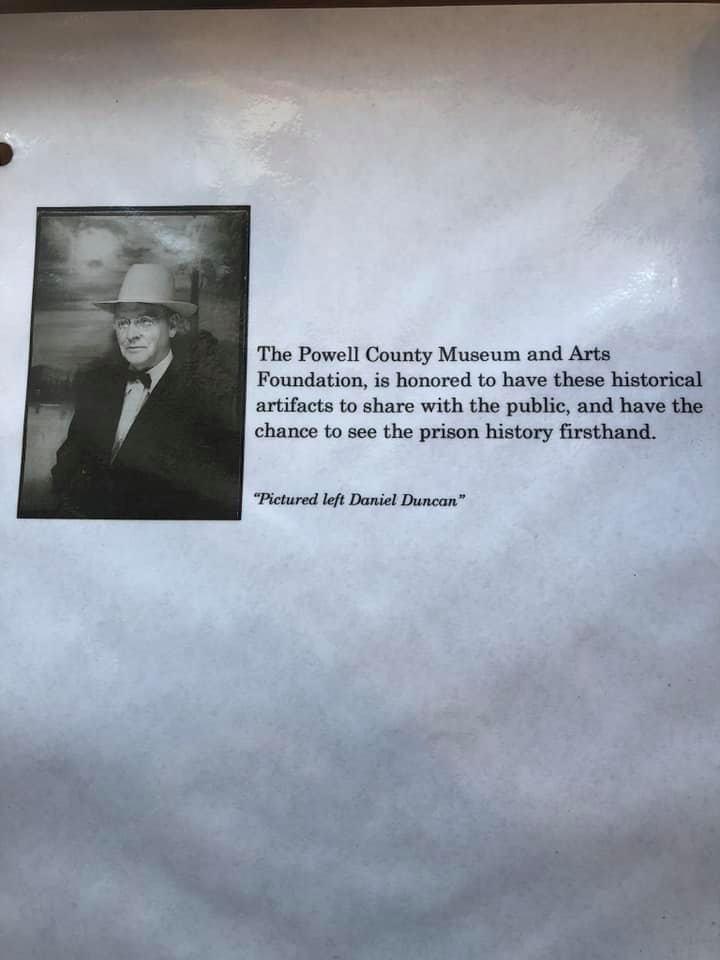
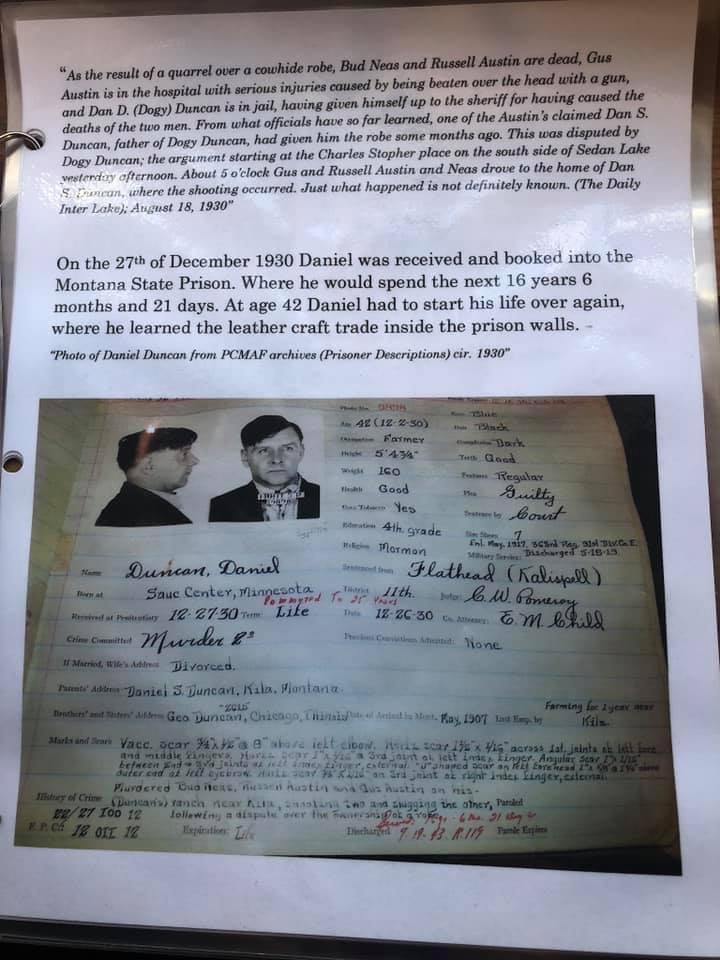
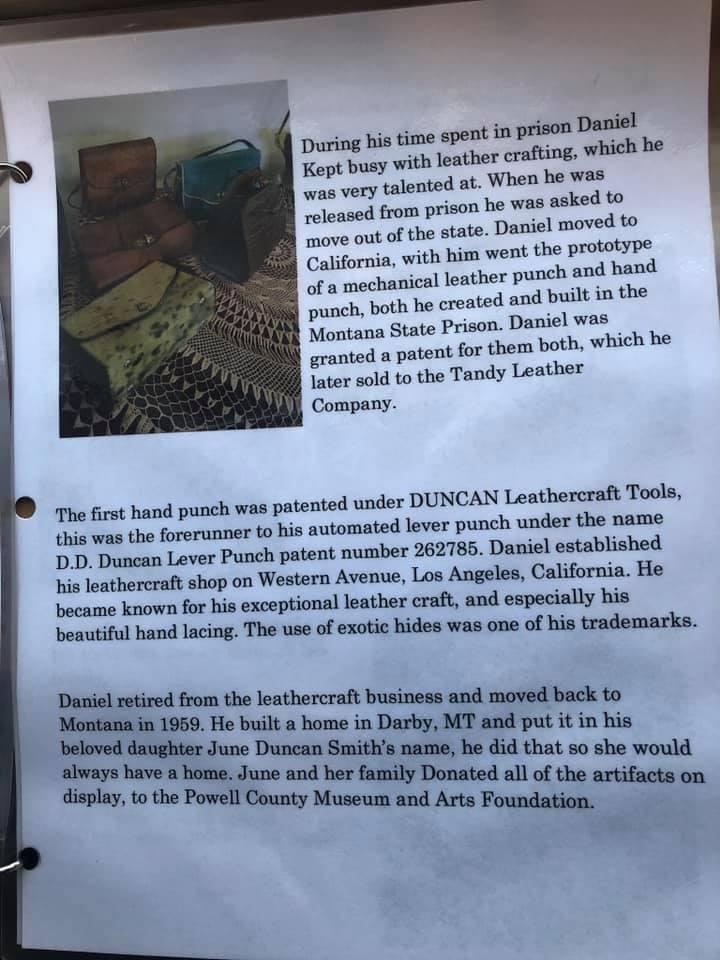
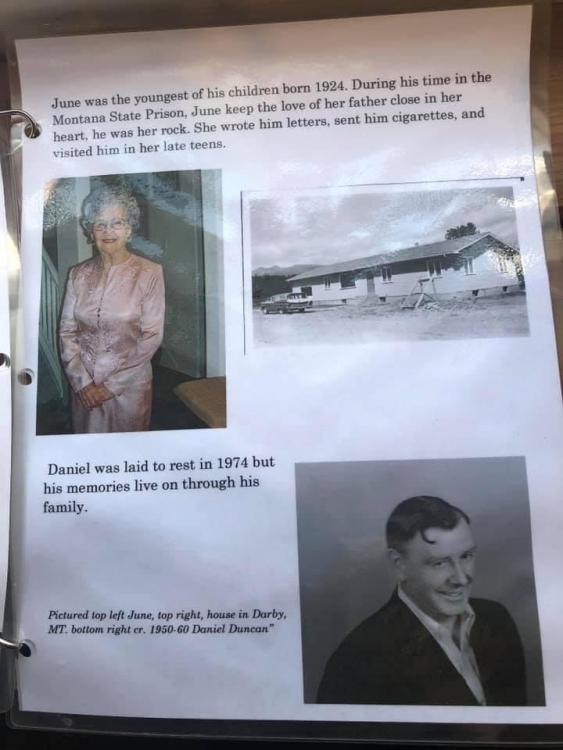
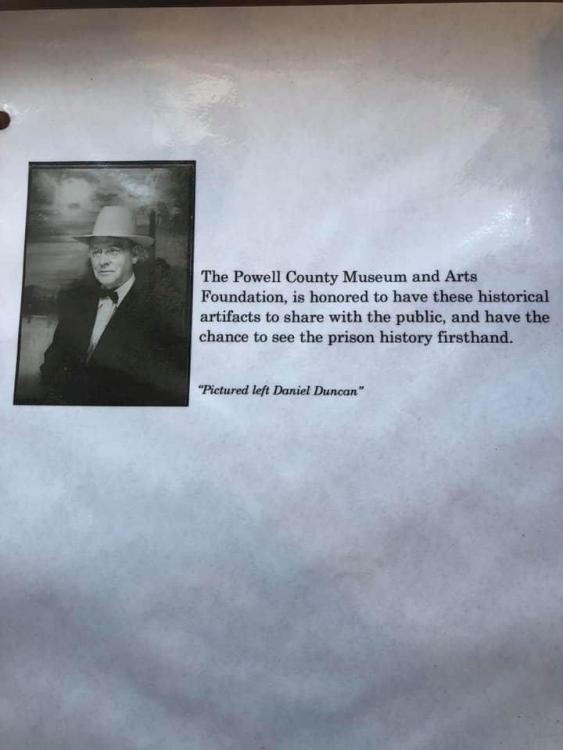
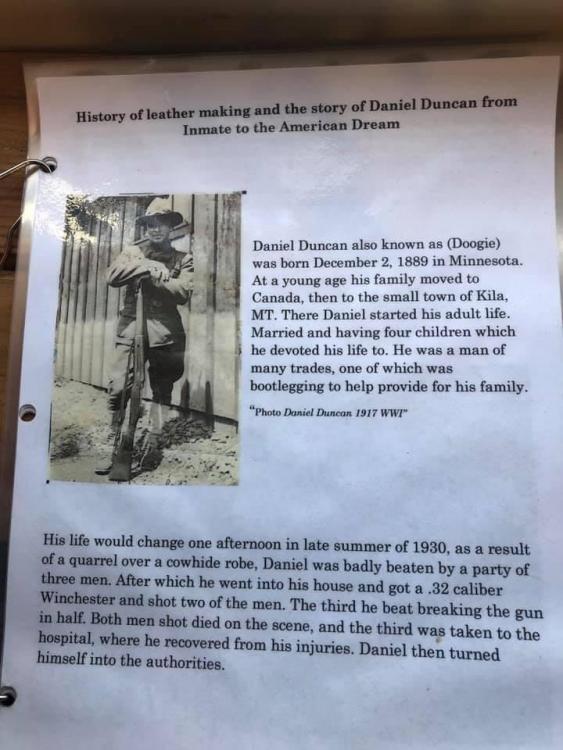
Danny Duncan made the first version of the Punch Machine. Chuck Smith was a friend and met him in LA. Chuck makes the Punch O Matic now. I found this story at the craft store at the Montana prison in Deer Lodge. There is a long tradition of leather work and horsehair hitching that still comes from Deer Lodge. Well worth the stop - tour the old prison then go across the street to the craft shop. Gorgeous work. The inmates price the work themselves, along with a tag describing it. From the money 1/4 goes to running the craft store, 1/2 goes to a victim relief fund, and they keep 1/4. Don't blame me if you spend a few hundred bucks. My belt was made by a guy "proudly boasting 27 years experience".


-
Actually the design is really kind of old. I'll post the story. He also came up with a wood handed lace punch and a swivel knife sharpener jig.
-
A really nice and well built tool. The back story on the original tool version is interesting too.
-
Late to this party but I can address a few things The creasers you mentioned - I buy them a couple dozen at a time. They bear no resemblance to the original style creasers that worked. The new ones have the sharp edge you described. The head is all the same no matter the size, the channel is what changes on them now. sometimes the channel is somewhat in line with the axis of the head to the tool and sometimes not. Do not confuse these with real creasers. I make other tools out of the new ones. The hammer - some new ones come smoother than that, some don't. You can use some sandpaper on a soft surface (mouse pad) and smooth the surface and break over that sharp transition without affecting the slightly domed face too much. Go through a few grits up about 2000 and then polishing compound. I probably end up with as many used hammers as anybody, and maybe half end up in the garbage. Too many deep pits to make them worth the time (even using mechanical means to grind) or cracks is the usual reason. The cracks don't always show up until you get them almost finished and the surface really smooth to highlight the defect. I rehandle a bunch in the summer when the humidity is low. I enjoy that but it is really a time drag and by the time I'm done, not worth it if I was a production accountant.
-
Zonepack Leather Splitter with Replaceable Blades - thoughts?
bruce johnson replied to NeilMott's topic in Leather Machinery
Following up - I got two of these in yesterday. Here are my thoughts. They are pretty solid and I didn't have the issue with loose pivot bolts as mentioned previously. As-is blades were as expected - not quite sharp enough like most utility blades. A bit of time on a few different buffing wheel/compound combinations and they performed much better but...(read below). The adjustments were pretty straight forward. You set the thickness you'd like with the two independent set screws, Push the handle forward, insert the leather, and pull. Simple enough. As I mentioned above I like my splitters so the edge of the blade is at the top dead center of the roller or just a minute touch behind it. Too far in front and the leather rolls under the blade edge. Too far behind and the leather tends to right up the blade chop off. This is true of several types of splitters. There is some forward and back leeway with the blade to position it for different thickness setting. I got pretty good hold down ability of the splitter to hold blade position even with the blade extending pretty far forward. (as an aside, I got a regular utility knife blade to work also) Issues - 1. You can put a really fine edge on the snap off utility blade. Out of the box I thought the snap off blades were OK for narrower work, but on a belt width they drug a bunch. Buffed up and they did one belt, then the edge curled halfway through the second. The bimetal regular utility knife blades hold an edge much longer and are more durable, but narrower. The snapoff blades were good for several 1/2 inch and 3/4 straps. as were the regular utility blades 2. Even through the springs are pretty strong I had a problem or two crop up. On thicker firm veg tan I tried to push forward, put the leather in, let go and pull. A couple straps split unevenly because the spring allowed the roller to push away from the set position. A few the roller never pulled back under the leather and it just skidded through. I pulled up on the handle while I pulled a few more straps from that leather and it worked. Not ideal but sort of workable. Upside - these are inexpensive and relatively well made. My takeaway - These are going to eat up some blades so there is that future cost. These are actually pretty good for narrow straps (3/4 and under), latigo ties and saddle strings - no issues. A couple people have reported them to work well for leveling rawhide lace for braiding. Belts - these would not be my first, second, or third pick even if I was doing one every so often. I've got some $150 Amazon versions that are better in my hands than these and worth the difference. Even those still aren't a good Osborne but fit a price and performance point better for meatier work. -
Zonepack Leather Splitter with Replaceable Blades - thoughts?
bruce johnson replied to NeilMott's topic in Leather Machinery
The price is right with these but they do have some issues in use. . I've got one coming in on a trade so Ill have one in my hands to try in a week or so. Pretty much the experience of a few guys who bought them was universal. With most splitters you want the edge of the blade to be top center of the roller or a hair behind. With this design the roller-blade edge relationship changes with the thickness. It can make for some uneven splits especially the thicker you go. The 3 person consensus was "OK/surprisingly - pretty good/worth it" for splitting lace and saddle strings. For belts from skirting or heavier leather - two thumbs down, one "it was OK for a couple belts but wouldn't want to do a bunch, please send me the next Osborne #86 you have ready". -
The newer Osborne creasers bear no resemblance to the vintage originals. They went to a once size fits all head, grind out a groove that may or may not be consistently sized from one to the next, may or may not be in line with the shaft, leave the creasing edge sharp or with a bur. Creasers are not the only tools they have decided to change up.
-
American Splitter LS440- not working....
bruce johnson replied to jenniferhu's topic in Leather Machinery
The last quote I got for making a new adjusting handle by a machinist was $225. There are lots of considerations with the part and different setups to make the individual cuts and shaping. -
If it is a round shank typical makers stamp I just use a maul. Mine have held well for several hundred strikes
-
I got one in a recent set. Not sure how the leverage factor is so I don't know how big a logo you could press in. It would not press a 3/16 machinist number punch into delrin, and realistically it doesn't take make of a hammer hit for that. It punched round holes OK and that is what I sold it for. Strap end and slot punches you'd have to turn down the shanks on most to fit the chuck. I think you crank on it too much and the vertical tube the head rides in looks to be the weak design link in my eyes.
-
All of these versions are pretty underpowered especially at low speeds, but if you have a price point and aren't doing all day battle they work OK.
-
Bob and Lee have sure helped me out a lot from the early days of my leatherwork up to trading tools. I've missed seeing them at the shows, hopefully at Sheridan this year.
-
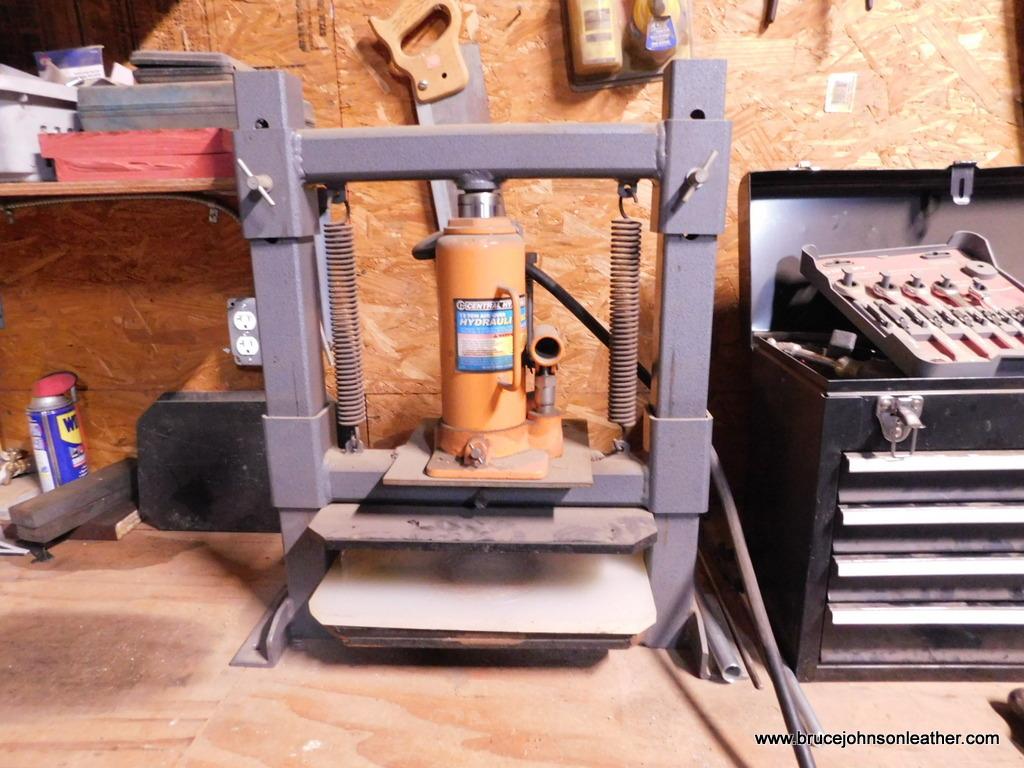
This is an alternative from Weaver if they still sell it. . I've had three or four of the 4 ton Wonders through here, but this is what I kept and we use. The previous owner replaced the 12 ton hydraulic jack with an air over hydraulic jack. Doesn't take much air to run it. Ms Rundi gets a rhythm going and can click out stuff about as fast as the lever handle 4 ton with less effort.

-
First Show, thoughts and questions...
bruce johnson replied to austinious's topic in Marketing and Advertising
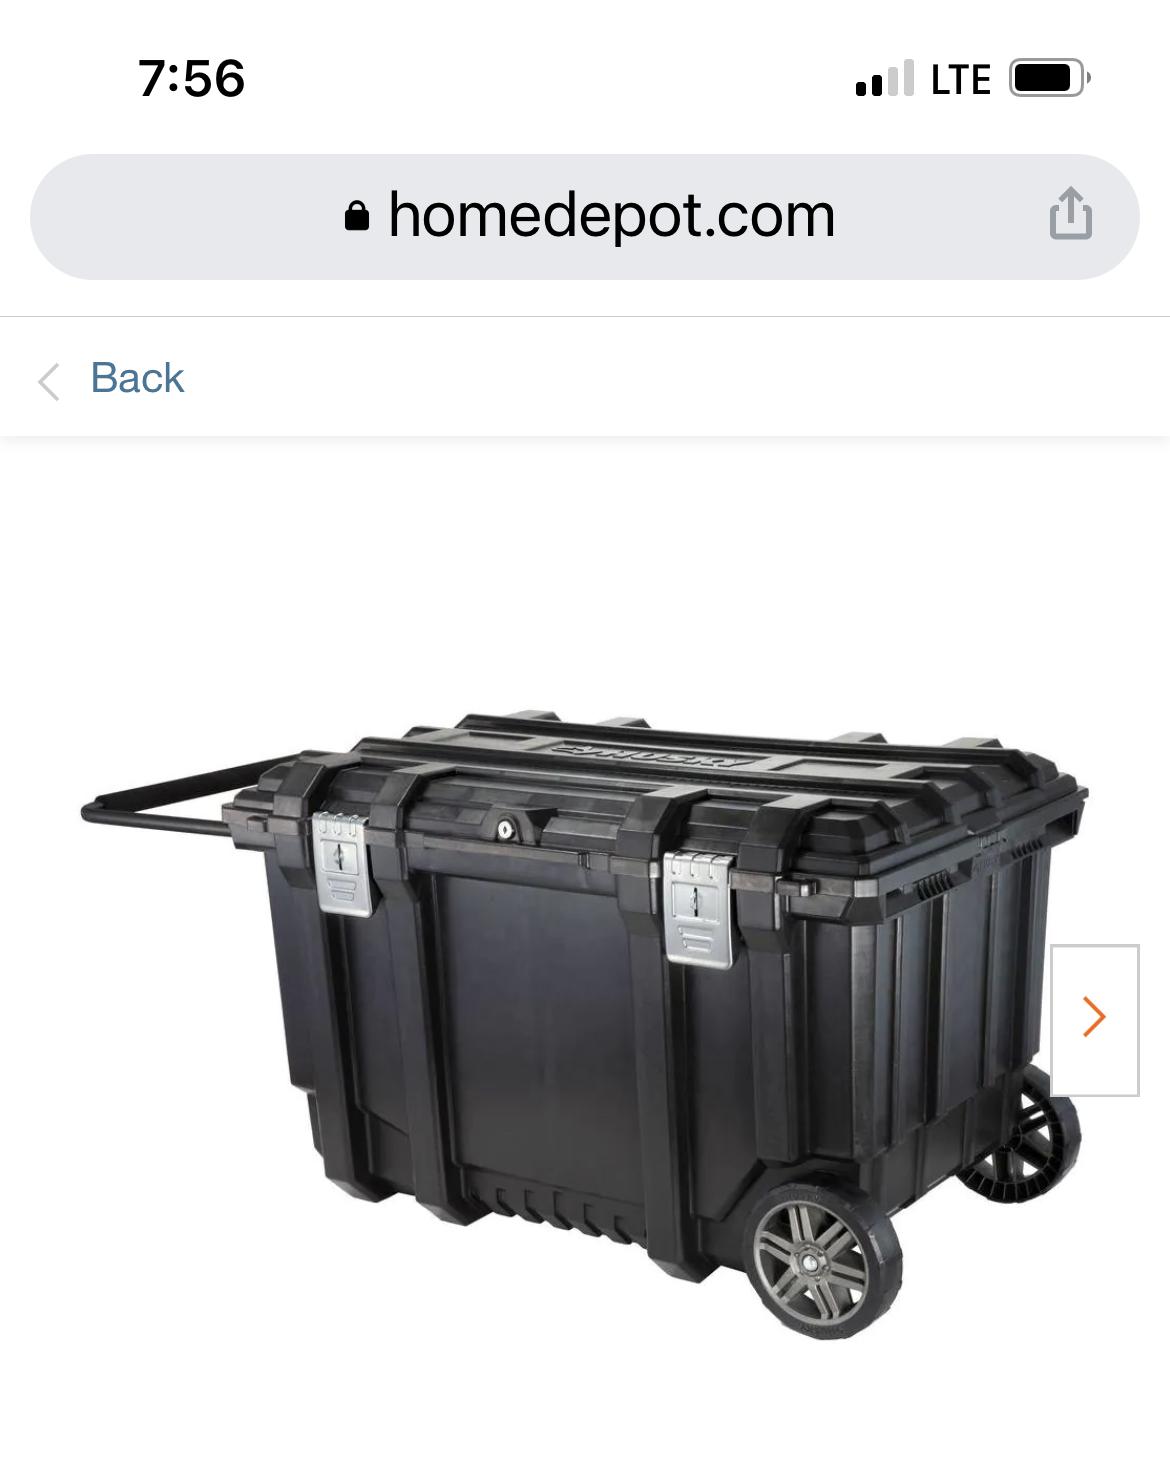
To answer your last question, for storing and transporting inventory at shows. It has been a work in progress for me. I am usually packing 1000+ leather tools to a show, not counting stamps. I've got weight and volume. Started off with totes and lids, packed a dolly or relied on hotel luggage carts when we got there. That was OK, but I was always the last guy out of the show making a bunch of trips in and out. . Two years ago I got three Husky tool totes on wheels At Home Depot for the Prescott show. I still used the regular totes for the overflow. Before the Pendleton show last November I got one more and still had maybe 6 big regular totes for the lighter stuff. My son helped me at Pendleton and on the way home asked why I didn't have two more wheelies and ditch those totes. Sage advice. These totes hold a lot, telescoping handles to push them, sturdy enough to stand on or use as a seat, and are weatherproof. Here is a link - https://www.homedepot.com/p/Husky-37-in-Rolling-Tool-Box-Utility-Cart-Black-209261/203668066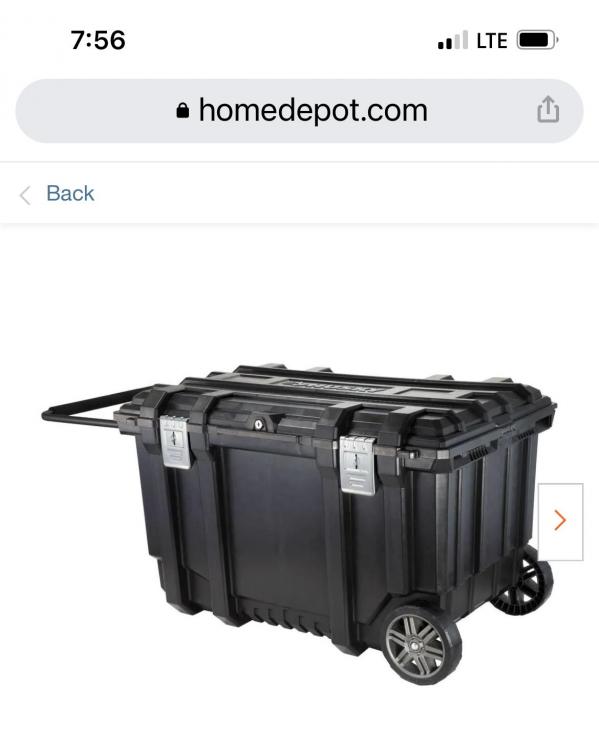
-
i have had a few with that design. It is simple design but not very common. Normally the height is adjusted with a vertical thumbscrew. On yours the wing nut is loosened so the bolt/ roller can go up and down in that slot for different leather thicknesses. Also there is a slotted head on the end of the bolt so you can grip that end with a screwdriver while you tighten or loosen the wing nut.. The bolts are are machined down at the thread end of the bolt so the shoulder of the bolt binds on the fence, not the roller. The brass rollers are usually thinner walled than this. If I was to fix it here is what I'd do. Cut that broken wing nut off and have a machinist make you up a new long shouldered bolt, get some brass tube that will rotate on the shaft of the bolt. Add a washer and wing nut and you are in business. I have found working on these old tools it is generally faster, easier, and cheaper to make or get new parts made than to try to cobble up the last guy's screw up.
-
Who makes a good ( sharp) round end punch?
bruce johnson replied to AdamDavis's topic in Leather Tools
I had a person leave a message off the group about pushing a punch by hand. Here is a clip I shot a few years ago of one in process and not fully stropped yet. One hand on the phone shooting the video and one hand on the punch. punch_video.MOV -
Who makes a good ( sharp) round end punch?
bruce johnson replied to AdamDavis's topic in Leather Tools
It depends on the maker. Dan Byler's punches are always sharp straight out of the box. Weavers usually are but some aren't as sharp as others. CS Osborne has never sent truly sharp punches in my experience. They required sharpening by the end user to their preference back then and still do today. It is just how they do it. Not saying one is better than the other after they are sharpened , just my experience with new ones. I don't have enough experience with Jeremiah Watt's end punches to say. Personally my own punches are lower beveled and sharp enough to cut with hand pressure (like the old wood handles end punches were designed. to). I can use a light stroke on a correct punching surface and get easy clean results. Some people I sell to want a steeper more chiseled angle that wont be as fine an edge but can stand up to harder leather or long use to be passable without stropping very much. -
Thanks! Have heard about the etched marking but hadn't seen one yet. Appreciate the picture. I have a set of new ones a customer is sending for me to sharpen the tubes and number stamp the top and side of the frame. I know what I'm getting now.
-
Gotcha, I haven't run into that much thread showing to meet the anvil. Just another curiosity question here. Is the frame marked on the other side or have the Osborne maker and size number been ground off. I haven't had that weren't marked on this side that I remember.
-
I was more comparing the threads on a 100 year plus old Newark marked single tube punch vs the Harrisons. Still when I clean one up and sharpen or replace the punch tubes I run a tap through the frame to clean the threads. I screw my punch tubes in to bottom out the tube threads so they wont twist while I am punching also.