


bruce johnson
-
Posts
4,409 -
Joined
-
Last visited
Content Type
Profiles
Forums
Events
Blogs
Gallery
Store
Everything posted by bruce johnson
-

Wayne jueschke camo stamps and more questions
bruce johnson replied to Yukonrookie's topic in Leather Tools
Just to help with sizing. Years ago the “golden rule” I was given for sizing. On basket stamps the width of the border stamp should be the width of the end of the basket stamp. On square geometric stamps the border stamp should be 1/2 the width of the geometric stamp. As far as each of these stamps on work, I can pull up an example of the wagon wheel pretty quick here. Julie Baugher uses the 246 and 248 stamps a lot. I’ve sold a lot of the 218 to 221 stamps also. They are a half flower stamp and make a nice border - more dimensional than many others.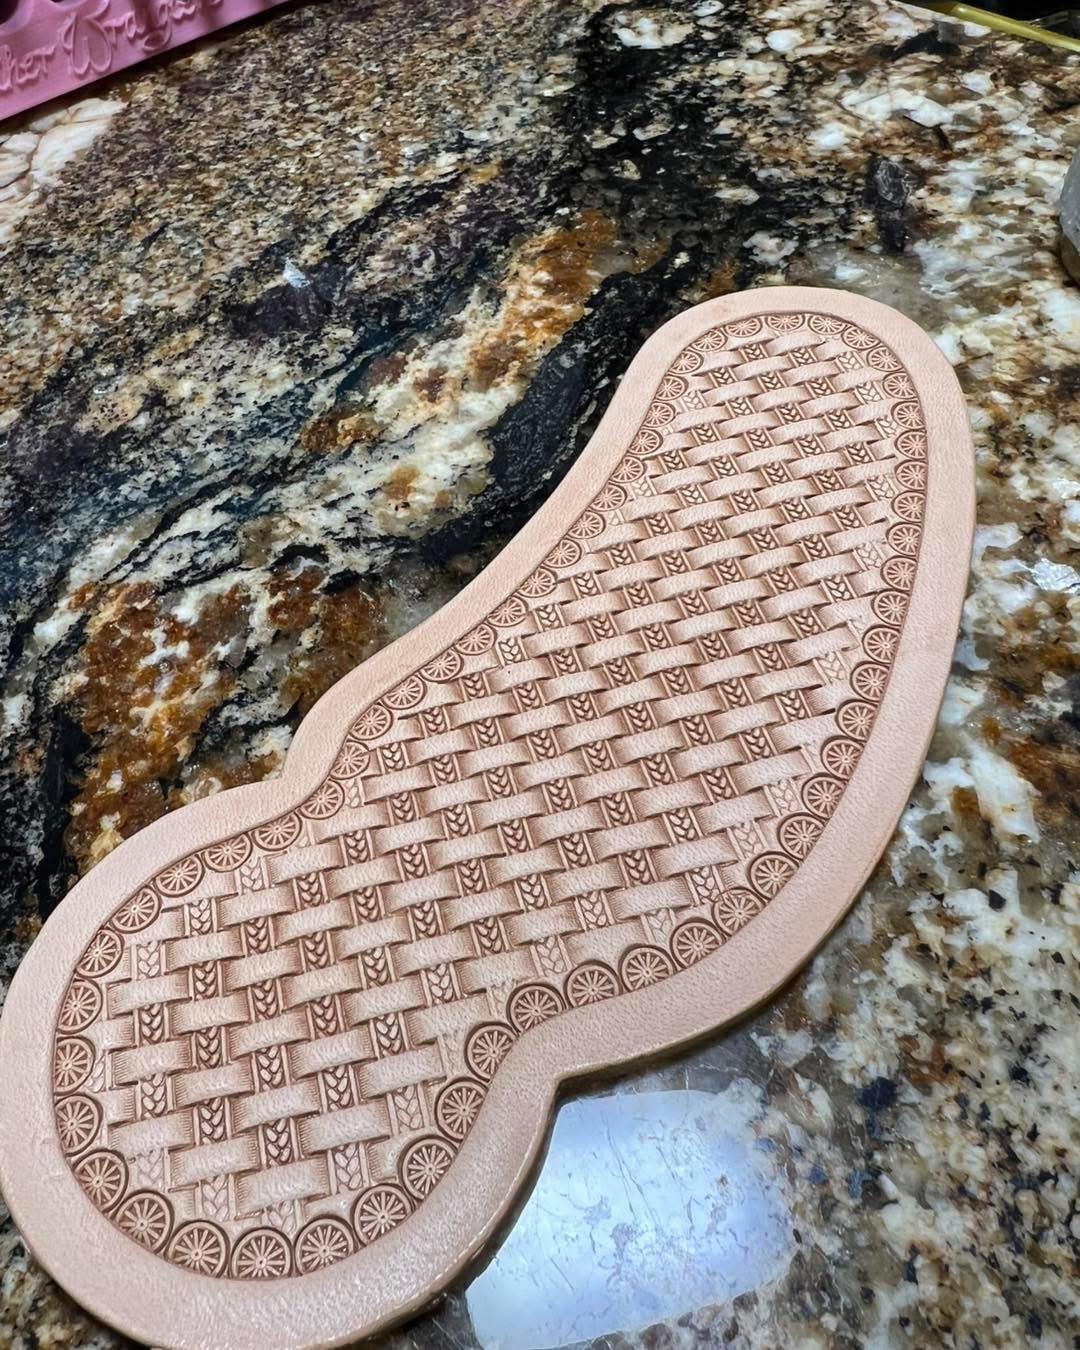
-
Help us identify this unknown exotic on Reddit!
bruce johnson replied to nstarleather's topic in All About Leather
Sea turtle or print depending on how old it is. Think the ban went in during the late 70s?? -
Mark, there are no standards with colors as it sounds like you have found out. Here are my #1 picks from coarse to fine for metals. I use them on buffing wheels, grinder stropping belts, and manual strops Formax Black Magic - I get it from Tru Grit - This will take grit marks out and leave a particularly fine finish too. It is some voodoo stuff and not like any other black compounds I have used as far as taking out marks to leaving a pretty shiny final finish. Others leave a matte finish, this goes noticeably past that. Green from Maverick Abrasives - finer than black and more of a mirror polish Purple from Maverick Abrasives - super mirror finish and removes residual grit marks left by green. Downside is that these are sold in 3# sticks. Remind me the next time you order tools and I can break you off some chunks of each to try. From local hardware and home improvement stores - Dico black (E5) Dico white - kind of got to skipping it and I don't miss it much Dico Green
-
we can add slit braid and snake braid to the list of names I have heard it called also.
-
Not to totally change gears but did you say it doesn’t smell? It may not be mildew or mold at all and could be spew. Those usually smell, spew doesn’t. Spew is waxes and oils in the leather that migrates to the surface and makes a whitish film. A quick and easy test is to hit it a heat gun or hair dryer. Spew liquifies and may resorb somewhat into the leather. Mildew doesn’t melt. Some leathers are prone to spew to begin with. Some of the latigo leathers especially. I loved Fox Valley Tannery latigo but it came with a variable coat of spew right out of the roll. Lay the sides in the sun and it absorbed enough to soak in. Cut it and edge when it wasn’t as messy, then the spew would eventually come back when it got cool . Made great long lasting latigos and straps. Sometimes the treatment after making something will contribute to excessive spew. Conditioners and saddle soap add even more waxes and oils and makes more spew. I’d check this out with some heat first.
-
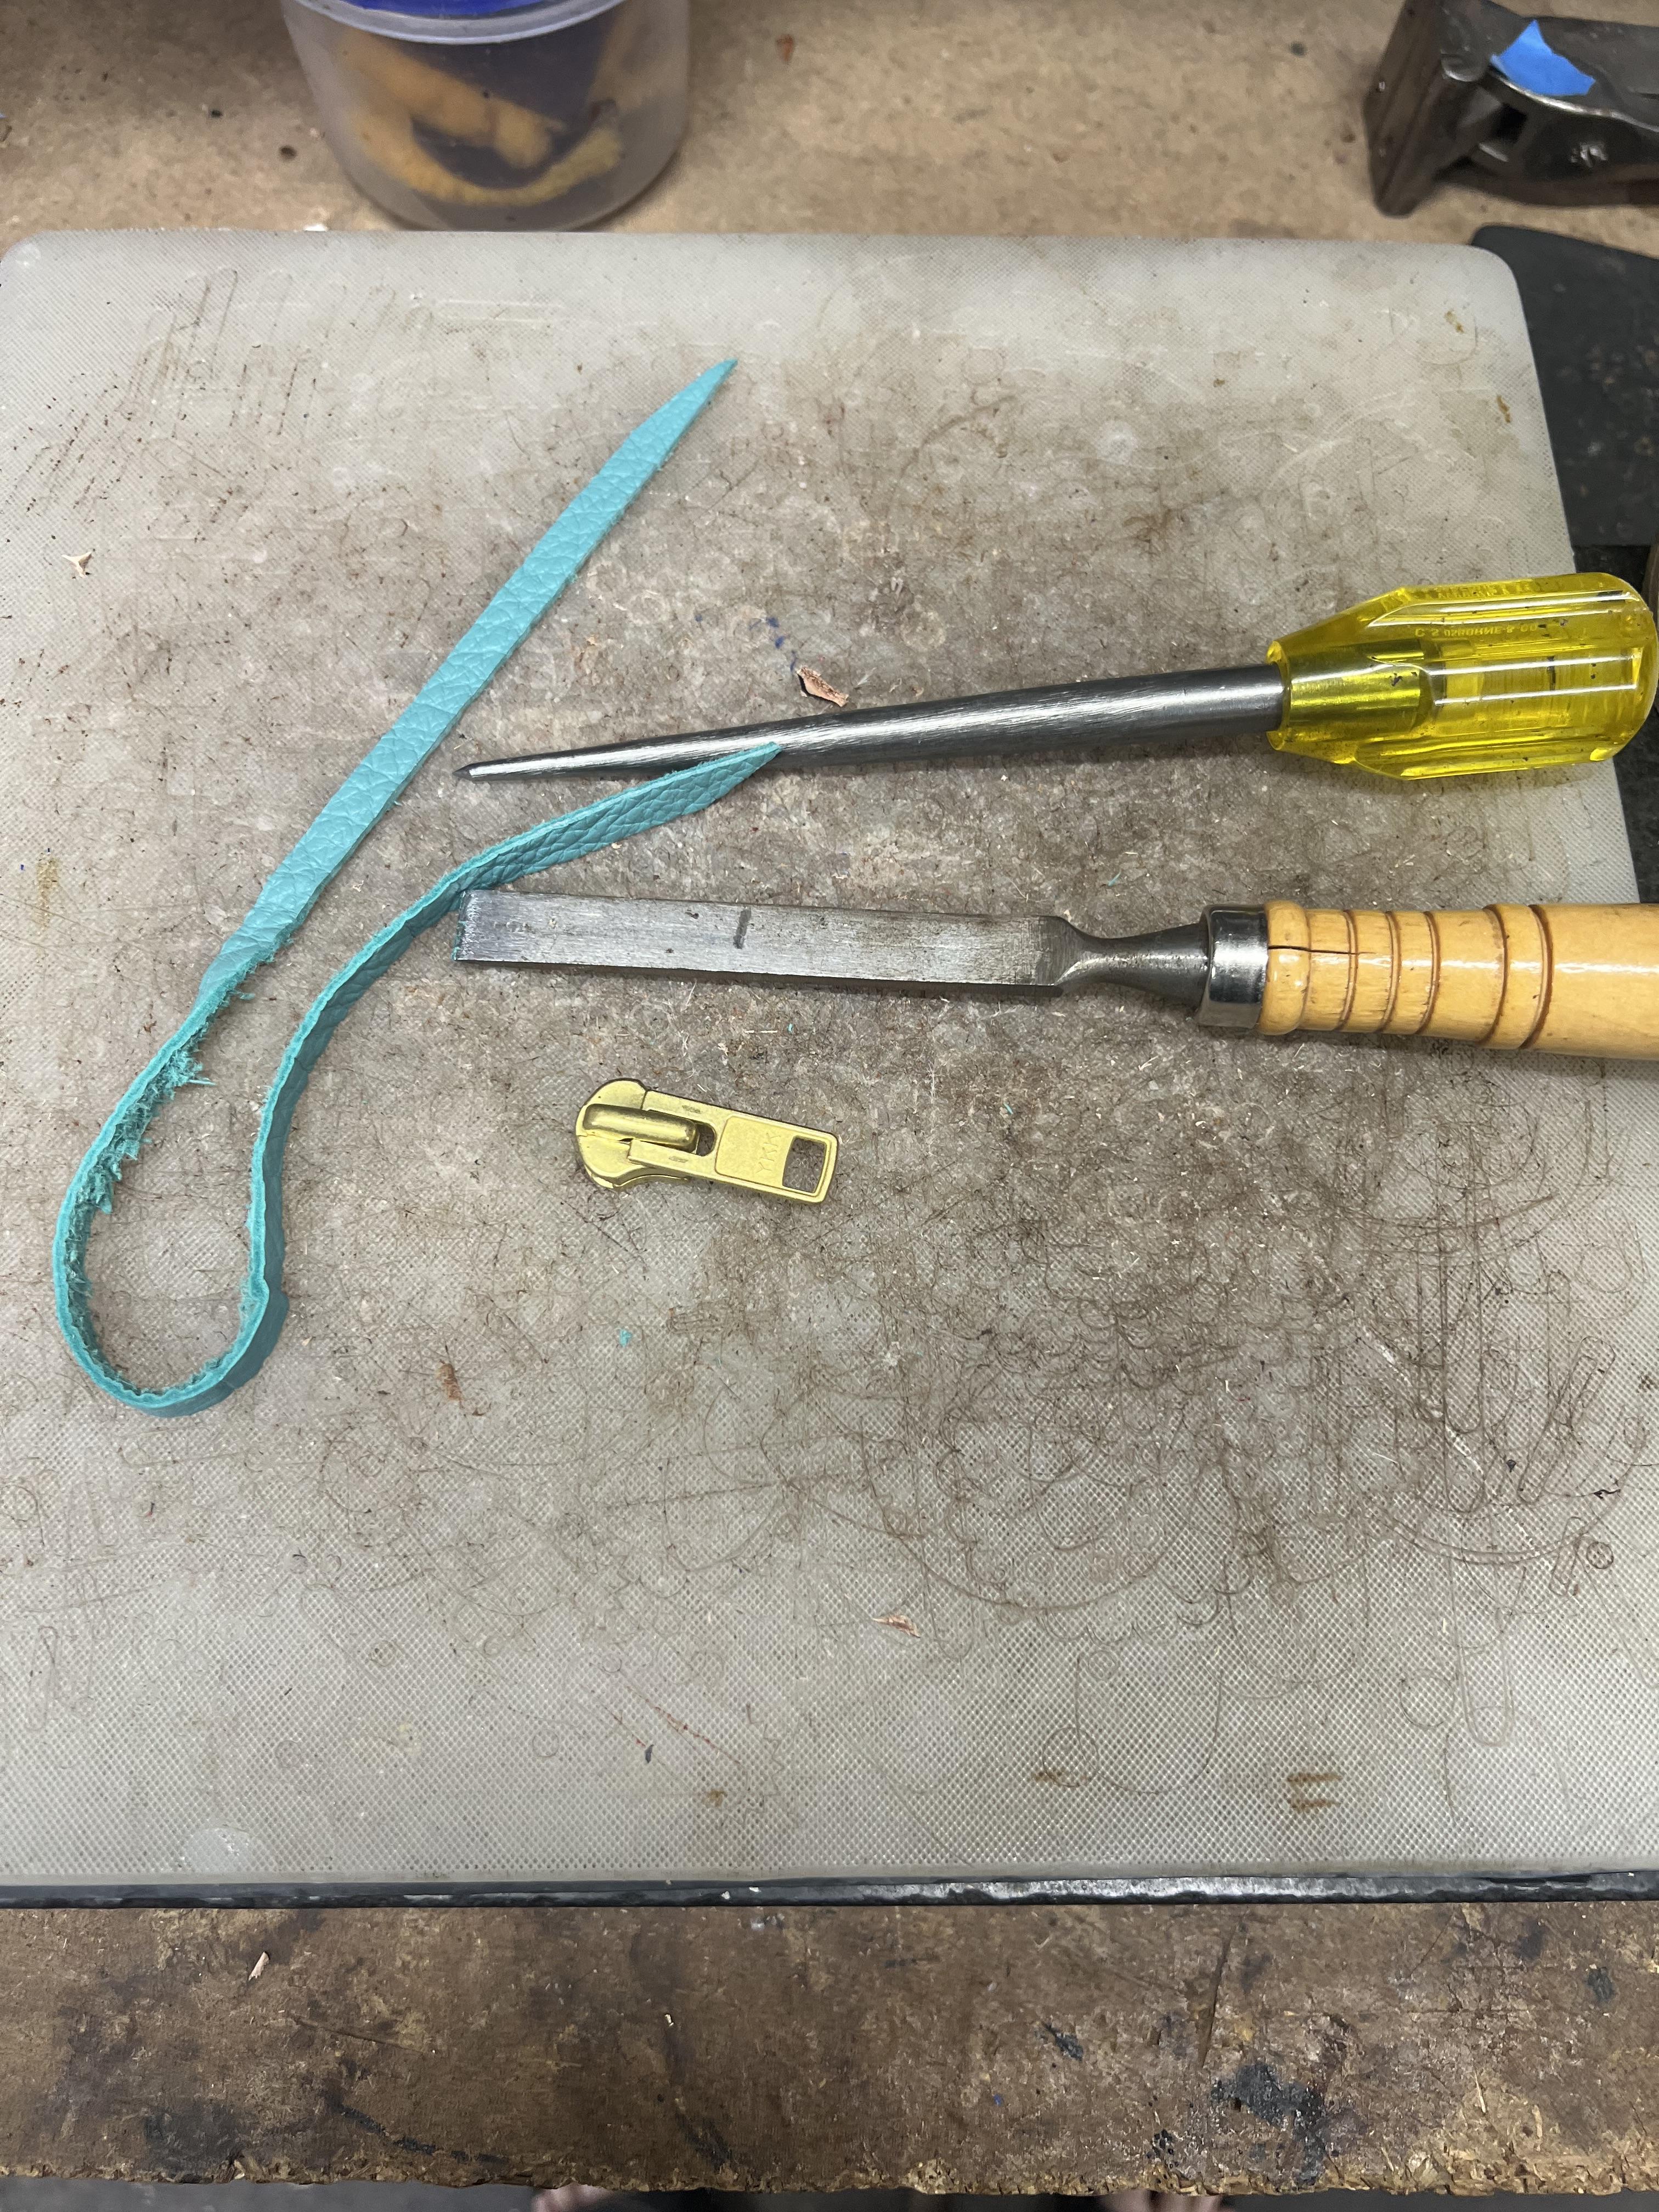
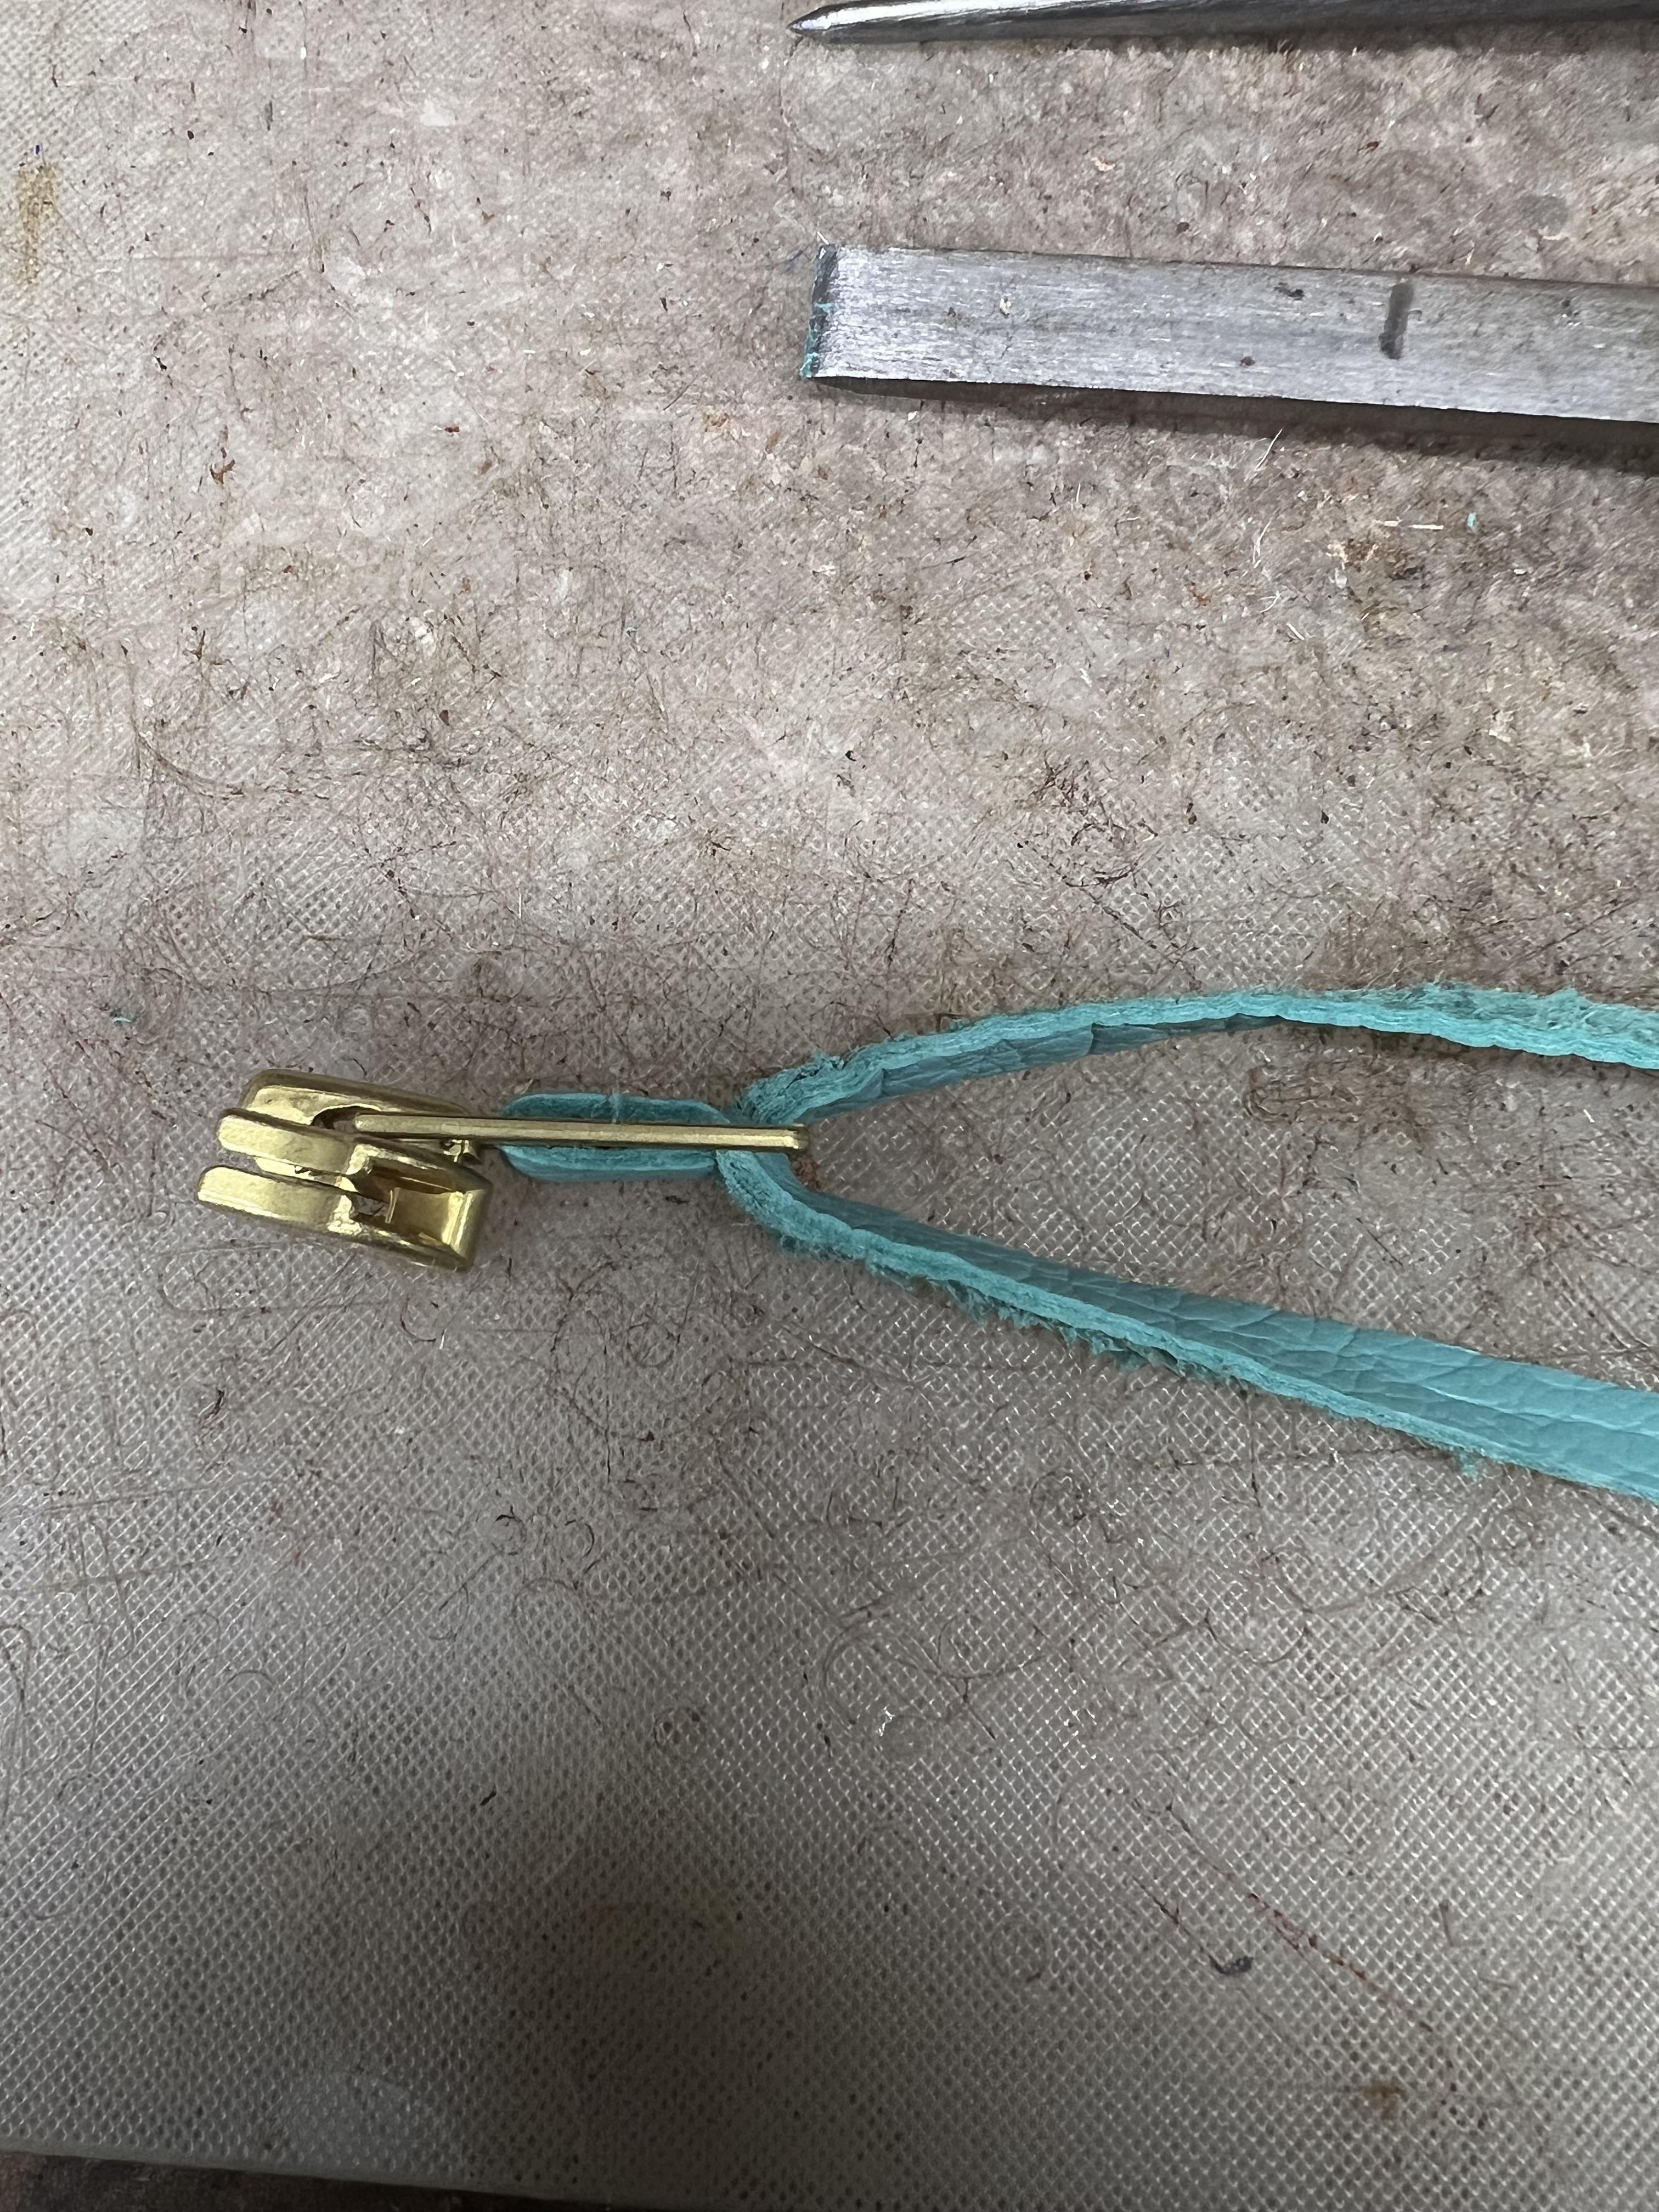
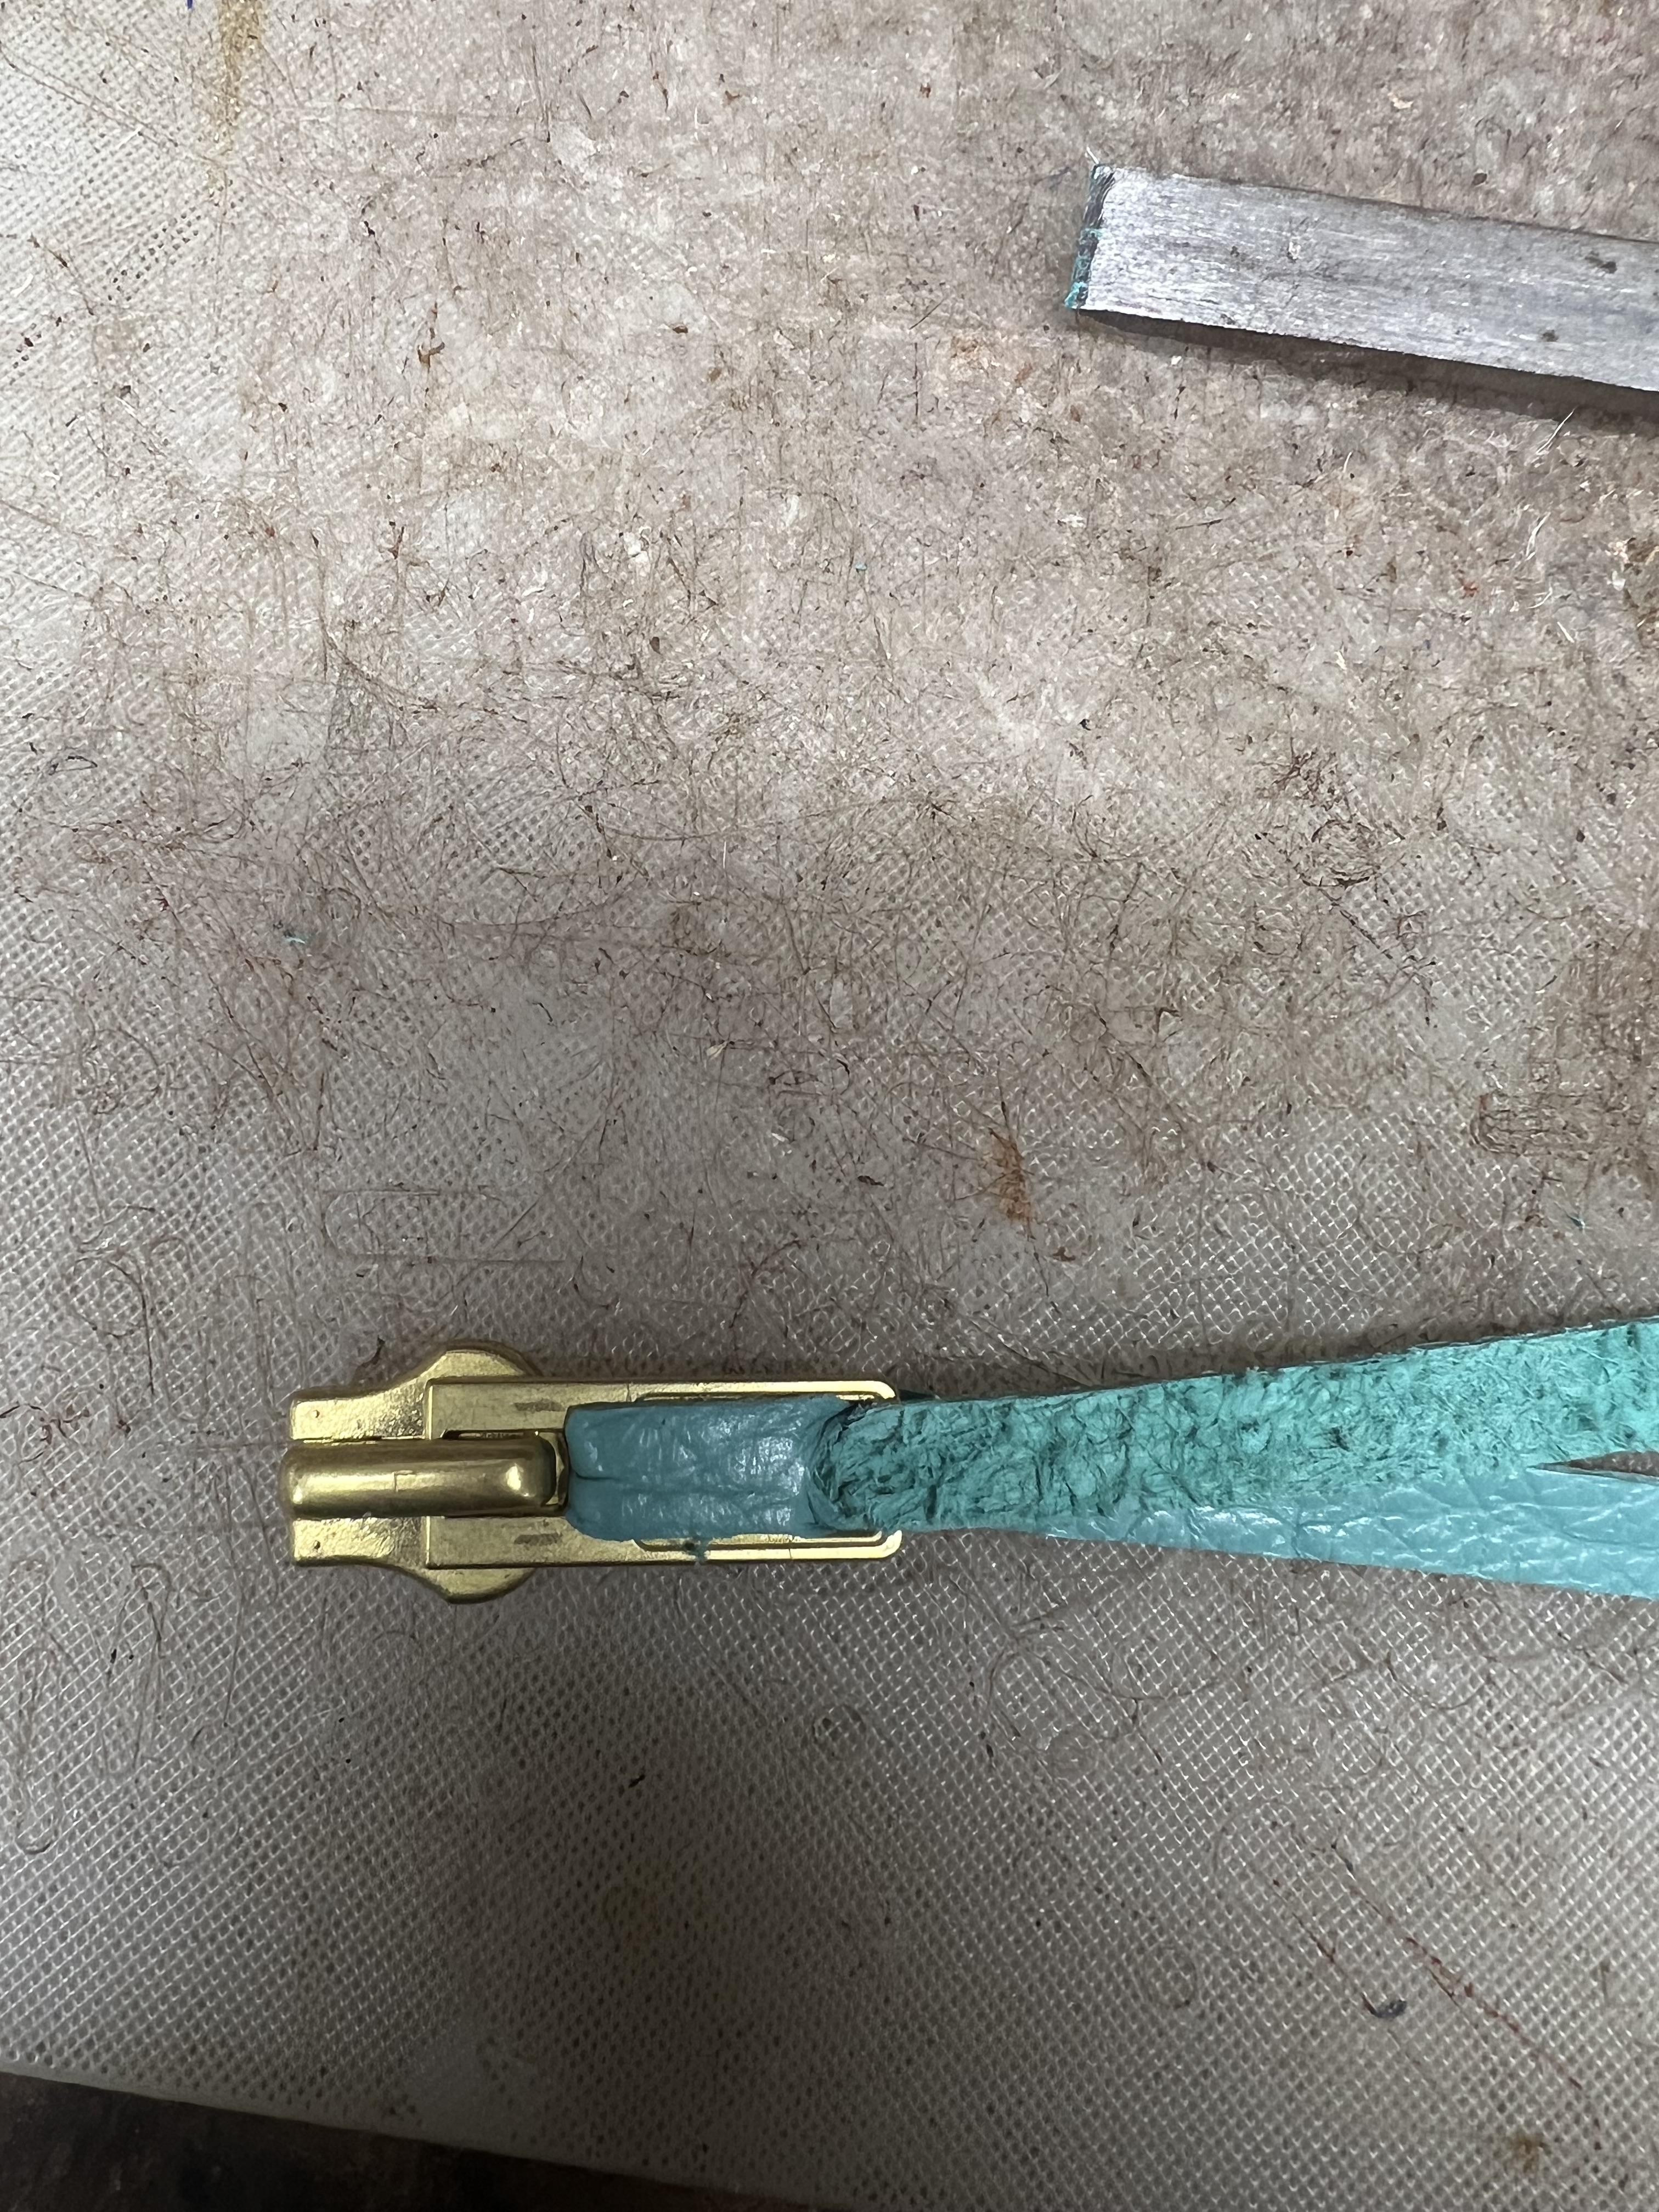
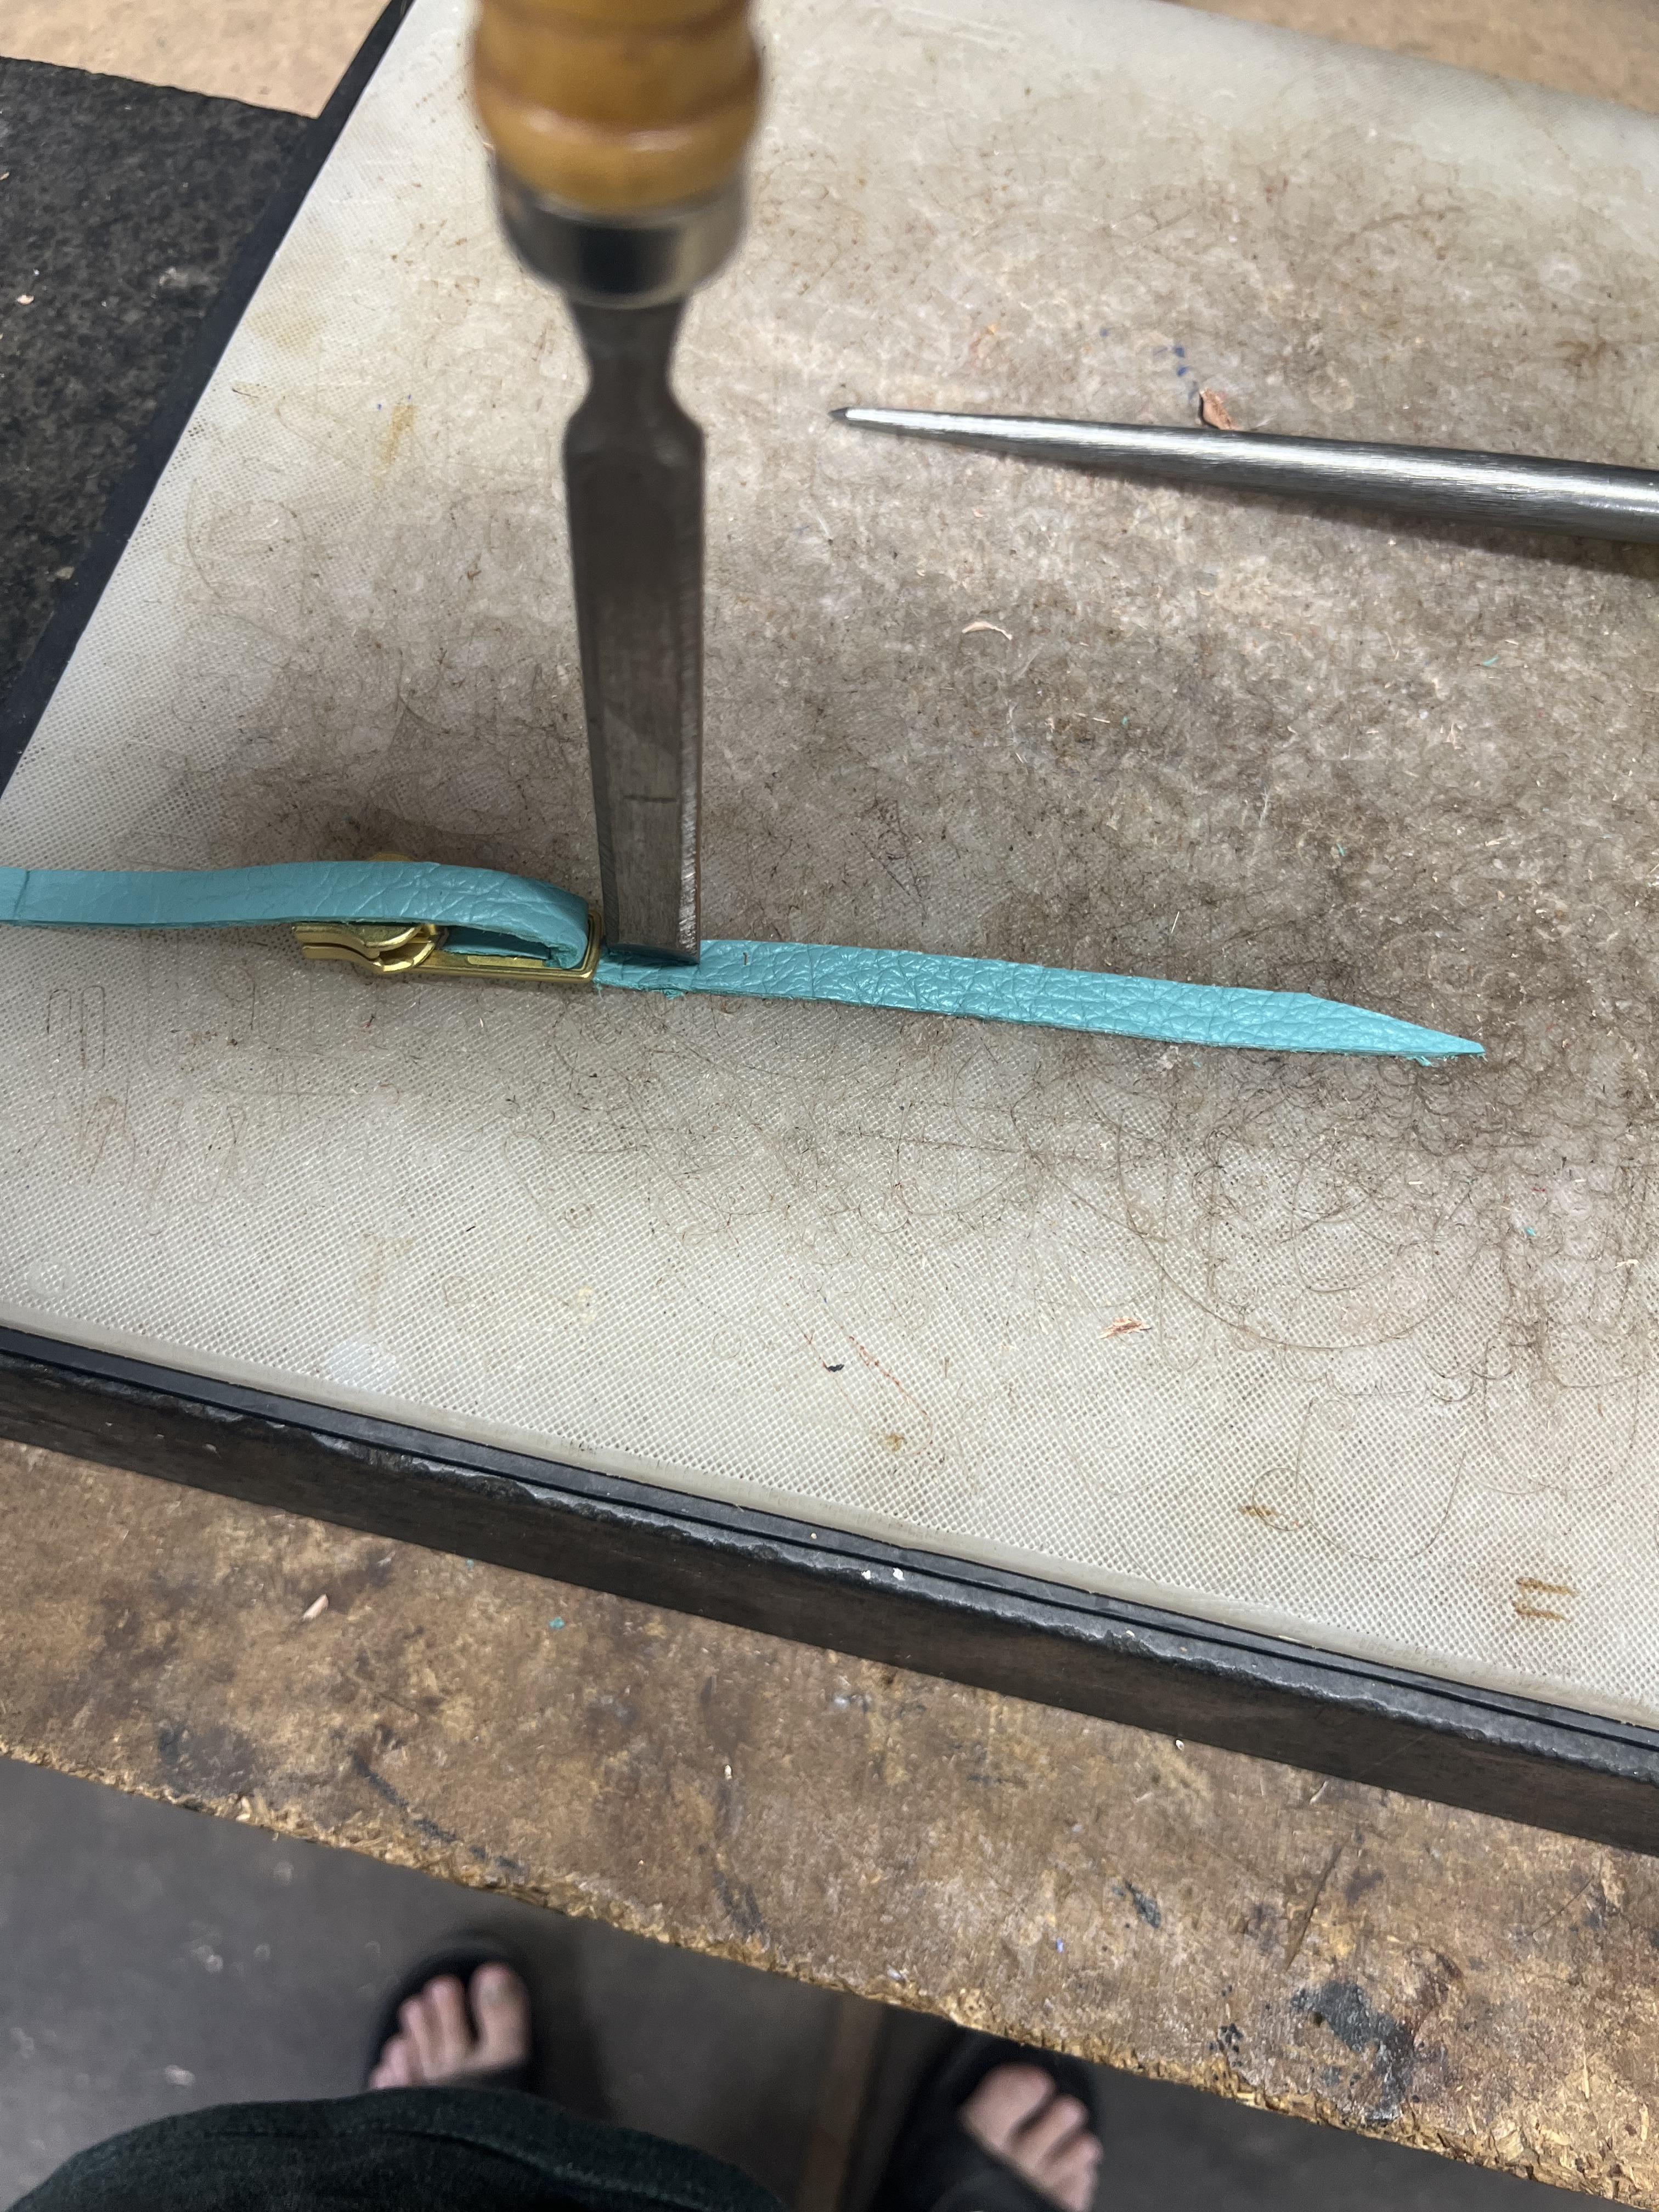
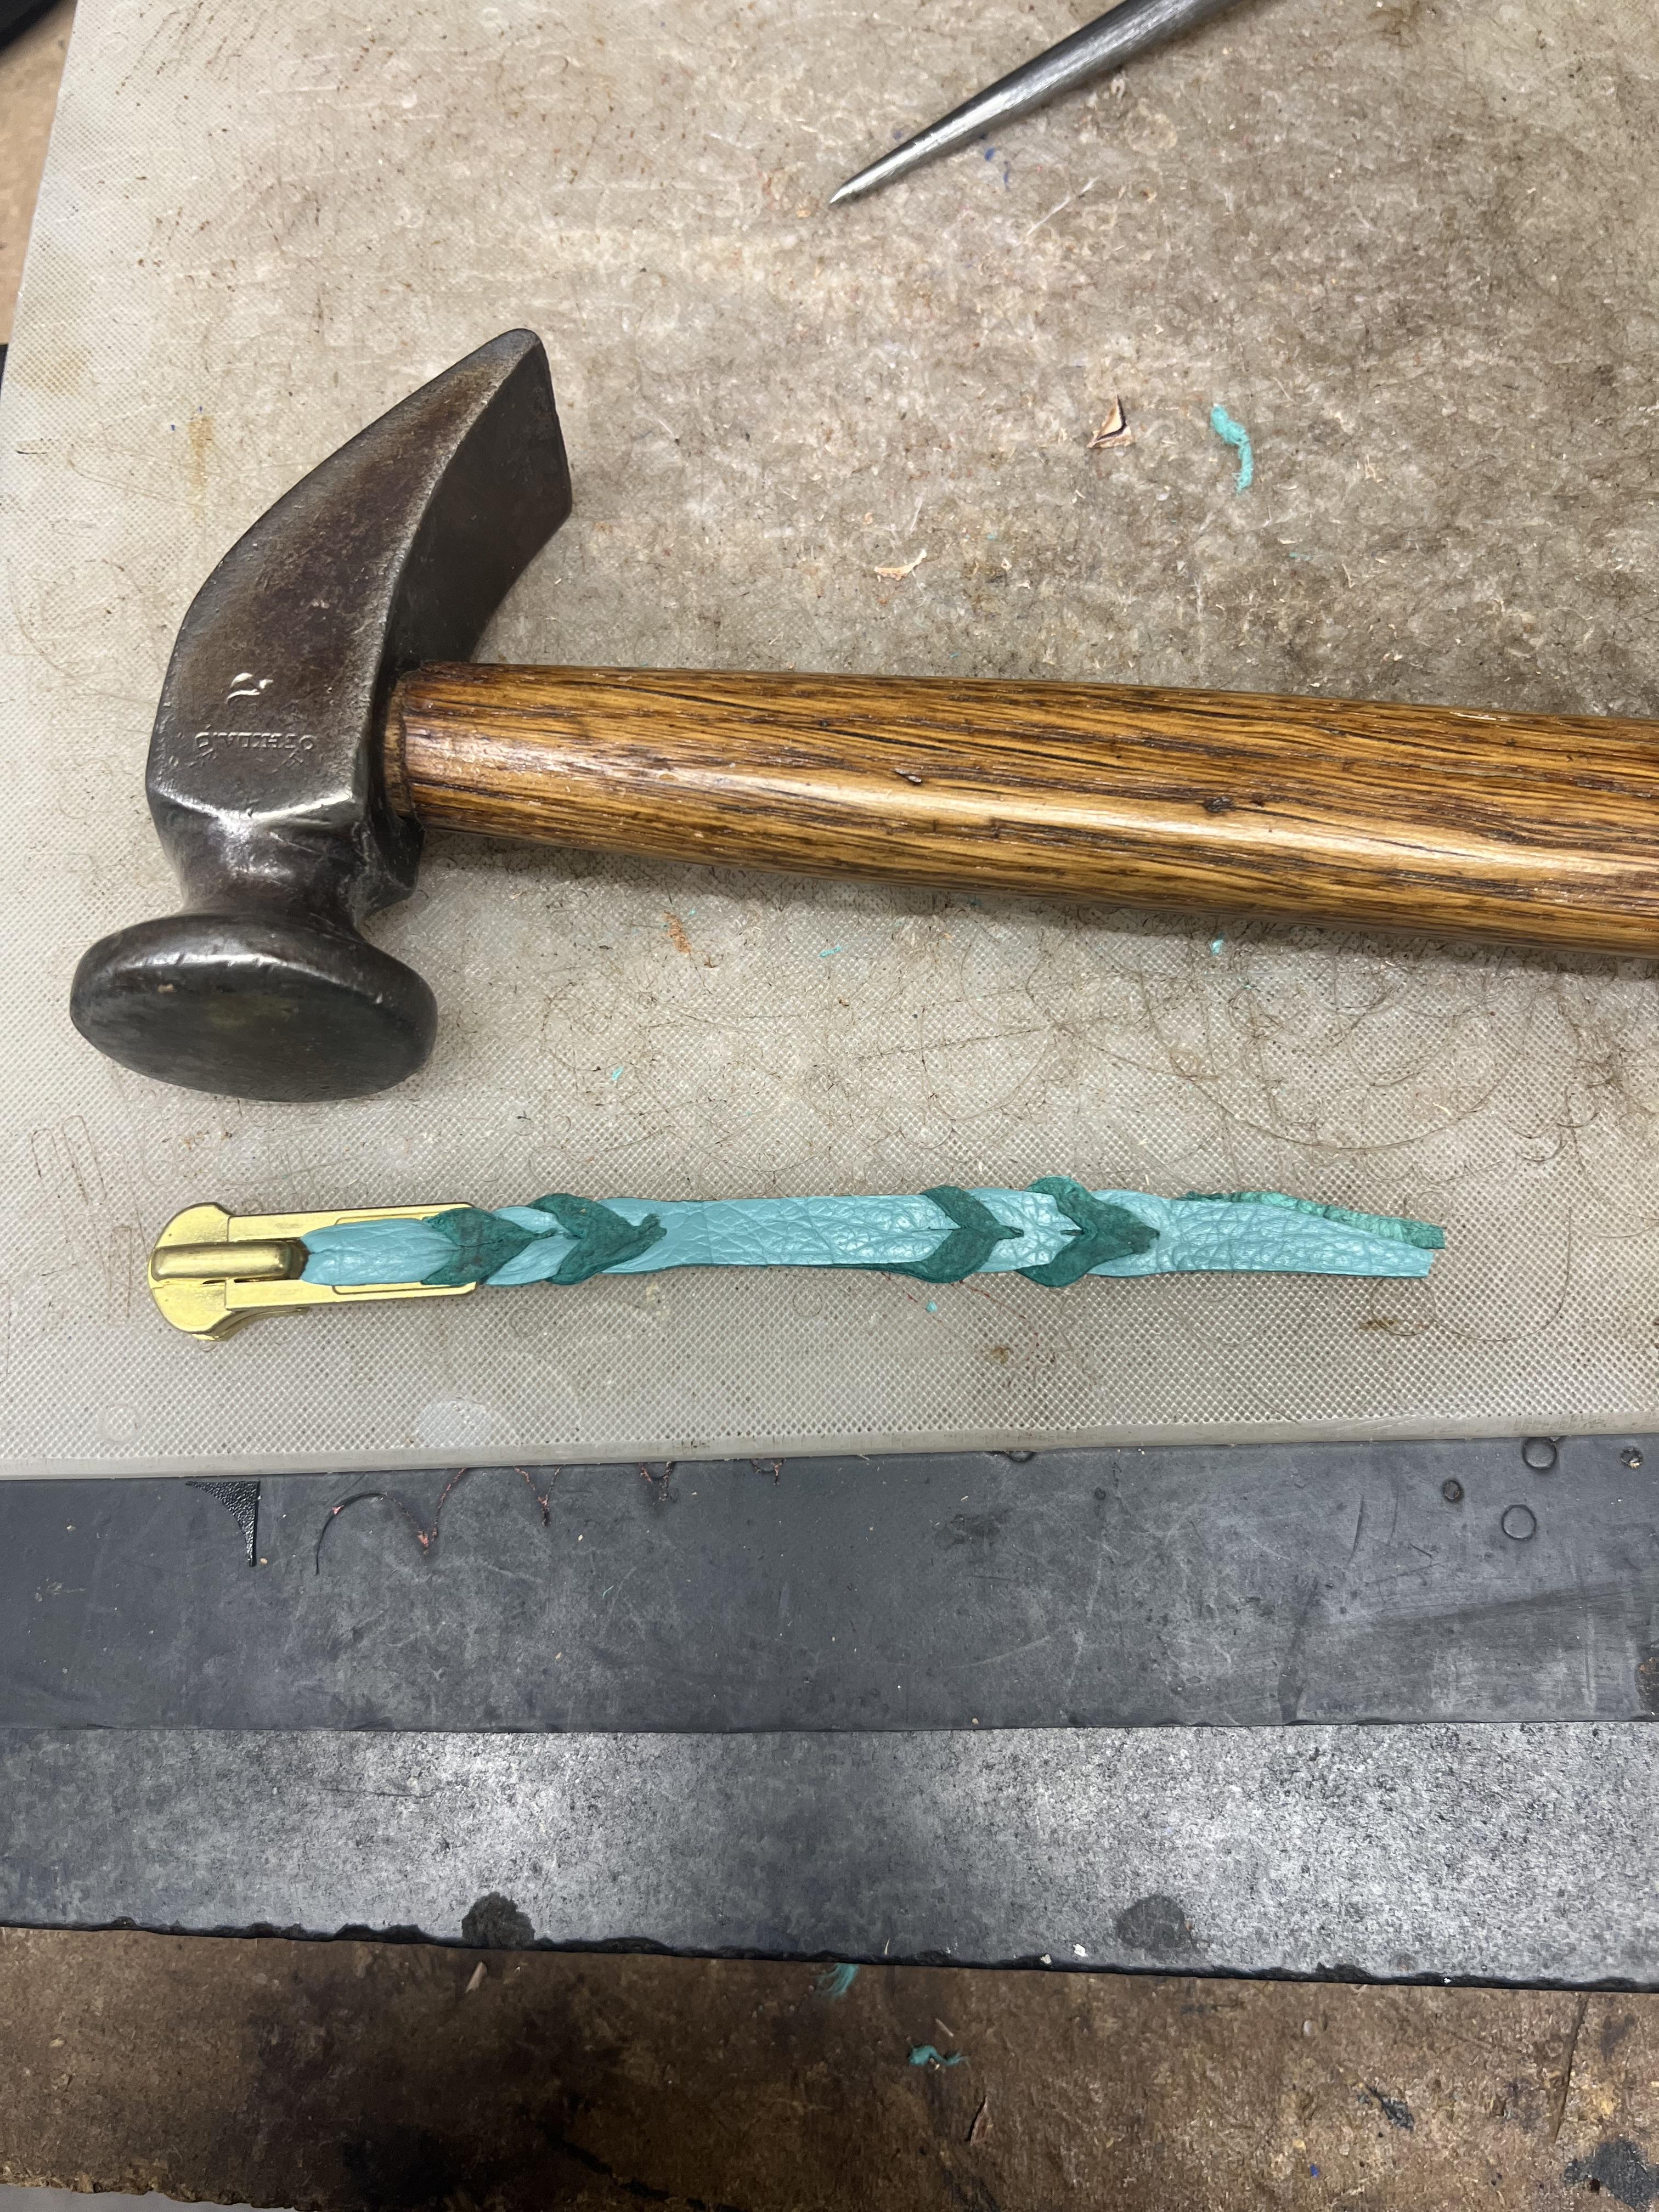
This is a quick and dirty demo I did for bleeding ties on zipper tabs. Normally I would saddle soap and slick the leather first. I tap the braid after finished to set and flatten it a bit. Did a lot of these ties on zippers for motorcycle jackets and pockets on jackets. Easy to grab with gloves and the ties don’t turn on the tabs. I did them after that on most everything with a zipper to dress them up. Sometimes matching, sometimes contrasting
-
The braid is called a bleed knot
-
Here is another - https://www.jbldleatherschool.com/
-
Your dad is making stamps again too or just hand tools?
-
Could anyone let me know what type of tool this is?
bruce johnson replied to SUP's topic in Leather Tools
It is for cutting “kilties” on shoes. They go under the laces and extend over the arch and top of the foot. -
A few things that will help with softer leather. Your comment that the leather is bunching in the throat tells me you are pulling the cutter and not the leather. Tension and pull the tag end of the leather through, don't pull the cutter into the leather. Doesn't matter if it is a draw gauge, plough gauge, wooden cutter, or Aussie strander - the cut piece should be tensioned for best results on all but really firm leather. Second thing is to rotate the brass cylinder around to allow just the thickness of the leather to pass. Too much gap and it can ride up and down more with uneven cuts. Final thing is to cut wider than you want on the first pass. Then stretch your lace to straighten it some and go back to cut your final width. One some really floppy or spongy leathers I have applied a layer of masking tape to the back of the original piece to give it some body. Then peel off when you are done cutting.
-
What leather craft has given me in life.
bruce johnson replied to Beehive's topic in All About Us and Off Topic
Beehive, Thank you for that heartfelt post. I have been on this forum since the beginning and your comments bring it home why we are here - community. I have been there brother. I have been in dark spots and leather pulled me through financially and emotionally. I get some of what you are saying and things worked out and changed. I recently bought the estate tools of a saddle maker. He had bought a few tools from me over the years and we would talk then about people we knew in common, what the latest project was, etc. His son sent me some pictures of his dad. One picture was the last day he worked in his shop. I have a blog post on my website about it. I hope he didn't know it was the last time he would work in his shop. When the time comes I hope I don't know either. We just got back from the Prescott Leather Show last weekend. A tool maker and I were talking - we could make the same amount of money staying home, but these are "our people". We feed off the energy and interaction. Rundi and I met several people that are world class leather workers and others you may never hear their name - they are all great to me. I truly wish I had more time at these shows. Some I knew before, I met some "legends" for the first time. I said good-bye to some that I may never see again. I go to the restaurant or hardware store in a town I've lived for over 40 years and might know one or two people. I go to leather shows or Facebook or here and know a lot more. These are my people, this is my tribe, and glad you are all a part of it. -
No sir, I still have too many irons in the fire to learn proper braiding. I am pretty close to retirement from the day job but not sure braiding is in my future when I look at the backlog in my shop here. I am still buying or trading tools for good braid work. Same goes for silverwork. My wife has enough braided bracelets and necklaces to go for a week or more and not wear the same one twice. Silver? She can like go a week there on cuffs and a few weeks on pendants to hang off the braided or Navajo pearl necklaces. She puts up with me and earns every piece she gets.
-
You just missed the Southwest Leather Trade Show in Prescott. Leather Machine Co ("Cobra") was there and wheeled a few machines back into the trailer for home on Sunday. Either they were machines demo'd and used in classes or ones that didn't sell. At the shows there are discounts.
-
A few things can cause that. One is the tension on the leather holding the zipper may be different side to side and that causes the one side to curl a bit when it is open. The other may be the amount of zipper tape that is stitched. Again if the tape is sewn with a wave that can tension or throw excess into the tape when open. Overall, it is probably way more noticeable to you than a customer. Still things to watch for when assembling. I had heck with this same problem when I was doing a lot. Back in the dark ages we used glue and usually two coats on the tape to hold our zippers in place for fitting and sewing. Now my wife takes it up and double sided tape makes it much easier.
-
What do the letter prefixes on Craftool stamps indicate?
bruce johnson replied to AEBL's topic in Floral and Sheridan Carving
The letters came in after 1963. Before that the stamps are called "Pre Letter" by collectors. They used the letters for general stamp categories in the catalogs. Some of them as you say are intuitive - P for pear shaders, etc. Others like bevelers, basket stamp, and borders all start with "B" so they used other letters. To confuse things further, some stamps of a certain number were discontinued over the years and another totally different stamp came in with that number. -
For the Ron's Tools that we stock I sell a fair amount of #5 and #6s to sheath and holster makers for welted work as well as saddle makers. I stock up to #8 - the 7s and 8s mainly go to saddle makers. What I find interesting is the #1 Montana edger. It takes off 1/64" - higher end wallet makers for pocket and falcon hood makers.
-
He should have the #3 size on hand now. I sent in a restock order today that I am picking up next week in Prescott at the show. There are several of the #3 round edgers on that order and he didn't say they were out.
-
Tell him "Hello" and that many people still value his stamping tools. Quality endures. We just stamped off several that we will be taking to the leather show in Prescott in a couple weeks. Thank you also for resurrecting this thread. Reading the names of responders is a list of friends who have a had lot of influence on us over the years, and some continue to!
-
The Tandy and Dream Factory are both based on the design of the Lucris MA 3 clicker made in Australia. I'd look for one of those first if you are set on this design. Solid units with good adjustment for die height. Looks like they still have a US distributor. For about the same money there is Weaver's Mighty Wonder 4 ton. It's a good manual unit too. I had a Lucris for a while several years ago, got a Weaver bench top shop press/clicker plate set up in a deal and sold the Lucris. We both still use that one and it is my wife's choice. I've got a Weaver Mighty Wonder 4 ton I picked up too. I like it but my wife likes the hydraulic better. The benchtop has been refitted with an air over hydraulic jack and runs off a compressor. It is easier for her than pulling a handle and realistically, she is the bigger user. If you are not in a big hurry, the Weaver Mighty Wonder 4 ton will be for sale when I get back from the Southwest Leather Show in AZ (About 3 weeks from now). I'm an hour south of Sacramento.
-
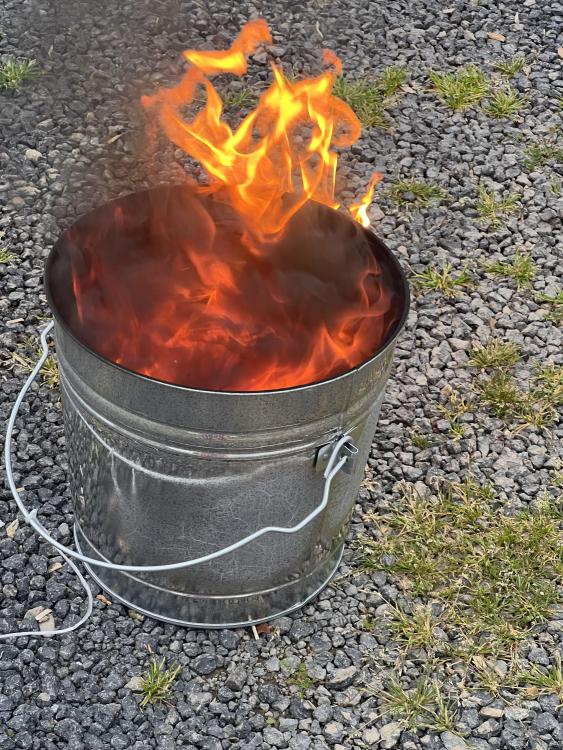
They don’t spontaneously combust if you beat them to the punch. I burn my oily rags every night
-
After Barge changed their formula several years ago a neighbor and I switched to Renia's Colle De Cologne contact cement. We could get it dropped off by a salesperson on his route and bypassed all the shipping requirements. It is a great contact cement. If you think most solvent based cements have an odor, this stuff makes them seem like kid's paste. No matter the time of year, I used it masked up, outside under an overhang, and hope there was about a 10 mile or better breeze. I couldn't even apply it and toss the pieces into the vent box in the shop without my wife smelling it in the house. When my wife started doing leatherwork the Aquilim was just coming out. She had recently retired from 40 years of occupational exposure to xylene, acetone, and toluene. Going with Aquilim was a no brainer for her.
-
Looking good as usual my friend! Come to Sheridan this year dammit.
-
Rundi has used a bunch of it. It really works well. Key to using is like any contact cement - apply a thin layer to both sides. It maybe takes 10 minutes to tack and stick permanently, apply wetter to reposition. I never had a glue machine and she sure hasn't so can't say on that and don't know. You might be able to contact the rep and see if he knows. He's a good guy for technical support and sets up at the major leather shows in the US too. RENIA GMBH OSTMERHEIMER STRASSE 516 COLOGNE NRW, D 51109 info@renia.com renia.com
-
The large eyes were always weak at the eye just by design.the thinner legs around that wider hole just made them the weak link. Once I got instructed on making a decent tapered end then the normal harness needles were fine and easier to get pulled through the awl stab too. The old joke was that you lost more needles than you broke. That’s one reason I sell John James needles and also carry needle cases. LOL.
