-
Posts
2,372 -
Joined
-
Last visited
Content Type
Profiles
Forums
Events
Blogs
Gallery
Store
Everything posted by immiketoo
-
Welcome, Sim! I'll be at a nice leather craft show in Arnhem in October. If you have time, you should come check it out, maybe take a class or two. Its a great boost for a new leather worker! The show is ELWATS. http://leathercraftersjournal.com/store/productlist.cfm?category=84
-
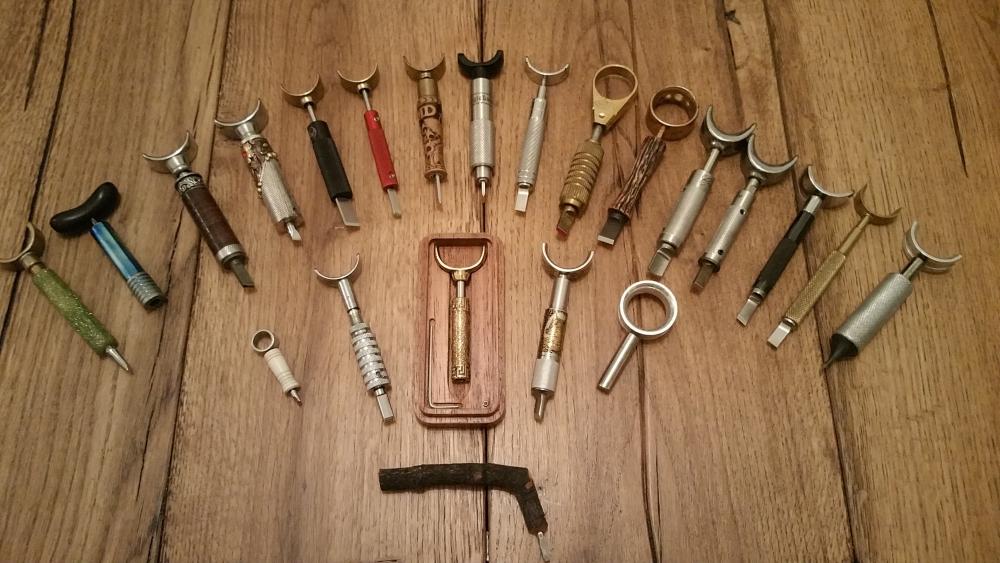
The circle is an additional yoke for one of the knives, the tiny one is a pendant, although its functional and the bottom one was a joke from some friends of mine. You are correct. If you don't know how, best to spend on a finished blade, but if you do, you can make these (Or nearly any blade) work just fine.
-
I would never use paint AND antique. In fact, I rarely use antique at all. However, if you do use antique on paint, you'd be better off with using Fiebing's past antique after a good acrylic resist.
-
Good lord! You're not sand blasting I use 20 PSI max. Low pressure, high volume helps with saturation. Low and slow and build up to the color you like.
-
-
The biggest issue with swivel knives is a crappy blade. If its not a mirror polish, it will be sticky and choppy as you describe. I like a lot of different knives. One of the best blades on the market is made by Leather Wranglers. Their steel is the most resistant to the crud that builds up on the blade as you carve. My personal favorite is the Peter Main low angle blade. It suits my style of carving. Barry King also makes a great blade. If you're on a budget, take a look at Rickert Werkzeuge. They have a very reasonably priced knife thats really good. The blades need a little work, but they aren't bad once you polish them.
-

How to hold this machette in place?
immiketoo replied to Mocivnik's topic in Gun Holsters, Rifle Slings and Knife Sheathes
I would use some leather thonging to hold it in place, Use friction fit holes to keep it tight. -
I use neatsfoot oil to help set the dye after airbrushing. It helps the pigment set deeper into the leather and makes those nasty rub offs go away. I also oil between coats if I'm doing a fade.
-
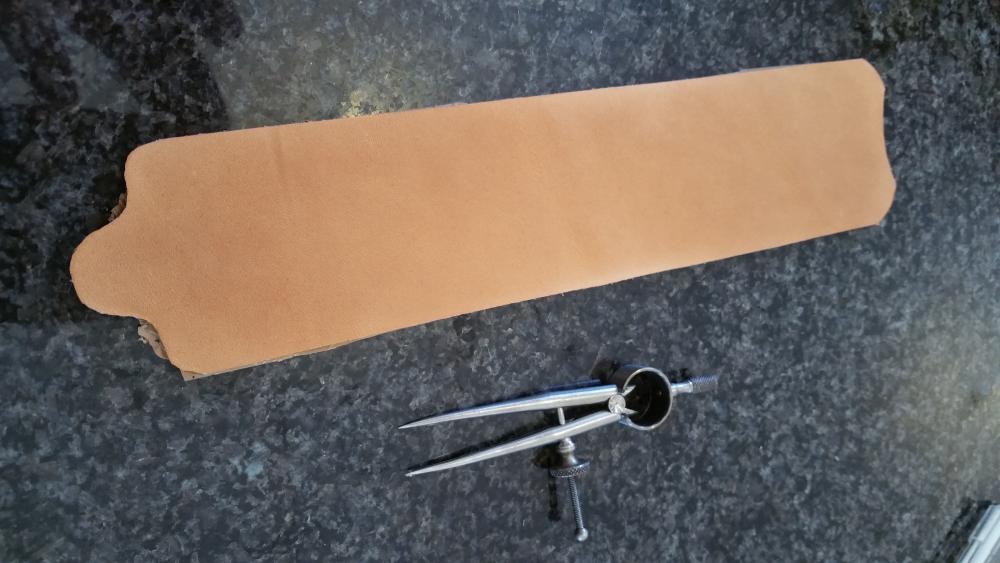
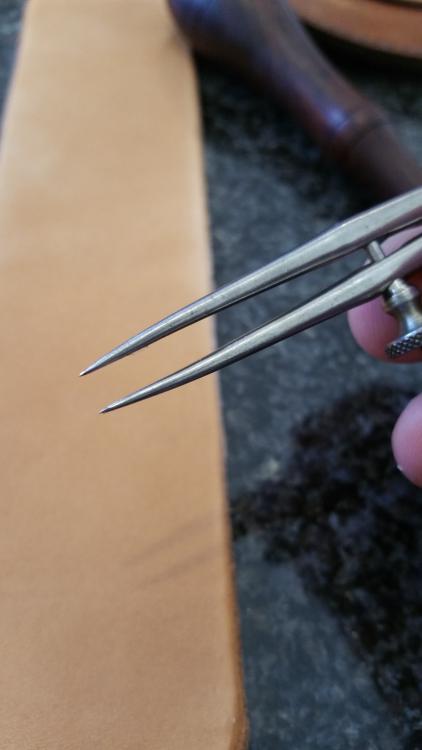
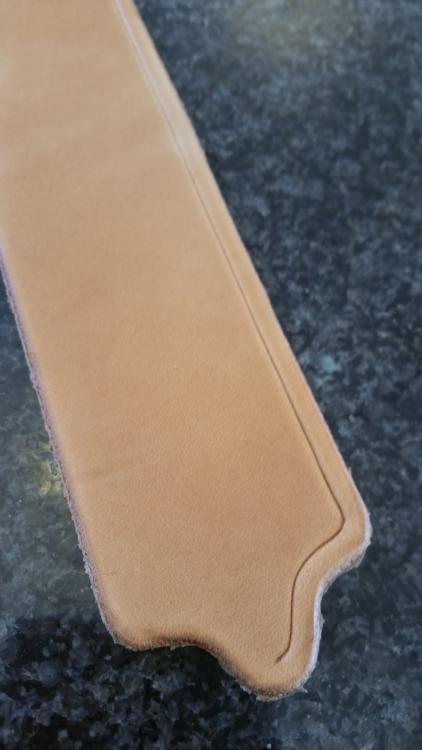
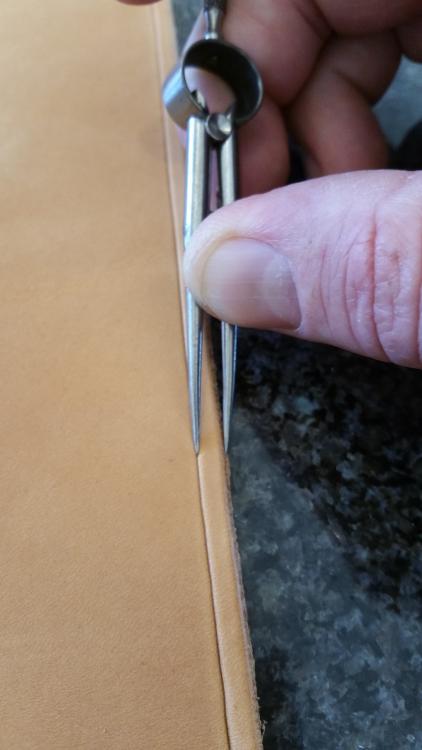
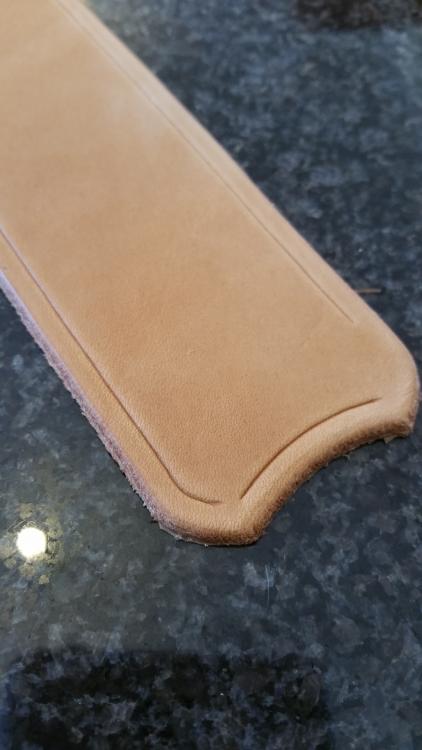
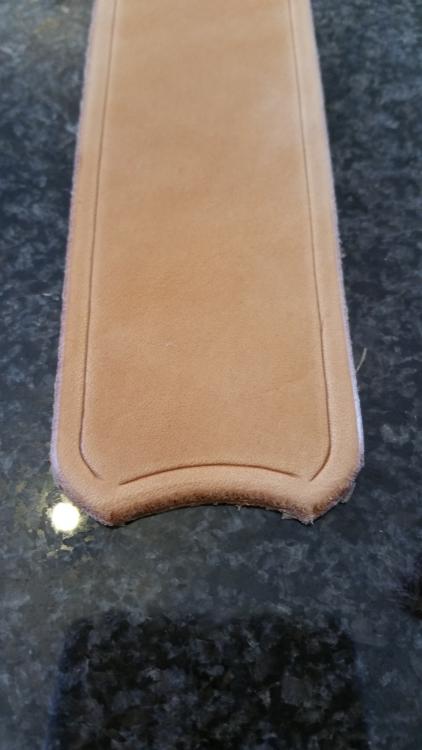
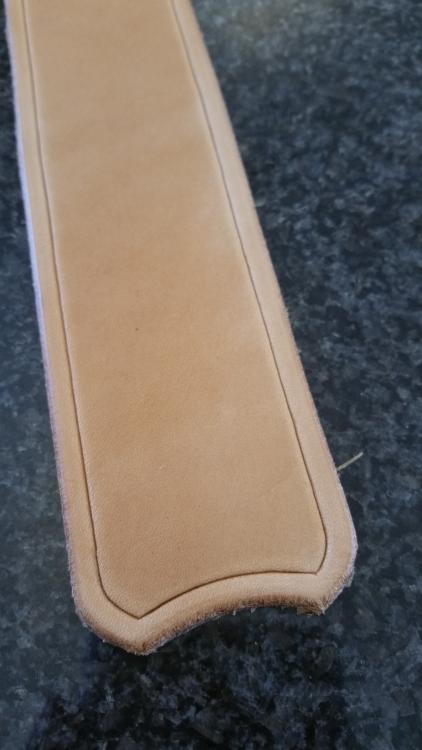
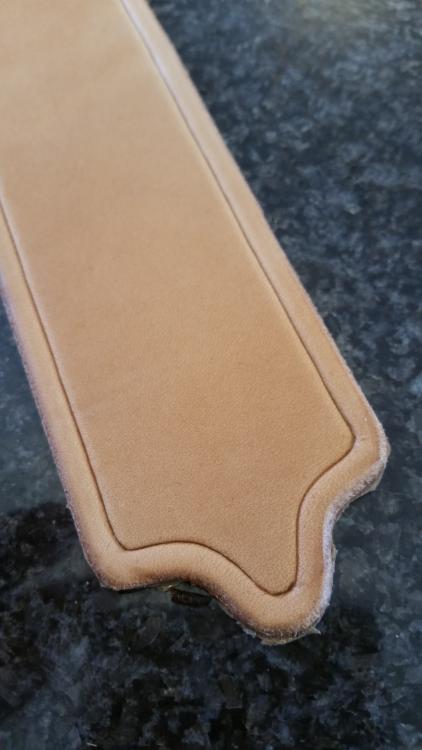
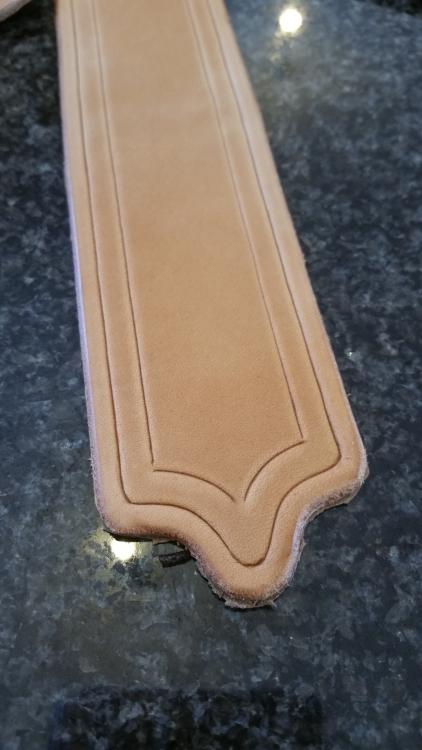
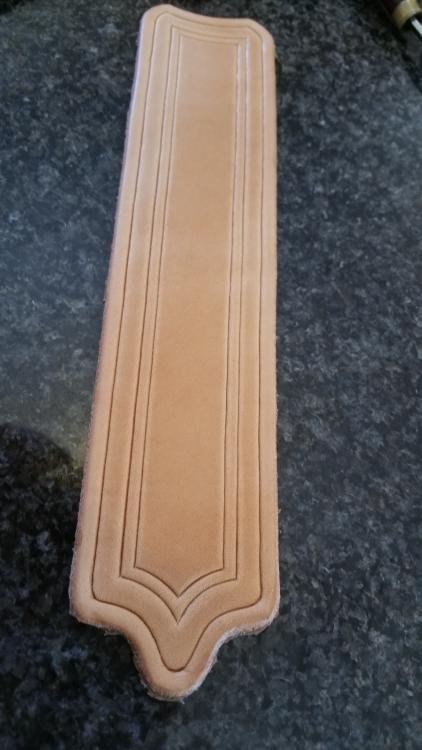
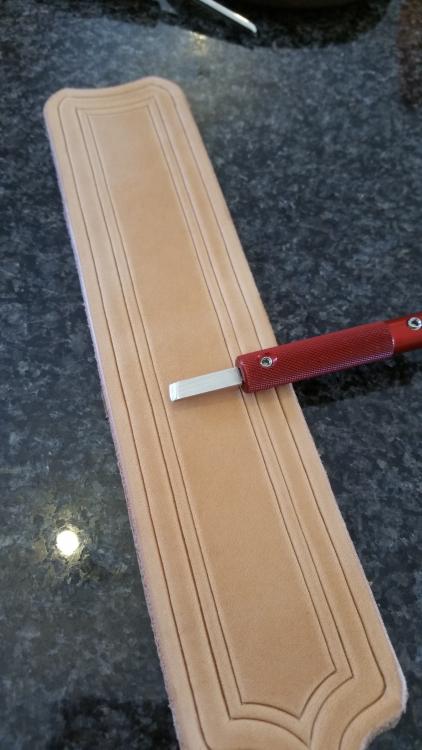
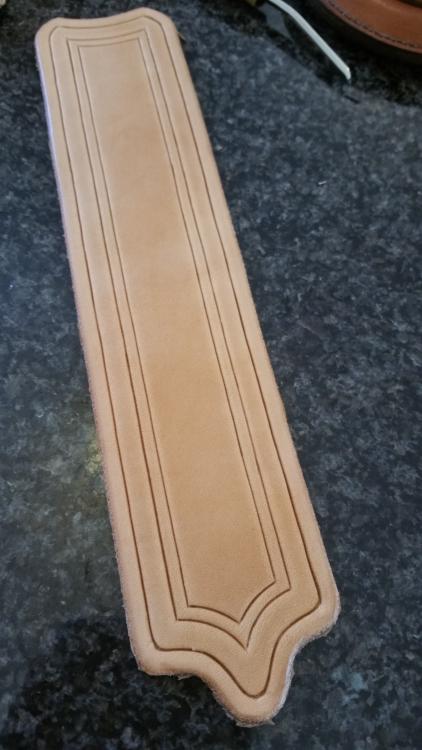
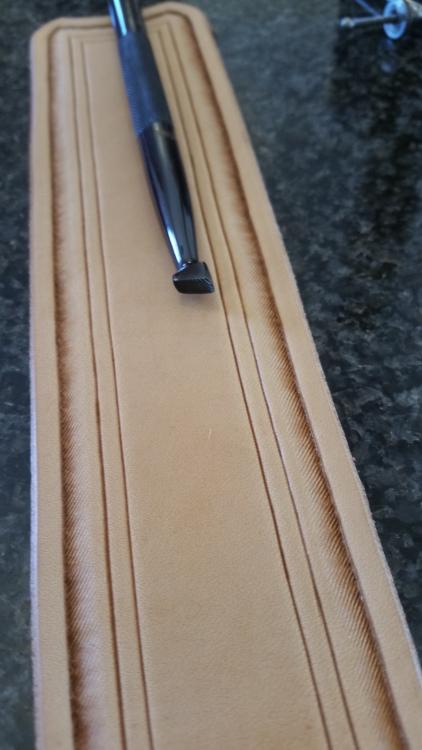
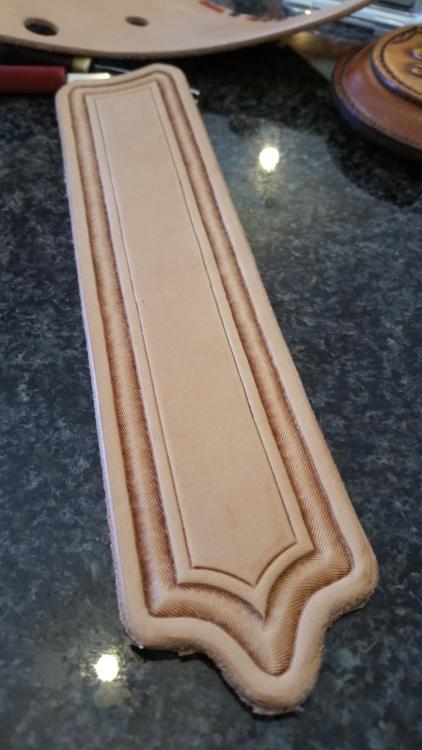
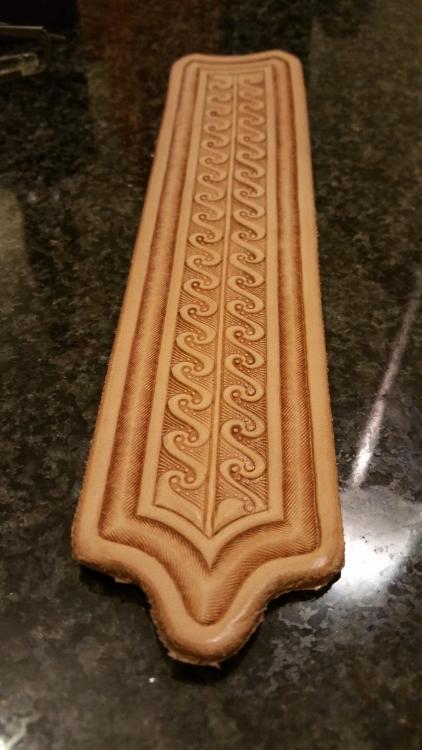
I use a wing divider to mark my double border lines. Its FAR easier to control your lines and you can go around complex corners. Next, I will decide how much detail I want in the border and cut and carve if warranted. You can use them as scored lines as well if you want a simpler look. Once you cut your shape, bevel the edge, moisten your leather and do all the straight lines first, leaving the corners until last. Connect your corners and then lightly cut with a swivel knife. Bevel and tool as desired. If you want a video of this process, I'm happy to make one for you.
-
Both Rickert Werkzeuge and Der Ledermacher in Germany carry fiebings and a wide variety of other products. Both have comprehensive websites as well. Check them out. I order from Greece all the time.
-
I actually agree with this 100% I rarely use a groover anymore, but when I do, its nice to have one that works.
-
Crimson looks like a near exact copy of Douglas. I have the Douglas, and several others. It's by FAR the easiest to use and get consistent lines. Buy the different sized tips, or just get the small one. There;s not a lot of call for stitching with rope Best money I've spent on a groover, and I have a Danny Marlin as well.
-

So I made a thing. For another thing.
immiketoo replied to immiketoo's topic in Gun Holsters, Rifle Slings and Knife Sheathes
Thanks everyone! -

So I made a thing. For another thing.
immiketoo replied to immiketoo's topic in Gun Holsters, Rifle Slings and Knife Sheathes
Thank you, but why sigh? -

So I made a thing. For another thing.
immiketoo replied to immiketoo's topic in Gun Holsters, Rifle Slings and Knife Sheathes
I can't do it... Must make statement! Thank you! I see you're in Amsterdam. Will you go to the ELWATS show in October? -

So I made a thing. For another thing.
immiketoo replied to immiketoo's topic in Gun Holsters, Rifle Slings and Knife Sheathes
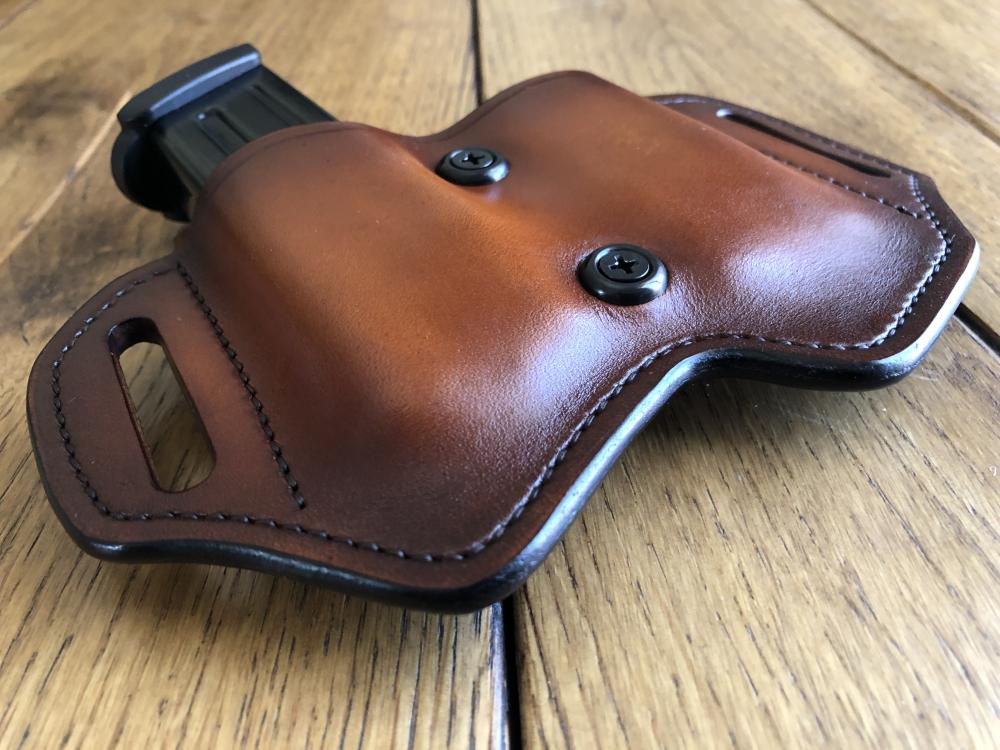
Thanks, Tom! I should probably know that! Thank you, wish I could show you, but I don't have it. HK P30L Have to have good edges. They'll be better today. Thanks Fred! I ordered from a company in CA since Greece doesn't have a lot of this stuff on the island. Thanks, Jack! Wish I had a regular hardware store here! -

So I made a thing. For another thing.
immiketoo replied to immiketoo's topic in Gun Holsters, Rifle Slings and Knife Sheathes
They are a washer and a chamfered screw. No idea what the technical name is for them, sorry. Thank you. Funny you mention that, there is a video on my website, www.learnleather.com, but I'll tell you the secret. Cut the final shape with a sharp knife as opposed to trying to line up the pieces. Nothing is smoother than a freshly cut edge. Then bevel with slightly moist leather. After that, its just dye, burnish wax and sand. Repeat as necessary.. -

So I made a thing. For another thing.
immiketoo replied to immiketoo's topic in Gun Holsters, Rifle Slings and Knife Sheathes
Thanks double D! -

So I made a thing. For another thing.
immiketoo replied to immiketoo's topic in Gun Holsters, Rifle Slings and Knife Sheathes
Edges still need work, but I wanted to catch the light for a pic. They'll be smoother when I'm done. Thank you. I dye after I stitch in most cases so if there are any areas that need touch up they get attention during the dye process. If I do happen to stitch after color, I poke tiny holes, so the stitching takes up the opening. If I have to touch up afterward, I do it with a small paint brush. -

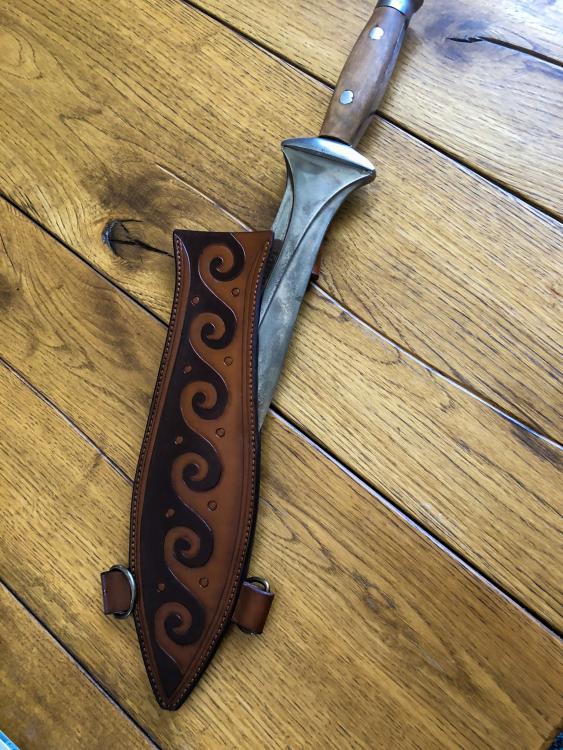
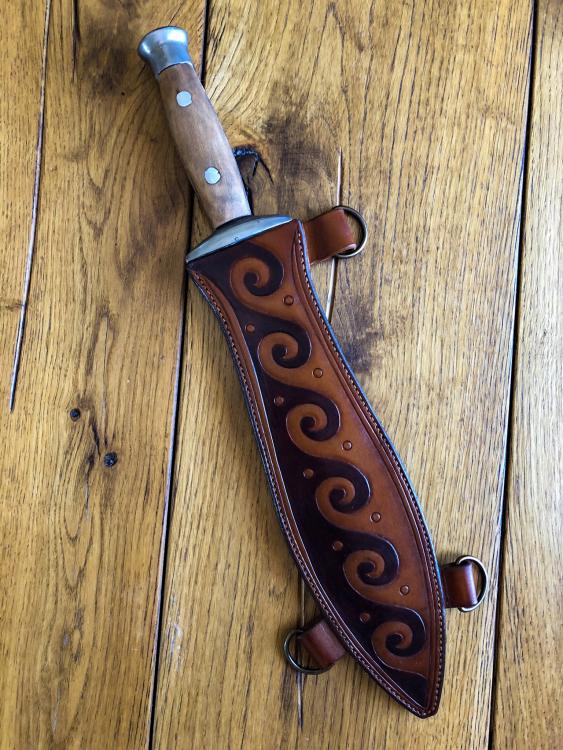
Spartan short sword sheath.
immiketoo replied to immiketoo's topic in Gun Holsters, Rifle Slings and Knife Sheathes
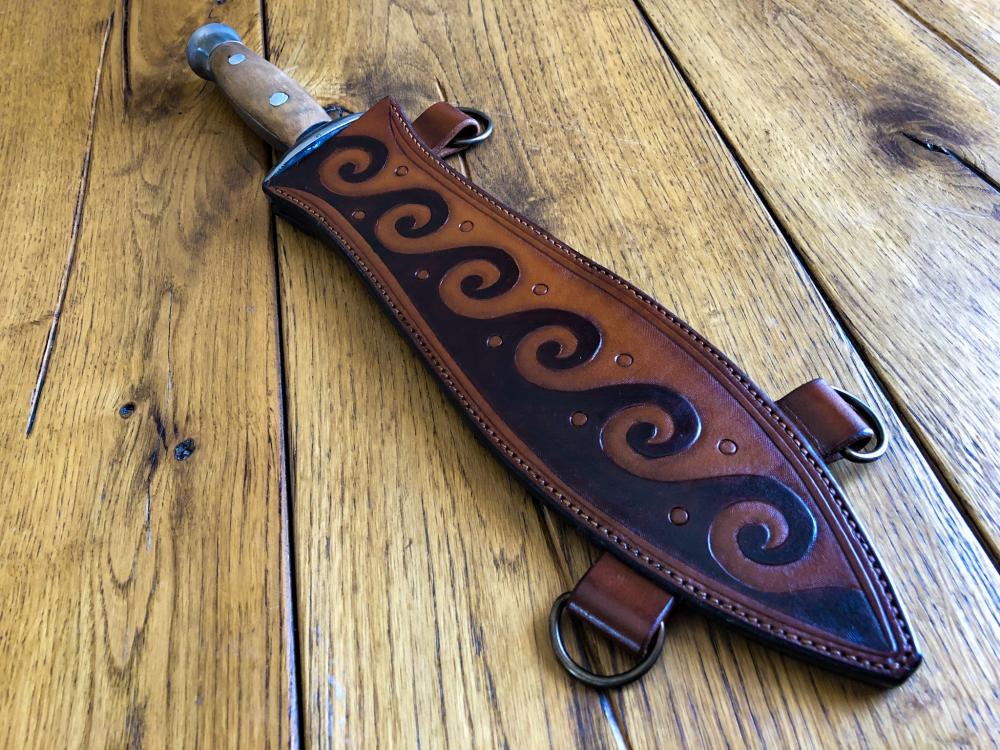
Middle pic shows the blade halfway out of the sheath. The design is based off of artwork found on pottery from ancient Greece, but there is some debate on the materials that would have been used. I had a little creative freedom in the process. -

Custom Coffee Tote
immiketoo replied to immiketoo's topic in Purses, Wallets, Belts and Miscellaneous Pocket Items
The dye technique is something I learned from Freddie Matara in this class, “Hand applied sunburst fade.” This is was my first attempt at it, and it’s not nearly as good as his, but the overall affect is pleasing. The circle is part of the filler tool. It’s a bit tricky to line up and it really shows if you miss hit the stamp, but looks awesome when you get it right.


