immiketoo
-
Posts
2,372 -
Joined
-
Last visited
Content Type
Profiles
Forums
Events
Blogs
Gallery
Everything posted by immiketoo
-

Work in progress
immiketoo replied to immiketoo's topic in Purses, Wallets, Belts and Miscellaneous Pocket Items
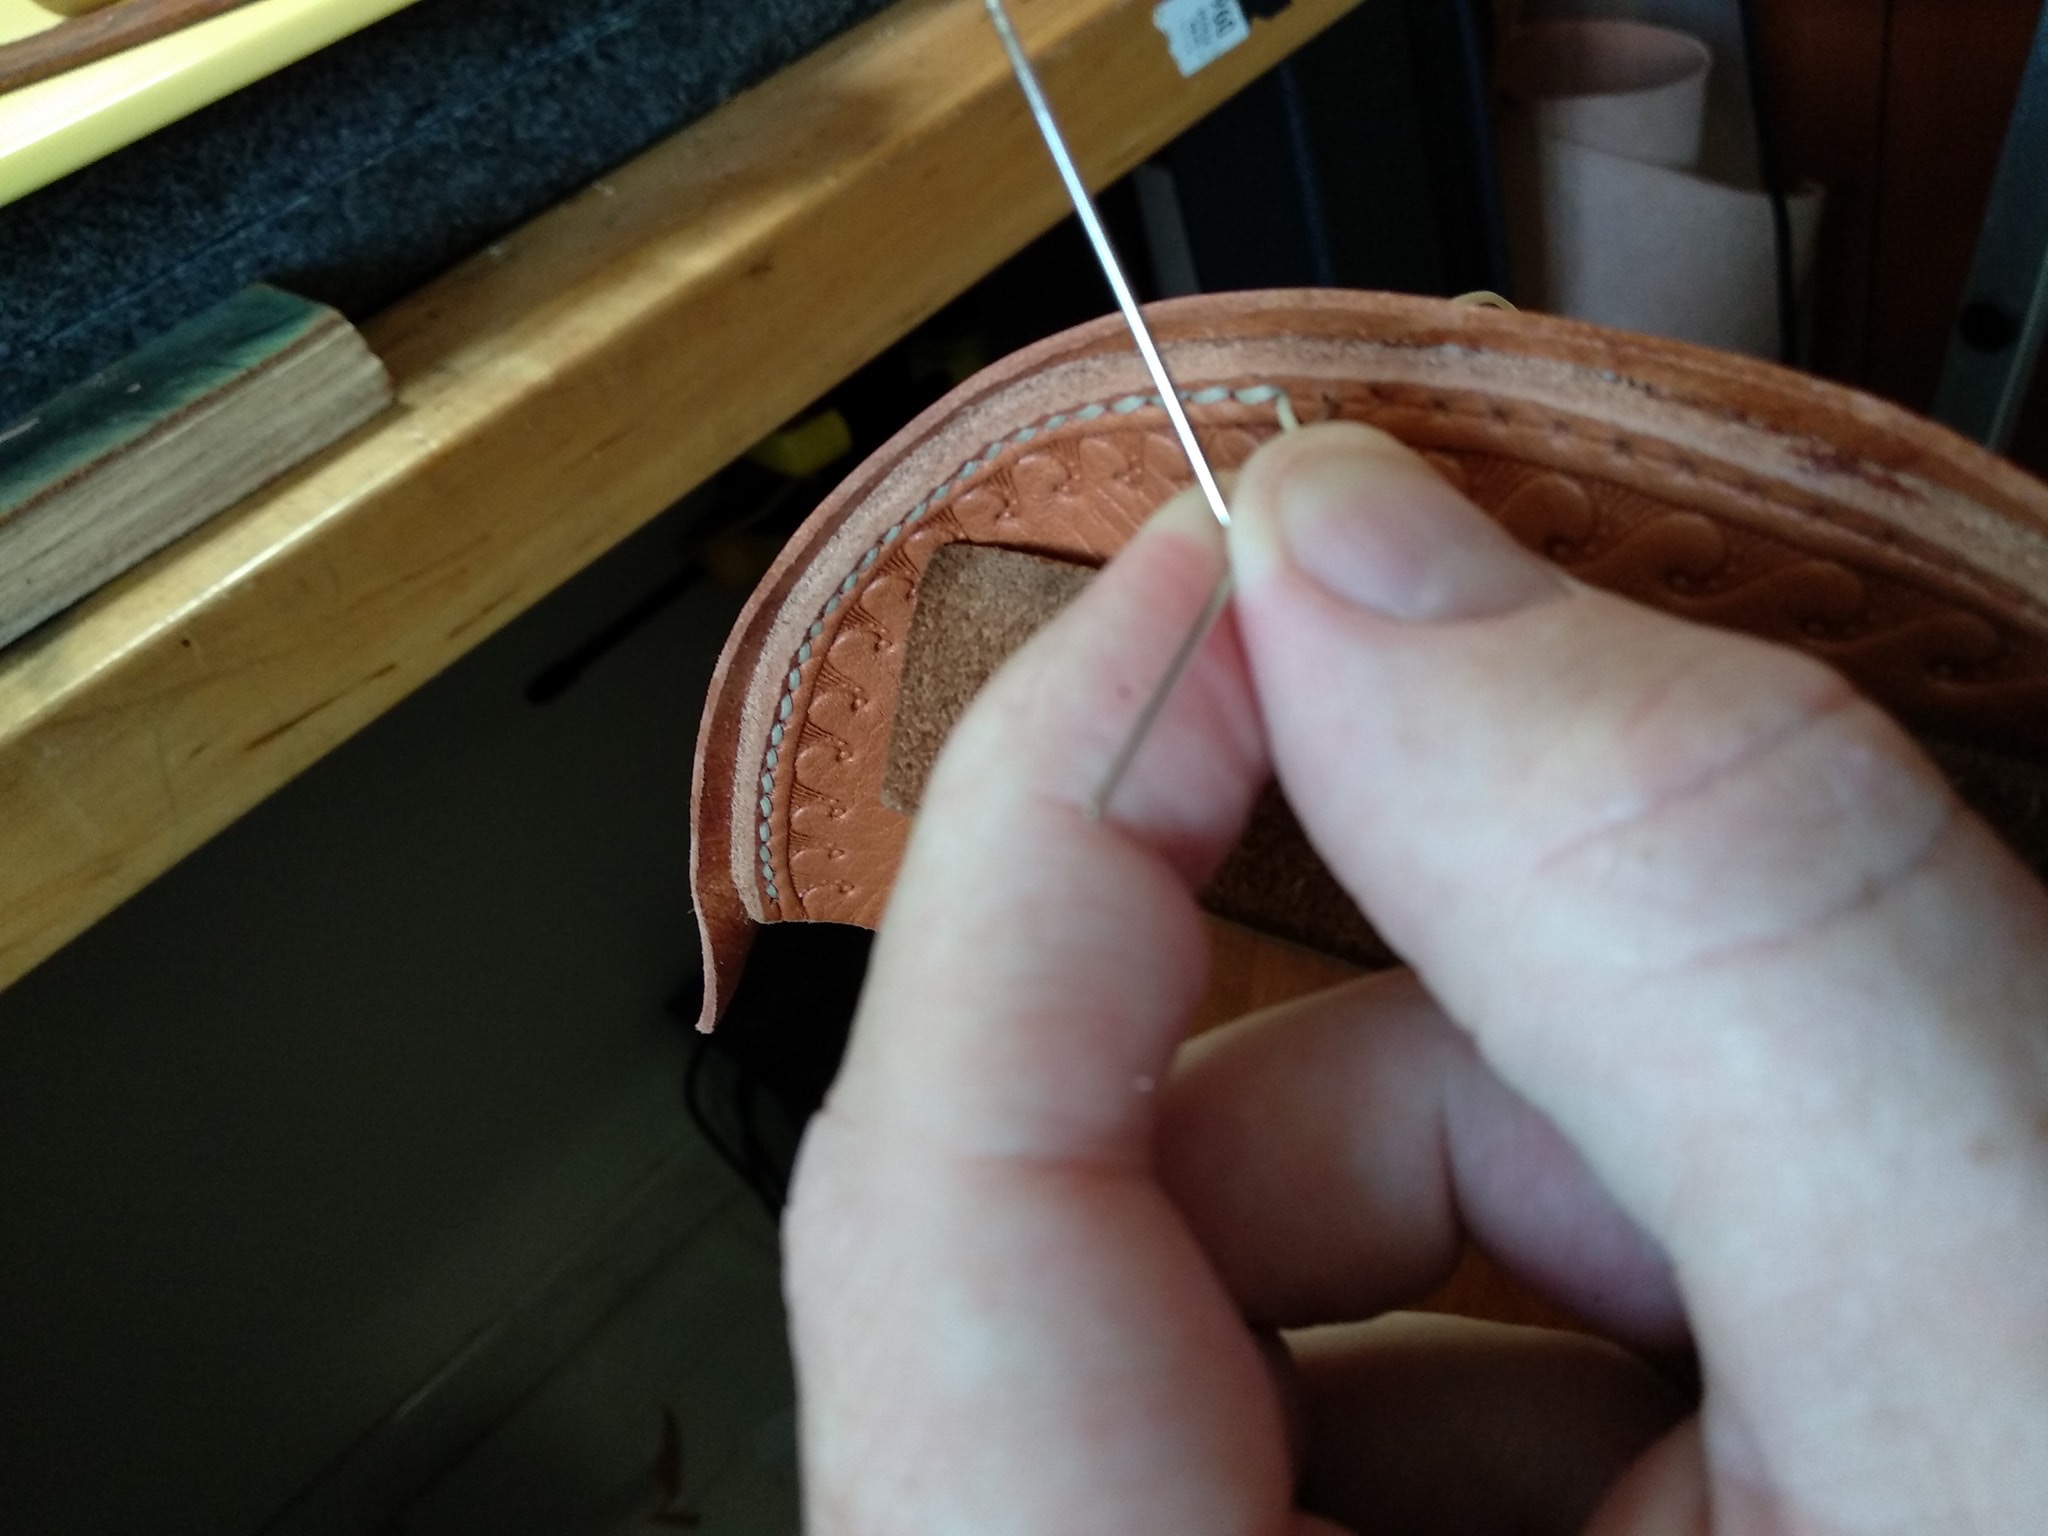
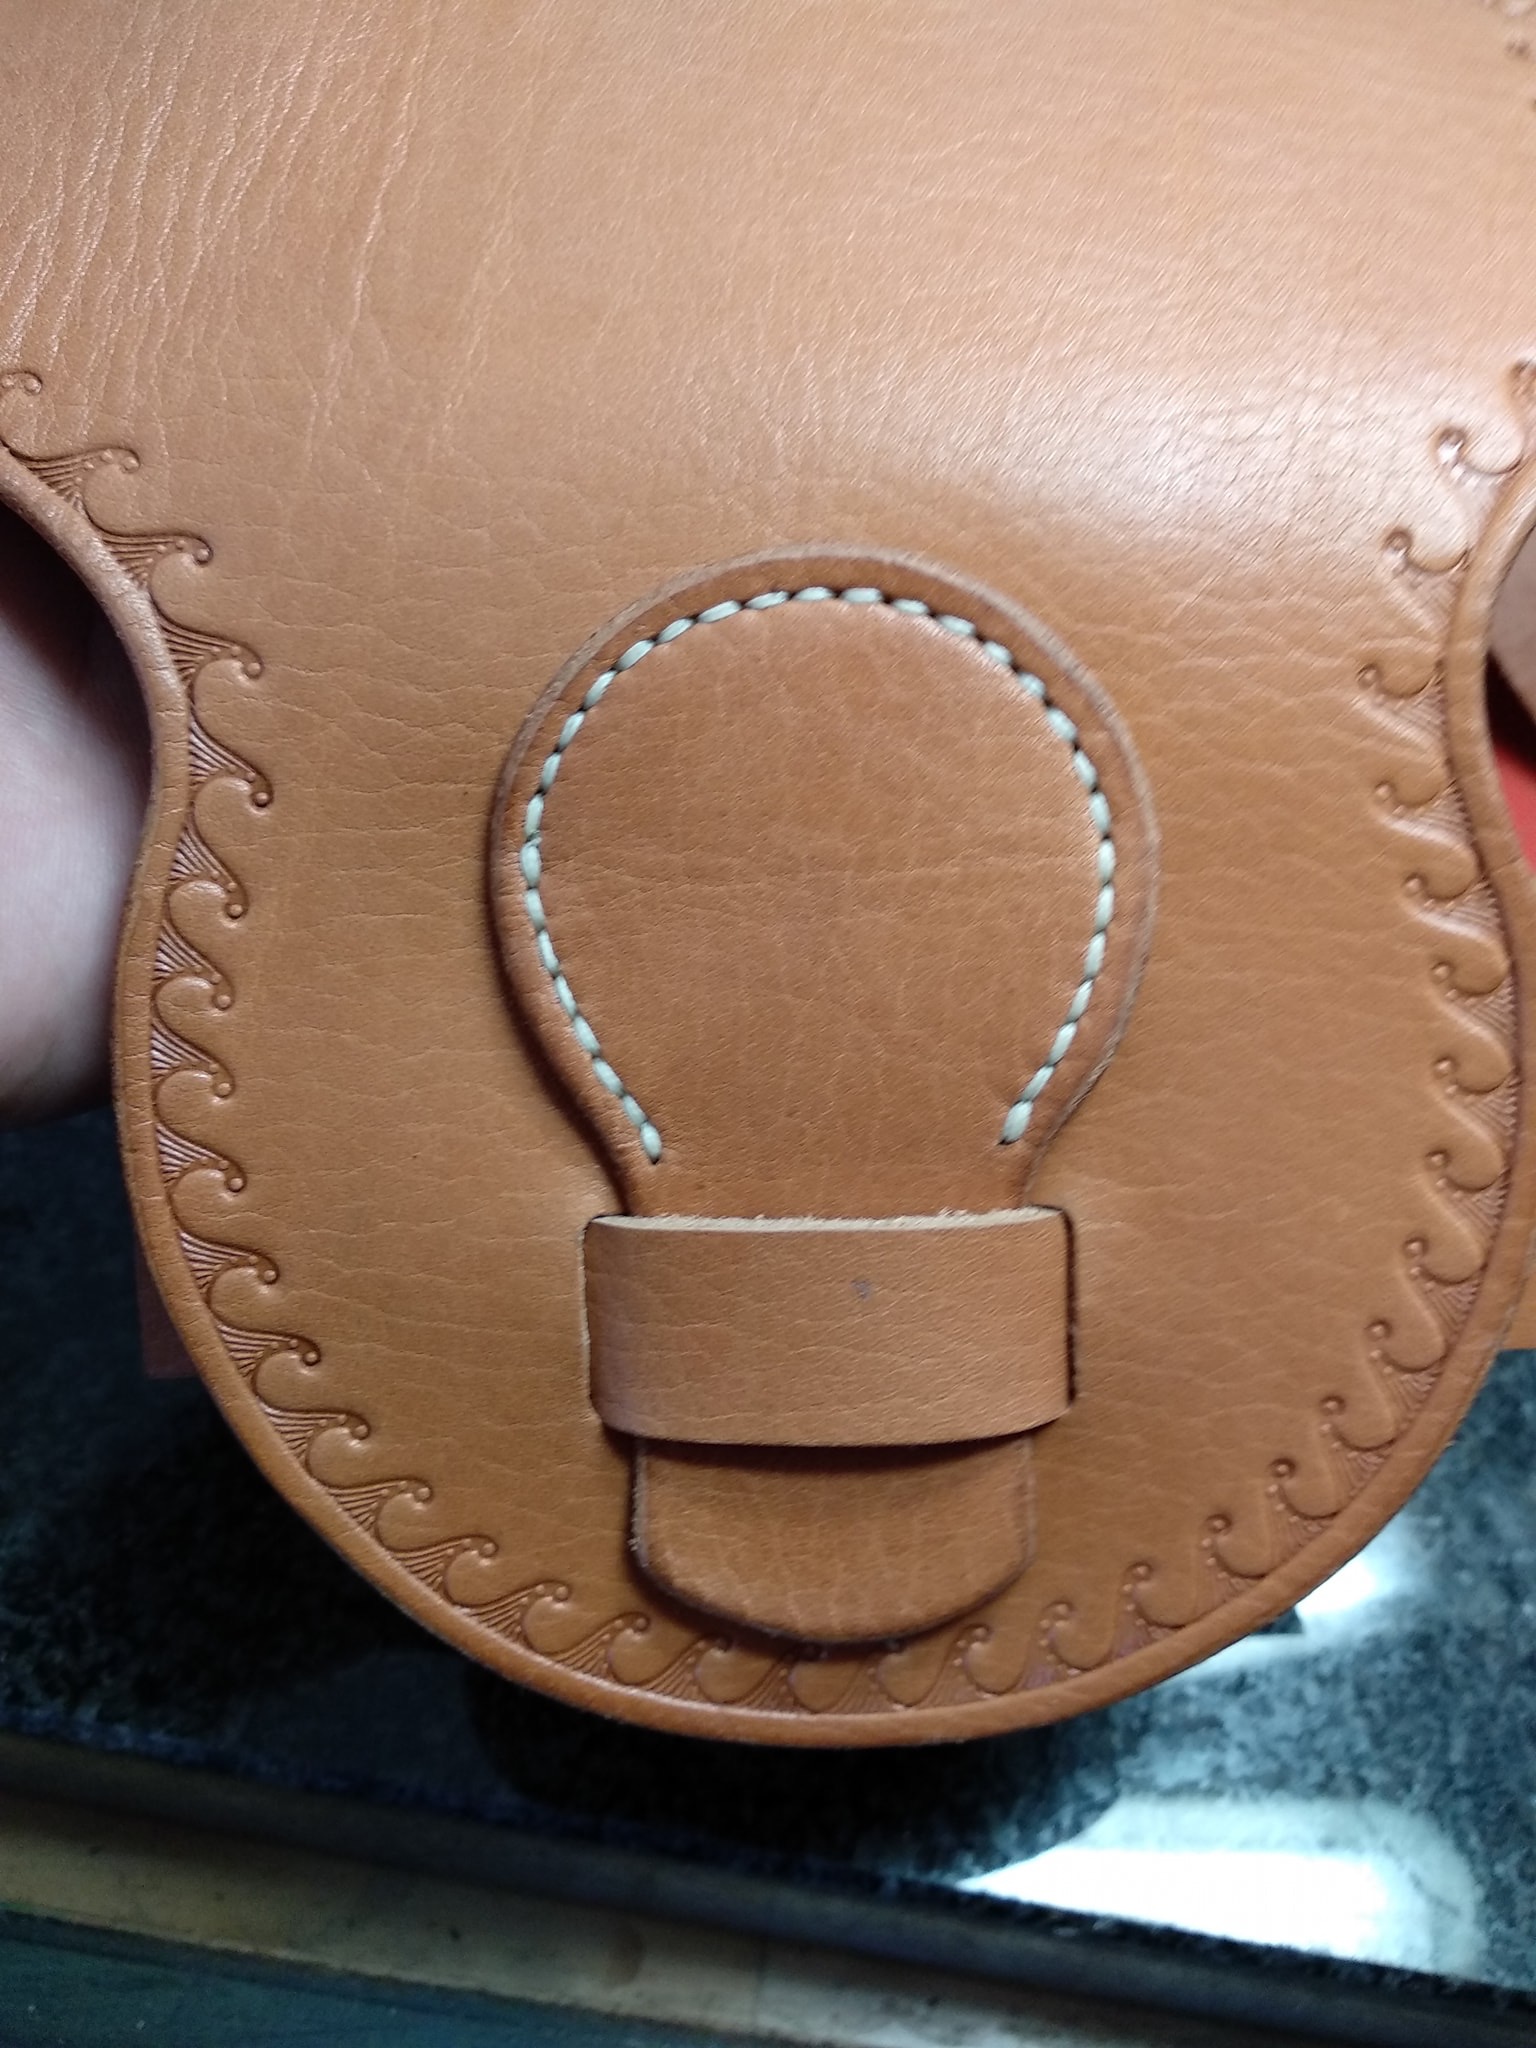
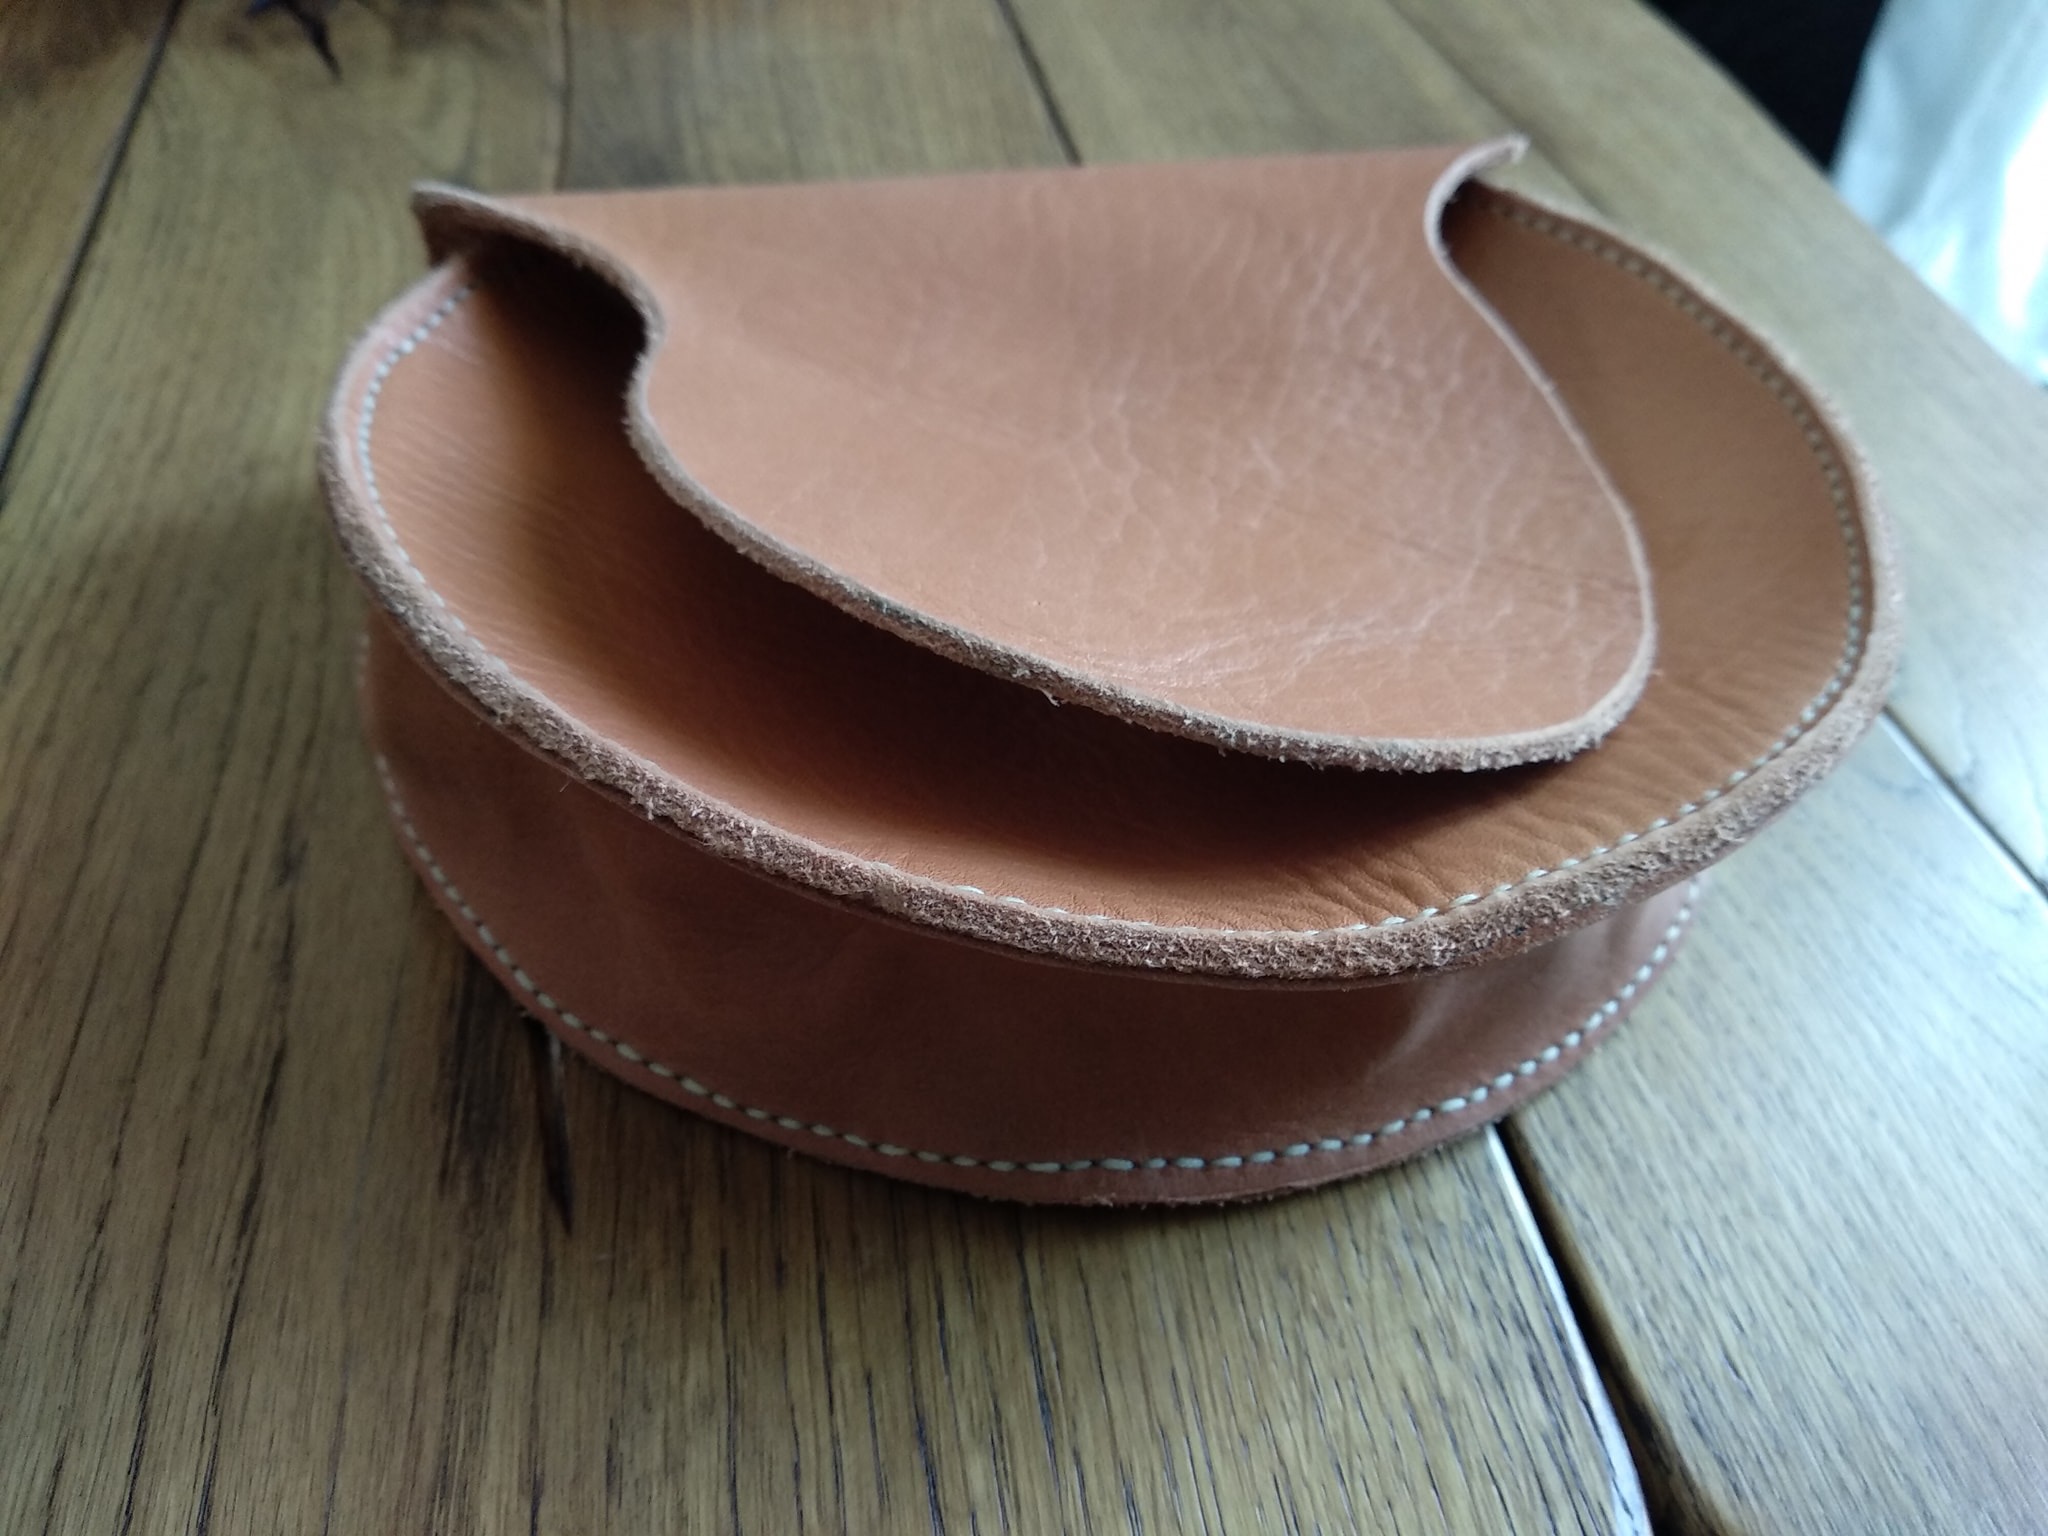
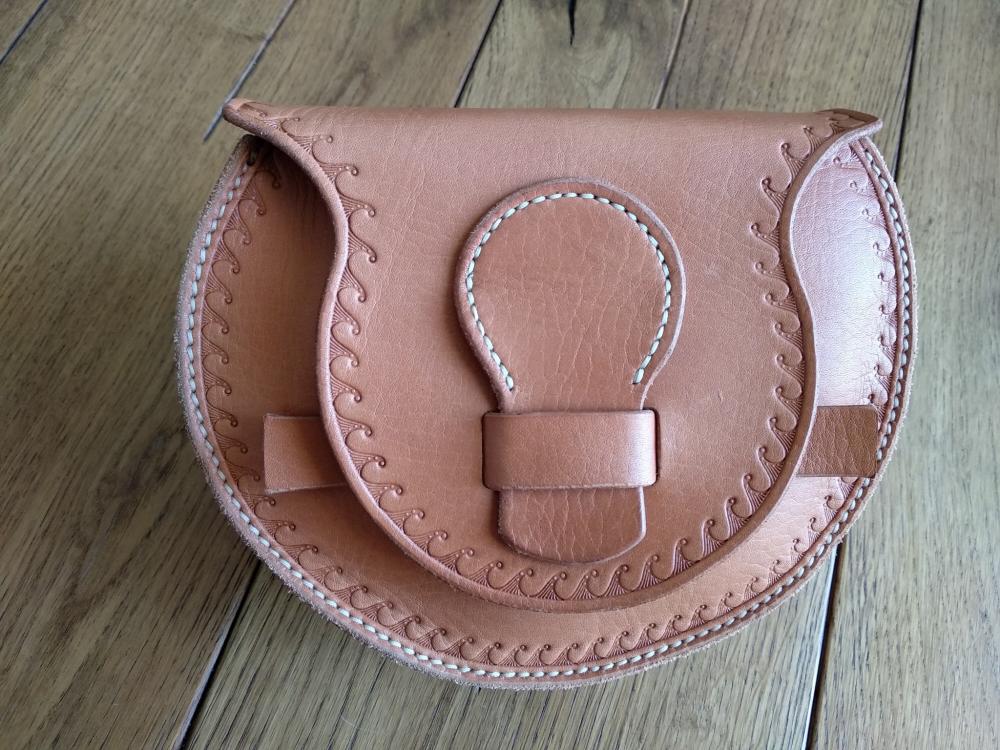
Gary, thanks! Its a wave stamp from Bob Beard. -
Oh you're a photoshop guru! Nice!
-
I am referring to transfers that are more than just line art, but out of curiosity, how do you adjust line thickness on images? Are you creating your own files?
-
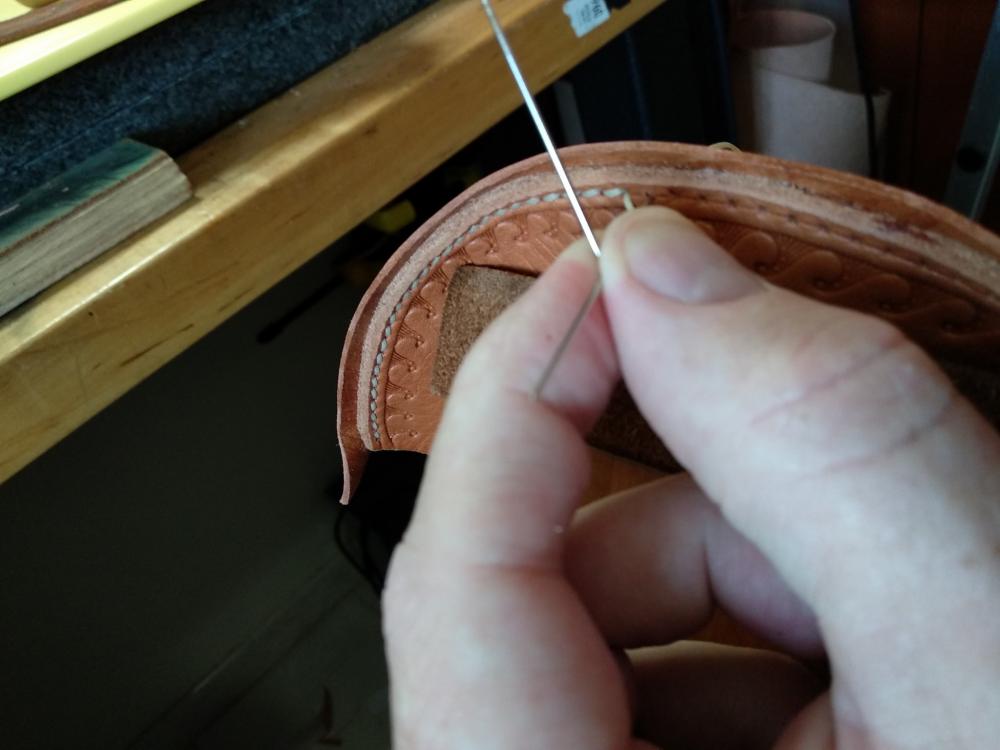
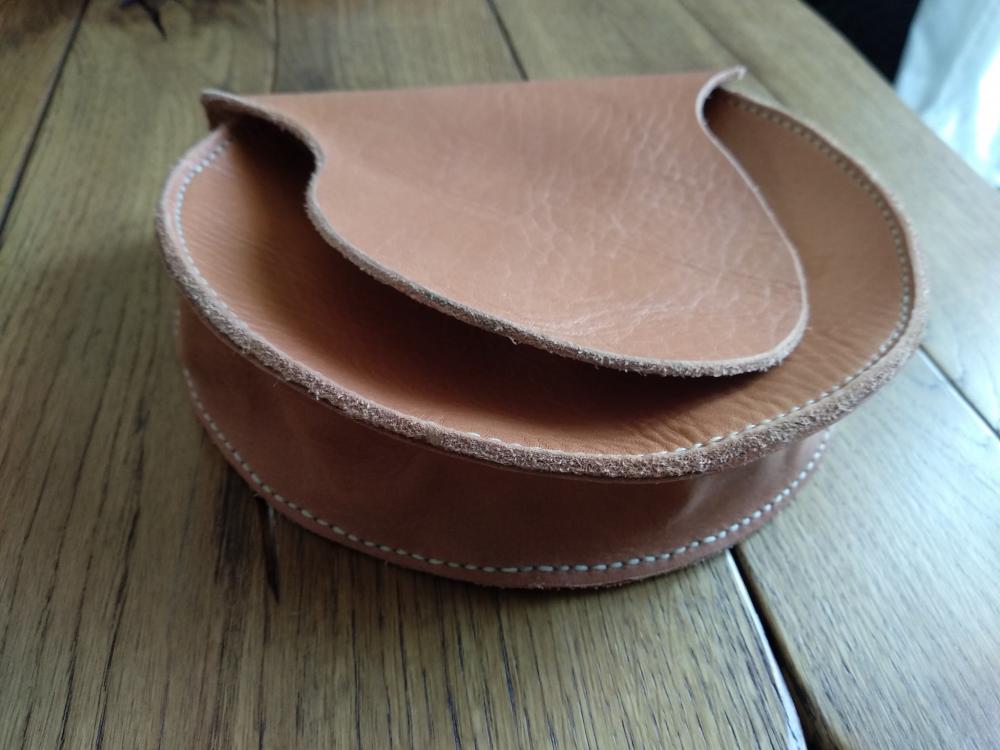
Another bag for our historical society clients. The only rule is no metal and no colors that didn't exist back then. There were actually a wide variety of pigments available, but you can't go wrong with plain. There is a lot of leeway and artistic license in a product "that could have been used," in ancient times. So we looked at shapes depicted on pottery to come up with this design.

-
Good tip. We do that too, but for this piece, its good to demo the benefits and pitfalls of tracing. Plus, if you aren't adding color to your piece, the transfer method doesn't work.
-
Me too. They were made for me by justkate
-
No.
-
Sooooo fluffy!!!!
-
Pretty sure you can download those from Tandy as well.
-
Thank you!
-
Terry, The surest way to resist are the products you listed. I just don't like the look of them. Ive been using Bee Natural for about 5 years now and I've NEVER had it bleed through. I want to try some of their other products as well.
-
Never heard of them. Maybe I'll take a look too.
-
Best thing you can do is buy these books. The Art of Making Cases Vol. 1-3 and the Art of Hand Stitching, all from Tandy and All by Al Stohlman. They are comprehensive and will feel you all you need to know about making boxes. I refer to mine all the time.
-
We order from Die Ledermacher or Rickert. Shipping to Greece sucks, but if you want it, you have to pay. DHL standard isn't horrible. https://www.rickert-werkzeug.de http://www.ledermacher.de
-
Yes, but GEL is GEL! Hence my confusion. The Fibbing's didn't come in until later
-
This is a topic that comes up often. Most makers don't charge nearly enough for the their work, and this is a source of much contention from folks at the top of the game. They feel that craft level prices devalue pro level work. There's some truth in that as we are a digital world and it's easy to compare one source to another. However, you have to be honest with yourself because if the skill isnt there charging top dollar is inappropriate and self defeating. When I started, I could see good work even though I couldn't do it, and I charged for materials and a little bit for my time. As my skill, and ddemand for my products has increased, so have my prices. Just make sure you enever take a loss and you'll be fine.
-
Ah HA! It's in the title. Antique gel. Not the same as gel antique I guess. I knew I wasn't crazy!
-
My mistake. I could ha sworn I read gel antique. That stuff penetrates most finishes unless you apply so many coats that it looks shiny and plasticky. I've never had a problem with RTC and past antique.
-
Your best option is to switch to Fiebing's paste antique. I never combine a water based resist with a water based antique. My go to combo is Bee Natural RTC and Paste antique. It never penetrates the resist and you only have to wait 10-15 minutes. None of this 24 hours BS.
-
Lol...sure!
-
Good advice. If you can't skive, and you want to avoid the caved in appearance, you can always add a filler between the ends of your rolled edges so that your piece has a consistent thickness. We use craft foam in the middle of ours to give a little padding. The dog doesn't care, but the owner does.
-
Your glue should work, but I would definitely test it on scrap first. Follow the instructions to the letter and see if it works. Chances are, it will.
-
Rob, you don't owe me anything, but I'm always down for a beer with a leatherworker. I get that life gets in the way, so no worries. If you need any help, just let me know
-
Have you considered going to the ELWATS show in Arnhem in October? I'll be teaching a class there. Otherwise, I LOVE to travel!
-
Welcome.