immiketoo
-
Posts
2,372 -
Joined
-
Last visited
Content Type
Profiles
Forums
Events
Blogs
Gallery
Everything posted by immiketoo
-
 I wouldn't use a sponge to add more moisture once you've started carving, as it tends to go too deep and spread the swivel knife cuts.
 -
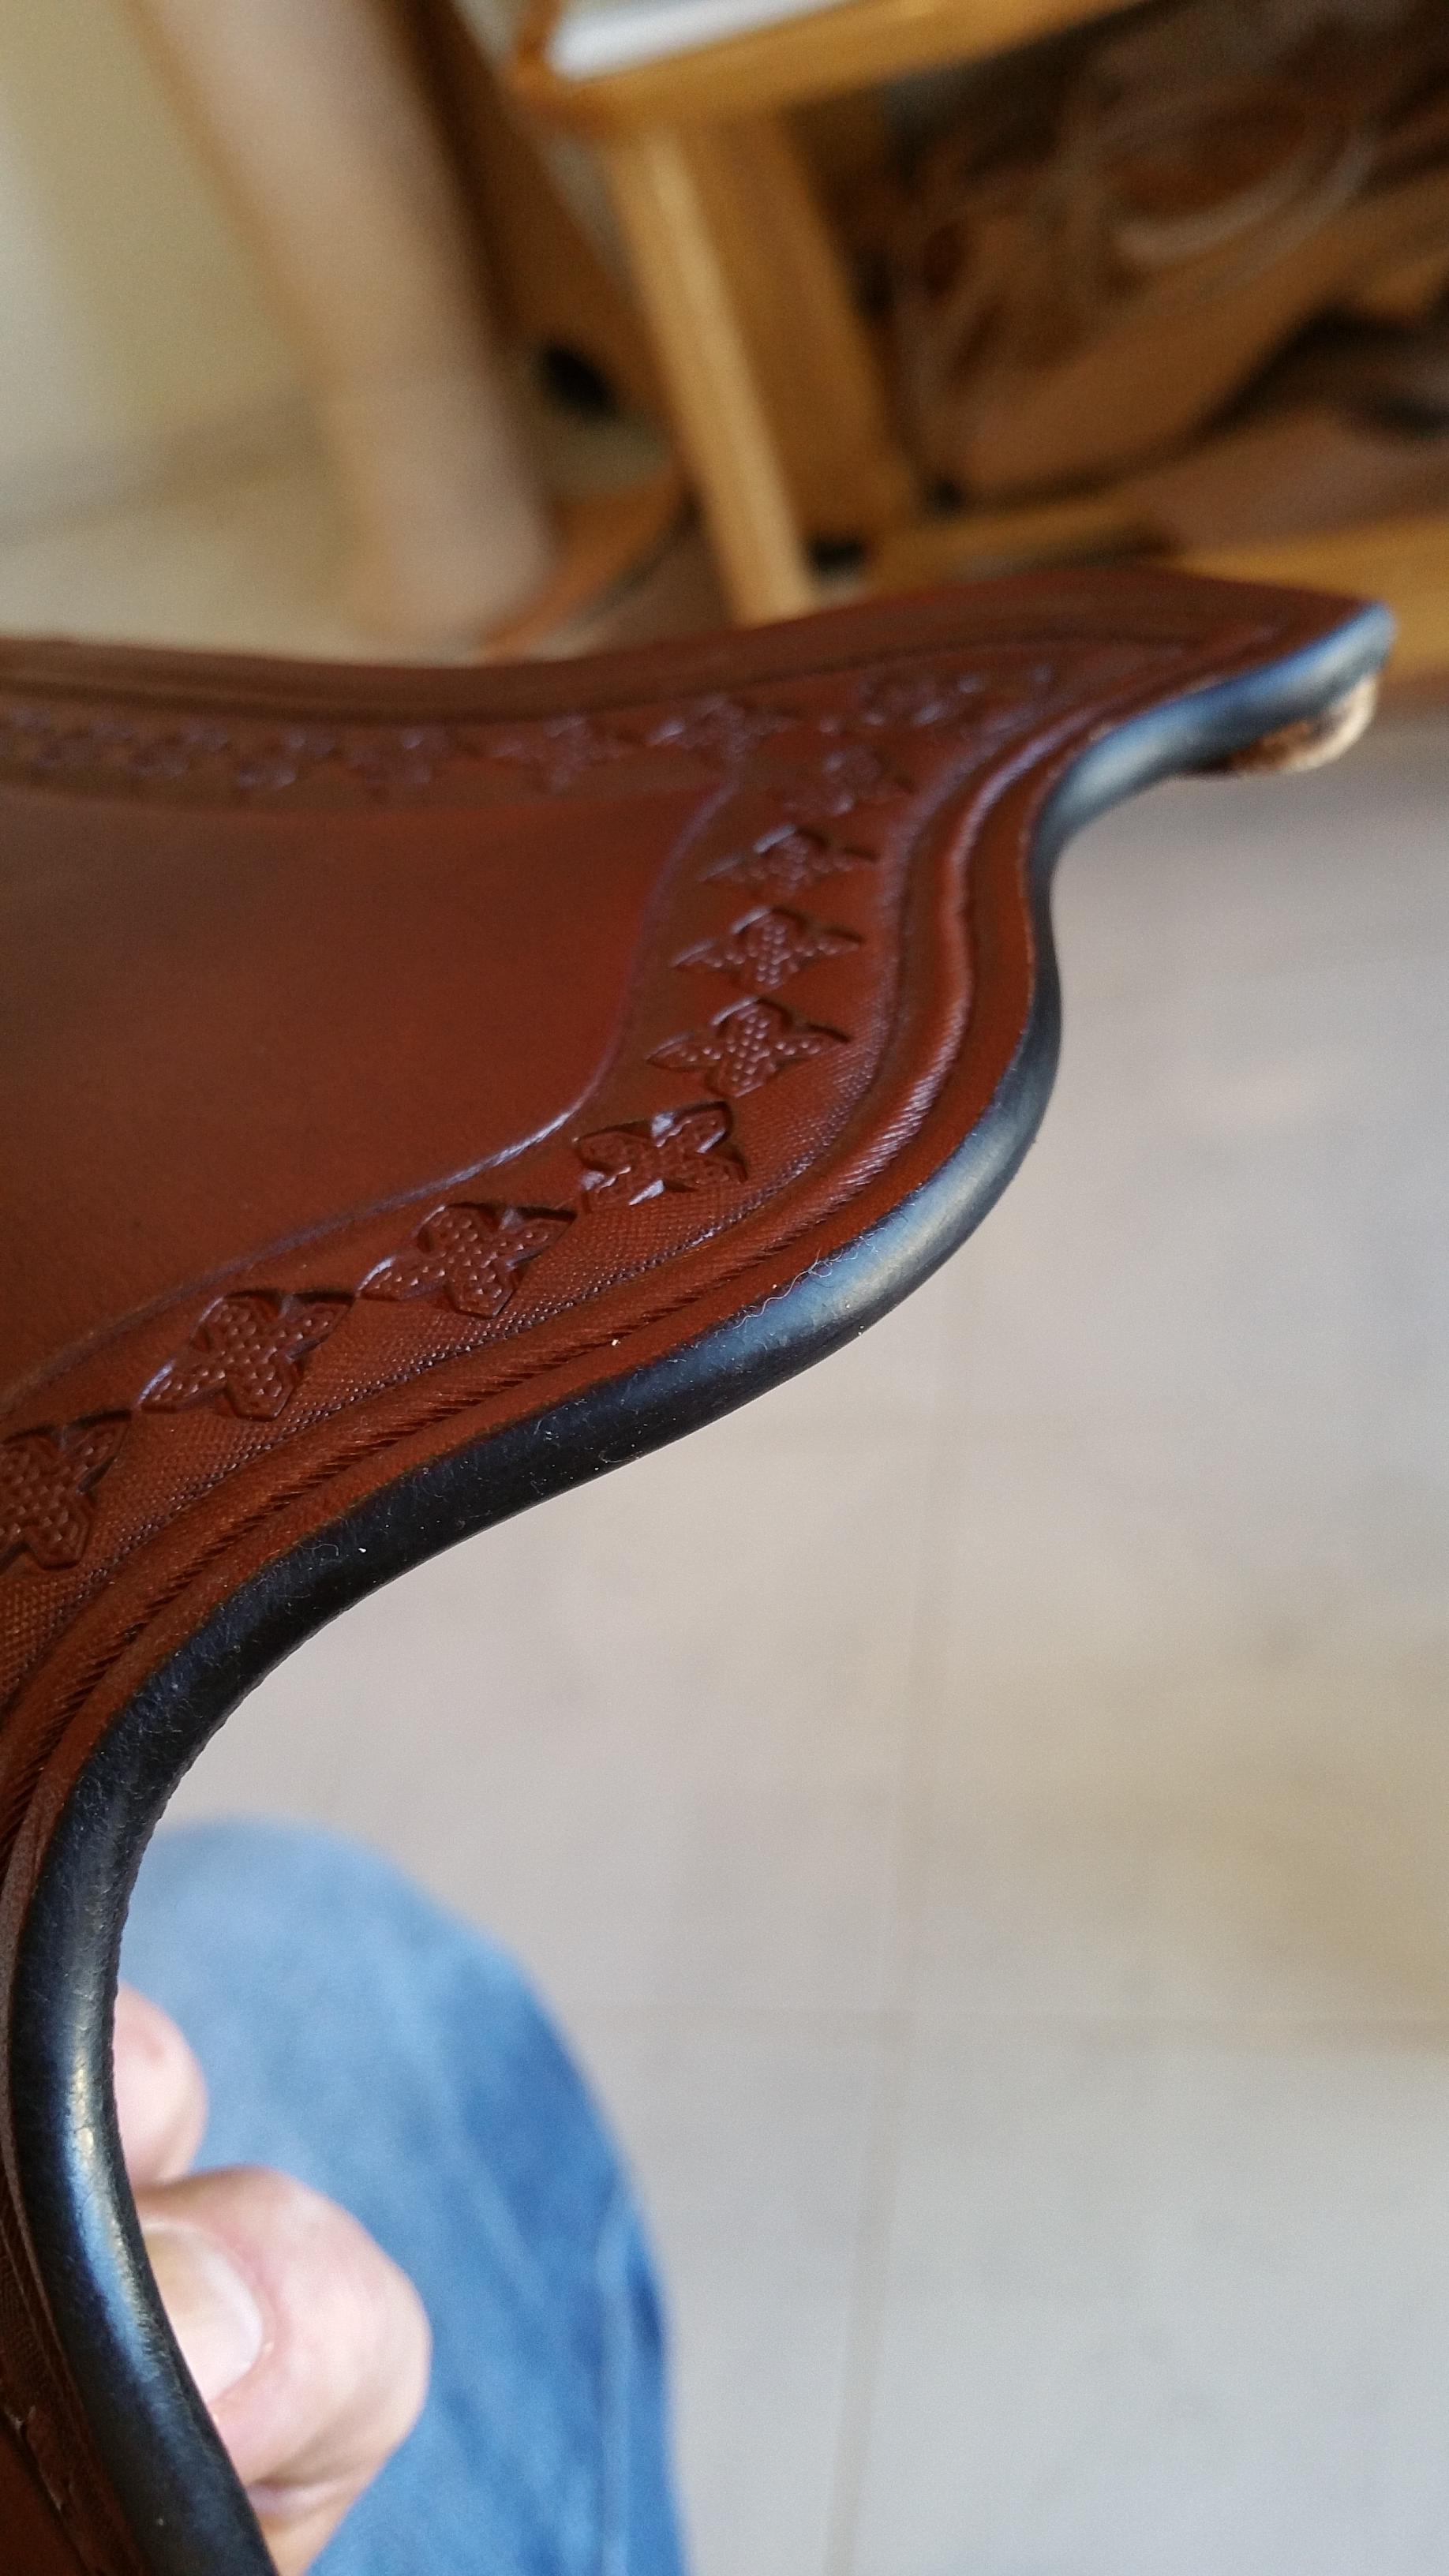
Mission accomplished!
-
Mr. Moosepaddles, I purchased a custom stamp for that center piece and I used antique for the dark color on both the stamp and the dots.
-
Gluing layers for a gun belt
immiketoo replied to Hildebrand's topic in Gun Holsters, Rifle Slings and Knife Sheathes
Oversized then trim is the only way to go. Nothing beats a freshly cut edge to make your burnishing process easier. -
Edge paint VS Burnished edges showdown!!!
immiketoo replied to immiketoo's topic in How Do I Do That?
Looking forward to it! -
Edge paint VS Burnished edges showdown!!!
immiketoo replied to immiketoo's topic in How Do I Do That?
Absolutely. The Fenice has been impervious to RTC and Tan Kote so far -
Edge paint VS Burnished edges showdown!!!
immiketoo replied to immiketoo's topic in How Do I Do That?
That's odd. This stuff seems pretty impervious once its dry. Then again, I don't dip dye anything. -
Edge paint VS Burnished edges showdown!!!
immiketoo replied to immiketoo's topic in How Do I Do That?
I always finish with Bee Natural RTC. Then I may apply Tan Kote for the luster. -
Edge paint VS Burnished edges showdown!!!
immiketoo replied to immiketoo's topic in How Do I Do That?
I always put a finish on my edges, once they are complete. I usually apply it with the final coat of finish for whatever item I am building. Ive even put it over the edge paint with success. A lot of folks have said to use heat with the edge paint, but I don't see the need for it really. Then again, everyone has their own way of doing business -
Practice on some practice hair areas too. And use soapy water to clean your brush.
-
I deserved that. Sorry.
-
Edge paint VS Burnished edges showdown!!!
immiketoo replied to immiketoo's topic in How Do I Do That?
I don't have a lot of experience with the edge paint, but I would guess it will be the more resilient of the two. Its stood up well in my destruction testing. I really like the look of the traditional edge, but the edge paint is growing on me. I just wish it wasn't so much work. Process: glue and hammer edge for good bond. Bevel with your choice of beveler. Edge coat companies say leave it square but I don't like that look. Apply coat one. Let it dry and then sand it smooth. You will see leather through the paint at this stage. Apply coat two. Let dry. Look for indentations and bumps. Sand smooth. Repeat until the surface is perfect and apply final coat. How many depends on your prep work but for me its no less than three, sometimes four depending on how aggressively I sand. You are correct. -
you may have to work harder un the deep recesses, but several thick coats should make it come up fairly easy.
-
I figured as much. We also say "women of a certain age," but not all of them are cougars. Anyway, back to your cougar!
-
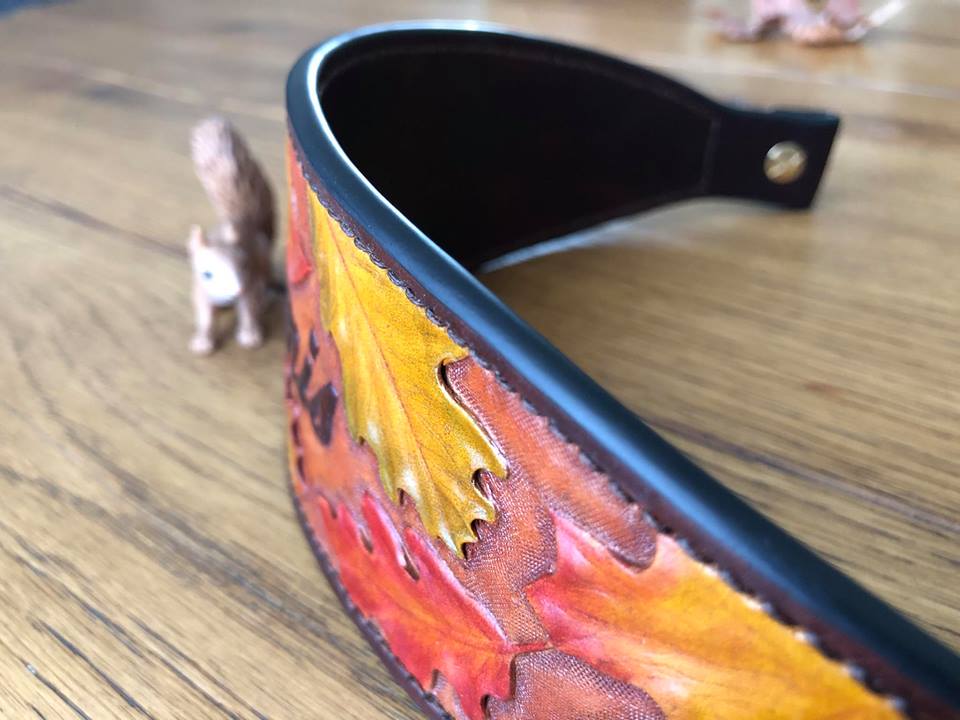
The great debate about how to finish edges lives on! I used to be a diehard traditional edge guy. Now I am not so sure. For discussion purposes, one has edge paint, one is normal. Which is which?

-
Speaking of edge paint

-
New Tool from Recycled Sofa and file handle hardware
immiketoo replied to harryhorse's topic in Leather Tools
I can just imagine the squeaky squeaky squeaky squeaky sound the make as you roll them -
An inspiring story. As was once said in a movie, get busy living, or get busy dying. You have chosen to put your focus and energy into moving past the disease. This resonates with me because leather work changed my life. Forever. And, for the better. Keep on going strong and heal well!
-
I tried to find an appropriate photo that wouldn't completely derail this thread, and I couldn't, so I refrained
-
You have done a fine job! I would push the corners of the eyes in a little deeper.
-
Not at all! I was just thinking of a different kind of cougar
-
Not at all the cougar I was expecting...
-
Here is the link to the free trial: https://creative.adobe.com/products/download/illustrator?store_code=gr&promoid=Y69SGWKS&mv=other&origref=https%3A%2F%2Fwww.adobe.com%2Fgr_en%2Fproducts%2Fillustrator.html
-
For pink, dilute Fiebing's oxblood dye at least 50% with denatured alcohol or isopropyl alcohol. The shade of pink you get depends on the ratio it is reduced with the alcohol. Additionally to get the most even coloring, spraying with an airbrush or dip dyeing will give the best results. Light grey can only be achieved by diluting black dye as described above, and as thin as it is at that point, the color of the leather will show through giving your grey a taupe color. Natural veg tan is already beige so if you're looking for old lady undergarment beige, you might be better off looking for chrome tan leather. You picked some difficult colors and all of them will darken with time on veg tan leather, especially with how thin the dyes will be.
-
Having just been shown myself, this is invaluable for leatherworkers in my opinion. Perfect, repeatable patterns, every time.