immiketoo
-
Posts
2,372 -
Joined
-
Last visited
Content Type
Profiles
Forums
Events
Blogs
Gallery
Store
Everything posted by immiketoo
-
Pee on them.
-
 That was entertaining.
 -
It's not meant to be taken literally as Google, as any search engine will produce the same results, but Google it is the most popular phrase when looking of info.
-
Ah...never saw that
-
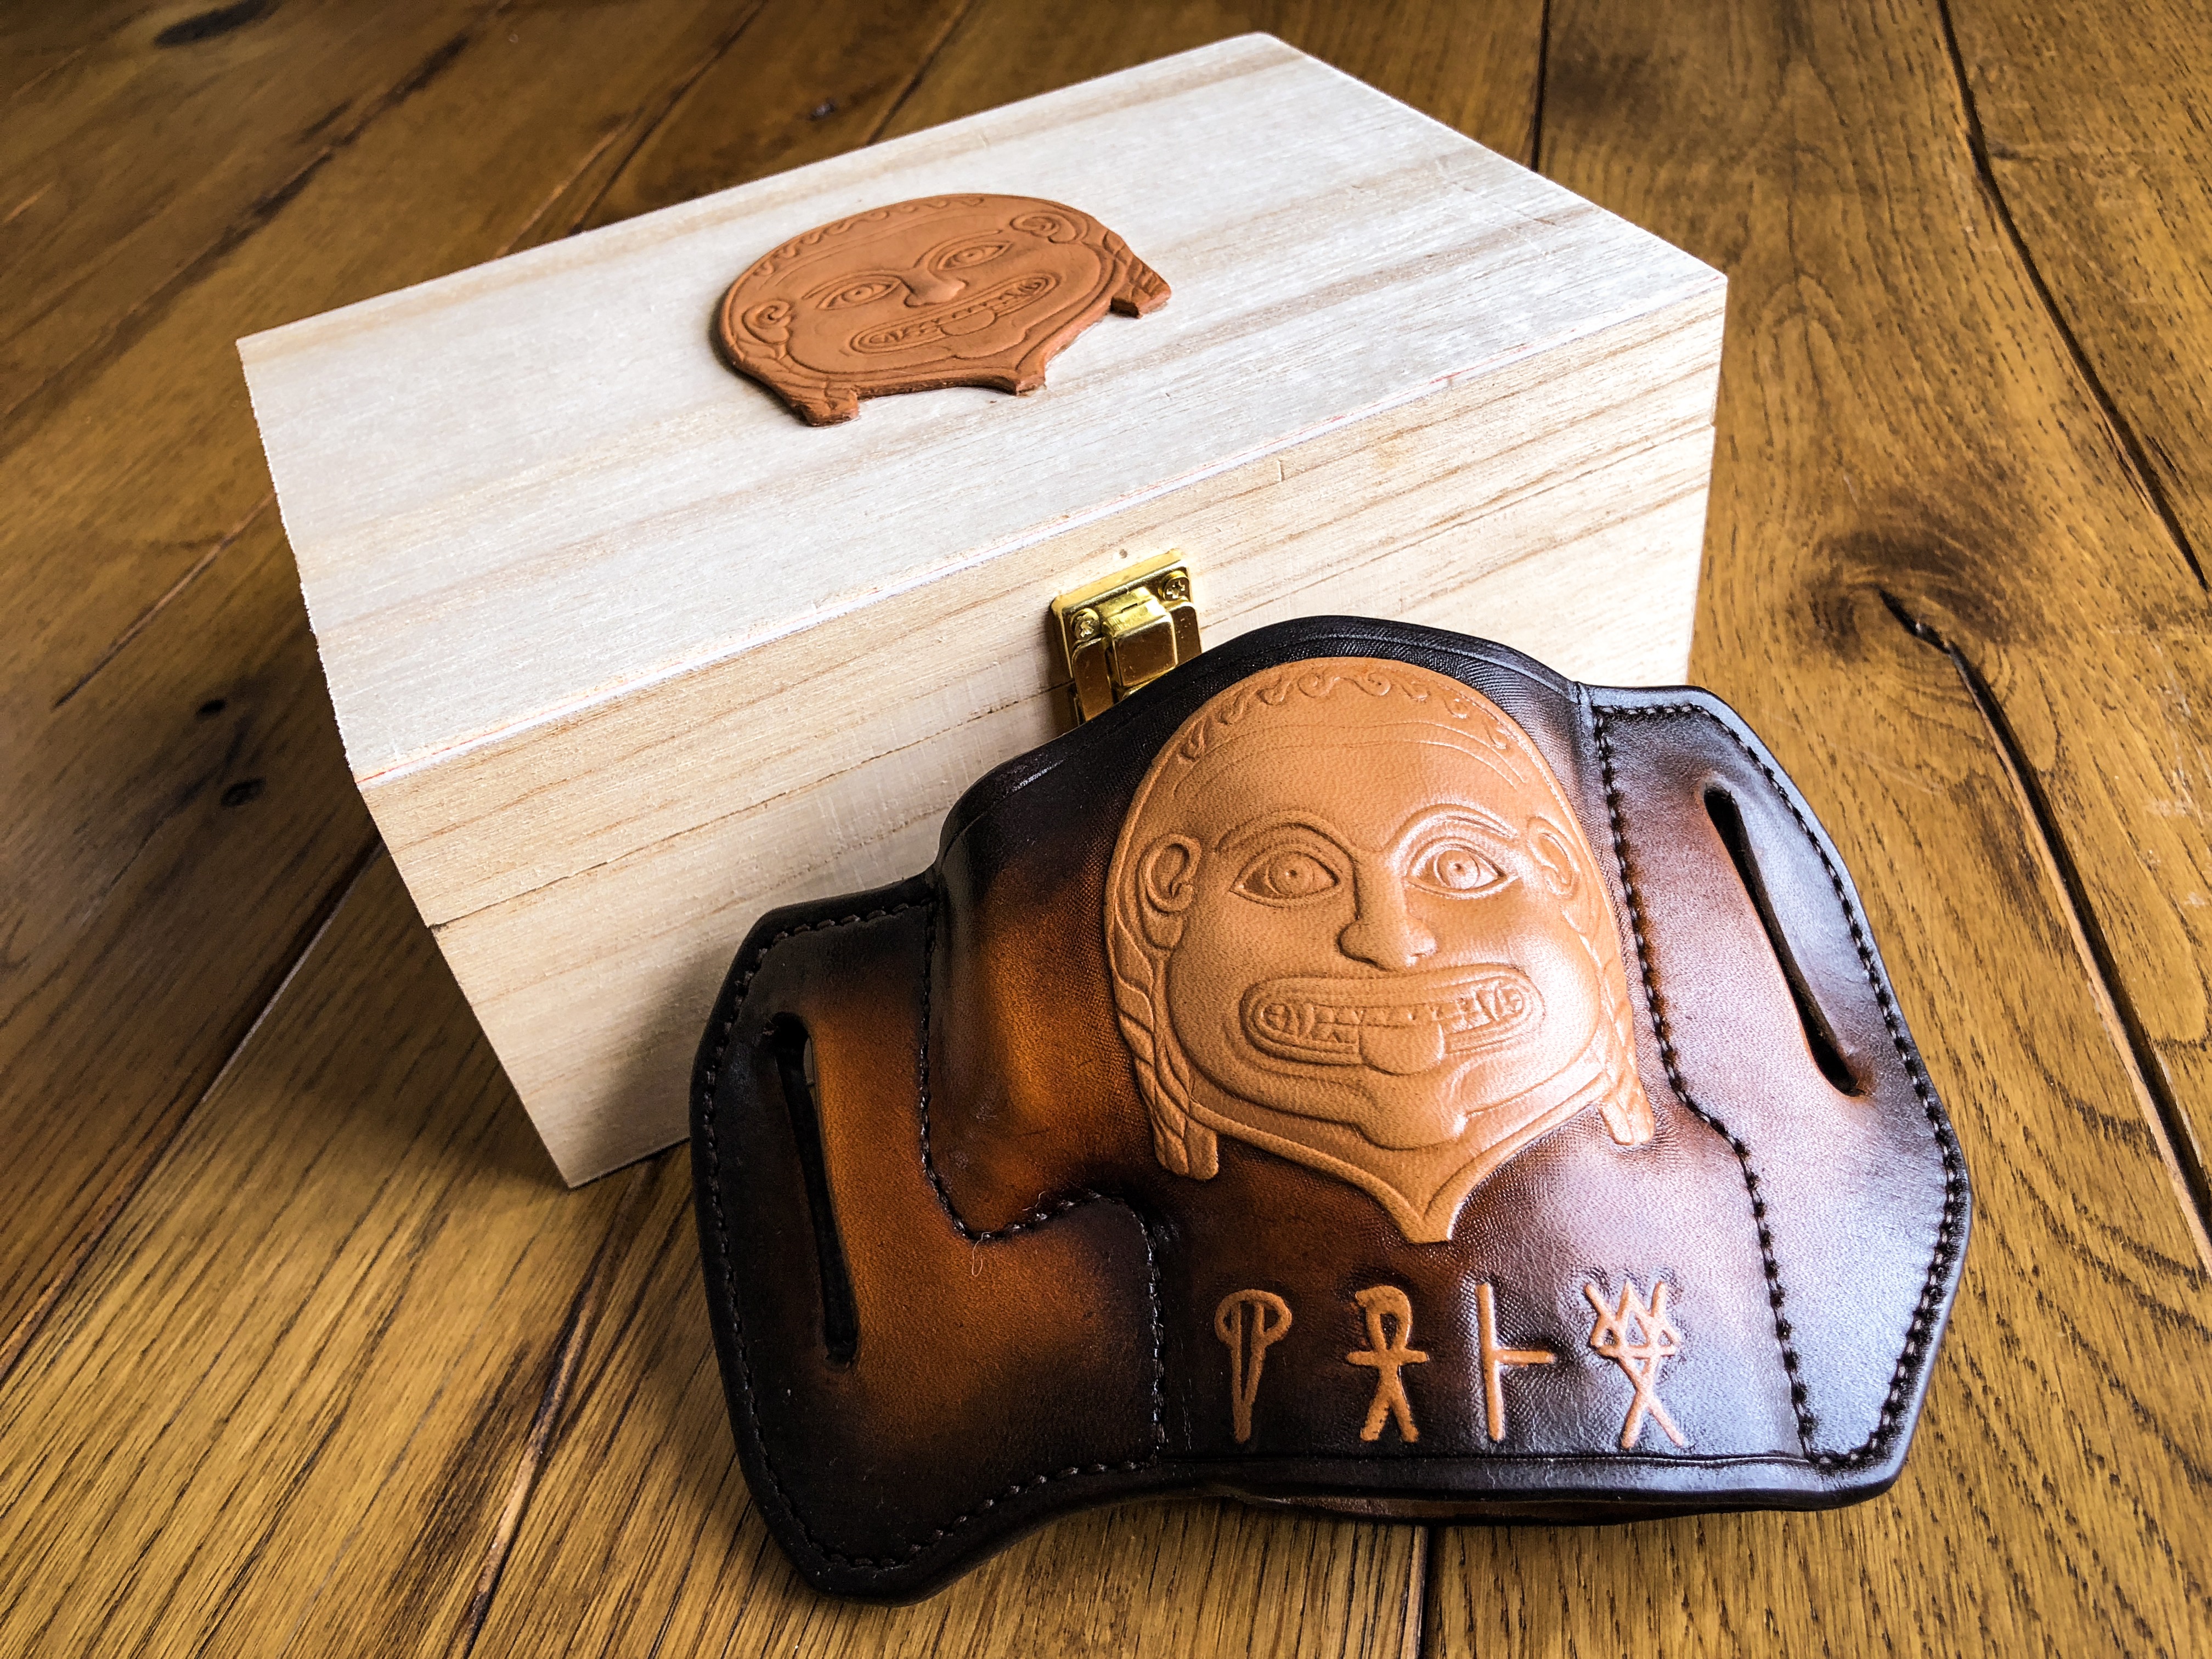
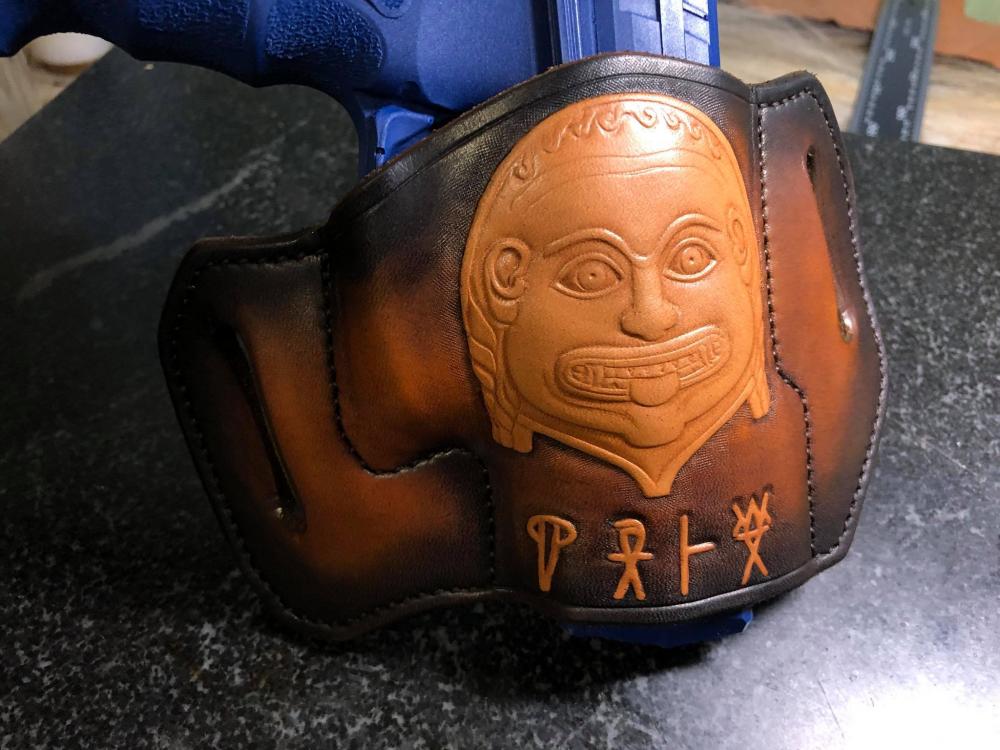
You're very close. Ko Ri Va De and the organization who ordered it is Koryvantes who specialize in historical recreations of greek artifacts. Good on ya! I was unaware of the name of the text and it is my understanding that it was not ONLY the Greeks who used this system of writing, but I just mad the holster. Also, normally this text would be written vertically, which makes sense since its linear. It wouldn't fit anywhere on the holster and be as visible as he wanted so its horizontal.
-
Faces are my main area of carving. And then the whole human, and hands and feet are tough. Proportions are key. Its even harder when it's someone you know. Ive seen baby portraits that are hideously disfigured, or faces that would scare clowns. Hell, I've made a few of them. One of these days I'll draw a face and try tooling it just for fun.
-
I have no idea what either of those are? Thanks, Bob! Again, thank you. Thanks dude. You're probably right, but I live on an island and EVERYTHING is more expensive. Maybe you can ship them to me in bulk!
-
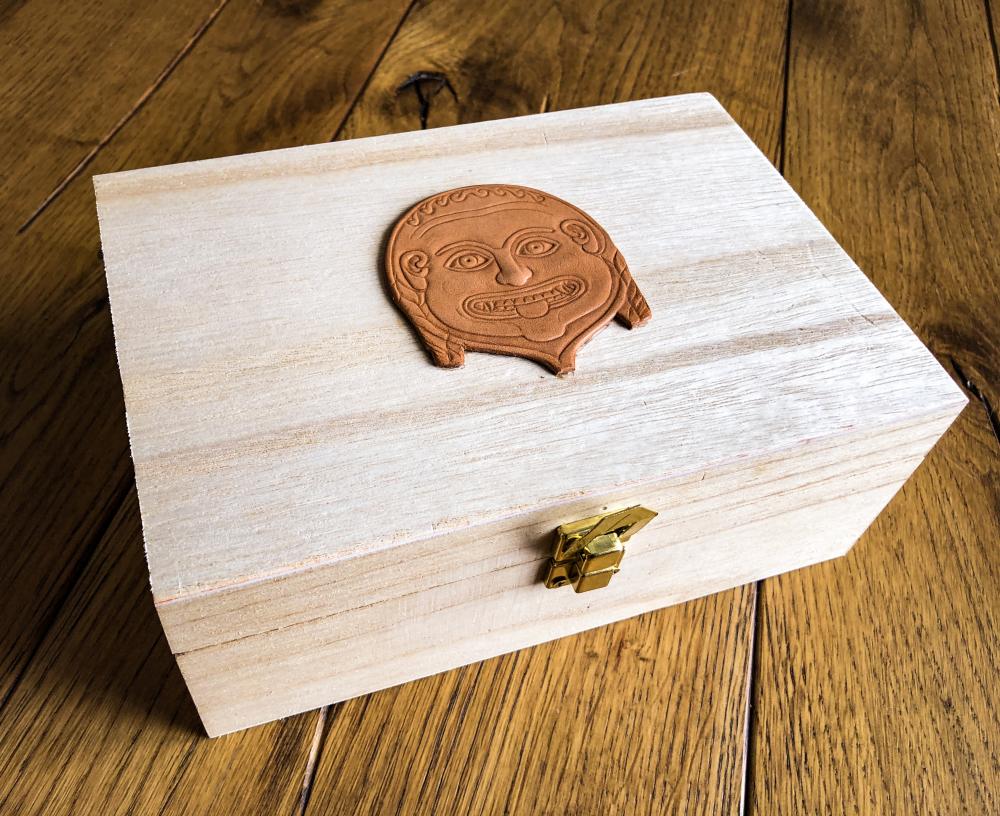
Thanks! I wanted to inlay the leather into the box top, but it wasn't thick enough to do it. Might have to start making my own boxes.
-
I stopped using "free" pics and pay for licensing on the images I use. The Shutterstock license isn't prohibitively expensive, and it allows for sales and merchandise if you get the upgraded license. Plus, I can then tell the copyright criers to stuff it. I also contact individual artists for the rights to their drawings and usually their pretty good about agreeing. In fact, most of them are shocked that we do it at all. Nobody else does. Sorry, I went copyright.... The amount of time involved in that alone is worth more than 250. Not even counting materials and the skill it takes to make it. Most people won't pay that kind of money, but when you find the ones that do, they are gold. And they tell their friends. No sense in working for a loss, or getting it stuck to you. Took me a while to get past that. Bob, you have worked really hard at your designs and it shows. I like figure carving and I find it harder to draw than floral. A person can make a floral mistake that only a flower would recognize. EVERYONE sees what's wrong with a face, even if they can't put it into words. And I agree with you 100% about things being made with craftaids or old Stohlman patterns looking dated and stale. Al gave us all an incredible gift with his litany of work, but its so common now as to be passe. I want to have an idea in my head that I can get down on paper and then leather. I have the ideas, but they don't translate. Keep it up!
-
Sorry man. Hard to film everything all the time. Its an ancient runic language used by the Greeks but it predates what is considered ancient Greek. I have all kinds of respirators and good ventilation. Like spirit animals? I used a glue solvent to clean it. Don't think its actually benzine or benzene but some other solvent. I should probably check that... I also wear gloves with that stuff. Its really hard on the body.
-
Thanks, chief!
-
Interesting points, and I don't disagree with you on any of them. I think that the reference thing is spot on, but they're still creating, not just using existing art. Its why they sell those little posable figures to draw human forms. My point is that most people don't even try to do art with reference material. I'm 100 percent with you on the copy to learn and then do you own thing. Especially in leather because of the physicality of it compared to drawing. It contains multiple skill sets, and yes, those with art backgrounds excel at leatherwork in a short amount of time compared to the rest of us.
-
Not too long ago, if you wanted to add art to leather, you had to draw it yourself. Or find someone to do it for you. Now, all you have to do is find something like with an easy search and voila! Leather art. I think its killing the creativity of a lot of folks, myself included. If I see, or am asked to make another Molon Labe piece, I may just cry. This isn't about copyright, so don't go there. That is a shitty conversation every time. Lets talk about creating art. For your own work. I WANT to, but every time I try, I am disappointed with my efforts. I still try though, and perhaps one day I'll be successful enough at it to make it work. How about you?
-
I consider myself more of a copy machine. Or a 3D printer of sorts. Ask me to draw the art I put on leather and you'd be pretty disappointed.
-
Thank you. I bought the box at a local store for 7 bucks. I couldn't make one for less than 300 bucks. Thank you! Pretty cool eh?
-
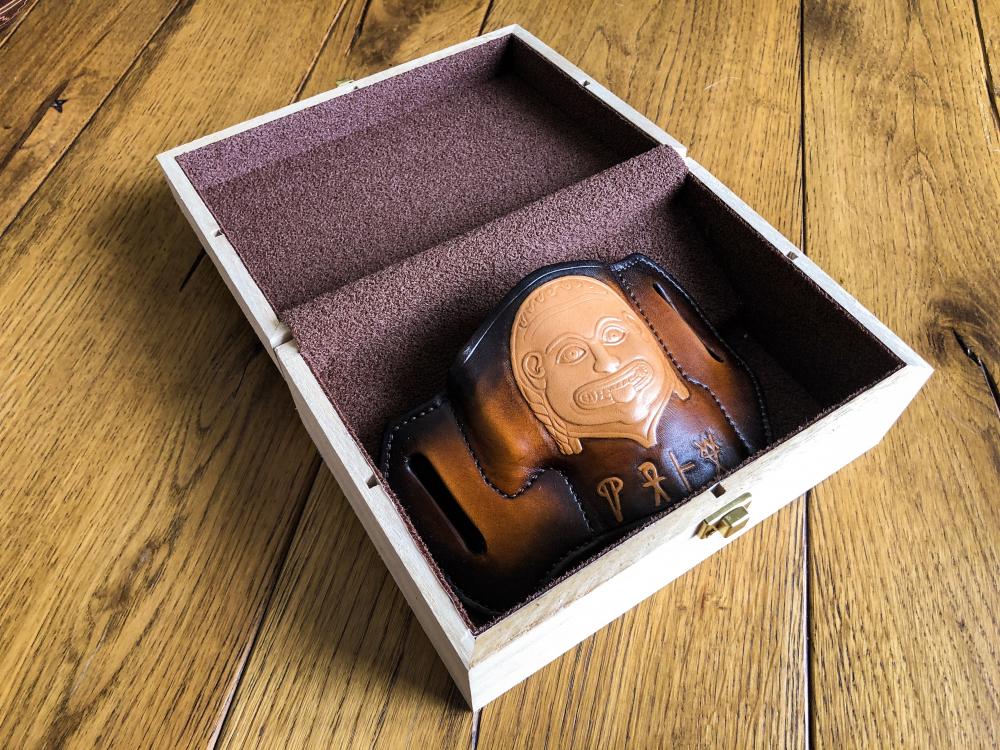
When you have good customers, it’s nice to give them something special. I lined the box with soft felt to protect the holster during shipping and added the practice carving as decoration.

-
Not me. People who create art are artists. I recreate art on leather. More of a craftsman, really.
-
Good solution. FYI, Barry King makes a set of these stamps. Be glad they didn't ask you for a meandros. Those are a spiral version of the greek keys.
-
LMAO! Same here! Frisket has been used in water color and other media for a long time. Hobby lobby, Dick Blicks and Michaels all carry it.
-
Lol! I understand fully! On my second coffee of the day already.
-
Dude..I don't leave the house between 11 and 4 without SPF 1 billion! And you're right. Its creepy.
-
Despite using this technique, I am still tickled when it works as anticipated. Soooooo many failures have left me with a nervous tic. Still have edges, holes and finish to apply and then its done.
-
Next step. Fade applied and latex removed to reveal pristine leather underneath.
-
Lets talk about WOW factor in leatherwork.
immiketoo replied to immiketoo's topic in Leatherwork Conversation
I was disappointed too, although I am pretty sure I remember it. Oh well. Not the last awesome piece to grace these pages. -
You are an astute observer!