immiketoo
-
Posts
2,372 -
Joined
-
Last visited
Content Type
Profiles
Forums
Events
Blogs
Gallery
Store
Everything posted by immiketoo
-
So now that I am on my computer an not my phone, I see that Bob said the same thing I did. Sorry Bob! You're right on and I don't mean to take anything away form what you said.
-
I can’t wait to find out. Those look cool.
-
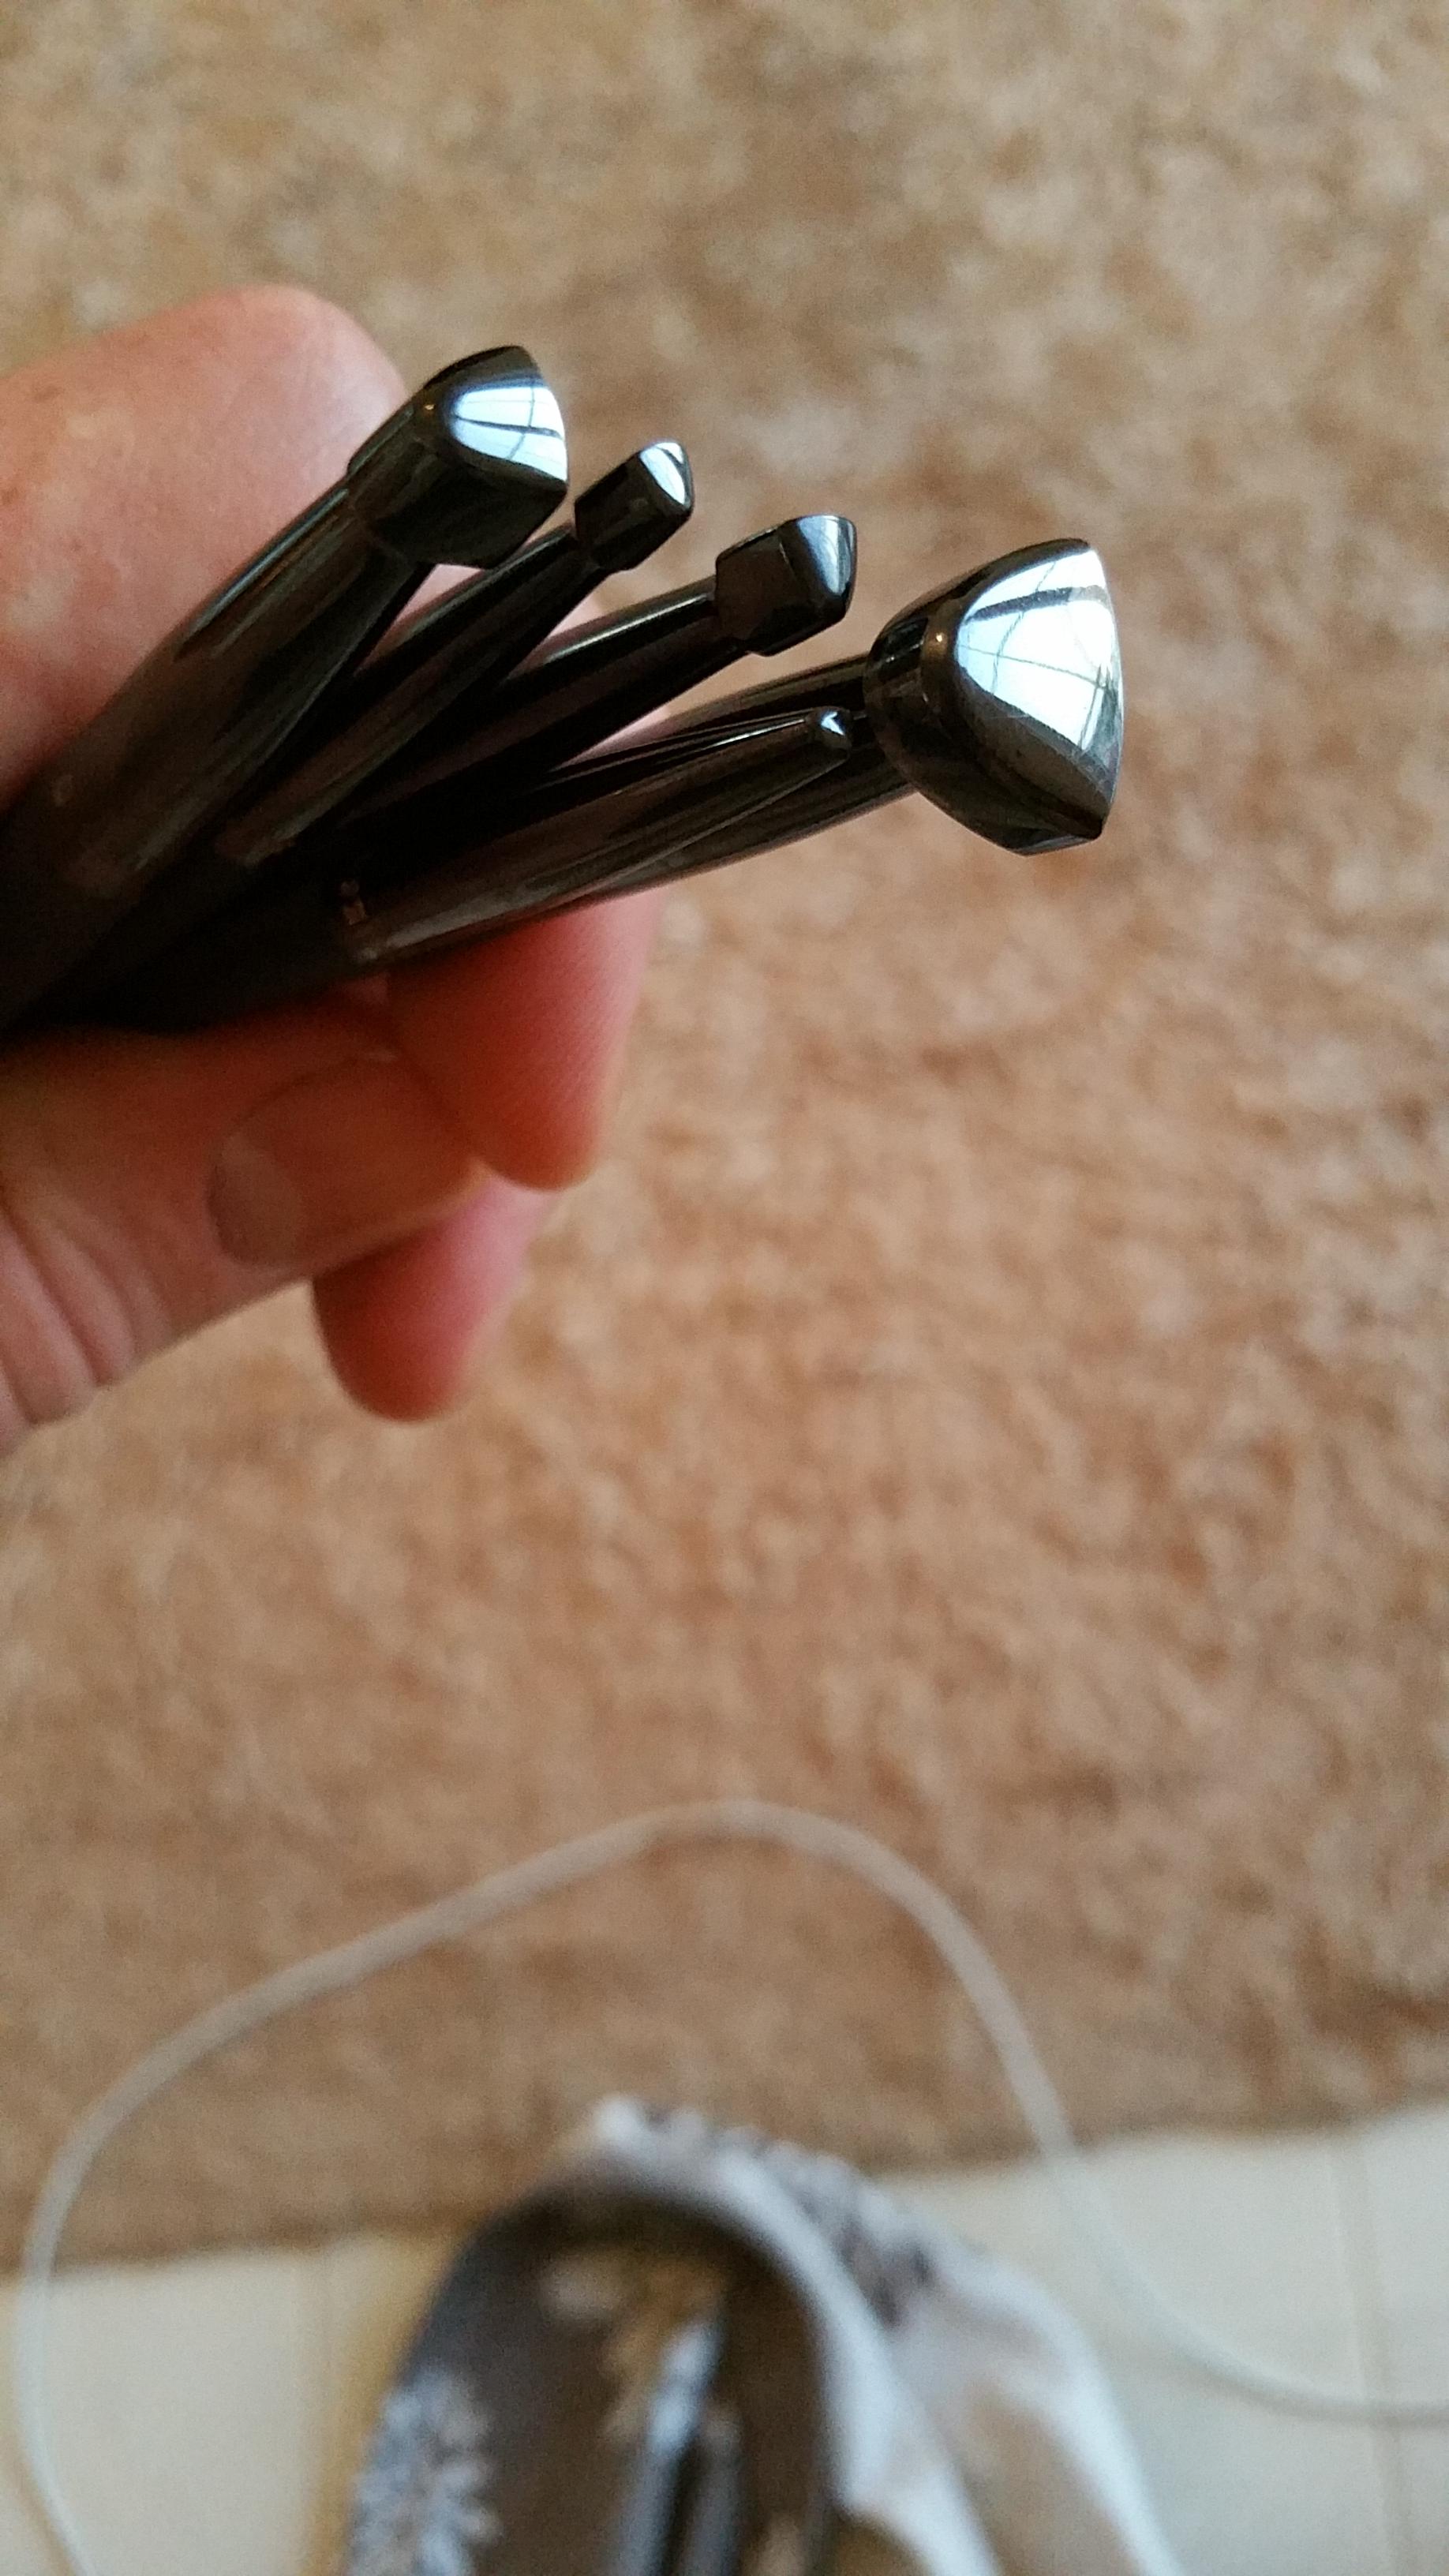
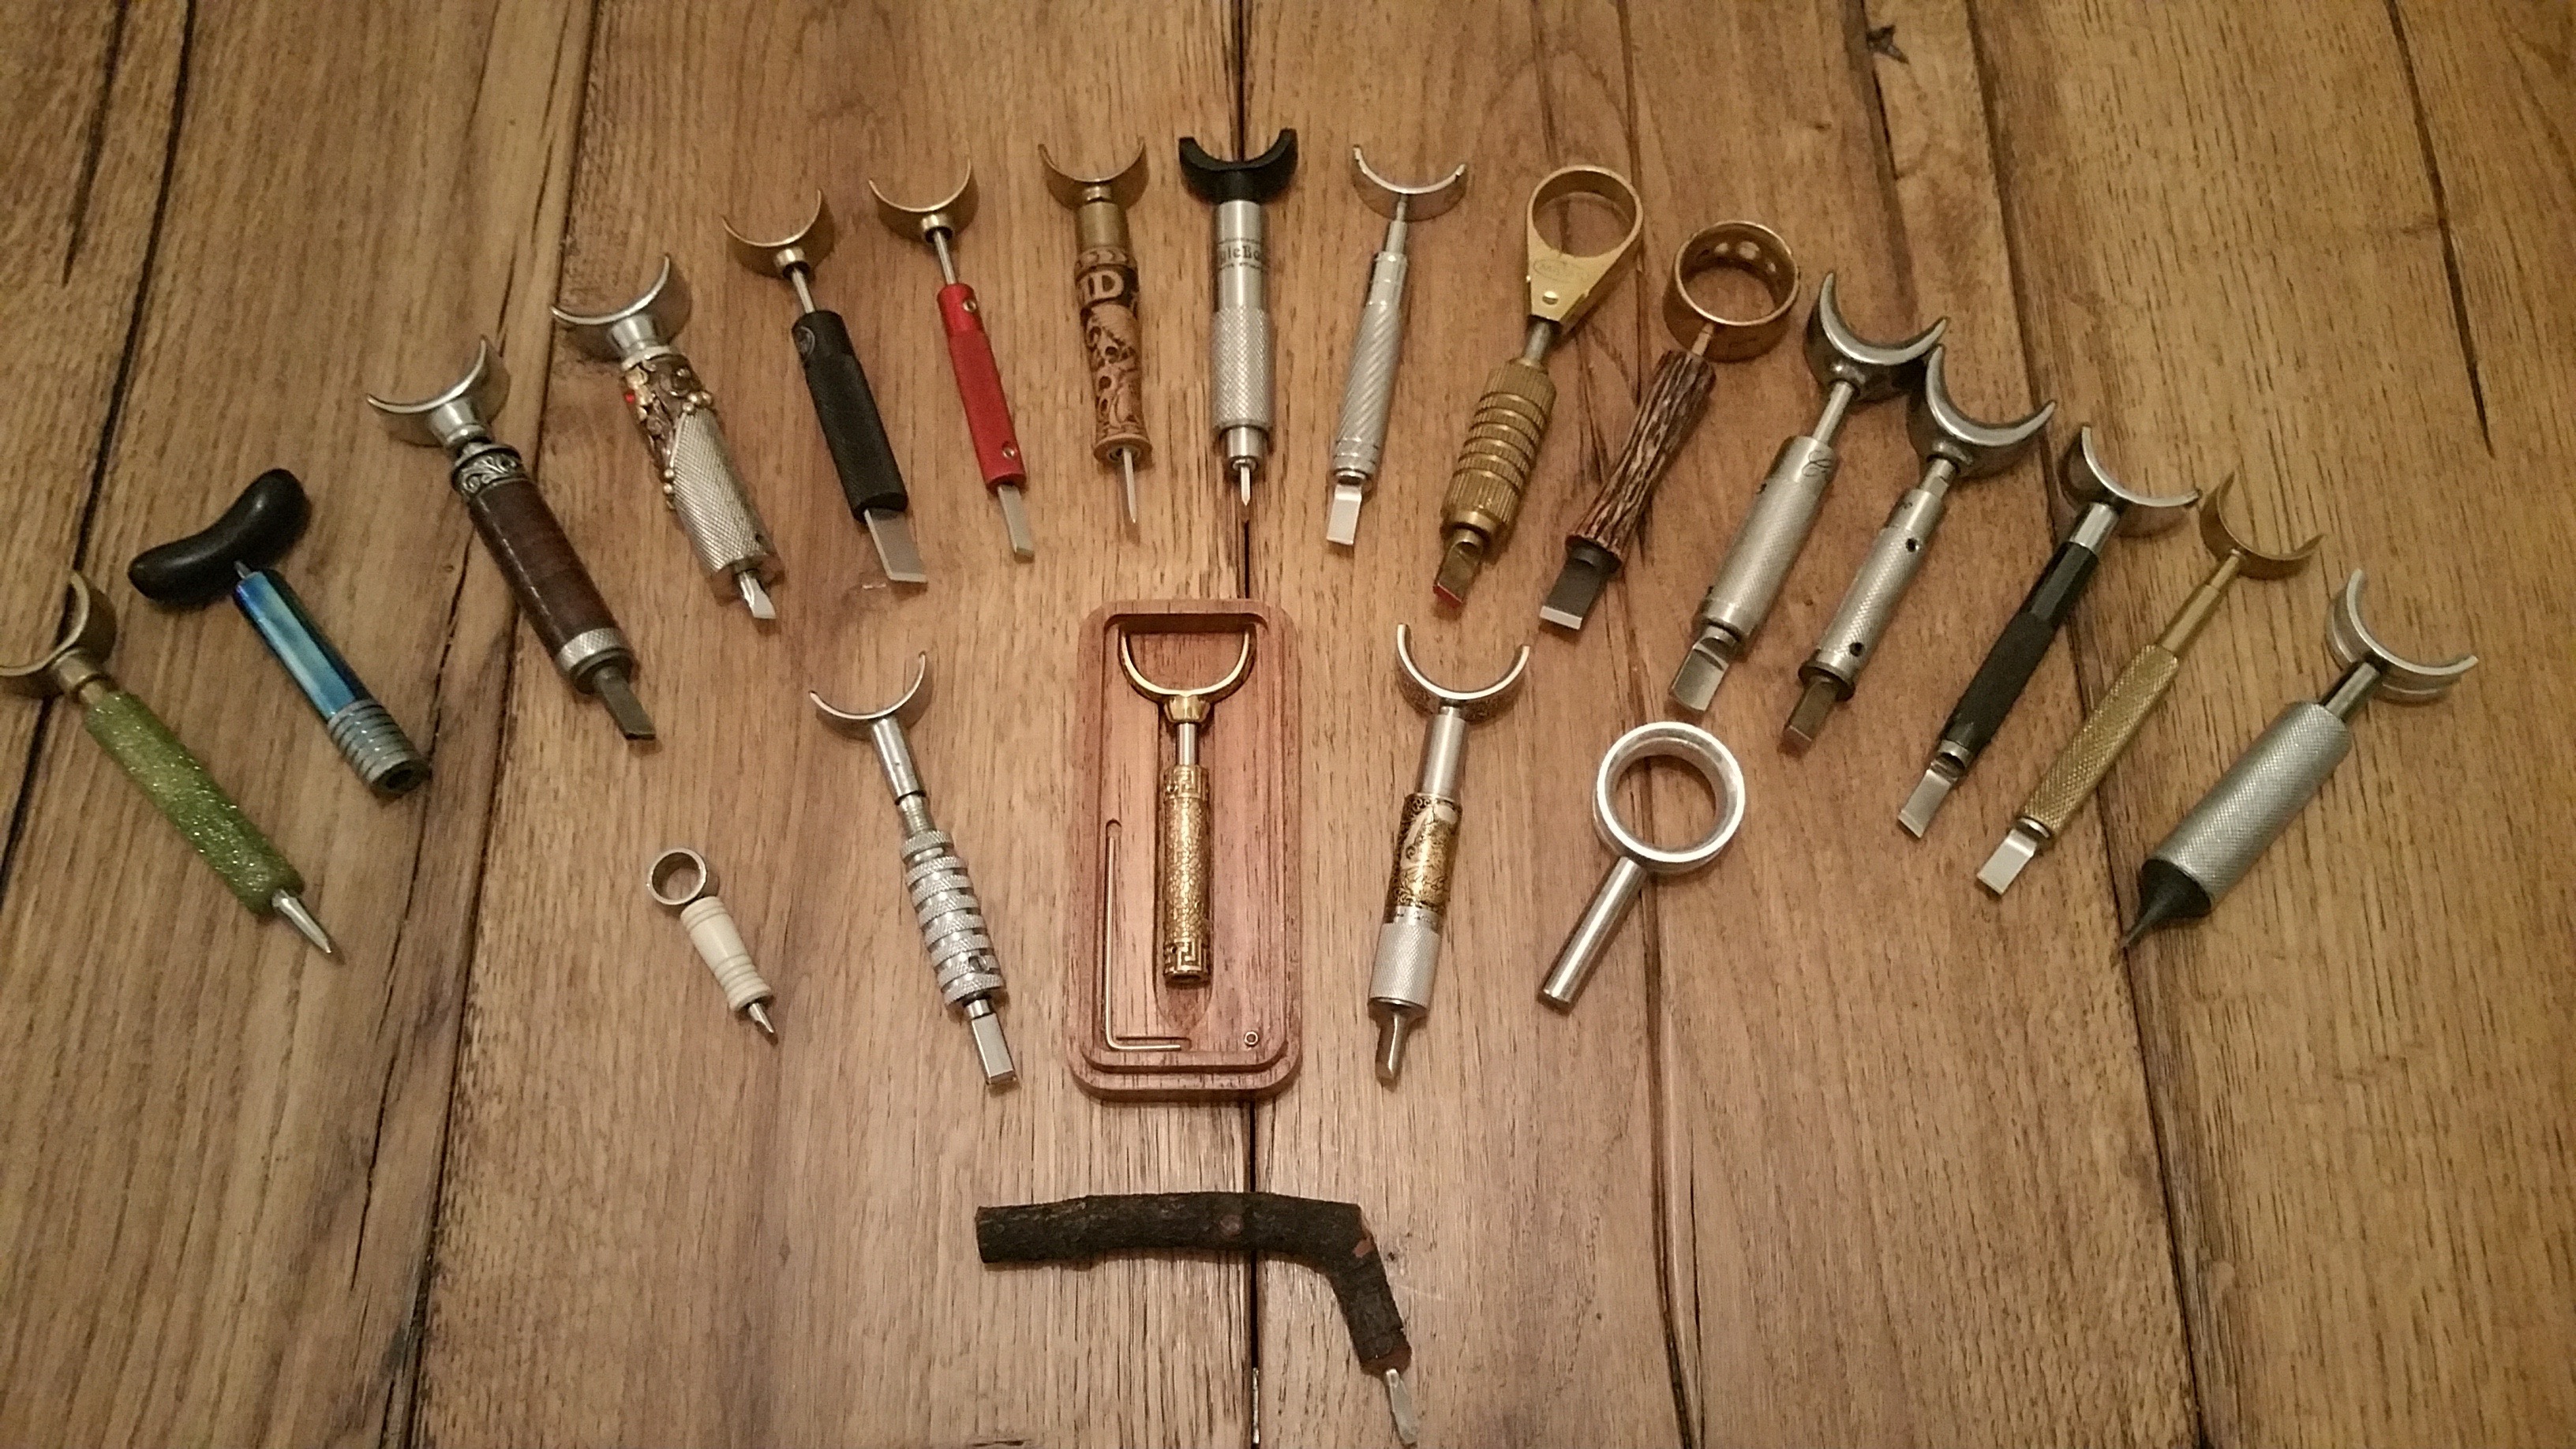
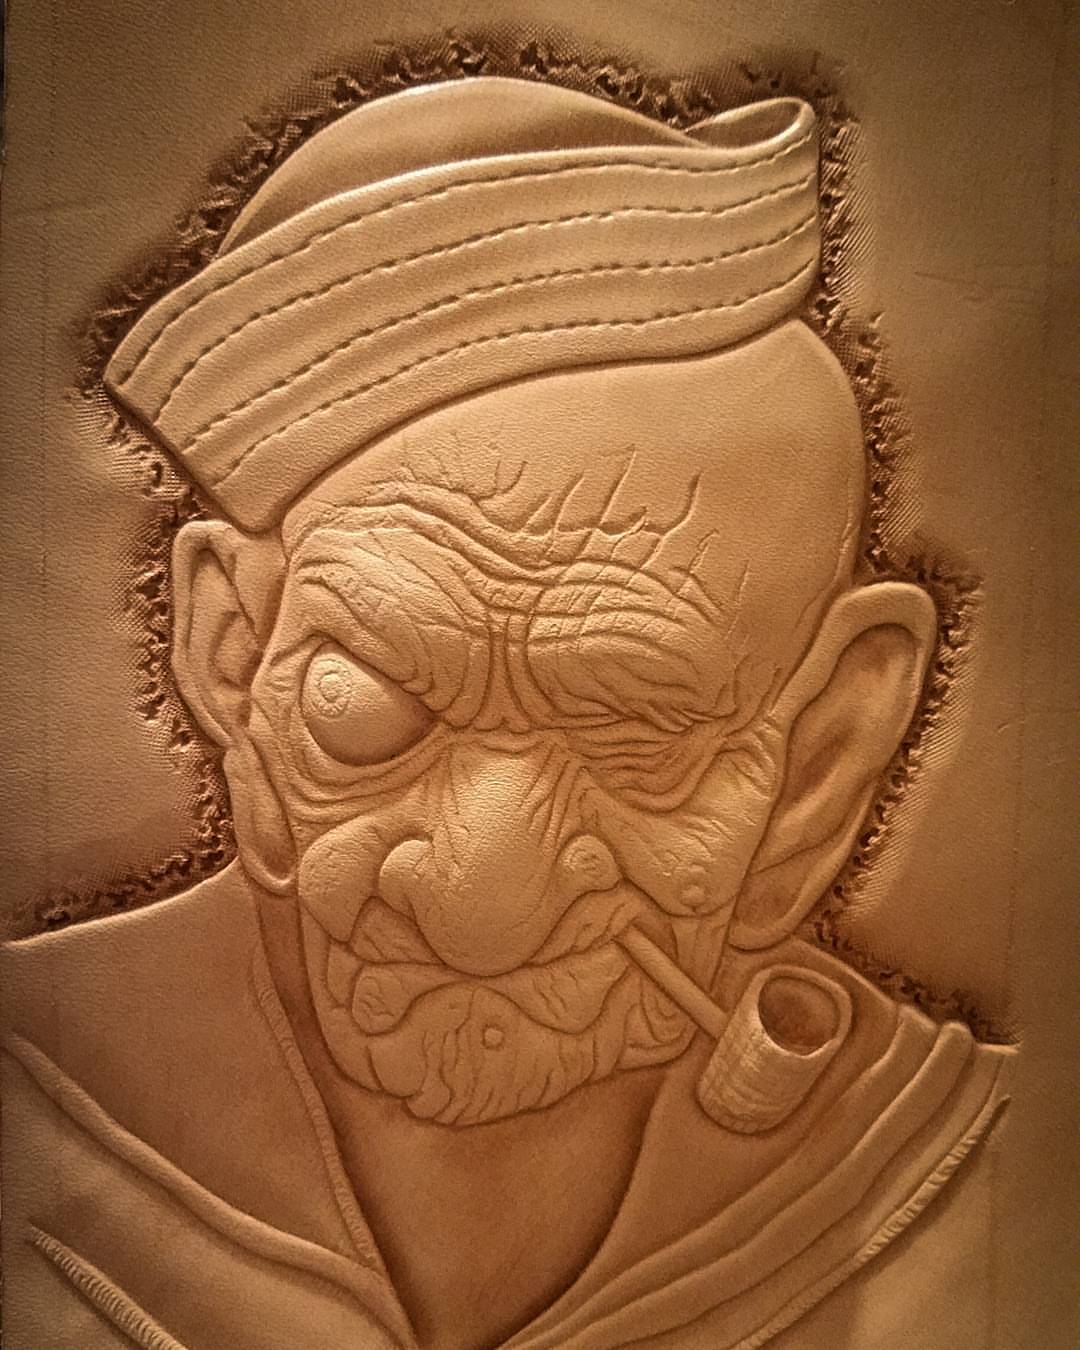
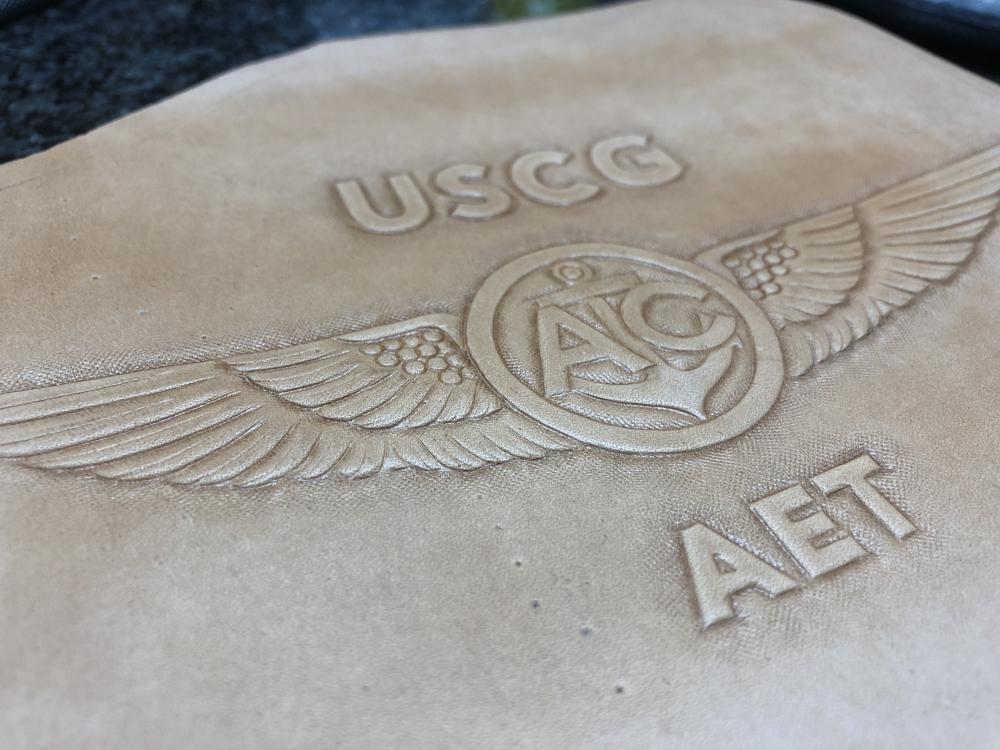
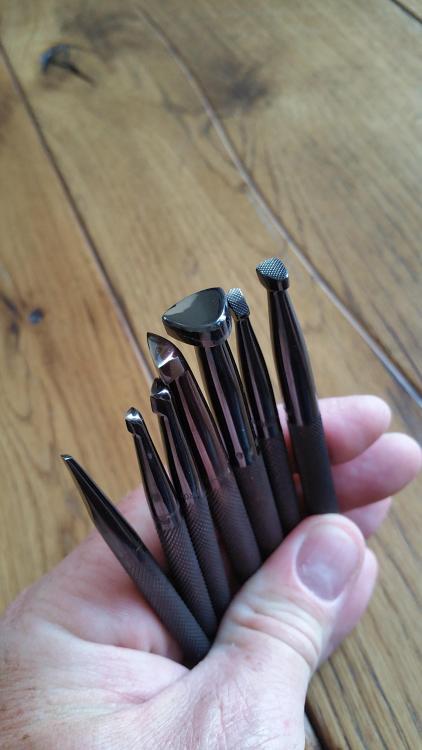
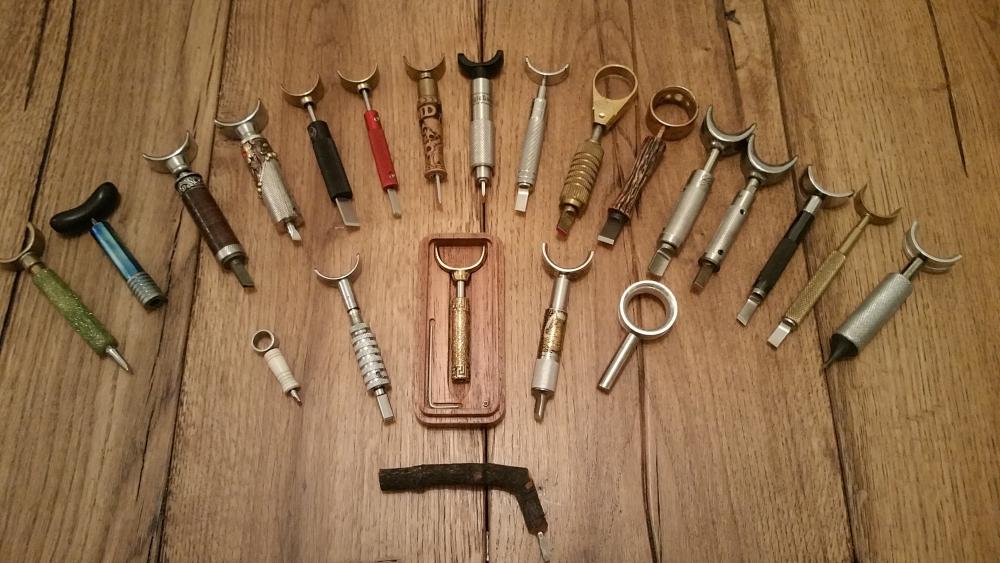
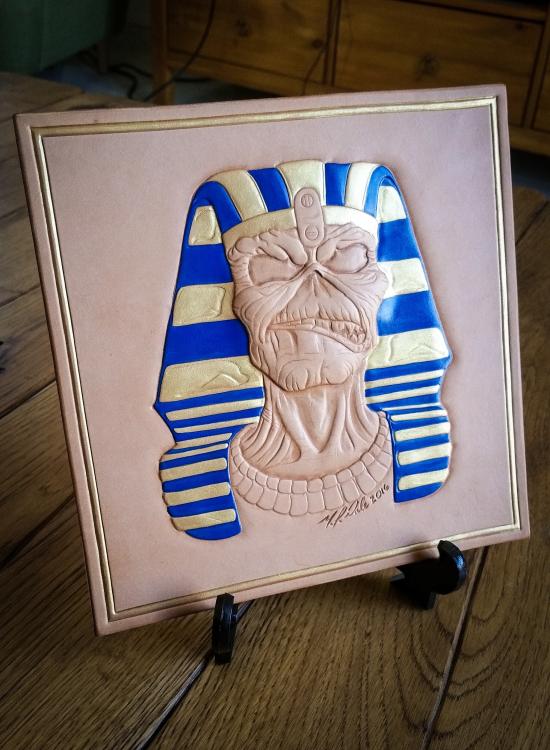
I’m glad you asked this. Lettering is a specialty of mine. Yours are quite good so far but you can make them better. The good: clean beveling, even spacing and the thickness and serifs are consistent throughout your lettering. you asked about what bevelers to use. I use a variety depending on the look I want, but the ones in the picture are the main go-to for all letters. They are steep bevelers and figure bevelers and their sizes allow me to make crisp impressions no matter the size of the font. For you, I’d suggest you invest in a good modeling spoon or a set of figure bevelers. Right now, yours look like they’re pushed down into the leather. As if you put a heavy weight on a soft pillow. The spoon can remove the bevel ridge and make the letters appear to sit on top of the surface of the leather. Figure bevelers further this appearance by compressing the surrounding leather smoothly. top pic: lettering done as described pic two: figure bevelers pic three: Peter Main modeling spoons pic four: my main lettering tools. Steep, figure and checkered bevelers


-
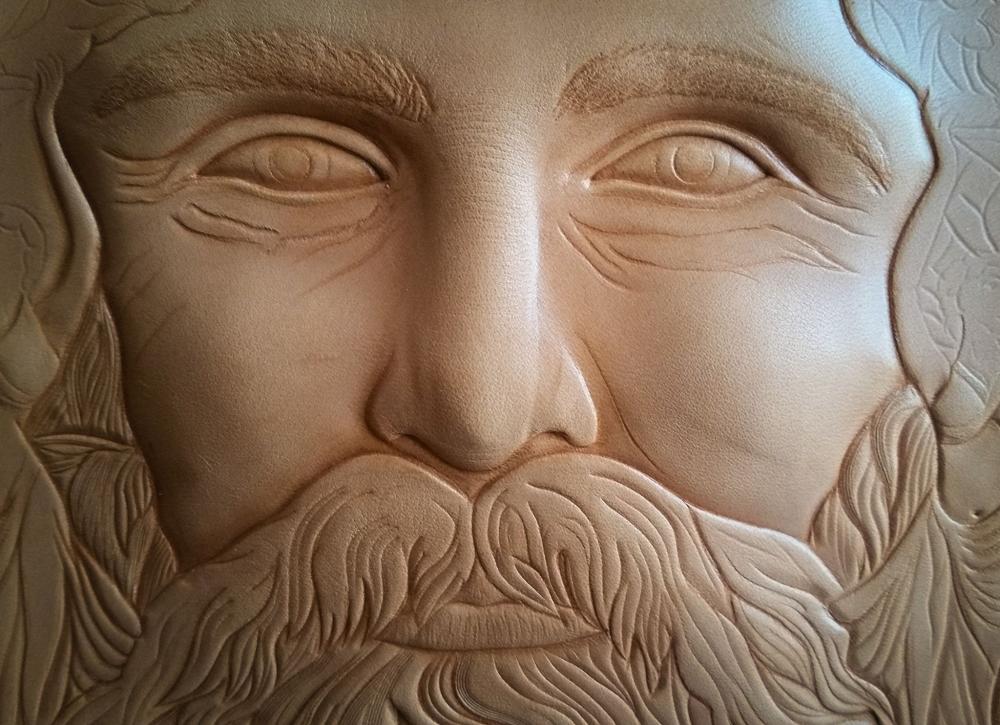
What you're seeing there is called a beveling ridge. This one is done well and smoothly and it makes a nice 3D feature in the carving. The type of beveler makes all the difference. This looks like a standard beveler from Tandy (No idea about the number, sorry), but you can achieve this effect with a steep beveler from Barry or any of the other makers. I t will be easier with a larger beveler so that you minimize tool marks. Its possible its been done with a push beveler, but I don't have one of those, so I can't say for certain. The leather does not need to be excessively thick. This could easily be done in 6 oz leather with the right combination of tool/leather.
-
Considering I have more SK than any sane person should have, if I had to choose just one barrel I would be in a quandary because there are so many good ones. Leather wranglers are works of art, Barry King are solid work horses and you can't go wrong with a Henley. Also, Ed LaBarre, Gordon Andrus and Robert Beard make excellent knives. More important than the barrel is the blade. This comes down to experience and the style of carving you like, but I can tell you that when I switched from my starter Tandy knife to one of the makers listed above, my whole world changed. I could do things I didn't think were possible. I was able to control my cuts like never before. The combo of a properly fit knife and a good blade cannot be overstated.
-
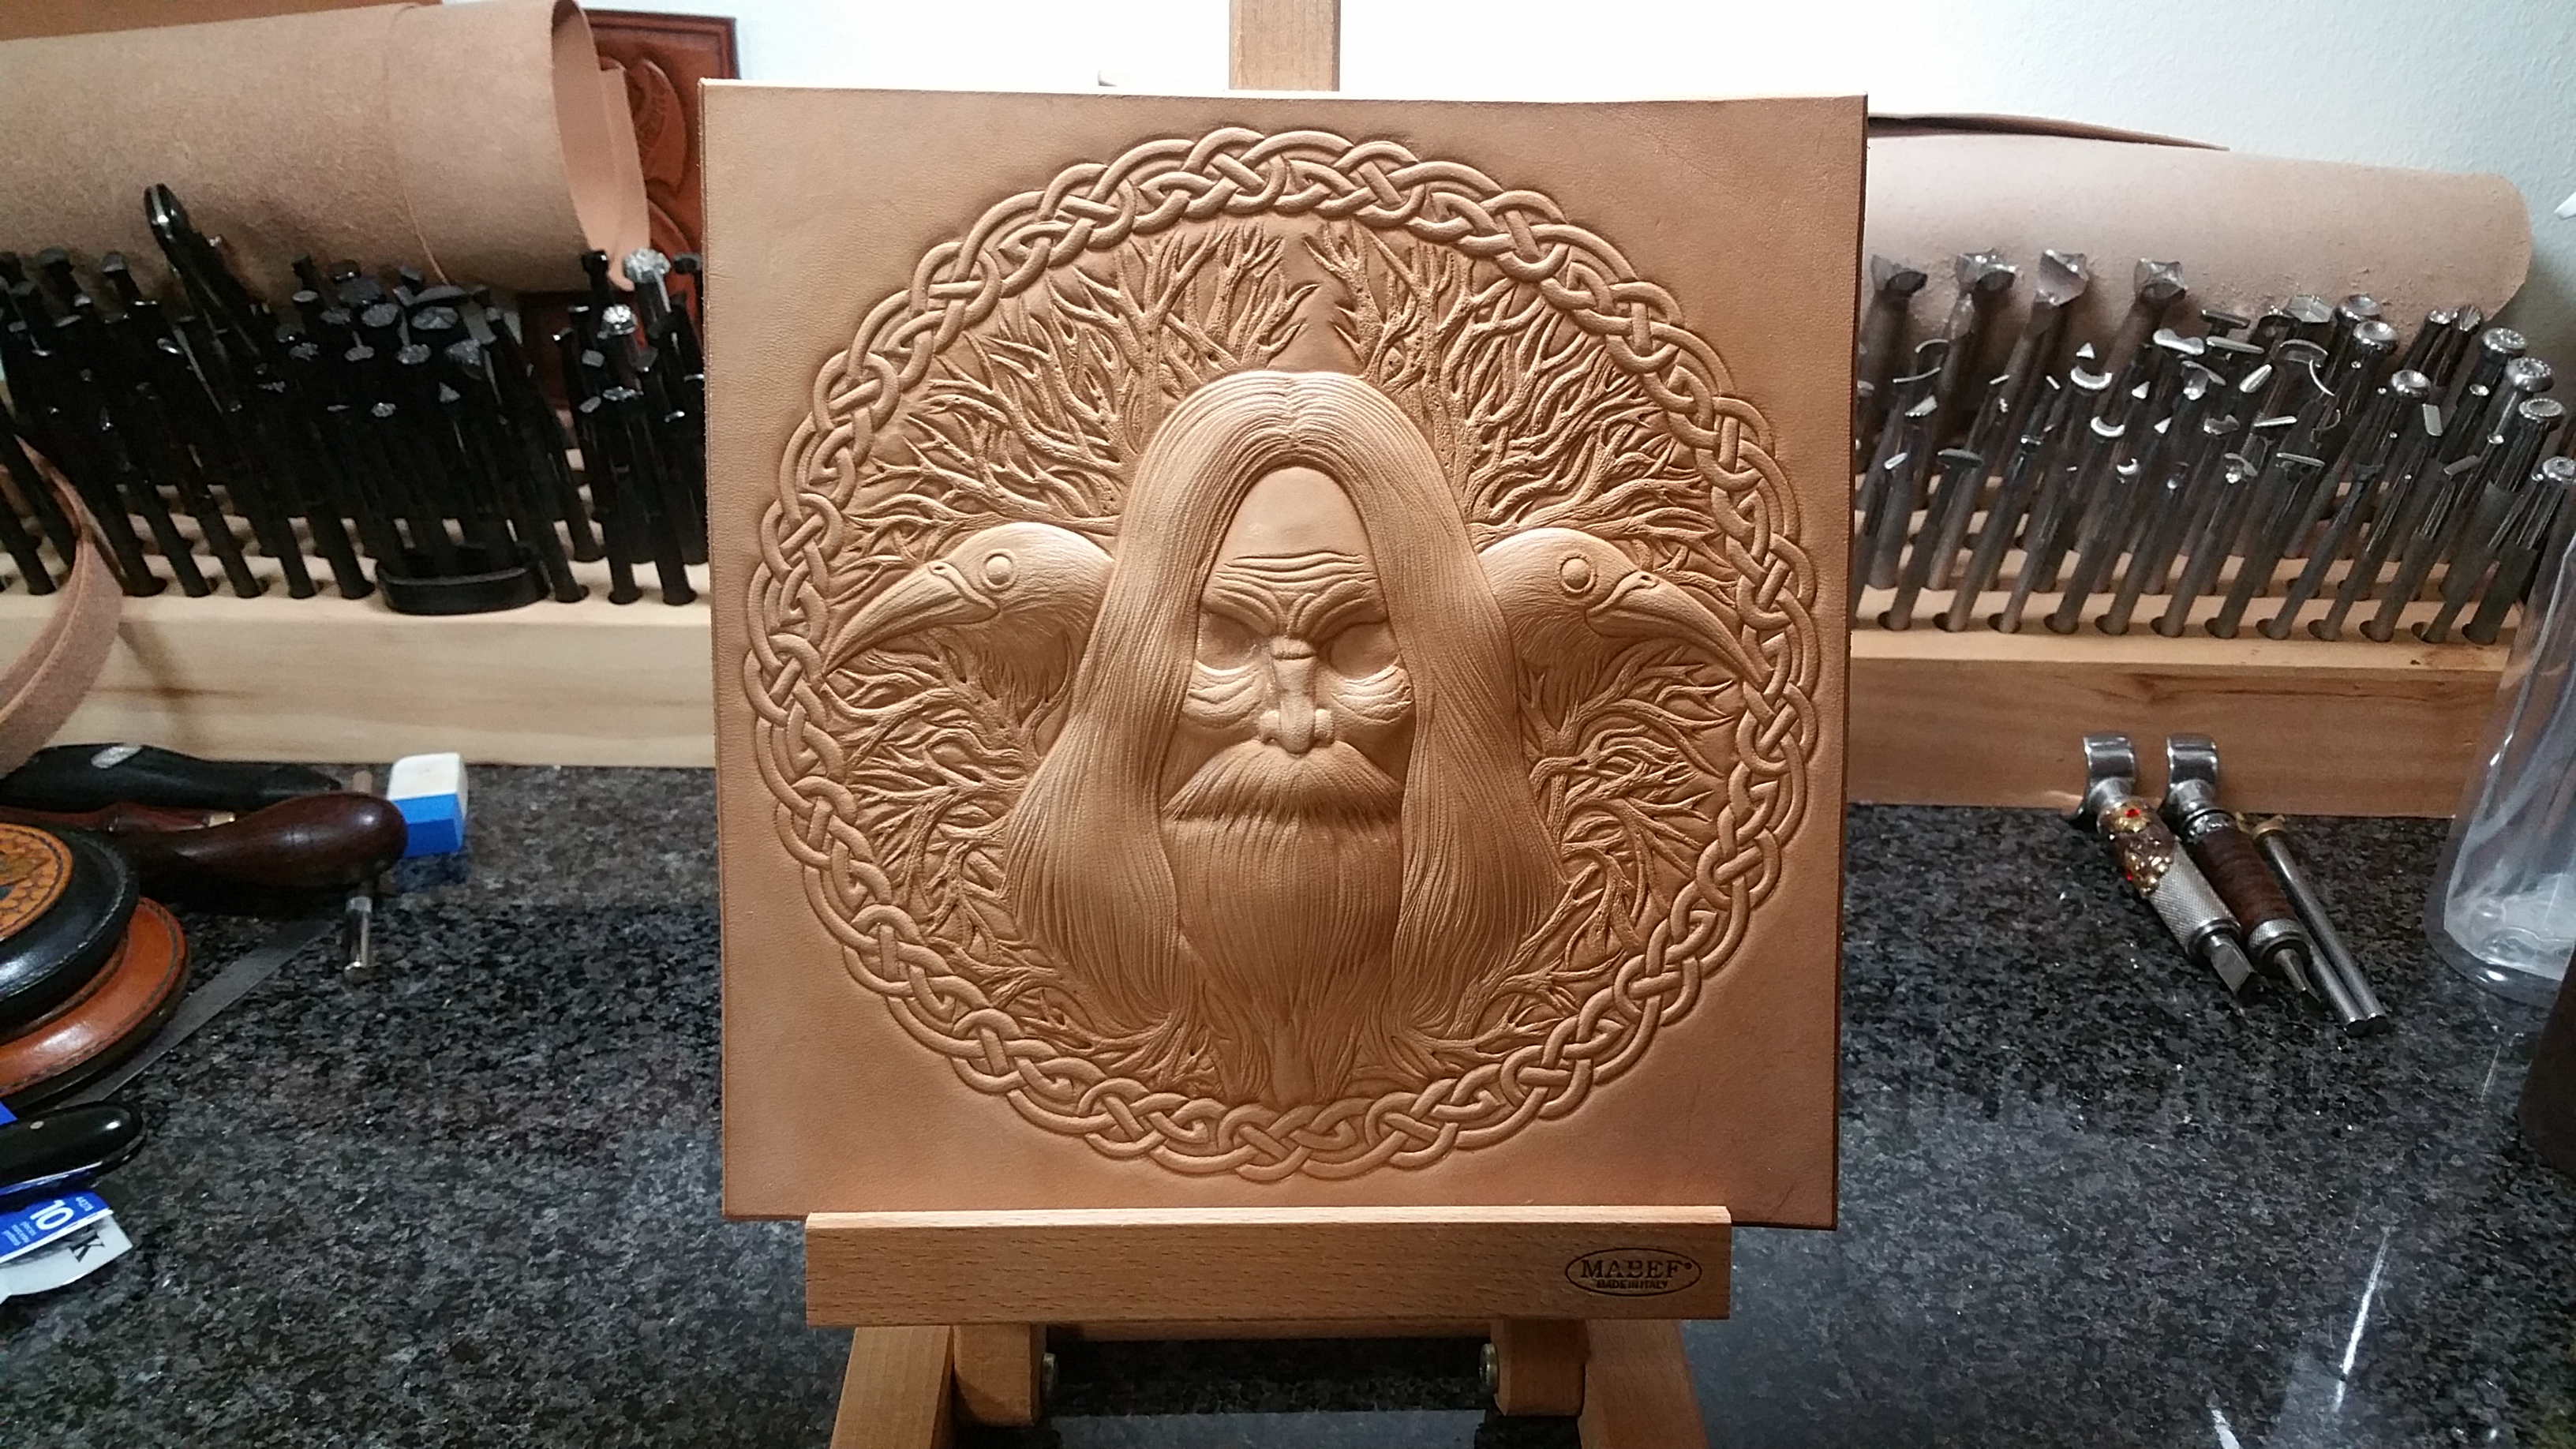
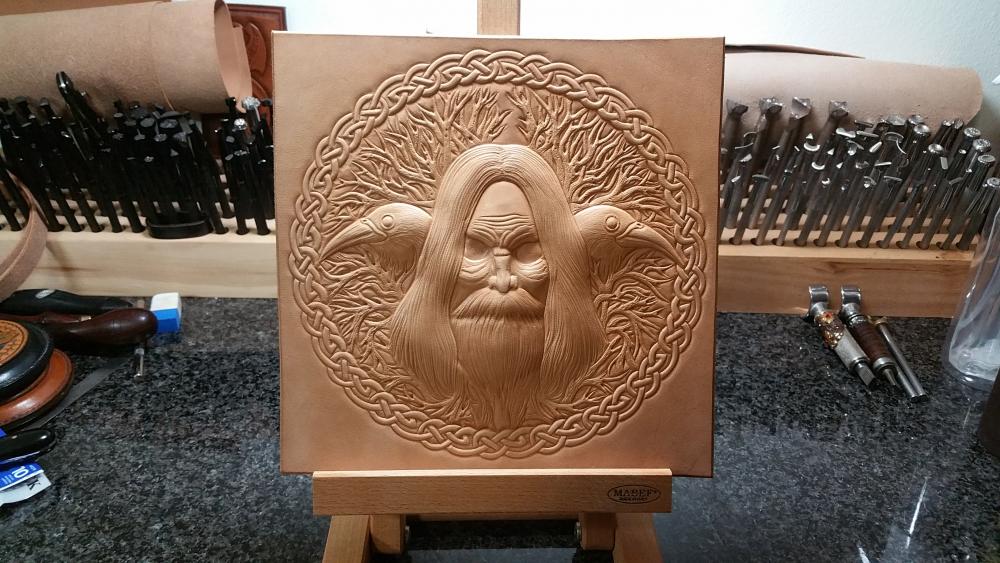
Thank you. I put a lot of thought into creating textures. Whether its with my backgrounding, beveling or features on figure carving, I find that subtlety with lectures can often be more convincing than heavy handed tool marks. For example, many folks use a mules foot to create scale effects and they pound them in deeply. A light touch that just leaves the shape of the tool in the leather is all you need to create a convincing effect. Snakes don't have deep gouges between their scales.
-
Yes. Its much like antique things. They were often decorated simply because the COULD, and they are beautiful on account of it, regardless of their utilitarian nature.
-
Well, you can only work on one thing at a time. Unless its waiting for glue and paint to dry simultaneously!
-

How did you get into leather work?
immiketoo replied to Rolandranch's topic in Leatherwork Conversation
Thank you sir. I hope that I have! Show us what you do! -
I love figure carving. It fascinates me, especially faces and the human form. Floral is cool but its a little rote for me. Use this tool here, that tool there. Formulaic. A face or faces, are infinite in their variations and subtlety, and capturing that on leather is the challenge I like. What about you? What do you like best about figure carving? I'd like to hear your thoughts. Do you hate it? Why? Love it? Tell us. Want to try but don't know where to start? Let's do this!


-
Feeling frustrated (example shown, critique needed)
immiketoo replied to Reindeer's topic in Figure Carving
Kathy is awesome and that is a great tutorial. Its even better live! -
First good work for a first attempt. Second, you can repair the blade you have by re-profiling the edge. If you don't like the barrel of the SK, id look at a new one, or an easier modification like athletic tape until you find a size you like and are comfortable with.
-
Nice work.
-
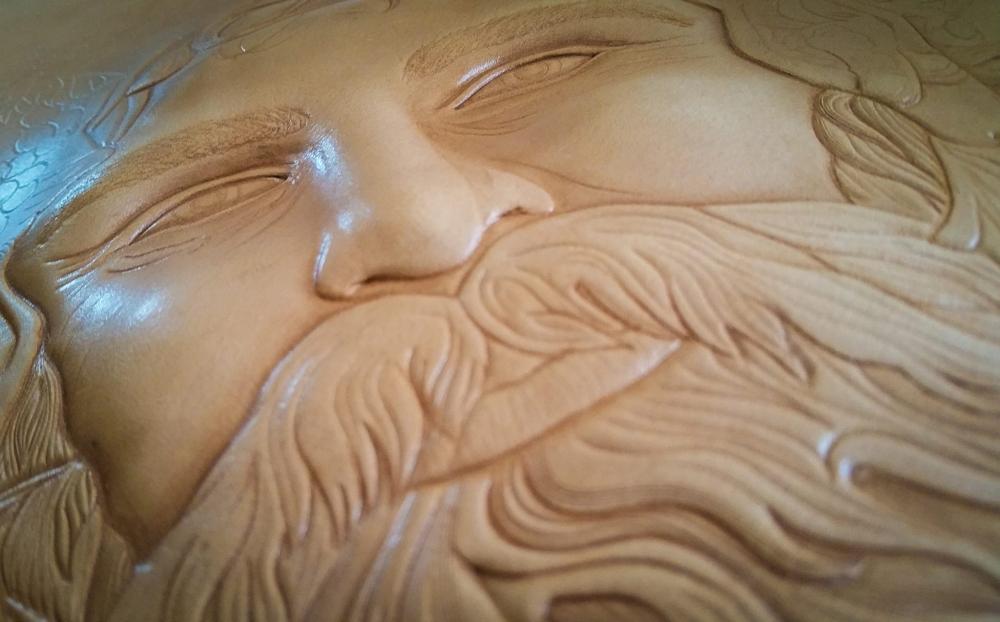
Don't worry, sorry for the VERY delayed response! I do not seal the leather before I paint it. I use thin paint to achieve the color and coverage I want. It is all done by hand, and the blending is done with my finger between colors while the paint is wet. I only use Golden Hi Flow acrylic paint because it has the characteristics I like for painting. There is a base color that goes on, effectively sealing the leather, then the blending happens on top of that. It also adheres nicely. All by hand. Blending with finger and brush while the paint is wet gives a nice fade. Over tooling is one of my pet peeves Thank you! Again, thank you! Lol...I say that all the time!
-
How did you get into leather work?
immiketoo replied to Rolandranch's topic in Leatherwork Conversation
Would have been cheaper than the original 600 bucks I'll bet! But the journey is priceless. I got my start from a career in law enforcement and carrying crappy holsters. My family is filled with creative people, and all I had ever been was a consumer. I got tired on not being able to do anything other than buy things, and so after having a conversation with my dad about the "holsters" he made when I was a kid, I was encouraged to go to Tandy near my house. A few thousand dollars later, I had my first beginner kit and a new passion. Like Jeff, I mangled hide after hide, trying to figure out this craft. Leatherworker.net was a huge help as were many of my friends in the leather world. I was so inspired by what I saw here that it drove me to improve my skills. I focused mostly on carving, because I love that aspect the most, but I have tried all sorts of things since then , and I love the camaraderie amongst leather folks. Some of the best people on the plant I say!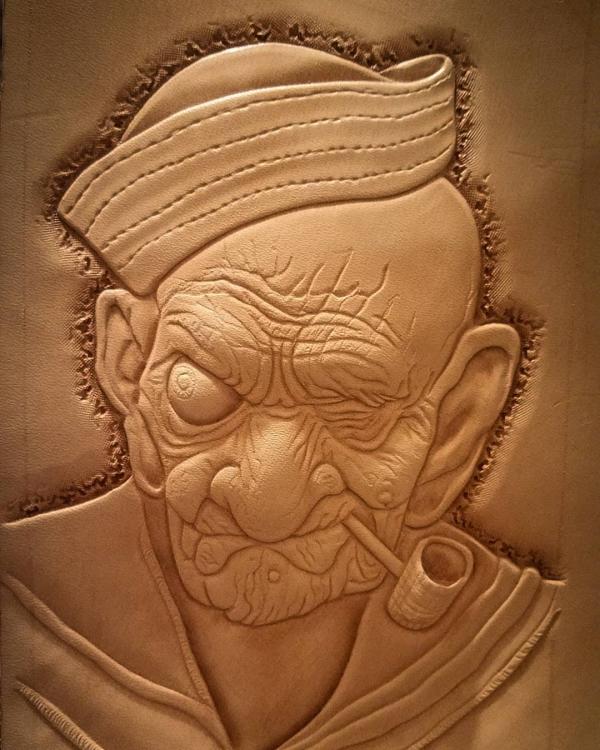
-
I have several classes about this on my website, www.learnleather.com. Introduction to embossing and Facial Features-Eyes both cover this topic. Intro is more comprehensive. If you want to ask me specific questions, I am all ears.
-
A simple photo editor on your computer or phone will allow it. You can also set the resolution on your phone or camera to lower, internet friendly sizes
-
Message the site owner Johanna. Only she has the power to completely remove you.
-
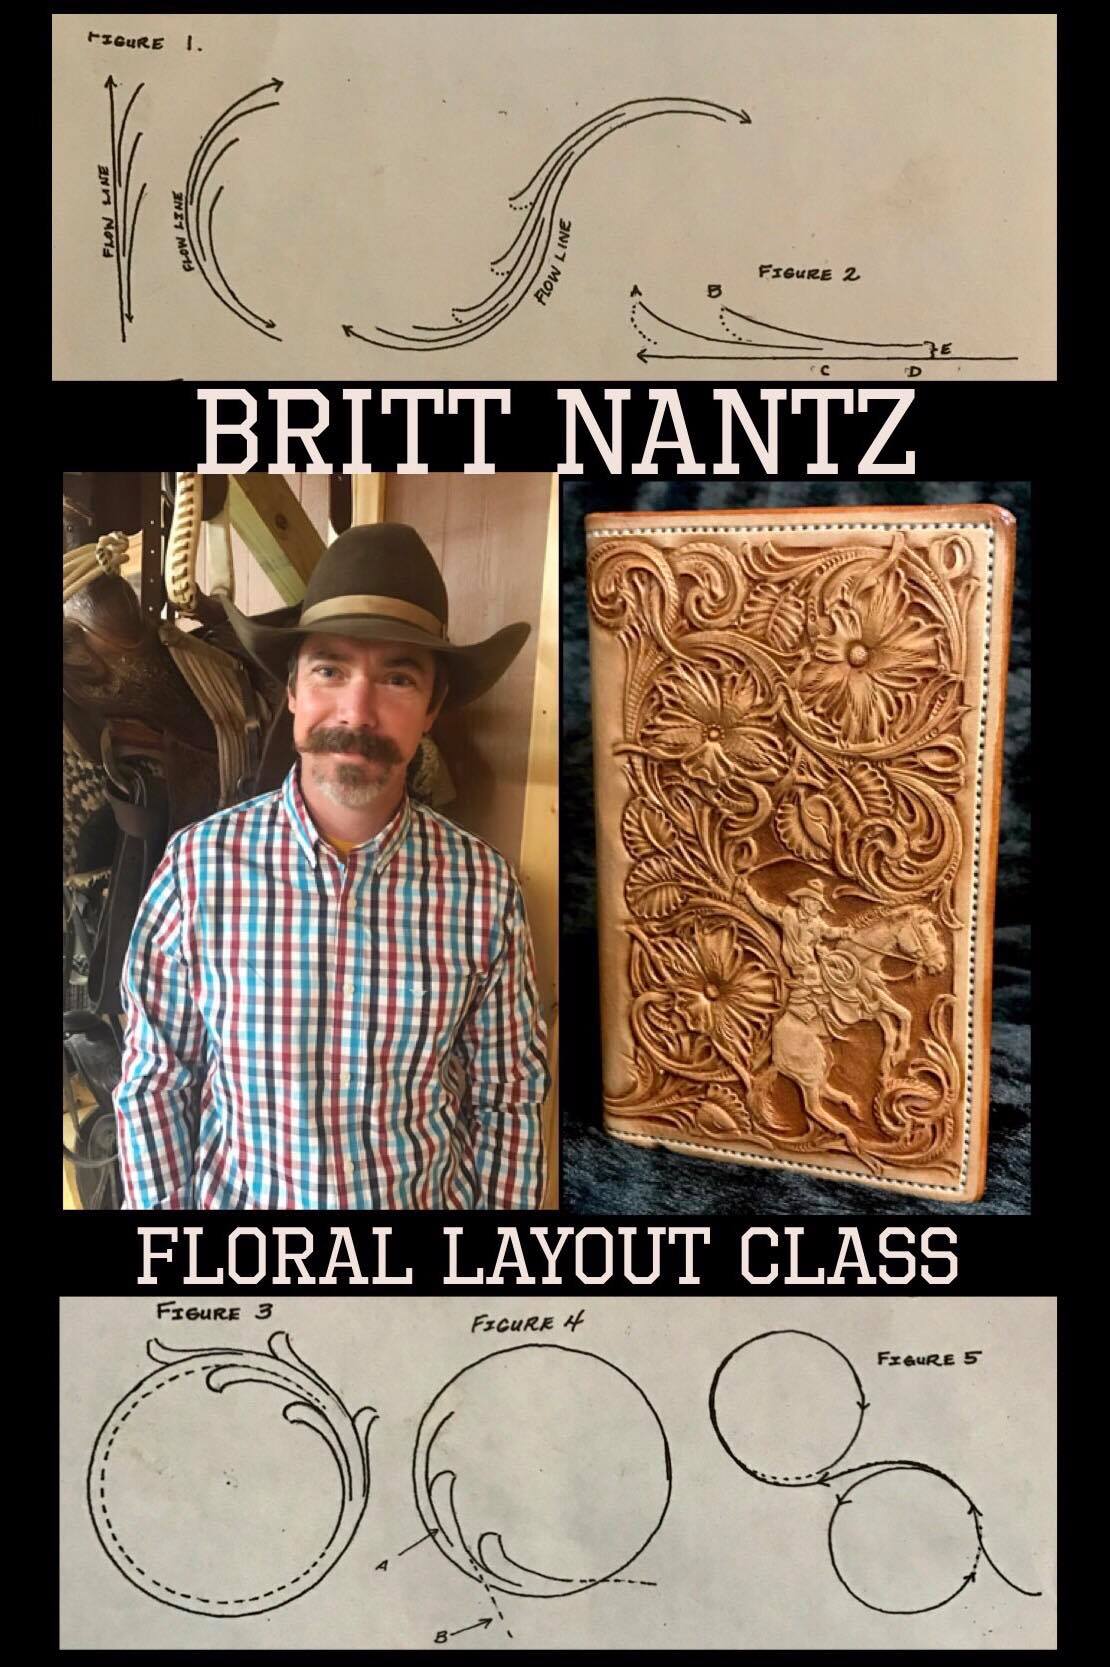
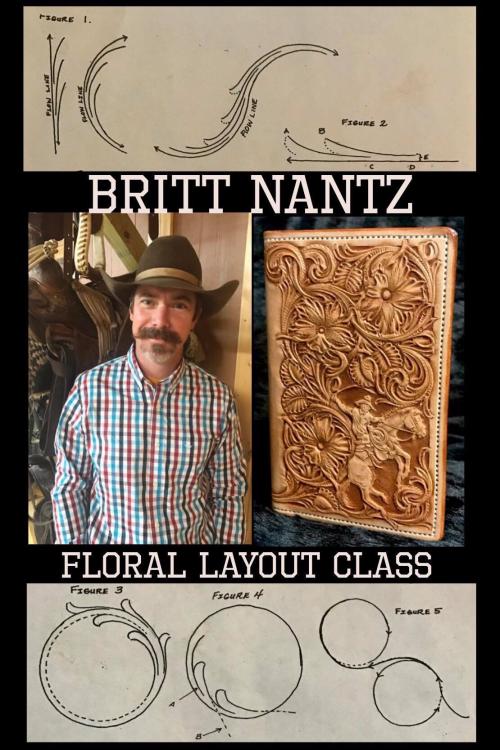
Class number two is in the books and will be available on the website soon. Join us for part three by registering with the link below! We have been full or nearly full in each class so remember to register early to reserve your spot! IF YOU HAVE PAID FOR ALL EIGHT CLASSES, YOU MUST STILL REGISTER FOR EACH CLASS! Britt Nantz will be teaching his theory and methodology of floral design and layout. Normally a two day class, Britt and Learnleather.com will bring it to you in your own home in one hour segments! Join us for part THREE of an eight part series where Britt breaks down his method in easy to understand foundation, upon which he will build in each subsequent class. Each class is $35.00 and this alone will save you tuition form his live class, and you can learn in the comfort of your own home! Class three will be held on Monday, November 20, 2017 at 8 PM CST. They will be approximately every two weeks until the series finishes. Britt STRONGLY recommends that each student attend all eight sessions as they build upon one another and a missed session could cause confusion later on. As always, you will receive a video recording of each class and have the opportunity to ask Britt your questions during the live session. Please register for Principles and Foundations of Floral Design and Layout - With: Britt Nantz - Part Three on Monday, November 20, 2017 8:00 PM - 9:00 PM CST at: https://attendee.gototraining.com/r/9102514105351211777 PART THREE Floral layout is one of the most popular styles for leatherwork around the world, and it is also one of the most difficult. Join Britt Nantz as he shares the secrets to his unique approach to floral design and layout. In this eight part series, Britt will take you from the absolute basics to the intricacies of master level layout and design. In part three, the foundation is finished and Britt will demonstrate how to add elements to the backbone and fill out the flow of your design. Britt will talk about negative space, balance and trouble spots. After registering you will receive a confirmation email containing information about joining the training.
-
ONLINE LEATHER CARVING CLASS ANNOUNCEMENT REMINDER! Part one of the facial feature series - Eyes with Michael Dale The eyes are the window to the soul. This is true in any art medium, and throughout history, eyes have helped artists capture the breadth of human emotion. Join Mike in this multi-part study on carving faces. Part one will explore how to carve realistic looking eyes. Mike will discuss artwork selection, realistic vs. cartoon eyes, carving techniques, tool selection, common mistakes and answer any questions you might have. This class is $25.00 and will be at least an hour long. As always, there will be a recording available if you cannot attend. Please register for Facial Features-Part One: Eyes on Thursday, August 17, 2017 9:00 PM - 10:00 PM CDT at: https://attendee.gototraining.com/r/3511349041589877250 After registering you will receive a confirmation email containing information about joining the training.
-
Rest In Peace Dear Friend- RaySouth
immiketoo replied to eglideride's topic in All About Us and Off Topic
Sad news. Ray was a staple for this site for the entire time I've been here. I will miss him. Rest in peace, Ray. -
Why not just line with more herman oak? Thinner than 9/10 perhaps, but go back to back and you're done!
-
1911 Pancake Holster
immiketoo replied to TrentonP's topic in Gun Holsters, Rifle Slings and Knife Sheathes
I just meant the news part. Not sure what the rest of the posts are all about. -
1911 Pancake Holster
immiketoo replied to TrentonP's topic in Gun Holsters, Rifle Slings and Knife Sheathes
Lol...so true! -
I agree with Halitech on the stitch line. I should work as is for a while with no issues. You can always add another stitch line inside the existing one to make it last longer. Also, I would suggest you clean up your belt holes by edging them and then burnishing. Otherwise, looks good.