immiketoo
-
Posts
2,372 -
Joined
-
Last visited
Content Type
Profiles
Forums
Events
Blogs
Gallery
Store
Everything posted by immiketoo
-

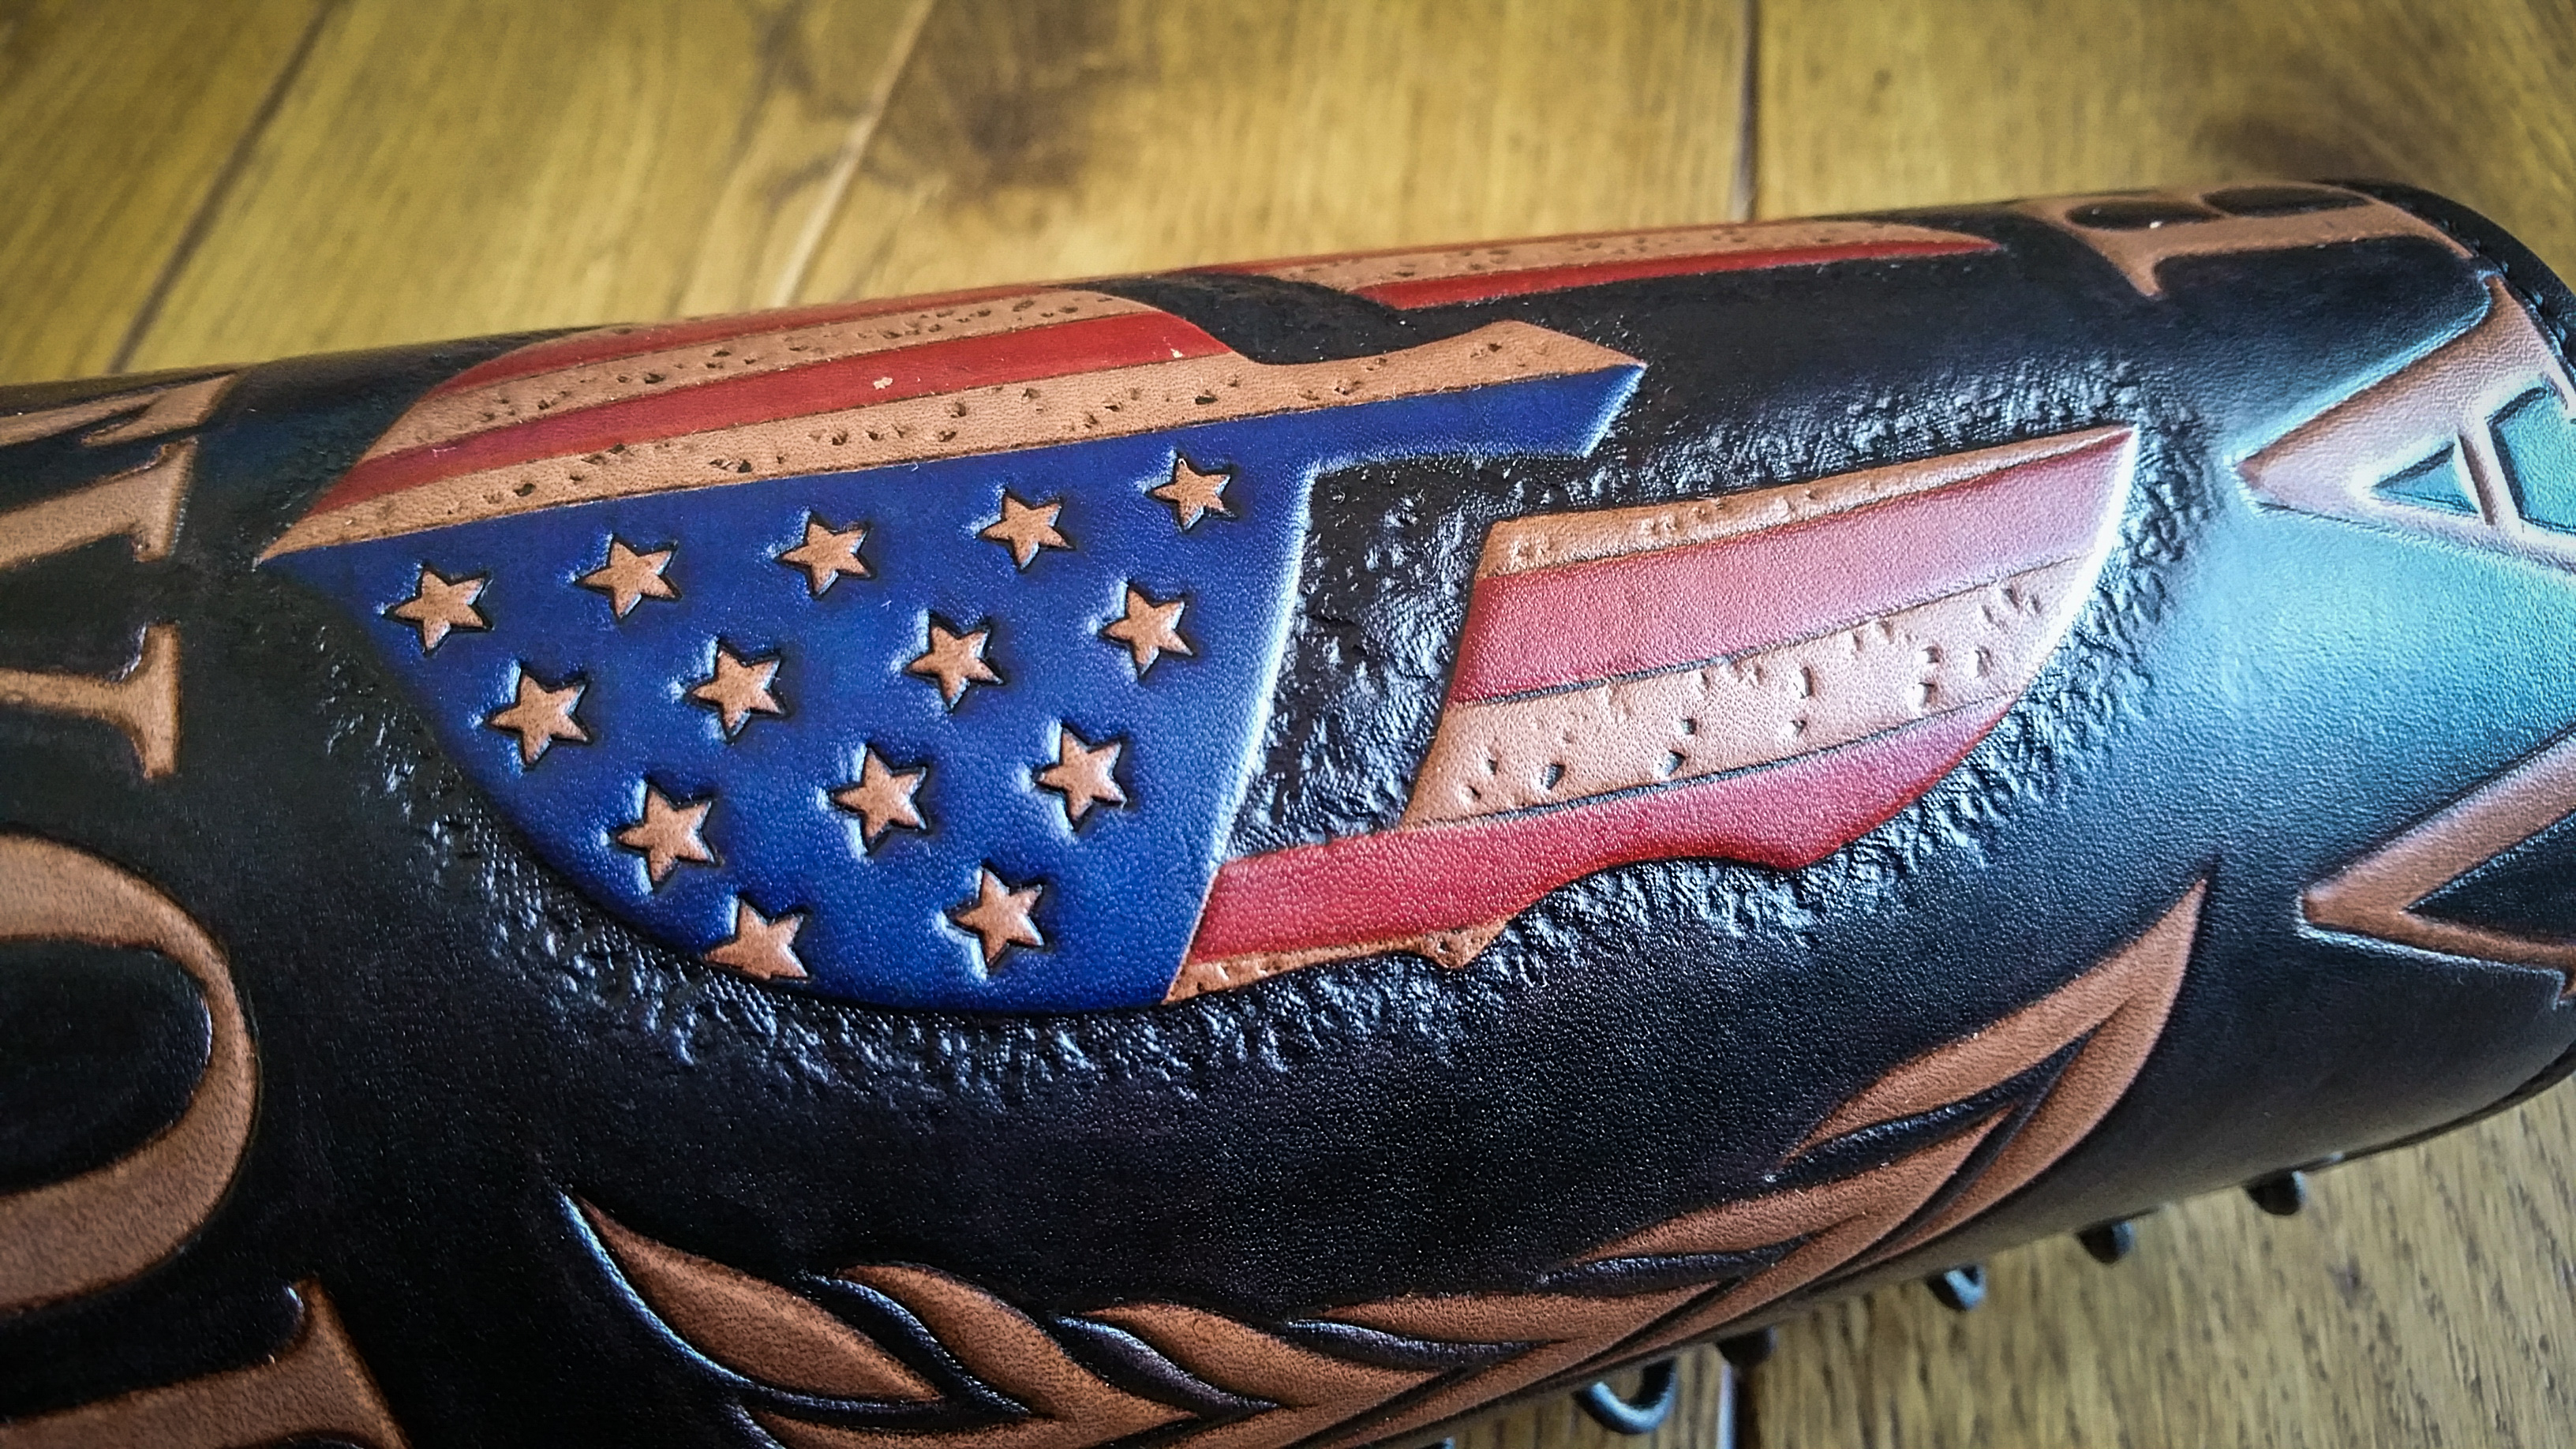
Custom armguard for injury.
immiketoo replied to immiketoo's topic in Collars, Cuffs, Leashes and Leads
Thanks everyone. This was a fun project. -
Agreed. Life changing.
-
I would be lost without my round knives. While you can get by with almost any sharp knife, there is a reason the round knife has been use in leather for thousands of years. It goes back to ancient Roman or Egyptian times. Cant remember which.
-
Lets talk about WOW factor in leatherwork.
immiketoo replied to immiketoo's topic in Leatherwork Conversation
And then break out their cash. There is emulating and there is direct ripoff. EVERYONE starts emulating someone at the start. Picking those you admire is natural. I did it, I still do it. Finding your own style is a nebulous topic. Apparently I have my own style, but I didn't consciously develop it, I arrived at it one piece at a time, until people started recognizing my work as mine just from the look of it. Don't worry, you'll have one of your own at some point. -
Lets talk about WOW factor in leatherwork.
immiketoo replied to immiketoo's topic in Leatherwork Conversation
Yes. What I find interesting is that as time passes, there are folks I look at and STILL can't figure out how they do it. Always someone better at some aspect of the craft. -
Cool. That is info I didn't know!
-
Show & Tell: 3-D printed corner supports for sewing table
immiketoo replied to Uwe's topic in 3D Printers and Lasers
I tried that once, its a lot more complicated due to the precision needed for wet molding. Even the slightest error in the file can make the gun not fit. @Uwe, that is some cool shit right there. I want one of these devices but I worry that the learning curve on the software is too high. -
I think the Sieck is probably fine. One thing I'd check is if its a single motor or dual motor, meaning does the bell spin at a constant speed. This makes a big difference in overall performance, but I think its only on the more expensive models. I am in the market for one of these in the next year or so, and I am debating this as well. I would opt for a new high end if the money is there, but if not, I'd opt for a new Chinese made model before I got an old anything.
-
I see a lot of people concerned that their leatherwork isn't as good as so and so's leather, or that they wish their tooling was better or their stitching, etc...In my travels both electronic and in person, I have seen a LOT of leather by different people. Some is fantastic, some is crap (more on that later) but a wide swath in the middle has the greatest variation and potential. Often, something catches my eye and makes me say WOW! Upon closer inspection, the tooling has flaws, or the stitching isn't perfect. Edges? Rough...but. The totality of the package makes me want to keep looking. The design, or the use of color or some intangible factors that combine to make a product that I would be proud to carry or use. Don't sell yourself short by comparing yourself to anyone else. I guarantee you these wow factors are selling like hotcakes because most people that aren't leatherworkers can't see the flaws anyway. I live in a high tourism country and I see all kinds of crap. Cheaply made, but made to look good. People buy it. Makes me cry, but such is life. I'm not suggesting that we shouldn't try to improve on the areas that need it, but be proud of where you're at. We ALL started somewhere and it usually wasn't good.
-
Alternatively, you could call Martin Sharnagl at Die Ledermacher. He carries Cobra Leather Machines in Europe, and they have excellent service. http://www.ledermacher.de
-
If the sieck is in your price range, I'd say go for a new machine. This design has been around for a long time, and I would suppose parts will be available as well. You could always buy some stock of the consumable parts and hope you guessed correctly. However, if you're considering a bell skiver, I'd say buy a good one even if you have to save for a while longer. Tough choice.
-
Custom armguard for injury.
immiketoo replied to immiketoo's topic in Collars, Cuffs, Leashes and Leads
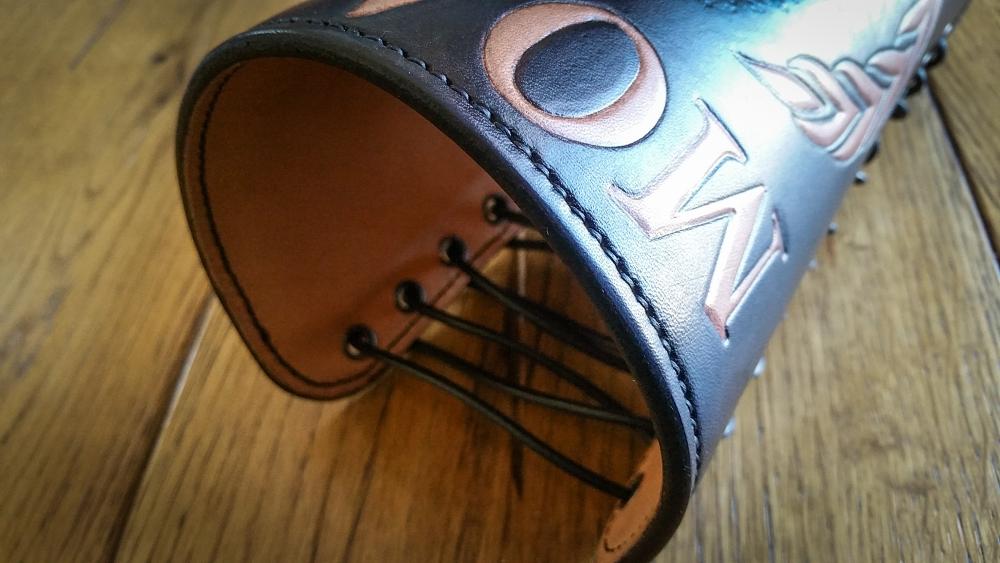
There are a lot of easier ways to close these and I suggested all of them. The customer wanted the lacing, so he got the lacing! -
For me it depends on the size of the lettering. Larger then half inch, I cut. Smaller I only bevel.
-
Lol! Hey Bill, that one IS a tree branch. I ordered the very first Leather Wranglers SKV Britt Nantz collaboration knife. its the one that says MD on it in the middle. Paul and Britt sent me this knife as a joke after I ordered the other one. When I opened the box, I laughed my ass off. Surprisingly, it cuts very well, but only in 90 degree corners
-
You're welcome. Also, feel free to ask me any questions you might have about tooling or whatever. I am happy to help.
-
Sadly, that's not even all of them. Somehow I keep ending up with more.
-
One of the first things I learned (the hard way) was patience and letting things dry completely. It sucks to have to wait but then there are no issues down the road.
-
Custom armguard for injury.
immiketoo replied to immiketoo's topic in Collars, Cuffs, Leashes and Leads
Thanks man...He does think its cool! I am particularly fond of the padding. Craft foam...who knew! -
That is actually a cool idea. The only issue I have is if it will scratch your leather. Sometimes I tool a lined piece so the smooth side would be damaged by the paper. I use the lead weights described above.
-
Retail Shop Front Vs Workshop/unit
immiketoo replied to Handstitched's topic in Leatherwork Conversation
Retail spaces are money pits. If it were me, I would ask for guaranteed revenue for displaying their product in my retail space since they have a requirement. You should too -
Sorry for the hijack! Yes paid content can be contentious topic to some. The reality is this. Its all out there for 'free' if you're willing to spend the time to search for the good stuff and money to buy the books where all the free information is. Then, you need to apply that reading or viewing to leather. What I can tell you is this. Take Al Stohlman's figure carving finesse book. I bought it year one. 20 bucks at Tandy. I read it. I tried the techniques. My carving looked nothing like Al's. Then I practiced for a year. Read it again and I was amazed at how much more I got out of the book when I had more experience. Then I read it again a year later and again another year later. Each time I got more and more out of it because I had grown as a tooler. Now, take into account that not everyone has the time or resources to follow that path. There are wonderful tutorials here, and I have learned from them as well, along with solid advice from the members here. The paid part is where the instructors I use have decades of experience in their respective areas of expertise. Many of them are Stohlman award winners or industry leaders in their own right. They are professionals. Each of them can distill their years of experience into highly focused segments where you the viewer gets exactly what you need to help you make that next jump that took them years to figure out. Sharing what we have learned is essential for the craft to grow and flourish. I probably have 15 private conversations with people on FB or LW at any given time where I am sharing information specific to their needs. I don't mind at all. However, to do a comprehensive video on a topic that takes an hour to an hour and a half requires a considerable amount of work. As an example, the video I shared above is like 15 minutes, but the processing took an hour or more. The longer the class, the more work it is to edit and process. There will always be folks who don't want to pay for knowledge. That's ok. There are many paths to enlightenment, as they say.
-
A few projects the last couple of months
immiketoo replied to A Finch's topic in Archery Quivers and Bow Cases
Welcome. -
One of my customers had a severe injury to his arm. Shattered the wrist and forearm bones, and now, even though he has had surgery to repair it, he has increased sensitivity to touch. He asked for an armguard that would protect him from bumps and scrapes that we take for granted. This is a lined piece with a foam layer in the middle provide added absorption to impact.


-
Incidentally, here is the finished piece from above.

-
Its funny you mention that. I actually have a website with a video class on lettering. www.learnleather.com. Its not free, but the prices are reasonable and there is a TON of good content about carving. Here is one of the free videos I have done. Please check it out...