toxo
Contributing Member-
Posts
2,263 -
Joined
-
Last visited
Content Type
Profiles
Forums
Events
Blogs
Gallery
Store
Everything posted by toxo
-
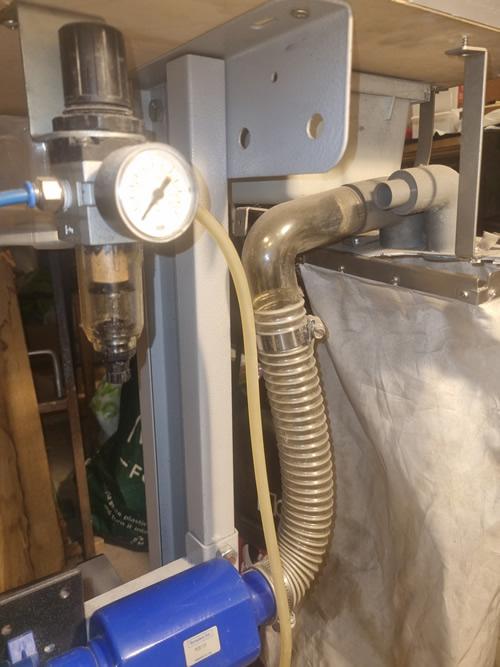
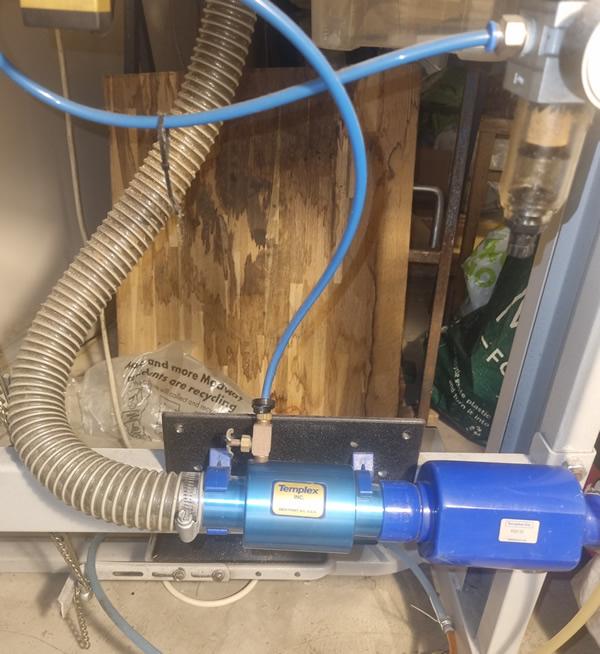
I'm made up me. Tried my little "Henry" vac which is very good. Undid one hose clamp and the end of the Henry was a beautiful push fit and it fitted in the available space like it belongs there. Literally within ten minutes I took a short vid to see if it was working. Watch this space.
-
I will admit to learning most of this stuff as well though forgotten most of it. Never used the try square one but used the compass method a lot. Also using a small leather patch to put the point on works as well. As an aside, talking about learning stuff, I needed the learning at one job I did. I was given the drawings of a water heater to accompany an enormous on site concrete mixer to cold climates. Was 9ft dia and a little taller with a chinese hat roof. Because my face didn't fit I had to make everything out of scrap 1/8th plate so lots of cutting and welding before I could even start. The fun started when the drawings only gave the apex of the roof so with only the radius to go by I had to make the overall diameter and then work out how much of a wedge to cut out to arrive at the required height. Good job I thrive on that shit.
-
Not talking about bending it. Were talking a quarter of a millimeter. A gentle tap is all that's needed on the end. Nothing to lose but if you're not comfortable...
-
I used to wonder what all the fuss was about vacuums when I first got my skiver until I had a piece of waste wrap around the feed roller and ruined the piece I was working on.
-
Thanks Keith. I was actually thinking about those smaller types for the size and bagless because we're not talking dust really. I'm beginning to see the end of this.
-
Looks like a great setup Tom. They've done an excellent job.
-
Thanks peeps. Isn't it great to have peeps to bounce ideas around. I've had a couple of thoughts (didn't hurt much). Firstly, a compressor system can't have an on/off switch if used with a receiver and secondly, a dedicated vac would be cheaper than a compressor. So, thoughts on the right vac for the job? I used to have a shop wet/dry from Karcher with a plug socket incorporated so when you started your sander/planer etc it would automatically start the vac. But as always, cost is a factor so it wouldn't kill me to bend down and switch a normal vac on. Belay that. Just realised the way it's wired up is just more problematic so just a normal vac then.
-
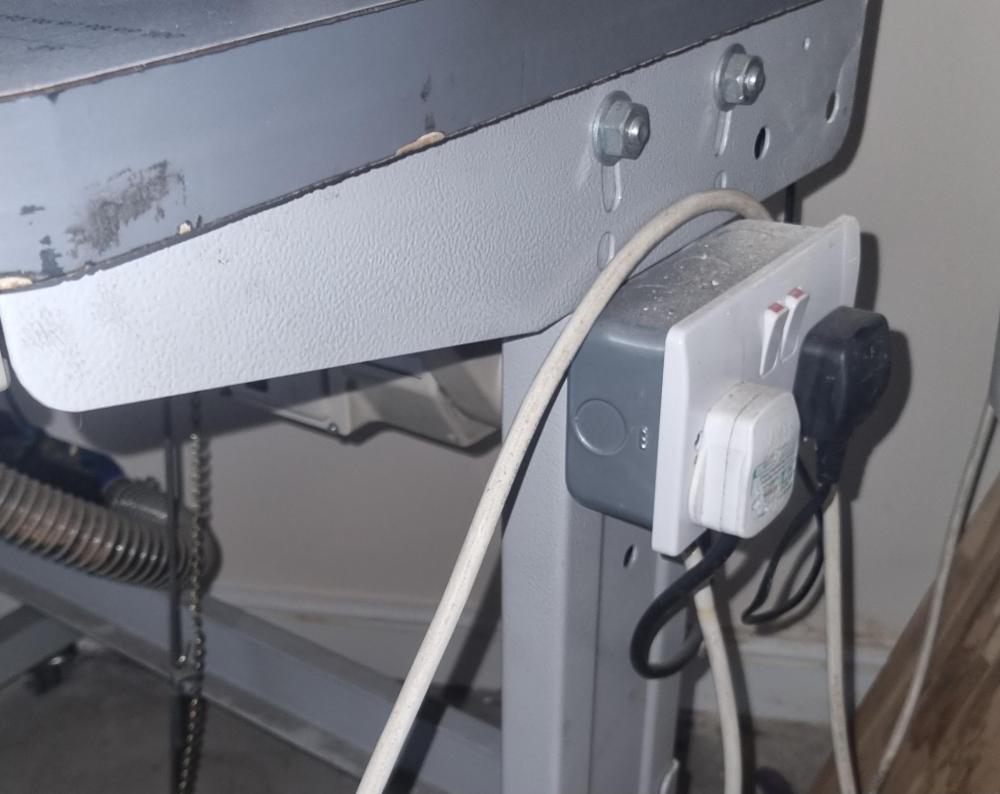
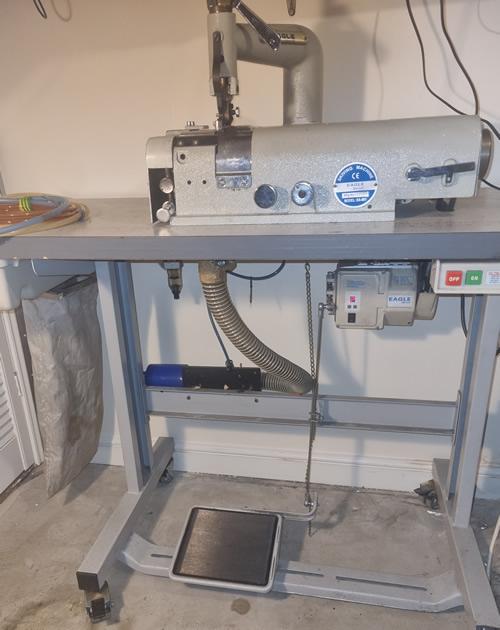
I've had my 801` skiver for a while now and never given it enough work to worry about the vacuum system. Having said that it has been nagging at me in the recesses of my mind and I'm now thinking I might get off my arse and feed it enough work to warrant sorting it out. Trouble is I know nothing about it or vacuum systems in general and I'm hoping some of you guys can help me out. It's compressor driven and I have no idea how much compressor it needs to work. I have a 50litre one in my little garden shed but it's too noisy. (I have old guys either side of me). So I'm looking for the smallest silent compressor that will do the job and double as an airbrush compressor as well. Tomorrow I think I have a long enough hose to at least make sure it works. I know I could rig up an ordinary vacuum but it would irk me if I didn't at least try to get it working. Any thoughts peeps?
-
That's annoying but as you say it's usable. If it's aluminium you should be able to clamp the v in a vice and give the edge a gentle tap in the direction of where it needs to be.
-
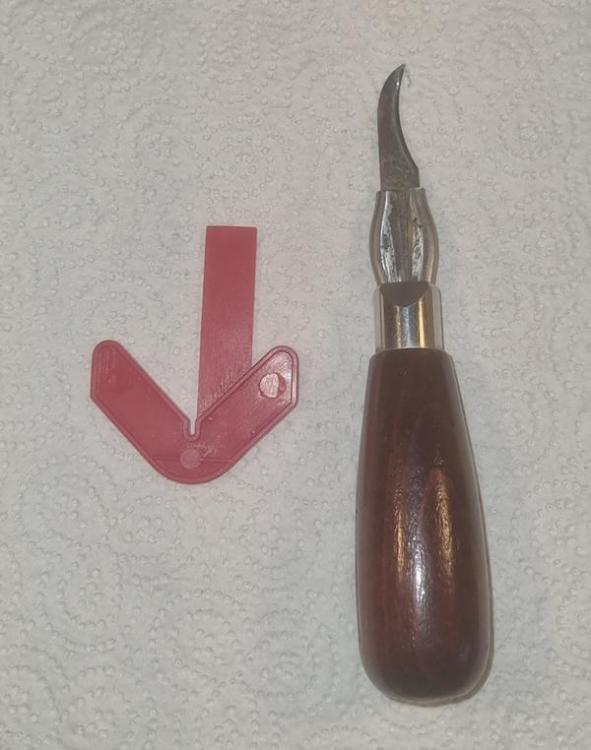
How many times do we punch out a circle or draw around something to get a circle and then find that we don't have a center to work from? If we draw the circle with a compass we have to deal with a hole in the middle. I determined to get a center finder for this job so earlier this year I bought one online and as usual I didn't pay attention and this turned up. So I went back online to look for one like I used to have on my combination square. I bought one with a center finder on it and this turned up minus the center finder. They did refund my money and told me to keep the junk. At this point I decided to make one, it's not rocket science and I had the welder out already so I found a couple bits of steel and set to. It's ptretty much there already but when I'm sure I'll weld it properly and might even put some paint on it. Happy days.
-
Haha! A gloved hand over it also. Was a fabricator/welder by trade many many years ago. Before the days of the mighty mig I had a season ticket to the eye hospital to get stick welding slag out of my eyes, Probably why my eyesight is poor now. I'm so impetuous that sometimes I feel like an Aussie
-
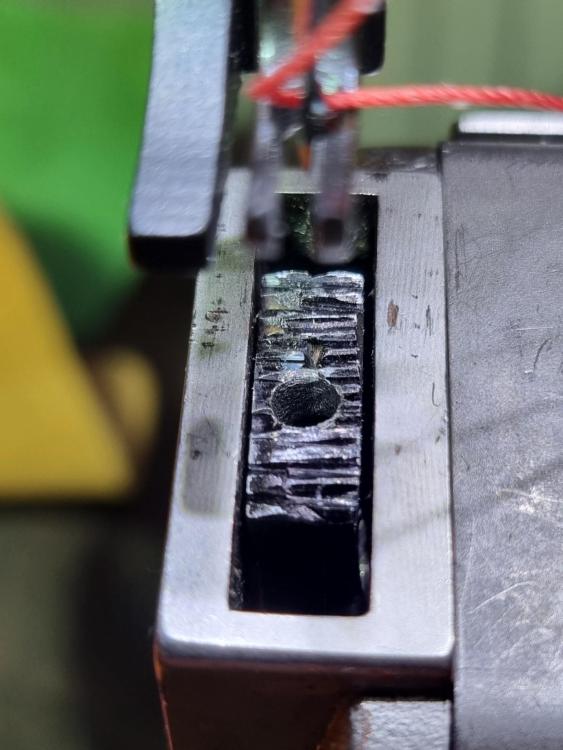
Wish I thought like you Folker. Didn't realise these parts were that generic. Will definitely look into that but need to see some better photos. There's hardly any space under the hole for the needle. If you look closely you can see the metal has been dished out to allow the needles passage. On mine the dish only goes half way so the left hand side of the needle is almost touching the feed dog at the bottom of the stroke.
-
Dug out the little mig. Mitigations first lol. Old guy with failing eyes and shaky hands. No helmet cos the two that I have are probably over the road in the garage but being the impetuous fool that I am did it with eyes closed so not pretty. Plus exhausted after spending half a day picking up daughter from airport.
-
-
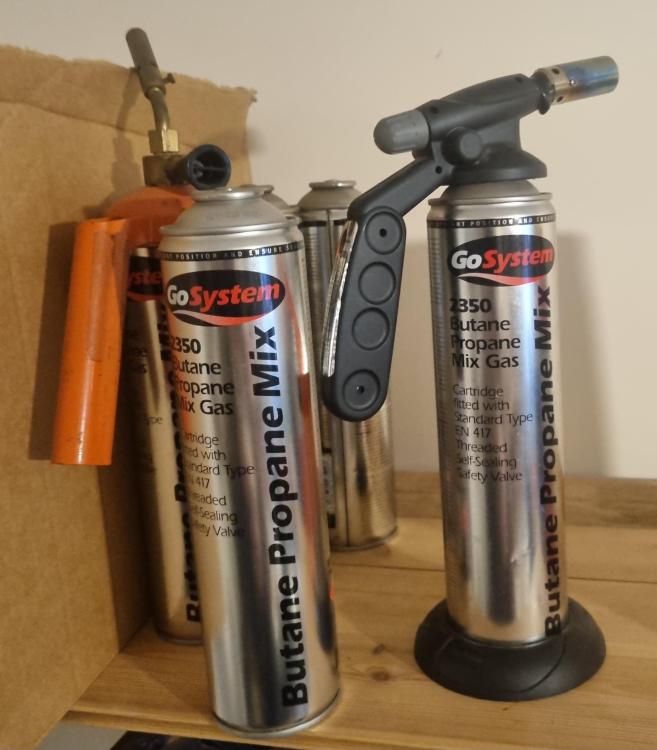
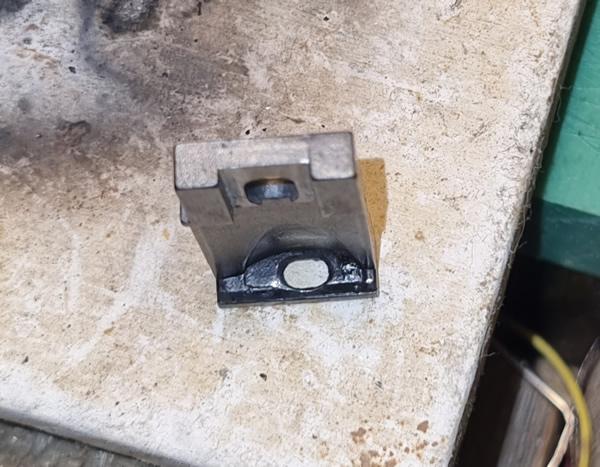
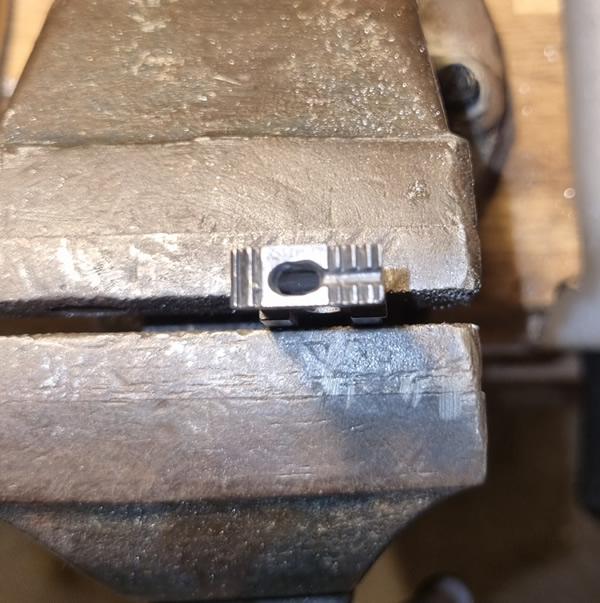
Just sat down to utter some words that are alien to me. "I can't do it" Got some silver solder wire (thin) and got some tiny silver solder squares. Tried em both, separately and together. Two lots of easy flo flux powder and three or four other solders. Tried em all. Part of the trouble is that it's a straight through bore with nothing to hang on to. Tried all temperatures. Tried packing the hole with aluminium but it didn't like it. Pic to follow but I'm thinking about breaking out my little mig welder that I haven't used for about 4 years. Hopefully some Argon left in the bottle. In extremis I could screw an oversize screw in there and drill through that. Seems like I'm making a fuss over this but the Adler 69 has gone and if I can get this new machine to sew thinner stuff I can get rid of the Durkopp 239 because I really am short of space.
-
Don't we just love fettling. Good job.
-
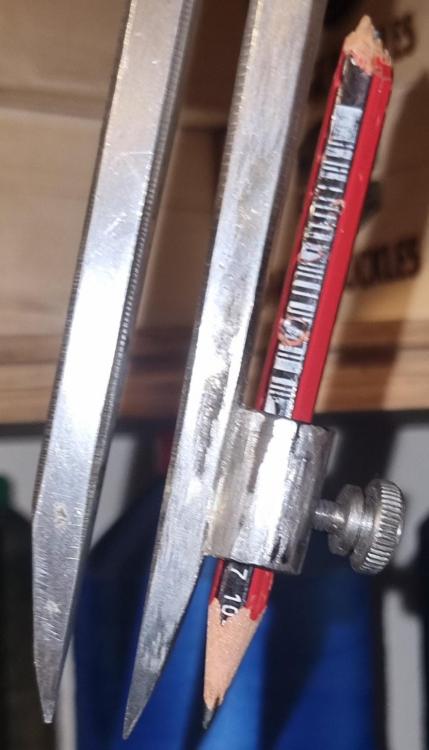
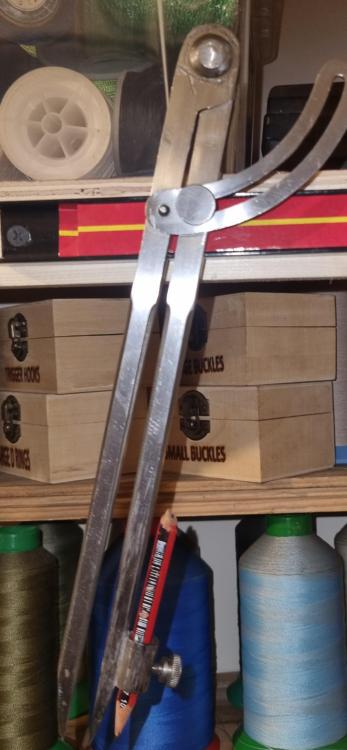
Thanks guys but if I'd had my wits about me I'd have not used the original pips and angled it a bit so it would have worked better at wider circles. Now I know how good silver solder is I'll make sure I'll do it a bit differently when I work out how to put a blade on the second one.
-
Never had a big bobbin before. Just going on the size of the ones that came in the machine. There's a bit of movement when I press down so I'm thinking the extra .4 will be OK.
-
No worries. Just hoping the 11.4 will fit.
-
I'm thinking I don't have to fill up all of the hole so I'll try to cut some small discs and jam them in from the top.
-
Just what I needed to know DT. So, an aluminium can then?
-
Having recently bought some silver solder I decided to have a go at repairing my dividers. I have two pairs and the bit that holds the pencil broke off on both of them. So far I've only found one and it worked a treat. I'm so pleased cos now I can do big circles again. I'll try to find the other holder cos I used to have a blade in that one for cutting.
-
Great find dikman. It's good to have a choice to experiment with. Just this week I cut a bag out of some leather I hated the colour of and tried different colours. red came out very well.


