toxo
Contributing Member-
Posts
2,261 -
Joined
-
Last visited
Content Type
Profiles
Forums
Events
Blogs
Gallery
Store
Everything posted by toxo
-
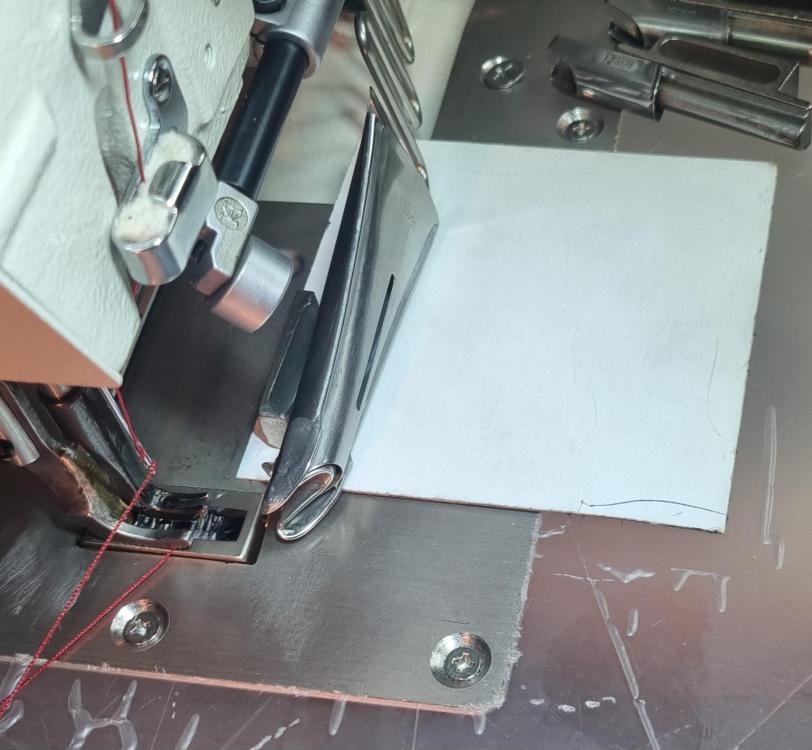
I'm sure I'm not the first to ask this question but this binding business seems to be more complex that it needs to be so I must ask this most knowledgeable hive how to do it. I can get a needle plate and feed dog from China for a very reasonable price and I can fashion a presser foot out of an existing one.but I'm still waiting for an answer as to how to attach a tape folder to the sliding bobbin cover which has no holes in it. I've come up with an idea but I have to ask you guys if you think it will work. Instead of mounting a folder on the bobbin cover, I'm thinking of mounting it on a steel plate and then fixing the steel plateto the flatbed attachment which is rigid enough to work. Here's an idea of how it would look with a piece of white card where the steel plate would go. What's the verdict?
-
If you haven't already, you might check out Leather Patterns by Dieselpunk.ro or Tony See. All his patterns usually come with a detailed video. He also has a world wide group that's usually lively.
-
Rayna pretty much did the same thing. Couldn't do enough. In fact I've just asked her if they do a pre-drilled bobbin slide plate thingie to take a binding attachment. (Does anyone know?) Re; the code, you might get some English out of it around page 70.
-
Feed Dog movement isn't smooth - Triple Transport
toxo replied to marinicarlo's topic in Leather Sewing Machines
Definitely out of sync. Maybe you jammed it up at one time and threw it out. You need to do two things. 1st, find out what's making that noise and 2nd, go through each stage of the sewing procecess and make sure everything is as it should be. It's easier with a manual of course but many things are common sense such as the feed dog having clearance all the way round in foreward and backward positions. Is the needle clear of the hook and does the hook point reach roughly just above the needle eye at the right time? Usually when the needle is on the rise. Needle and presser foot bar adjustments for each machine are above my pay grade I'm afraid but the big guns will be along shortly I'm sure. Good luck. -
I feel like we're brothers-in-arms having bought a Jiang Long 341 directly a little while back. Was it Rayna that you dealt with? Might be worth scanning that barcode thing on the side for a manual or at least a parts list. Good luck with it.
-
Go here. There are two main types. One comes out white straight away and the other takes a second to appear, then turns white and disappears when you put a hair dryer on it. Temu | Search leather white markers
-
Welcome back Bob and I agree, teaching is great.
-
Nice job! Did you make it from a pattern? Good job either way but I know how difficult complex bags can be without a pattern and how much forward planning goes into it. Also how difficult it can be to line things up with no straight lines. Lining up that bottom strap with the side straps to allow for the piping for example. These big makers that have a different machine set up for each part of the process have it easy. It's a bit different when you have to set your one machine up differently for different parts of the processes. Well done.
-
For the machine nuts out there. (4) Marketplace – Willcox & Gibbs Antique 1871 automatic silent sewing machine with instruction booklet & original bo | Facebook
-
I don't think my brain can process this properly but I do know that the distance between two points on a curve is different compared with the same two points on a straight line if you are manipulating the leather by hand. The best machine I've seen for curves is a wheel foot machine rather than a walking foot.
-
Don't think it matters how you got there but you might have made a banging push knife and an excellent overhand drag knife (if you roll that way). Well done.
-
I'm guessing the spring has something to do with it. Needs a spring to pull it back up.
-
-
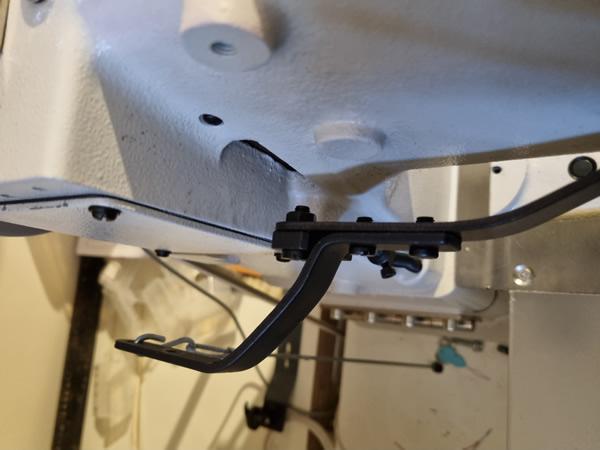
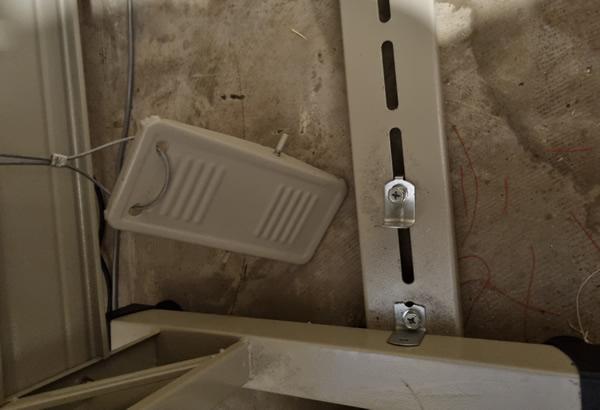
HaHa! I've just done the opposite and changed the pedal to a knee lift. Mine is a clone but the original had a chain that went from the bit at the back straight through the table to the pedal on the frame.
-
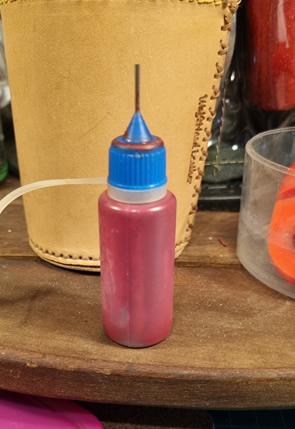
Beginning to think you're winding me up SUP LOL. Not about punching through the wax. Get one of these bottles (cheap as chips). Take the top off, put wax inside, put in microwave for a few seconds, put top back on and run along the stitch line or groove. Simps.
-
This is not about the thread SUP. It's about pulling chisels out of leather after punching. I don't do much hand sewing these days but when I did I did use both methods to make the pulling easier. Rubbing a bar along the stitch line is fine on a paper pattern before punching but doing it on the actual leather may interfere with whatever finish you want to put on. What I'm talking about above is just a way to contain the wax to where it's actually needed in a very thin line thus negating the need for any other waxing.
-
Have no idea how much 17000 Rand is but this is on facebook. ORYX OR341 cylinder arm leather sewing machine. Almost new. Done 1 project with it. About 30 hours sewing time. Not fit for my purpose as I do not foresee having a need to sew M8 size thread or thick leather again soon. The Oryx is a differently branded Cowboy and is renowned for its durability and quality. It comes complete with torque converter for thick material and speed control, piping and left/right zipper feet and manuals. Also a makeshift flat bed for sewing larger flat pieces. Price new with extras about R22000. I'll look at offers around R17000 slightly negotiable for fast sale. A steal at this price. Contact/Whatsapp Denys 0621276065
-
I think you're clever enough to work that out Fred. How do you keep your glazing iron hot? Heat pad maybe? How long does it need to stay liquid for? Some waxes are thinner than others when liquid. Maybe a slightly bigger spout? Takes seconds to run a stitch line and it doesn't matter if it hardens once in place.
-
I think @Beehive is the only one that mentioned that some irons/chisels are wedge shaped. The harder you hit em the bigger the hole. As far as waxing the tips, any wax will do, I've even used a block of soap. Running a thin piece along the stitch line is better than stabbing wax although using both ain't gonna hurt. An invention thought just popped into my head (happens all the time). What if you melted the wax and poured it into one of those little bottles with the tiny metal spout they us for paint and then drew it along the stitch line or better yet stitch groove? My mother never bred no fool!
-
Showing some skills there dikman, well done. I find the term "head knife" confusing. When following a pattern I find it difficult to use any knife that I have to drag apart from a fine pointed utility type because my hand seems to get in the way. I note that some people hold them like a dagger and drag them. Doesn't work for me. I do have a quarter round one that I quite like because it has quite a lot of blade after the curve so I can push it and still clearly see the line. Not so good in tight corners but I have other knives for that. Well done again. I always think antler/bone/horn handles look great.
-
`Excellent job. Very stylish. I keep meaning to do a sheath for my double hander. I didn't make it of course but I think it deserves one.
-
Well done Jo. I "think" my old eyes are liking the cleaner look. Personally I'd like the ads to be less intrusive. You get so used to them being there. I know whenever I've needed stuff the top of the page is the last place I look. The space could be used for easier navigation, maybe to a more meaningful ad page. For later maybe. You have enough on your plate right now.
-
That right there Sup is the ethos of this hobby. Hope you get lots of use out of em. Good find.
-
Been fortunate that my main leather shop has a big clicker press and over the years I've collected various sizes and thicknesses of off cuts that they use on that. Don't know what it's called but it's tough. In the thicker sizes I can use it almost like an anvil. Perfect for stuff like belt ends etc and unlike the thinner stuff there's absolutely no distortion. I use the self healing mats for intricate stuff like patterns.
-
It will be much cheaper to have a single stamp made with all your details on it.


