rktaylor
-
Posts
500 -
Joined
-
Last visited
Content Type
Profiles
Forums
Events
Blogs
Gallery
Store
Everything posted by rktaylor
-
Rifle Scabbard with Scope
rktaylor replied to bmedlin's topic in Gun Holsters, Rifle Slings and Knife Sheathes
I bought the pattern pack from Springfield Leather. I think it would serve you well. There is a scoped scabbard pattern in the pack. It would certainly be a good starting point. Randy -
First off, it's two different pieces of leather. As noted above, failures end up in the scrap bin. On the final attempt, I got more leather in the hand hole. That means fewer wrinkles to push out. I also used a steamer to help remove wrinkles. Randy
-
Arizona style clutch wallet back
rktaylor replied to Stetson912's topic in Floral and Sheridan Carving
Very nice. Please share photos when you finish the wallet. Randy -
Will Rogers Patch - 1.3M.jpg
rktaylor commented on Cactusman's gallery image in Gallery- Our Leatherwork
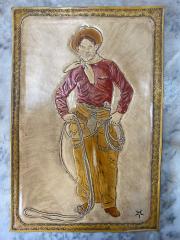 That's really nice. Randy
 -
First Formed Holster
rktaylor replied to rktaylor's topic in Gun Holsters, Rifle Slings and Knife Sheathes
Thanks, Randy -
First Formed Holster
rktaylor replied to rktaylor's topic in Gun Holsters, Rifle Slings and Knife Sheathes
Thanks. I'm not sure I want to make a career of this, but it's a nice diversion from making tack. Thanks Hags. I've studied a lot of your posts. Don't be surprised to see me post something that looks like yours. Randy -
First Formed Holster
rktaylor replied to rktaylor's topic in Gun Holsters, Rifle Slings and Knife Sheathes
Thanks for the comments and suggestions. If it gets to be too much time before the next one, I may forget. I appreciate learning from everyone here. Randy -
First Formed Holster
rktaylor replied to rktaylor's topic in Gun Holsters, Rifle Slings and Knife Sheathes
Thanks, Randy -
First Formed Holster
rktaylor replied to rktaylor's topic in Gun Holsters, Rifle Slings and Knife Sheathes
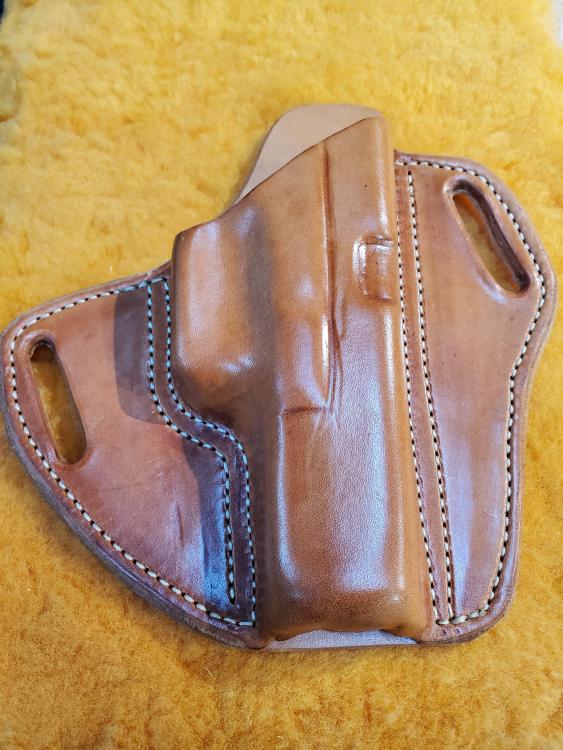
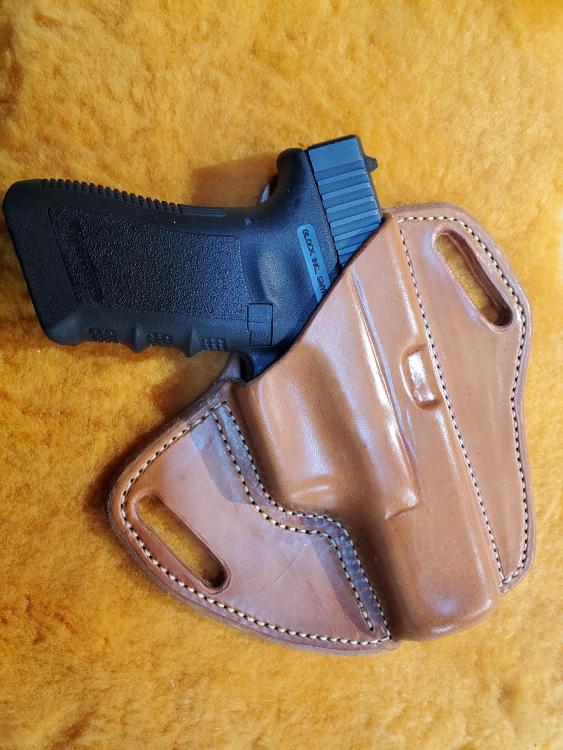
I think I made some improvements, but still have a lot to learn. The stitch lines are definitely closer. Wonky belt slots adjusted. Thanks for sharing knowledge. 8 oz HO leather with 2 coats of neatsfoot oil and a coat of resolene. Randy
-
First Formed Holster
rktaylor replied to rktaylor's topic in Gun Holsters, Rifle Slings and Knife Sheathes
Thanks for the comments and suggestions. Back to the shop for me. Are the stitch lines close enough on the top? I can tell what you mean along the bottom. I think I need to get it formed better before I sew it. Maybe that will help. I am also not sure what you mean by the site channel. Thanks again, Randy -
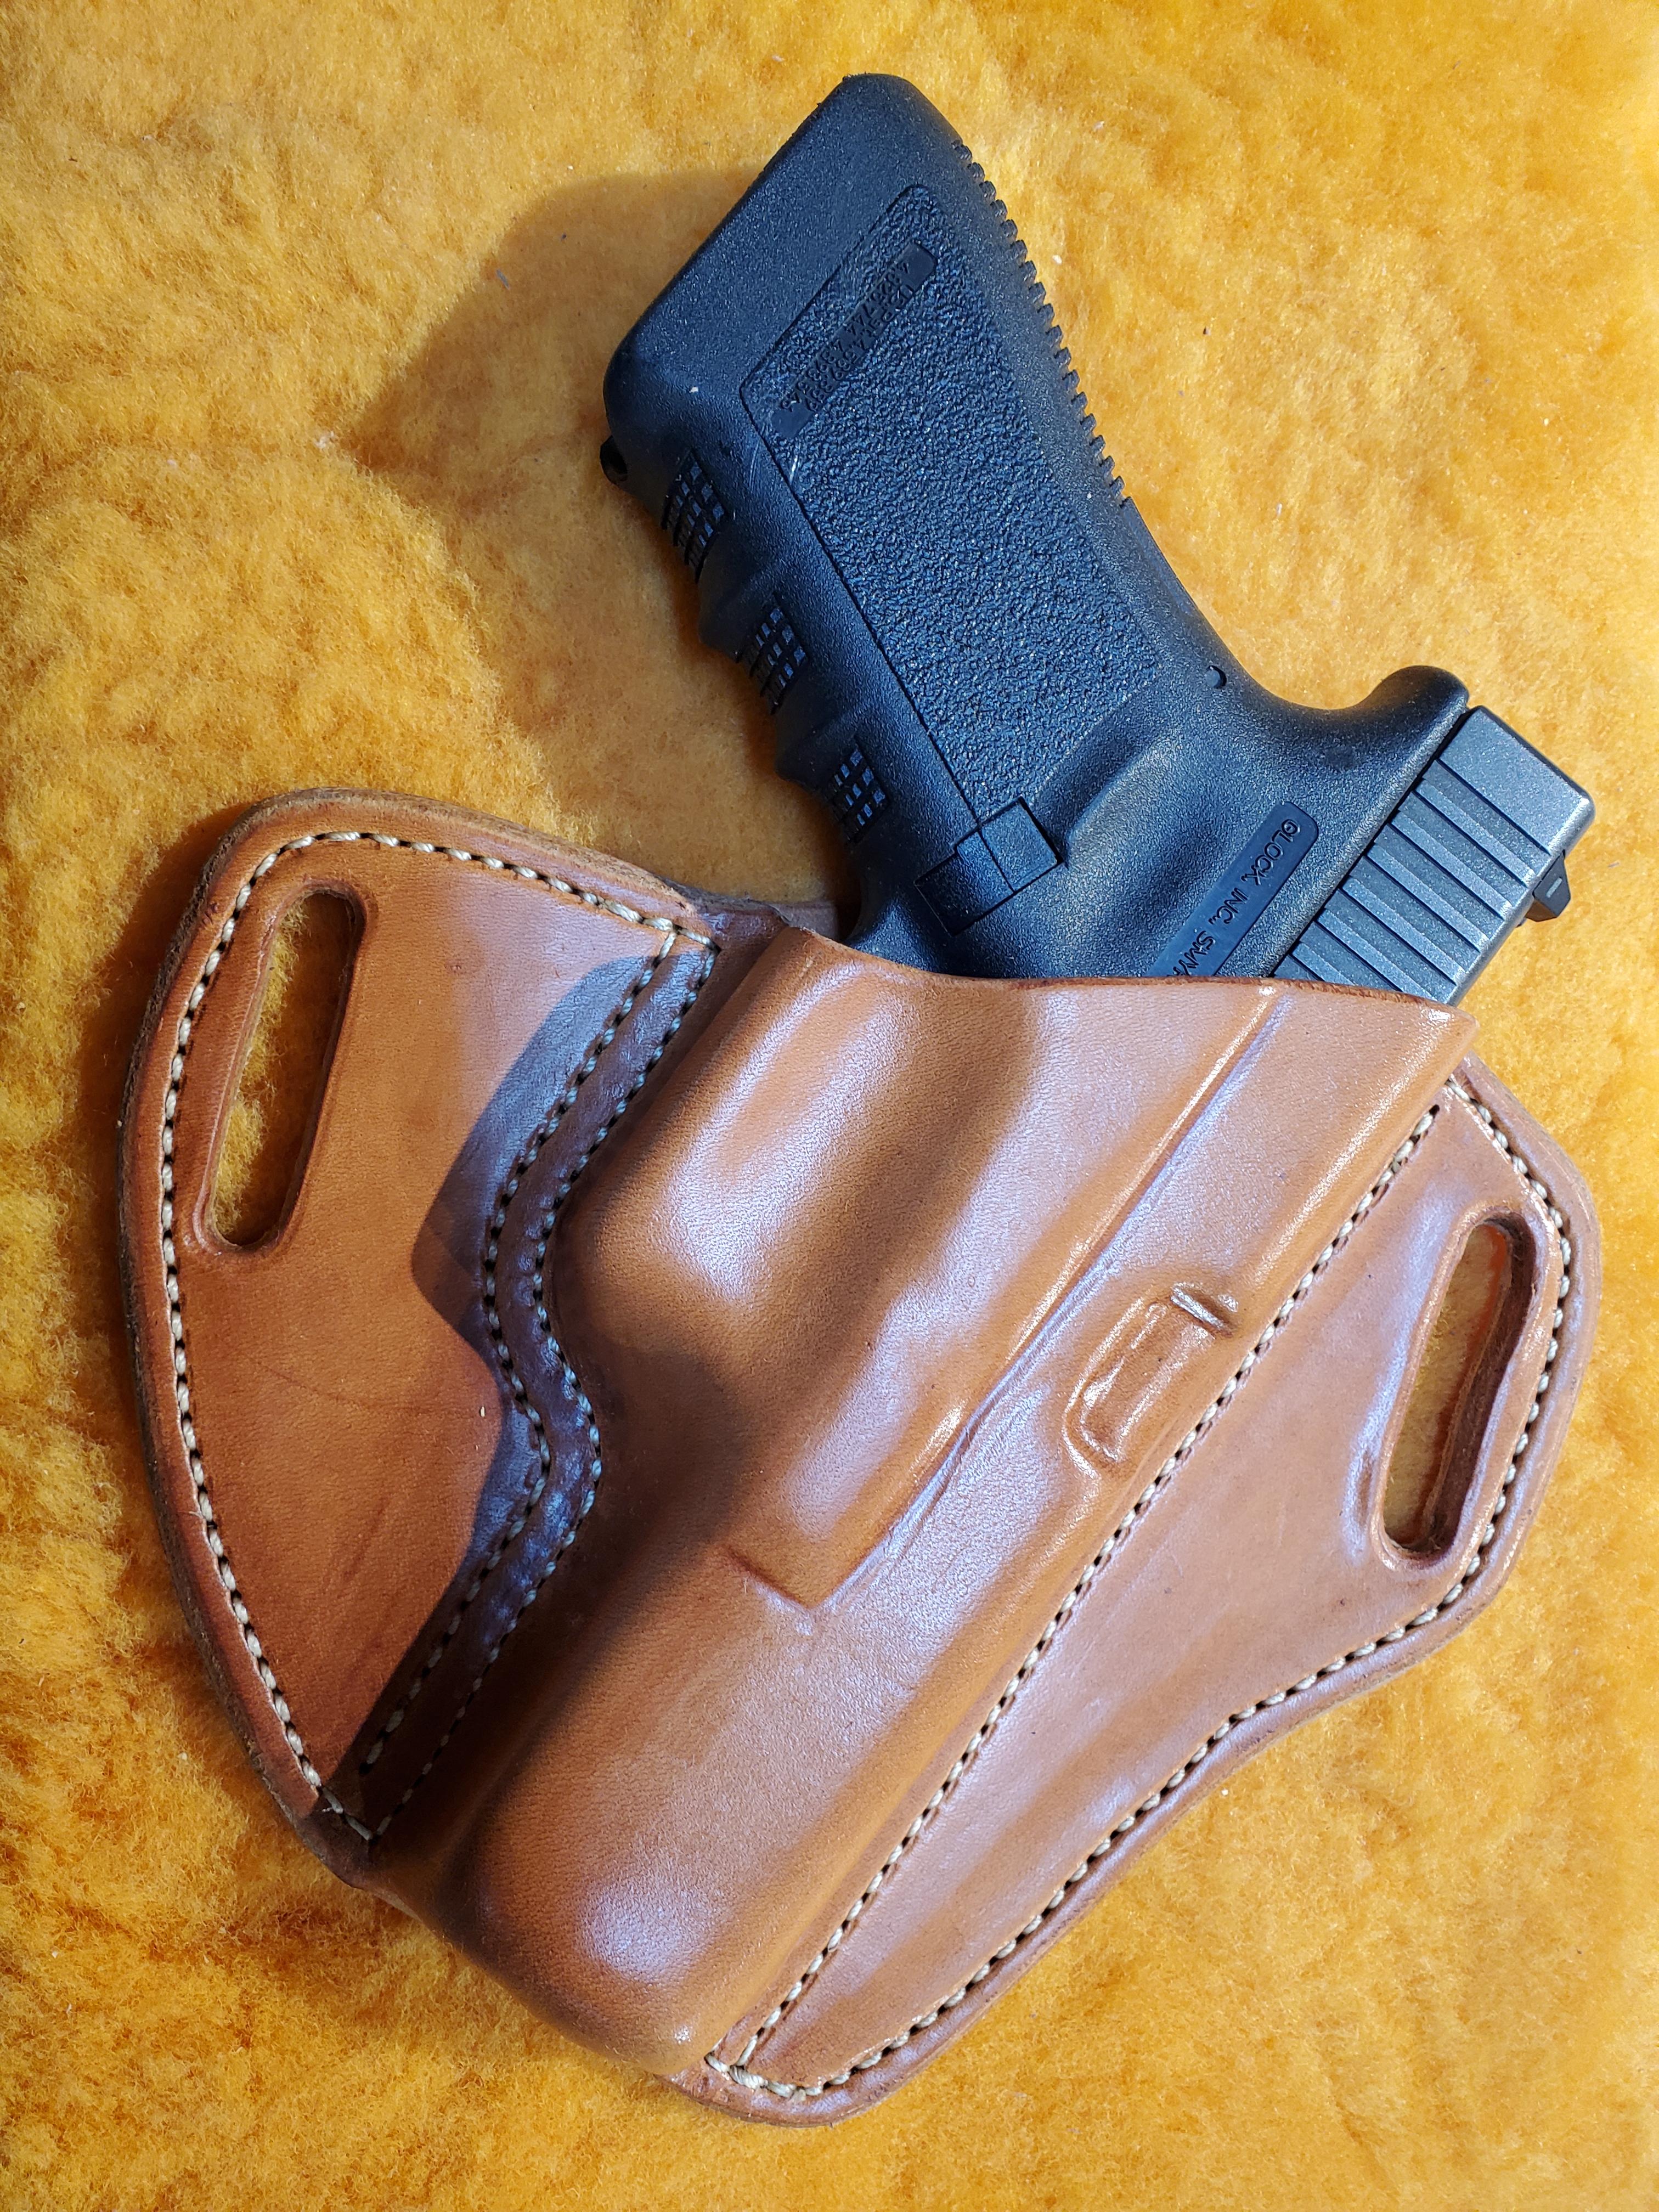
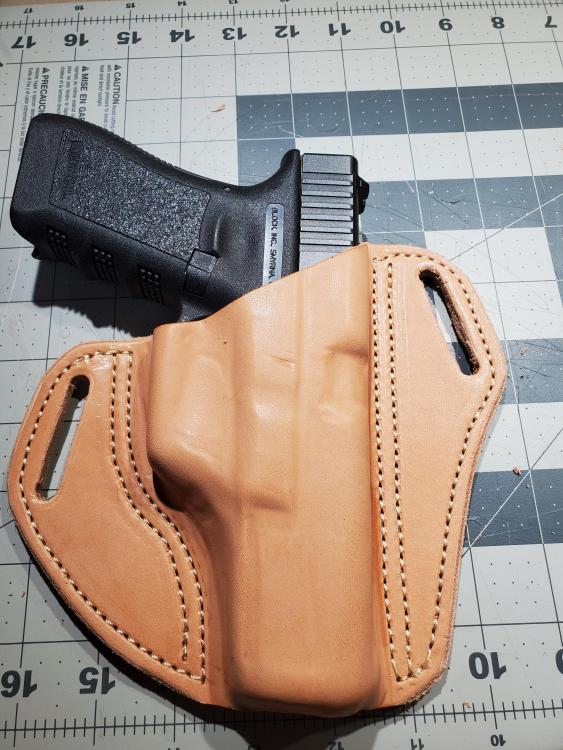
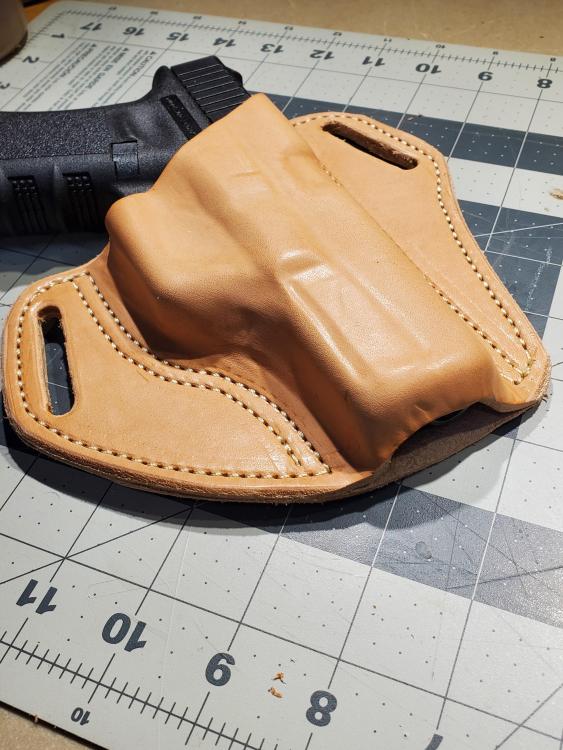
Here's my first formed holster. I need to finish the edges and oil it, but I am anxious for a critique. Give it to me straight and full strength. Thanks, Randy

-
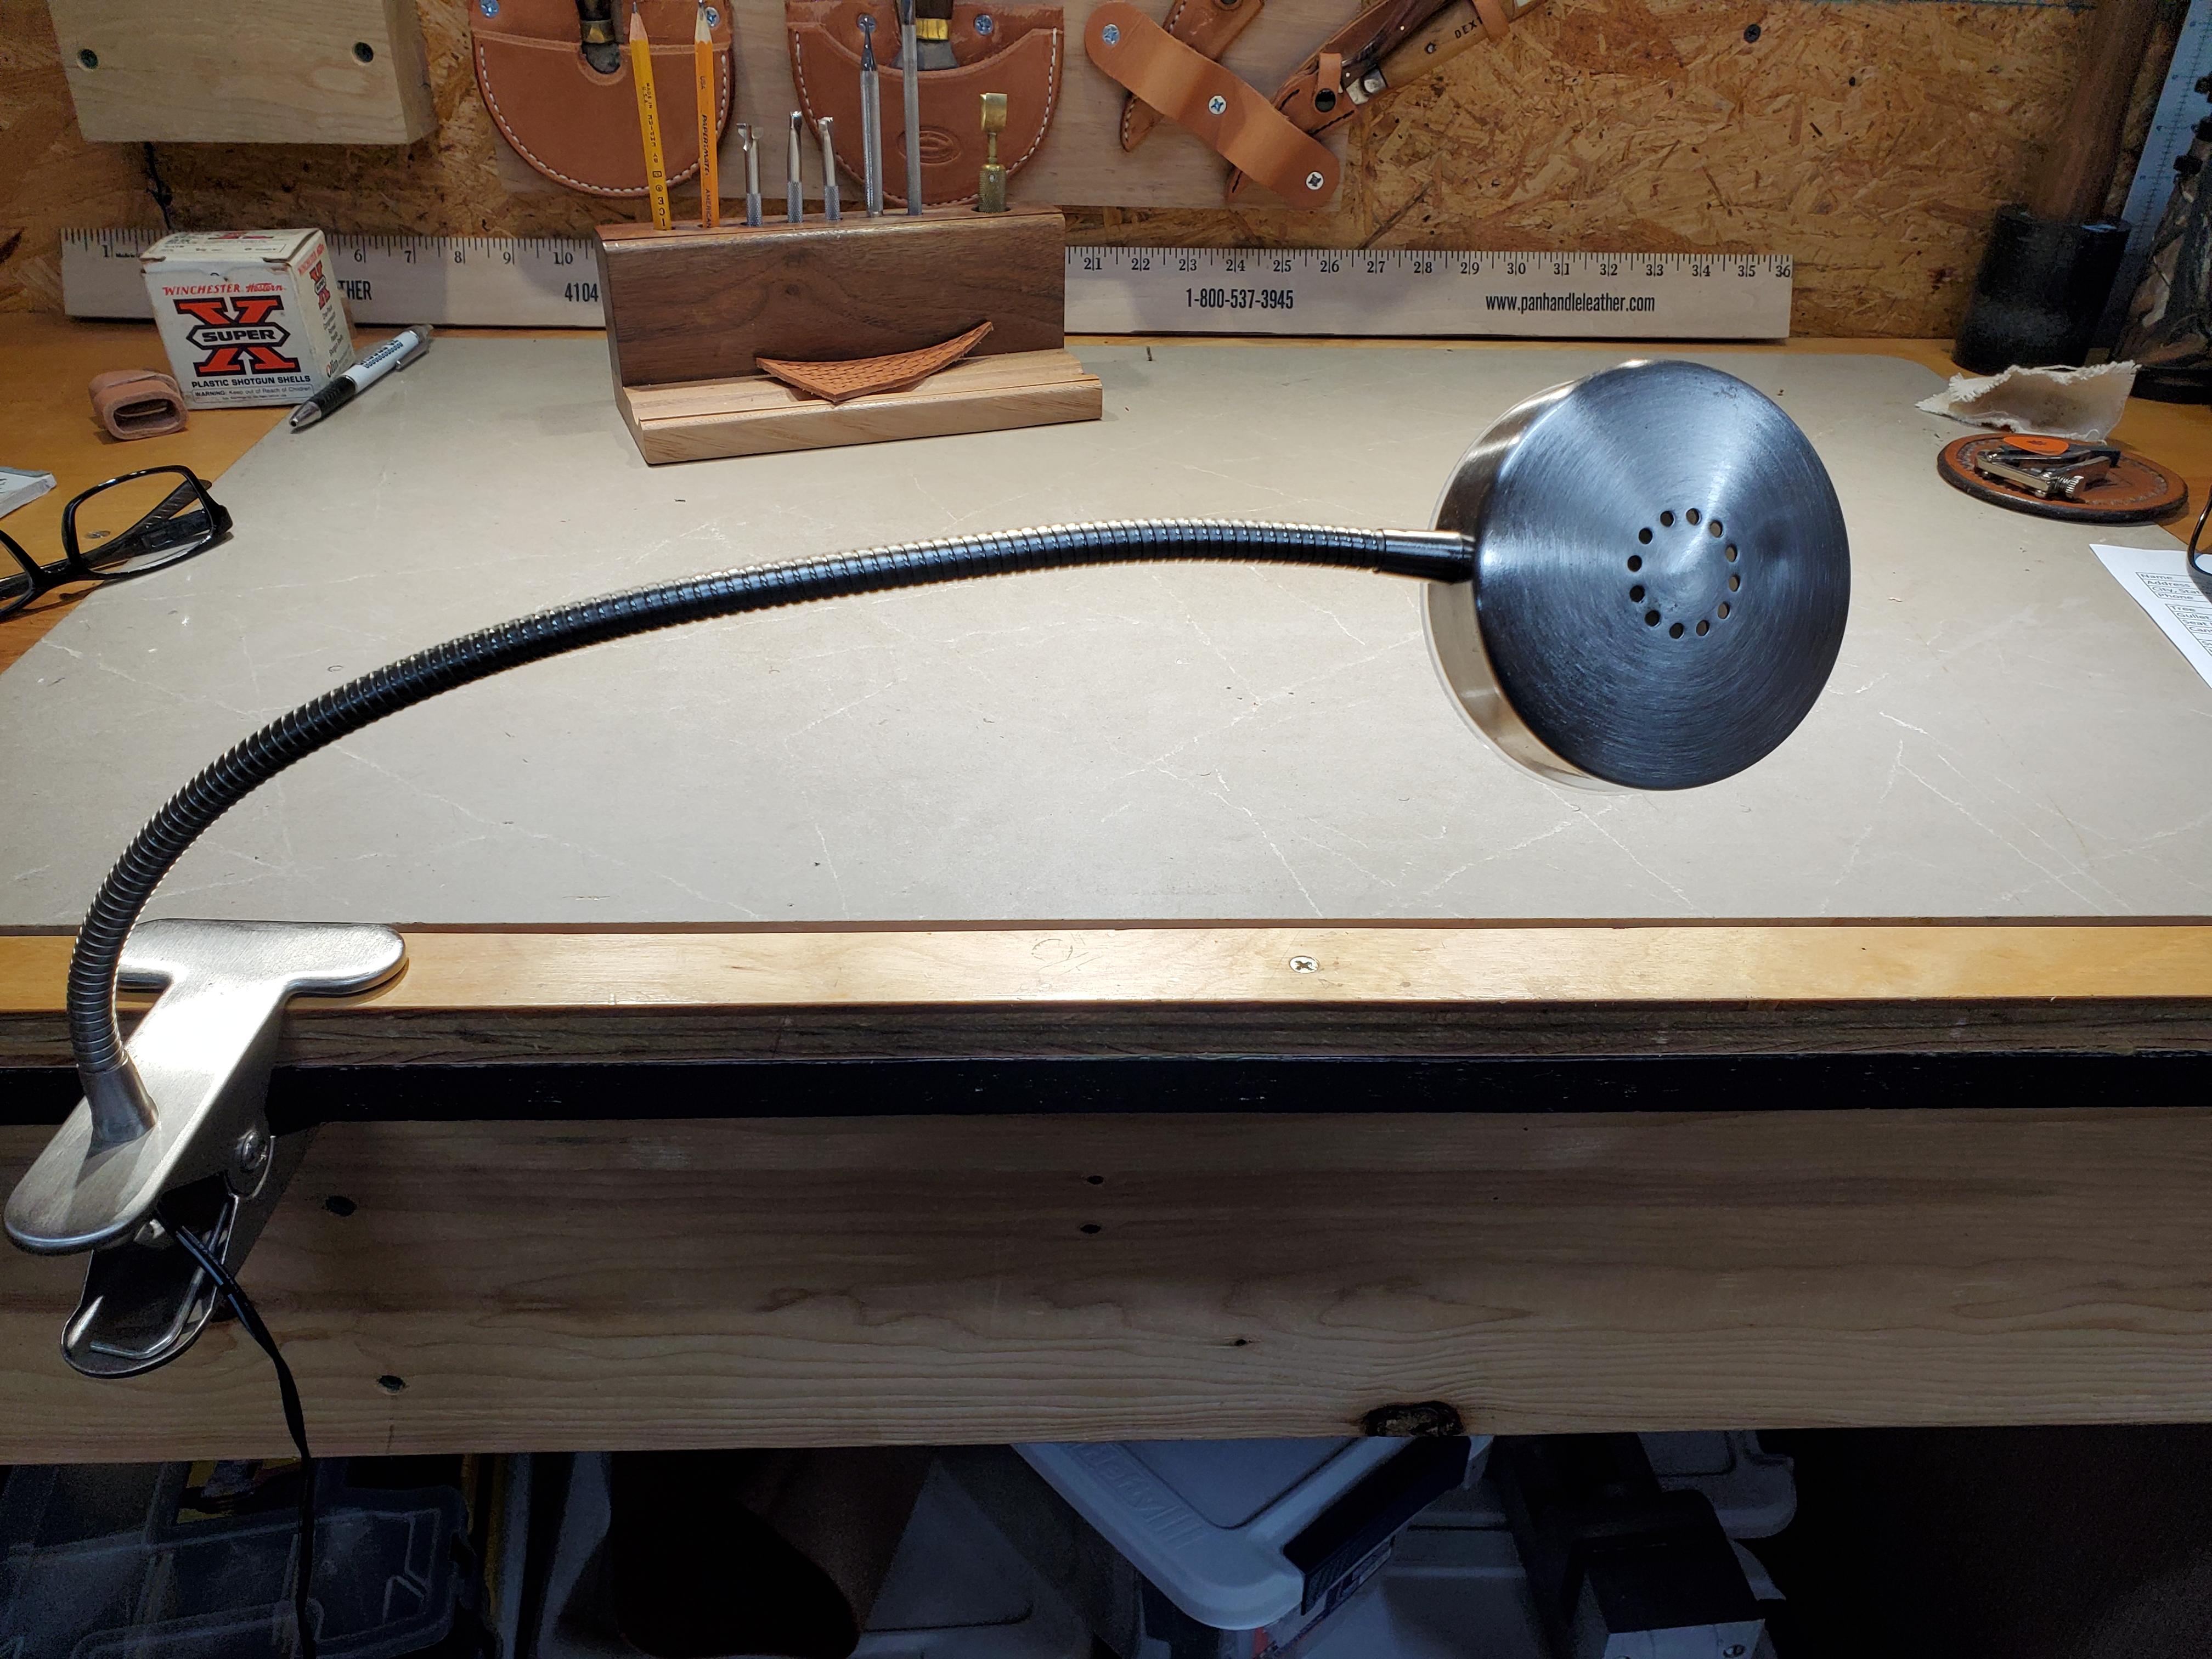
I guess work area lighting could be considered to be "tools"
rktaylor replied to doubleh's topic in Leather Tools
I never cared much for the headlamps, so I went this route. Just an adjustable LED lamp. I can shine it right where I'm tooling. I may revisit a headlamp sometime, but for now, this works great. Randy
-
Using a Vacuum Bag . . .
rktaylor replied to Dwight's topic in Gun Holsters, Rifle Slings and Knife Sheathes
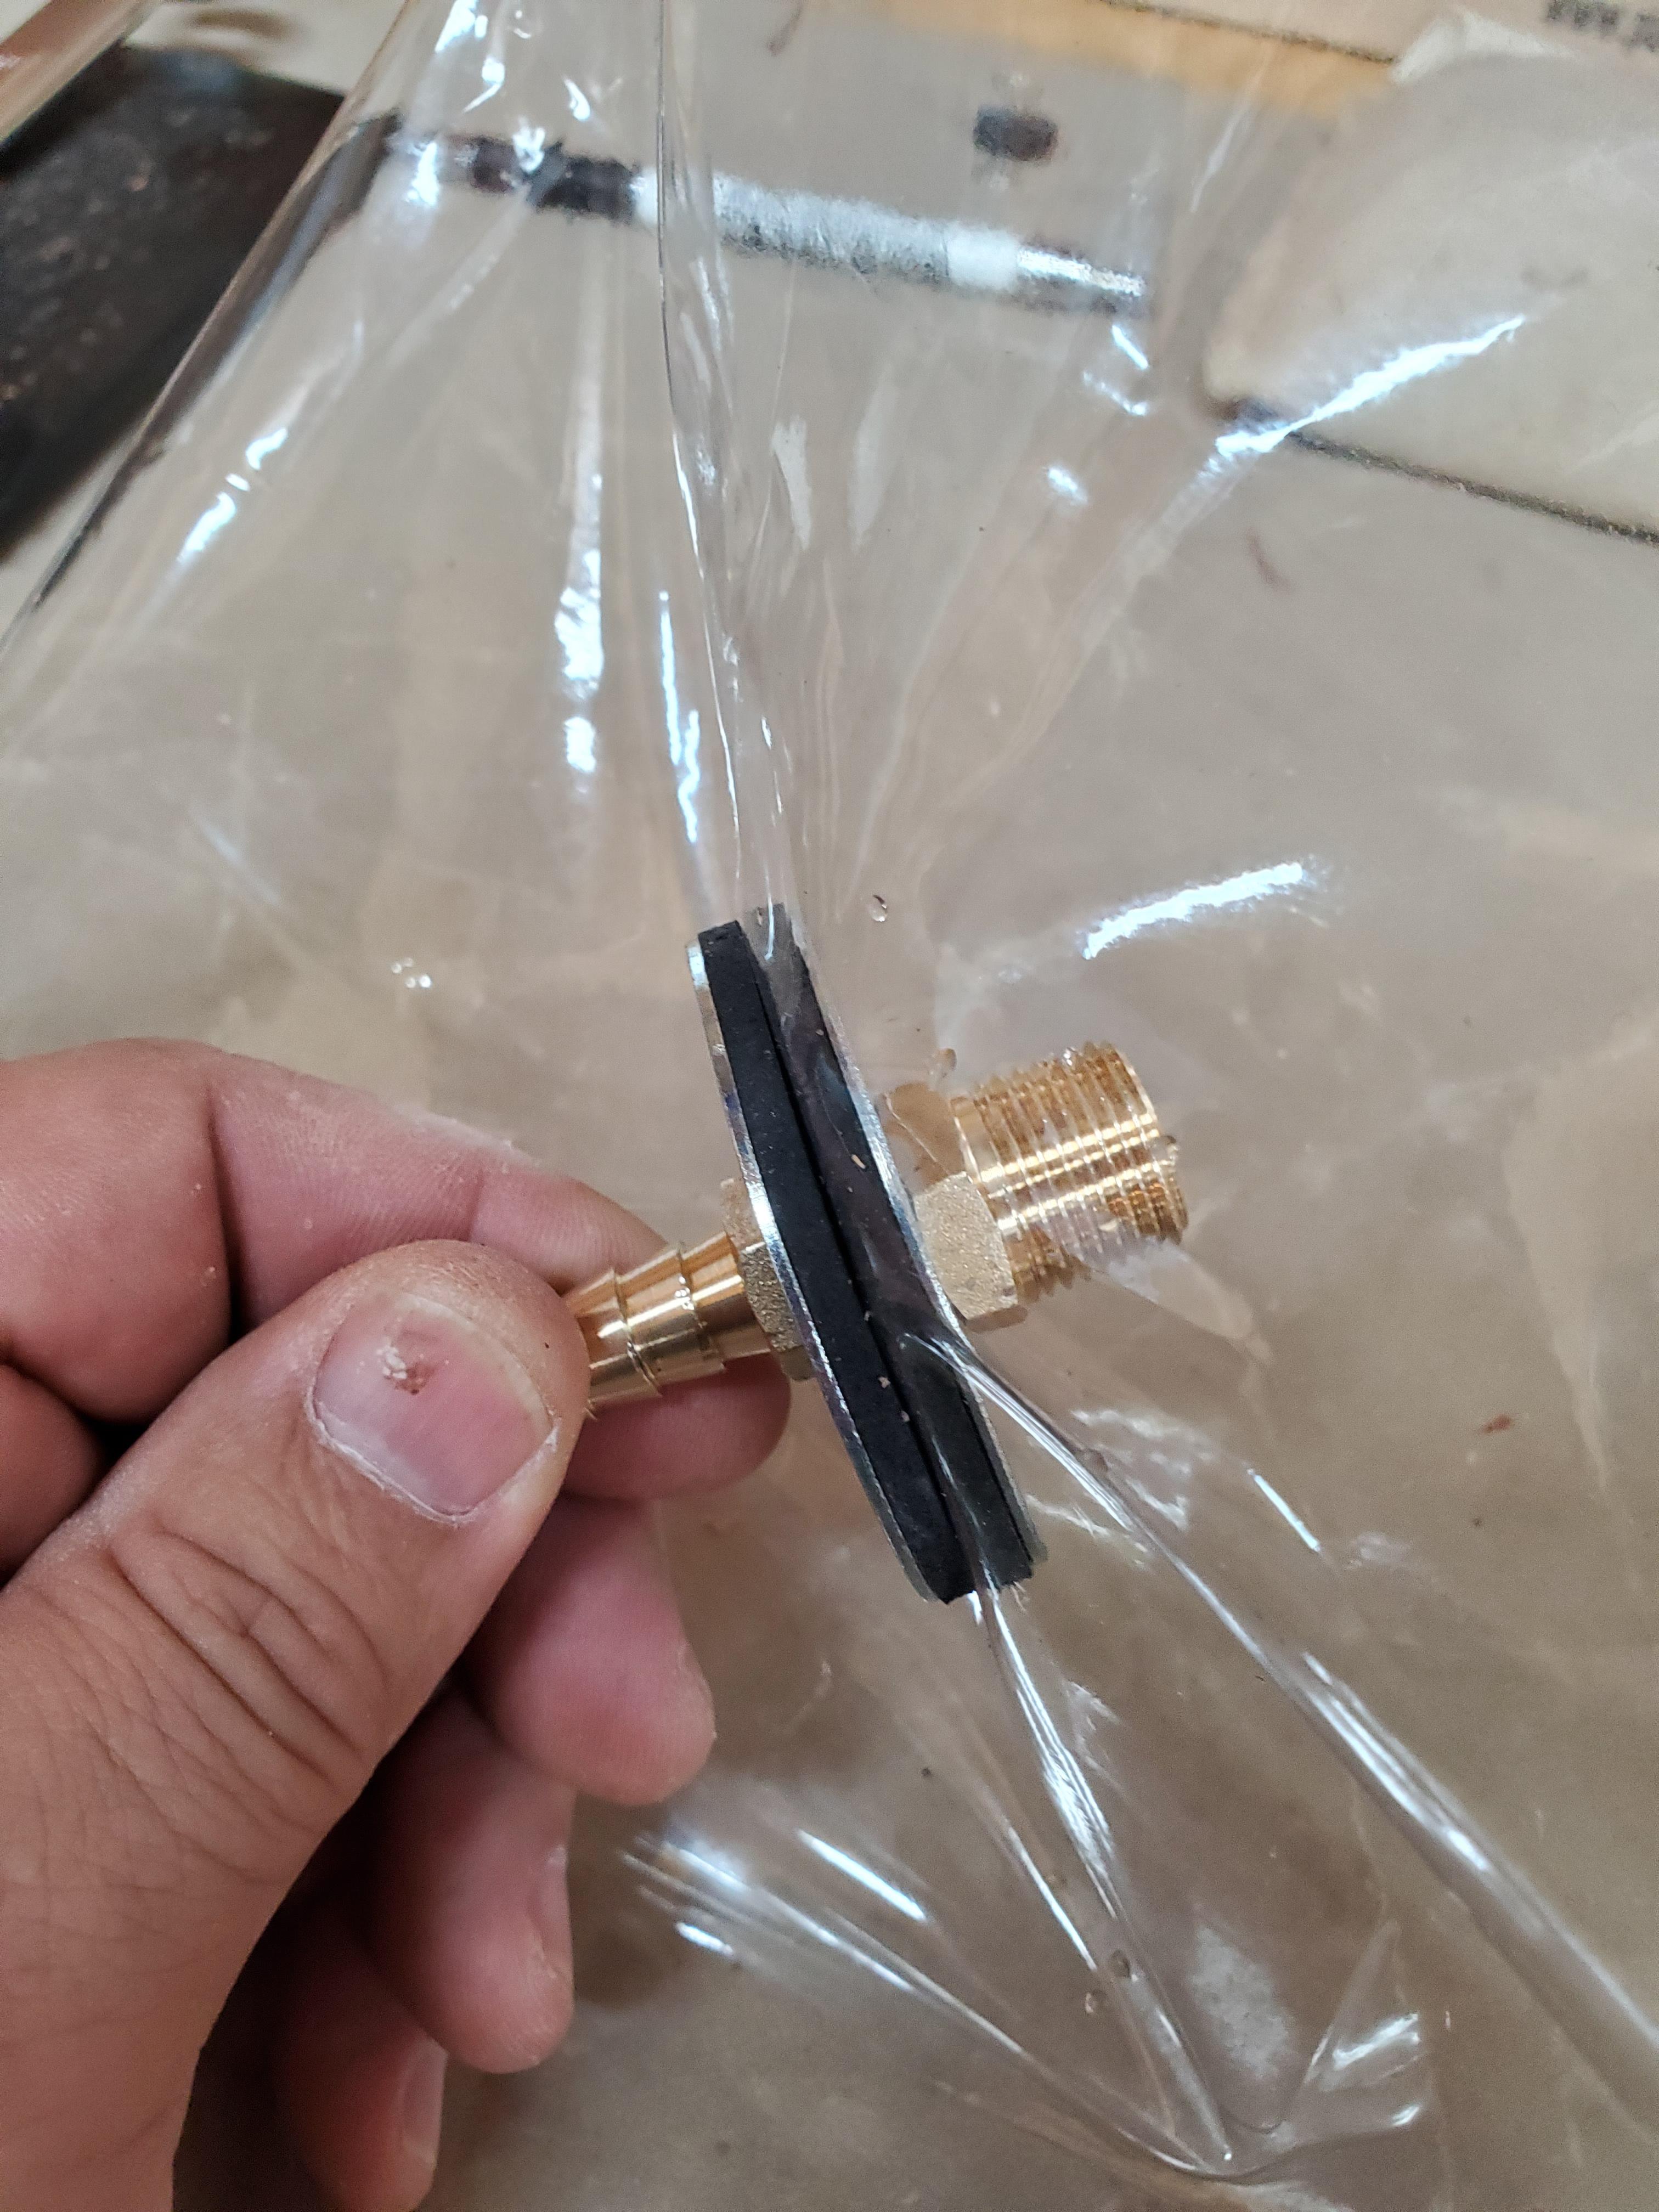
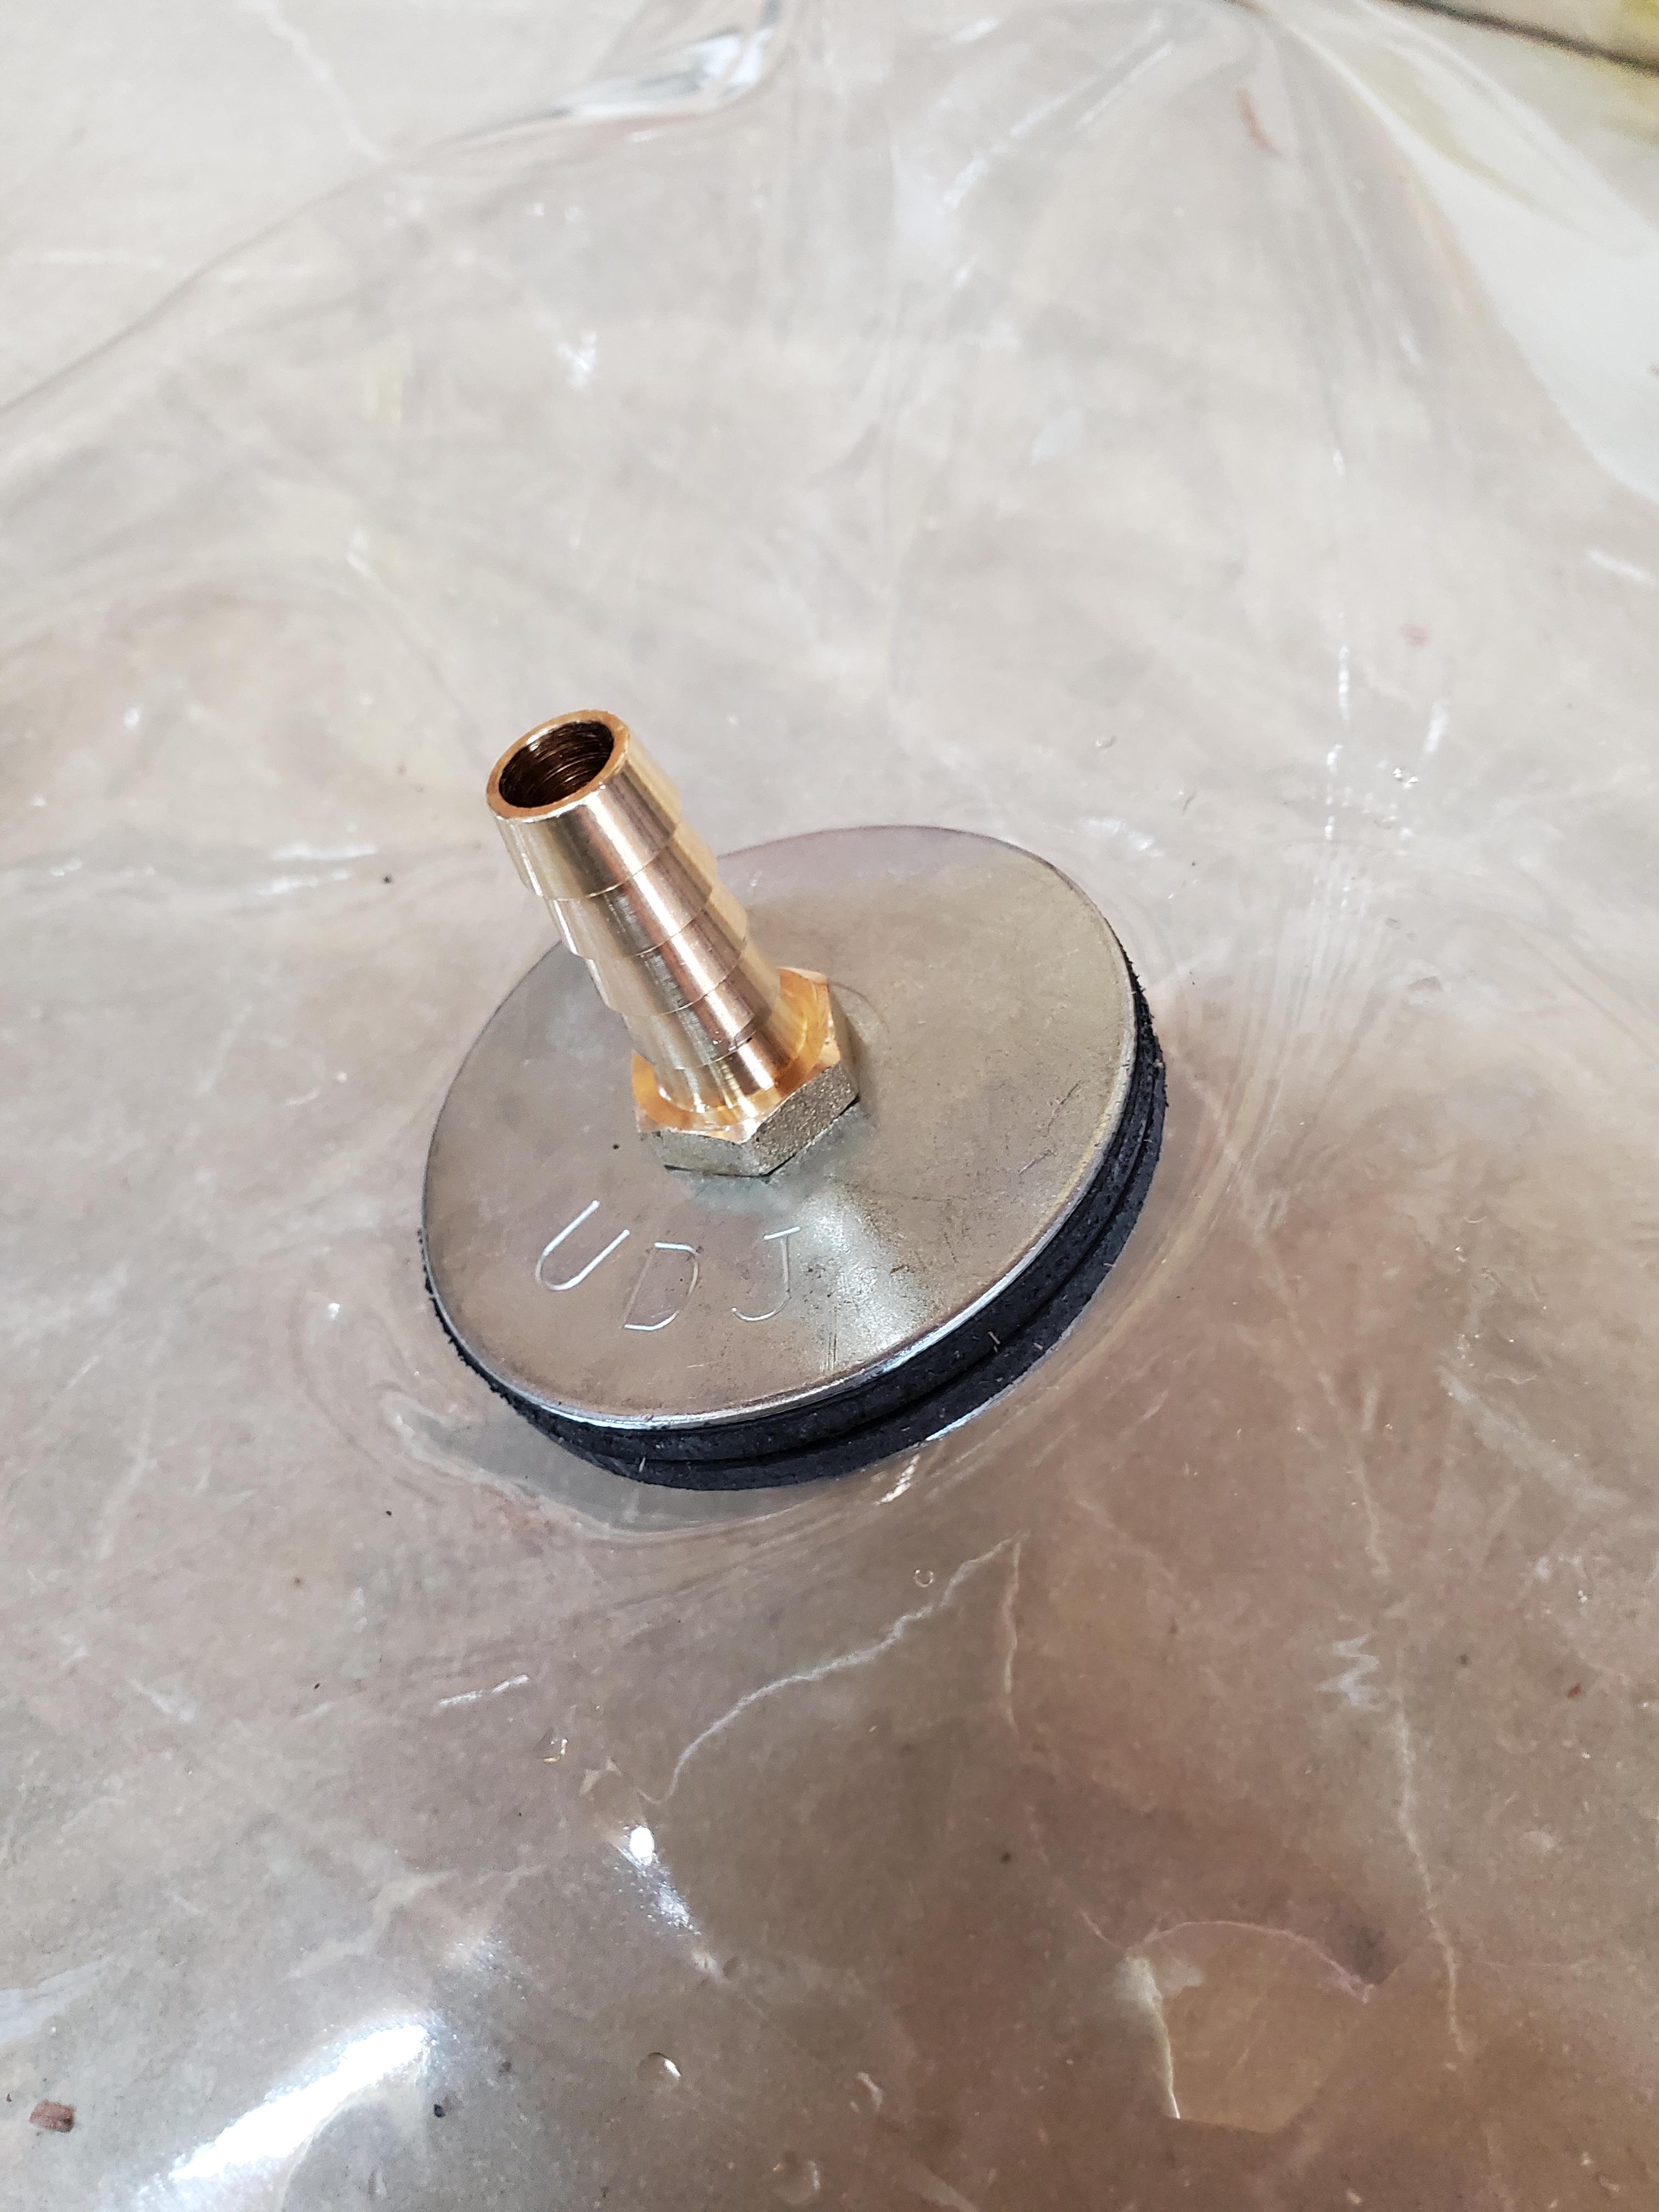
Make sure it's sealed on the edge of the valve. I punched the hole in my bag a little small so it would be tight on the fitting. Good look. Randy -
Using a Vacuum Bag . . .
rktaylor replied to Dwight's topic in Gun Holsters, Rifle Slings and Knife Sheathes
Dwight, Thanks for sharing your knowledge. I finished my bag today with 12 gauge (12 mil) plastic from JoAnns. I have the same pump from Harbor Freight that you linked above, though I bought it before I saw the link. I made the bag fitting with parts from Lowe's. After this photo was taken, I drilled a hole through the bushing on the inside to keep the bag from blocking the vacuum. Thanks again for sharing. Randy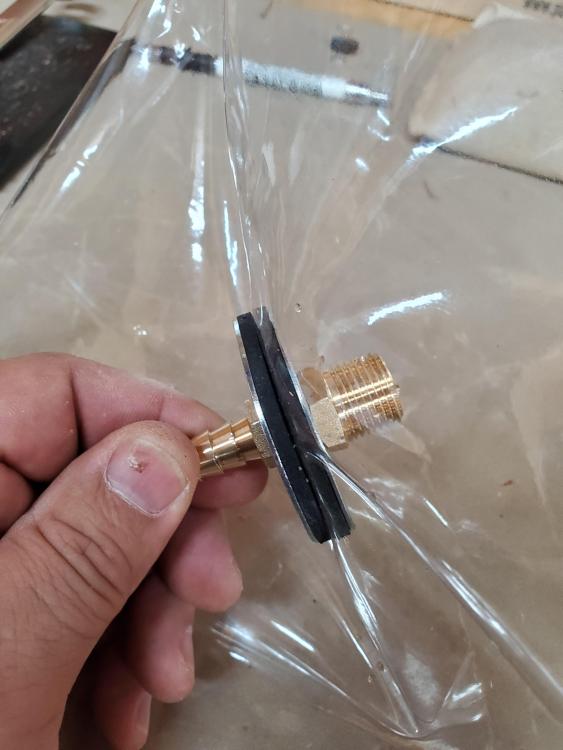

-
Great job. I really like the handle on top. Randy
-
That's funny. I've had that experience, but thankfully I now have a more reliable farrier. Thanks Ron. I'll post pictures next month. Randy
-
Thanks for all the comments and suggestions. Based on this discussion, I plan to use a burgundy latigo wrap with the rough side out. If he doesn't like it, switching to mule should be easy enough. I made a lot (seemed like it) of money hauling hay when I was younger. Now hay haulers in our area are on the endangered species list, thus chaps don't seem necessary. Take care, Randy
-
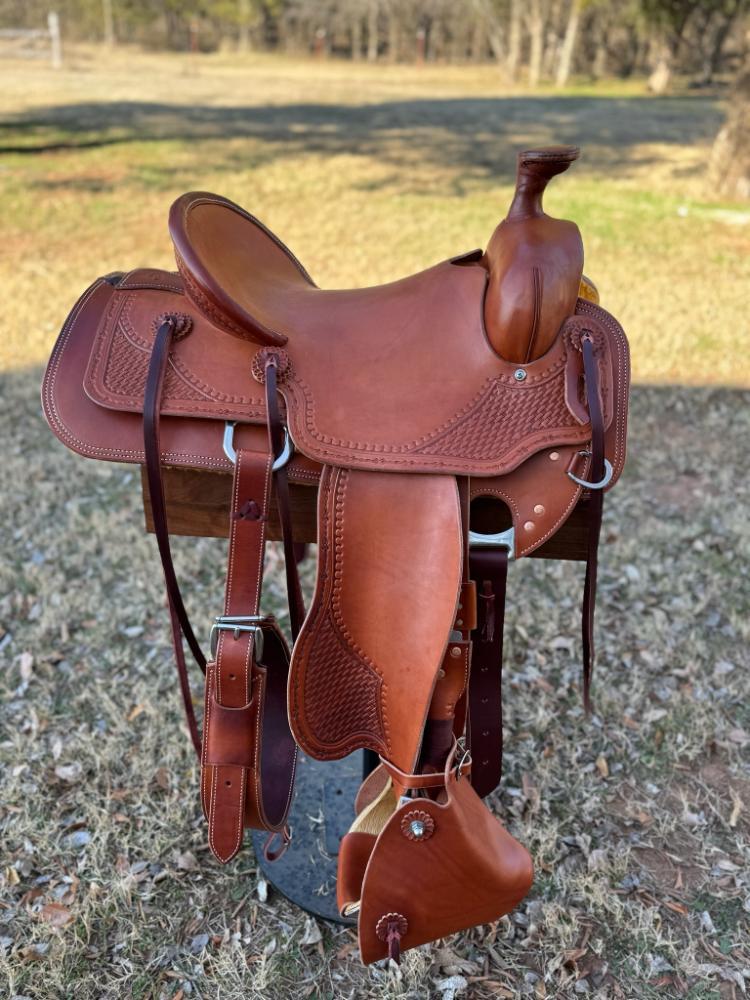
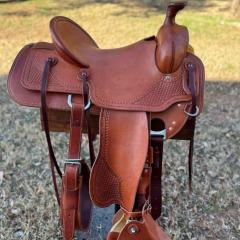
I am working on a saddle with a wood post horn. I want to wrap it with mule skin, but all I can find is gray. Does it come in other colors? Is there a suitable substitute in burgundy? Thanks, Randy
-
Thanks Ron, It was a lot of tooling, but an enjoyable project. Randy
-
Ron, Here's the finished saddle. Randy
-
Sig P320 X FIVE LEGION
rktaylor replied to Hags's topic in Gun Holsters, Rifle Slings and Knife Sheathes
Really nice work. Randy -
@SamalanI am not questioning your experience, but just wanted more details regarding 3M77. I am getting ready to glue some foam on a boat seat and just happened to have a couple cans on the shelf. The 3M77 is labeled for foam. Is it the type of foam that causes an issue? I can buy 3M90, but wanted more information on your experiences. Thanks, Randy
-
They still aren't. I called yesterday. RT
-
Axe cover 2nd attempt
rktaylor replied to DaveP's topic in Gun Holsters, Rifle Slings and Knife Sheathes
That looks really clean. Personally, I would have put the rivet burr on the other side, but it's visible either way. Randy -
I heard Sunny recently moved into a rest home. I don't know if they'll reopen with a new owner, but that certainly leaves a hole in tree makers. Randy