rktaylor
-
Posts
500 -
Joined
-
Last visited
Content Type
Profiles
Forums
Events
Blogs
Gallery
Store
Everything posted by rktaylor
-
securing in-skirt rigging without rear jockeys
rktaylor replied to Squilchuck's topic in Saddle Construction
Squilchuck, I am far from an expert, but I can share what I have done. This is the second saddle I built and one goal for the saddle was being light weight. I copied a light weight barrel saddle that my wife and daughter liked, but it may be like Al Stohlman said about copying poor designs. That said, my wife loves the saddle, so good for me. The biggest challenge for me was getting the skirts tight against the cantle. I thought it fit really tight until final assembly. It certainly wasn't a 'deal killer' for my second saddle, but I still don't like looking at it. I honestly don't think I saved weight with this method. I think I could build a lighter saddle with rear jockeys. I weighed both saddles so I know the difference. IF I built another like this and weight was an issue, I would go with rear jockeys. Randy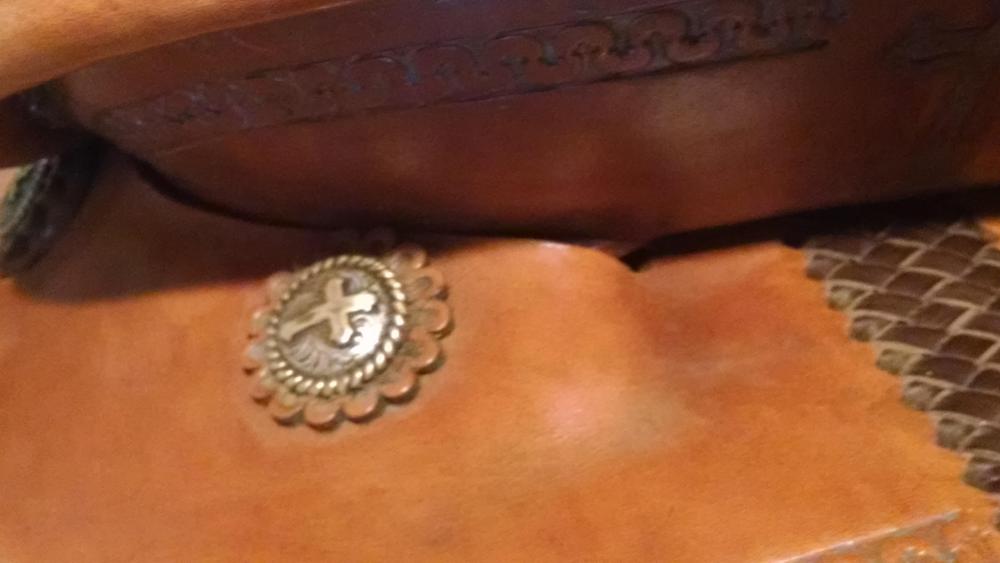
-
Thanks
-
Thanks Regan, I've been thinking about this and will have another design soon. I hope things are going well up north. It's terribly wet here, but it'll probably be too dry soon. Randy
-
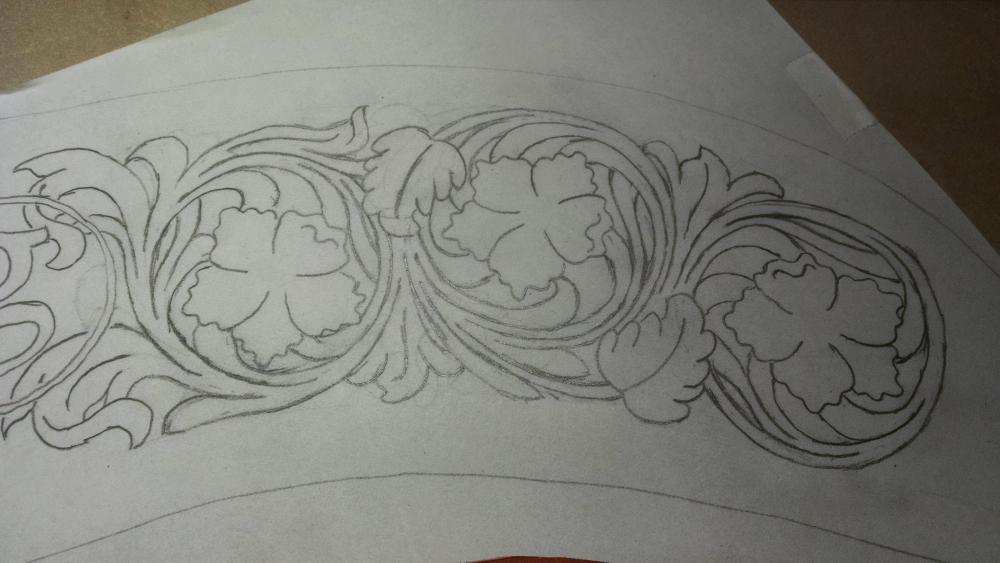
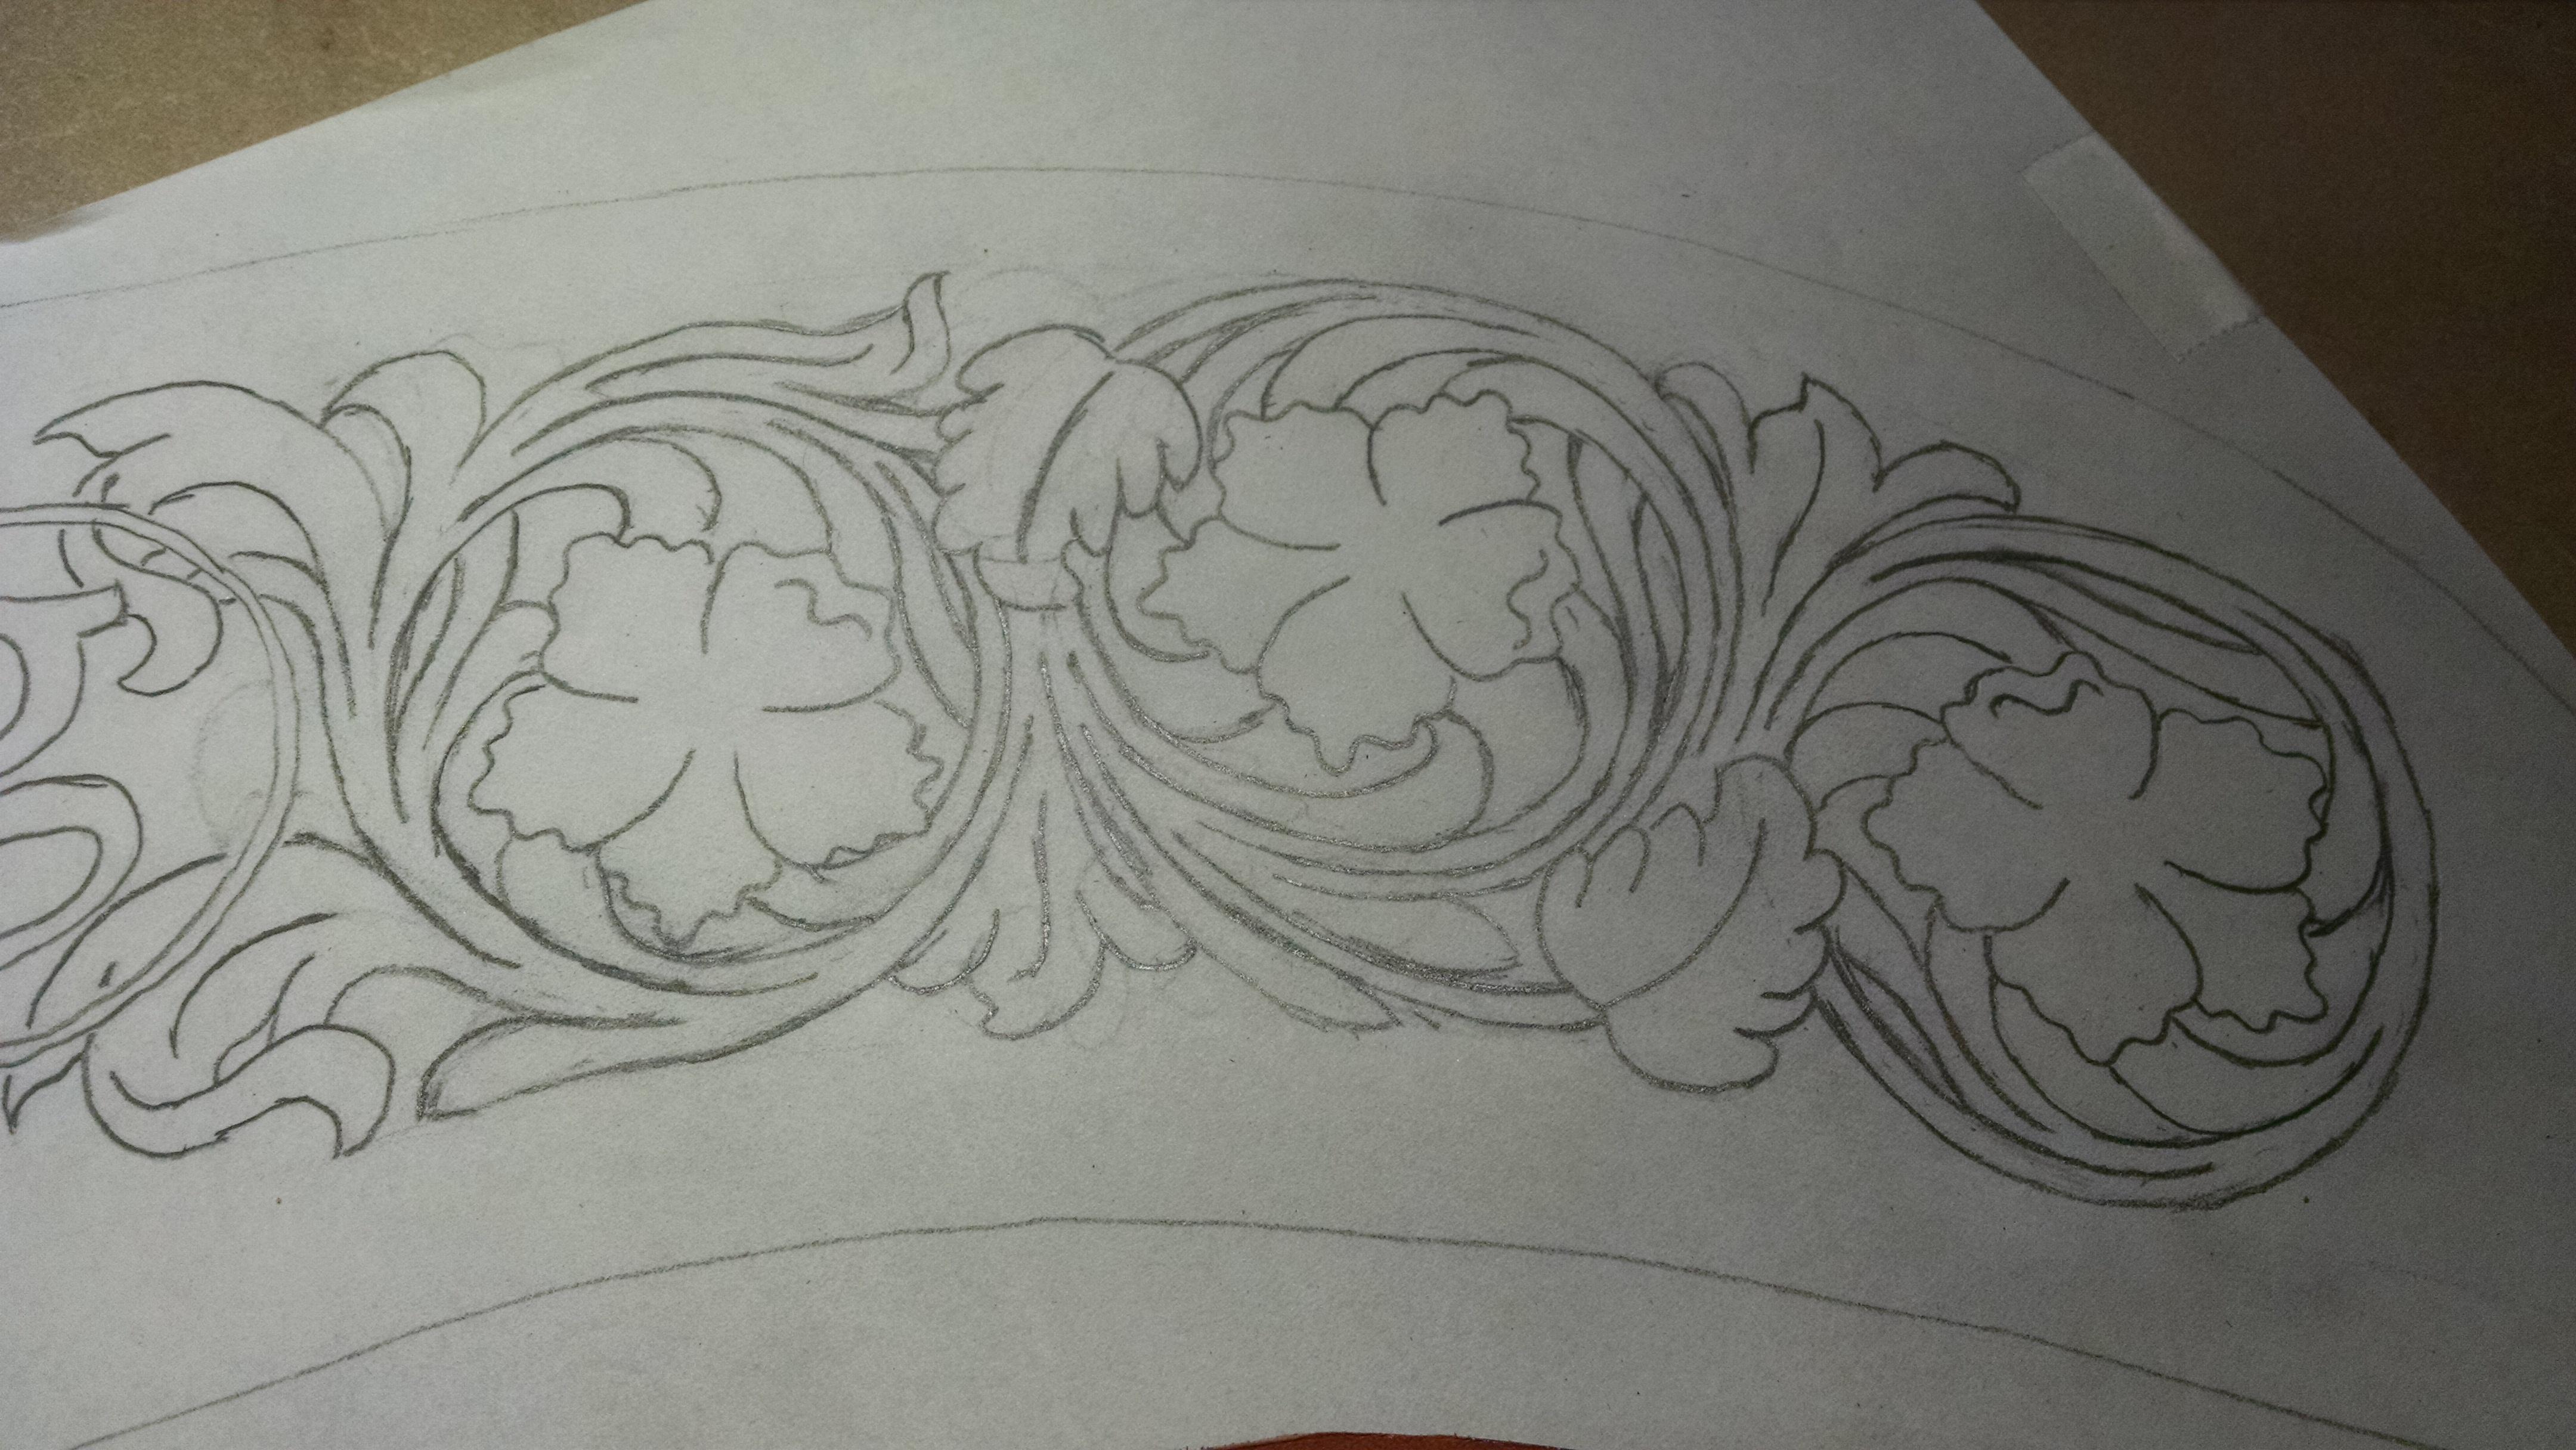
This is my attempt at a floral pattern for a saddle cantle back. This is the right half of the cantle. The left will be mirrored. The boundaries are yet to be determined since I haven't fit the piece, but I am guessing this will fill the entire cantle back. I hope to finish tolling this tonight to see how it looks. I had to (at least that's what I told the wife) order some new tools for this and they should be in soon. There are some elements I like and some that don't quite flow. I welcome critical assessments from everyone. While I have a lot of room for improvement, I will say that drawing patterns is coming easier after taking a class from @hidepounder at Prescott and buying Sheridan Style Carving by Bill Gardener & Clinton Fay. Thanks for the feedback, Randy
-
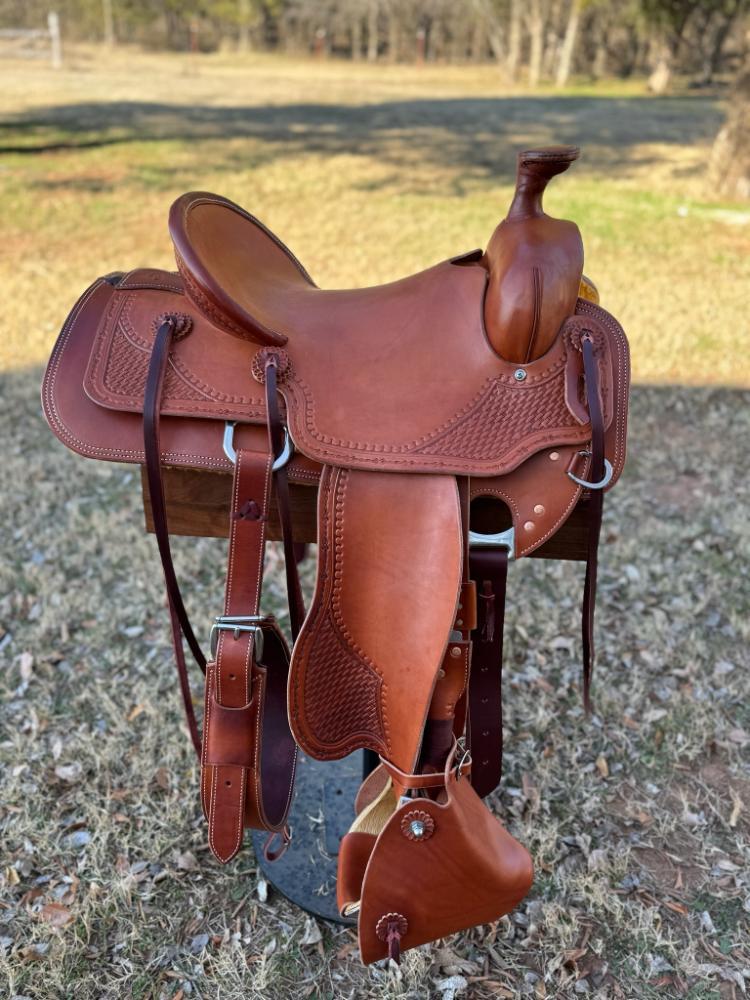
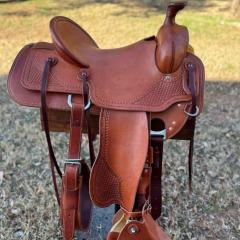
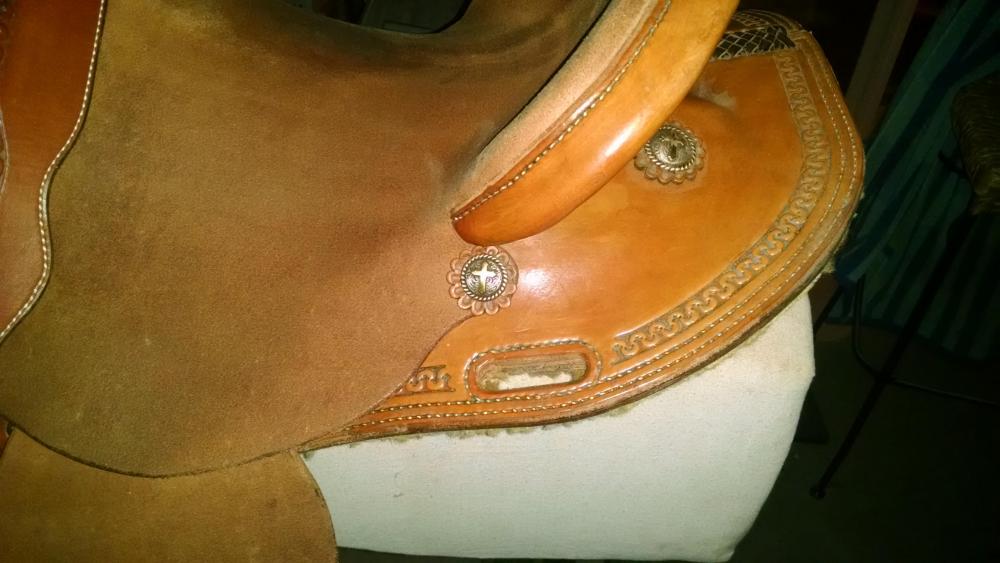
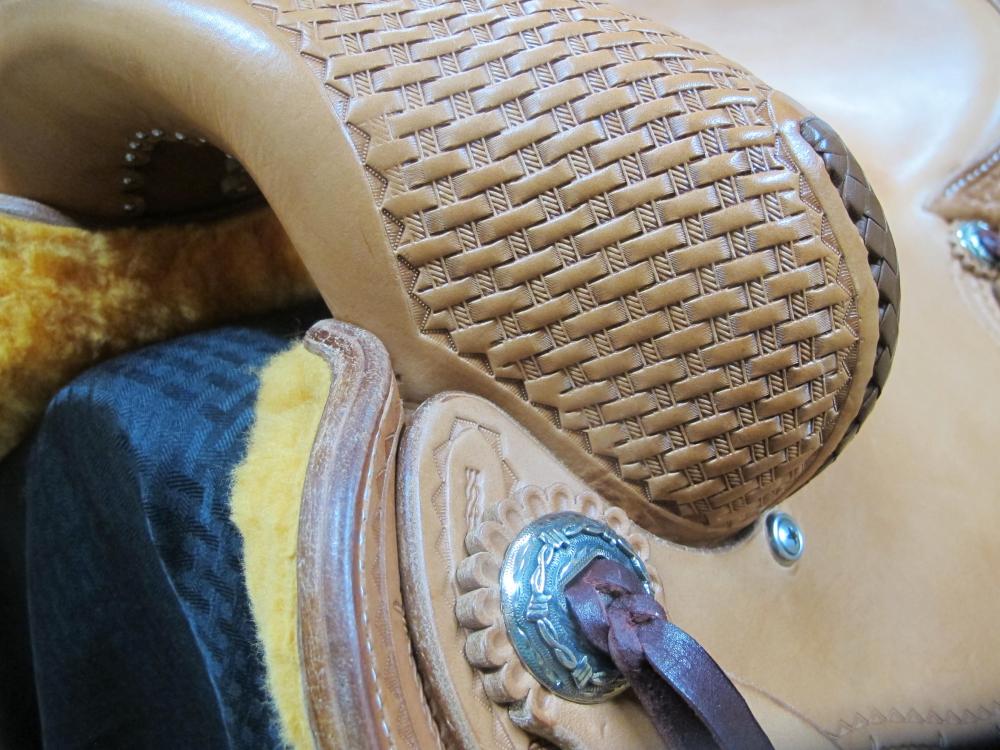
Rob, First off, I think it's a nice looking saddle and appreciate you sharing it. I am far from an expert and am just trying to learn. My initial observation was that the skirts looked shallow in the rear and the rigging dominates the view. I like the rear dees to be up on the skirt. I think the rigging is balanced, but the skirts are just too shallow for my taste. I will admit that the saddle I ride (#3 for me) has skirts a little too shallow for my liking, but it wasn't enough to cut new skirts (attached picture). I think the skirts (right or wrong) changed how the rest of the pieces were shaped (front and seat jockeys in particular). After I read Ron's comments, I looked at your jockeys a little closer. I would like to see a more defined front jockey. I am going to blame my skirt depth and lack of experience for my front and seat jockey shape. Regardless, its a great looking saddle and remember I am nowhere close to an expert. Randy
-
First Rifle Sling
rktaylor replied to rktaylor's topic in Gun Holsters, Rifle Slings and Knife Sheathes
Thanks for the compliments. While it's a little short, it isn't too short to be functional. I'll make the next one a little longer. Randy -
Awesome work. Thanks for sharing. Randy
-
I made my first rifle sling. I copied the pattern from a friends sling, but still ended up a little short. I It's made from chap leather on the outside and veg tan on the inside. I need to improve my shoulder padding, but I have a plan for that. I used woolskin since I have a lot of it left from saddles. All in all, I am pretty pleased. Thanks for any comments or suggestions, Randy
.thumb.jpg.9e1077ee713799aecddea9fbb490f655.jpg)
.thumb.jpg.d177c8bafb8f2ae00def49fba6301274.jpg)
-
Ron, Another fine job. I have always appreciated your tooling and think it's far from amateurish. I notice elements that you use consistently, so I guess you are developing your style. The stitching looks awesome and thanks for the awl handle description. I have been wanting something different and I like what you described. Looking forward to seeing #5. Randy
-
Thanks for sharing. I'll bet she is loving the new saddle. I am far from an expert so you can take my comments with a grain of salt. I would have placed the rear rigging a little higher so the rivets are covered by the rear jockey. This would also place the strap connecting the dees up on the skirt. It looks like your front rigging position is about 3/4 or maybe closer to centerfire. I think that will make the smaller saddle more stable. I built one about this size and the customer wanted a 7/8 flat plate (small ranch saddle). It looks great, but without the rear cinch the saddle bounced too much. Since the tree was so small, I don't think there was enough bar on the front to pull against. It's a really nice looking saddle. Congratulations on a great job and thanks for sharing. Randy
-
Well this isn't much help, but I like the first two better. However, the last two look more like a sunflower. Do you want 'artistic' or 'realistic'? Randy
-
Lining for Shotgun Case
rktaylor replied to rktaylor's topic in Gun Holsters, Rifle Slings and Knife Sheathes
Thanks for the comments. You've talked me out of using sheepskin so that leaves me wondering what to use. Any suggestions? Randy -
I'm planning to build a case for my shotgun and was thinking about lining it with sheepskin. I have a lot of 1" bark tanned shearling left over from saddles. Any opinions on this? Thanks in advance, Randy
-
Looks great. Thanks for sharing. Randy
-
Billy, Thanks for sharing your process, though I have no desire to duplicate it. Just out of curiosity, did you square your riggings, then fit the swell cover? I have a hard enough time getting my steps in order, let alone combining a couple of them. Randy
-
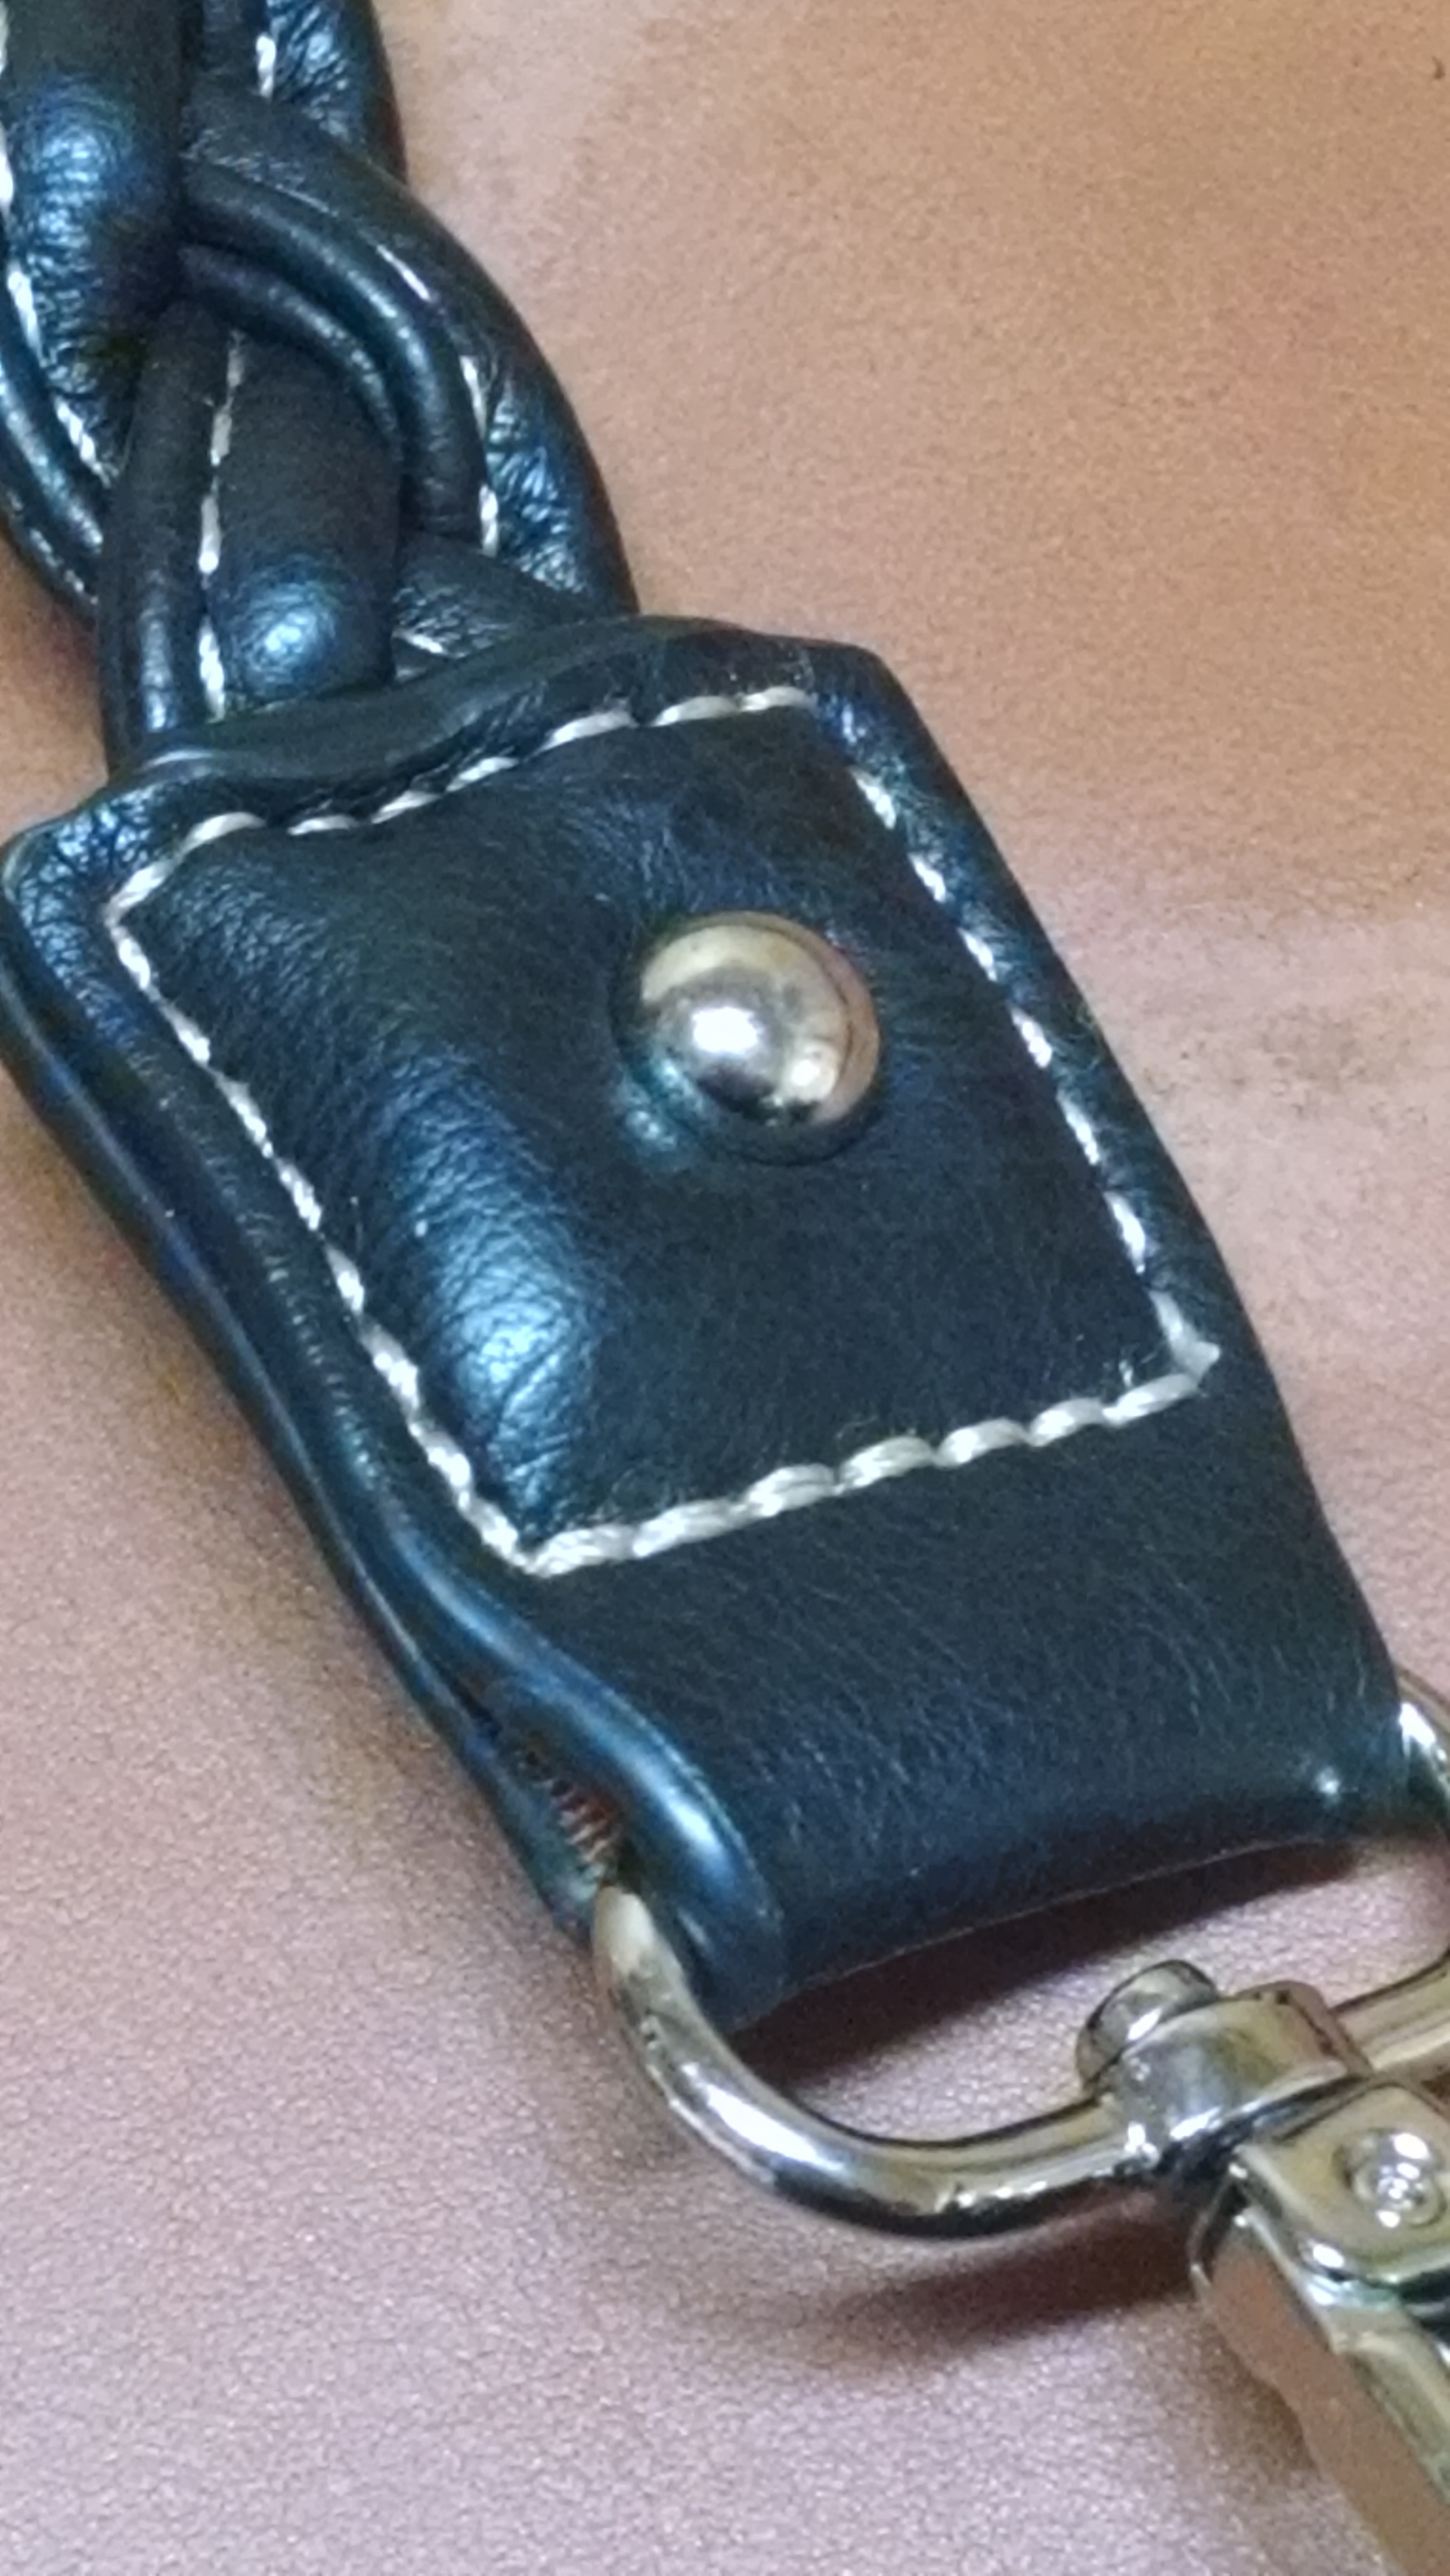
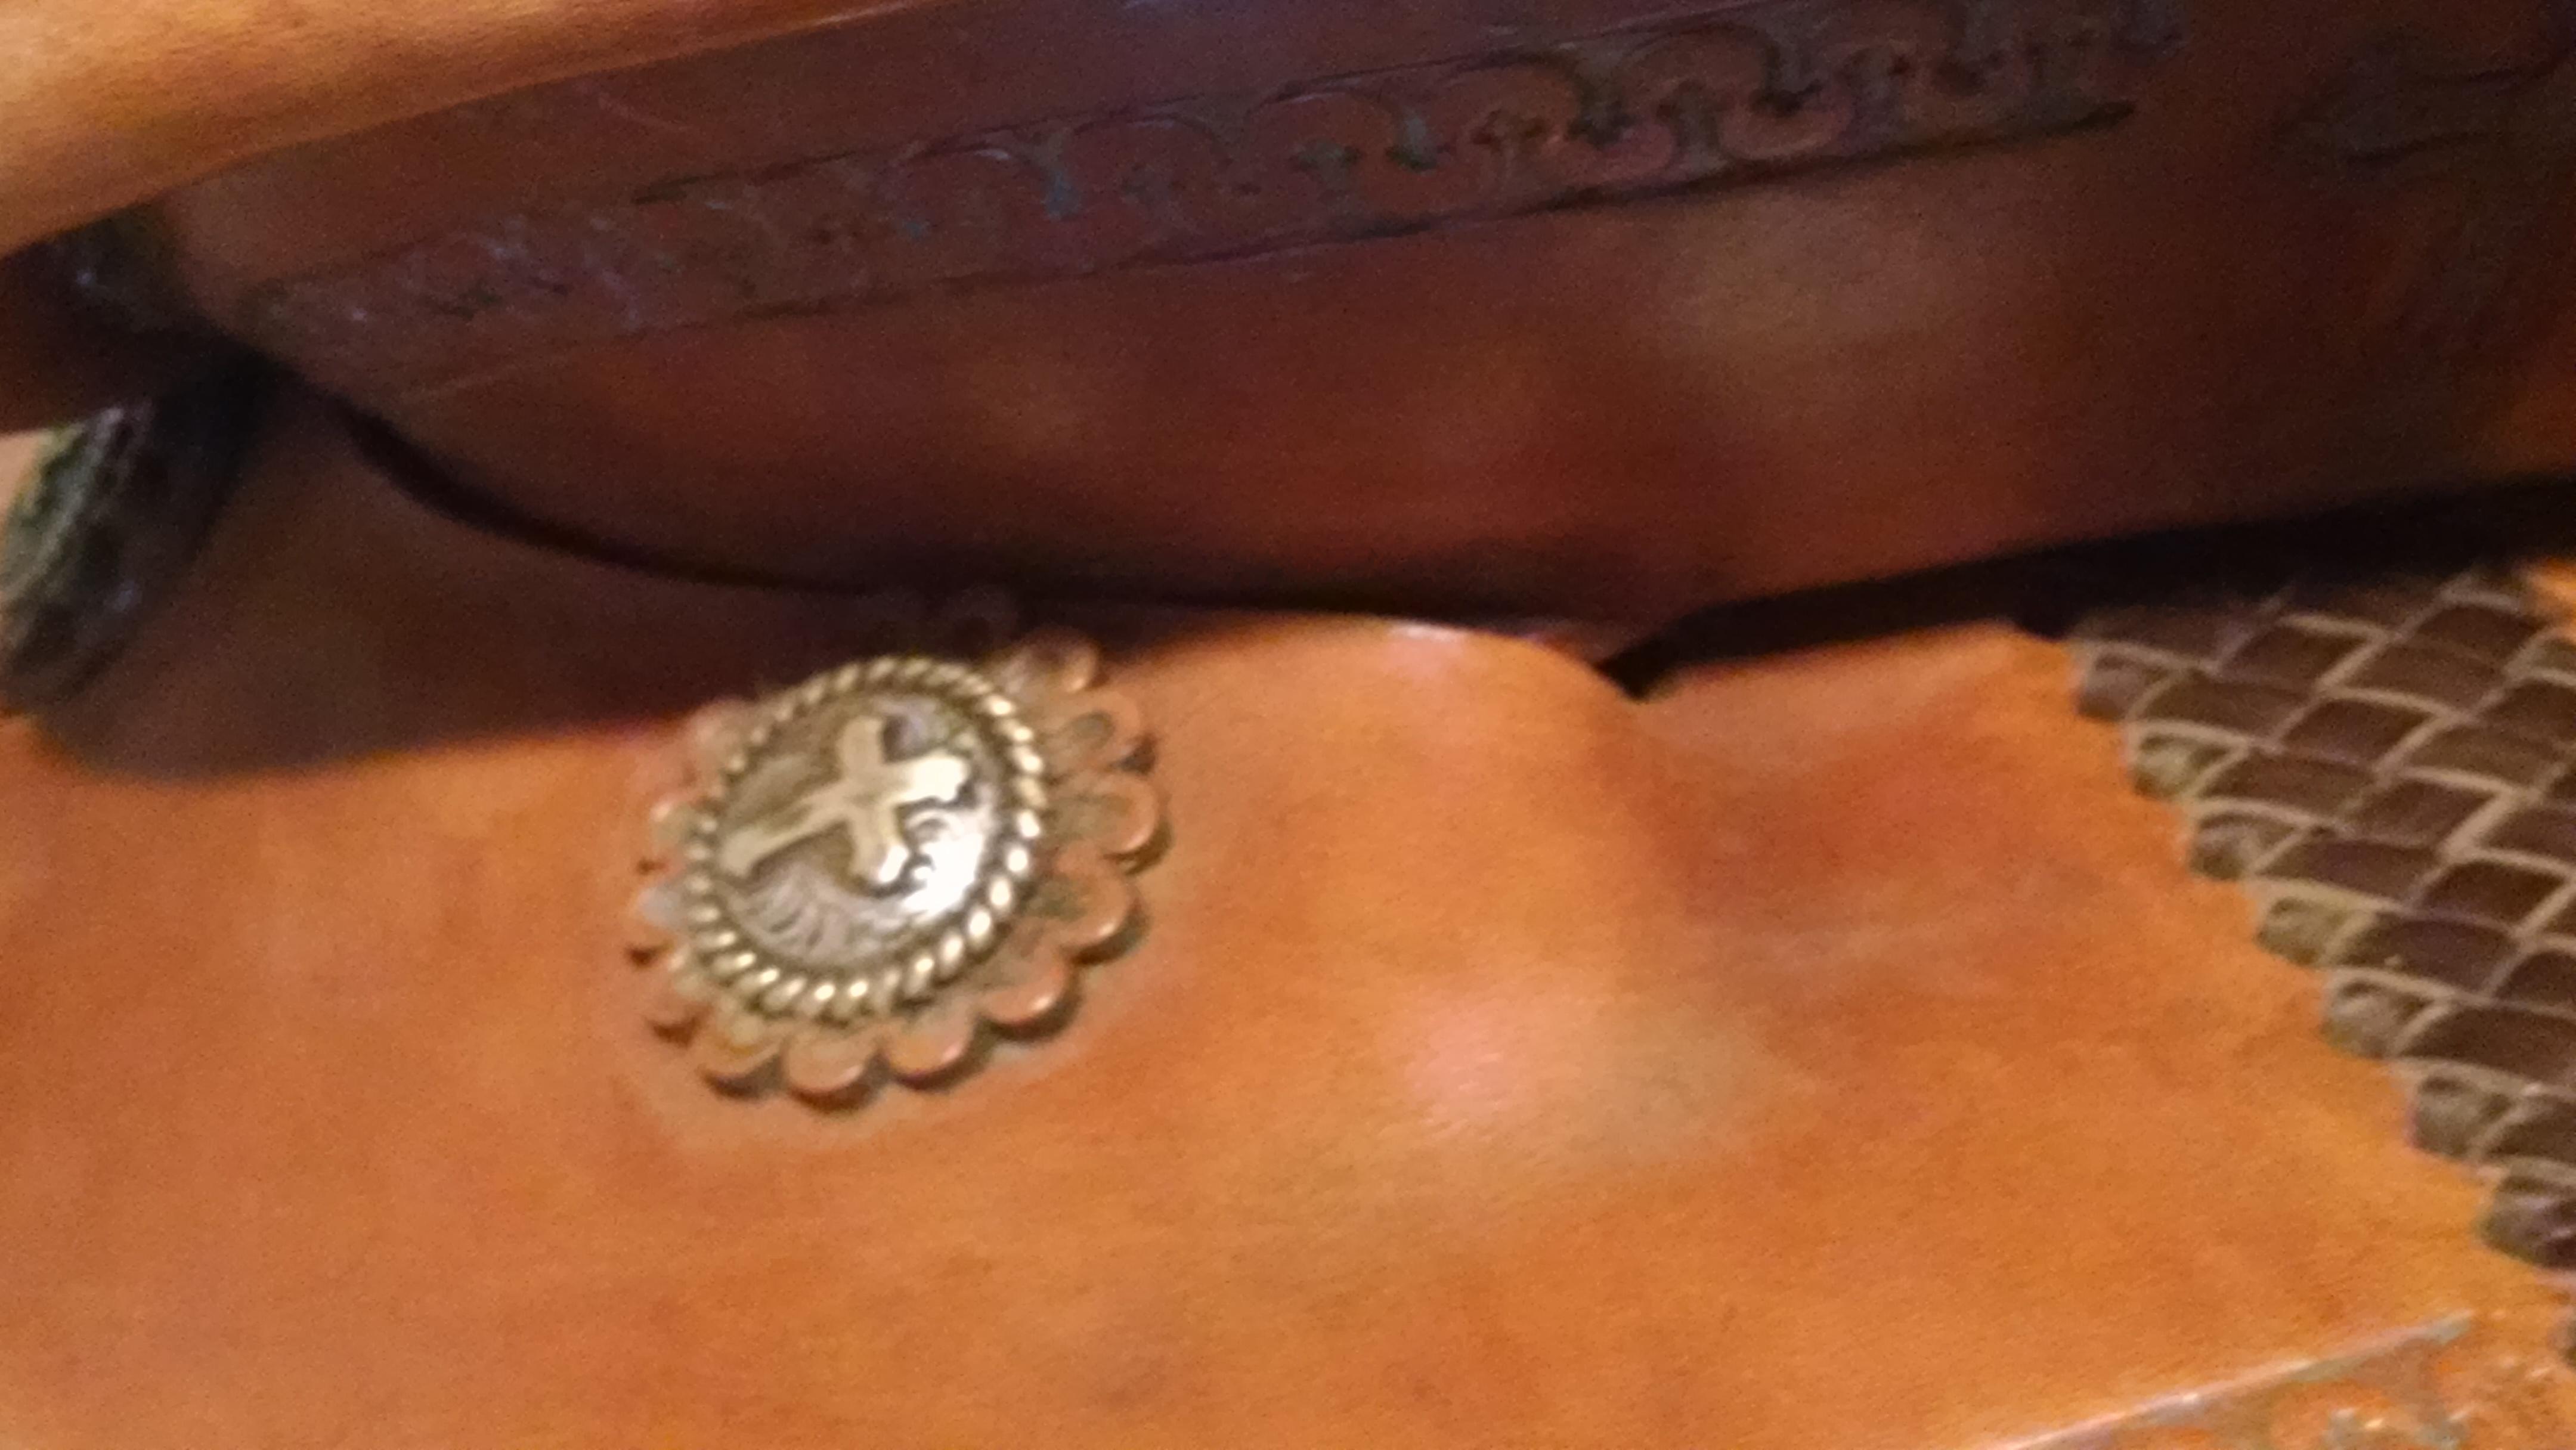
The ones on this purse are double capped. I haven't made it to Tandy to look at replacements. Randy
-
The domed rivets from Tandy look just like this. I haven't measured these, but I will tomorrow.
-
Thanks for the suggestions and advice. It has helped me with my search. Randy
-
I have searched the internet for rivets like this to no avail. Maybe my search terms are incorrect. Does anyone know where I can purchase these? I haven't worked on purses, but have been asked to shorten this strap. That means removing this rivet. Any advice is appreciated. Randy

-
I was hoping you would get comments from more seasoned saddle makers. I always find their comments on others' work extremely valuable when I critique my work. The tooling looks really uniform and I like the tooling on the seat. The tooling on the billets also adds a nice touch to the saddle. I'm not familiar with this style of saddle and am not as experienced as others, so take my critique with a grain of salt. The seat jockey shape and placement seems a little off. Everything is square and it's round. It also seems a little too far back. The front and rear jockeys are not lined up. I think they would be more appealing if the bottom line was consistent. It may be the way it's sitting on the stand but the skirt looks like it runs down toward the front. It may be level when you put it on a horse. Thanks for sharing your work, Randy
-
Nice looking saddle. It looks really balanced. Thanks for sharing. Randy
-
Ryan, Thanks for the comments. It doesn't cost to enter this contest. The winner in each division receives a belt buckle. I'm not sure about other contests. Randy
-
Clyde, I also thought the quality of saddles was great. I received a lot of good comments and suggestions on my saddle. It was really motivating. Thinking about next year already. Randy
-
Thanks for the compliments. The conchos are not burnished. I try to cut the as clean as possible. Ron, I always appreciate your critique of my work. I've picked up a lot of tips from you. I'll see if I can find a binding edger at the show. The wife would be disappointed if I didn't buy anything. BTW there's some really nice saddles here. Randy
-
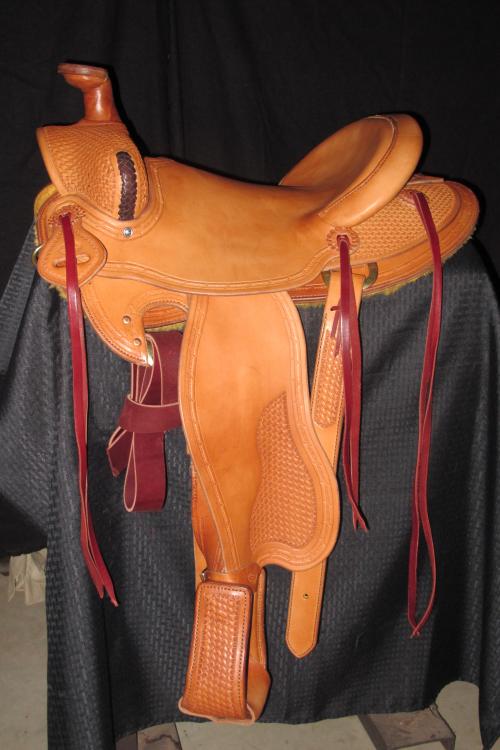
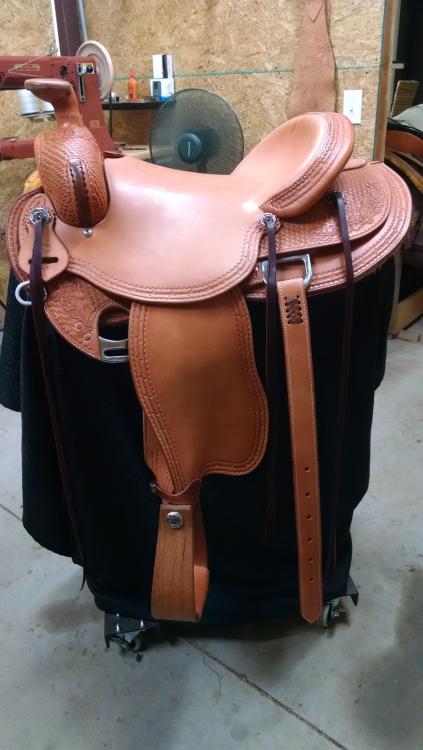
Here's my latest effort. I'm entering this in the Wichita Falls Saddle Contest. Look me up if you are going to the show. Comments and critique are always welcome, Randy


.jpg.3ca871ff8dd2add2443644fe9fa6f7ac.jpg)
.jpg.ff69284891bb05d08c51d74252b57e70.jpg)