-
Posts
500 -
Joined
-
Last visited
Content Type
Profiles
Forums
Events
Blogs
Gallery
Store
Everything posted by rktaylor
-
Thanks. Randy
-
Thanks for the comments and encouragement. I'll post pictures in the gallery when it's complete. Oltoot, Can you share a picture of your breast collar dee? I know you don't like domed rivets, but I feel like trading some durability for appearance is acceptable. Maybe if I was fixing them, I would change my mind. Randy
-
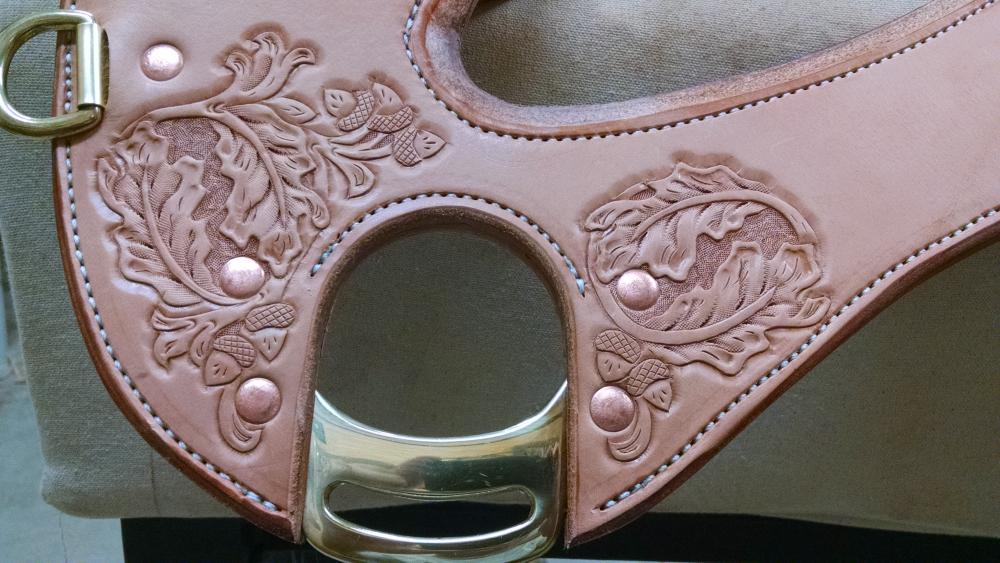
Here's the final product. Not the saddle, just this piece. Still room for improvement, but not too bad. I tried to get the rivets in gaps. Randy
-
Ryan, Thanks for the comments. I get most of my leather from Panhandle in Amarillo, but am looking into ordering direct from Hermann Oak. Randy
-
Bob, Thanks for commenting. I've read your burnishing tip in other posts and think about it all the time when I'm working. I just need to follow it a little more. I've thought about dying the edges, but haven't attempted it on a saddle yet. I need to do it on some smaller projects first. Randy
-
This looks nice. I suggest carving the practice piece as I think that improves my drawing. I feel that some items are easier to draw than to carve. But then, maybe I need practice on both ends. I hope to see the carved product. Randy
-
Well done. Randy
-
Ryan, Good catch. I did miss that area. The bevel marks are exaggerated because the leather was too wet. Normally I would go back over them, but I was in a hurry. In the past I have drawn really nice patterns that I felt were difficult to tool. By just practicing on this and the comments here, I found a few things that needed changing. The presser foot marks are primarily due to wet leather, but I have since reduced the pressure. I'm about as low as I can go now. I'll post pictures of the finished piece here and the saddle in the saddle gallery section. Thanks for the comments. Randy
-
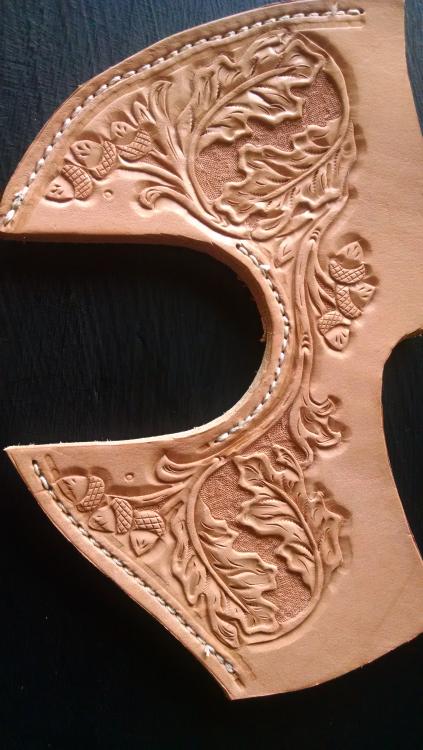
Ron, Thanks for the tips. I modified the pattern some, but here's my practice piece. As noted by cowboycolonel I need more space along the edges. It was tooled and sewn too wet so it's not great. I'll draw a new version this week and maybe get it tooled next week. Thanks again. Randy
-
Thanks for the comments. I'm too close to the stitch love on the bottom, but have plenty of room on the top. The jockeys will cover a lot of this, but I didn't like the empty space above the cutout. I don't know why. I copied the empty acorn from another pattern, but haven't really warmed up to it. I'll probably replace it with a full acorn. Thanks again for the comments and suggestions. I'll post the final product when it's tooled. Randy
-
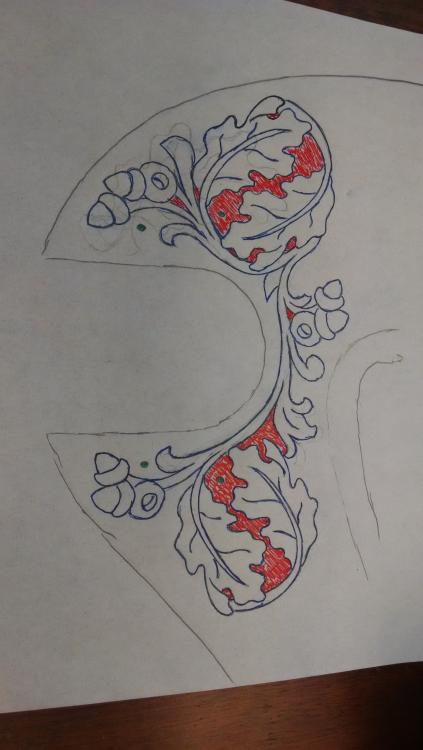
I'm looking for feedback on this oak leaf design. It's for the rigging plate on a saddle. Red is the background and the green points will be copper rivets. All critiques and comments are welcome. Thanks, Randy
-
Looks great. I really like that style and have made a couple like that. For what its worth, I end the liner piece just short of the buckle slot. It creates a nice pocket for the buckle. Sorry, I don't have any pictures to share. Randy
-
Thanks Josh, I'll, have to try the cordura. I built a burnished out of a bench grinder, but I haven't used it on saddle parts. It makes burnishing bridles and breast collars easier. Randy
-
Ron, Thanks for the compliments. I bought a 3/4 hp bench grinder and my dad made a burnishing wheel. We still need to do a little fine tuning, but so far it is working alright. I am hoping this helps with some of the edges, but the horn will still be by hand. I have two new trees and leather should show up this week. I working hard to turn a hobby into a job. Randy
-
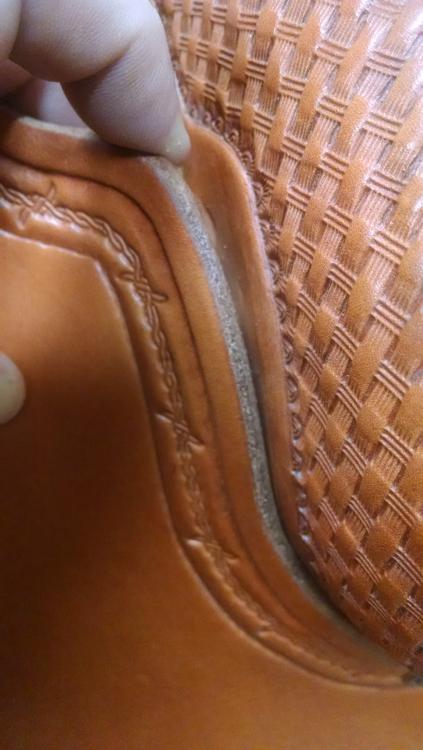
RFI=Room for Improvement In looking at the saddles I have built, there are few areas where I feel like there is a consistent need for improvement. One of them is the seat fit around the hand hold. I don't seem to be getting the seat to fit as tight as I want in this area. These are from #3 and #5. I feel like I am getting it tight when I fit the seat, but it's too loose after it dries. Any tips are appreciated. Randy
-
Josh, Very nice. I like it. Do you think the pattern would also work when connected to the breast collar dees on the saddle? It looks like it would. Randy
-
JD and Ron, Thanks for the compliments. Howard Council was a renowned (his saddles are coveted around here) saddle maker from Lawton, OK. I am not sure what is different about his tree, but from what I have learned Sonny was making them for him. My friend, who I built this for, is a saddle junkie and he called Sonny to order the tree. I looked at some of Mr. Council's saddles and tried to follow his pattern. I struggled with the rope strap because of the swells. I worked with the customer to place it where he wanted. I agree on the front rosettes. I need to clean up the front jockey area on my saddles. It seems that there are too many after thoughts. I thought most of my edges were pretty good until I started taking pictures. I rubbed that horn a lot, but never got it slick enough. I'll look at the DVD. The cantle binding is certainly an area that I would like to improve. If only it means gaining some confidence. Thanks for the tooling and stitching compliments. This was my last hand sewn saddle (bought a Cobra 4). I like hand sewing, but the time was killing me. I appreciate the comments. I am working on 6 and 7 in hope of finishing them for the Wichita Falls contest and they will serve me well. Randy
-
I haven't lined a belt. I mostly make tack. I try to rub the heck out of my edges with either beeswax or glycerine saddle soap. However, I recently built an edge burnisher from a bench grinder. I still need to work on my methods, but I think it will help. Randy
-
I would also second Big Sioux's comment about finishing latigo edges. I don't know about harness leather, but it sure doesn't get slick like veg tan. Randy
-
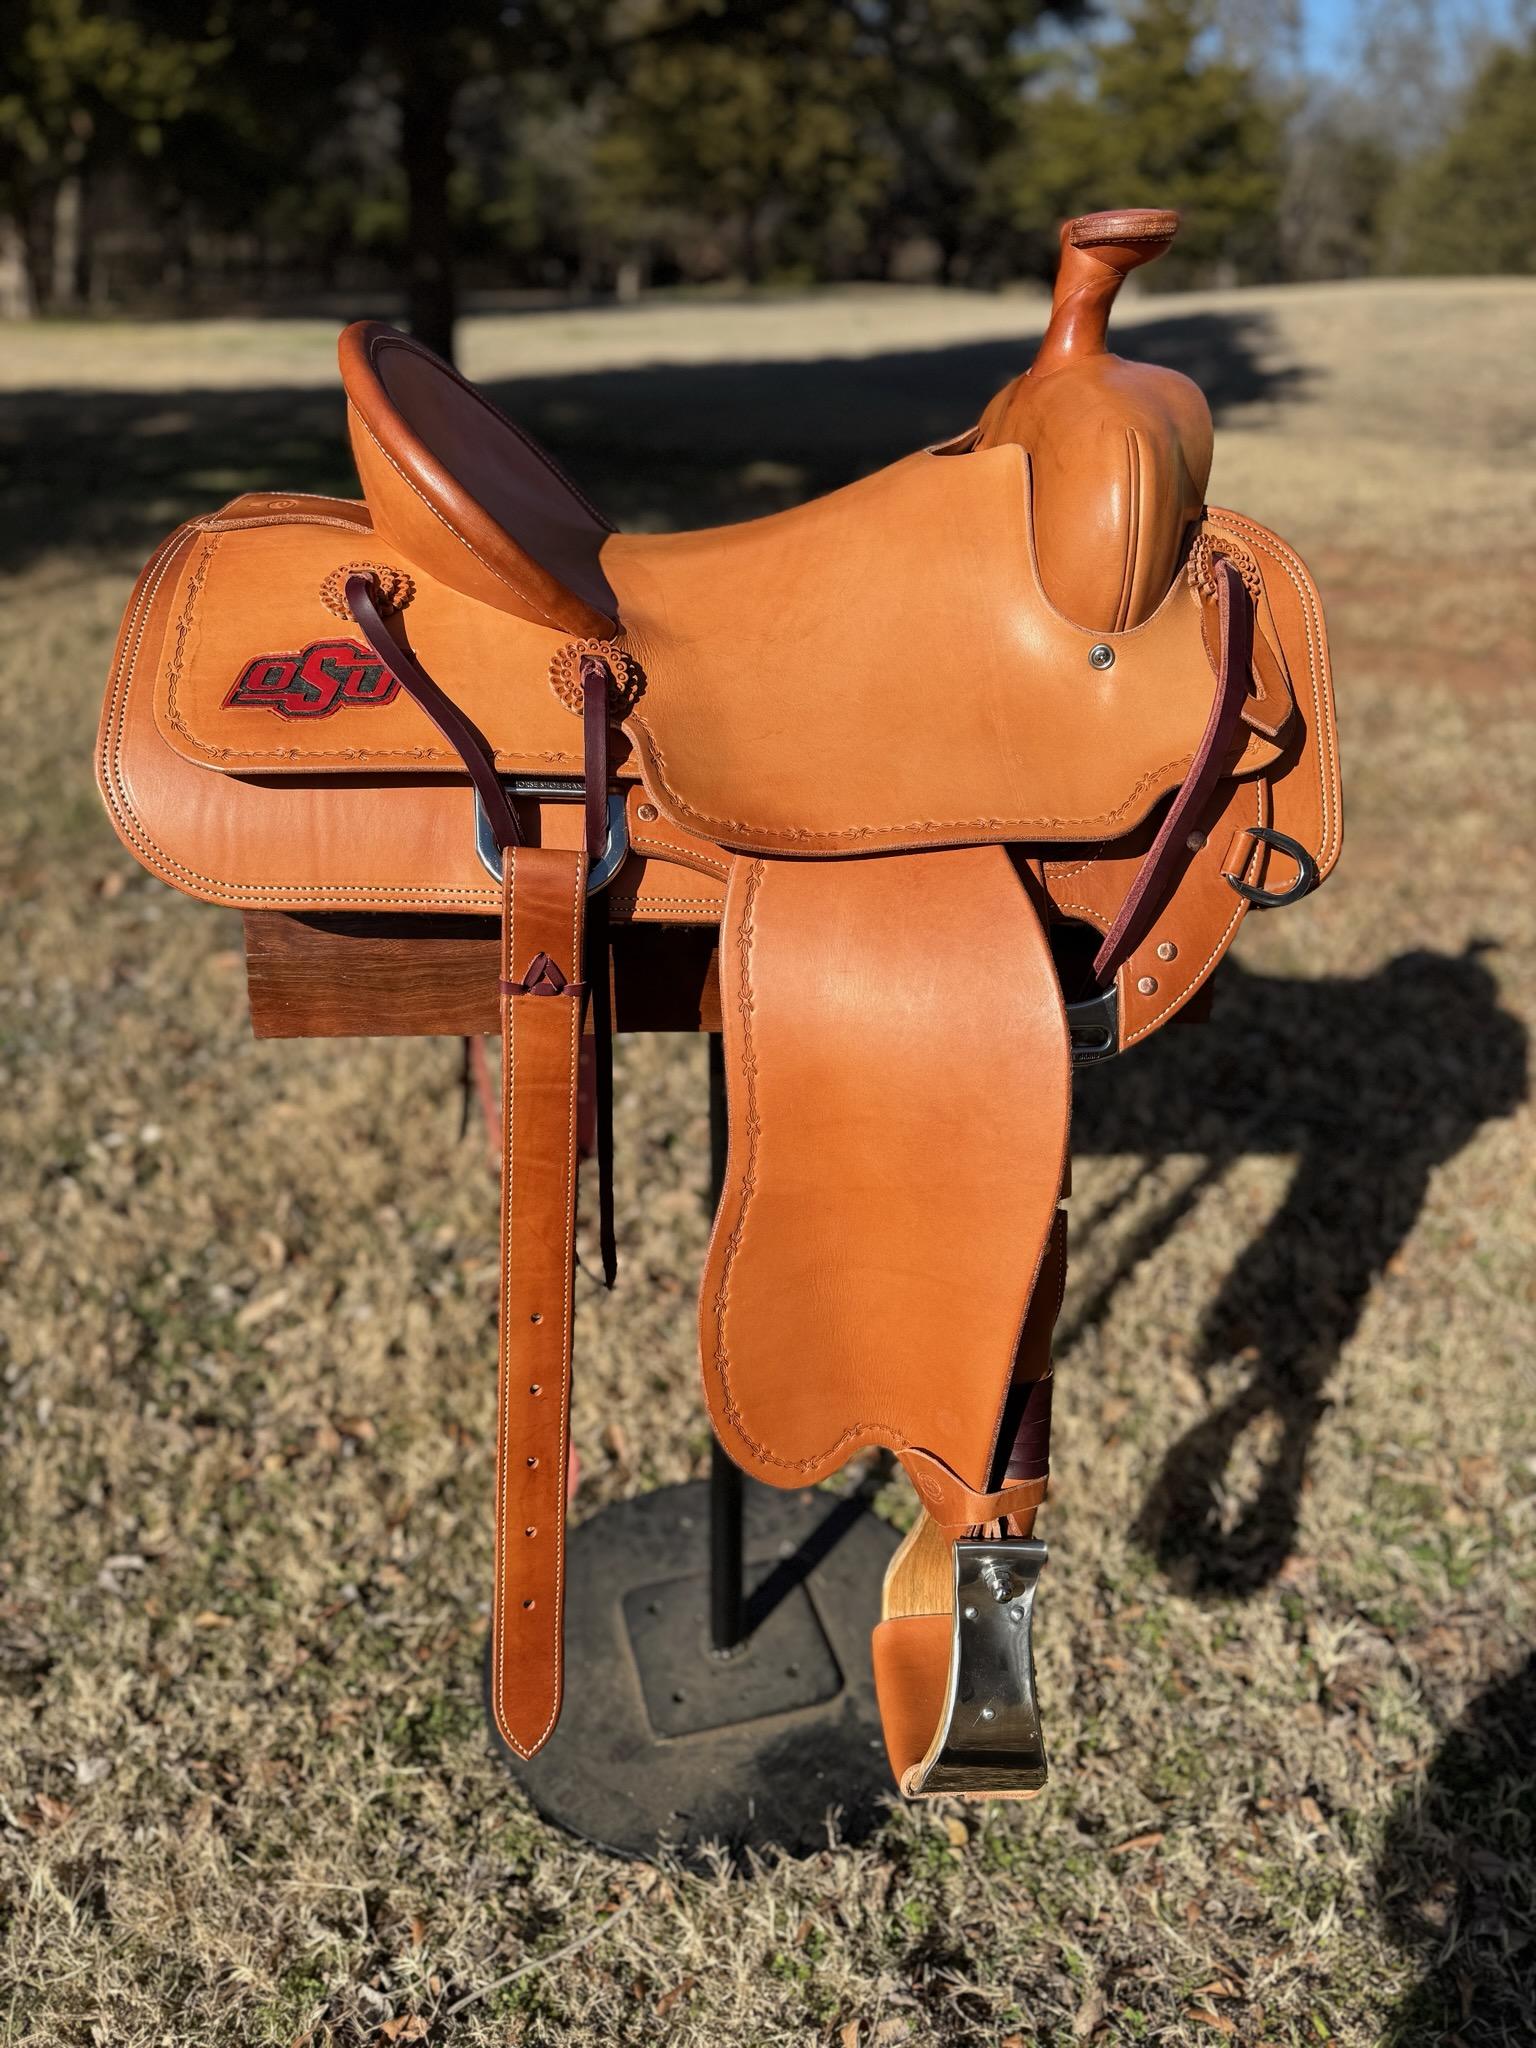
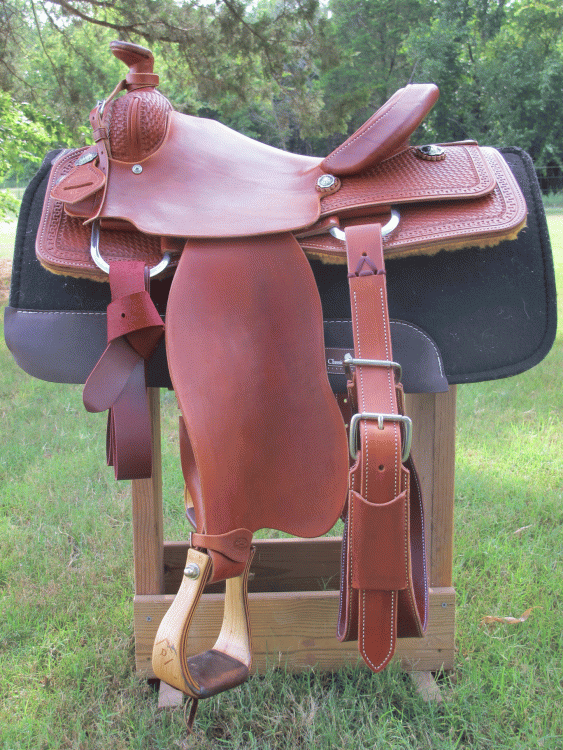
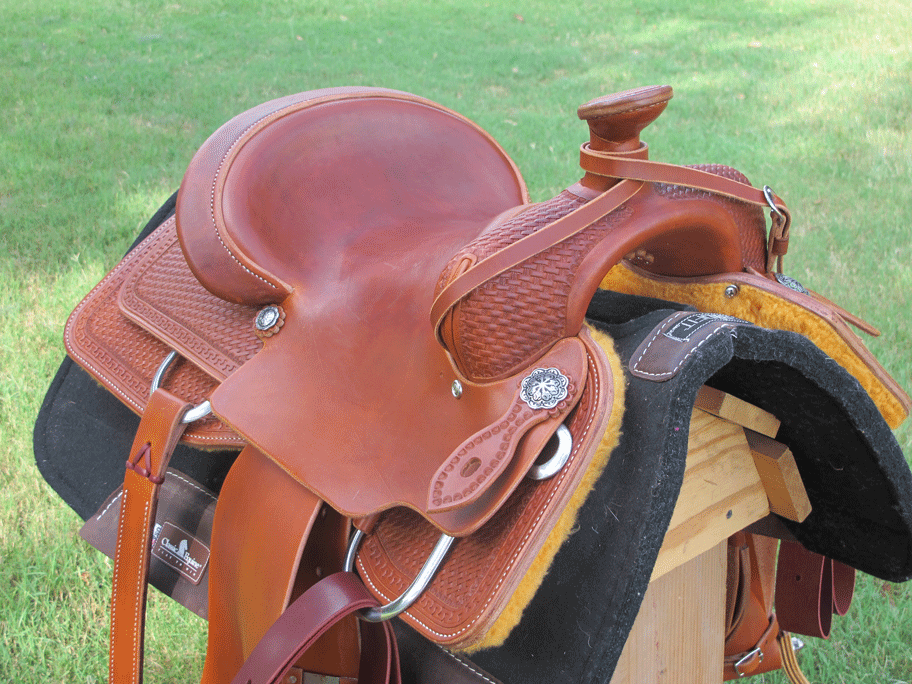
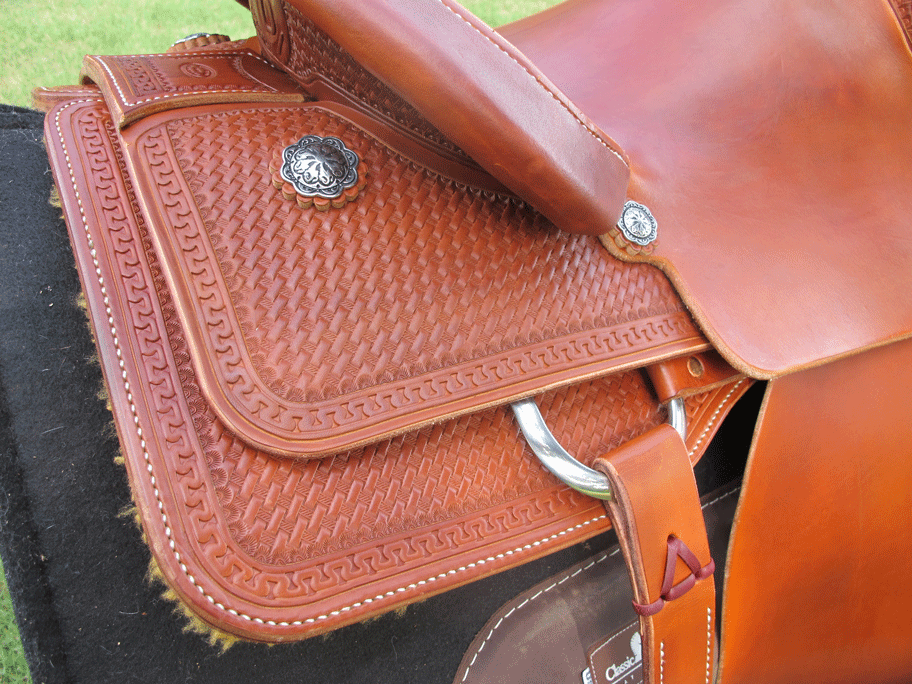
Here's saddle #5 that I just finished. It's built on a Howard Council roping tree from Quality Mfg with Hermann Oak leather. I am making improvements in some areas, but still have a lot to learn. Comments and critiques are welcome. Randy
-
I have used veg tan to line breast collars, but that was mainly because that's all I had. They are holding up fine, but I doubt they will hold up like harness leather. More recently I have been using 5-7 oz latigo to back 13 oz HO. I really like that thickness for roping gear. I have been using 3-4 oz veg tan to line headstalls made with 7-8 oz veg tan. That's because I don't have latigo that light and I don't want them too thick. I preshape the outer pieces before gluing the liner. That keeps them from wrinkling too much. I look forward to seeing the final product. Randy
-
Thanks Steve
-
Clyde, Thanks for sharing. I really like Will James saddles. Your work inspires me to do better. Randy
-
Mike, Nice looking saddle. I like the dragonfly and cattails. Kudos for trying some new things like the inlaid seat. I haven't worked up the courage to have exposed stitches on cantle binding, but I will have to tackle it at some point. Thanks for sharing. Randy
-
Ron and Ron, Thanks for the comments. I have my seat formed and ready to glue down, but I think I am going to make a paper pattern. Then I can compare the two before I glue it in. Maybe I'll learn something. I have only built swell fork saddles. It would be interesting to see if people think one method is better suited for this style. Unless really pressed to change, I probably won't. Randy


