sbrownn
-
Posts
535 -
Joined
-
Last visited
Content Type
Profiles
Forums
Events
Blogs
Gallery
Store
Everything posted by sbrownn
-
Horween Bighorn Latigo is by far the best I have used.
-
Old dog and some new tricks.. 'bout time to share
sbrownn replied to Subterra's topic in Member Gallery
I've been making similar plates using 3D printing. -
Sold
-
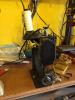
The cast iron Boss is located in Moscow, Idaho. I will ship to anywhere in the US for actual shipping charges via UPS ground.
-
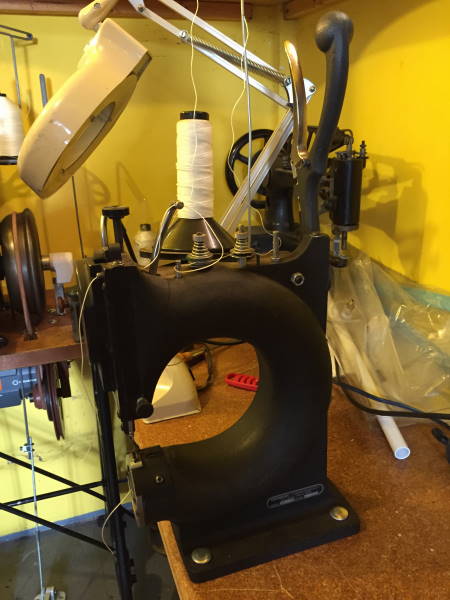
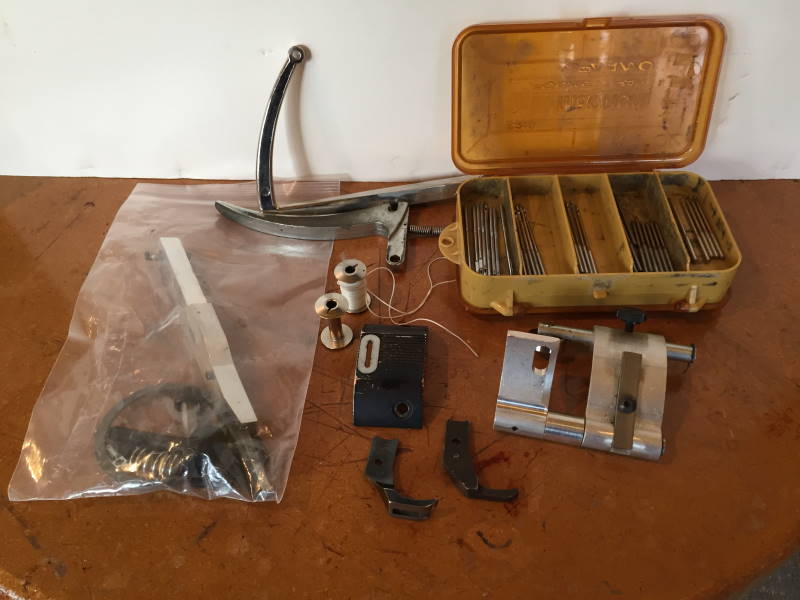
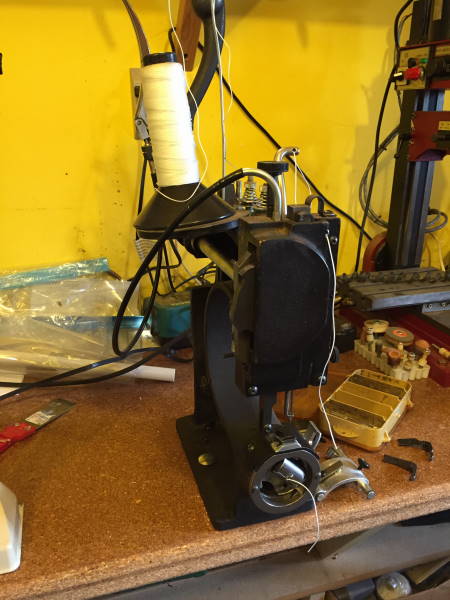
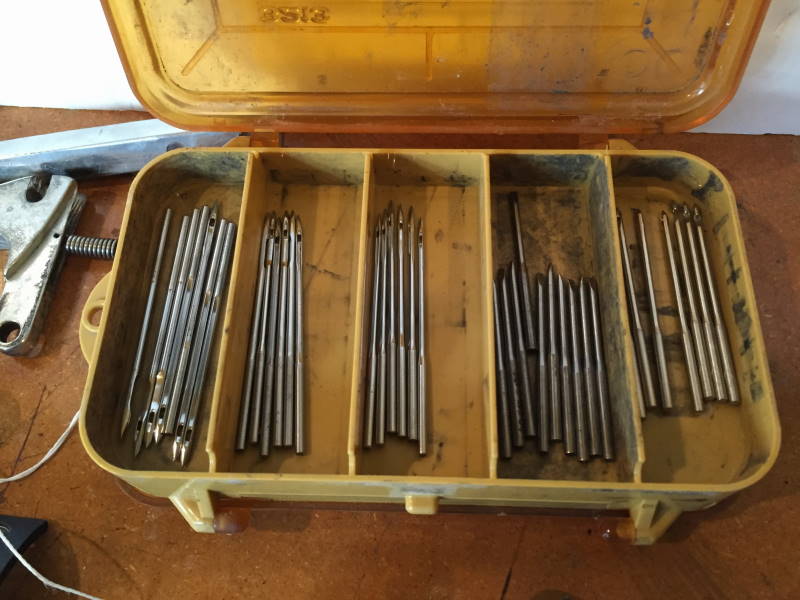
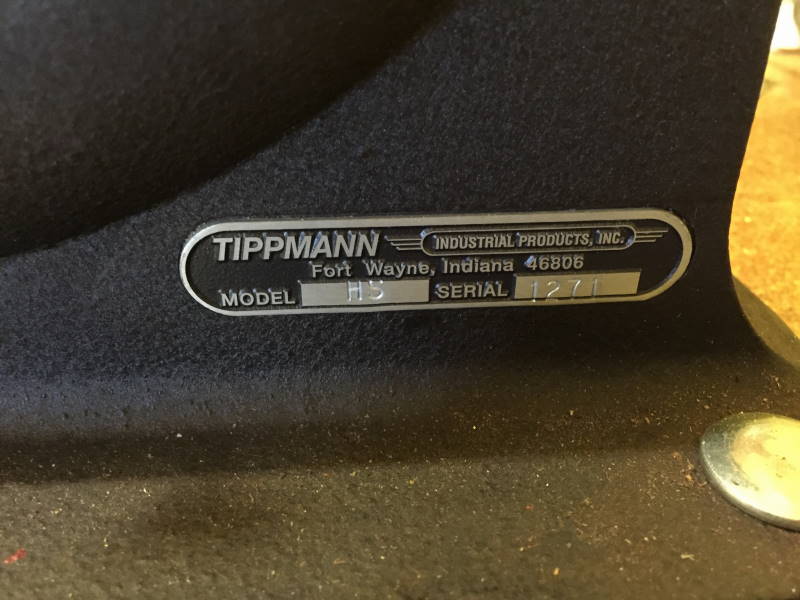
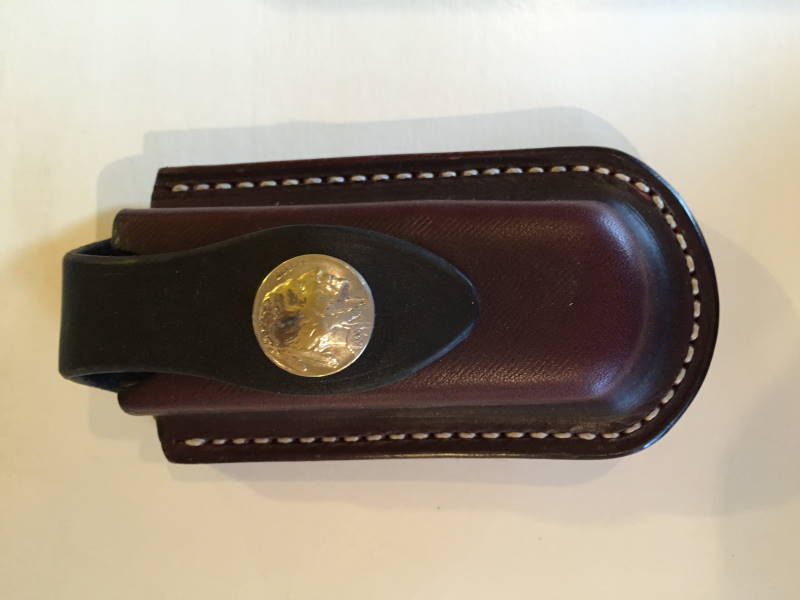
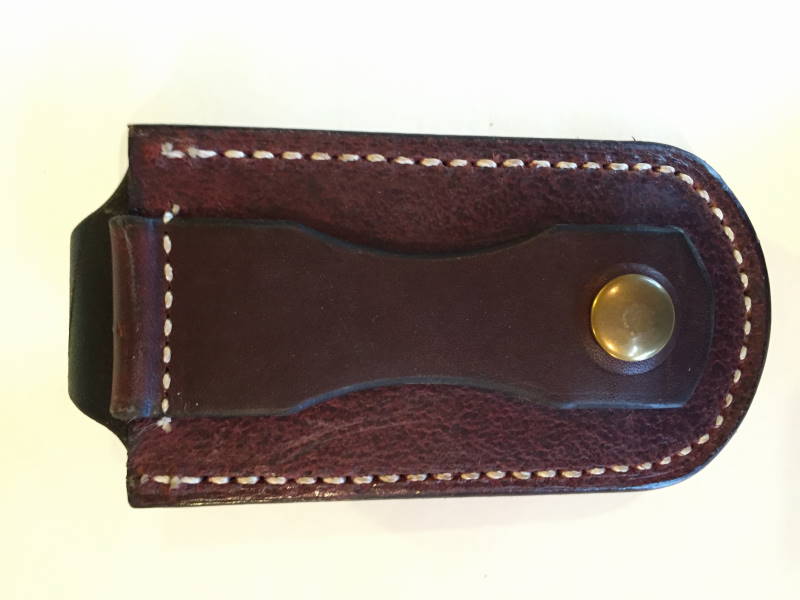
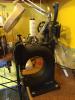
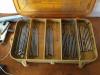
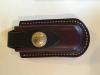
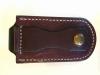
I have an original cast iron Tippman Boss for sale. The machine works perfectly and includes some machine upgrades as well as a selection of spare parts, accessories and supplies. Included with the machine are a material guide, stirrup plate, left, standard and center presser feet, needles and extra bobbins. Don't let anyone mislead you, these machines are neither junk or boat anchors. Set up properly they make a nice top and backside stitch as evidenced by pictures posted on this site by people who have taken the time to learn how to use them. I have posted front and back pictures of a multi tool sheath that I stitched with this machine as an indication of what it will do when properly set up and used. Price: $1000.00

-
What weight of leather and size of thread and needle are represented in the photographs? What kind of needle point are you using? At first glance it looks like the thread and needle size are too big for the thickness of leather being sewn. It is difficult to keep the needle from tearing out the back but I think most machines can be set up to do better than what yours is doing. I am no expert but there are others here who are and can probably tell you exactly what you need to change.
-
draw using the computer and print out the pattern
sbrownn replied to Sjm1027's topic in Patterns and Templates
I do all of my pattern and mold work in SolidWorks, a 3D CAD program and then I 3D print cutting templates and molds. The cutting templates are typically 0.1" thick whith a little handle on top to hold on to them. A typical cutting template costs maybe twenty five cents to print and a three or four piece mold set maybe five dollars. I find that a lot of errors can be caught and fixed in the modeling process and the 3D printed parts are a good way to improve accuracy and speed up production. These days I almost never cut without using a plastic template to guide the knife and for molded things like sheaths and holsters I always print a mold set. If I have something I am going to make a lot of I may have as many as ten 3D printed parts, a combination of cutting templates, molds and alignment jigs. When I am designing my templates and molds I include the pattern for any design or stitch lines in the part. The 3D printer will print a raised line on the part as narrow as 0.4mm so when you lightly press the template on the leather piece to cut it out the raised part will leave a light impression that can be used as a guide. If you want to sink your stitches into the leather you just print the raised part a little higher and press it a little harder into the leather. This takes some practice but eventually with one press you can make a groove for the stitches and a guide for sewing at the same time. The beauty of this process is that using a CAD program you can make your designs and patterns perfectly symmetrical; all of your arcs are tangent and lines are straight. -
I am interested in purchasing the machine. Can you email me so we can set up the deal? sbrownn1069@gmail.com
-
I've looked at the Union machines but they just aren't very well suited to what I do. Don't need the speed so unless I could get one really cheap (~$2000) I would rather spend an extra $1500 and get a Campbell-Randall.
-
Seems like it would be difficult to wear the paint off it in 50 hours. Is that 50 hours since you have had it or 50 since being rebuilt or what?
-
Centering And Stitching Around An English Point Strap End Punch
sbrownn replied to Juliette's topic in How Do I Do That?
I should set the square so that it is along one long strap side and the bottoms of the two legs of the punch? Yes. Make sure the amount of punch overlap is the same on both sides of the strap. I use a drill press to push the punch instead of a hammer. -
where are you located?
-
How Many Prototypes Do You Make Till It Is Sellable?
sbrownn replied to DavidL's topic in Leatherwork Conversation
I create my design in a CAD program before doing anything. You would be amazed at the number of changes you might make to the design in CAD before doing anything. I then use the CAD model as a basis for 3D printing cutting templates and mold sets. -
Centering And Stitching Around An English Point Strap End Punch
sbrownn replied to Juliette's topic in How Do I Do That?
I set a small square on the edge of the belt to square the punch and make sure the gaps on both sides are the same size. This eliminates having to locate the center of the belt. -
Is this machine still for sale? sbrownn1069@gmail.com
-
Servo Motors On Needle Awl Machines
sbrownn replied to steadybrook's topic in Leather Sewing Machines
I put a Reliable Sew Quiet 6000 SM on my old Champion 30. The motor speed is programmable and it can be set up to make one stitch at a time with the awl/needle stopping in any position desired. I am not running any type of speed reducer as the motor running at its slowest speed is slow enough. To make a single stitch you just tap and release the motor control pedal and the machine makes one stitch and stops. I have my machine set to stop with the awl just above the work so I can check its position if I need to. This feature works good for going around corners of following intricate patterns as you can position and align the work piece after every stitch. -
Similar in that they are both needle and awl machines but the narrow throat Champion is more of a shoe repair machine and the Landis a saddle machine. A good Landis 16 would probably be much more desirable for general leather work and that is reflected in the difference in prices the two machines bring.
-
I think too it depends on how the item will be used. Leather work stuff, like saddles for working cowboys, used recessed stitching in wear areas. Maybe like where your leg always rubs when you are riding. In a lot of those items the leather is heavy and the recessed stitch locations are not necessarily high stress locations.
-
I will be bringing a pickup so you don't need to remove the sewing machine from the base if you haven't already. Can you message me and let me know where things are at?
-
can you text me again? I inadvertently deleted our conversation.
-
I haven't heard back on the backside stitch picture. Are you still interested in selling? If so, please give me a call. Steve
-
Do you have any pictures? I see you do. I would like to buy it if you still want to sell it.
-
That's not bad. I'm in Moscow, Idaho
-
Straight...I think. Something similar to a Landis 3, Cambell or Union Lockstitch.
-
I am looking to purchase a working needle and awl machine. Steve Brown sbrownn1069@gmail.com