TomSwede
-
Posts
2,653 -
Joined
-
Last visited
Content Type
Profiles
Forums
Events
Blogs
Gallery
Store
Everything posted by TomSwede
-
Looking really awesome!!! Tom
-
Hallo Sis....Tack!! Vet du, jag ska ha ditt telenr nånstans men hittar inte det, skicka det igen är du snäller. Tom
-
Thx leatherink!! I discarded the edge beveler totally and sanded the edges to a round shape before the casing went out totally. First i sand it roughly to remove material and then gently so that I don't get alot of "beard" form the fleshfibres. Finally I gently sand in one direction only to really comb of the last little "beard" left. After that I color and rewet the backside and formdry the bracer to the arm. Last of all I rewet the edges by dipping them into a bowl of water and let them suck up some water and then I just polish/burnish the heck out the edges with Tandys bonefolder. No gum-trag...just a damp edge with regular tapwater. Thx Ann!! There is a shortcut tecnique for a similar result called block dyeing but gives you a little less distinct result but is very nice to work with once you get the hang of it. Look for Citizen kates tutorial on this, I learned it from that tut. Tom
-
Oldtimer´s Latest Old Time Saddle
TomSwede replied to oldtimer's topic in Saddle & Tack Maker Gallery
Hej Knut!!!! Jisses, that is an impressive saddle!!! Glad to see you are around and strutting some good stuff :-) Hoppas allt är bra med dig!!! Tom -
A Few Questions..
TomSwede replied to 276ccm's topic in Dyes, Antiques, Stains, Glues, Waxes, Finishes and Conditioners.
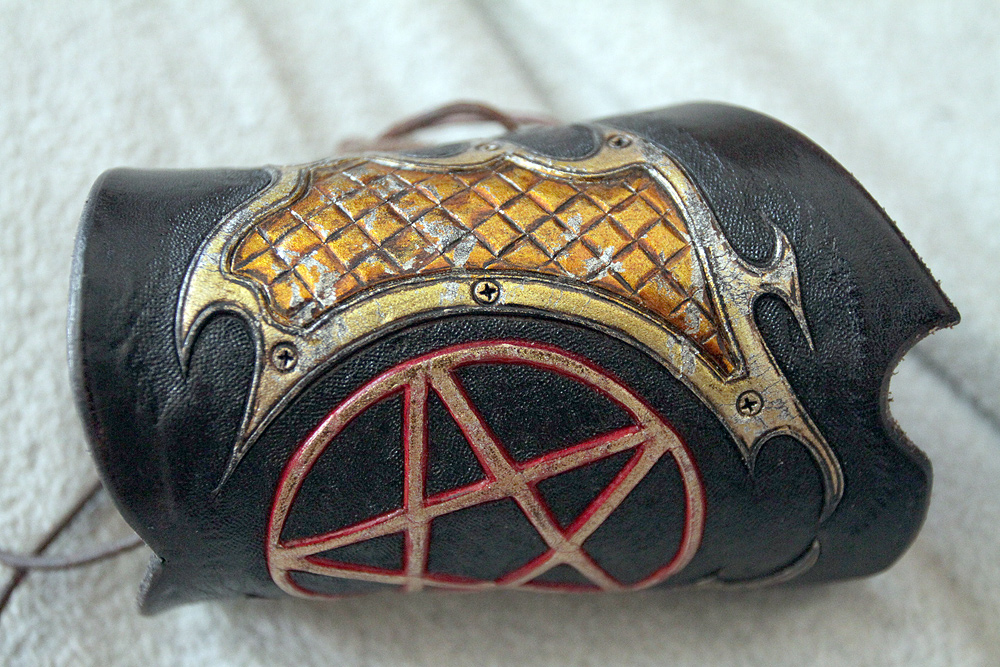
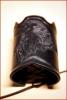
Here we go 276, sorry for delay. Camera probs. Don't know differnce with aniline, sorry. The flaking I have on this would probably have arised no matter what I'd sealed it with. On the sides there are chipping problems and the pentagram shows regular wear, the gold is being "polished" away and the red underneath starts to show through. Tom

-
A Few Questions..
TomSwede replied to 276ccm's topic in Dyes, Antiques, Stains, Glues, Waxes, Finishes and Conditioners.
In Sweden we call this promotion haha ;-) Tom -
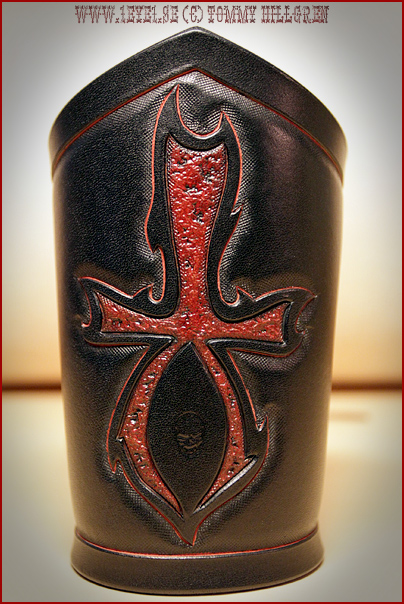
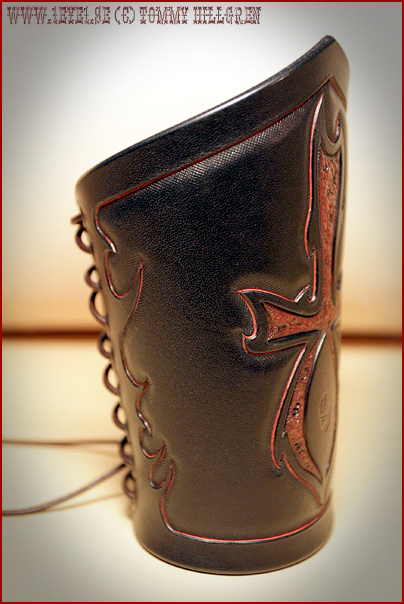
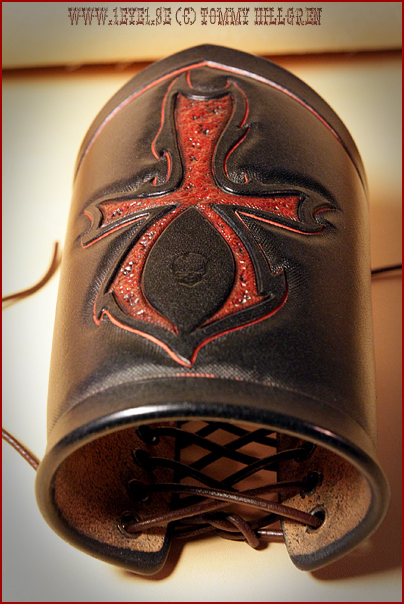
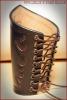
Thank you very much all!!! The two tone is quite simple to make but it takes long time with fine brushing. I just brush the black on with a no2 brush, the brush must be unloaded a bit before you do edges because the dye will absorb and spread out if brush is to loaded. After this is done with the black i just use another no2 brush and apply red in all the cuts. Painting took 5 hrs and I do feel I rushed a bit with it. Just gotta be very careful and steady on the hand, light brushing, just pressing a bit too hard and the brush will unload and create a splodge that spreads out in the cut. Center red section of the carving is painted with a 50/50 mix of red dye and denatured alcohol so I don't get it too dark. Then I seal with acrylic sealer (fiebings) and apply Tandys black gel antique. Let it sit for a couple of mins and then remove it with a damp cloth wrapped around my finger. I can mention also that I use E-294 tool to create the structure in that part, I tool it very hard and the leather is almost dry when I do it so that I don't push the mass of the leather up against the edges wich was beveled for depth before the backgrounder/camouflage tool. Tom
-
A Few Questions..
TomSwede replied to 276ccm's topic in Dyes, Antiques, Stains, Glues, Waxes, Finishes and Conditioners.
There is no oil in ROCs dye like there is in Fiebings pro oil dye and I allways felt ROC dried out the leather very much and hard to buff it to a shine also as a result of it drying out the grainside of leather it makes it curl up alot. I'm gunna take a pic tomorrow and post here for you wich shows worn out metallics from ROC that was sealed with Tandy super sheen spray finish. it doesn't exacly look like new but that bracer has been through lots of hard wear the past 2½ years, even gone skinnydipping with it a few times. More tomorrow, i just gotta get me some sleep now. Tom -
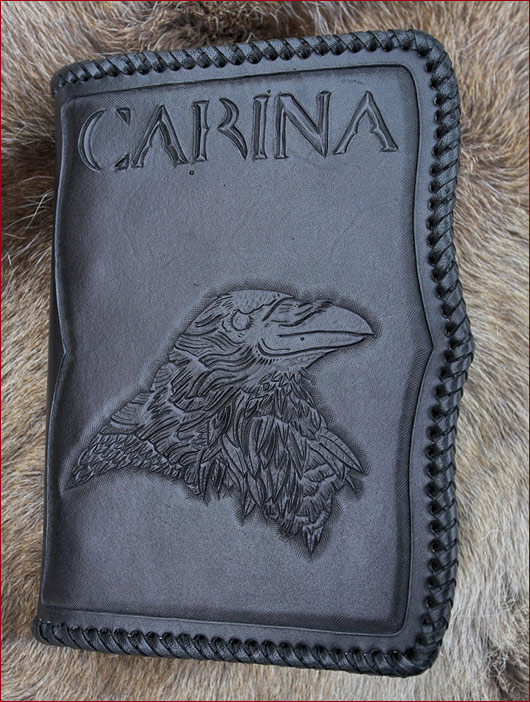
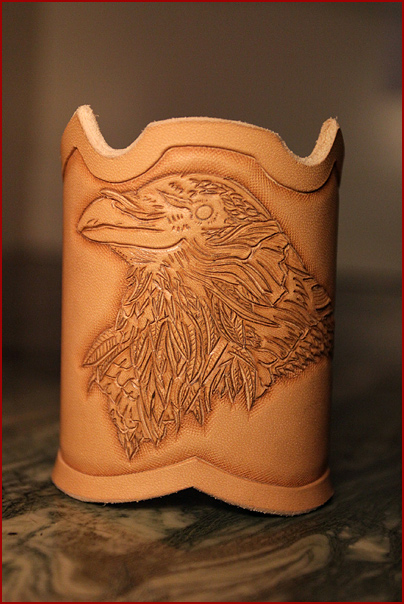
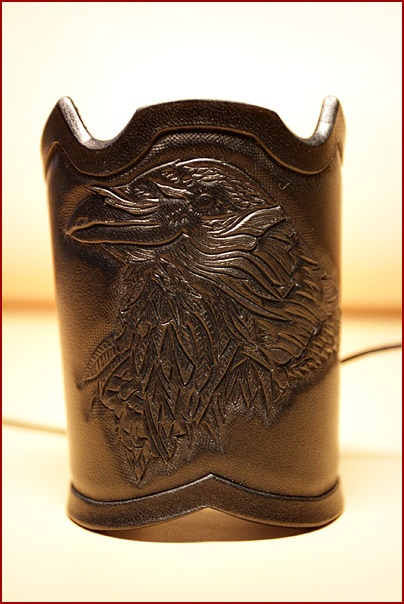
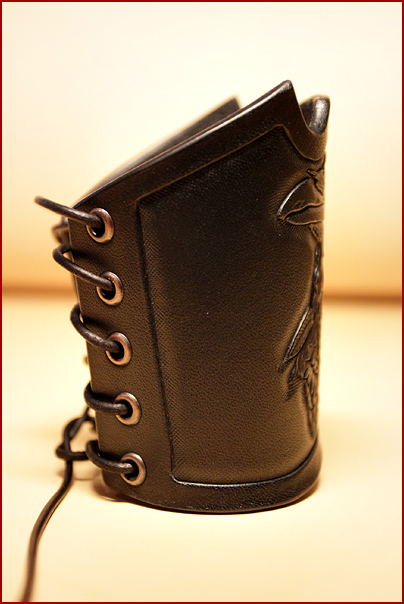
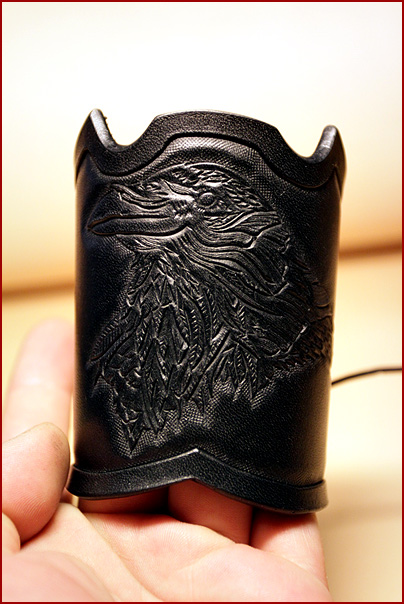
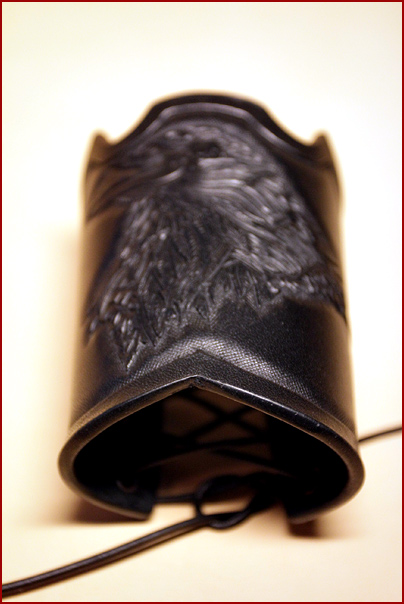
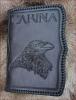
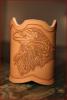
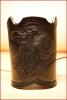
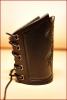
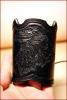
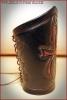
Sorry for abscence lately, haven't been doing much leatherwork lately and dipping my finger into the art of tattooing...an experience just as humbling as leatherwork. The first bracer here is the raven bracer wich is made to match the raven dayplanner posted some year ago. Same carving but a bit smaller in size, very tight to carve. I got tired of the tandy edge beveler that seldom produce fine result no matter how much I strop it. Maybe I'm just bad at stropping? Anyways I skipped the beveler and wetsanded the edge with a medium type sandpaper and slicked the edge with just water, best edge produced so far. I used some black wax to really finish it off. A pic of the dayplanner is included for referal. Next bracer is a bit more playing with my fav black and red combo. Edges turned out even better and I didn't treat them with any black wax this time.


-
Just love the seat, nice to see the original design aswell and your interpretation of it. Tom
-
Second seat of the week finished - Smith and Wesson
TomSwede replied to Ian's topic in Motorcycles and Biker Gear
Very neat and clean, center design looks great! Tom -
Latest Belt
TomSwede replied to BarryS's topic in Purses, Wallets, Belts and Miscellaneous Pocket Items
Veeery good looking belt! Tom -
I second that! Tom
-
New Leatherworker, Please Comment
TomSwede replied to Grov's topic in Purses, Wallets, Belts and Miscellaneous Pocket Items
Looks like your off with a good start, mind and imagination is key to continue. Check out stuff here and ask lots of questions will take you further. Good looking edges is a neat thing and kinda tricky to make. Look up edge beveling and edge slicking via boards search function and just keep practising, in time you'll develop more accuraccy with knife and swivelcuts, painting etc. Good luck!! Tom -
That is beautiful setup of bags, love the colors!!! Tom
-
Tree Of Life Purse
TomSwede replied to MADMAX22's topic in Purses, Wallets, Belts and Miscellaneous Pocket Items
Yes and also very fun to work with. -
Tree Of Life Purse
TomSwede replied to MADMAX22's topic in Purses, Wallets, Belts and Miscellaneous Pocket Items
Very good looking purse, nice slicked edges and prolooking, inverted carving looks so good! Tom -
Very clean and good looking rose, looks like a funny project to work with! Is the stem rolled? Tom
-
Hummingbird Belt Buckle
TomSwede replied to jpsjewel's topic in Purses, Wallets, Belts and Miscellaneous Pocket Items
I like the way you have carved and colored the hummingbird. To me a black thread would have looked nicer because it acts as a frame also the edgedye is a bit uneven wich draws the attention from your elegant carving. all in all, looking good! Tom -
All black seat...tribal dragon head
TomSwede replied to leatheroo's topic in Motorcycles and Biker Gear
You're on a roll girl!!! Just love this seat and the swiveling looks great!!! Tom -
That seat is beautiful, nice touch with the shape of the arc!!! Tom
-
Throwing in a quickie here. I allways bevel all edges in a normal fashion prior to doing background so that you don't push the leather to the sides wich will make your tooling come out a bit flat. Tom
-
That looks awesome, sooooo many details. Faces are difficult but from what I can tell from the pic seem like you're about to nail it. Niiiice! Tom
-
Welcome to the board!! Seat looks great and what Madmax say, a little more practice on carving and tooling will make you tool very nice designs in short time and studying Paul Burnett is very helpful Also very good choice on using the mexican roundbraid, very tideous but gorgeous. Tom
-
Very good looking armor/suit!! I love black and red so offcourse partial to that. I Also like when designs are not overdone but rather done in a tasteful fashion and I see that here, just a few very good looking skull designs and elegant black and read. The helmet looks great with the plates going back over the head. A skullmask and shoulders will make nice additions. Tom