Uwe
-
Posts
2,221 -
Joined
-
Last visited
Content Type
Profiles
Forums
Events
Blogs
Gallery
Store
Everything posted by Uwe
-
If I were you, I'd be REALLY nice to my aunt with the Adler 267GK373. It should be perfect for sewing upholstery type projects. Don't know much about that TacSew, other than it's a clone of sorts and has zigzag. If you don't want the Adler, I'll take it - just sayin' :-)
-

Problem With My Bobbin Timing On Cobra 4
Uwe replied to ChapinLeather's topic in Leather Sewing Machines
So do the diagrams and illustrations in the Juki manual correspond to what your Cobra 4 looks like? Going through the manual in sequence and comparing your Cobra 4's adjustments with what they should be should tell you what is off, how to adjust it, and where the set screws are. It's one of the best service manuals I've come across. -
The 135x17 needle system dimension for beedle butt to top of eye is a full 5mm longer (38.9mm) than the 135x7 (33.9mm), according to this Needle system chart A previous owner may have changed adjustments to make it work with the longer needle. If you're switching back to the shorter original, you will likely have to go through the full hook timing adjustment procedure to have a chance of it working properly. I'm curious how you could tell the needle in the machine was a 135x17? None of my needles from three different manufactures (Organ, Schmetz. Grotz-Beckert) have needle SYSTEM markings on the needle itself, just size markings.
-
Problem With My Bobbin Timing On Cobra 4
Uwe replied to ChapinLeather's topic in Leather Sewing Machines
The Juki TSC-441 Service Manual describes how to adjust this class of machine (Needle-to-hook/shuttle distance adjustment is on page 4&5). Depending on how faithful the Cobra 4 clone really is to the original, it may be helpful. -
There may be no such thing available online, based on a few minutes of research. However, the Pfaff 145 appears to be a very close relative and 90% identical in the hook area to the Adler 67, so my timing video for the Adler 67 may get you most of the way there: The general guidelines for hook timing don't vary all that much from one machine to another close relative. In fact one sentence probably gets you close enough for government work: "The needle rises about 1.8mm from the bottom when the hook meets the needle in the middle of the scarf as close as possible without touching". The needle guard should also touch the needle when the hook picks up the thread. In the absence of a service manual for your exact machine, the next best thing are instructions for a very close relative of the machine (or predecessor/successor, e.g. Pfaff 145->545->1245). The only value that really changes is the needle rise for hook timing. The 1,8mm is a good starting point for your machine. It determines how well the hook catches the loop AND how well the thread is able to wrap around the bobbin. If the needle rise is too high, the thread will be too tight or bind/snap when wrapping around the bobbin, if needle rise is too low, thread will be loose while wrapping around the bobbin or the loop may not be big enough for the hook to catch reliably. I found this out when timing my Consew 225 using faulty service instructions (the Keystone manual for the Consew 225 states 3/16" needle rise for hook timing when it should be 3/32"). Tilt the machine back and make a few stitches turning the wheel by hand and closely observing what's happening. A well adjusted machine in your class of machines should look like this: Make sure you use the correct needle system for your machine. The Pfaff 145 H3 should use the 134-35 needle system, according to manual linked earlier. Using the wrong needle system will really mess you up no matter how you adjust the machine.
-
http://www.manualslib.com/manual/505004/Pfaff-145.html
-
So that seemingly simple statement can be interpreted two totally opposing ways. Did Singer have originals that were copied the most BY others, or were Singer machines mostly copied FROM others? It seems that Singer has a popular reputation of being an "original." But I've also heard people comment that SInger hardly invented anything original at all, but mostly copied and borrowed from others to build their empire. I don't know which version is closer to the truth, actually.
-
A Quick Question About Speed Reducer Pulley Sizes
Uwe replied to OLDNSLOW's topic in Leather Sewing Machines
Wow, respect, Mr. dikman! You got mad maker skills and access to cool machinery. There seems to be much emphasis in many designs (including mine so far) to make sure that the shaft holding the two pulleys does NOT move, ever (other than rotate around the shaft's axis). I'm contemplating a version where the shaft is not fixed at all but moving freely on a track or pivot arm. I think we only need the shaft holding the two pulleys to not twist/yaw. Two opposing belts should hold it in place just fine. -
I've not seen one and I'm afraid it would be like Game of Thrones with a bunch of characters claiming to be the true kings and having the place run wild with bastard children. There are just a few seemingly clear "Luke, I am your father" examples with prominent originals like Juki TSC-441 and Durkopp Adler 205 that have sired and bunch of undisputed offspring. The Juki TSC-441 itself apparently was an answer to the Adler 205. Another popular class of machines Singer 111/Consew 225/ Juki 562/etc. and other variants, I have no clue which came first. I read some story about a prolonged, nasty patent battle in court over who invented the "first" sewing machine. This was around the time of the American Civil War. I was convoluted and confusing, and apparently it only got worse from there. Part of the problem is the 150ish years of history, mixed with murky international patent laws, combined with two world wars and dismantled factories and a decades-long orgy of corporate mergers and acquisitions. It would be easier to write a definitive history of dog breeds. All we know for sure that ten thousand years ago there were only wolves. What exact lineage led to pugs? Who knows!
-
We saw a counselor and decided to work out our differences rather than separate.
-
Remove Old Oil And Rust Without Removing The Paint... Any Ideas
Uwe replied to alexitbe's topic in Leather Sewing Machines
Folks, please take a moment to update your LW profile so we can tell where you are located at! Don't make us guess and recommend products you can't buy. -
Remove Old Oil And Rust Without Removing The Paint... Any Ideas
Uwe replied to alexitbe's topic in Leather Sewing Machines
I'm using Marvel's Mystery Oil to clean my machines. It works well to dissolve old crud and dried oil varnish. It's basically diesel oil that doesn't look or stink like diesel oil. -
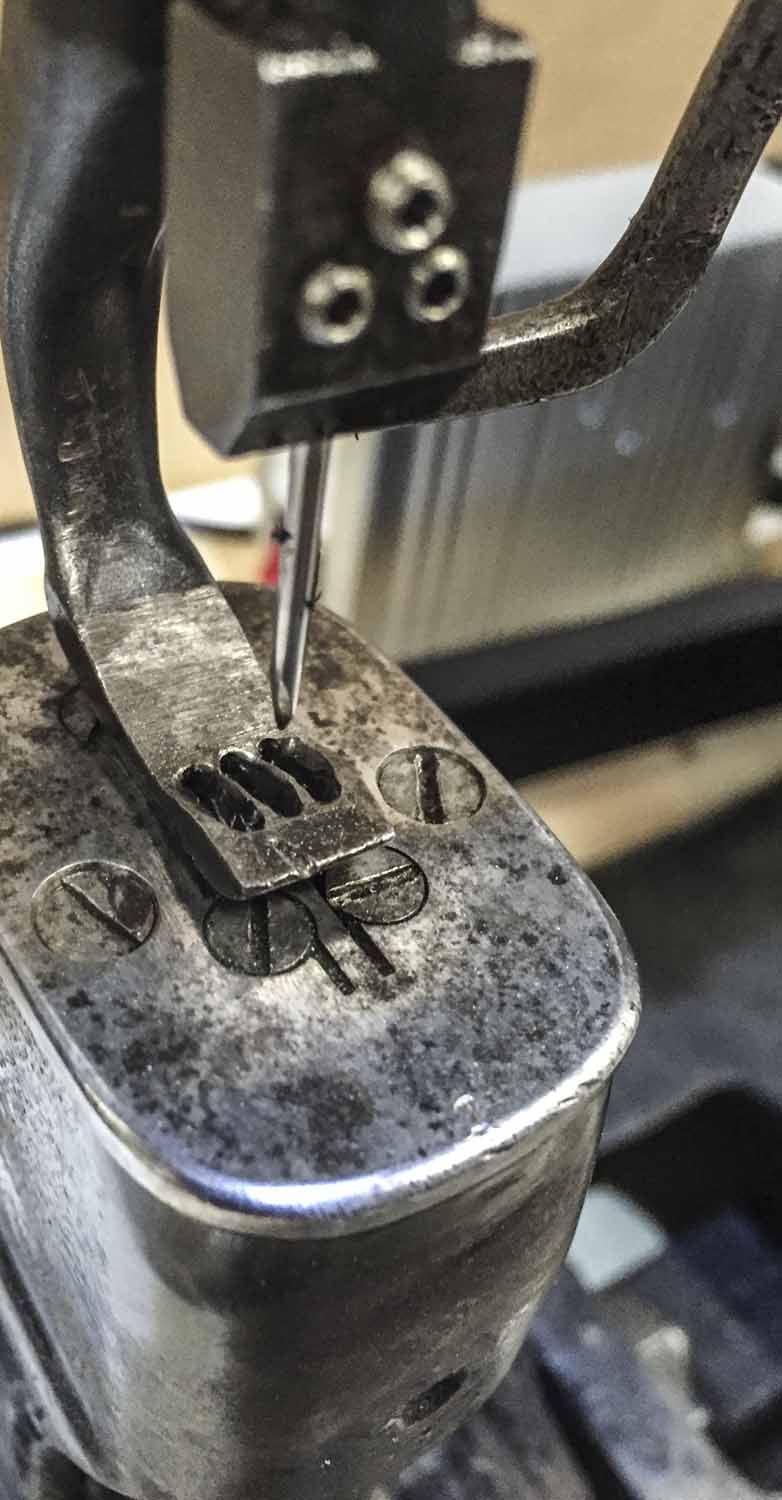
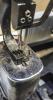
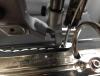
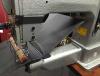
Here's a little demo video that shows what the machine can and cannot do right now, and how to change needles and such. What exactly happens under that needle plate is still a mystery to me and it needs some work to fix the occasionally tangles it makes right now. Installing new castoffs and needle braces would be a good first step. There's a also some art and science regarding exactly which needle and thread size combinations works best. Obviously I've not figured that out yet - perhaps the new owner will. https://www.youtube.com/watch?v=l5exta7l5l0
-
A Quick Question About Speed Reducer Pulley Sizes
Uwe replied to OLDNSLOW's topic in Leather Sewing Machines
It's less about actual size than ratios between pulleys. A 2"/4"inch speed reducer pulley combo will have the same 2:1 speed-reducing effect as a 3"/6" combo. One popular commercial version actually has a three-in-one pulley : 3"/6"/9": So depending on which two pulleys you put your belts on, you get a 1.5:1 (9":6"), 2:1 (6":3"), or 3:1 (9":3") ratio of speed reduction and torque increase. Unless you're really into into wandering the aisles of your local hardware store and hours of tinkering, I highly recommend a commercial version. They're much easier to install and not much more expensive than home-made versions in my experience. $130-$150 seems like a lot for two pieces of painted cast iron and a bearing, but I've yet to find a considerably better or cheaper alternative. The only really cheaper way to reduce speed and increase torque is to change just the pulley on your motor to a smaller one. My Enduro motors come with 5" pulleys. Installing a 2" pulley is only $5 or so, but provides a very cheap 2.5:1 ratio improvement for speed reduction and torque increase. If you want to go REALLY slow and REALLY high-torque, you do both, swap the motor pulley out for a smaller one AND install a speed reducer pulley BETWEEN the motor and machine. Changing out the hand wheel on the machine is usually not a practical option.
-
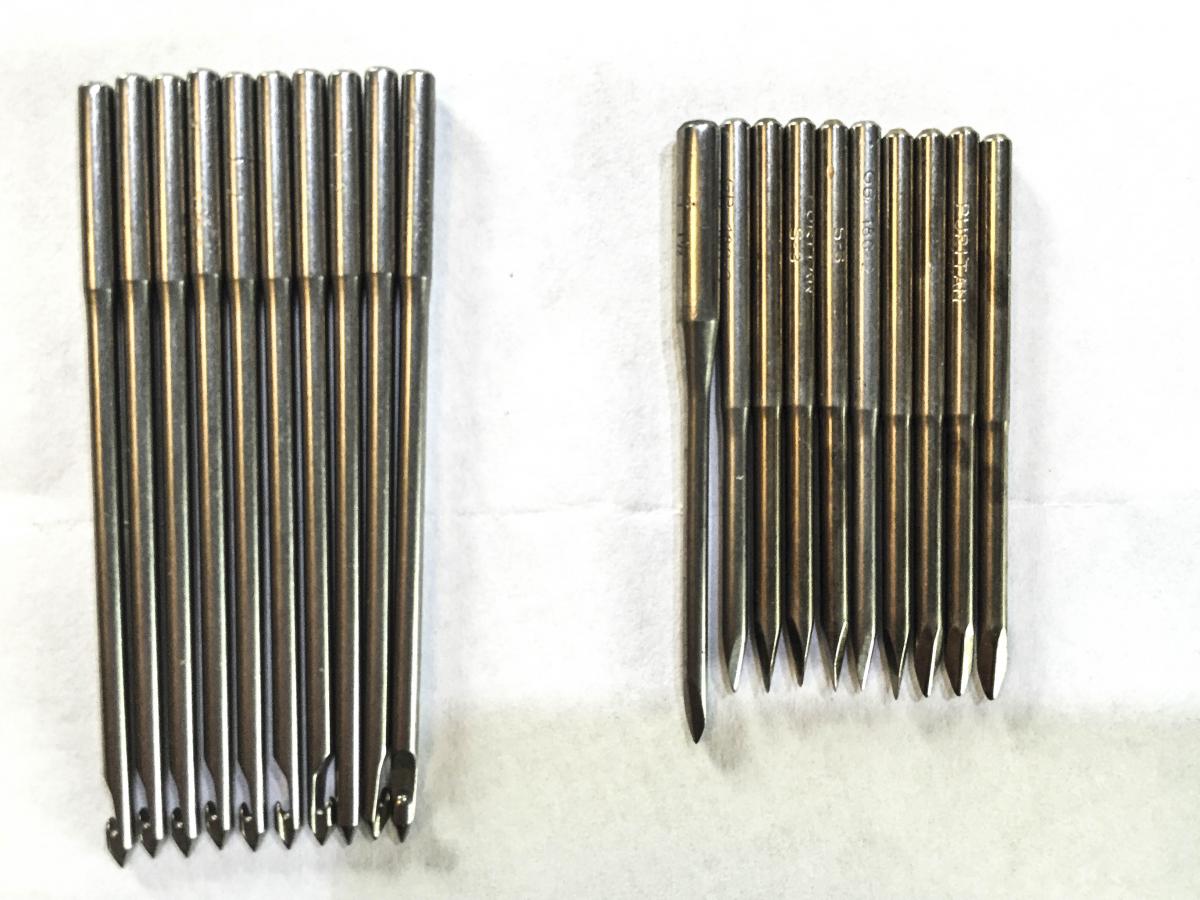
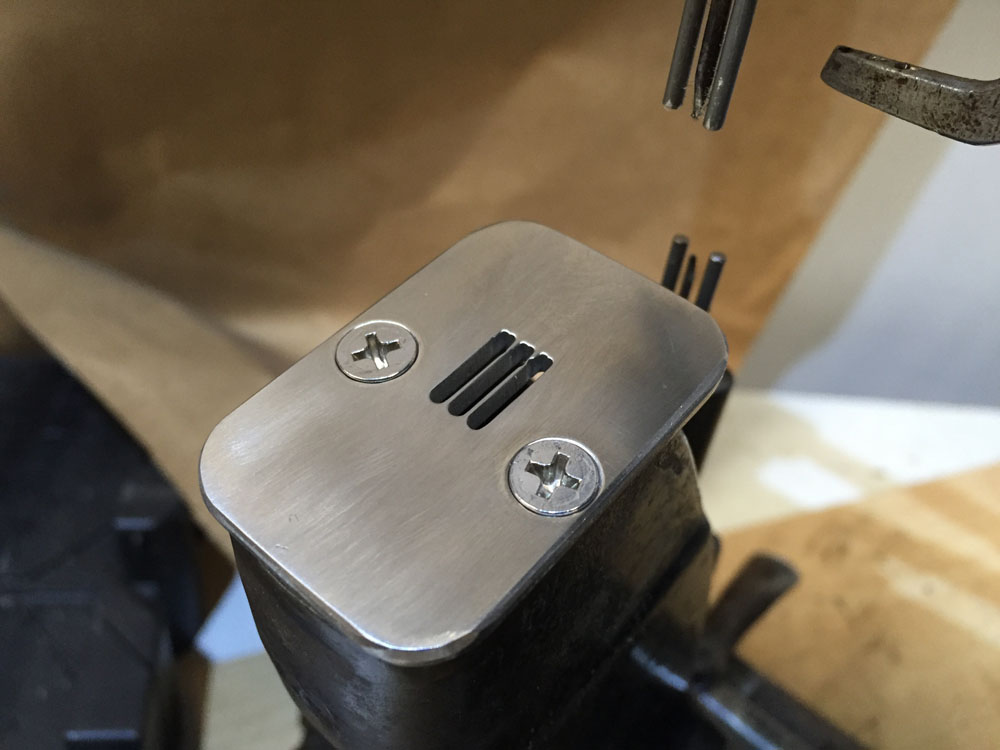
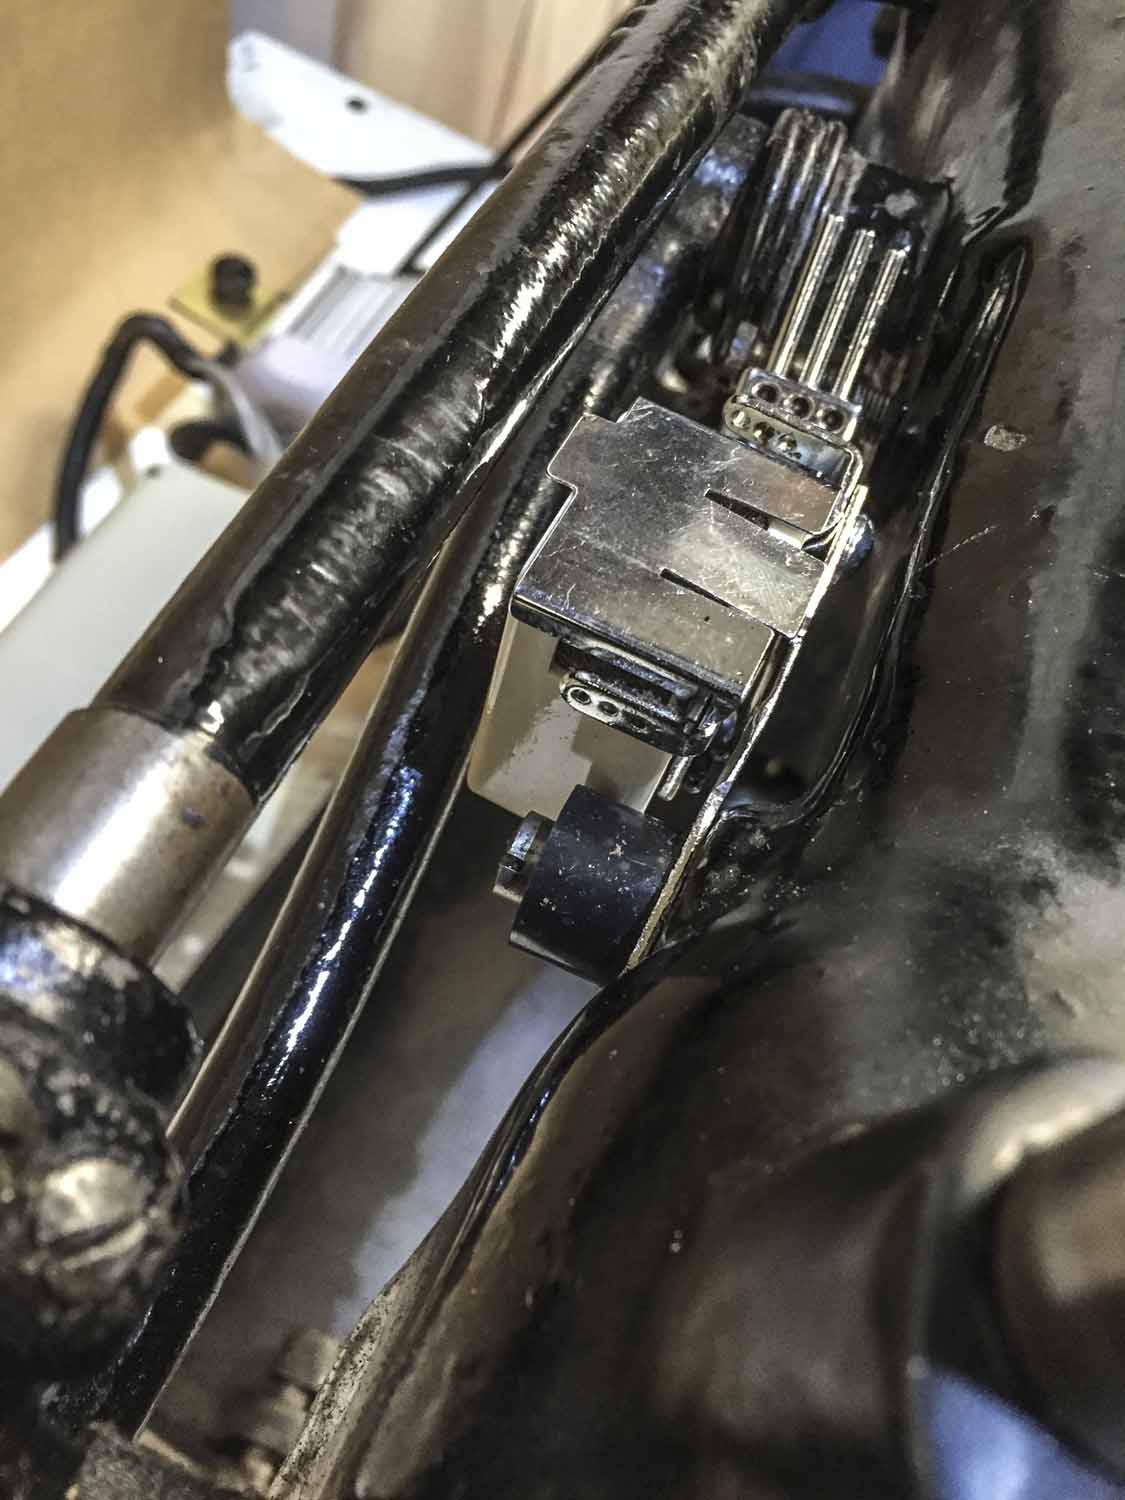
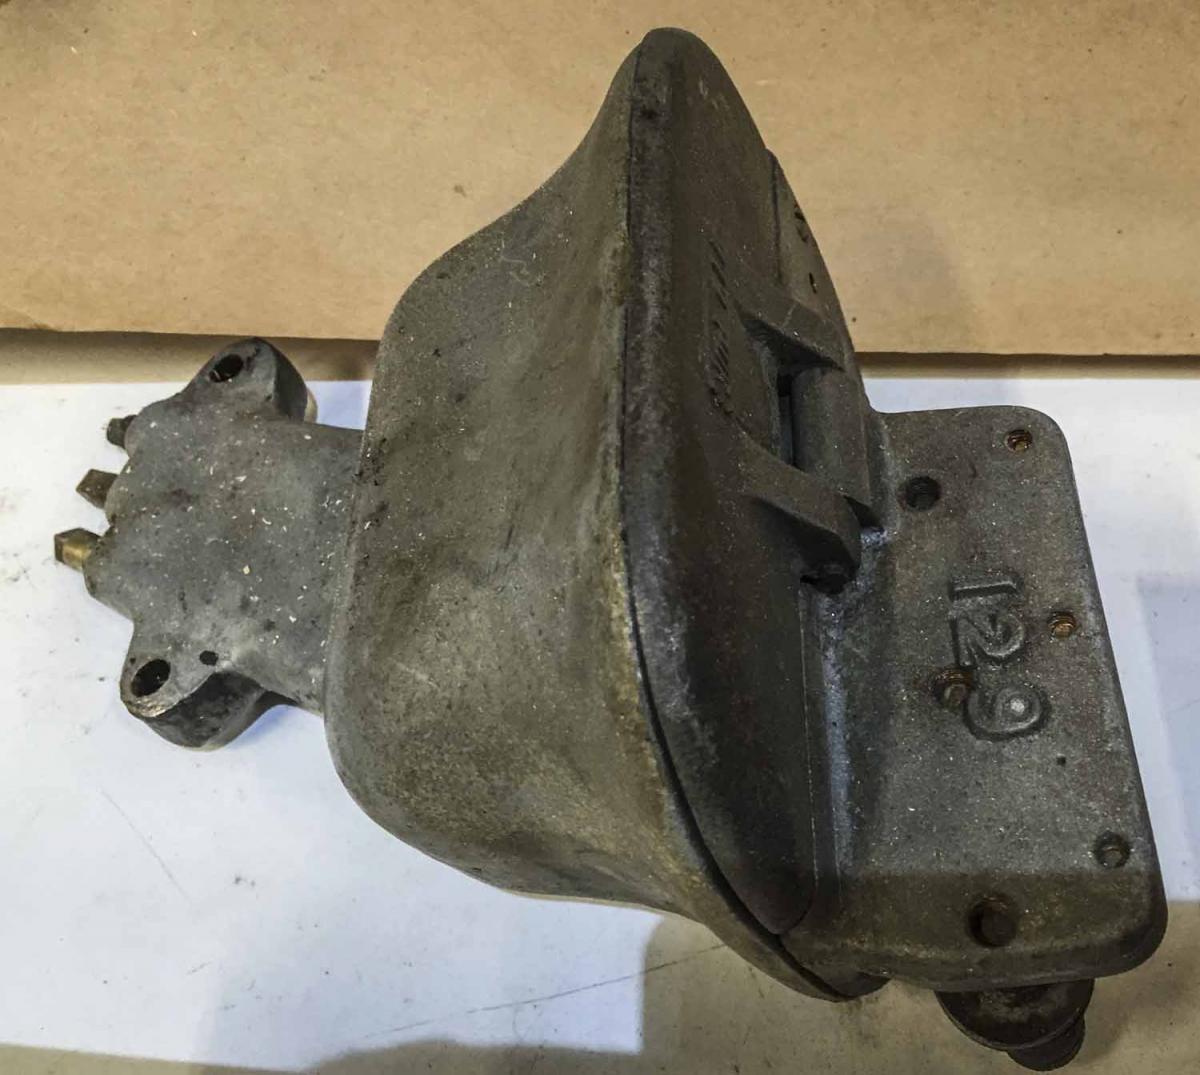
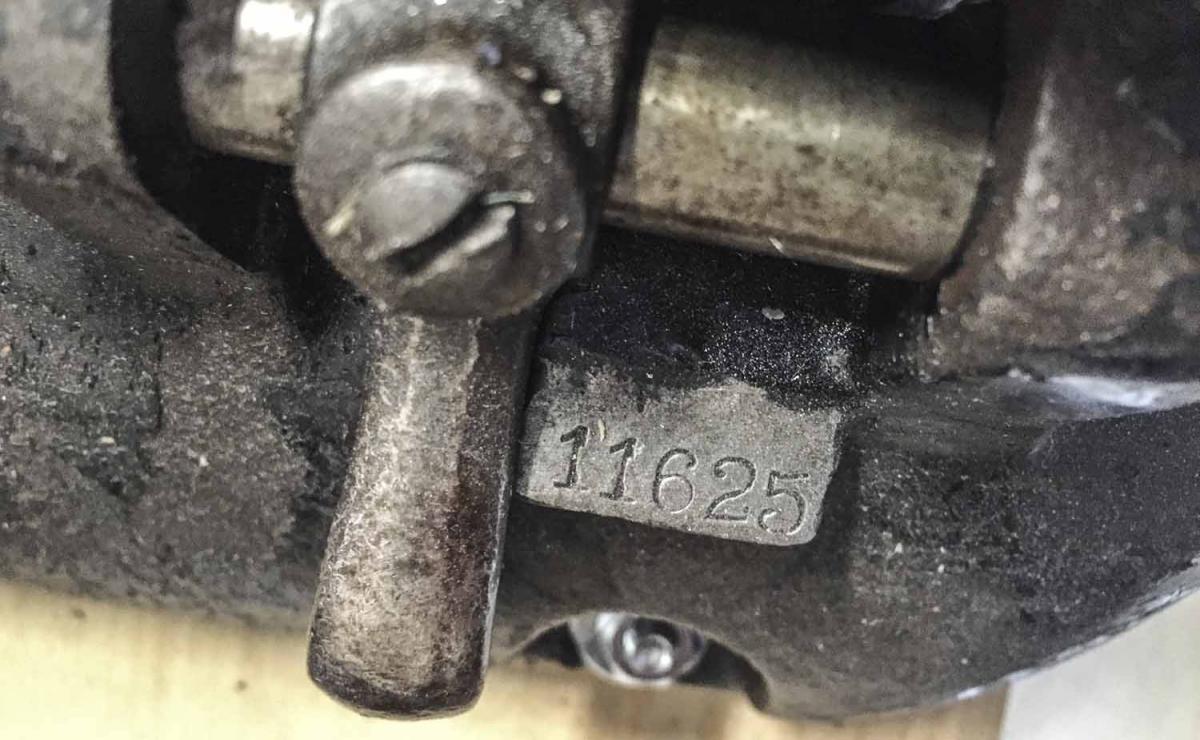
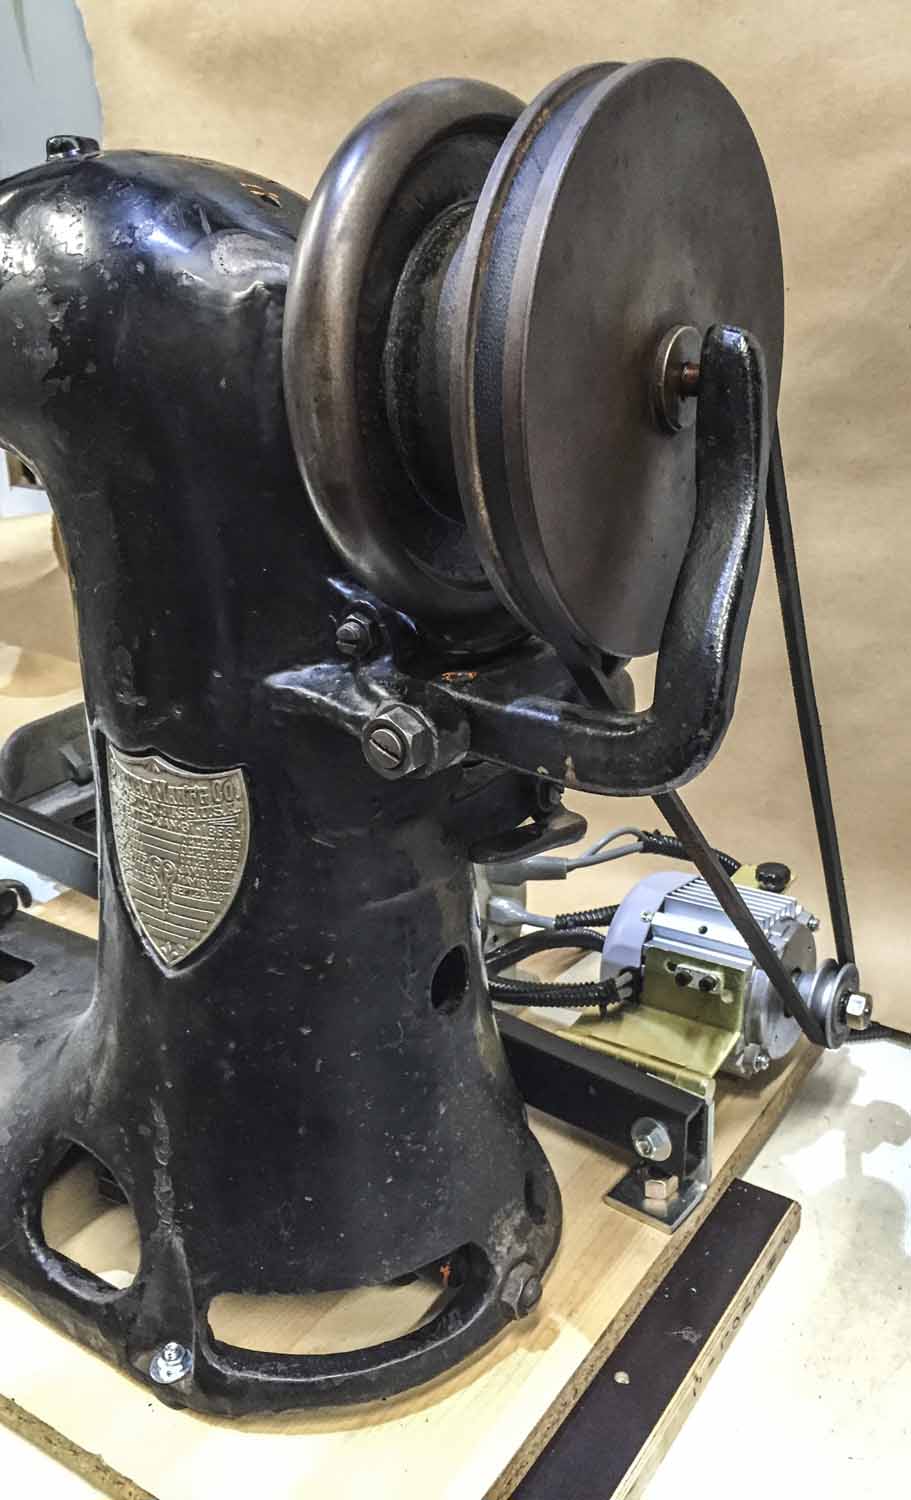
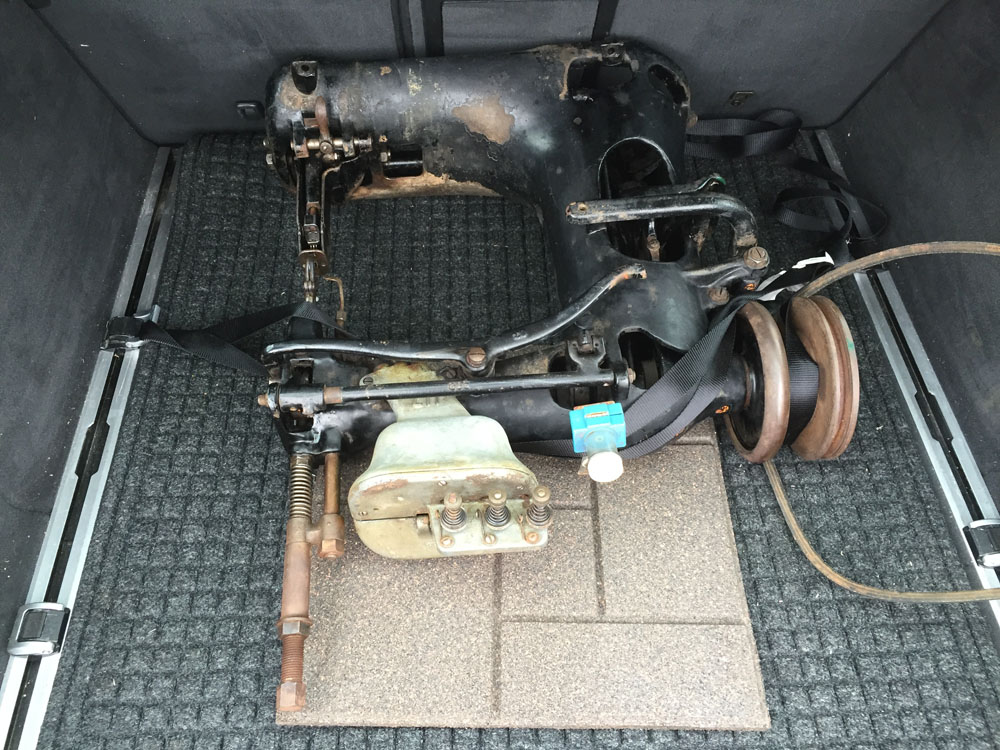
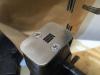
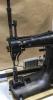
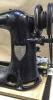
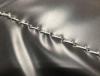
I wanted to love her and I we really tried, but we decided to part ways on good terms and pursue other interests. The last picture is from when I picked her up in Dayton, Ohio. I got this famed stitcher a few months ago and I had grand plans for it (red, white, and blue stitch lines in all sorts of patriotic themes). Alas, it turns out I'm neither a three-needle nor a chain stitch person. If that guy from that red wing shoes video is a close, personal friend of yours, you're all set. She deserves a good home with somebody who will love her and buy her diamonds (or needles and awls, which turn out to cost roughly the same) I'm including $150 worth of needles and awls (9 size 3 awls, 9 size 2 needles) which I bought directly from Puritan. I also made a new stainless steel throat plate, but it only works with thinner needles/awls than what I have (on the plus side it will last way longer than the original throat plate I have). I got her to stitch a single row nicely, but three rows is a little like juggling, and it turns out I'm not a good juggler, either. I have her set up on a test bench with a servo motor and I'd be happy to demo her for you. The setup is not really intended for production or actual use, so I'm selling the stitcher just by itself. I installed a little three-thread lube pot, but you can easily revert to the included original half-ton lube pot. She's a Rubenesque girl with a road-hugging weight of well over 100 lbs and will need special accommodations if you intend to have her shipped. I'll bolt her to a pallette, but shipping arrangements are up to you. Live the dream for $950.


-
Nothing like a good self-imposed deadline to get stuff done. I finally uploaded my operating guide video for the Durkopp Adler 205-370 to youtube this evening. I've invested the better part of a week in this thing. Allen Burkholder from Weaver Leather kindly reviewed the video twice at different stages of the production and offered advice. Happy New Year everybody! Cheers to a great 2016 and to hoping that somebody will find this useful: I plan to get a service/adjustment video done some time in January.
-
Durkopp Adler 69 Sorta-Kinda-Mystery Screw Nr. 40
Uwe replied to Uwe's topic in Leather Sewing Machines
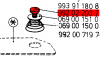
This part number came from the Juki LU-563 parts list. That particular screw does not have specs listed with it. In fact they discontinued using B-3106-019-000 screw in 1983 and replaced with a new screw part number SS-7090610-SP which does have specs listed as 9/64-40. The pitch matches and the 9/64 diameter is close with 9/64"=3.57mm compared to the measured 3.47mm, but I'm not sure the two screws are in fact interchangeable.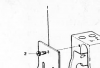

-
Durkopp Adler 69 Sorta-Kinda-Mystery Screw Nr. 40
Uwe replied to Uwe's topic in Leather Sewing Machines
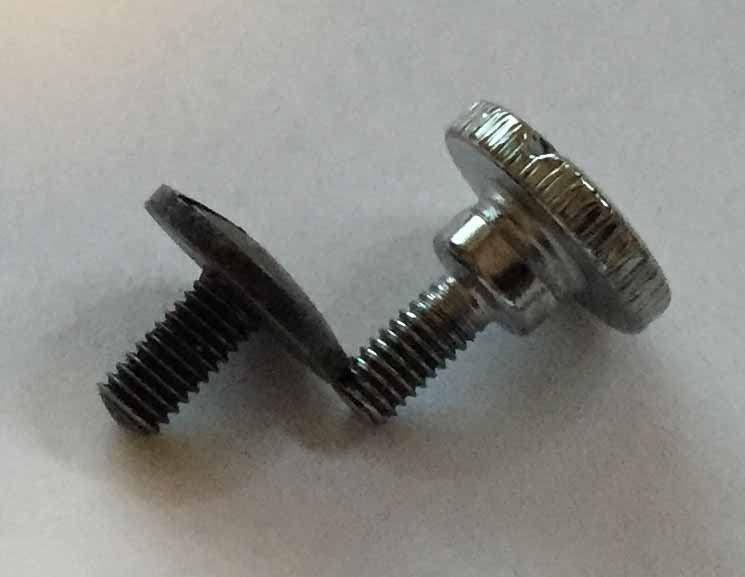
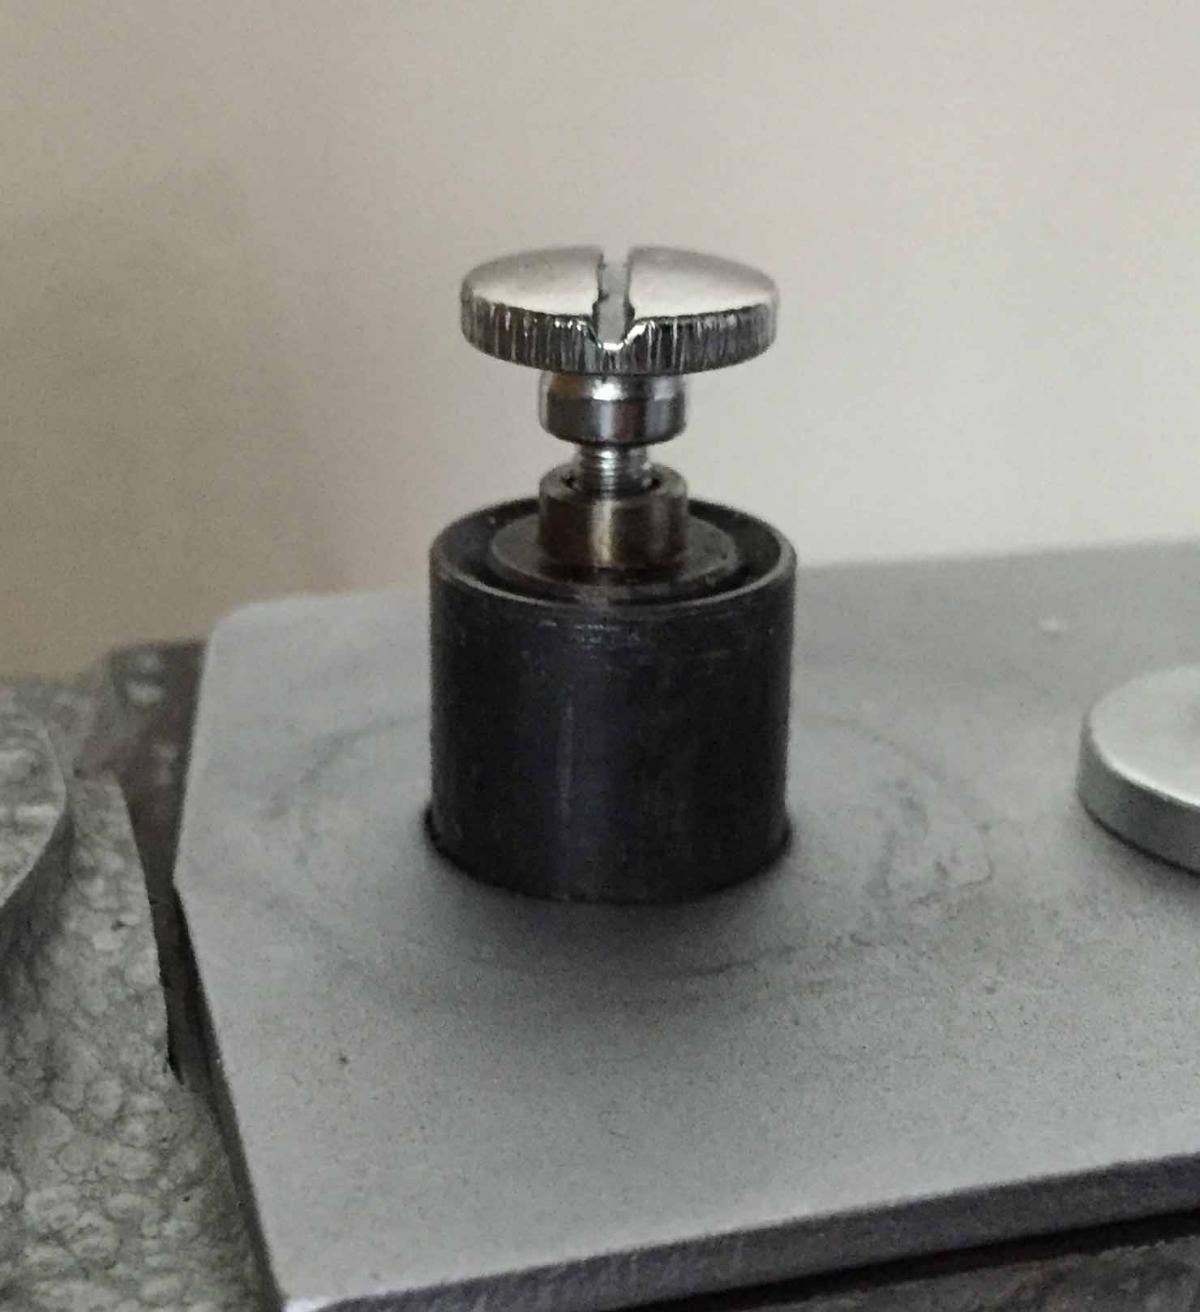
As luck would have it, I found a perfect match, even better than I had hoped for, and I already have a dozen of them on hand! I had ordered "proper" replacement faceplate thumb screws for my Tacsew T1563 (Juki LU-563 clone) project machine a few weeks ago (along with a bunch of other parts.) The Juki part number is B-3106-019-000 and MJ Foley sells them for $0.36 each (yay!) Since they were so cheap I ordered a bunch to make it worthwhile (and hoping they would also fit my Singer 111W155, but they don't). It turns out these screws are a perfect fit for the pivot thread in my Adler 69 and they're thumb screws, which is even better than the original. I'm hoping they'll fit the old casting Pfaff 335 pivot point as well, so I can use them with my flatbed table attachments (modern Pfaff 335 uses M5 screws).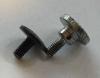
-
I'm looking for a Durkopp Adler screw that holds down the pivot spring on the arm of the Adler 69 machine. I have a part number "992 02 203 7" and a description "Nr.40x7" The part that's a mystery to me is what this screw size translates to in the real world. I'm measuring a thread diameter of 3.71mm and thread pitch of 0.66mm, which doesn't line up with any of the usual suspects in the fractional, metric, or weird x/64" world. If anybody recognizes this screw or knows where I can buy a dozen of them for less than $5.63 a piece, I'd appreciate a pointer.

-
I feel a little guilty and elitist that I'm actually getting your humor and admire your eloquent prose, DC.
-
Newbie To The Sewing Machine World. I Need Your Advice....
Uwe replied to leatherchica's topic in Sewing Leather
I've not owned either of the machines you mentioned, so I can't give first-hand advice on those other than I believe they're practically identical with different labels stuck on by the vendor. Selecting the right sewing machine is a science and can be daunting. There's actually a separate forum called "Leather Sewing Machines" two steps down from this "Sewing Leather" forum in the same "Fabrication" group. That's where people discuss sewing machines and the relative merits all the time - you'll find plenty of advice, opinions, and the occasional rant there. You can do a search on a specific model here in the forums and see what's already been said about those machines. Then post a new topic in the "Leather Sewing Machines" forum if you have specific questions. The vendors in the banner ads are a good resource, too. They vary in how approachable and warm/fuzzy they are. Of course they'll want to sell their own machines, but in reality multiple vendors (not all) sell machines that come from the same factories in China, just with different paint and labels on them (your two machines are one example of twins separated in China or at the factory). The value the vendors add is quality control, setting them up, adjusting them and packaging them with table, motors, accessories to make them ready to sew. Shipping cost can be considerable, so keep in mind where a specific vendor is located. There's only a dozen or so popular sewing machine in three or four groupings/classes you should consider (e.g. the flatbed machines Consew 225, Singer 111W155, and Juki 562 are nearly identical and belong to same "class"). The popular classes are well supported with cheap spare parts and lots of people who know how they work. -
Newbie To The Sewing Machine World. I Need Your Advice....
Uwe replied to leatherchica's topic in Sewing Leather
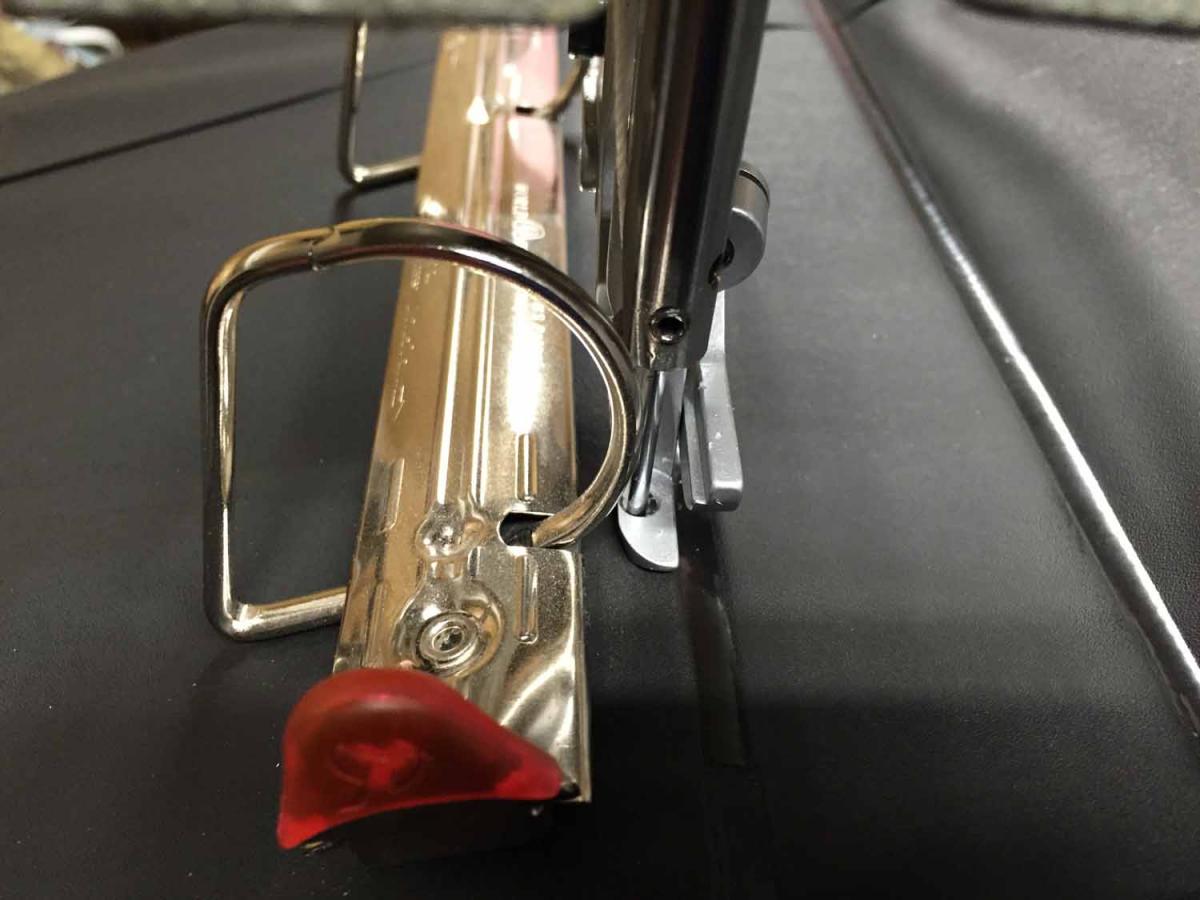
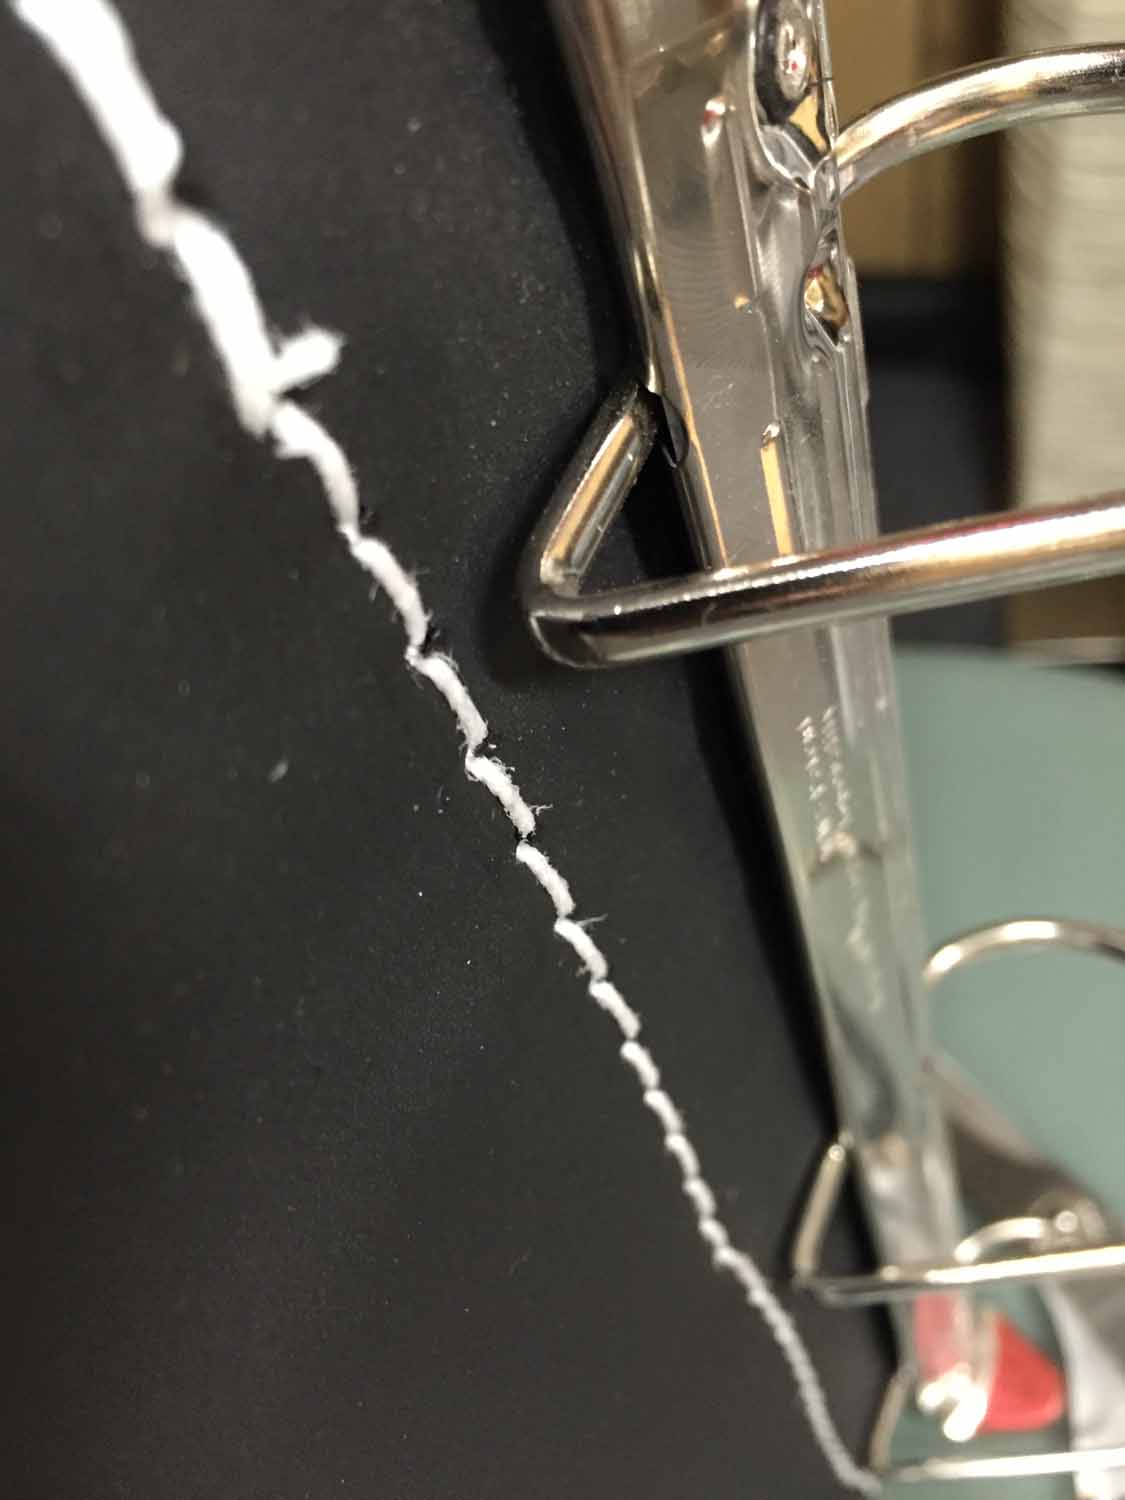
Sewing the binders may be trickier than I thought. I just tried it out on my Durkopp Adler 205-370 (a BIG machine, similar to the more affordable but similarly capable "441" class of sewing machine) sewing a regular vinyl/cardboard binder I had sitting around. Those metal rings really get in the way, lol. Getting the outside/bottom stitch line to look straight and pretty will take some practice!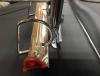

-
Newbie To The Sewing Machine World. I Need Your Advice....
Uwe replied to leatherchica's topic in Sewing Leather
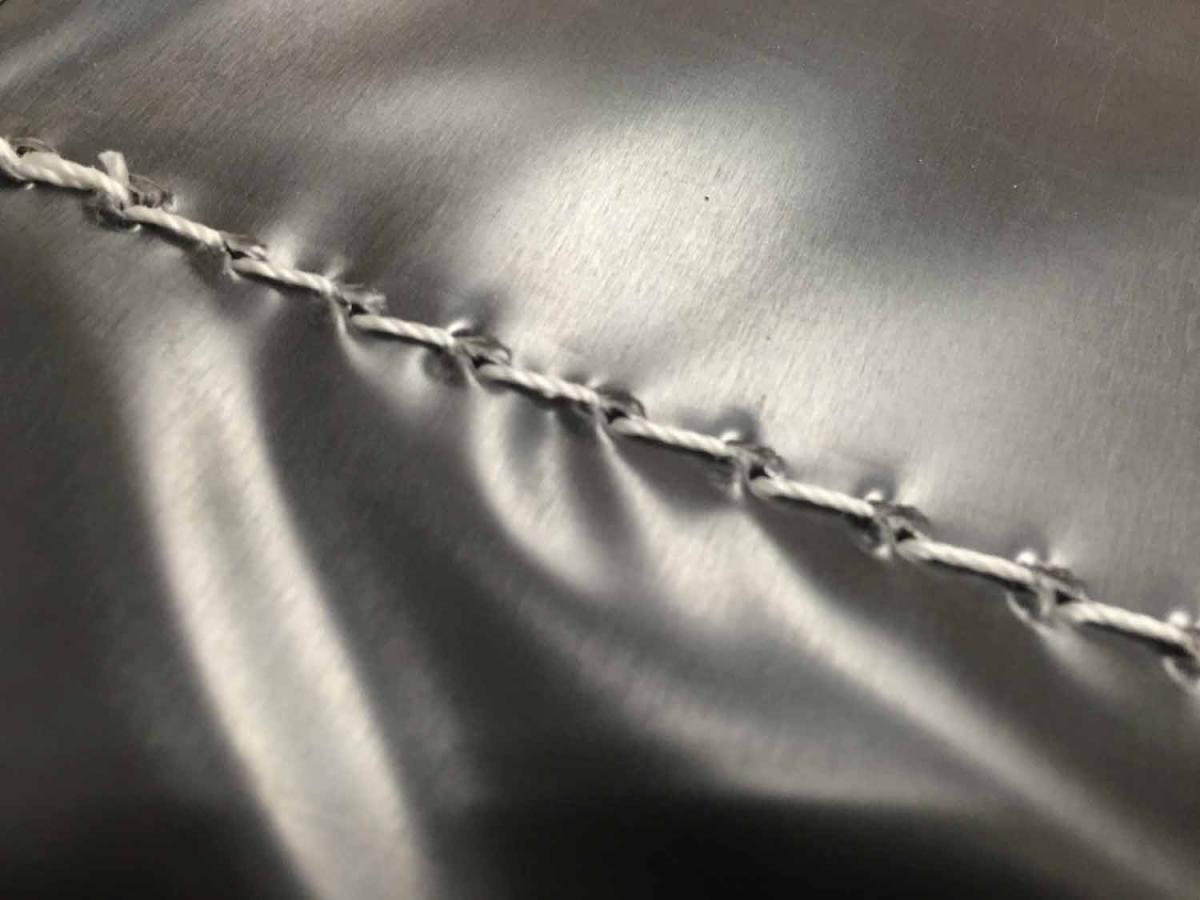
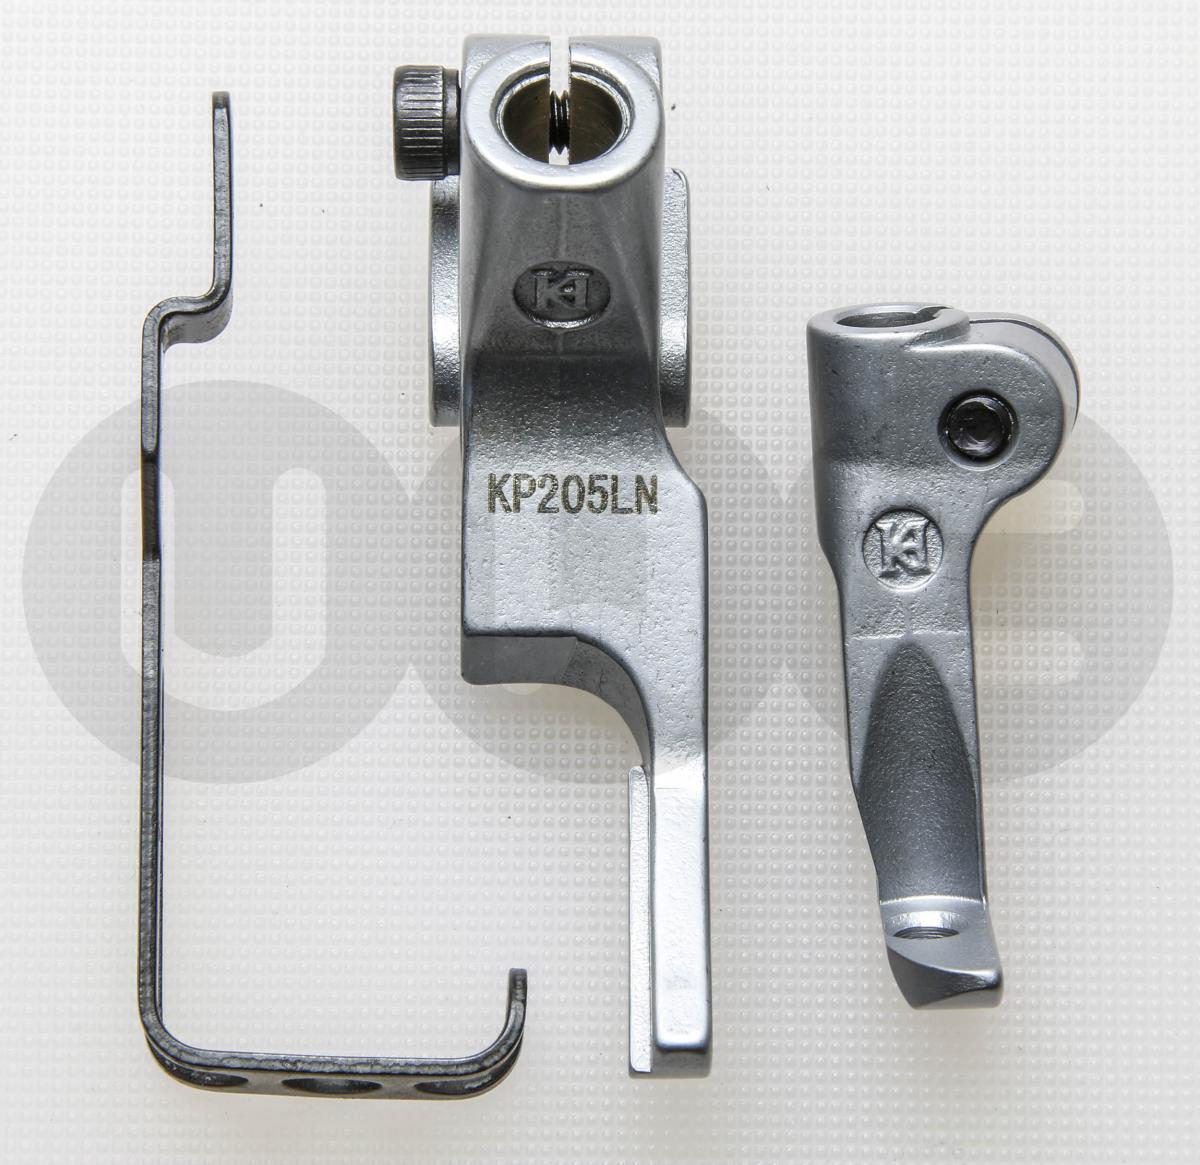
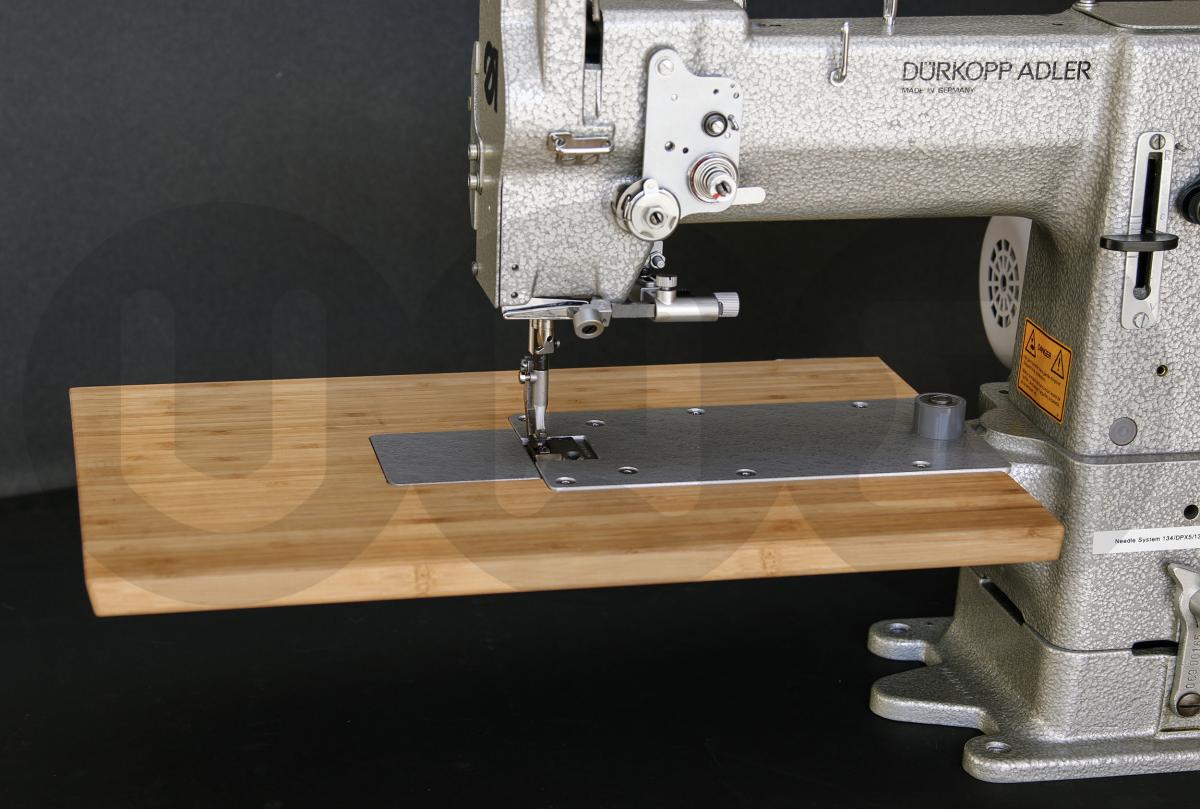
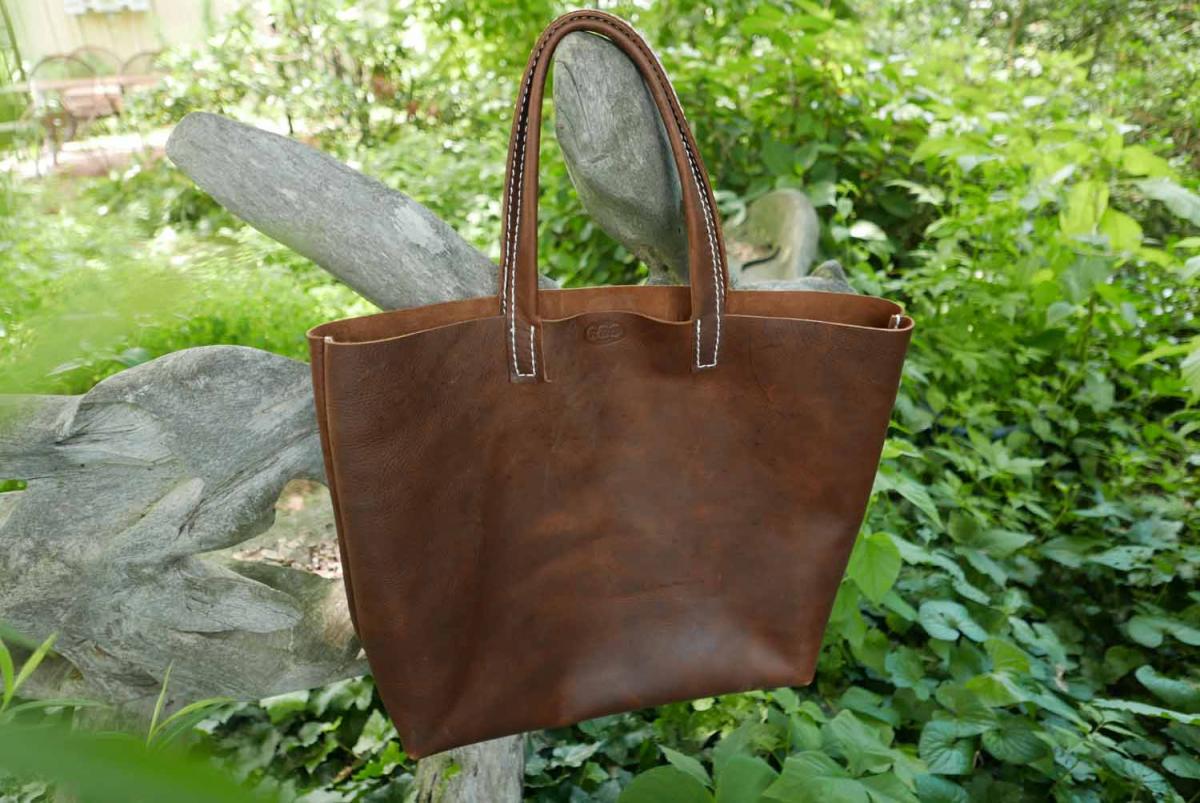
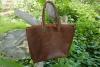
If you plan to sew bags, it might be good to have a cylinder arm machine, since it's much easier to sew 3-dimensional items on a cylinder arm, especially with stiff leather that can't turned inside-out easily. For flat things like your portfolios and binders, a flat bed would be fine. To get a two-for-one, flatbed table attachments are available for certain cylinder arm machines, so you can get the best of both worlds with just one machine: As far sewing close to the edges of the metal binder inserts, that should not be a problem if you use one-sided presser feet (left or right-toed) like these: The metal binder rings will have to point up as you sew, so the outside, very visible stitching will be the underside stitch. On many sewing machines the top stitch looks better than the bottom stitch. The bottom side is also often more prone to get marks from the feed dog or serrated needle plate, depending on which type of leather you use. I've sewn oil-tan leather tote bags on my Adler 205-370. Sewing the handles and attaching them in this single stitch line would have been very challenging on a flatbed machine: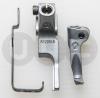

-
What Is The Max Thread Size For A Consew 225?
Uwe replied to lowes48's topic in Leather Sewing Machines
I've sewn some veg tan leather on my Consew 225 with size 207 thread top and bottom, and it seemed to be "okay" with it. Not sure how much of a hit the hook and bobbin takes in the long run, but new aftermarket Hirose hooks for the Consew 225 are cheap at around $40 here in the US, so even you you wear one out, it's not a super big deal to replace it. If you're sewing at the limits, it's important that your machine is properly adjusted and timed, including the needle guard. In general sewing Nylon webbing is much easier on the mechanics than sewing hard veg tan leather. Folks looking to buy a machine for sewing heavy threads in that general class of machines may want to consider a Juki LU-563 (or a clone thereof). These machines can use two variations of the hook, one of them designed for sewing "extreme thick thread" (Part number B1830-563-BA0). The manuals and spec sheets are vague about what thread sizes it will actually support. -
Personally, I've never met a clutch motor I liked. Yes, you can learn to drive a car with a manual transmission and a big brick on the gas pedal by only feathering the clutch pedal, but I'm at a loss as to why you would want to. We have the technology to provide power AND control, and it's cheap.