Seagrove59
-
Posts
121 -
Joined
-
Last visited
Content Type
Profiles
Forums
Events
Blogs
Gallery
Store
Everything posted by Seagrove59
-
KNIFE SHEATH Christmas present
Seagrove59 replied to corkscrew's topic in Gun Holsters, Rifle Slings and Knife Sheathes
Really like the pebbling under the initials, really draws the eye. Which stamp did you use for that effect? -
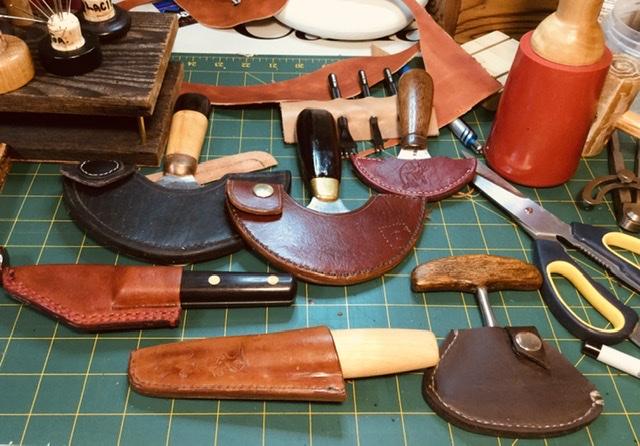
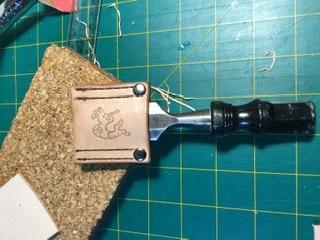
Chisel Sheath & Guard
Seagrove59 replied to Seagrove59's topic in Gun Holsters, Rifle Slings and Knife Sheathes
Thanks -
Chisel Sheath & Guard
Seagrove59 replied to Seagrove59's topic in Gun Holsters, Rifle Slings and Knife Sheathes
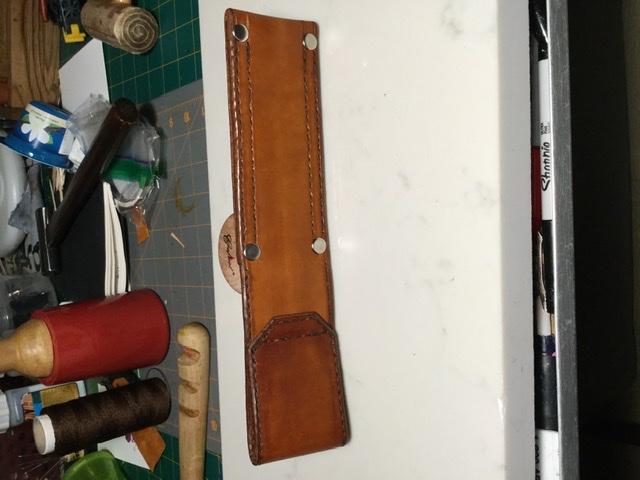
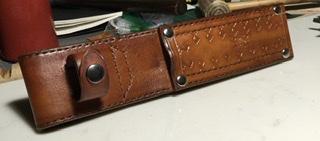
Better shot of front and view of back.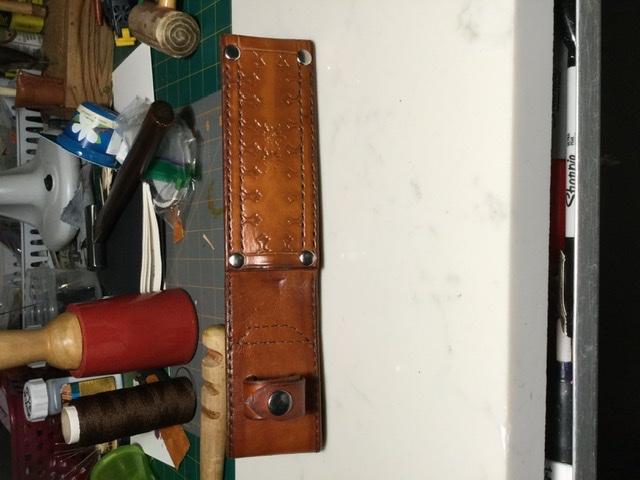
-
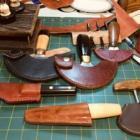
Woodworking buddy of mine wanted some sheaths for his chisels, this is for his small one that I just finished. First time stamping a project for a design, needs practice but happy with how it turned out. Due to distance between us went by photos with measurements, made a template to ensure size, made it so he would have a guard to protect his edge. Two timber chisels to go. old chisel in photo is mine, he takes much better care of his tools.
-
New to the Forums - Eager to learn
Seagrove59 replied to RedNose's topic in Gun Holsters, Rifle Slings and Knife Sheathes
Beautiful work, the leather looks perfectly matched with each item, and like it has been with them for years. Really like the look. -
Great job, the choice of leather and colours make it look like they were always there. I am sure your work and research to get it right will mean a lot to your friend.
-
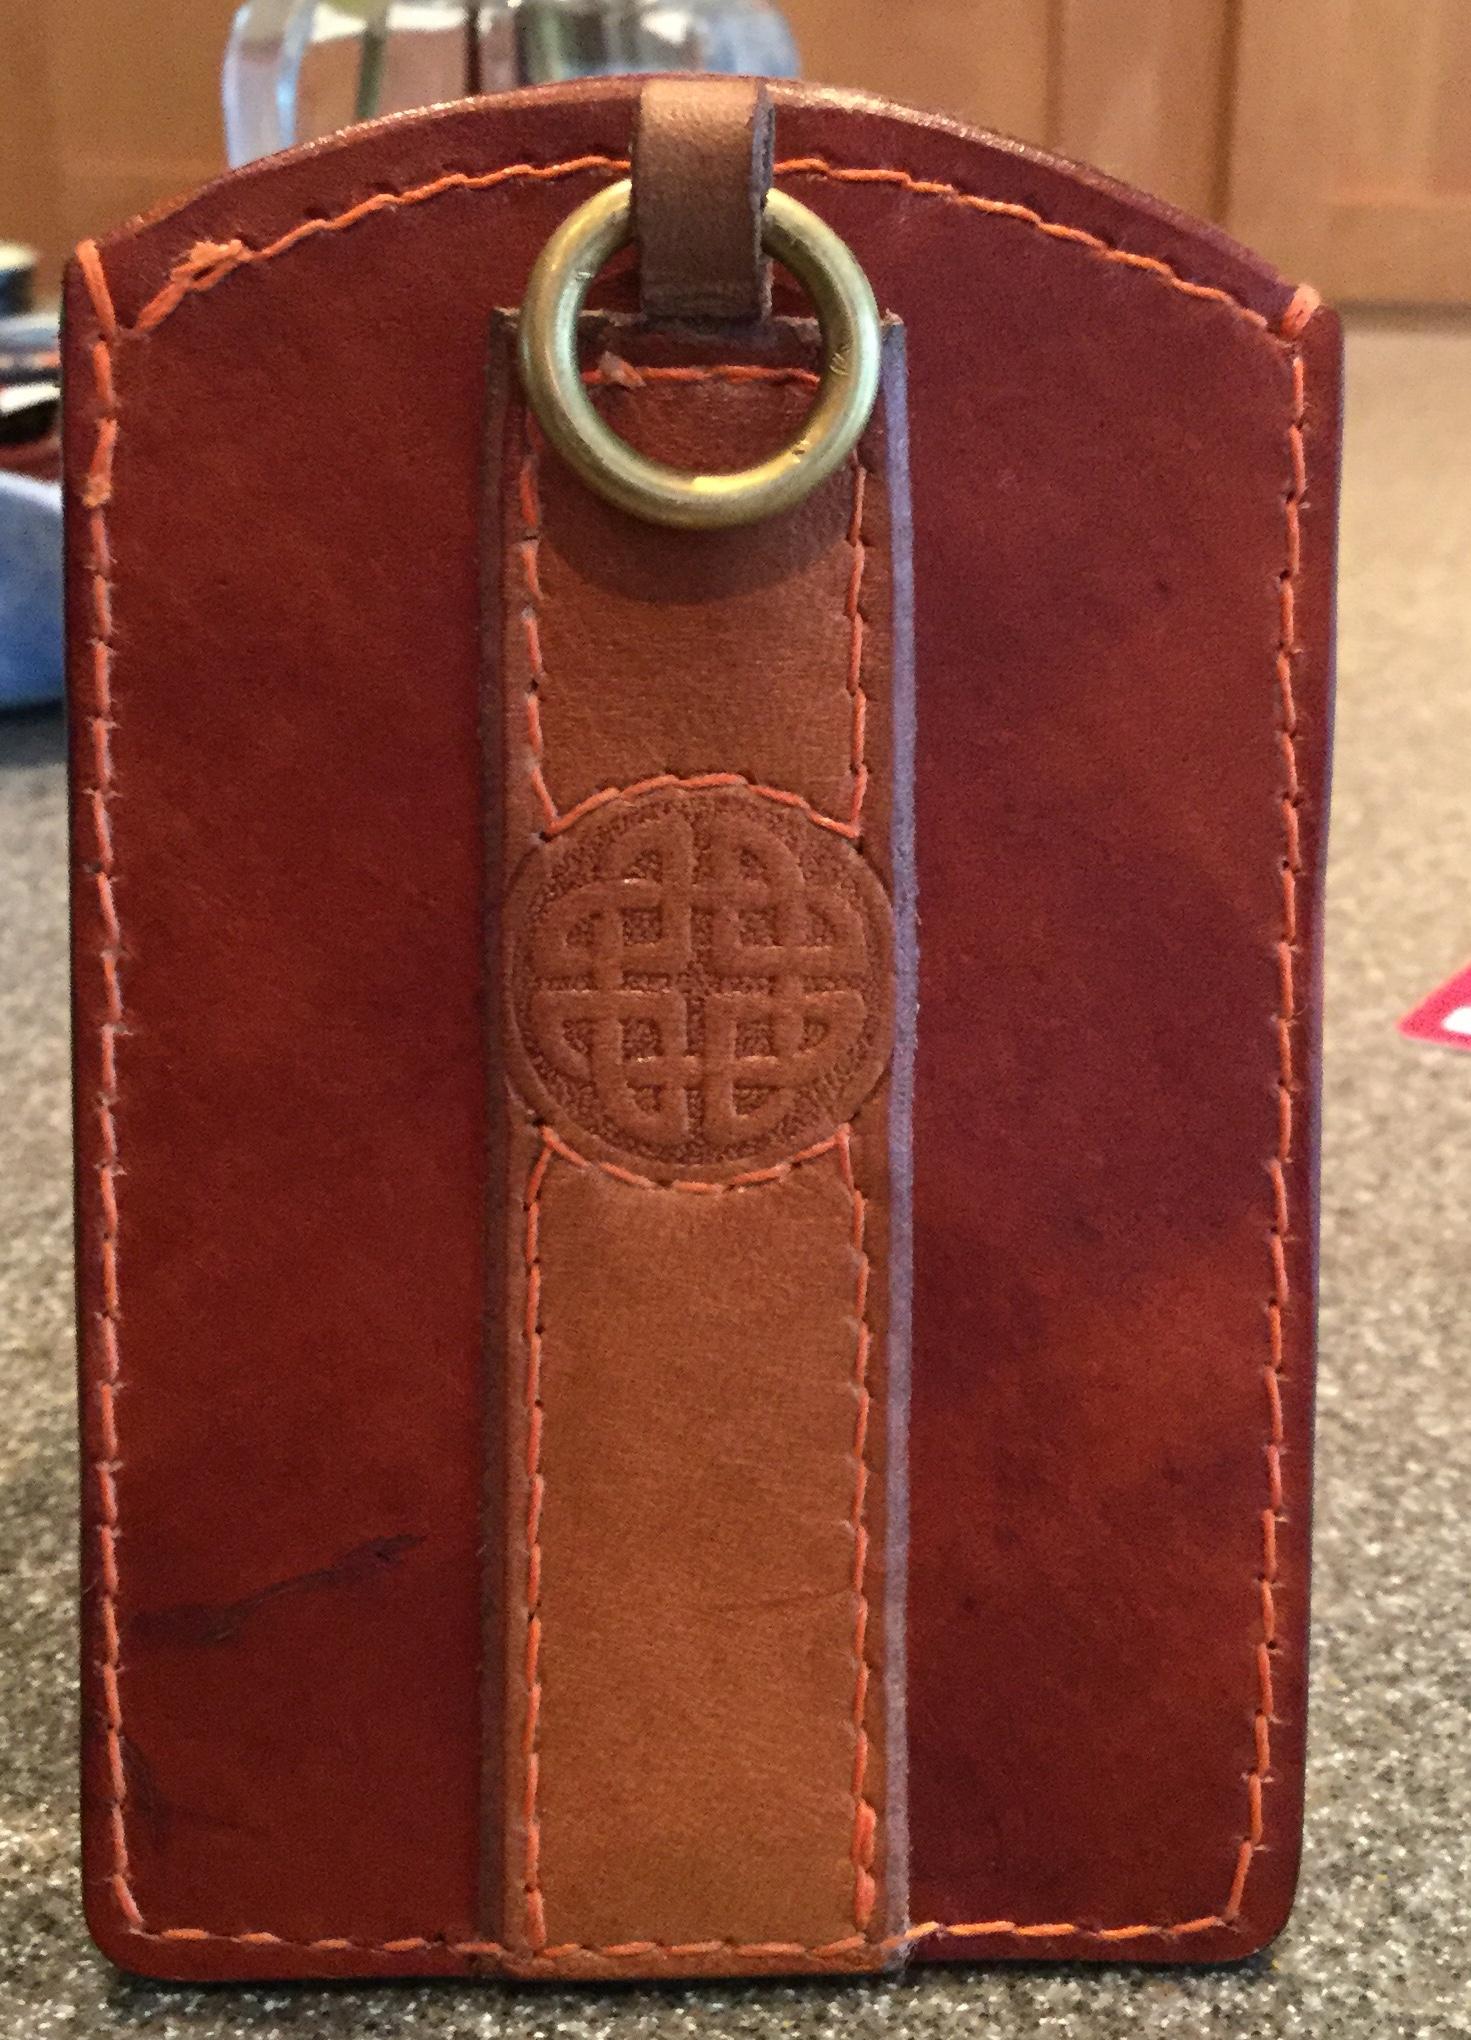
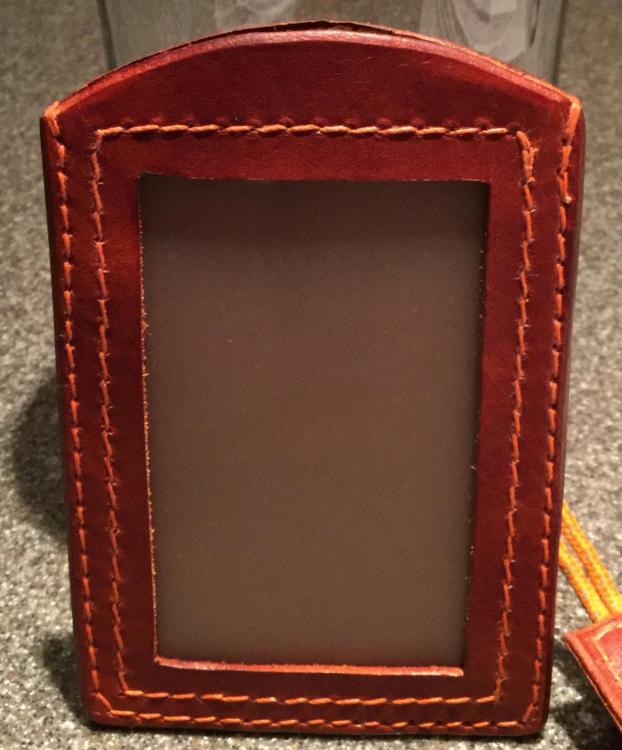
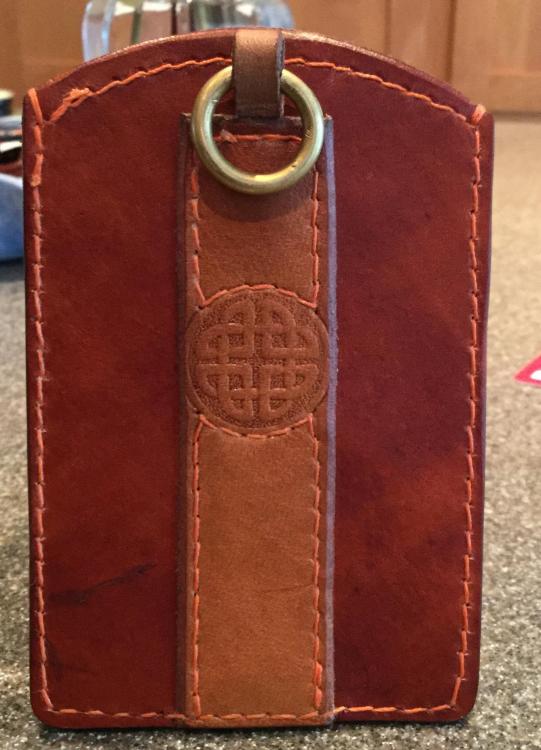
ID Case and Lanyard
Seagrove59 replied to Seagrove59's topic in Purses, Wallets, Belts and Miscellaneous Pocket Items
My daughters both finished university and had an abundance of old plastic notebook binders with a clear front cover. They are tough and worked well in this application. -
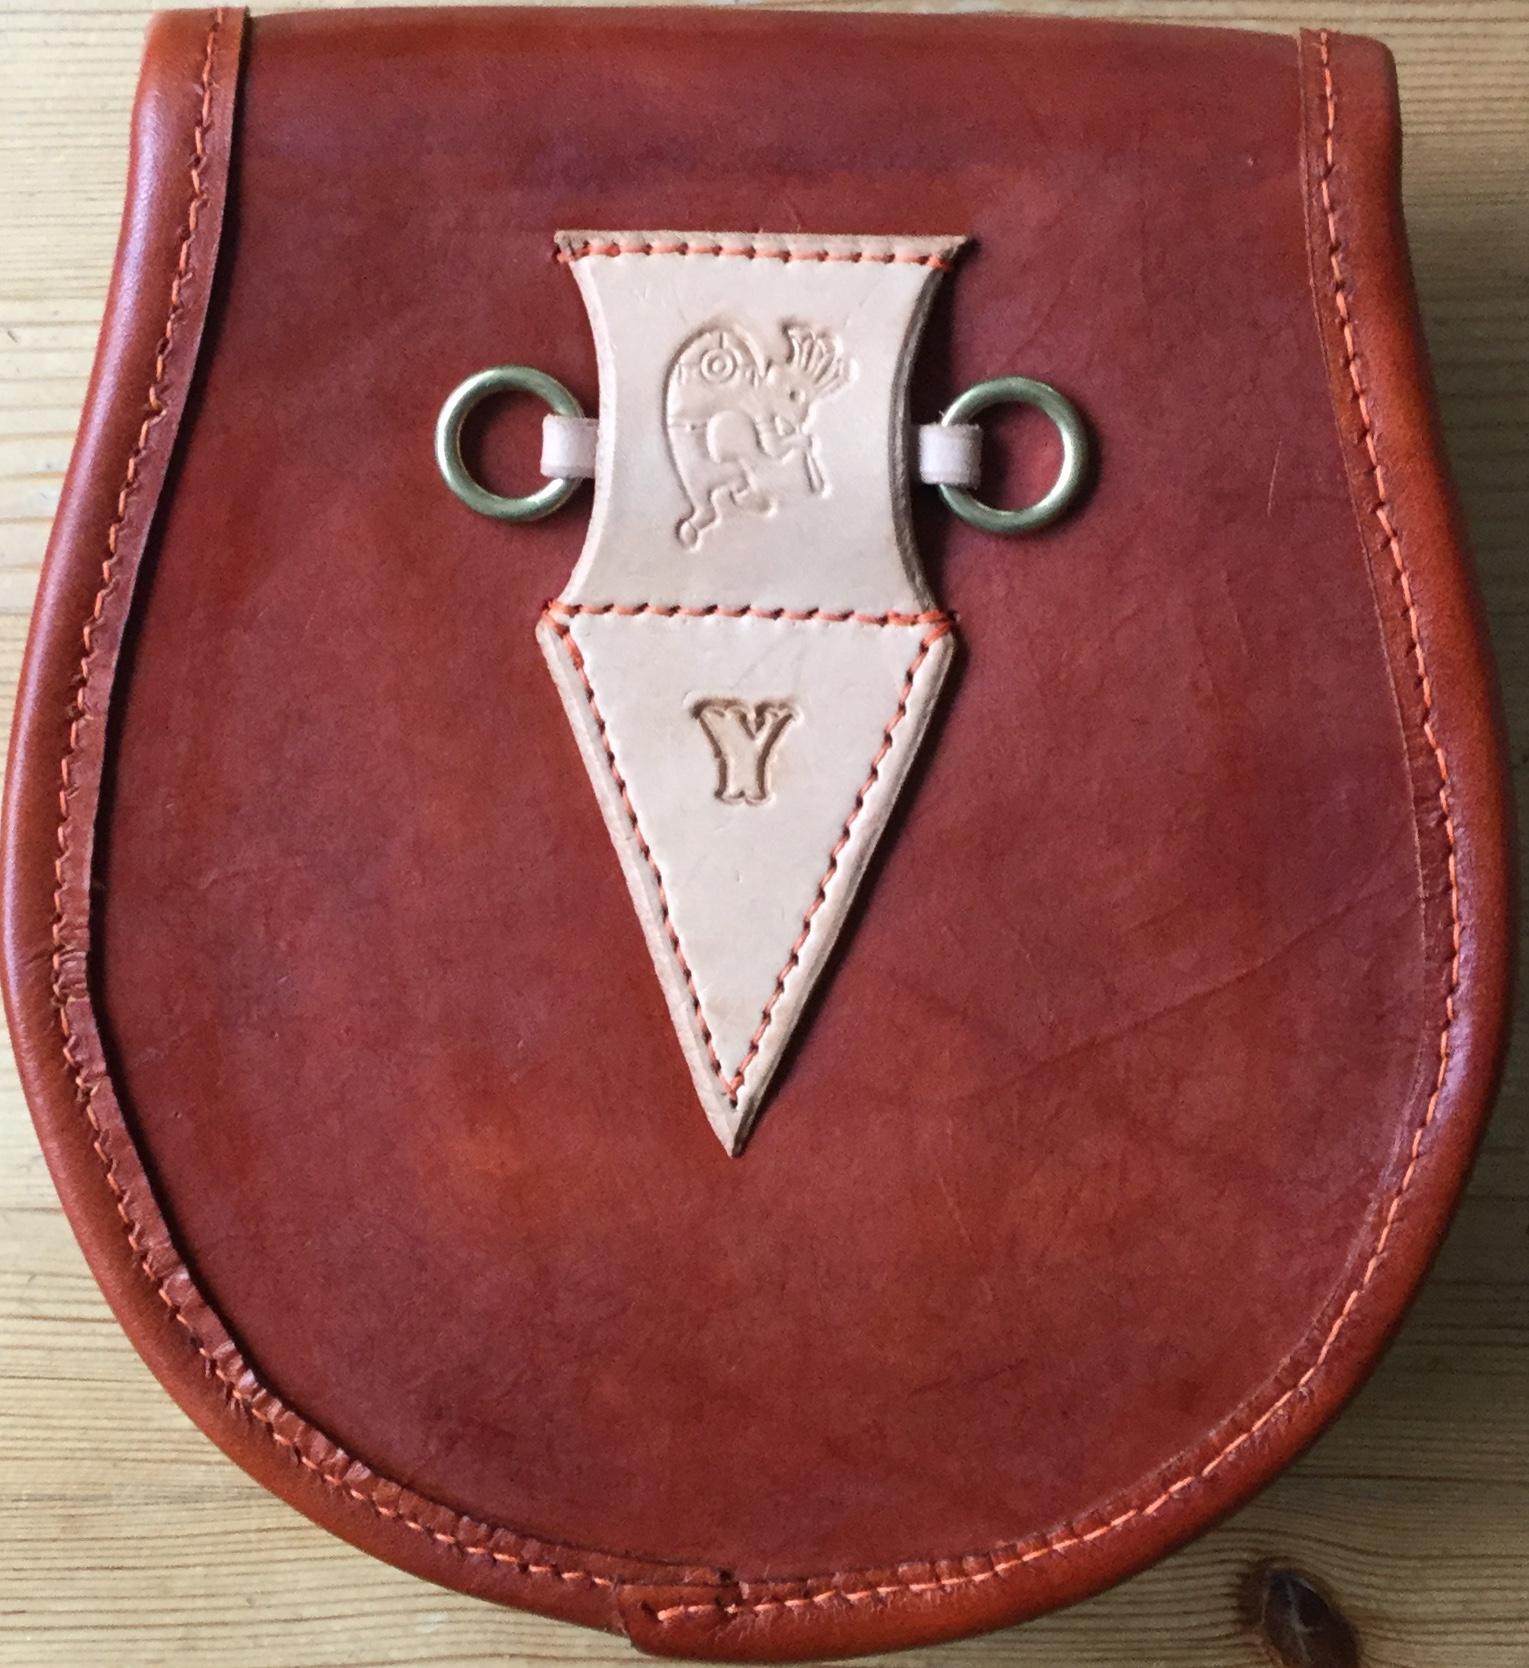
ID Case and Lanyard
Seagrove59 replied to Seagrove59's topic in Purses, Wallets, Belts and Miscellaneous Pocket Items
Lanyard
-
Old plastic ones from the office kept breaking. Back of case
-
excellent work, like the cable idea, would be good for a travel bag as well. Brass works very well with leather colour. Does she find the handle comfortable, looks like you would need a large hand, could just be the angle it was photoed.
-
Thanks, great learning tool: doing, mistake, curse and redo it.
-
My new bag
Seagrove59 replied to bikermutt07's topic in Purses, Wallets, Belts and Miscellaneous Pocket Items
Great looking bag, looks broken in and comfortable from the get go. I echo all the others in admiration of that front closure system, it especially fits the look of the bag . Nice work. -
And with belt
-
Took some time and was definitely a learning curve but finally got it finished. I now know that when making pattern I need to also premark the stitching hole to help everything line up.(or learn to use a sewing machine luckily I find handstitching very therapeutic). Next one will be much easier. More photos of back

-
To my Canadian brethren, is there anyone selling Vergez Blanchard tools in Canada. Tired of the duty and US prices for leather working tools. thanks Peter
-
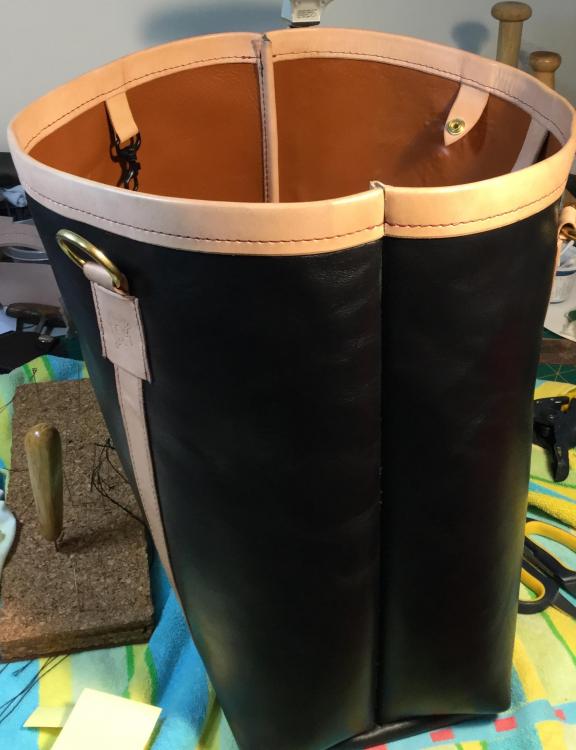
I am in the process of making a weekend market bag (my name for it), two parts I am seeking advise on. 1/ I put a band around the top and am wondering on how I could avoid/hide the gap that is produced. Photo attached. 2/ is there any sort of formula as to determine a handle length, I assume if used she will be putting it over her shoulder. Did some research and it recommends a 12” to 20” length. Before I cut want to see f there is some other formula. Bag is 14” long by 15” tall. I am self taught, so any advice/direction would be appreciated.
-
A belt just for me
Seagrove59 replied to alpha2's topic in Purses, Wallets, Belts and Miscellaneous Pocket Items
Nice finished edge and stitching. Heavy duty. -
Leather Pouch Restoration
Seagrove59 replied to Handstitched's topic in Purses, Wallets, Belts and Miscellaneous Pocket Items
Very nice, I like the case design as well, something old is new again. -
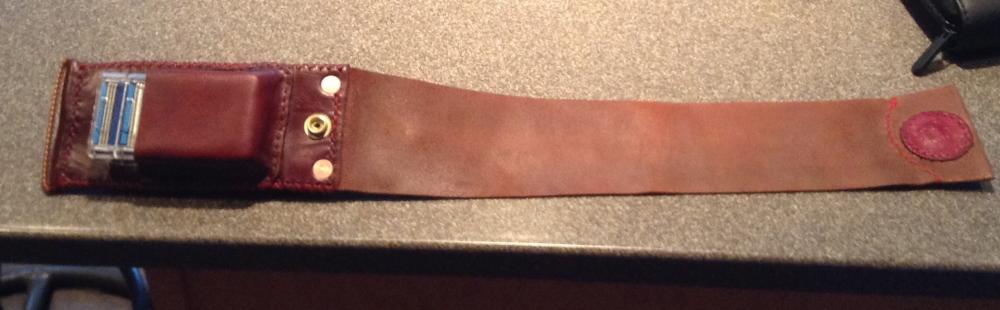
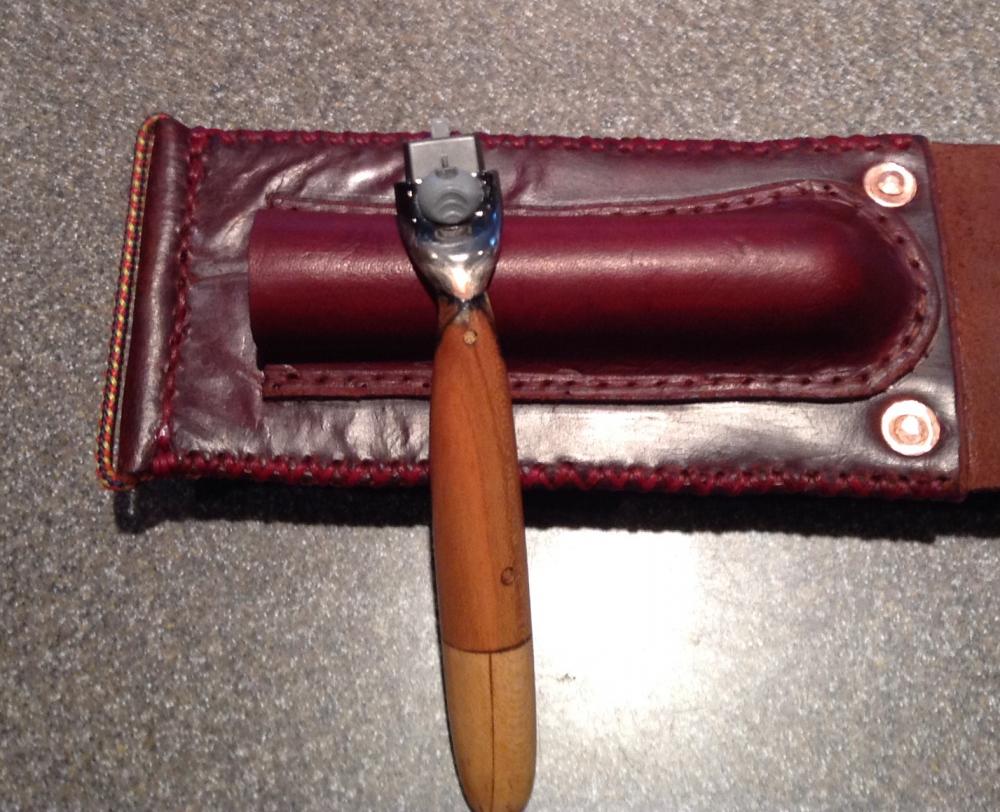
Gillette Razor Travel Case
Seagrove59 replied to Seagrove59's topic in Purses, Wallets, Belts and Miscellaneous Pocket Items
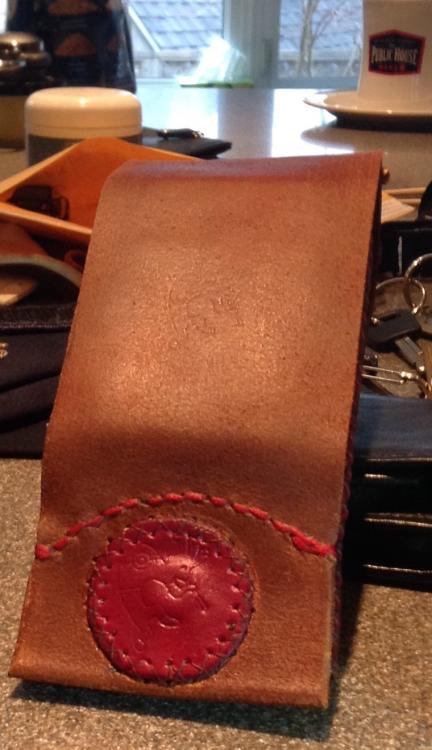
Thanks, yeh 40 + years for me, except for 5 year beard phase in early 80's. Had used a Lee valley kit to make a razor before and had some left over wood so thought what the heck I 'll try recycling an old razor. -
Gillette Razor Travel Case
Seagrove59 replied to Seagrove59's topic in Purses, Wallets, Belts and Miscellaneous Pocket Items
Yes took old razor and removed head, made handle, with some left over cherry, birds eye maple, bamboo plugs and resin. -
Made a travelling razor from an old Gillette razor to see it was feasible, like how it turned out so tried to figure out a case. It came out pretty well, I like the sort of industrial look to it. Don't like the stitching on the flap, but was rushing when I worked on that part. Snaps went on well which had been an issue in the past, but need work on my mounded leather measuring, but I feel the irregularity makes for an interesting look. (Or have convinced myself of that as I like the case.).
-
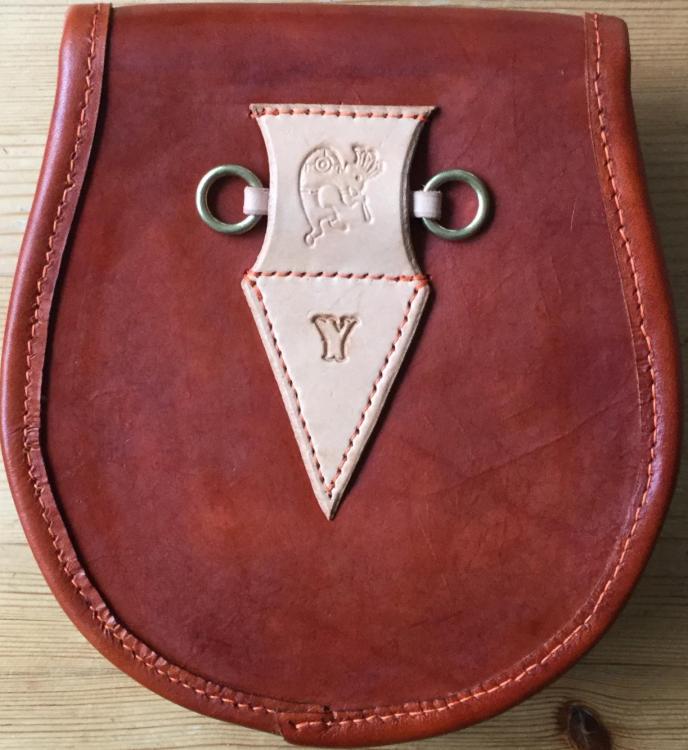
Bag with my brother in law's firearms. Fits all his bits and bobs so he is happy.

-
Set of Beer Growlers
Seagrove59 replied to garypl's topic in Purses, Wallets, Belts and Miscellaneous Pocket Items
Excellent job, something to strive for as I get better. What portions do you use in your leather balm, if it is a family secret I understand. -
Garypl I will leave the muskets to those that know what they are doing,, will get him and his cousins to show me how they do it, I understand the principle just need to see the practical. Plinkercases, they are for doming and Shaping metals I occasionally work with, used to do some jewelry work but not so much anymore. JD62 thanks.
-
It is a single compartment with a pocket under the flap. Was estimating on sizes from photos and articles. Storage body under the flap is about 10 inches and a bit.