-
Posts
308 -
Joined
-
Last visited
Content Type
Profiles
Forums
Events
Blogs
Gallery
Store
Everything posted by Leerwerker
-
Welkom! Ek was lanklaas hier op die forum. Ek woon in die VSA, maar het met my leerwerk begin in SA in 1978.
-
I was contacted by a lady whose husband had hunted 13 white tail deer. He then had them tanned at Uber Glove Company in southern Minnesota. They are just not going to be able to make use of them and decided to sell them to anybody who could make good use of them. She wants $75 per hide. She described them as 11 buckskin color, 1 grey and 1 more yellowish. She can be contacted at Mary Brau 651-455-7706 She lives in Inver Grove Heights, MN Please reply here if you bought them from her, then I can remove this post so that she does not get too many phone calls.
-
I had a leatherworking friend in South Africa called Bill Stockill. He did amazing art work on leather with a method he developed of transferring images to leather. I am experimenting with a similar technique now and want to demo it to our guild. But I also want to tell them about Bill Stockill. I cannot find any photos of his work. Can any body help with that? I know there was also video of him showing his technique, but all I can find now is a horrid one that shows him but the sound is bad and just not worth it.
-
-
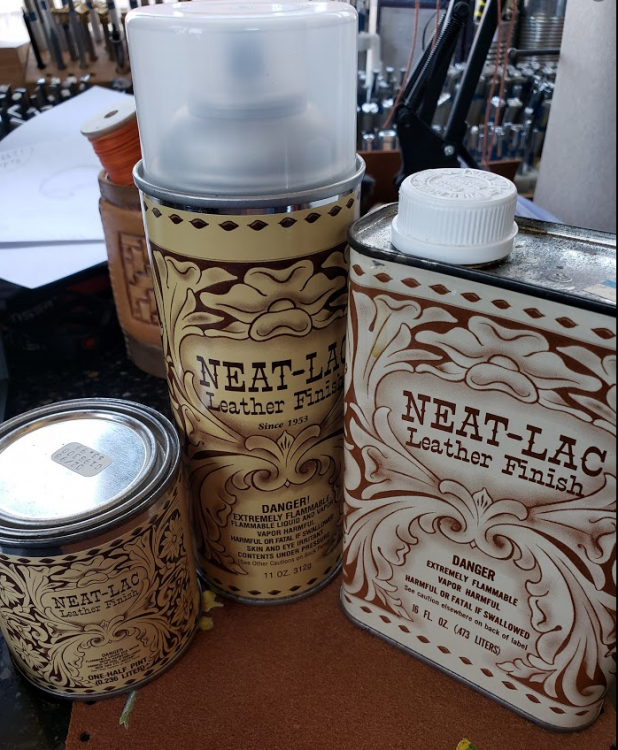
I acquired these three as part of old batches of tools I bought (one box containing this was even mailed to me via usps!). Does anybody have an idea what I can thin the old Neatlac out with? Anything I can buy in a hardware store? JOhan
-
-

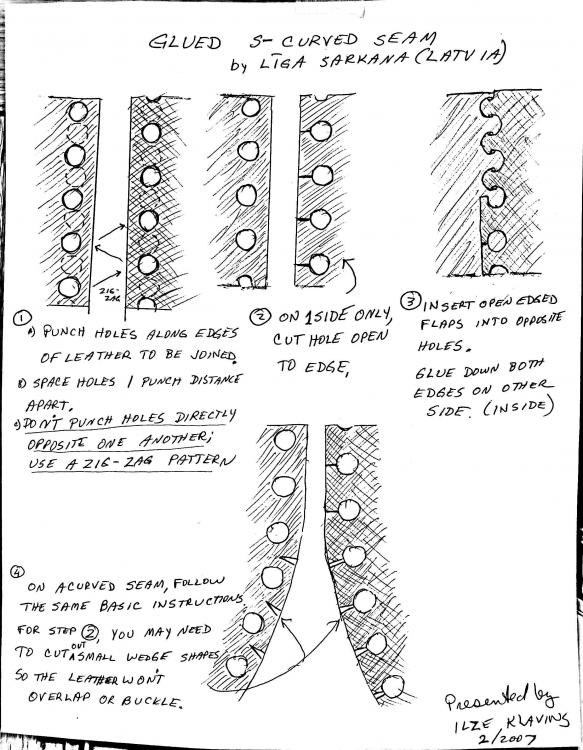
Need help learning this construction method please? Interlocking?
Leerwerker replied to ddct70cc's topic in How Do I Do That?
-
Thank you! That gave me all the information I needed and now the guy is going to make his own drive belt! Johan
-
I was approached by someone to make a three inch wide drive belt - 140" long. So, I will have to attach two or thee straps end to end to achieve that. The old belt the guy had, had a very specific hinge setup that looked like a row of staples that allowed two straps to be attached end to end and make for a smooth belt. Does anybody know if and where that hardware can be found?? Has anybody made this type of drive belt? Johan
-
I just acquired a Singer 29K60 Long arm big bobbin patcher today. The little motor runs and drives the machine! Most of my stitching is by hand or on my Tippman Boss. I have read all the threads about the 29K60 on this forum and made notes. So I hope my questions will be fairly few. I could not find a manual specific to the 29K60. Does anybody have a copy for me maybe in .pdf? I don't want to fiddle too much with the machine before making sure everything is where it should be.... The little motor has just about 12" of cord attached, and when you plug it in, it starts running. How are you supposed to start and stop the machine? Thanks! Johan
-

Grey dye
Leerwerker replied to glockanator's topic in Dyes, Antiques, Stains, Glues, Waxes, Finishes and Conditioners.
Vinagroon is a surefire way - it might take some testing to get it weak enough to produce grey and not black immediately. Just one warning : I suggest not to do the backing soda bit - raising the pH much above 4 will start to de-tan the leather. I have a blog post about it at http://www.johan-potgieter.com/ll/?p=148 -
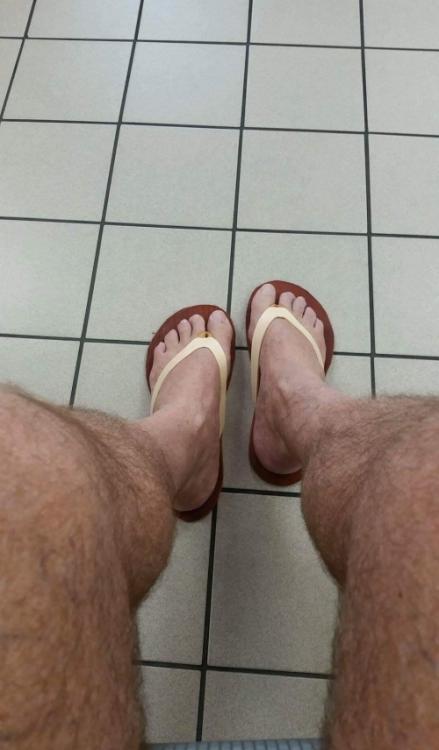
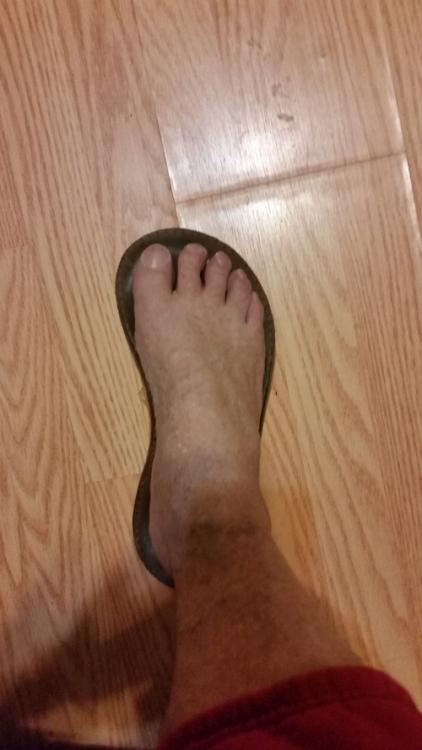
I made this very successful pair of minimalist flip flops for myself and therefor could measure them on my feet for my feet. Now someone else asked for a similar pair. Is there standard lengths for the straps that would work for all feet or how would I go about it?
-
Antonia, You cannot stamp on treated leather - unfortunately it is that simple.Any impressions you get will be temporary. Here is my short explanation: First the veg tan leather comes to you you dry from the tannery - you make it damp and this makes the fibers of the leather stick to each other as you stamp on the surface - you let it dry and the impressions are still there - now you add a conditioner or sealer and the impressions become permanent and the smooth parts of the leather cannot be stamped any more, because you cannot get the leather fibers sticky any more. It applies to all the steps in leatherwork, but especially to colouring and finishes: test every step on the cut off pieces of leather! So, dampen the untreated veg tan, stamp your maker stamp, let it dry, dye the piece of leather, put on a conditioner / finish and see what it looks like. Variations for a more visible maker logo might be to cut them out of the undyed leather and sew them onto your project or consider the old type of block dyeing that the hipies did in the 60's and 70's. (You can see my blog post on this topic to get a better idea: http://www.johan-potgieter.com/ll/?p=117)
-
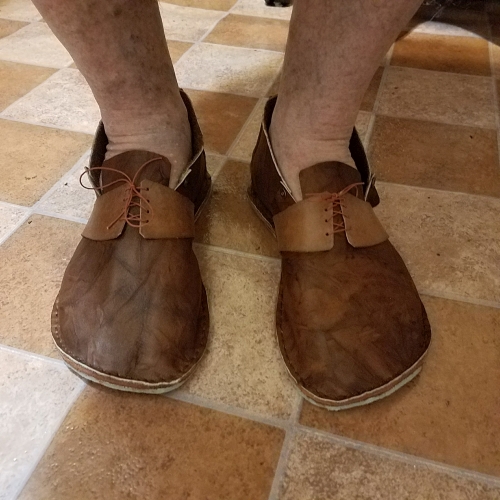
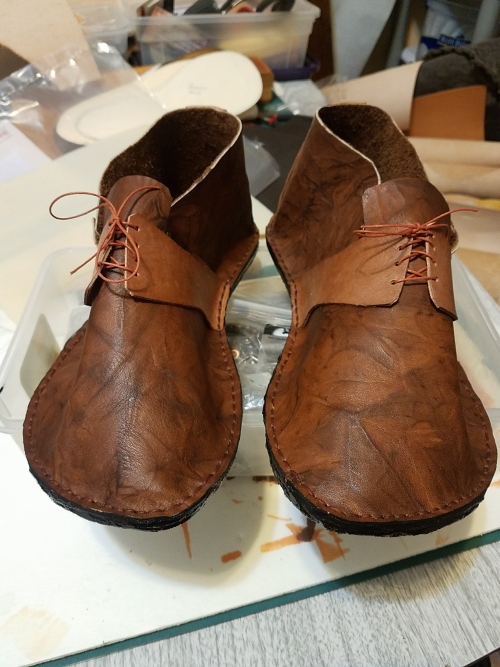
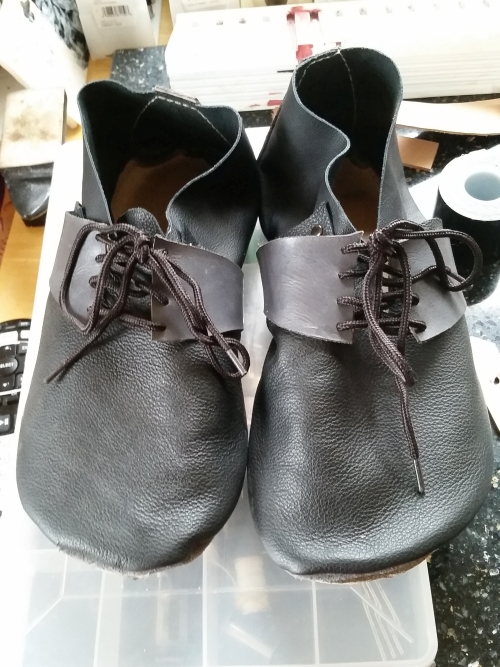
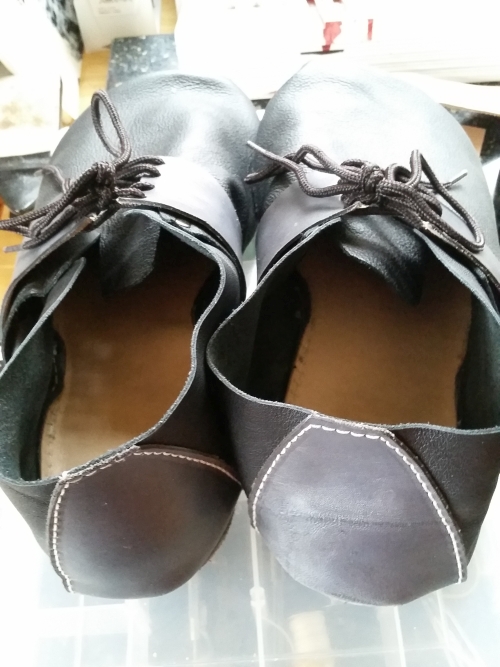
This is my latest pair - on the road now for two weeks and very happy with them. The improvement on this pair was that I glued a rubber bottom sole to the leather sole - all my previous shoes just had a single piece of leather as the only layer between me and the ground and I only use them indoors - with these I wanted to be able to walk on damp surfaces outside. The bottom plastic sole is a sheet I bought at Tandy - does anybody know of suppliers that would sell sole materials on a small scale?
-
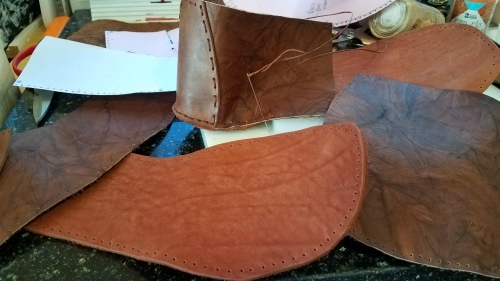
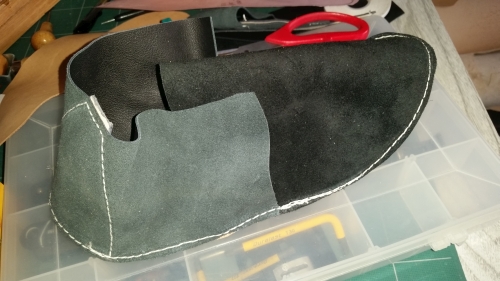
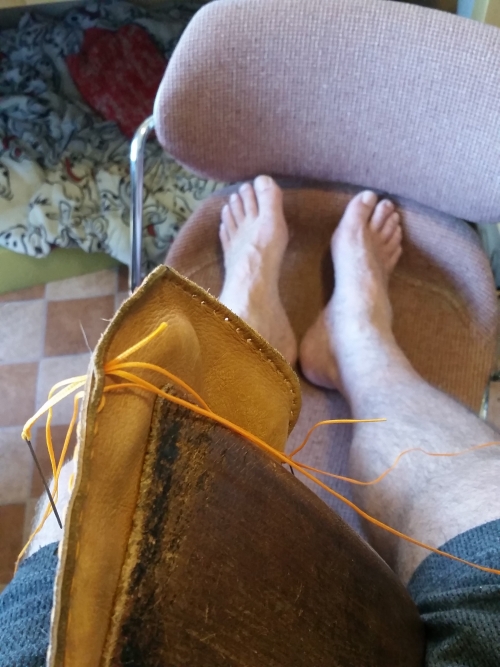
For my third pair of shoes my son convinced me to try a turned shoe - stitched inside out and then turned so the stitches was on the inside. Not too uncomfortable, but not my first choice - you do feel the seams on the inside against your feet.... Unlike my other shoes, I stitched these on my Tippman. The pieces were held in position with narrow strips of double sided glue tape. For all my other shoes, the holes are already indicated on the patterns and I sew them by hand.
-
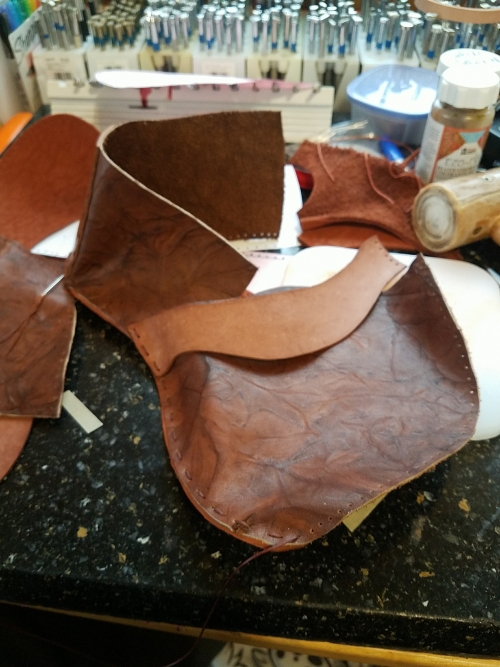
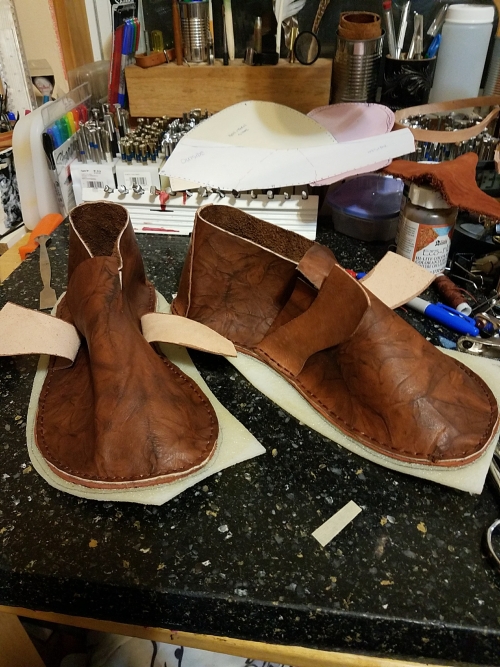
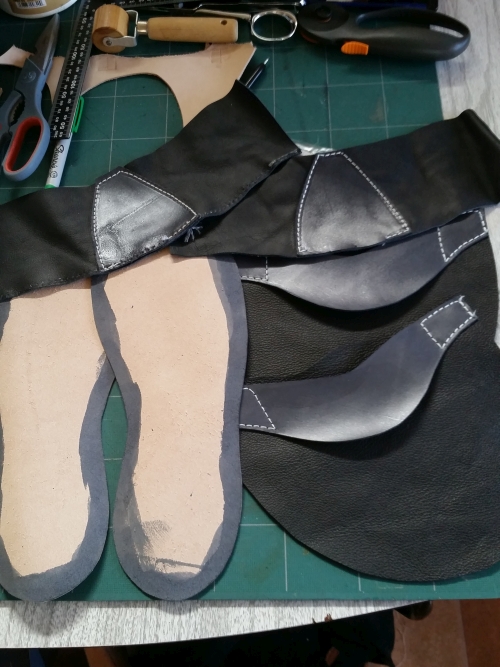
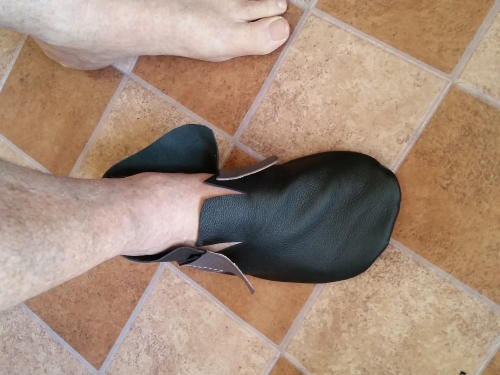
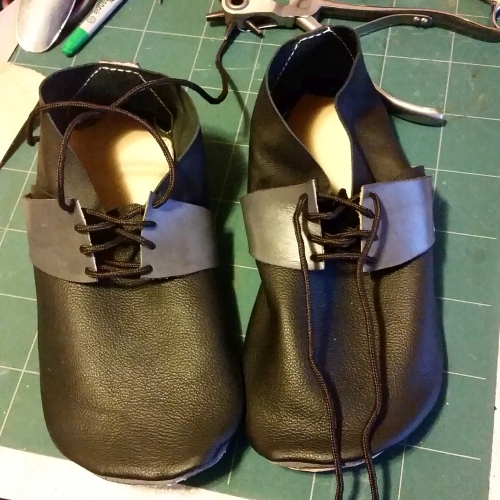
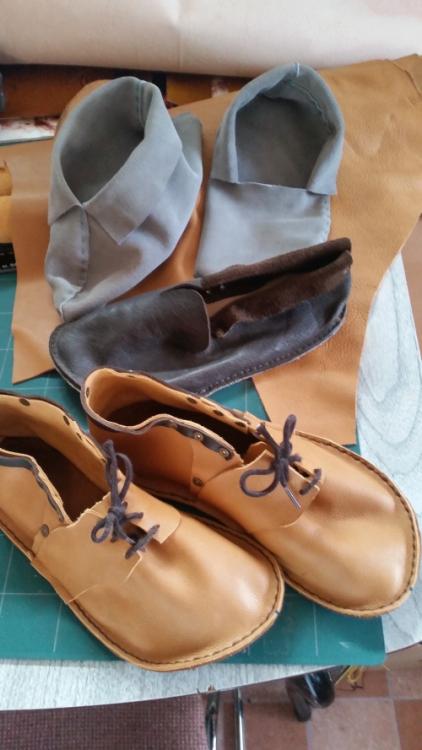
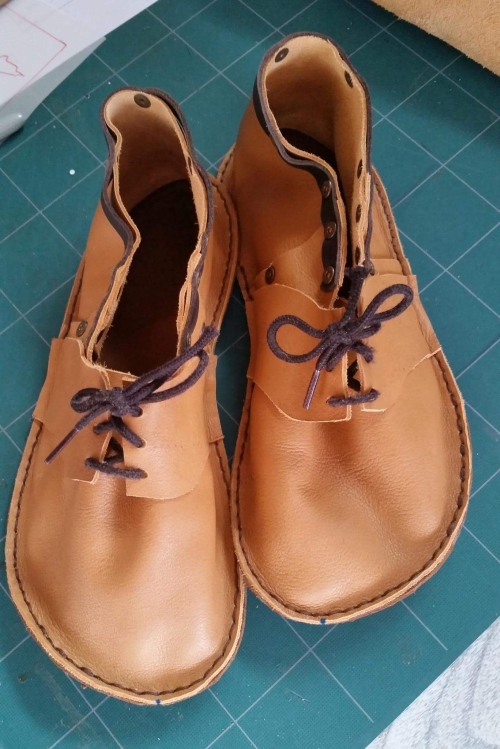
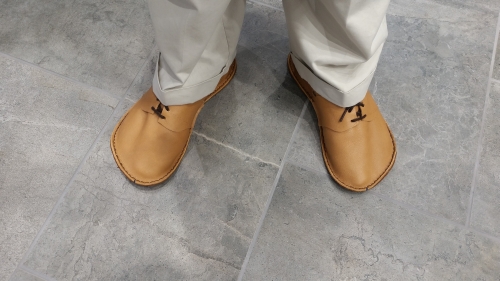
As someone with a barefoot lifestyle I still have to concern myself with shoes for work and the Minnesota cold. And having done leatherwork for almost 40 years, I decided to venture into shoe making. My requirements: NO heels, NO arch support, VERY wide, NO tight closure and not overly warm. On the one photo you can see the two prototypes I made from cheap suede - the method/pattern came from the web and was totally dumb - discarded methods. A third one made more sense and so I traced my footprint and then used felt from a craft store to mold over the top of my feet to develop the pattern for the uppers. On that photo you can see my first working brown pair. Some idiot called them slippers, so I decided on my next pair to add fake lace closures. Which resulted in the yellow pair that I still wear.
- 1 reply
-
- minimalist
- prototyping
-
(and 1 more)
Tagged with:
-
The most recent Craftools have been much improved - I'm not sure of the exact date, but let's say from 1995 when Tandy was in trouble to 2005 after LeatherFactory bought Tandy, the tools were in poor shape. Then the new Tandy management gathered the best old stamps they could find and had all the dies re-made and the quality did improve. The only mistake they still made up until a few years ago (might be even to this day) was to put crappy zink tools in the starter sets - that is exactly where you actually want the very best quality tools. So don't shy too much away from the new tools. In any case, the tools do not make you a better tooler - it is all about how well you learn to use what you have. For some refreshing perspective, visit the Stohlman m,museum in Sheridan and look at Al Stohlman's first set of tools and the work he produced with it.
-

Is there an alternative to line 24 snap setter
Leerwerker replied to Tshepiso's topic in How Do I Do That?
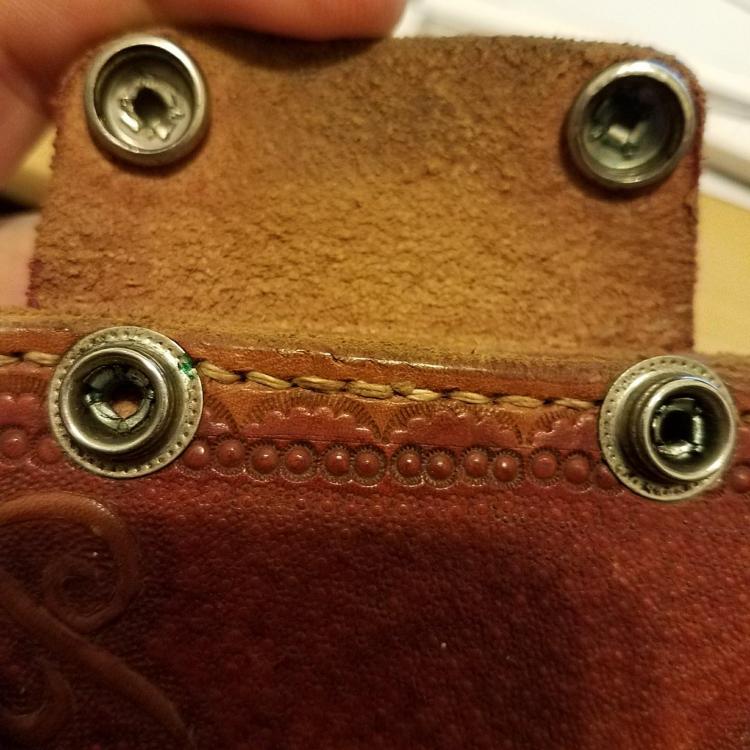
Here is a passport holder I made in circa 1980. Those snaps were set using the phillips screw driver first and then flattening the curled over bits inside the cavity. And they have been holding for 36 years now!- 8 replies
-
- line 24 snaps
- snap setter
-
(and 1 more)
Tagged with:
-
This could have a lot of good uses - like this middle layer of flip flops easy to apply and stay in place. Or stick to the bottom of coasters.
-

Is there an alternative to line 24 snap setter
Leerwerker replied to Tshepiso's topic in How Do I Do That?
I also started my leatherwork in South Africa where tools were scarce, 40 years ago. At the time I set line 24 snaps with a phillips screw driver and a flat nosed punch : First the phillips screw driver would split the post into four to eight strips that would peel over. Then I flattened them down tight with the punch. I never had one come loose at all.- 8 replies
-
- line 24 snaps
- snap setter
-
(and 1 more)
Tagged with:
-

How I do remove dubbin from Leather
Leerwerker replied to Tshepiso's topic in Shoes, Boots, Sandals and Moccassins
Sorry I did not see this earlier. Dubbin is the best food you can get for leather! BUT you have to apply it in thin layers. So, apply the Dubbin, let it sit overnight so that it can work into the leather - or stand it in the warm sun so that the dubbin is almost liquid and penetrates the leather faster. Then take a cloth and really buff off anything that remains on the surface of the leather. Then it will take a few layers of polish before you have the old shine back. You do not have to do the Dubbin treatment too often - three four times a year should be enough. Ek hoop dit help! -

Leather that smell bad, what to do?
Leerwerker replied to panchoskywalker's topic in Leatherwork Conversation
Supermarket lemon juice works just fine. -
This is an issue that affects knife makers too. Some time ago I contacted the Leather Chemists of America about it. The bottom line of their responses were that leather is and should be acidic (pH level of 4). If you bring that and the metal of guns / knives together nothing will happen. BUT, just the moisture present in the air might add the third element to this evil trio: water. The acid can now attack the metal. The solution is to add a barrier between the leather and the metal in the shape of oil / wax finish, like Dubbin or Dr Jackson's or Aussie finish. As long as the leather stays well fed (don't over do it) the oil/wax forms a barrier around the leather fibers.
-

Leather that smell bad, what to do?
Leerwerker replied to panchoskywalker's topic in Leatherwork Conversation
If the vinegar does not work, try lemon juice for a few hours and then just wash with water to get rid of the sticky. -
I have a small tutorial out showing this: http://www.johan-potgieter.com/ll/?p=63


