chuckgaudette
Members-
Posts
81 -
Joined
-
Last visited
Content Type
Profiles
Forums
Events
Blogs
Gallery
Store
Everything posted by chuckgaudette
-
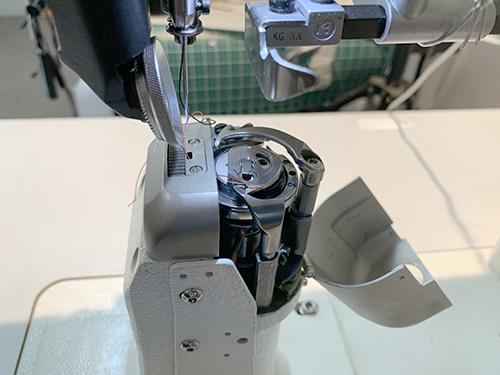
Purchased new in 2017 for $3855 from a PFAFF dealer Complete with P-40 servo motor, table and 110v transformer This machine has hardly been used. Probably not much more than 6 hours total sewing time. I need to make space in my shop so it has to go. Selling for $3000 Pick up in Los Angeles CA New design of this classic PFAFF machine for the shoe industry Top-quality for all decorative and securing seams Simple adjustment to number of backstack stitches via control panel „Stitch in stitch“ backtacking – no perforation of material Easily adjustable thread trimmer for short thread ends (up to 15/3 syn.) Overload clutch for hook protection Edge guide for an accurate and consistent seam distance to the edge A multi-function switch with pre-programmed functions is integrated in the sewing head - Reverse sewing / intermediate tacking, Backtack inversion, Needle up, without trimming Seam length programming by control panel Electromagnetic controlled functions for thread trimming and presser foot lifting The LED light, which is built into the sewing head, creates optimum illumination of the sewing area No compressed air required Hand wheel within easy reach of the operator https://www.pfaff-industrial.com/en/portfolio/sewing-machines/post-bed/pfaff-591
-
Advice on buying a post head sewing machine
chuckgaudette replied to kjack88's topic in Leather Sewing Machines
Great post Uwe. Thanks. I plan on putting my PFAFF 591 post machine up for sale. Its about 2 years old and doesn't have more than 10 hours on it so its practically new. It's a great machine but I don't just don't have a need for it anymore. Chuck -
Thanks Brian. Your craftsmanship in making jigs and parts is as impressive as your leatherwork
-
twenty dollars is a good price to experiment with this. Thanks Brian.
-
Does this look like a project for a 3d printer? If it's only used once in a while it might not require steel. I could make a couple of variations
-
this looks like a good solution. I emailed Uwe to see if he knows where I can get this raised needle plate. Thanks so much Brian
-
Brian, this is an interesting idea. I know this is a difficult design but I'm always curious as to how things are done. I've never seen a raised needle plate like this. I wonder if I can get one for my Pfaff 335. Thanks for your expert suggestion. Chuck
-
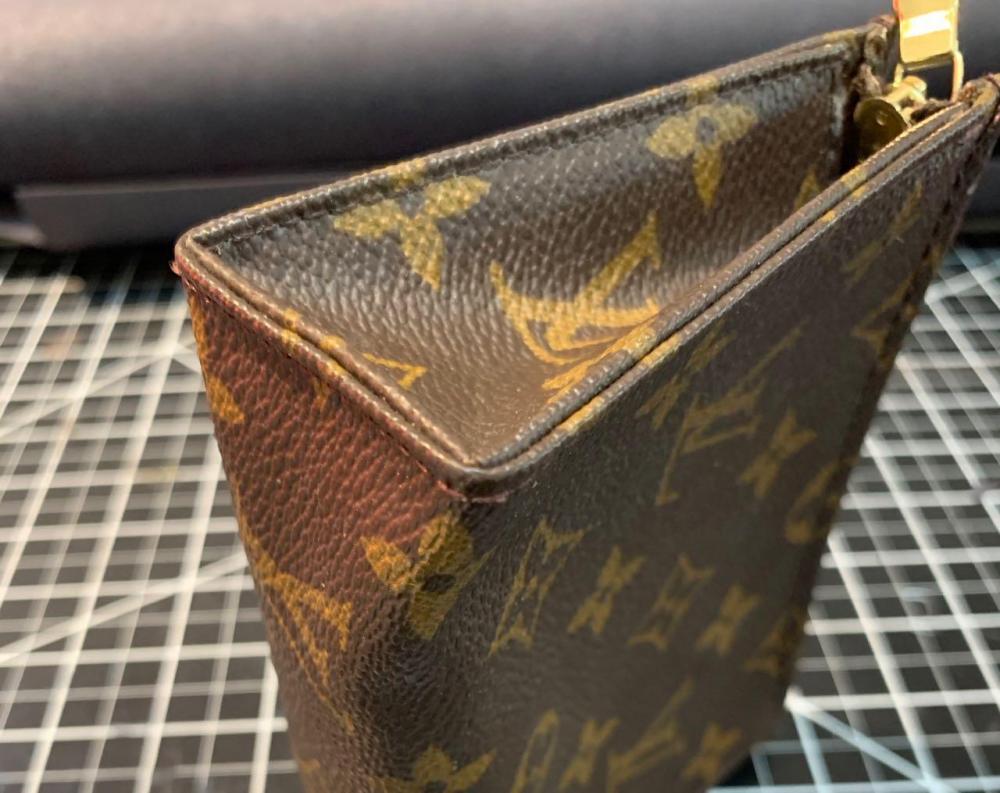
Hello All, I’ve been trying to figure out the best way to machine sew around a right angle like the example here. I have a cylinder arm machine and I’m using fairly thin soft leather. I’ve tried sewing from the face and from the gusset side but the results haven’t been very good. The leather bunches up going around that angle. Is there a technique I’m not aware of? Do you sew this in 3 sections and then hand sew across the angle? Looking at the example under a magnifying glass it does appear the stitches across the angle are slightly longer than the others. Does anyone have a suggestion for me? Thanks
-
Bell Skiver Feed Roller Replacement
chuckgaudette replied to chuckgaudette's topic in Leather Machinery
I figured it out. You have to remove the roller bracket arm. You'd think they'd tell you in the manual.- 4 replies
-
- bell skiver
- feed roller
-
(and 1 more)
Tagged with:
-
Bell Skiver Feed Roller Replacement
chuckgaudette replied to chuckgaudette's topic in Leather Machinery
I have the new roller and the shaft. That's as far as I've gone. I can position the roller in the bracket at the front of the machine but I can't get the shaft back in between the roller and the drive shaft bracket in back. I don't know if I need to remove some additional parts to do that and, if so exactly which parts.- 4 replies
-
- bell skiver
- feed roller
-
(and 1 more)
Tagged with:
-
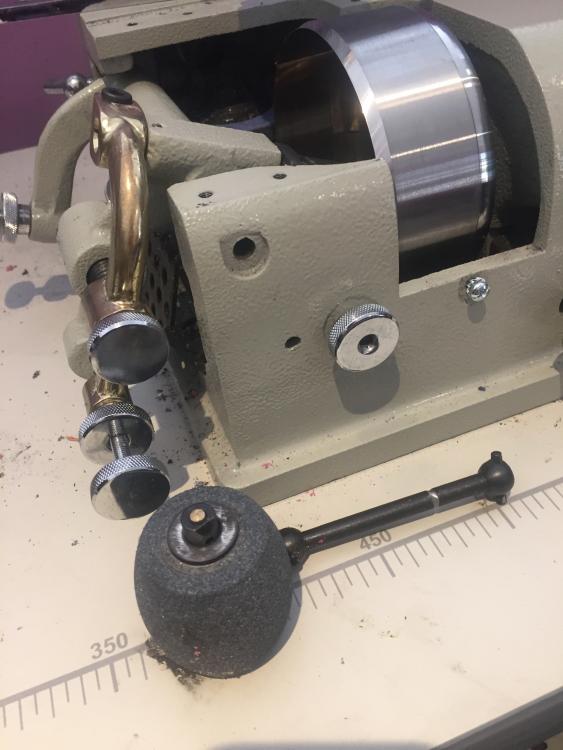
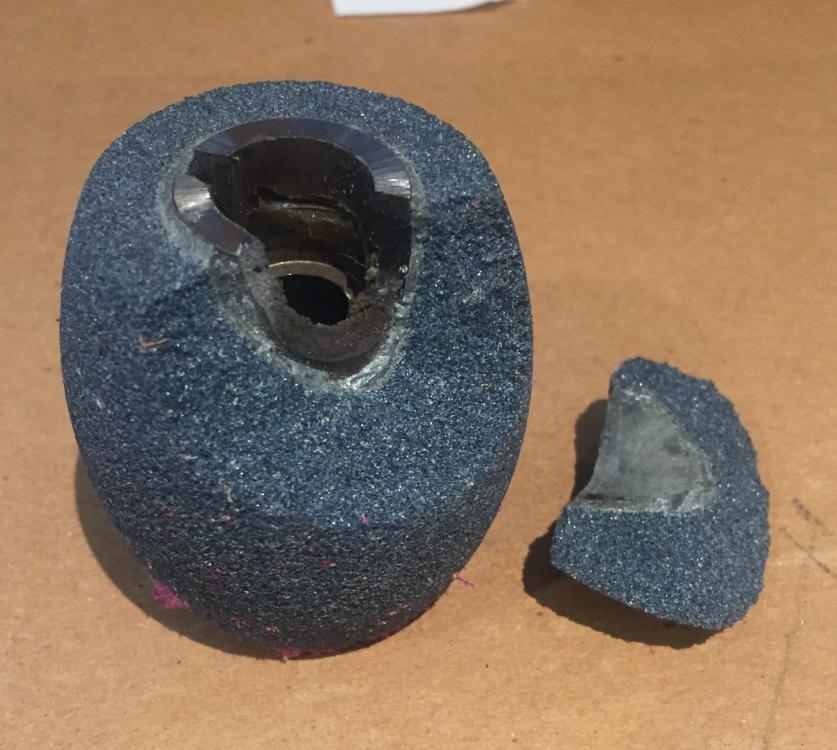
The feed roller on my Consew Bell Skiver literally broke. For some reason, the leather got bunched up between the roller and the knife and the roller shattered. I have a replacement roller but I need some help with the steps involved in replacing it. With the roller in place on the shaft and in the bracket, I can’t seem to get the shaft positioned between it and the drive shaft joint. Are there some parts that need to be removed to facilitate replacing the roller? The manual isn’t much help in this. Thanks
- 4 replies
-
- bell skiver
- feed roller
-
(and 1 more)
Tagged with:
-
These people are in Los Angeles and have a Camoga splitter. they charge $45 an hour. http://losangelesleathercraft.com
-
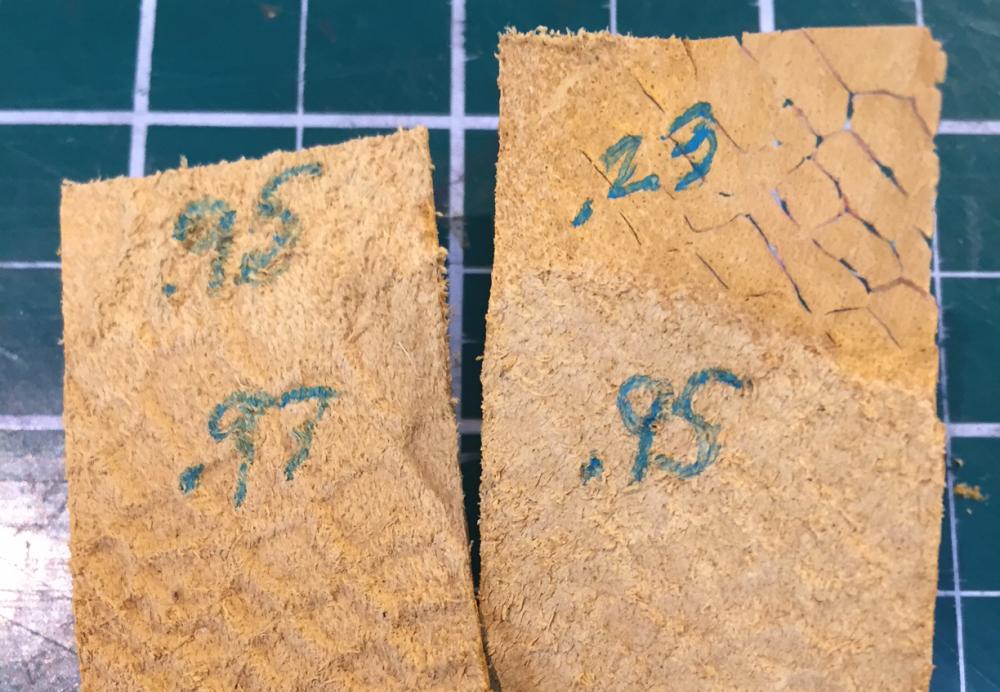
Here is an example. This is both ends of an 8 " strip skived with the exact same settings. It is a embossed leather and closer to the belly area. The blade was just sharpened. The one on the left had an original thickness of about .97mm and it skived down to .95mm. On the right (the opposite end) it was originally .95mm and it skived down to .23 mm.
-
Matt, I'm skiving fairly thin soft leather used mostly for handbags. Its typically embossed and dyed and maybe 1.5 - 2 mm and I like to take it down to around 1 mm. I do have a digital thickness gauge I can use. Gigi, Yes I am skiving both the left and right side of one piece so when I rotate it I get a different result through the bell skiver. Once I get it adjusted to where I want it on one side, I rotate the piece and get a different result on the other side.
-
Not sure if this question should go in the machinery section or technique. If I cut a 1 foot square of 2mm leather and skive a half inch along one side it will come out as I intended. Then if I turn the leather to skive the opposite side with the exact same settings the second side may barely skive at all. does this have something to do with the grain of the leather? If so, how do I correct this without readjusting the skiving depth for each side? Thanks
-
Uwe, do you make a flatbed table conversion for this machine?
-
40W Chinese Laser - Engrave and Cut Leather - Discuss
chuckgaudette replied to Billy Hell's topic in 3D Printers and Lasers
no I only work with soft thin leather for bags and some wallets -
40W Chinese Laser - Engrave and Cut Leather - Discuss
chuckgaudette replied to Billy Hell's topic in 3D Printers and Lasers
I work mostly with soft leather about 2 - 3 mm thick. The 65 watt laser will cut it but the resulting charing of the edge takes a lot of work to clean up. If you cut thinner leather than this it often shrinks from the heat. So I often just use it to score where I want to cut and then use a knife to complete the cut. At least that way I can get the exact same pattern line every time. Engraving works better but its always a lot of trial and error on each material to get it right. I run my machine from my Mac using Parallels emulation software. The Laser Works software comes with the machine and works fine. When I first got the machine the water pump didn't work. Boss sent me a replacement immediately. So I have no complaints about the customer support. Overall using a laser is a learning curve and you go through a lot of material figuring it out. I don’t think its actually paid for itself, but then it cost a fraction of what a Trotec or Epiloq cost. -
40W Chinese Laser - Engrave and Cut Leather - Discuss
chuckgaudette replied to Billy Hell's topic in 3D Printers and Lasers
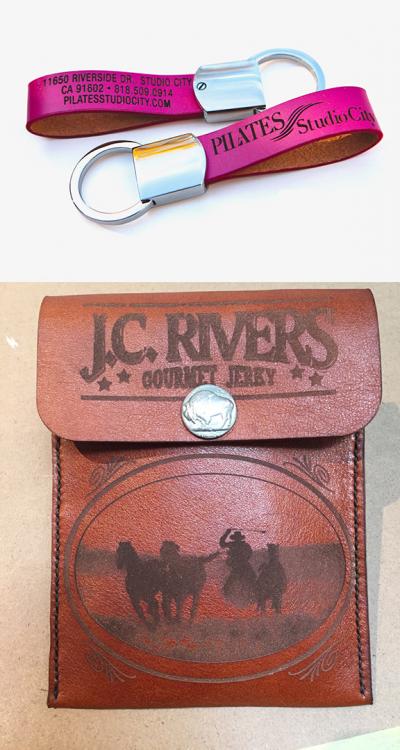
I have the small hobby laser from Boss Laser https://www.bosslaser.com/boss-ls-1416.html 65 Watt. It's a good machine. I bought it to cut leather but found it's better for engraving. Of course, the bed is often not quite big enough. It does have pass-through doors on all 4 sides which helps. I'll attach a couple of examples -
Very clever idea Brian. I was talking to some guys who were cutting belts with a laser. They put them in the washing machine to clean them up. It worked but the soft thin leather I'm using didn't look so good afterward.
-
Brian - I'm running a 65 Watt machine. I've tried many different combinations of speed and power. My machine has automatic focusing so that's not a problem. I have used light tack tape to mask off areas I'm cutting. The tape mainly keeps the soot that's being generated and blown around from the air assist from staining the leather. I've done some fairly intricate cutting as well and a laser is probably the only way to do some of this sort of cutting. But you spend time weeding out the tape after cutting. Another problem with the charring is if you paint the edges with brighter color edge paint like a red or blue, the charring will darken the paint
-
I've been disappointed with cutting leather with the laser. I'm using mostly soft leather about 3mm and the charring is just too much work to get off. What I do is use the laser to score the pattern on the back side of the leather and then finish the cut with a knife. That way there is much less clean up. It's more work than if I had a clicker and some dies but at least I can get the pattern outline on the piece accurately.
-
No the bags are made in Italy. The leather is also sourced in Italy. Just the two woman who design the bags are based in LA.
-
From what I’ve read they (Mansur and Gavriel based in Los Angeles) experimented with a lot of different techniques including silk screening the inside of the bags. Eventually they found a company in Italy that could do this fused lining. Some of the bags have a shinny patent leather fused lining


