KittenThrasher
-
Posts
56 -
Joined
-
Last visited
Content Type
Profiles
Forums
Events
Blogs
Gallery
Store
Everything posted by KittenThrasher
-

Which leather burnishing machine to buy?
KittenThrasher replied to rivetandchain's topic in Leather Tools
I've played with Tandy's burnisher and in my opinion it was massively underpowered and overpriced. you can do a lot better from Justwood.com for less money. (ps I don't work for them or have any relationship with them.) -
Beautiful Sheath Ruined Furniture
KittenThrasher replied to zoomer56's topic in Leatherwork Conversation
Looking at the stain on the furniture it looks to me as if the stain is also present under the handle of the knife which is not leather. Makes me wonder if the problem is actually the sheath or something which has caused a 'shadow' under the whole thing which is not caused by your (rather excellent) work.? I'm not sure if I'm seeing the stain very well on my laptop though. Just a thought. -
My experience is similar to this, I got a 30W laser a few weeks ago and am still learning (quickly) the most recent thing I've corrected is the focus point, with this now correct the charring is a lot less bad. It's still easier to use the machine for marking out though. At the moment while I'm still getting a grip on it I'm using it to cut out patterns in 3mm acrylic (from DIY store for glazing shed windows etc, works great for this purpose. ) I'm looking forward to using it for a lot more over time.
-
all of the above plus speed clamps with rubber and leather bits glued on to stop damage to my rulers, quilters thingy's, and other bits..
-
Turn the Awl handle in the normal way - probs in a collet chuck, then put a fine drill bit in through the tailstock end get it well into the handle end, as deep as you want the blade to go. then pare off the handle. the traditional way to set the awl pointy bit is to hold it in a vice between two softer bits of metal, (I used to use penny coins until they started making them out of Friggin iron!) then tap the handle on forcing the awl into the 'slightly too small' hole that you drilled on the lathe. the size of the hole will depend on the awl, the wood and whatever drill bits you have lying around at the time. 'Hope that's pretty clear,
-
Which leather burnishing machine to buy?
KittenThrasher replied to rivetandchain's topic in Leather Tools
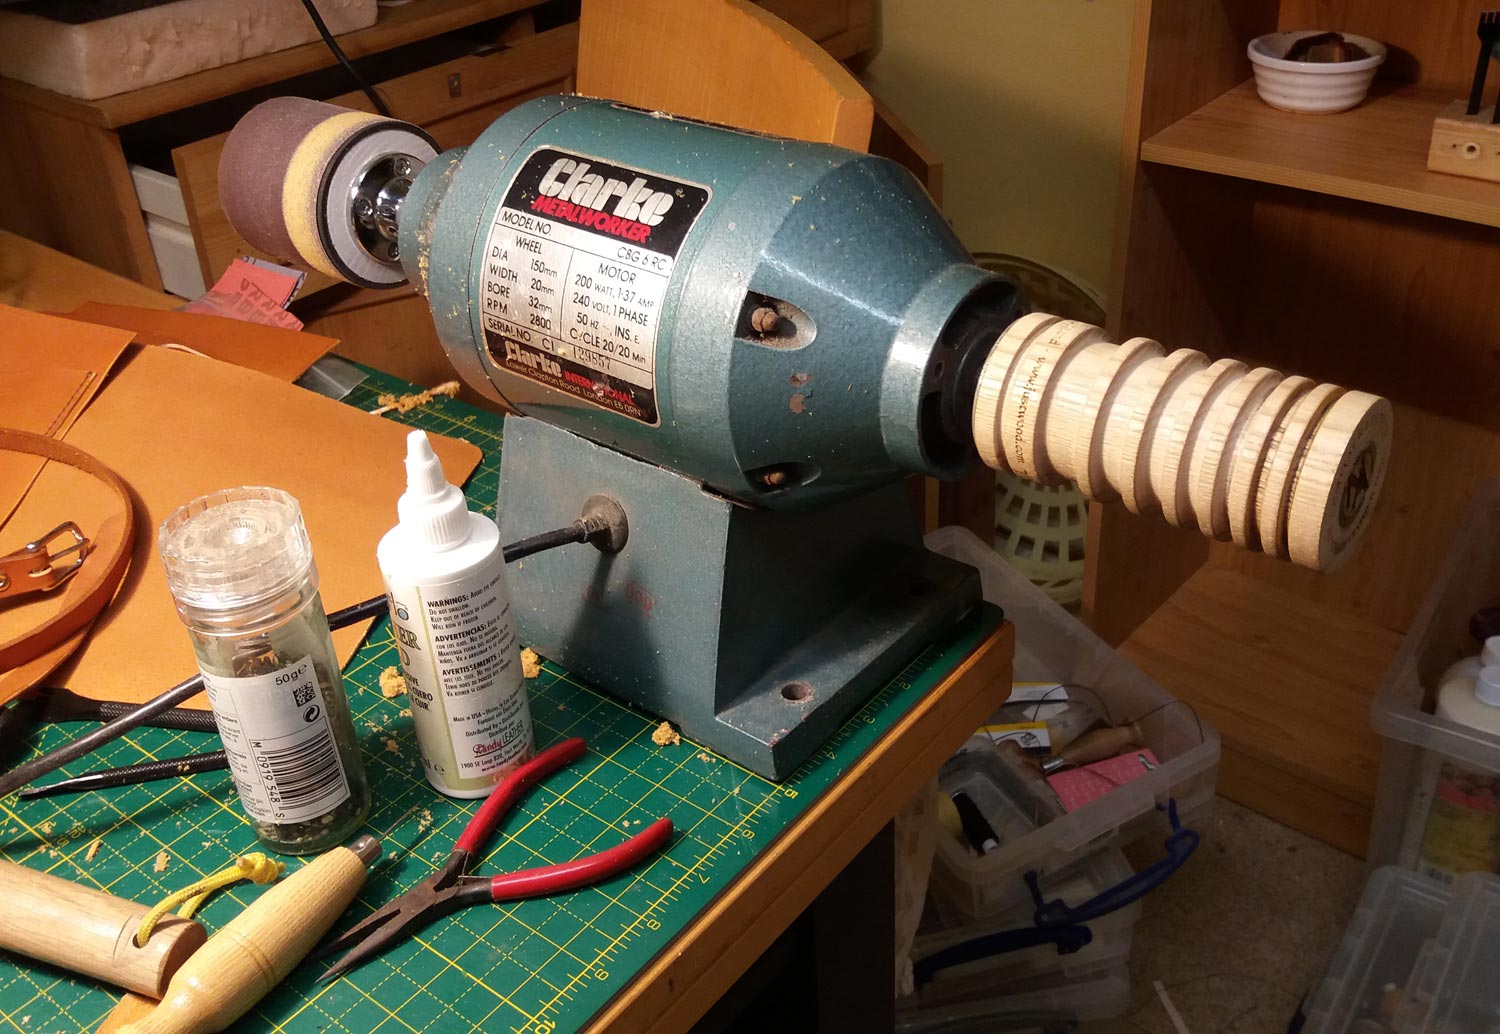
It's not hard to take off the grinding wheels, normally just a 19mm 3/4 spanner. one end is likely to be a reverse threaded nut though, so just look for that. The only difficulty I found was that the spindle needs to be a very good fit in the burnisher drum and/ or sander. otherwise it won't run true. I had to do a little bit of sanding to get the spindle to a perfect fit. There are also a few different size spindles on bench grinders, I have one with a 16mm spindle, one with a 14mm spindle and one with a 12 (which is a bit smaller than 1/2 inch) so check first. My motor is 200 watts running at 2800 rpm which is more than enough for my needs which aren't very demanding. I was also interested in Bikermutt's comment above that 3450 rpm is too fast, my machine runs at 2800 rpm and seems pretty ok, maybe it depends on what you doing with it or just the way you use it, I'm going to try a slower speed out of curiosity though. been playing with a 150 watt speed controlled motor this morning and the main thing I found was that it is massively short of torque at high speed settings, putting a 4mm piece of VT on it with moderate pressure just stopped it dead! not much use really. good luck. :-) -
Which leather burnishing machine to buy?
KittenThrasher replied to rivetandchain's topic in Leather Tools
PS The drum sander quickly turned out to be great for thinning down the end of straps instead of getting the skiving knife out. -
Which leather burnishing machine to buy?
KittenThrasher replied to rivetandchain's topic in Leather Tools
I just bought one of Nigel Armitage's burnishers from justwood.com, it's a good quality burnishing drum made of Ash with a sanding drum on the other end like the Tandy one, however this one is a LOT cheaper and rather better quality. Your can also buy the burnisher and/or the sanding drum separately if you have an old bench grinder laying around (which is what I did) that way I got a really nice burnisher for about £100 I visited the people at Just Wood and they were great, very helpful and friendly. A basic 150W cheap bench grinder set up with the burnishing drum is plenty powerful enough for most uses. Mine started to get a bit warm after an hour or so but wasn't that bad. I've seen one of the Tandy ones and TBH it really isn't as good. even with variable speed.
-
Rotary cutter blades are expensive, (decent ones at any rate,) I made a simple jig to mount them on a dremel where a quick 'touch up' with a fine diamond stone or even fine wet-n-dry puts a good edge back on it. Make sure they're fixed on your dremel properly though as my first experience of this resulted in a rotary blade whizzing around the kitchen at very high speed. ooops.
-
Identity Leathercraft in the Uk have an excellent method for printing on leather, good quality results from your images or design. Might be worth talking to them. Their method would be great for pet collars etc. I know they do international shipping. (I used to be associated with them but I'm not anymore.)
-
A big fat steel rule and a rotary cutter will help a lot, the fat steel rule will stop the leather moving at all (I even clamp the ruler down sometimes) and a rotary cutter (as used by dressmakers etc.) goes through thin leather without 'pulling' it at all. Acrylic templates are excellent if you can find someone with a laser to cut them for you. I used to hand cut my own 3mm acrylic templates, it's tedious but quite do-able.
-
New Knife Sheath
KittenThrasher replied to Gus90's topic in Gun Holsters, Rifle Slings and Knife Sheathes
Looks like he'll be needing a new knife to go with the nice new sheath. -
Don't know anything about Bontex or webbing but that is nice work.
-
Hammer, Maul, Rock? What do you use and how heavy?
KittenThrasher replied to Killerwork's topic in Leatherwork Conversation
I used a small woodworkers mallet for years til someone told me it was 'wrong' some years later I've gone back to it. it's perfect for me. I also use a very cheap plastic headed thing on a dowel handle - that's great as well. I love spending money on tools, but it usually goes on things with a sharp edge or motors, just bought a Singer Patcher 29K in lovely condition which is fantastic to use. If it works for you, it don't matter what it is. -
Useful, easy to use design software - and it's free.
KittenThrasher replied to KittenThrasher's topic in Computer Help
Hi Jeff, I'm thinking they've changed it a bit since I had the trial, I think mine went for an hour before I had to restart. if you scroll right to the very bottom of the download page it shows this: QCAD Community Edition If you are looking for the free open source QCAD Community Edition, you can download the trial version for your platform (see above) and then remove the QCAD Professional add-on running in trial mode. Alternatively, you may compile your own package from sources below. I'd never seen it before either, 'might be useful for a few people here. the plugins control panel thingy is in the 'Help' > 'about' tab, Good luck,
-
Useful, easy to use design software - and it's free.
KittenThrasher replied to KittenThrasher's topic in Computer Help
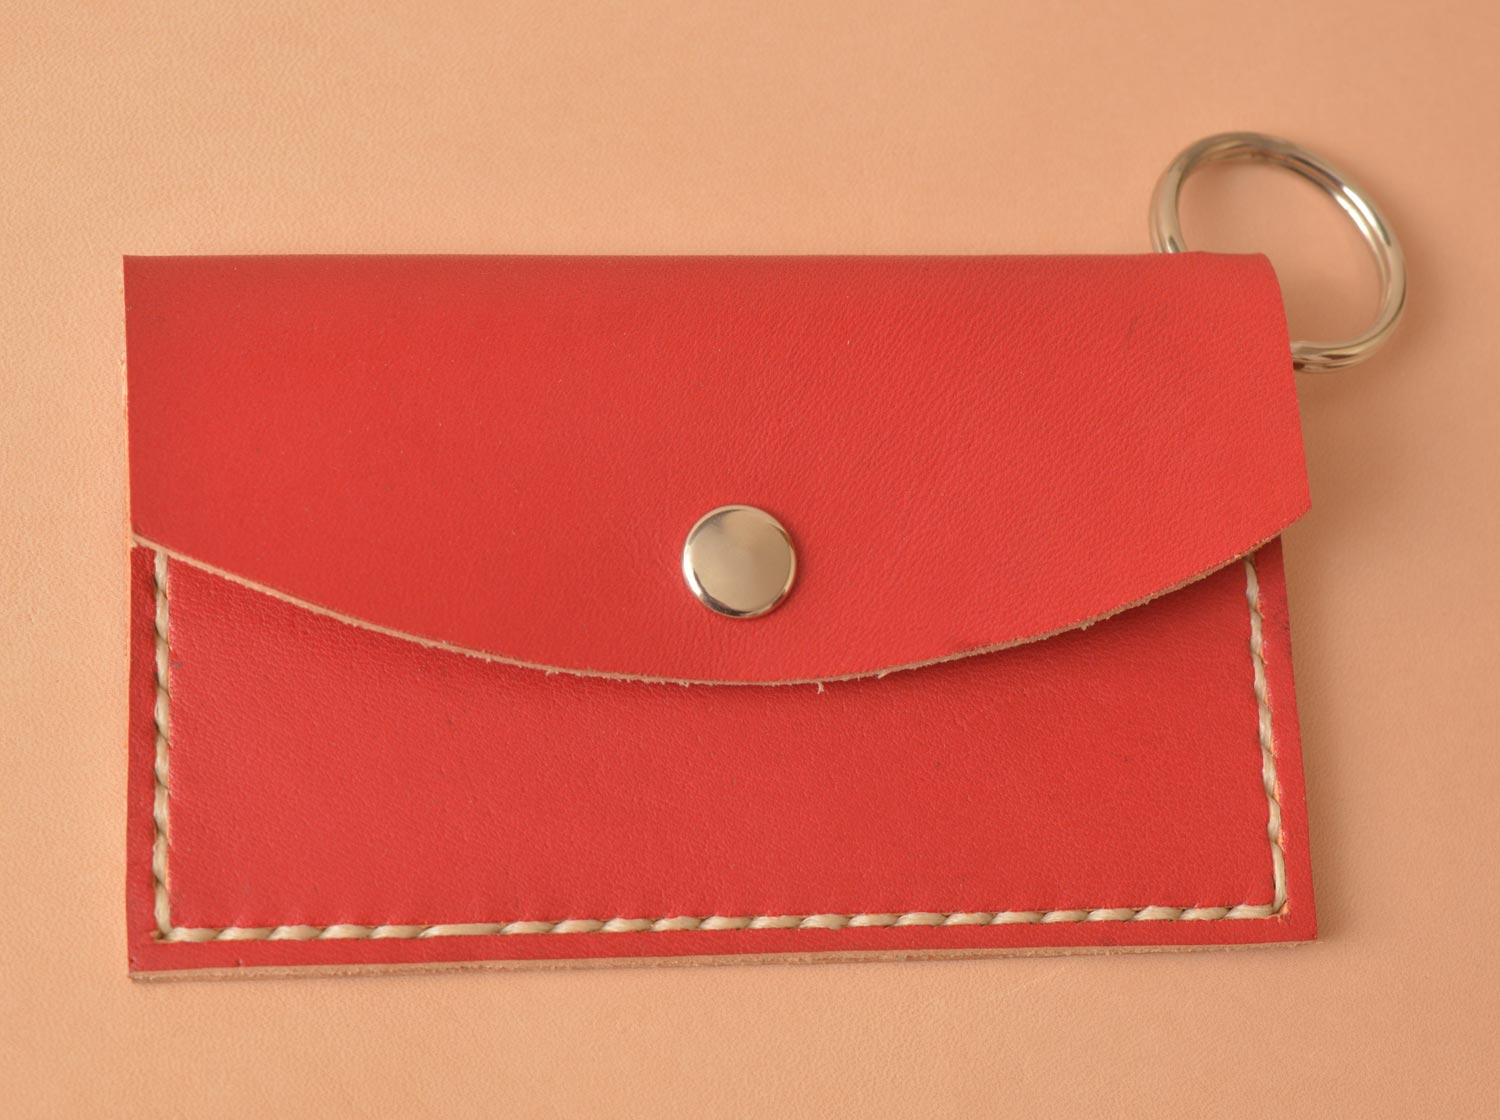
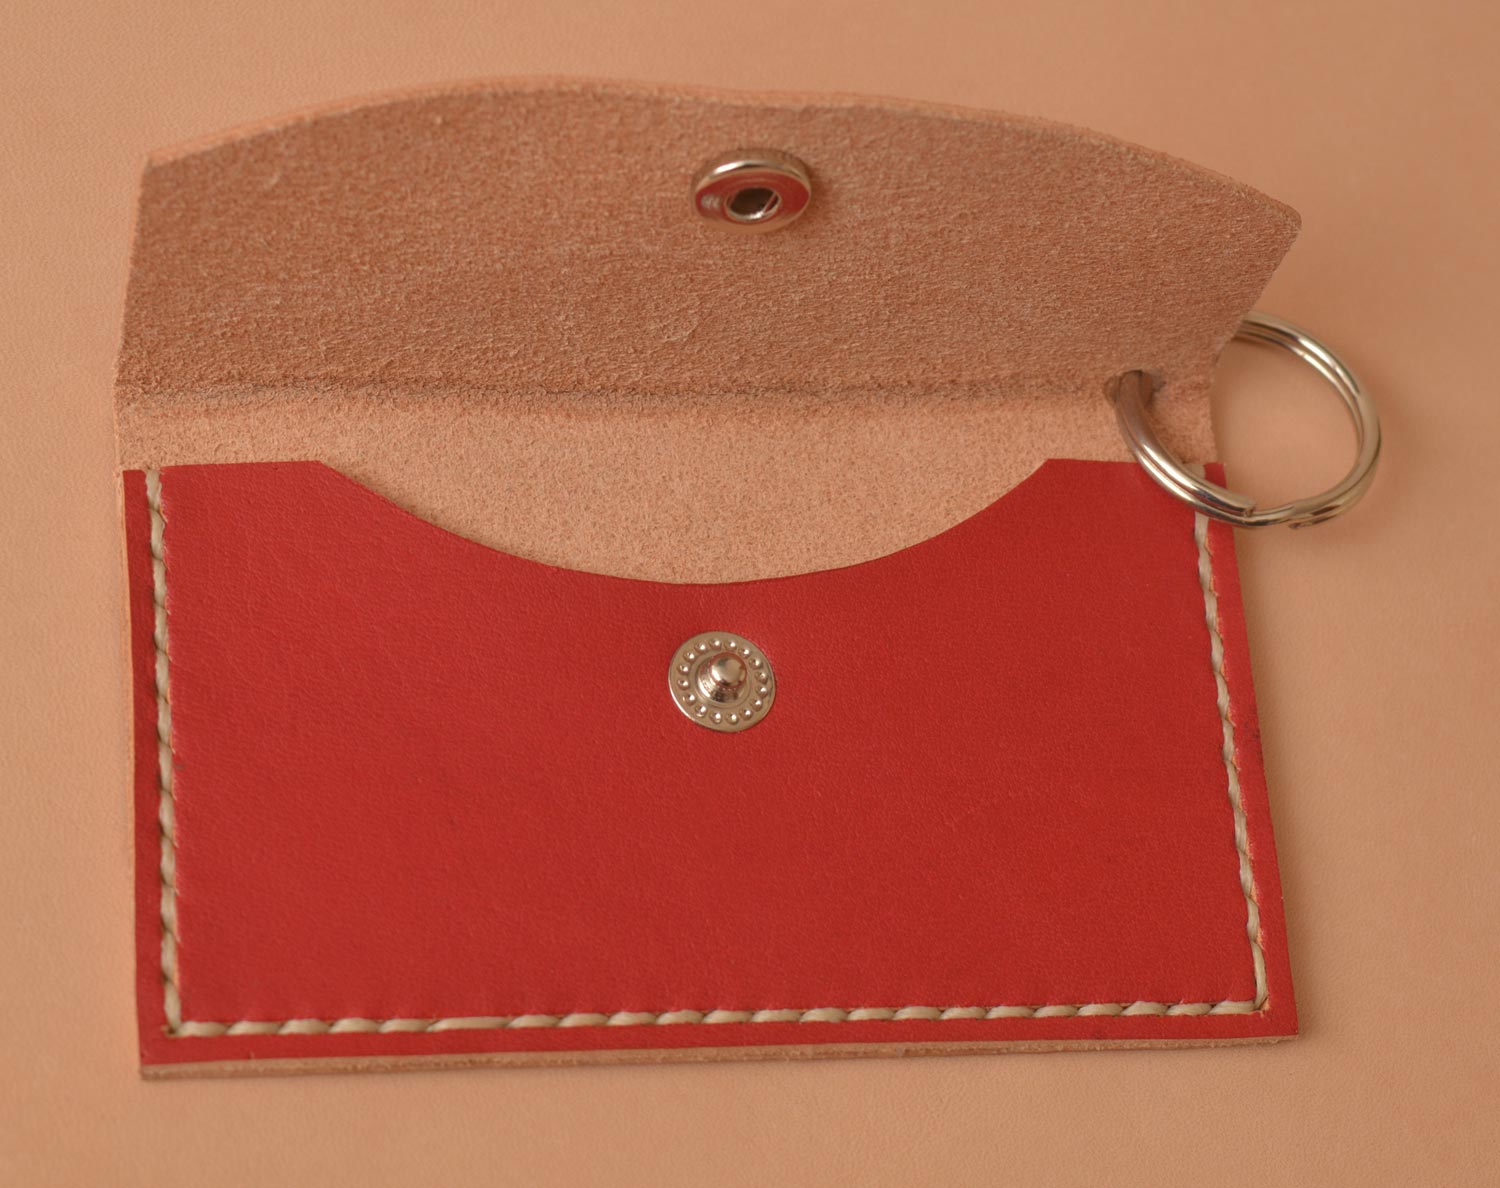
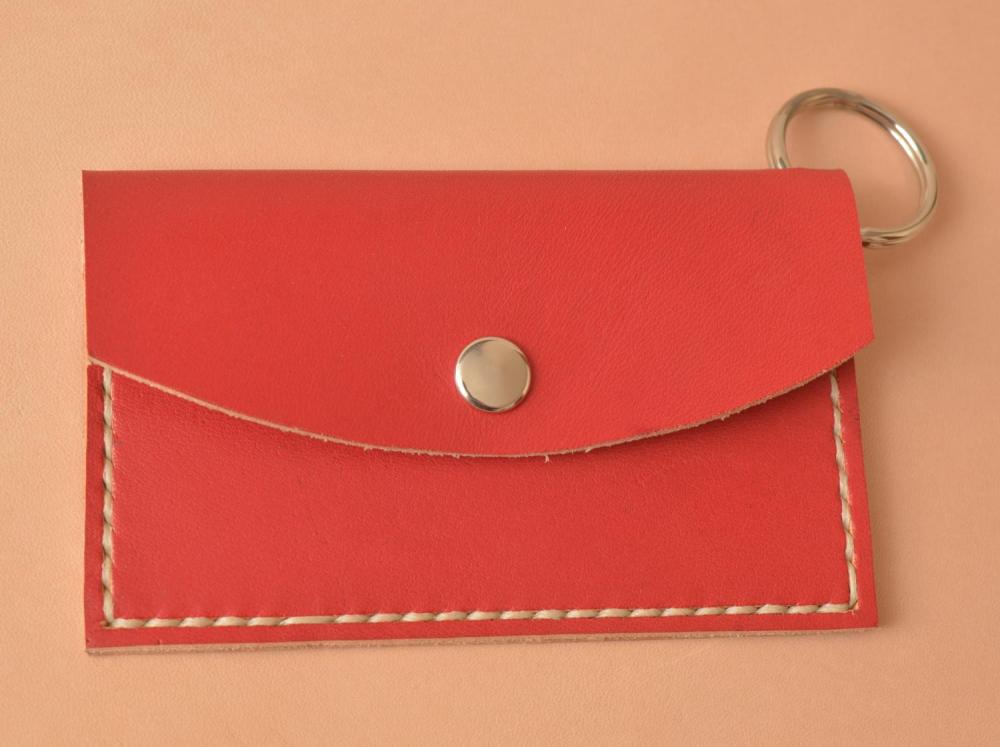
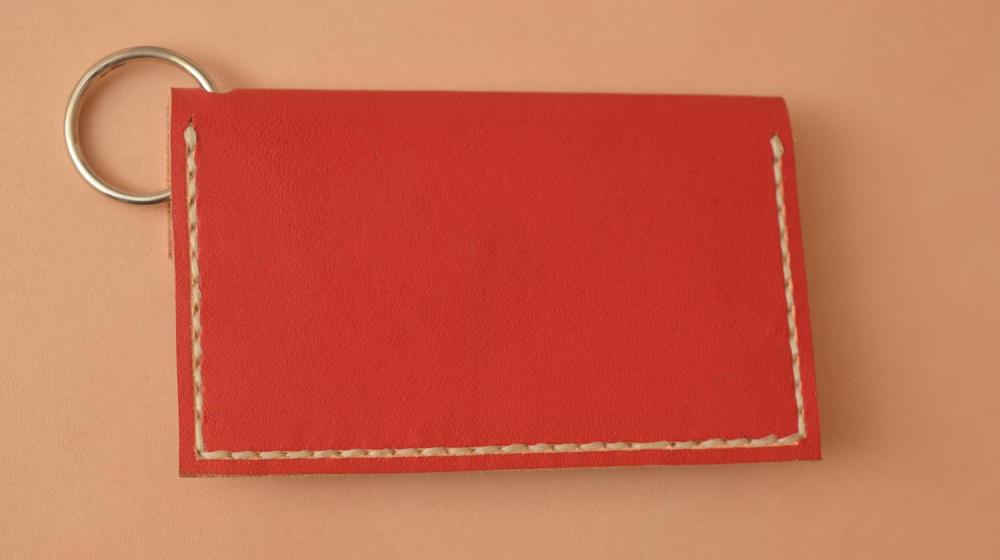
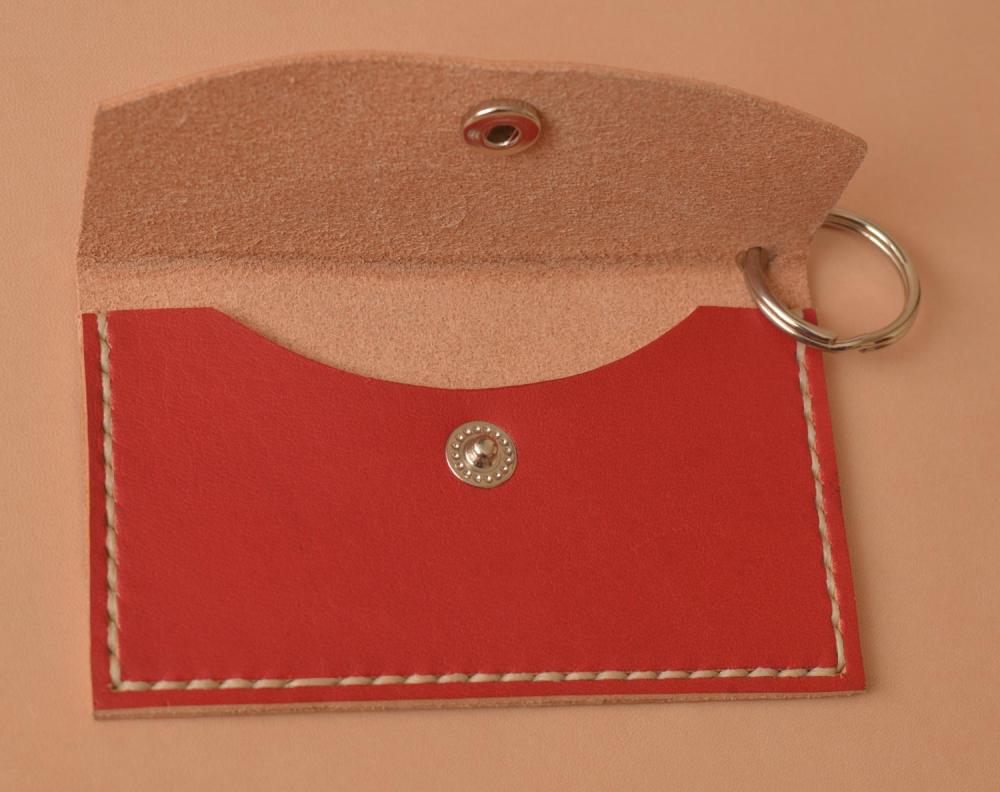
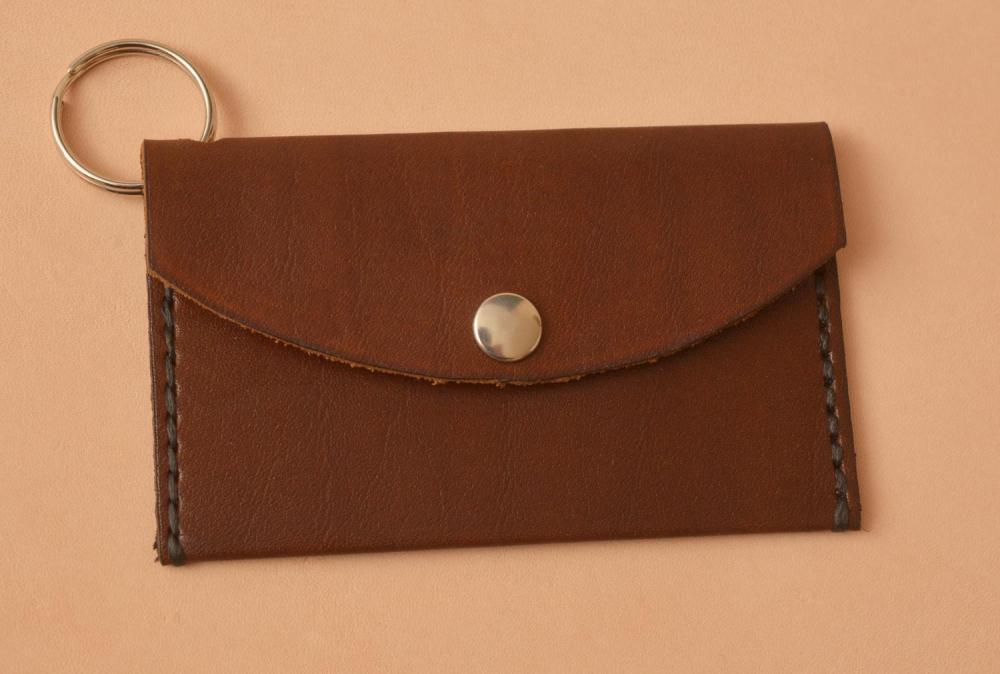
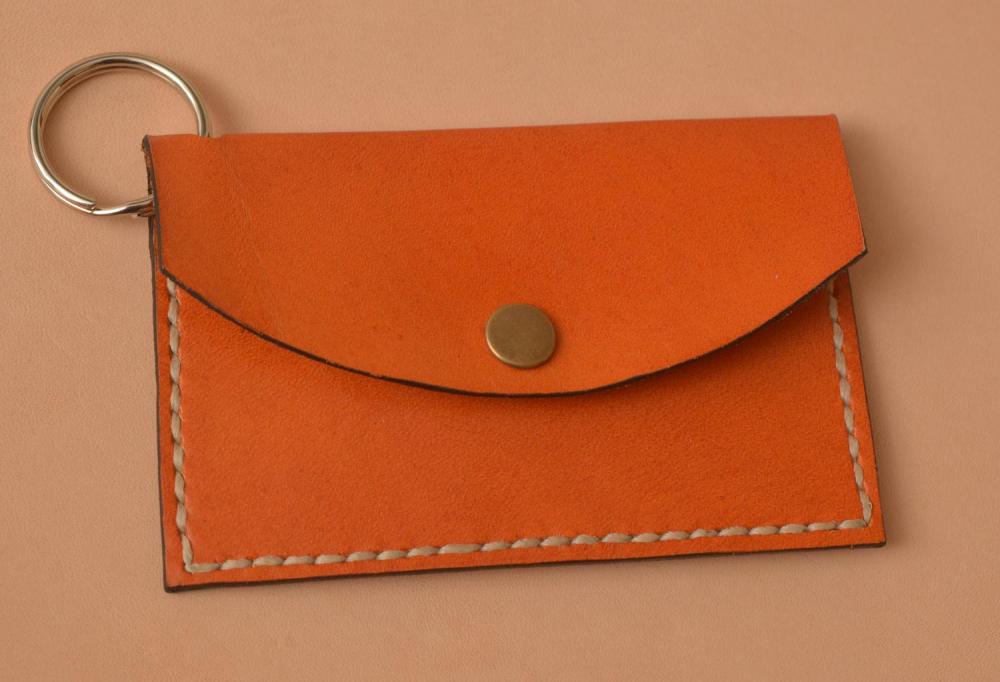
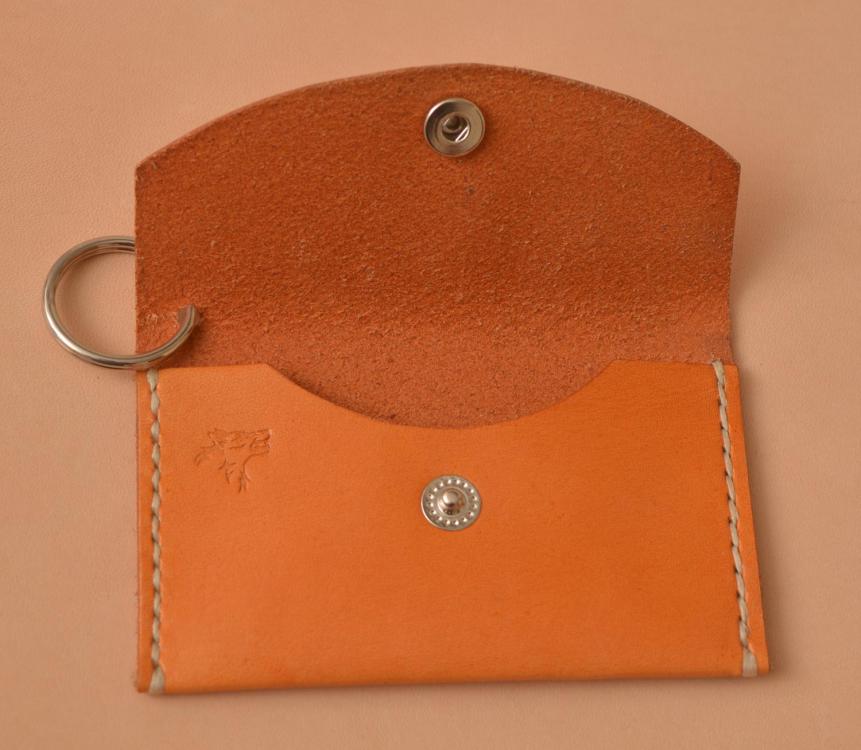
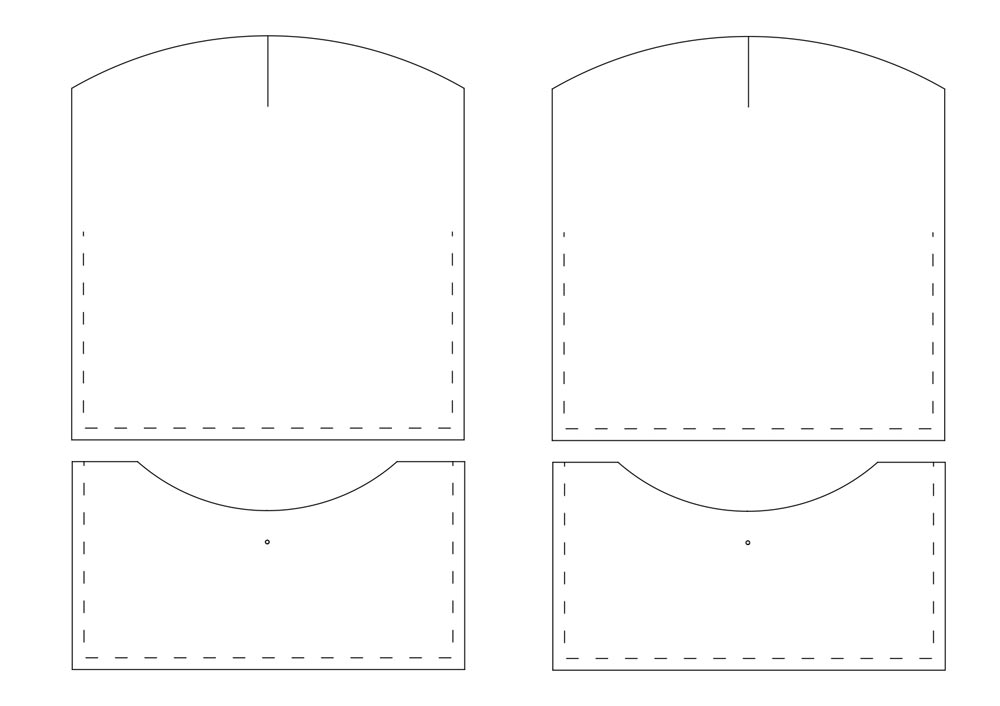
ps, the little card wallet drawing above is just a rectangle with a circle overlaid on top, then using 'break out segment' all the bits that didn't look like a card wallet were deleted, would be drawn to exact size and will take about 5 minutes when you get the hang of the basics. stitch lines added afterwards or I just draw a .5mm circle at the start and end of the stitch line and poke an awl through the pattern to show where to go. -
Useful, easy to use design software - and it's free.
KittenThrasher replied to KittenThrasher's topic in Computer Help
Hi, attached is a brief intro book/pdf it shows how to draw lines and rectangles and some basic stuff, once you've got the idea of how the basics are done you'll find everything else works in the same way and you should pretty quickly be able to work it out. eg, drawing a circle is pretty much the same method as a square, different shapes 'snap' together and individual lines on shapes can be deleted to make more complex shapes. one of the most useful tools is; 'MODIFY > 'BREAK OUT SEGMENT', this tool 'breaks bits off' lines and shapes, so if you draw a circle and a line through it you can then use 'break out segment' to chop bits off so you have a half circle, if you stick the half circle in the end of a rectangle you then have a pattern for a rounded strap end. you can join simple rectangles together to form patterns for folding into a box shape, once you get the hang of the most basic shapes and a very few simple ways of modifying them the possibilities get almost endless. stick with it and have fun qcad_book_preview_en.pdf -
Useful, easy to use design software - and it's free.
KittenThrasher replied to KittenThrasher's topic in Computer Help
It's a 2D package but if you're used to autodesk stuff you should find it a piece of cake, I've tried that as well, even gluing the paper pattern onto the pvc, the closest I ever came, was using a fret saw, then a file, then wet-n-dry paper, it was ok but took forever. -
Never quite seems to end there though does it,,
-
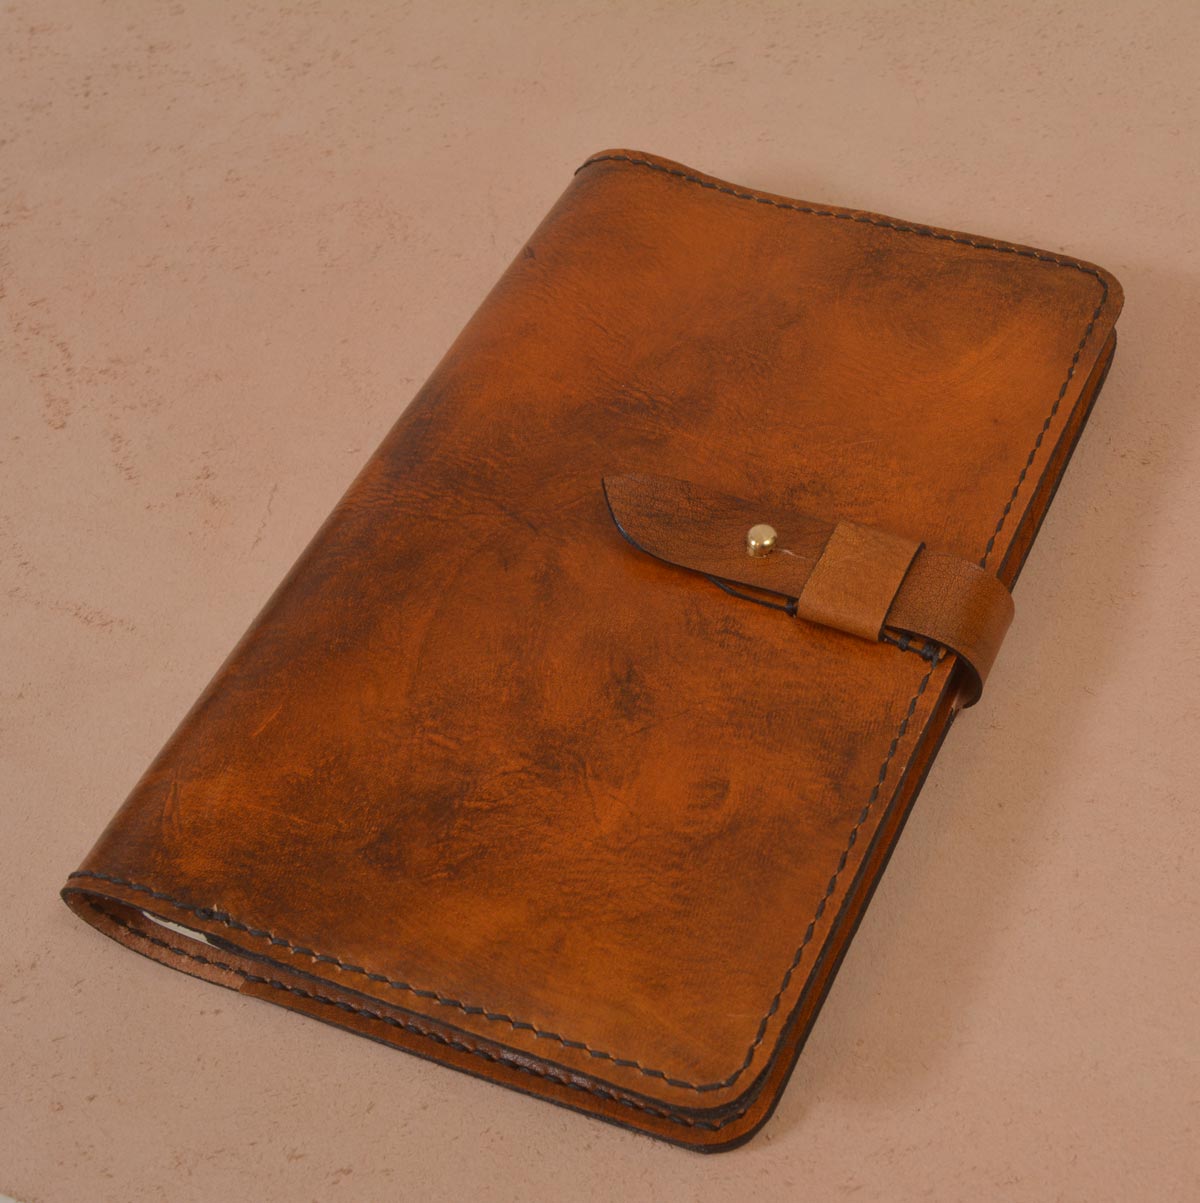
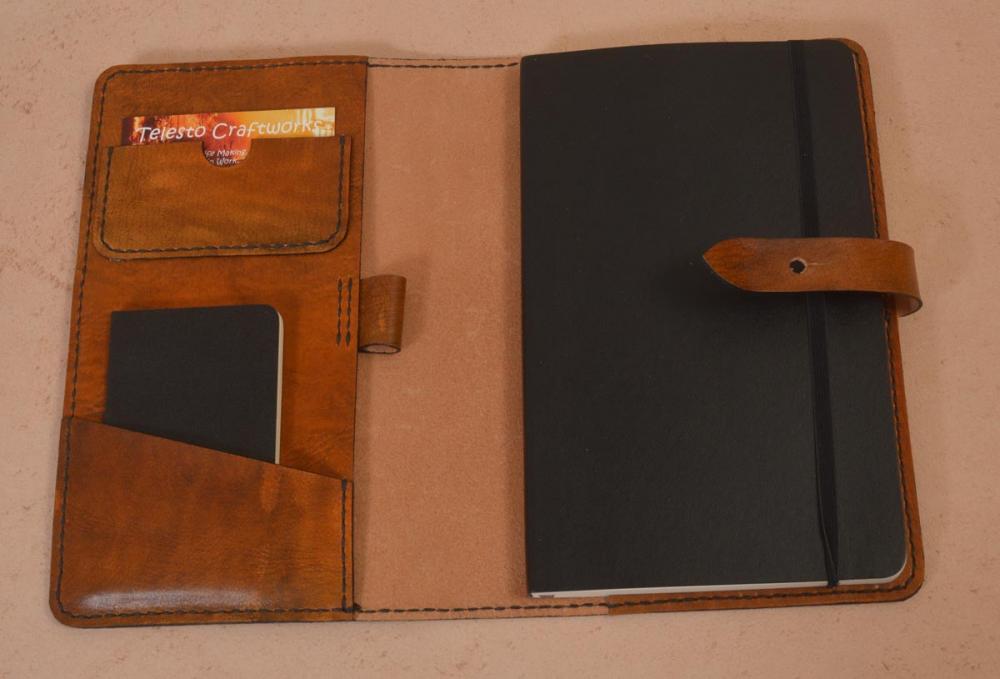
I've been posting on these forums for a little while now and thought it was about time I put up some of my own work so you can see I do actually make things and not just talk about it!! Attached are a few pictures of stuff I've been making recently, I like working with veg tan, I use spray and airbrush for dying, (both cheapo chinese varieties which work surprisingly well for less than $20 a pop) I enjoy stitching with a good film on netflix or Amazon or something. I am always looking for a better way to do things, usually nothing much comes of it but sometimes you just hit a bit of a gem of an idea. I posted a new thread today talking about my favourite design software - QCAD - the items in the pictures were drawn up on qcad and the templates/patterns (what's the difference by the way?) were laminated print outs as per my thread. The purses I was playing with trying out different ways of stitching, edging and finishing. I also make my own knives and as many of my other tools as I can, I thought initially I'd save money making my own tools but I definately haven't, quite the opposite. That's it for now! Have fun.

-
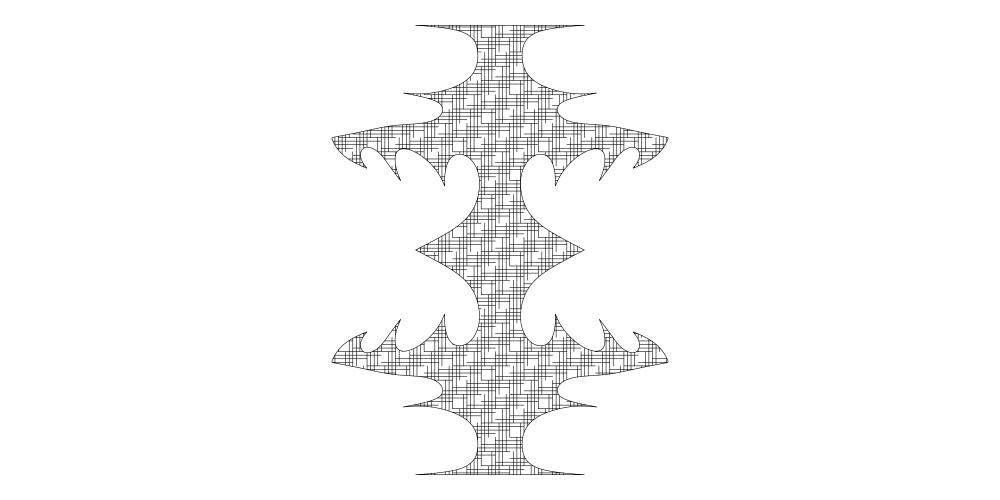
Here’s a thing for you,, I noticed there are a few posts looking for suitable software for doing leatherwork design on, I found only one post back in 2008 referring to the software I’m going to talk about, I am hesitant to even mention the words ‘Computer Aided Design Software’ because I know a lot of people (me included) really struggle with programmes like AutoCad which are immense and highly complex programmes for which you can do almost degree standard training courses. I spent quite a lot of time trying to learn that stuff until I quit in exasperation and chucked it out of the window – metaphorically speaking. A couple of years ago I had a go with ‘Sketch up’ and quickly learned it is useless unless you spend a fortune on the paid version, the same story with a few other packages; free to try - useless unless you pay. Then I found,,,,,,,,,,,,,,,,,,, QCAD!! (sound of fanfare and church bells). QCAD is an open source computer aided design software package, which I use but am not associated with in any other way. The program is free and open source but to get the best out of it you will probably want to spend about $30.00 on the pro version with full printing capabilities and one or two other things. There’s no real need to do that straight away though as it’s useful anyway. If you’ve previously looked at CAD software the thing will look a bit familiar, the differences are that it’s primarily a 2D package and it is massively simplified. Although I utterly failed to work out how to use Autocad after a LOT of effort I was actually printing usable patterns with QCAD in a day or so. It is now my first ‘go-to’ design aid in most jobs I do. I prefer it to pencil and paper. You can draw everything at 100% size which makes life very easy for pattern making. One of my favorite ways to use it is to print out a design done on QCAD, then laminate the printed pattern and cut it out. you can then draw around the pattern pieces with the added firmness of the laminated,,,, uhm,, laminatedness. Doing it this way provides a pattern or template which is reusable many times over, is extremely cheap and quick to make and doesn’t have the disadvantages of a floppy paper pattern. Also of course you can save the QCAD files in a format which is widely recognizable by pattern makers or click knife makers. (DXF format). You can also save as normal JPG, TIFF, PNG image files or PDF files. I confiscated my kids homework laminator for this, told ‘em it was too dangerous, what with it being hot and likely to drag their arms in and rip them off at the shoulders etc; (health and safety ‘concerns’ always work!) If you don’t have kids to rob, you can buy one for a few dollars, euros or quid. (or even rubles maybe, do they have such things in Russia?) Of course you don’t need to use QCAD to nick your kids homework laminator, it would be quite handy for hand drawn or any other paper patterns. Just thought I’d mention that before someone else did. Anyway before I get carried away, If you’re looking for something to use on a computer to help with your leatherwork design and/or pattern making, I reckon this has got to be well worth a good look, it doesn’t require any more than ‘normal’ or domestic computer skills, won’t slow your machine to crawl and is extremely useful. Here is where you can get it, https://qcad.org/en/ PS I will happily answer your questions about my experience using it for leather-working, but I’m not a help-desk of FAQ thingy. I’m not even an expert with it, I love it (but not carnally – Monty Python anyone???) and use it in a limited way for my own uses. attached are a couple of my regular patterns and a squiggle showing it's dead easy to make curvy things symmetrical, which I totally can't do with a pencil. On the attached patterns for example I first drew the whole thing up fully, then 'copy and pasted' individual elements out into separate items so I could make a very exact pattern including things like reference or location pin holes, pin holes through the pattern also make a good start for drawing up glue lines and things like that. Have fun!! small card wallet 01.pdf

-
leather quality Quality grading veg tan leather,
KittenThrasher replied to KittenThrasher's topic in How Do I Do That?
Thanks for the replies folks, I may try getting some shipped from across the water if I can make the money work out. I guess the bottom line is that there isn't a 'standard' grading and we all do it our own way. That's fine by me as I usually know what I want, I was just curious after a bad experience (my first ever) with a large leatheronline company in Italy. Ps. I enjoy moking around these forums and I'm surprised there aren't more people involved, I've seen a few post about the inevitable trollish types but haven't seen or heard anything bad here at all. One of the nice things about working with leather is that you meet or get in touch with such a wide variety of people. Long may it continue!! -
ps. it's also cranked or bent in the middle so it's easier to lay on the leather at exactly the angle I want,
-
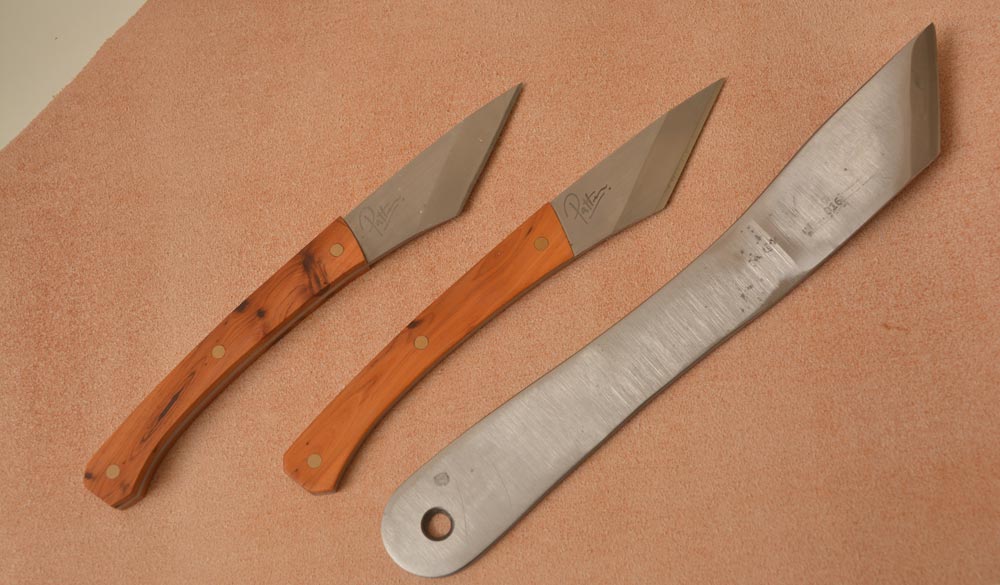
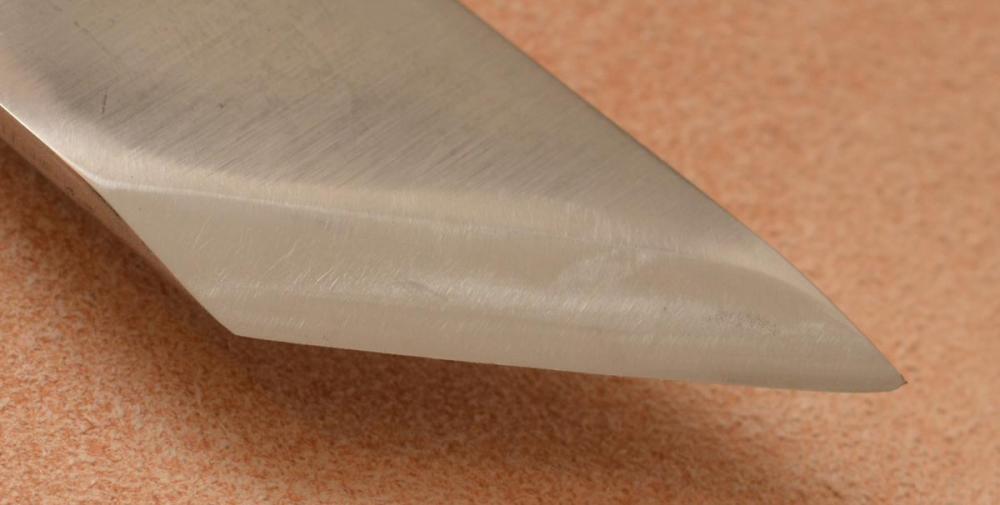
Not everyone realizes how easy it is to lose the temper in a blade, meaning reduce it's hardness and ability to hold an edge, I have made many knives and part of the process is called tempering which is reducing the level of hardness in a freshly heat treated blade, tempering can be done in a domestic oven! (and I do). When first hardened the blade is so hard it is very brittle, leaving it in a hot oven for an hour reduces the hardness a great deal. I'm mentioning this so you can see that using anything at all which heats the blade can be quite damaging. particularly because the thin cutting edge will heat a LOT faster than the bit you're holding which may not even warm up noticeably or at all. If you were to put a blade against a grinder to sharpen it, any heat discoloration at all means almost inevitably the metal has been softened quite a lot. the most noticeable coloring is a sort of 'bluing' but there is a level below that which is a sort of straw/tan color, if you even get this the blade is damaged. It's quite possible to overheat a blade even on 'wet n dry' papers (if you're brutal with it). Water stones such as the Tormek avoid this problem completely. Oil stones, or actually anything wet, also avoids the problem as the liquid simply dissipates the heat. I know chrome tan leather is harder on an edge than veg tan but other than that there are too many variables as to why any particular blade don't work so good. If it's any consolation I've tried them all and my favorite skiver is now an old piece of mystery steel which cost nothing, I only started making knives so I could get one I liked, after a thousand hours I decided I liked the crappy old piece of mystery steel best. What a waste of life that was!! although it was fun. here are a couple I've made along with the piece of mystery steel I use. I really like the ones I made, I just don't like using them for what I made them for. You might notice on the mystery steel that the top corner is missing, that's deliberate as the point has no value in skiving, (anyway I chipped it.) also the bottom corner is rounded and not so sharp so it doesn't damage my marble slab (piece of kitchen counter top found in a skip - or dumpster I think you'd call it.). also although it is a 'single bevel' meaning it's flat on the bottom, it isn't totally flat on the bottom as I've put a very slight bevel to reduce the included angle a little, the top side bevel which you can see has also got a bit rounded, that's probably against what's normally regarded as 'correct' but it is a wicked skiver and it's probably the only one I'll ever need.
-
I have some water buffalo hide which is half an inch thick, totally useless except that it's apparently what they make snooker cue tips out of. learn a new thing every day.