Search the Community
Showing results for tags 'design'.
Found 25 results
-
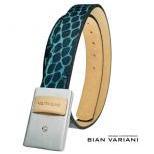
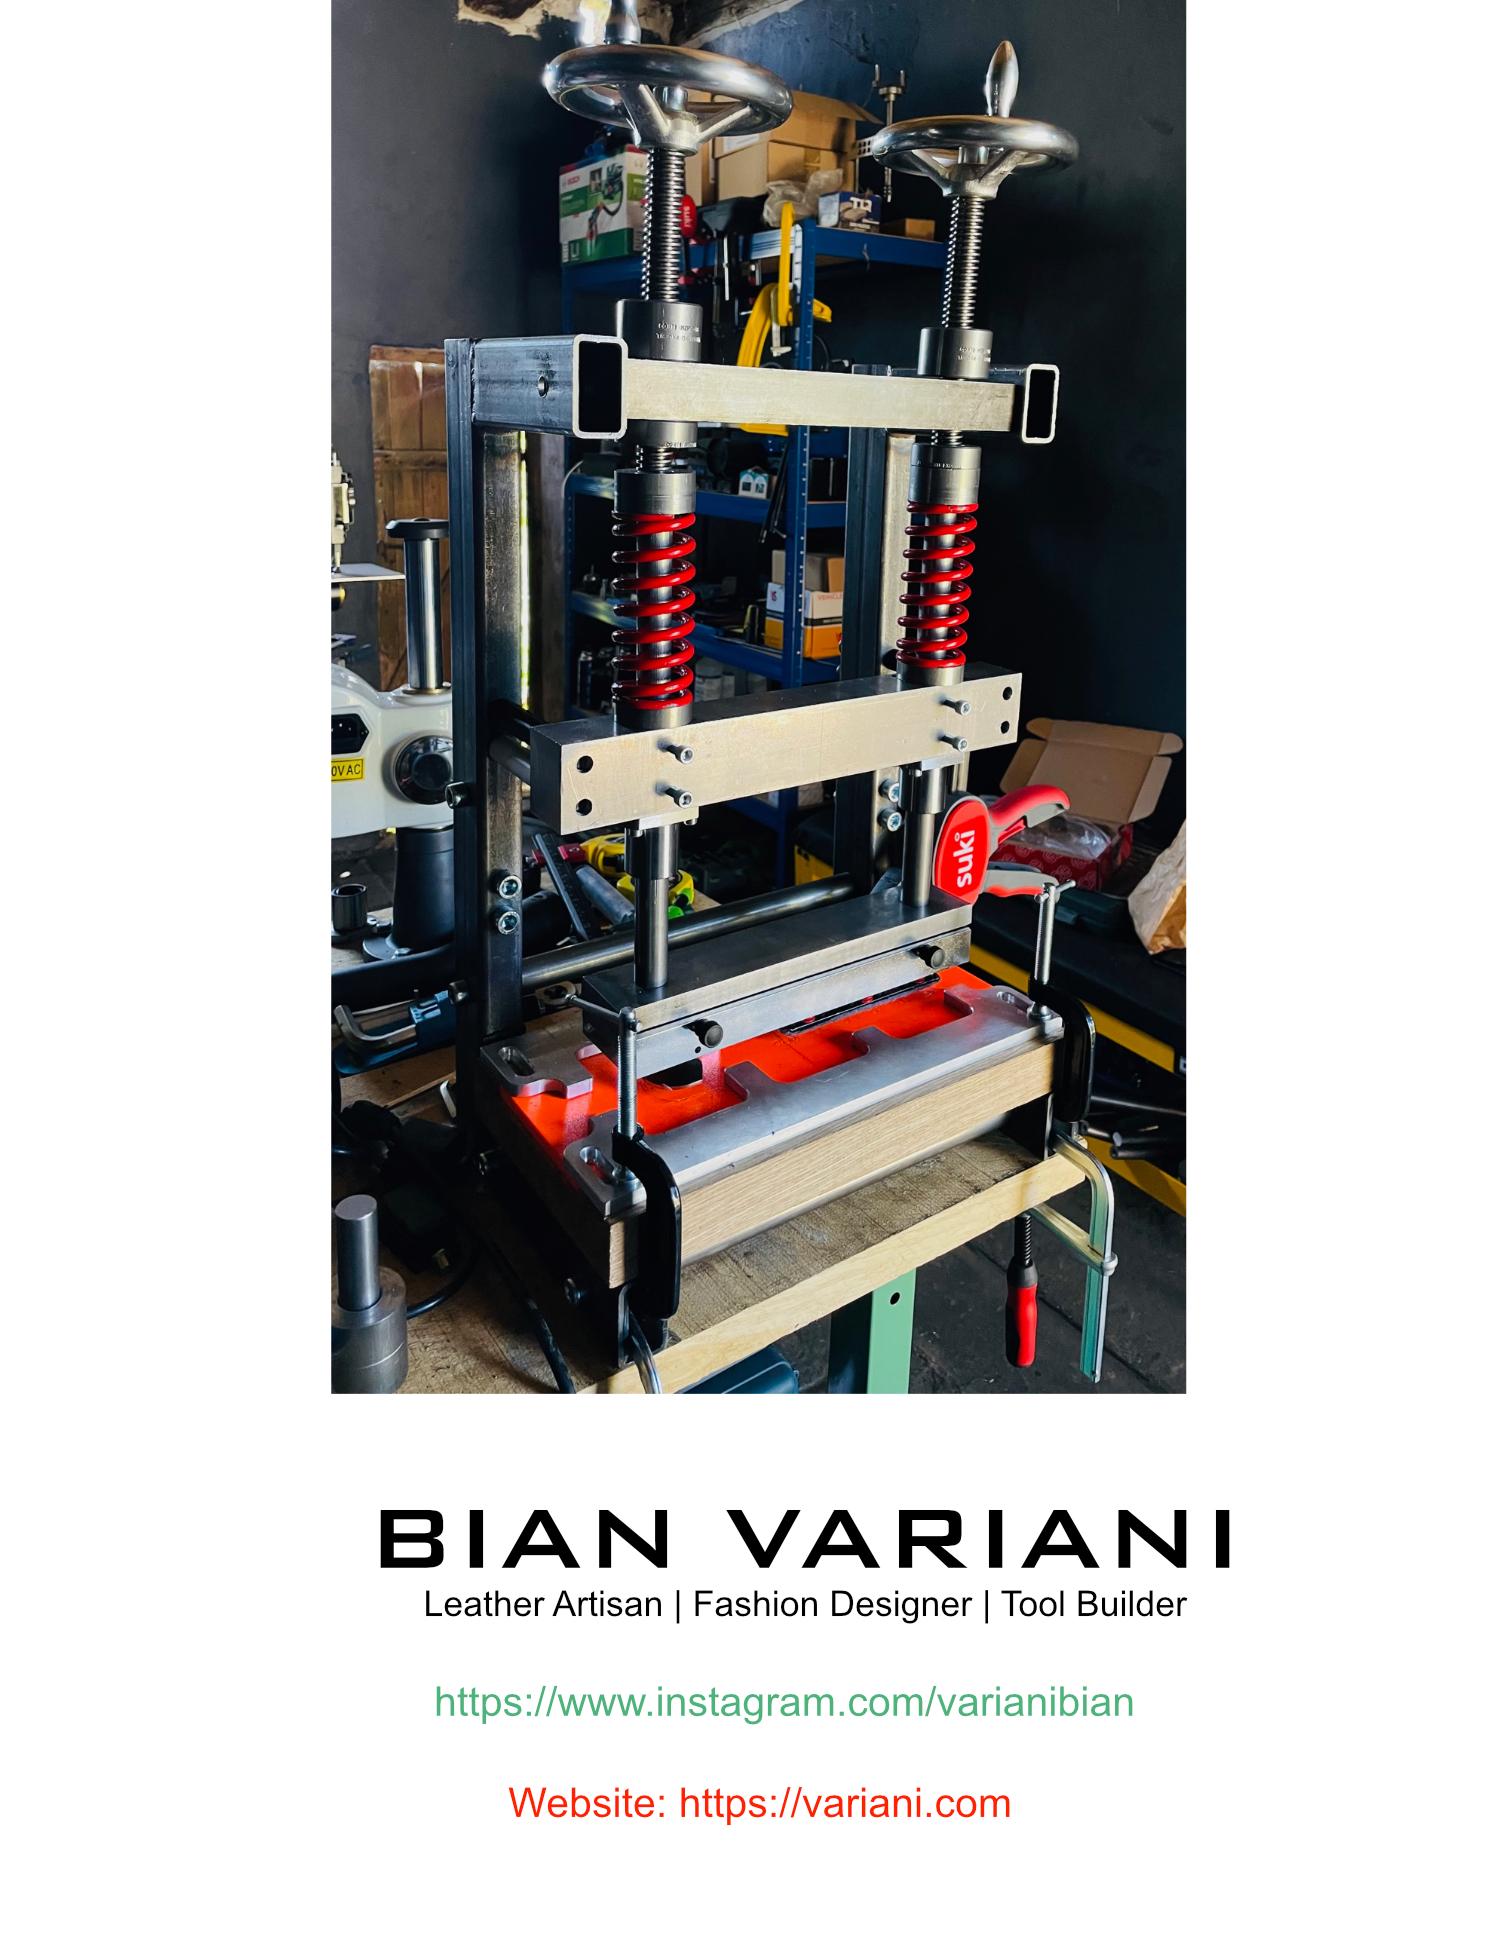
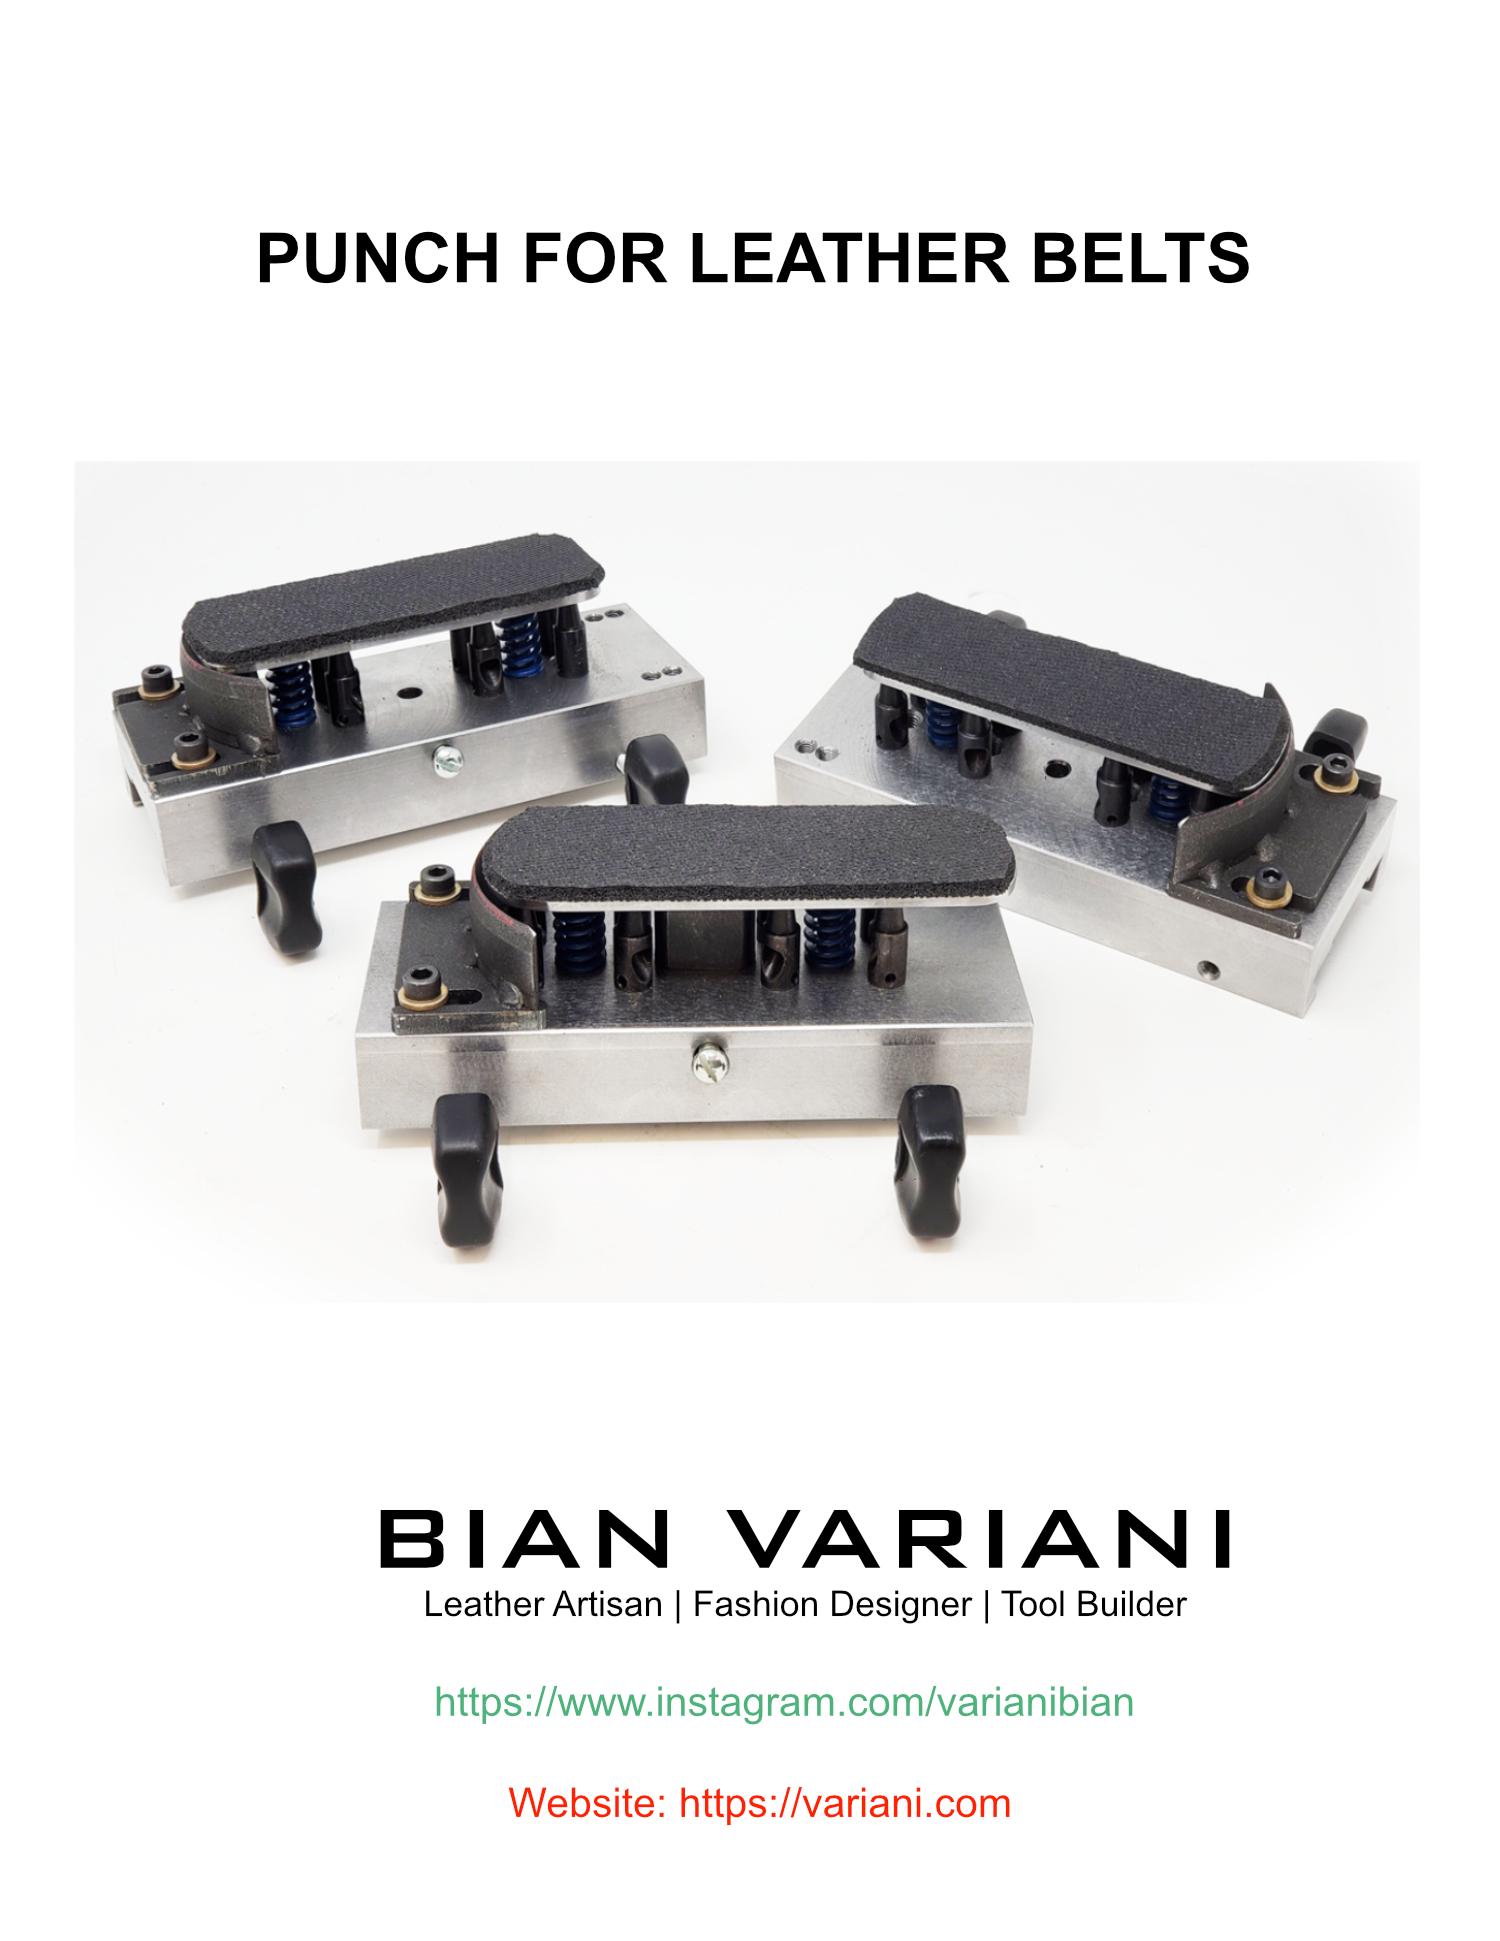
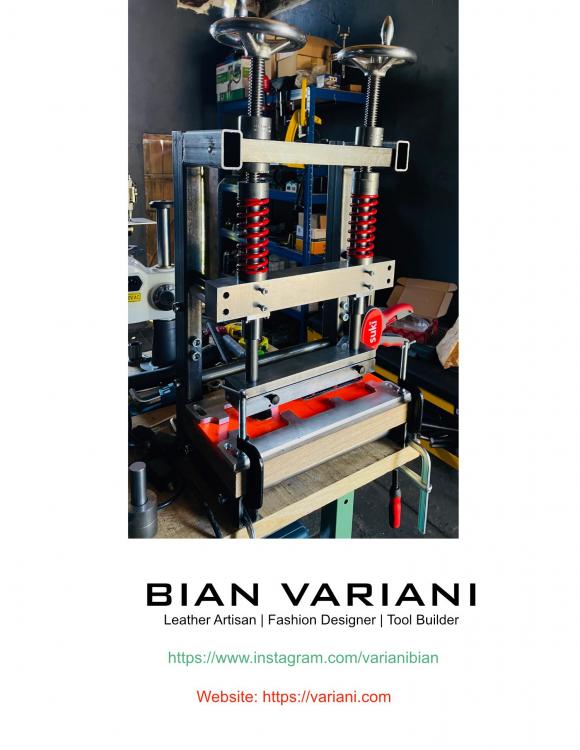
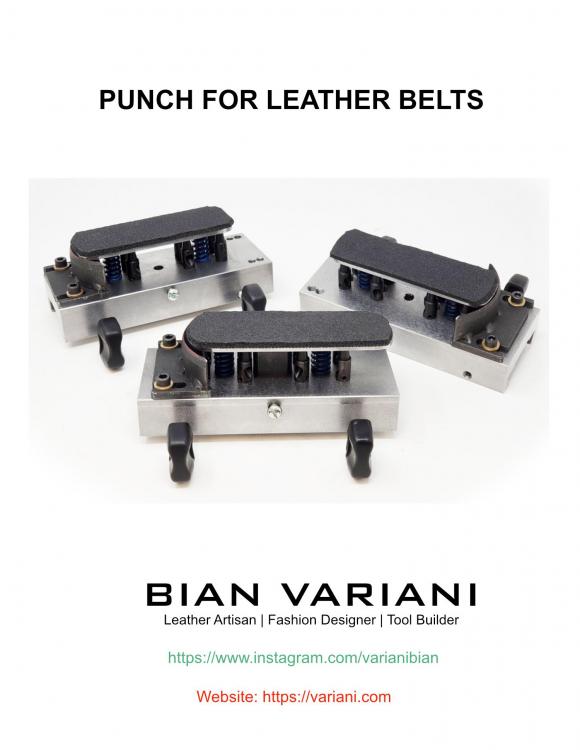
This is one of my 1st belt press/punch that I made for leather belt straps. This is the Hole-Punch for the machine above!
-
Hello all, Not sure if this is the right section to be posting in, but it seemed the most logical. I have a large brass stamp, 10cm x 10cm. It came with an electric branding iron advertised to handle that size of brass stamp, but it does not get hot enough to properly brand the leather. It will smoke the leather, but it wont singe it like with the smaller brands. I am planning on using it on both wood and leather, but the heater I have simply wont work, by the time it gets to its maximum temperature, it starts to melt the black handle. So, either I need a cheap recommendation (under $200) for a better electric iron, or I need some advice on how to heat it up alternatively. I have heard that you can heat it up over an open flame, so I was planning on getting a butane torch from walmart and trying that out, but I am worried that I will get the brand too hot and it will burn the wood/leather too much as I have experienced in the past branding when an iron gets too hot. Is there a good method for doing this? How long to hold the flame over the brand? If the brand gets red hot, is that TOO hot? Thanks! Zayne
-
So, being a chubby guy, with a bad case of the middle aged gone-ass, I depend on suspenders to keep my pants up with all the heavy tools I carry in my pockets. So, leather suspenders. Then I came up with the idea of adding a four inch wide "chest panel" with wet molded holsters for the 4 tools i use most on the job. It would be very handy.. That horizontal panel would also keep the suspenders from slipping off my shoulders too. I came up with the idea of using loxx fasteners to make that panel removable. So, while I'm confident that I can make this, friends of mine have questioned whether such a thing should ever be made. One guy suggested that rather than the civilian version of a military LBE i was envisioning, I'd just look like a giant nerd instead. I reminded him that I'm also the dungeon master of a local gaming group, so this isn't necessarily a problem. X-D So, what do you think? Should this idea ever be made?
-
SCS Interiors in Duluth, MN is hiring for a Master Upholsterer. We are a manufacturing company that cuts & sews custom seat and carpet kits for various types of aircraft and vehicles and reupholsters chairs and furniture for commercial clients. Our team is extremely focused on high quality production of all the work that we do. We are seeking an individual who is able to design, make patterns, and sew new products for our clients. Some projects will include custom & creative design and development for individual customers. Other projects will be working on a new prototype that is then mass produced onsite. In this role, you might work on designing new patterns for boats, cars, planes, or theater/auditorium seating. This position requires a high level of sewing skills and previous experience working with leather. This individual will also design and install new foam kits for seats for the respective applications. Some projects are individual and unique while others will require you to train other production and sewing staff on the pattern and process for making the new item. The position is open until filled. Desired Skills: Prior Experience With Design & Product Development Pattern Making Sewing Leather, Carpet, Vinyl, Etc. Effective Communication Problem-Solving Ability to Teach Others If you consider yourself creative, have prior upholstery experience, or are interested in learning the craft, we’d love to speak with you. We are open to anyone entry level to experienced. Full Time Benefits: Group Health Insurance & HSA PTO accrual (4 hours per pay period) Simple IRA with Company Match 6 Paid Holidays Work Schedule Monday - Thursday 6:30am-5pm (FOUR DAY WORK WEEK) Salary starting at $50,000. Email cover letter and resume to jobs@scs-interiors.com to apply or for more information.
-
 Has anyone bought this book? https://fashionary.org/products/bag-design# It seems pricey, but is it worth it? I have the 1960 W C Double book on Handbag construction already, but it is factory oriented (loads of good stuff in there) but he was head of Leathergoods at Cordwainers Technical College in 1950s / 1960s when it was very trade focussed. So I am looking for something a wee bit more user friendly. Is there a forum where we can post reviews of Books, Magazines, Videos? Thanks for feedback Harry
 -
I am looking for clean simple vector graphics, such as those that were free all over the web about 15 years back, to browse for design inspiration. Has anyone seen anything recently, pretty much any subject, but not needing payment, credits, sign up, inside leg measurement etc. My old PC had thousands from Corel Draw, Serif etc, but nothing now. Thanks Harry
-
Hi, I would like to hear your ideas on shop layouts... I specialise in chaps, chinks, and armita's, and have feet problems. So that causes issues if I can't walk as much as I'd like. Any of you have the same type of issues? A person always seems to end up running back and forth for this tool and that pattern, some glue, a hammer... The list goes on. Thanks for any input and ideas!
-
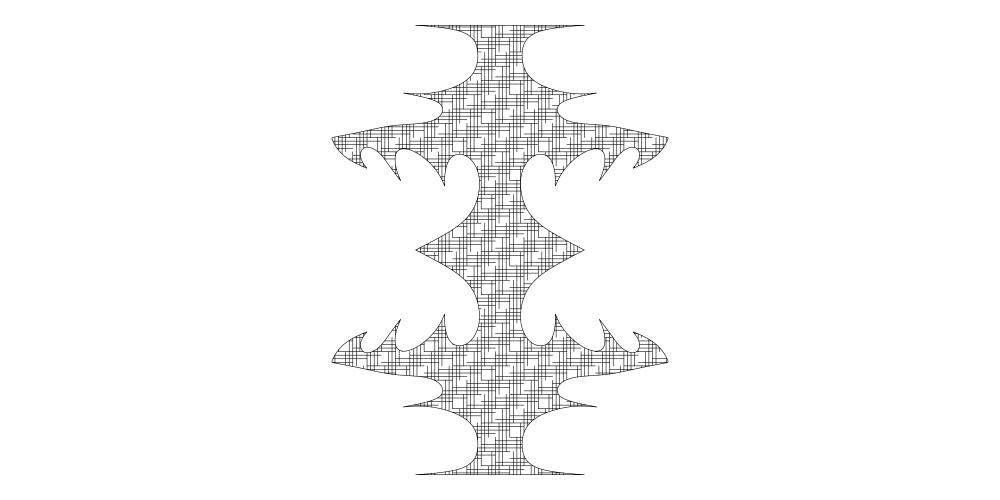
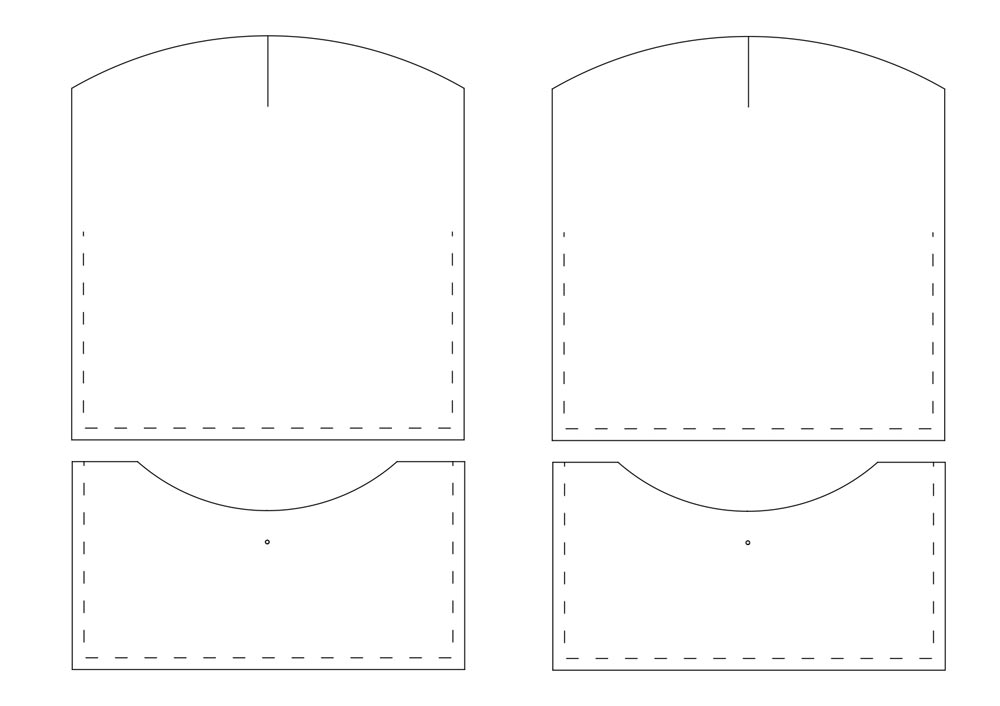
Here’s a thing for you,, I noticed there are a few posts looking for suitable software for doing leatherwork design on, I found only one post back in 2008 referring to the software I’m going to talk about, I am hesitant to even mention the words ‘Computer Aided Design Software’ because I know a lot of people (me included) really struggle with programmes like AutoCad which are immense and highly complex programmes for which you can do almost degree standard training courses. I spent quite a lot of time trying to learn that stuff until I quit in exasperation and chucked it out of the window – metaphorically speaking. A couple of years ago I had a go with ‘Sketch up’ and quickly learned it is useless unless you spend a fortune on the paid version, the same story with a few other packages; free to try - useless unless you pay. Then I found,,,,,,,,,,,,,,,,,,, QCAD!! (sound of fanfare and church bells). QCAD is an open source computer aided design software package, which I use but am not associated with in any other way. The program is free and open source but to get the best out of it you will probably want to spend about $30.00 on the pro version with full printing capabilities and one or two other things. There’s no real need to do that straight away though as it’s useful anyway. If you’ve previously looked at CAD software the thing will look a bit familiar, the differences are that it’s primarily a 2D package and it is massively simplified. Although I utterly failed to work out how to use Autocad after a LOT of effort I was actually printing usable patterns with QCAD in a day or so. It is now my first ‘go-to’ design aid in most jobs I do. I prefer it to pencil and paper. You can draw everything at 100% size which makes life very easy for pattern making. One of my favorite ways to use it is to print out a design done on QCAD, then laminate the printed pattern and cut it out. you can then draw around the pattern pieces with the added firmness of the laminated,,,, uhm,, laminatedness. Doing it this way provides a pattern or template which is reusable many times over, is extremely cheap and quick to make and doesn’t have the disadvantages of a floppy paper pattern. Also of course you can save the QCAD files in a format which is widely recognizable by pattern makers or click knife makers. (DXF format). You can also save as normal JPG, TIFF, PNG image files or PDF files. I confiscated my kids homework laminator for this, told ‘em it was too dangerous, what with it being hot and likely to drag their arms in and rip them off at the shoulders etc; (health and safety ‘concerns’ always work!) If you don’t have kids to rob, you can buy one for a few dollars, euros or quid. (or even rubles maybe, do they have such things in Russia?) Of course you don’t need to use QCAD to nick your kids homework laminator, it would be quite handy for hand drawn or any other paper patterns. Just thought I’d mention that before someone else did. Anyway before I get carried away, If you’re looking for something to use on a computer to help with your leatherwork design and/or pattern making, I reckon this has got to be well worth a good look, it doesn’t require any more than ‘normal’ or domestic computer skills, won’t slow your machine to crawl and is extremely useful. Here is where you can get it, https://qcad.org/en/ PS I will happily answer your questions about my experience using it for leather-working, but I’m not a help-desk of FAQ thingy. I’m not even an expert with it, I love it (but not carnally – Monty Python anyone???) and use it in a limited way for my own uses. attached are a couple of my regular patterns and a squiggle showing it's dead easy to make curvy things symmetrical, which I totally can't do with a pencil. On the attached patterns for example I first drew the whole thing up fully, then 'copy and pasted' individual elements out into separate items so I could make a very exact pattern including things like reference or location pin holes, pin holes through the pattern also make a good start for drawing up glue lines and things like that. Have fun!! small card wallet 01.pdf

-

My first Cobra Class 18 Creation
westernatelier posted a topic in Clothing, Jackets, Vests and Chaps
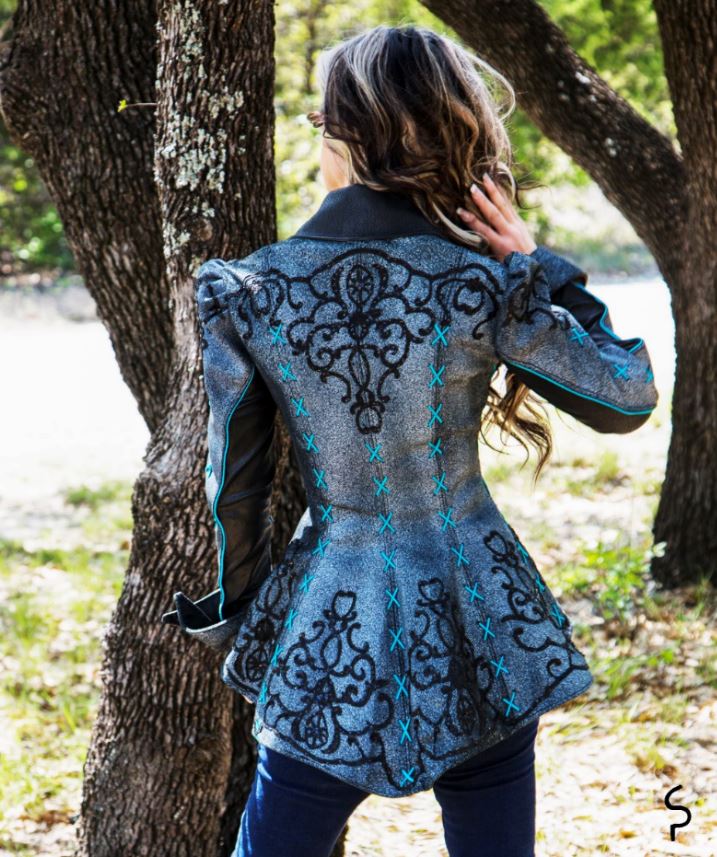
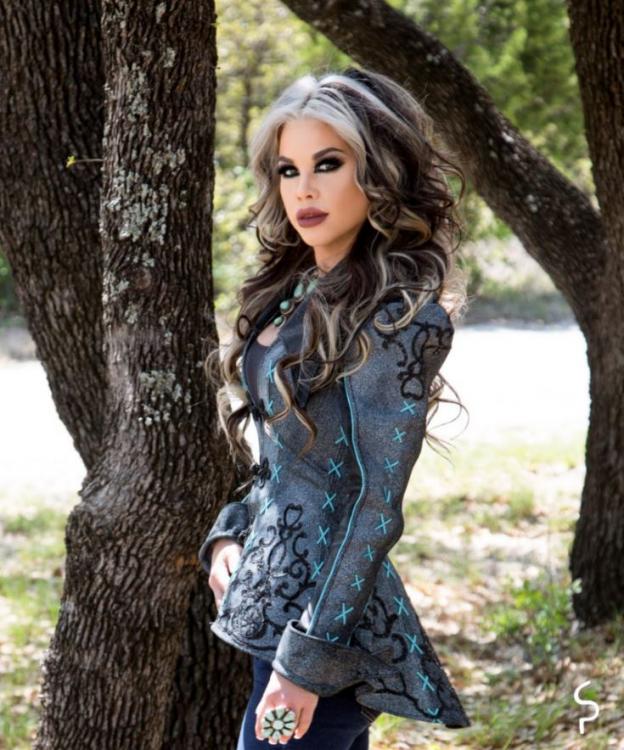
MY FIRST COBRA CREATION!!!! Completely sewn on my Cobra Class 18!!! This is me in the pics rockin something I made...feels good to say that (and that its a perfect fit)!!!.I DID IT!!!! This is such a proud moment for me.It feels good to accomplish a project when you find a new hobby! I have spent the last couple months turning two leather hides, deer skin lacing, sequins, and handmade turquoise satin piping into my own custom creation!!! This chrome finished peplum leather jacket has blood, sweat, and tears rolled into it and I couldnt be more proud to finally showcase something I made (the first thing Ive made) from scratch all by myself!

-
Hello there brothers and sisters. I hope you are doing well. After working in a 15 square foot space for a year I think I am going to be at this a while and I am having a 8.5' x 24' Cargo trailer built that will be my workshop. I am looking for ideas regarding recommended benches, tables, and storage ideas you might have. I have built a 40 x 40 wood shop and I was able to lay that out where I could create efficiently but I am a bit lost on setting up a proper leather shop. I travel for work so when stationary it will be 100% leather shop. When I am going to a new location the trailer will be used to haul a corvette in addition to my shop. As a result I will need to be able to move the cabinets to the front of the trailer. I am planning on some residential base cabinets on a base with casters which will lock into the E track. I am having a laser cutter made and it will be delivered in a few weeks so there will be a dedicated rolling cabinet for that. I will build a dedicated glue table with ventilation to the outside after seeing a friends version of one. Stole the idea fair and square. Any must have design elements you would suggest other than good lighting? I am wanting to have dedicated areas for staining, airbrush, a large cutting table with self healing mats and another area for the drill press and belt sander. I am sure of the many people here there are some good "I wish I would have done this" stories to be shared. I would sure enjoy hearing your input. Thanks in advance for the interest. Scott
-
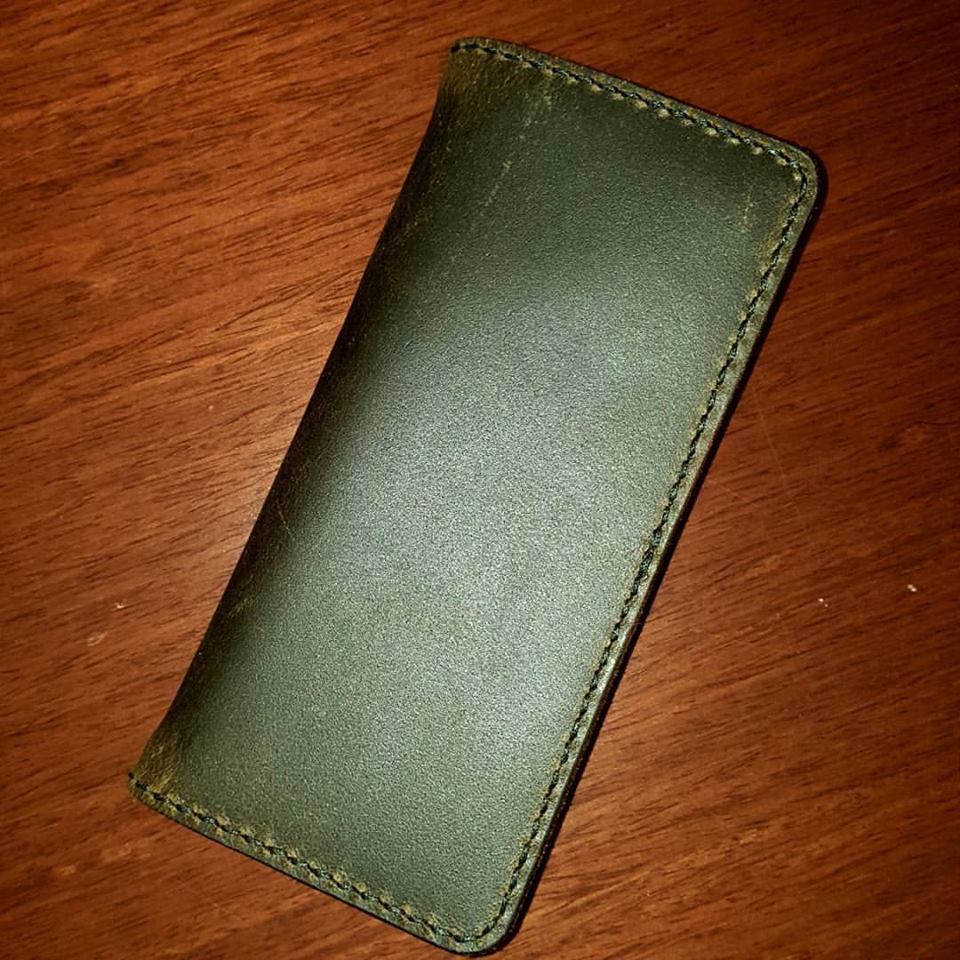
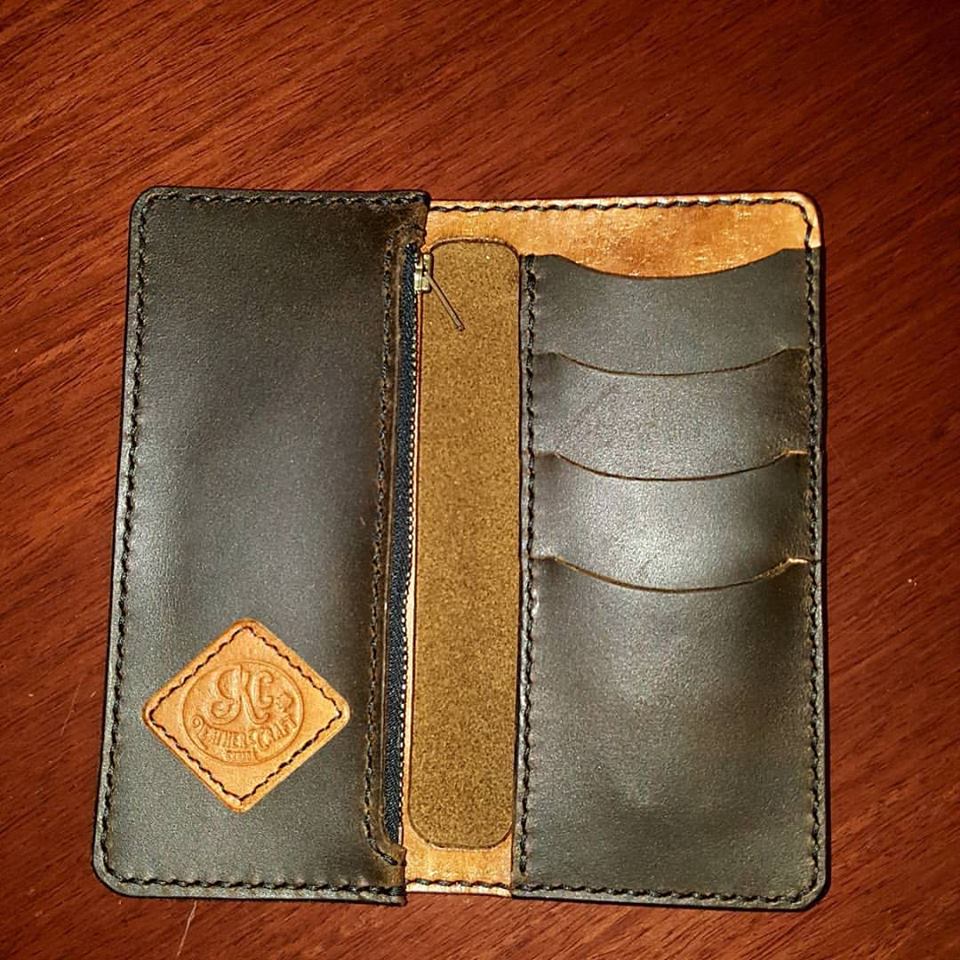
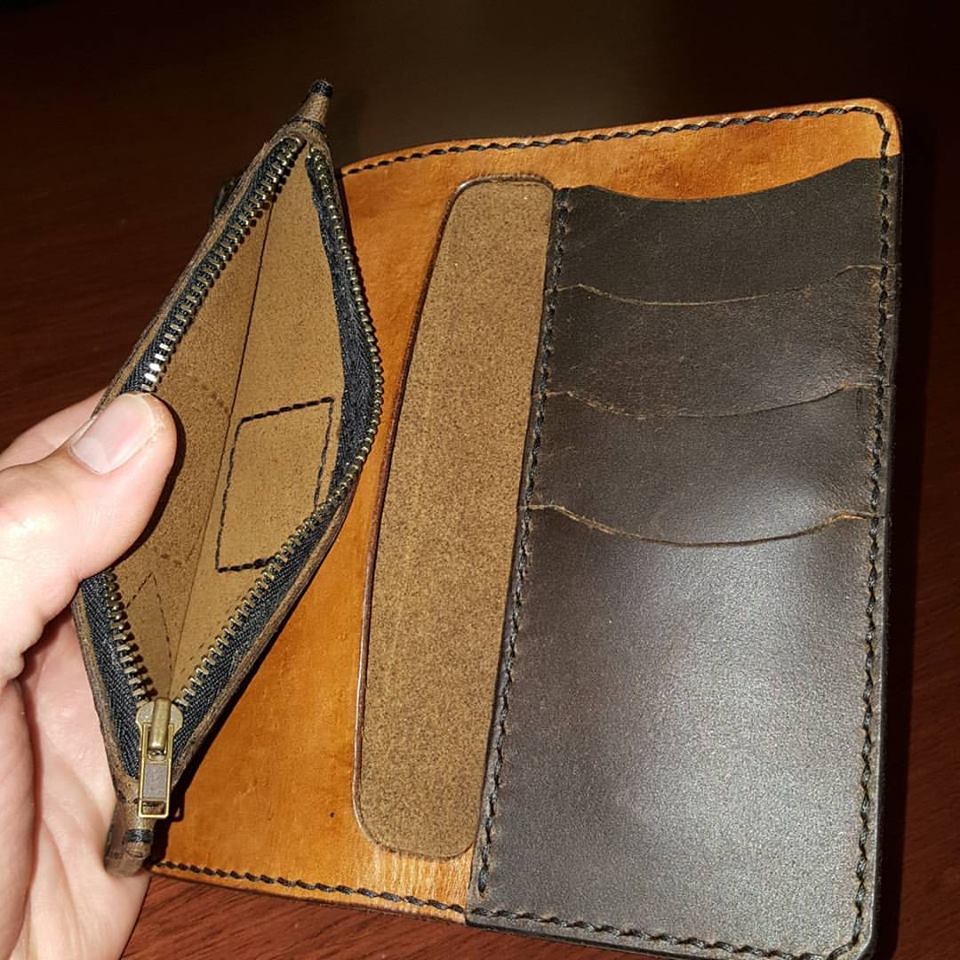
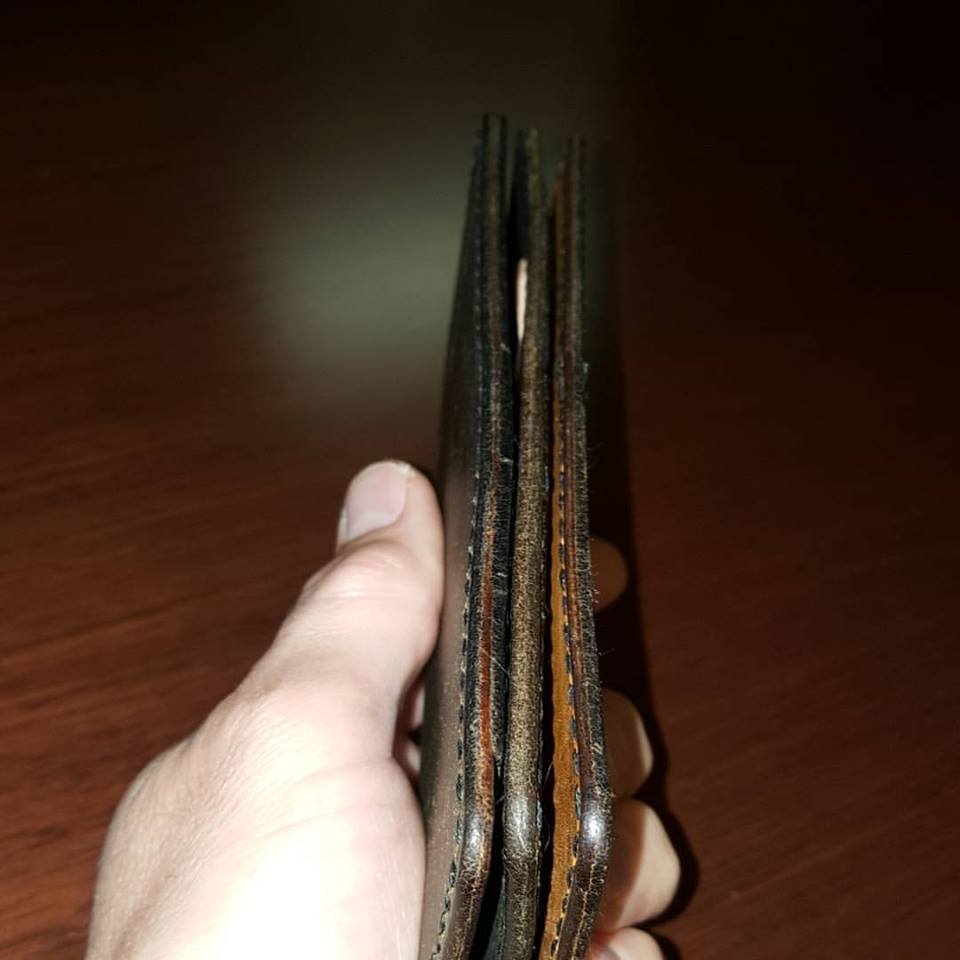
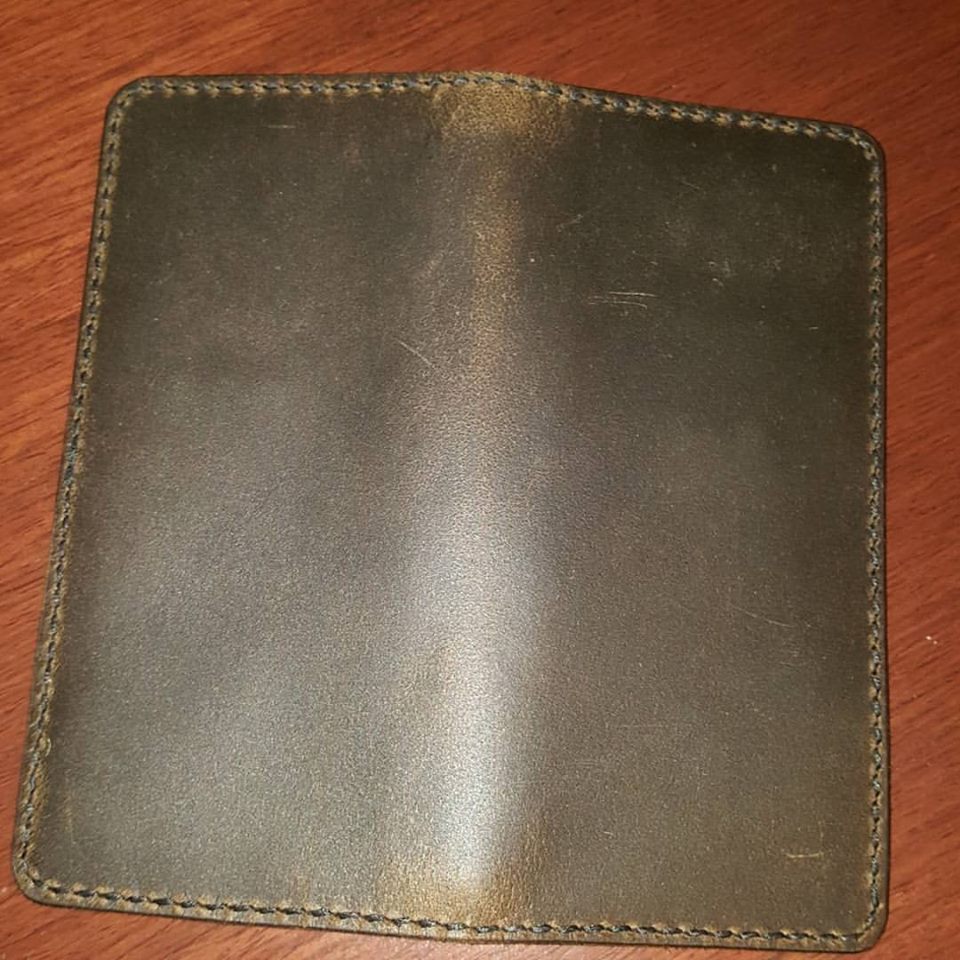
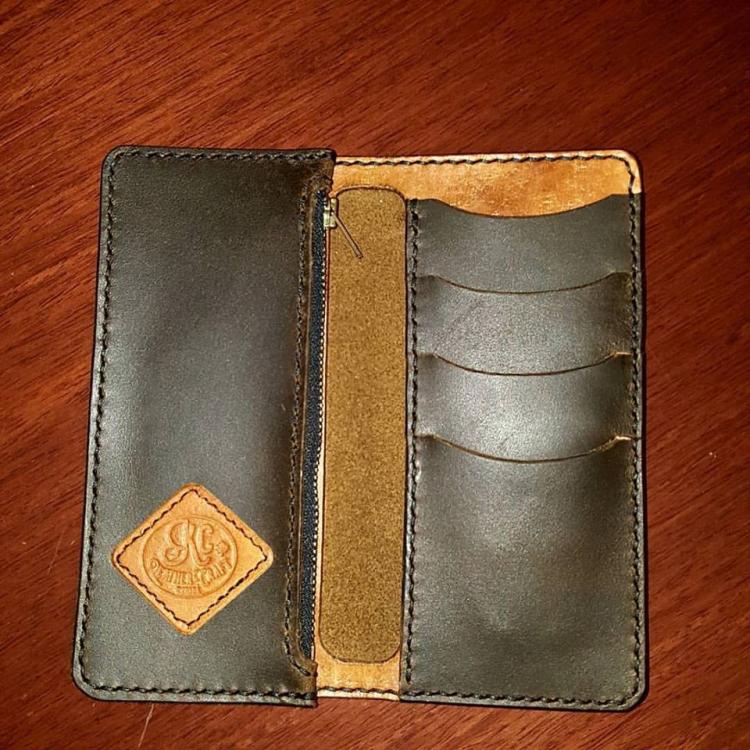
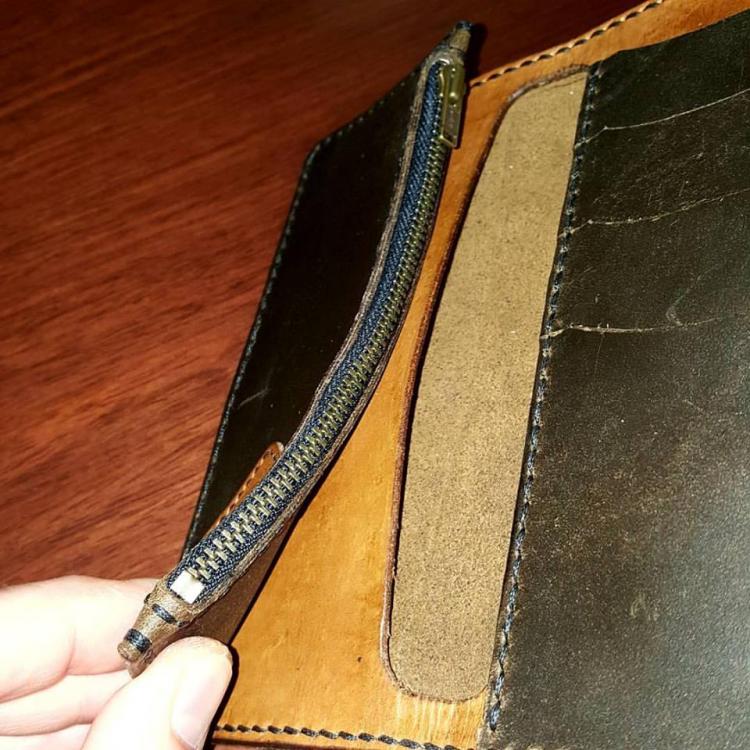
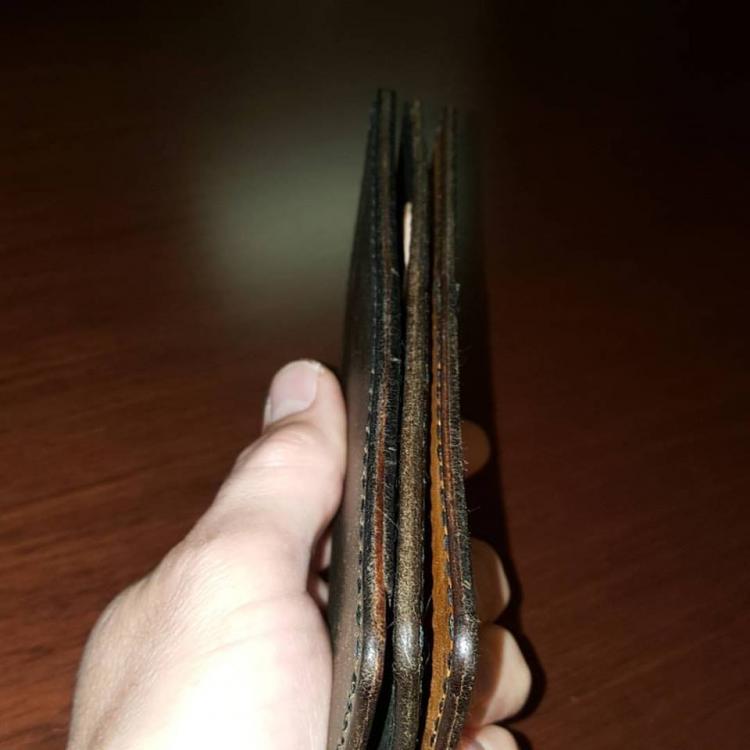
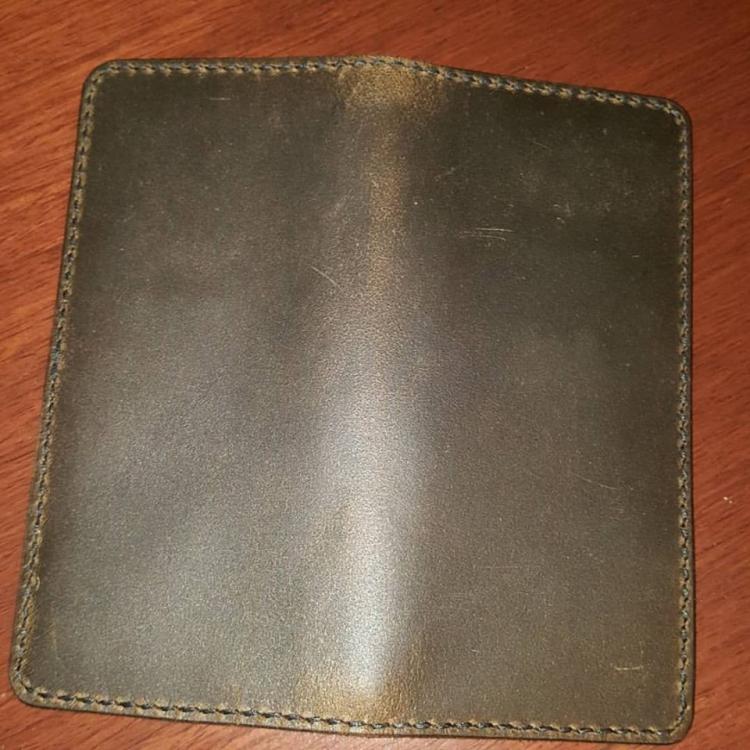
 Just finished up this long wallet prototype on the weekend - this was my first attempt at a zipper and it worked out ok. I've made many wallets and field tested them all, I'm finding that with wallets, something might look good, but it ends up being not practical or functional enough for me IRL. I don't want to be standing at the cash register and shoving folded bills into my minimalist wallet, or fighting with three cards stacked on top of each other. This zippered pocket pleases my, aesthetically, but I can't imagine what I would carry in it. And the fact that it floats does not appeal to my girlfriend, but it makes sense from a design standpoint since it may get bulky. I'm working on version 2.0 and will incorporate a fold-over snap closure of some sort. And probably go for the obligatory grommet/chain attachment "biker" look, just to give it a go. I'd appreciate comments about or experiences with form over function, that to me is the real challenge with this craft. Once you get the skills to be able to craft these things, then it comes down to making it better. (stronger, faster ). Feedback is most welcomed. Have a great day folks!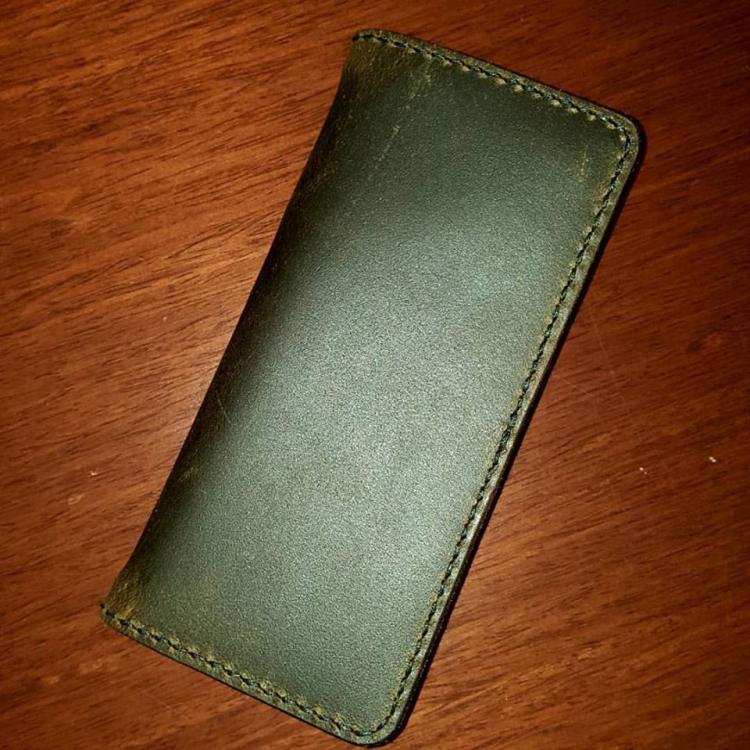

-
...while the leather dries? During those short runs during the move, had to do something when there isn't enough time to start new projects, but haven't finished all the other tasks. So, couple gals on about getting some simple graphic work done - on a budget. So, they seem to be happy with what they got, at the price they got. Cutesy sellers who wanted a "banner" in their shops (that broad graphic at teh top).. https://www.etsy.com/shop/ClearerImage https://www.etsy.com/shop/DawnsINKSpirations
-
Hello. I'm still pretty new to leatherworking. I would like to make an iPad case for a friend. I have ideas for a design, but I don't know how I would add stability and protection. The cases you can buy from the store have a hard inner sheet under a thin, fake leather. Does anyone know what that hard sheet is made of, or what might work as a substitute? If all else fails, I might just use heavier leather without an inner sheet. Thanks!
-
Hello All, I've started doing more shows and fairs and I always struggle with displaying my belts... I was wondering if anyone had any stands that they use and rely on... something that makes it easy for customers to select the items they can hang and look nice. All help welcome!! Thank you Nu
-
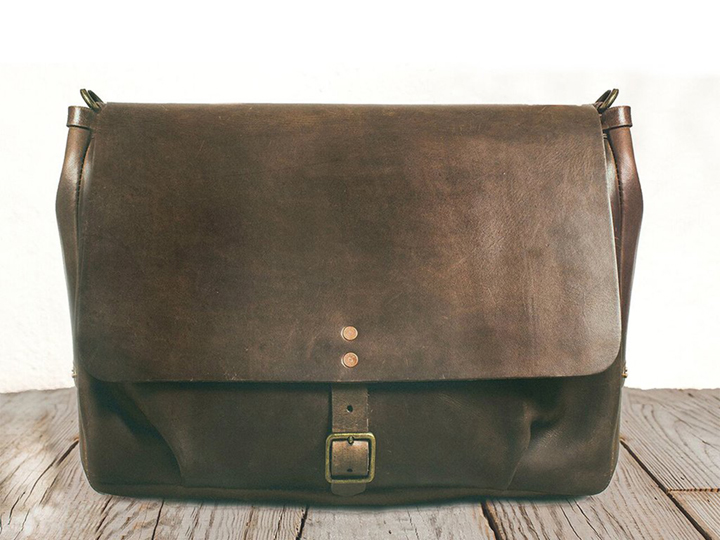
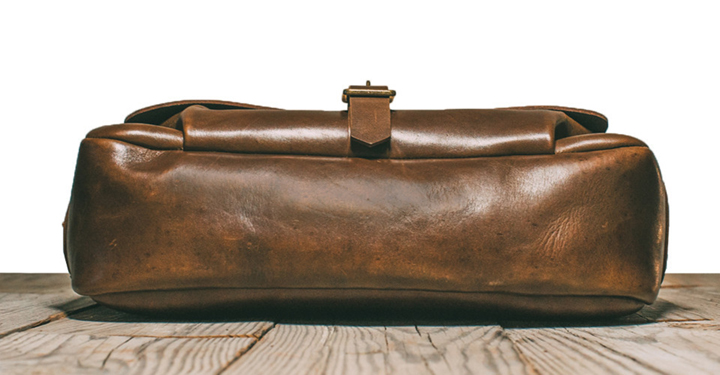
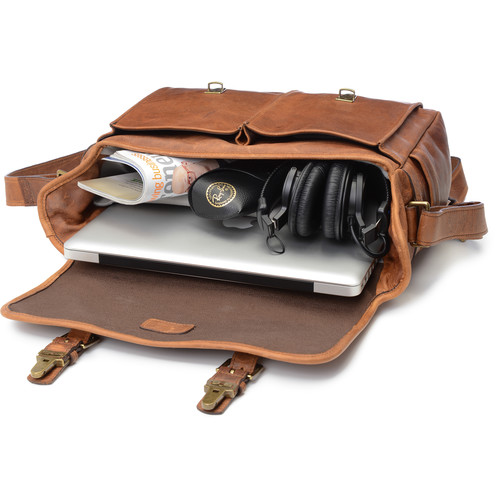
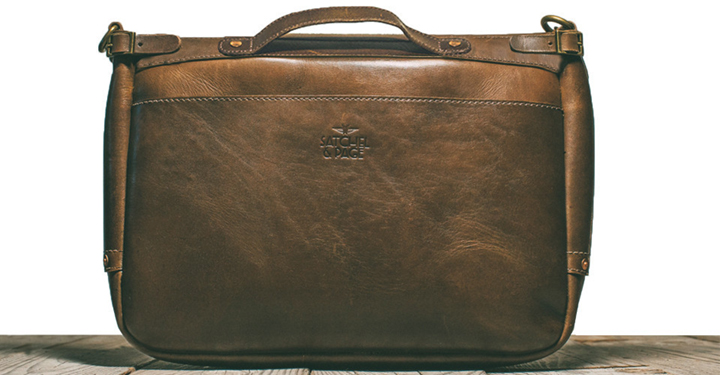
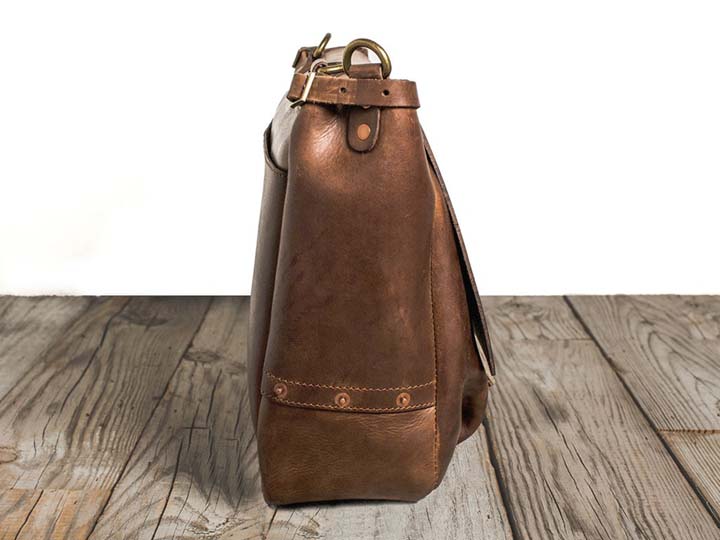
Hi, everyone. Once again, bothering you in search of some wisdom. I'm about to start designing a camera bag using the basic design of an old USPS mail bag, adding some modifications to adapt that design to my needs and to change the look a little bit. Mainly the changes will involve a change in size (not as tall and a bit deeper from front to end) to acomodate a padded insert, add a couple of pockets under the flap and a couple of straps on the sides to attach/dettach another set of pockets at will, depending on my carrying needs for the day... it's a bit of a Frankenstein monster from several different ideas I've seen around. I plan on using chrome/veg tanned leather, 4-5 or 5-6 oz, the likes of a Dublin or Chromexcel, but with what I have at hand to buy here in Mexico... (BTW, do you have something to sher about Chahin leather? I might get a good deal from them but I'm still working that out). The design I liked the most to begin with is this one from Satchel & Page. Like I said, I'll be changing a lot of things, but the basic form and idea of this one filled my eye. For starters, I'll change the closing from a single buckle to a double strap, double D-ring fastening, since I found it easier and quicker. Also, I'll add a couple of sets of D-rings at the bottom to carry a blanket, or tripod or whatever that doesn't fit inside the bag. I'll keep the magazine pocket in the back because... well, you never know!! Second of all, I'll change the front face of the base bag to acomodate two pockets more or less to the style of the ONA Brixton, since I find those very handy for keeping my cameras accesories, film, lightmeters, pens, notebooks and other stuff. I love the gusset on this one, so I won't change a thing here (rivets and double seam). I'll just add a couple of straps sewn or riveted onto the gusset (towards the sides and top of the bag) as anchor points for a couple of dettachable pockets for storing lenses, cellphone, whatever... Now, on to the questions about designing this thing. I don't care too much if I miss my target size by 1/4 or 1/2 inch because of the joints. But, since there's going to be two layers of leather at the front and at the back, I was wondering if anyone in here would be kind enough to share some light as to how much I should compensate on the size of the outer layer to fit the one on the inside. Say, if the inner front piece is going to be 14 inches wide from one stitch line to the other, how much should the outer piece be? 1/8" - 1/"4 extra to each side? Like I said, I'll be using leather of about 4-5 or 5-6 oz for this project. Another doubt I have is how far should the stitch be from the edge of the leather. I will use waxed poly thread, 0.040 and I normally mark my stitch line at about 1/8" from the edge. But, since the stitches will be on the side, I have my doubts whether the fact that it's a turned bag with several layers would be too much of a load for such a small edge. One other topic I can't decide yet is whether to use piping or not. If I do it it would be by means of a single narrow strap of the same leather I use for the rest of the bag, showing the cross section of the leather (burnished and all) instead of folding it over itself. I understand piping is used to release some tension out of the bent joints of the project. Is this at least somewhat true? Anyway, I hope I made some sense with all this and to get some ideas as to how to skin this particular cat. Cheers, everybody!
-
I will be teaching SADDLE CONSTRUCTION design and patterning, using concepts that can be applied to other areas of construction--- including holsters, knife sheaths, saddle bags, rifle scabbards, and various cases. There are only a few seats left for both classes; however there are several openings for just the first day. Day 1 is Lecture and Demonstration. I will teach you how to take a sketch of your concept / idea and translate it to a functional design, and then to usable patterns. If you can only attend the first day, you will still go away with all of the hand-outs, notes, and a plan and method. You should be able to go home and create your own patterns after only taking this class. Day 2 is Application---I will help you make your own patterns for your own tree. You will go home with patterns! Call me with questions. 307-272-1881. http://www.leathercraftersjournal.com/product.cfm?product=851 http://www.leathercraftersjournal.com/product.cfm?product=852
-
 Hello, I am interested in finding out how I could apply sculptural design on leather products such as a laptop pouch. What I mean by sculptural design is what Konstantin Kofta is doing. Could you tell me how does that guy do those bags? What kind of machinery and process does he use to have the leather stay in a particular shape? Thank you all in advance, Panos Here's a couple examples of bags that have the kind of leatherworking process I am after:
 -
Hey y'all! A family member has asked me to reupholster her wheelchair with tooled leather. On the back she wants a log with four children sitting on it, facing away, so we see their backs. She wants them to have angel wings and the log to have a branch coming off it with four leaves, one for each child's name. I'm a decent drawer, but this is beyond me. The children need to be sized according to age: 11, 9, 6, and 2. Any help would be greatly appreciated!!
-
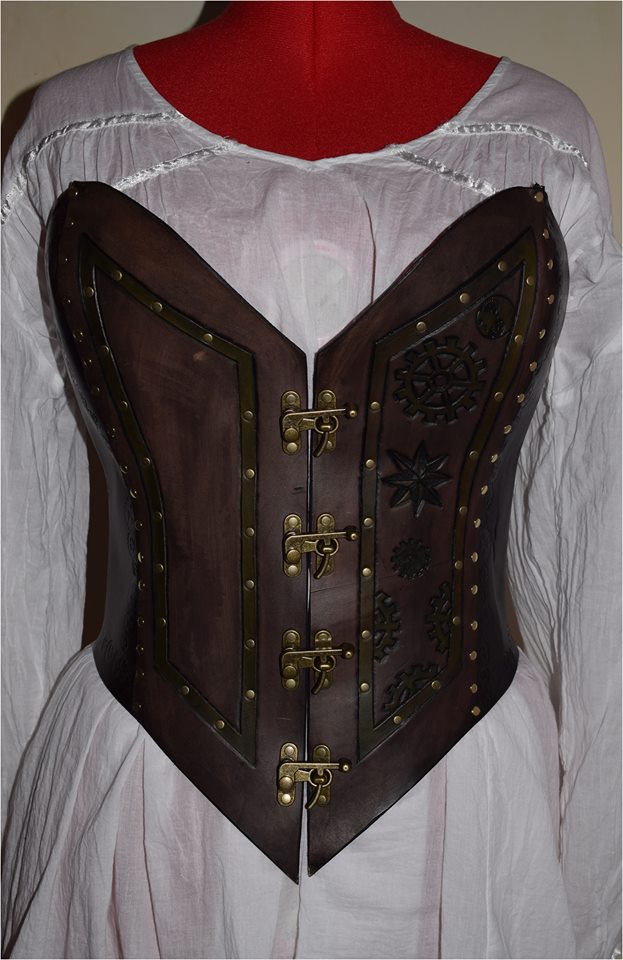
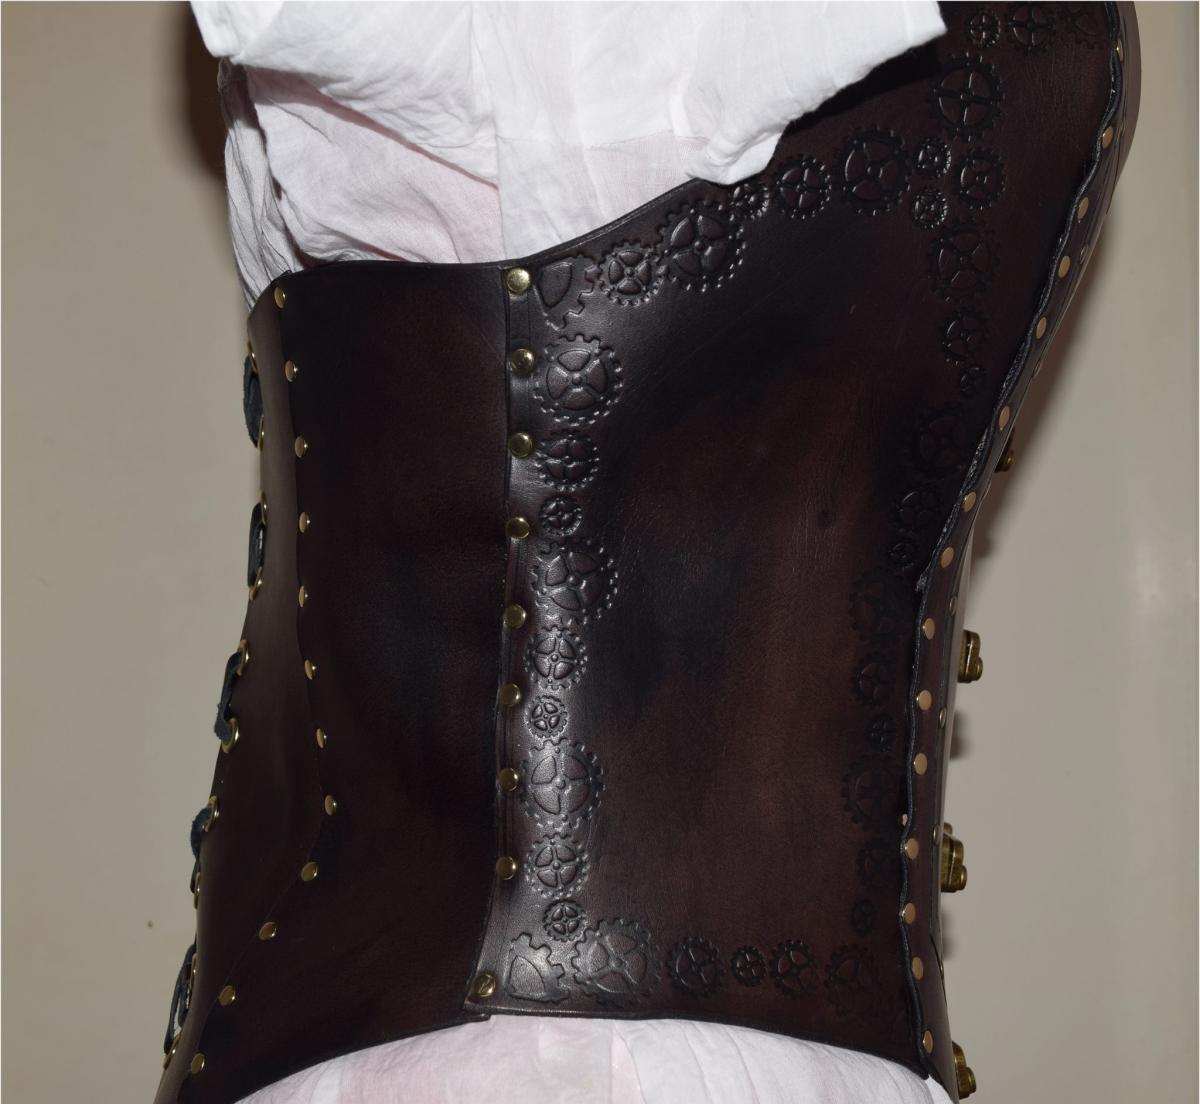
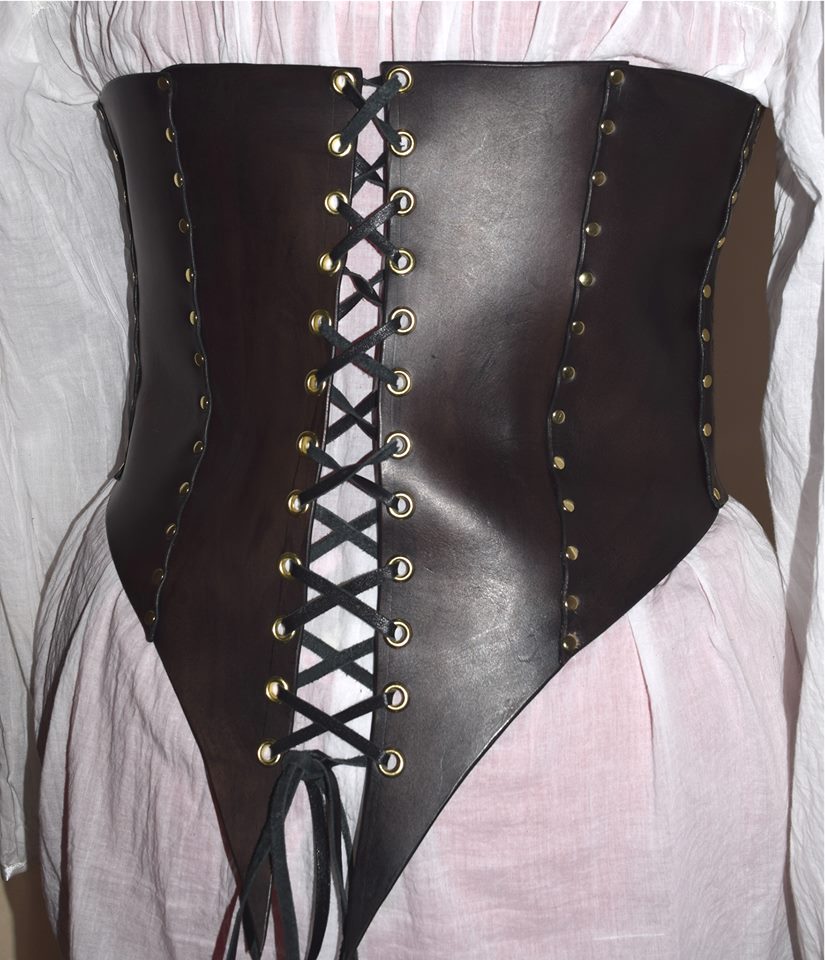
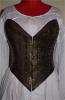
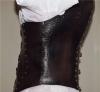
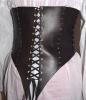
Ok my wife and I have designed our very first corset, and this is a true one of a kind, we built this from the ground up. From concept, to pattern cutting out all the way til finished. Everything on this is hand done, no machinery was used what so ever. It's 6 to 7 oz veg tan leather all total about 10 hours of work, from starting out with duct tape..yep that's right we used duct tape in our design...to putting it all together. Only thing I have to really learn to do a little better is where to put the rivets at.

-
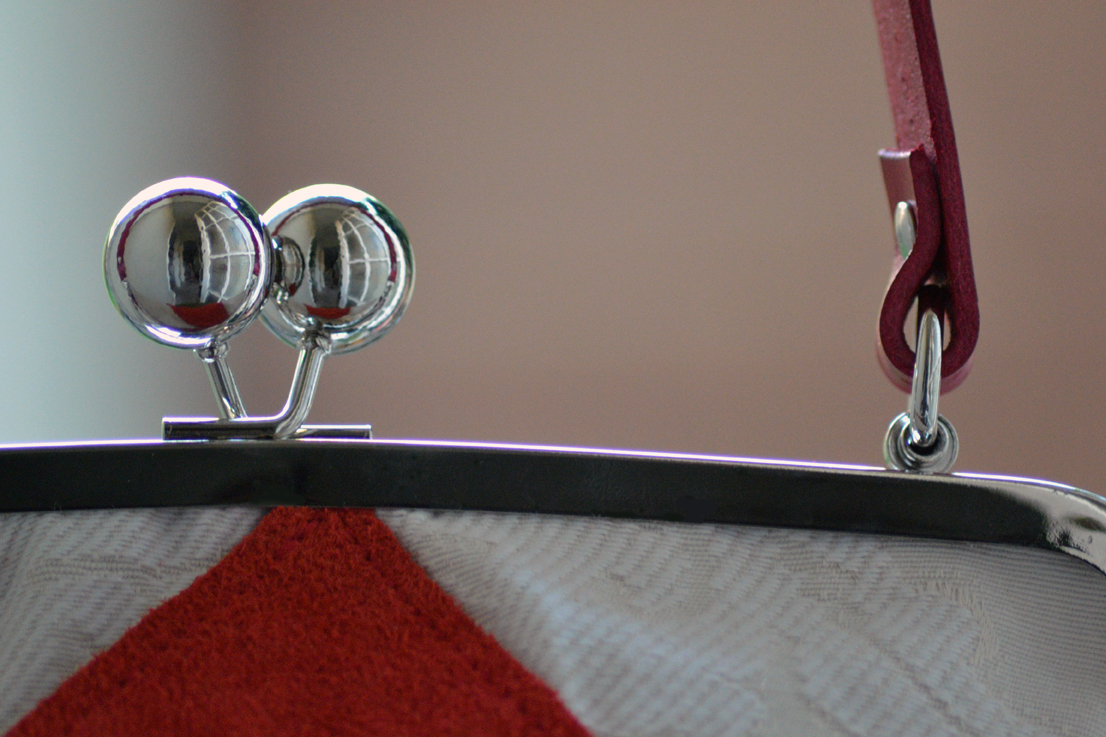
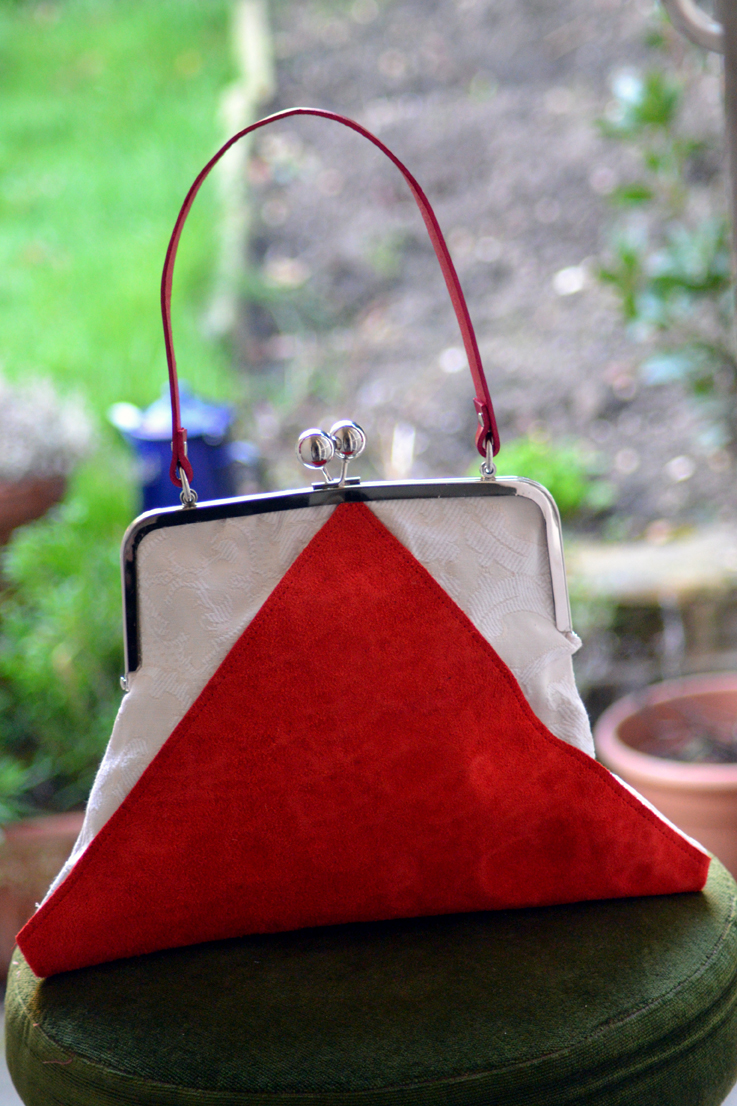
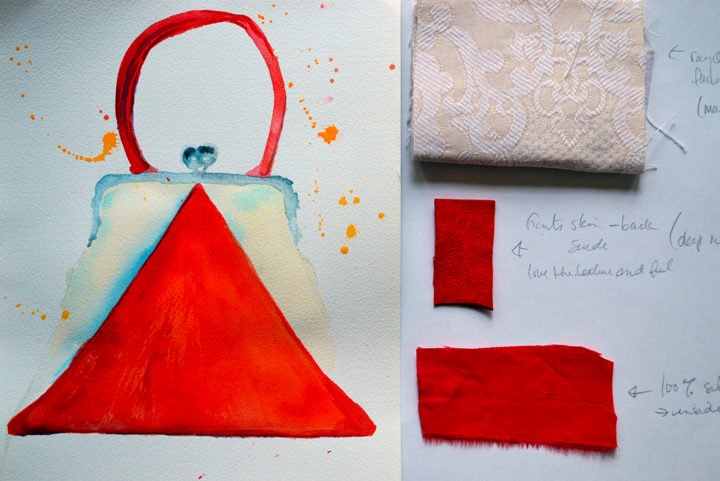
 I've finally brought the new red Geom bag to life. For the handle, I ended up using Angelus red dye and finishing it with Natural Carnauba wax creme (Fiebing's). I was really happy with the finish. For some reason I can't seem to upload the other photos so if you're interested here's a link to more... https://kymberlysteel.wordpress.com/2015/03/09/geom-red/ …

-
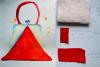
I'm just working on some new designs which I've called Geom Bags. I'm using fabric and goats skin (suede) for these. They will be about 34cmX25cm and lined with silk. Really hope they turn out!! I'll post the final bags once they are ready... hopefully in a few days. I'm always waiting for something to arrive in the mail haha... glue... or bag hardware... interfacing... never ends. :-)) https://kymberlysteel.wordpress.com

-
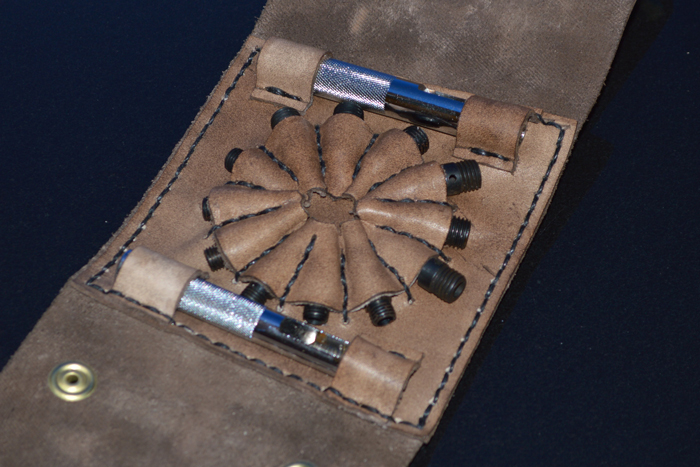
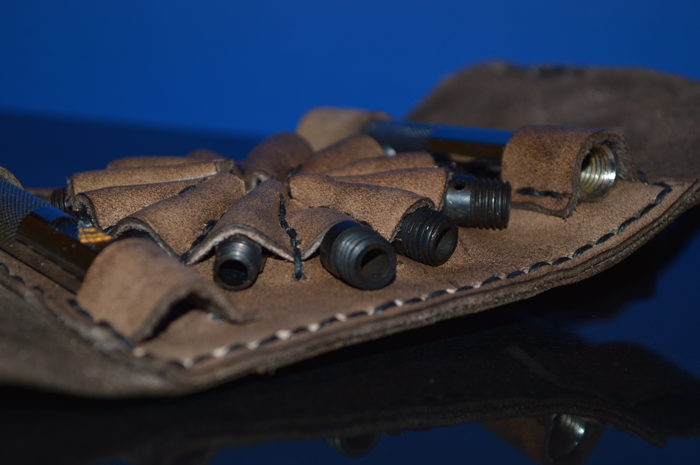
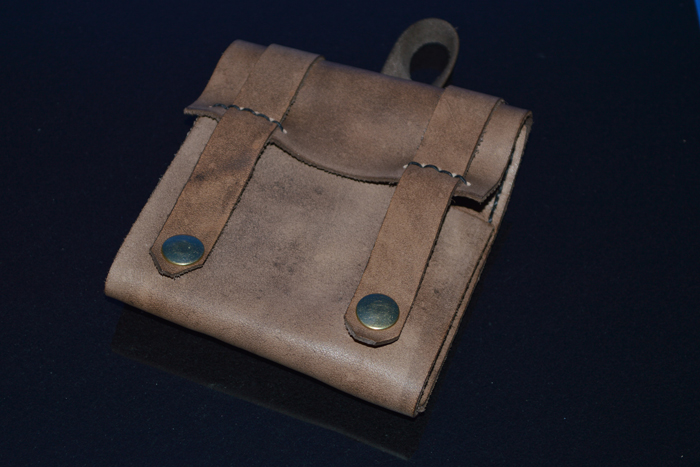
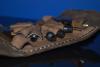
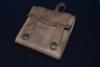
I like to make little pouches for my small tools that come in sets. They come in little boxes, but I just don't like them, and making tool pouches gives me a chance to practice designing, and working on the skills I need to make things that need to be a little more polished.

-
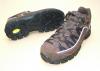
 Hello! Let me present to you my third work. My first work were these boots http://leatherworker...showtopic=45616, design Merrell Chameleon Wrap, and the second, running shoes, design Garmont Escape PRO 9.81, on photo bellow. And here shoes numbered 3, with my own design and own logo, which will be discussed here and manufacturing technology, which I would like to share with you. The first thing I began with - design, available materials and furniture. Despite all this, you can correct design subsequently as I did. I began the design with a clean sheet of paper. Sketched a few pictures I settled on this design, considering the design features and attachment parts sequence - this is important , otherwise it will be impossible to attach it properly. It is also important to think about where and how will shape the bend. To improve inflection, I used an extra pair of belt loops on the shoe vamp. Here demonstrated only one of many possible designs of shoes, the rest depends on your imagination. http://i-fotki.info/...031277.jpg.html "By approving the project" could begin. Put all materials on shoe last (except upper material) in the right amount and manner as they would be in the finished shoe. It is necessary to put a thickness of insole and middle sole. For further winding of shoe last, use masking tape 20-25mm wide, wider is not recommended. Masking tape should stick well, but not to be wax outside, otherwise it will be bad stick and when removing the shell it can lose shape. http://i-fotki.info/...031431.jpg.html http://i-fotki.info/...031468.jpg.html http://i-fotki.info/...031491.jpg.html Glue tape needs with a little overlap, preferably without wrinkling. After sticking enough thickness of tape, insert shoe last in the outer sole and outlines the level to the visible part, below which all will hide. http://i-fotki.info/...031619.jpg.html http://i-fotki.info/...031648.jpg.html We should also mark the axial lines, front and rear. Now we can begin to design. Draw is best with conventional ballpoint pen, using gentle pressure and instead of the eraser, use pieces of masking tape. Underway, you can change the design somewhat, if in dimension will not like something. Since the right and left side is not quite the same, move all lines using vellum, for example, you will not succeed. Help you centerlines and tailor measuring tape. After completion, you must draw harder all the necessary lines, to avoid confusion. http://i-fotki.info/...031709.jpg.html http://i-fotki.info/...031815.jpg.html http://i-fotki.info/...031845.jpg.html Using sharp knife, making slit at axial lines and lower edge, to divide into two parts. By dividing, cut along the contour, including the toe cup as the most convex part. Parts became more flat, but they still can not be cut, they must be glued on thick paperboard, while leveling and cropping. More detailed process describes here http://www.youtube.c... for shoes&sm=3 http://i-fotki.info/...032008.jpg.html http://i-fotki.info/...032046.jpg.html Now is necessary to make slits on lines for creating patterns. http://i-fotki.info/...032207.jpg.html http://i-fotki.info/...032235.jpg.html Creating patterns is most responsible for connection all parts. Using the main patterns make all external parts. It is necessary to consider all overlaps, overmeasure and mark centerlines. You should also specify the right and left sides, as well as the front to each side. http://i-fotki.info/...032285.jpg.html http://i-fotki.info/...032313.jpg.html http://i-fotki.info/...032340.jpg.html After making all patterns, you can begin to cut material. Also note, if were made some amendments to the upper, it is necessarily to make them on patterns. http://i-fotki.info/...032387.jpg.html I have a regular sewing machine (Singer copy), therefore the manufacturing technology reminds classic shoes, where is no need of a post sewing machine. I made some improvements for greater sewing accuracy and larger thickness. I replaced original hand driven mechanism and attached own lever directly on the wheel. Instead of three stitches per one revolution, now it makes one (used for hand sewing of large thickness). Undergone revision and presser foot, making it narrower and shorter, increased downforce, improved visibility and accuracy. Needle used conventional 110, although it is better to use reinforced for leather, thread polyester 40. http://i-fotki.info/...032557.jpg.html http://i-fotki.info/...032583.jpg.html http://i-fotki.info/...032604.jpg.html Before sewing, machine needs to be adjusted for a specific material thickness and test on a separate piece. My primary material is haberdashery suede 1-1.2 mm thick. http://i-fotki.info/...032654.jpg.html Should start with the basic parts, on which is necessary to mark those details, which will be sewn first. Because of the sliding effect and high downforce of the presser foot, one material slides relative to another, I found a simple solution for this problem, parts before sewing, I gluing together after what, concentrating on precision stitching. http://i-fotki.info/...032713.jpg.html Since suede is not for footwear, however, it is strong enough, to provide proper rigidity of some parts I’m using 1mm thick cotton fabric. http://i-fotki.info/...032779.jpg.html http://i-fotki.info/...032806.jpg.html Having measured braid using patterns, glue and sew them, then you can sew the side part. Do the same with the second half and then sew together both parts. Stitch on these parts is 2.5-3mm. http://i-fotki.info/...032978.jpg.html http://i-fotki.info/...033039.jpg.html After receiving a single piece (upper), it’s ready to make a heel cap. Since I did not have a proper shoe last (proper shoe last on pictured below), I made a separate billet for forming the heel, but with a normal shoe last is done directly on it. Cut two pieces of cotton fabric, stretching and gluing together with SAR 306. When dried, transfer lines with pattern and cut. http://i-fotki.info/...033091.jpg.html http://i-fotki.info/...033129.jpg.html http://i-fotki.info/...033381.jpg.html http://i-fotki.info/...033431.jpg.html http://i-fotki.info/...033457.jpg.html http://i-fotki.info/...033479.jpg.html Then glue it on heel in folded position on shoe last and sew it with stitch 2.5-3mm. http://i-fotki.info/...033535.jpg.html http://i-fotki.info/...033559.jpg.html http://i-fotki.info/...033593.jpg.html http://i-fotki.info/...033616.jpg.html Now you can begin with layer over the heel of polyurethane foam and lining. There are no patterns for these parts, so lay out on the shoe last, blank sheet of paper, draw around the top and cut. There no corrections for polyurethane foam, but lining must be recalculated - 1mm suede + 3mm polyurethane foam + 3mm wool interlayer + 4mm lining allowance = minimum 11mm total must be added to the upper contour, on which will be sewn lining. This is necessary to ensure that all will twist neat. http://i-fotki.info/...033673.jpg.html http://i-fotki.info/...033705.jpg.html http://i-fotki.info/...033735.jpg.html Sew need right by the polyurethane foam, for smooth edge, stitch 1.8-2mm. For insulation using natural wool, material thickness about 3 mm, the same material used on the first boots. Gluing with SAR 446, applying thin layer on wool and suede. The photo shows masking tape, 5-8 mm to the edge, where wool layer will be needed to cut. http://i-fotki.info/...033796.jpg.html http://i-fotki.info/...033827.jpg.html Then gluing lining with SAR 446, also applying thin layer. http://i-fotki.info/...033883.jpg.html http://i-fotki.info/...033921.jpg.html All excess need to be cut and sewn, on that edge, where the masking tape was. At this stage, the shoe begins to appear. As can be seen on the photo, it keeps form well, but the final forming will be at the very end. http://i-fotki.info/...033977.jpg.html When the upper is ready, next part you need to continue - tongue. There also no patterns, but you can estimate the length using upper, the width of the tongue I took from my sport shoes - 100mm. Gap width in the shoe vamp is 40mm, respectively adding 6mm allowance, will be enough for sewing. On a sheet of paper draw everything and make pattern, cut the mesh and lining without any overmeasure. Put some polyurethane foam (about 3mm) on the tongues top (for thickness and strength) and sew together mesh with lining face to face. Then glue mesh with wool layer and extroversion. http://i-fotki.info/...034032.jpg.html http://i-fotki.info/...034054.jpg.html http://i-fotki.info/...034191.jpg.html http://i-fotki.info/...034218.jpg.html http://i-fotki.info/...034262.jpg.html http://i-fotki.info/...034286.jpg.html Cut a piece of suede, glue and sew. Mark the braid and sew. http://i-fotki.info/...034383.jpg.html http://i-fotki.info/...034406.jpg.html http://i-fotki.info/...034426.jpg.html Connect together tongue and upper with clearance 40mm using SAR 446 and then sew together stitch to stitch. Mark border of the toe cap on upper and glue with SAR 446 along the edge, as well as toe cap, connect and sew, stitch is 2.5-3mm. http://i-fotki.info/...034718.jpg.html http://i-fotki.info/...034749.jpg.html http://i-fotki.info/...034859.jpg.html http://i-fotki.info/...034891.jpg.html http://i-fotki.info/...034918.jpg.html http://i-fotki.info/...034939.jpg.html Now put the upper on the shoe last, I leave allowance in 20mm for bend under the shoe last, only for upper, side parts, heel and toe cup should be in the slice with the bottom. After toke the upper, cut out the toe reinforcement from cotton fabric, glue with SAR 306, tighten in place. Once again, make sure that upper is in the right position, remove the staples and glue. Cut off all suede relief and glue suede center part. When it's all ready, it's time to form the shoe. We need to warm all shoe parts, that has inside cotton fabric and tap with a hammer, to complete forming. After that, shoe will keep the shape for a along time. http://i-fotki.info/...035595.jpg.html http://i-fotki.info/...035647.jpg.html http://i-fotki.info/...035683.jpg.html http://i-fotki.info/...035713.jpg.html http://i-fotki.info/...035741.jpg.html http://i-fotki.info/...035767.jpg.html Basically shoe are ready for gluing outer sole, but I would like to stamp on it own logo. To do this, take a picture of the shoe from the side, where logo will be, open the vector program Corel Draw, import photo, create a logo in scale and print on plain paper. Take sticky film Oracal, and cut out the logo with sharp knife, slot only to the film substrate. Unstick from the film unnecessary parts and glue masking tape over all parts. Cut and stick the logo in its place. Carefully remove the masking tape, leaving all separate pieces in place. Glue around with masking tape to avoid smudge of shoe. Preparation is completed and we are ready for rubber coating. As rubber coating I’m using SAR 306 and 30-40% of aluminum powder (for metallic effect). Using brush, apply thin layer and let it dry for a couple of hours. With precision knife cut glue on film edges for smoothness of the logo edges without rips. Due to a thin layer of coating it obtained fairly resistant to damage. http://i-fotki.info/...035832.jpg.html http://i-fotki.info/...035873.jpg.html http://i-fotki.info/...035901.jpg.html http://i-fotki.info/...035924.jpg.html http://i-fotki.info/...035950.jpg.html http://i-fotki.info/...035974.jpg.html http://i-fotki.info/...035995.jpg.html http://i-fotki.info/...036020.jpg.html http://i-fotki.info/...036039.jpg.html http://i-fotki.info/...036068.jpg.html http://i-fotki.info/...036089.jpg.html Finishing stage, gluing the outer sole. Left the upper on shoe last and insert it in outer sole, outline with pen about 1mm below the level of the outer sole. Apply SAR 306 on surface, coat over line and let it dry. The outer sole is made from thermoplastic and I need degrease it with special composition Satreat and only then glue it. When the glue dries, it does not stick at all, conversely it's slides. Insert shoe in the outer sole, heat bottom side with hairdryer and press for a few seconds. Then you can easy heat side parts and tap with hammer. By this way it’s easy to make clean connection between upper and outer sole. http://i-fotki.info/...036284.jpg.html http://i-fotki.info/...036312.jpg.html After a few hours, you can remove shoe from the shoe last. It remains only to make insole. For insole I am using - 2mm thick polyurethane foam, 3mm wool interlayer and 3mm lining. http://i-fotki.info/...036371.jpg.html Glue the insole on its place and do all the same with the second shoe and enjoy your work. When placing this article on other sites link to this forum is required. Sorry for not exact terminology and not perfect english. Good luck!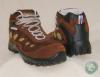

-
Hello everyone, I'm new at this, so sorry if I ramble a little I'm a year 12 textiles student and for my major work I'm crating a Steampunk inspired leather dress. The dress will have a large skirt and a corset top. I want the leather to be quite sturdy, but I'm working with a regular sewing machine so it can't be too thick. I'm really just wondering if anyone can offer any advice on what sort of leather I should think about using (actually any advice at all would be hugely helpful). I need the leather to be supple, to allow freedom of movement, but I also want it to look quite sturdy. All advice will be taken and considered, I'd really appreciate any help you can give Thankyou.
-
Yeah, brand new just like a lot of other people. Been offhandedly looking at leatherworking for 6+ months and have been devouring LW.net and any other online information I can get ahold of for the last two. Just dissected The Leatherworking Handbook over the last four days. I think it's safe to say i've already been bitten by the bug. The only thing that is bothering me though is that after going through all of that I can't seem to muster any interest at all in lacing. I finally convinced myself tooling could be cool and with some practice I don't think I'd be terrible at it, but as for buckstitching and such I just don't like the look of it. Is this terribly odd? I almost feel bad for not liking it at all. Emilie