Danne
Members-
Posts
772 -
Joined
-
Last visited
Content Type
Profiles
Forums
Events
Blogs
Gallery
Store
Everything posted by Danne
-
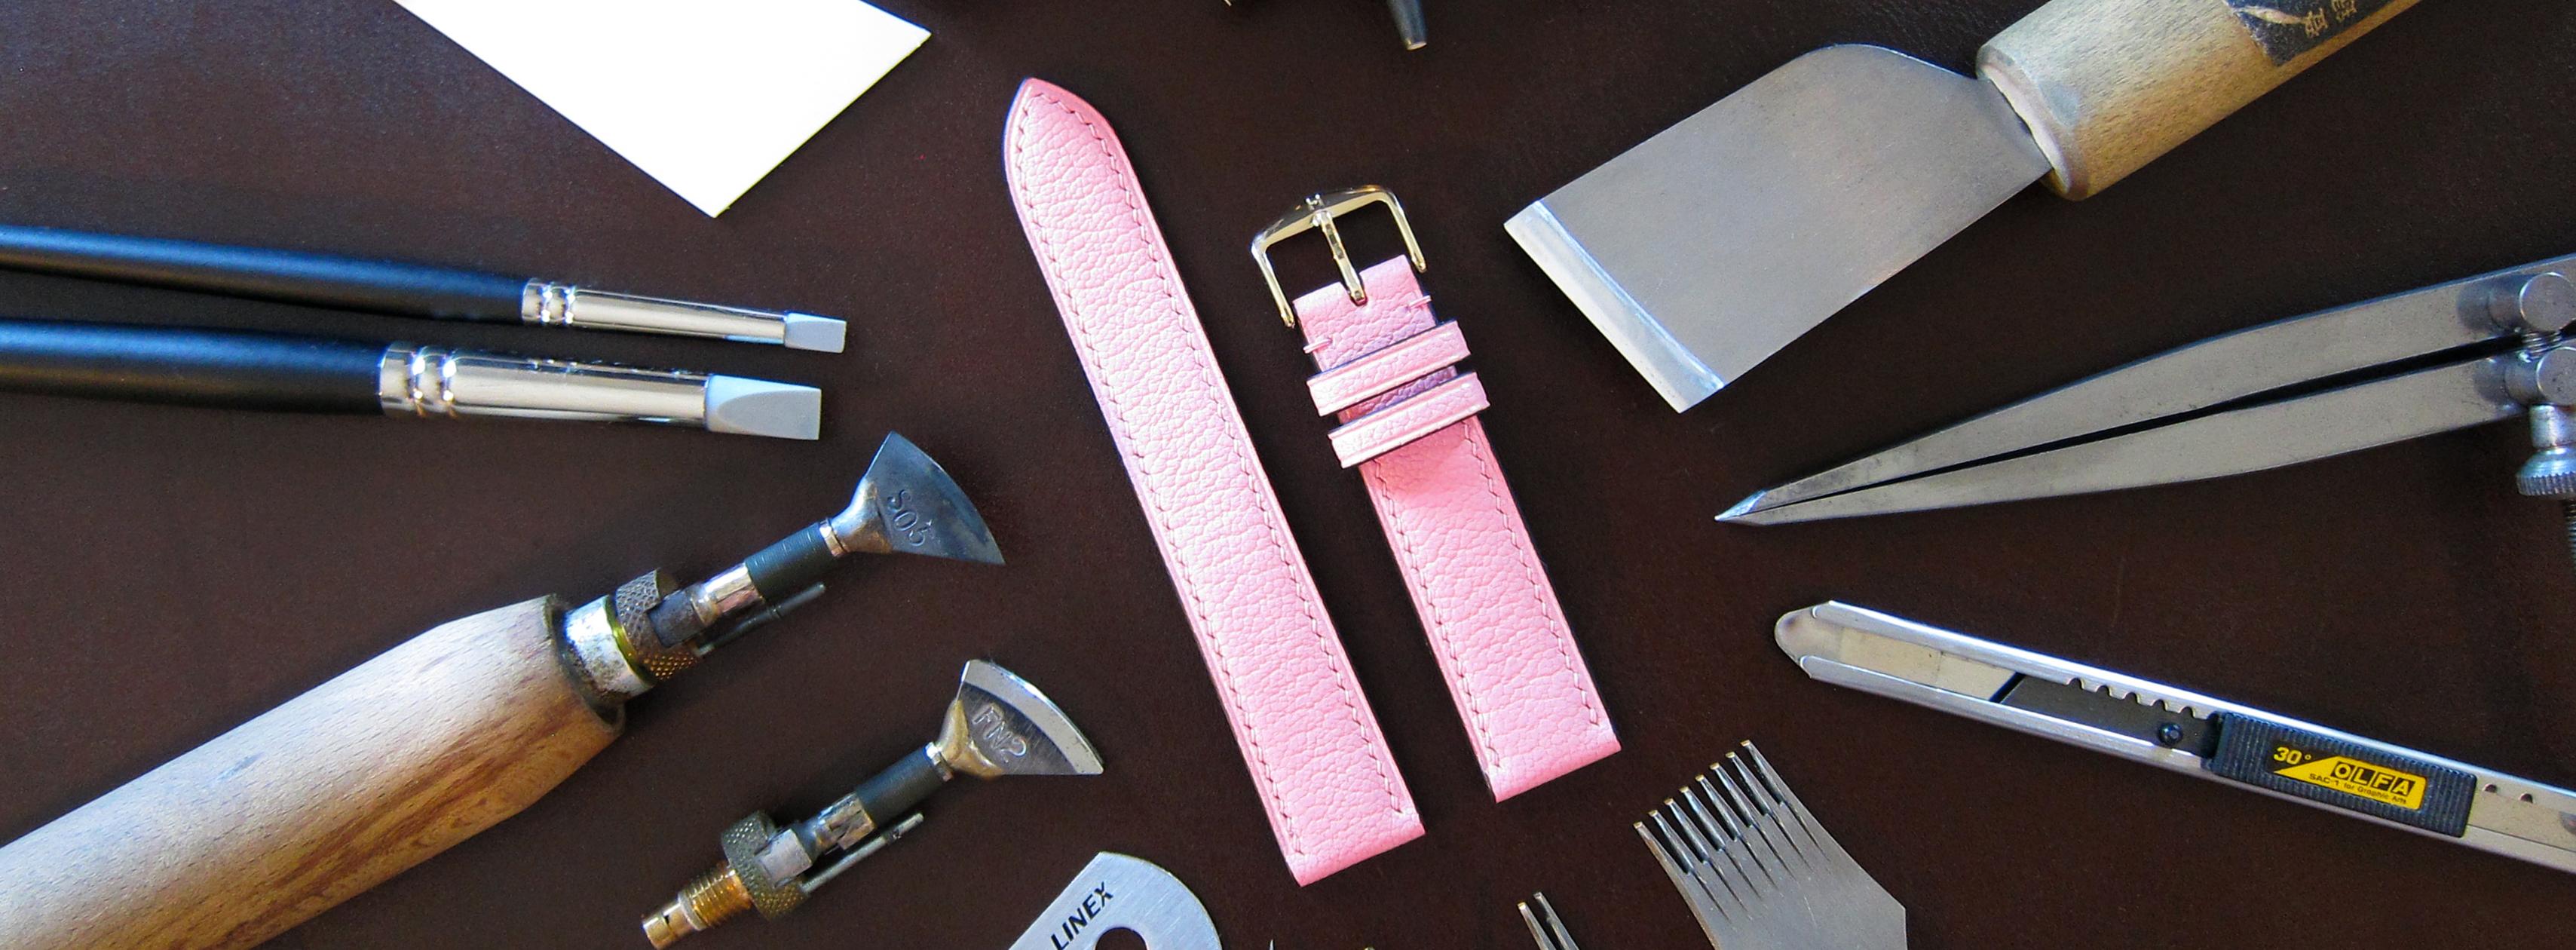
First, I don't consider myself a professional leathercrafter, maybe intermediate. But when I started this craft, I blamed my tools, stitching wasn't good because of my stitching irons, I needed a better skiving knife. I took some old tools and skived a piece of leather, and I cut glued, stitched, creased and burnished the edge. (The stitching is far from perfect, but it's not because of the tools, I haven't stitched in a while, so usually when I start a new project I do some practice runs on some scrap pieces) How did I prepare the tools? I used 400/1000/2500 grit wet and dry sandpaper and a file and a small drill bit. A file to reshape the "creaser" so I got a sharper edge, and some sand paper to smooth it out. A small drill bit under sand paper to sharpen the edge beveler, and stropped it on the edge of some thicker leather. Sharpened the knife with wet and dry on a granite plate (A small piece of glass or anything else that is flat would work fine. What would you need more? some cheap pva glue (you already have some maybe?) a small cutting mat, two needles and some thread, a lighter to heat the creaser, a piece of cloth to burnish the edge with water. A hammer/mallet. Are there benefits with some of the really expensive tools? Yes but not much as a beginner. I would say as a beginner don't buy the most expensive tools. Why? Do you know if you would prefer Japanese or European style stitching irons? Which side of a skiving knife do you prefer to skive with, bevel up or down? Would I recommend buying these super cheap tools I show here if you can afford to spend a little bit more? No, I would buy tools from leathercrafttools.com and you will get edge beveler, skiving knife with better edge retention, and tbh I still use both my skiving knives and edge beveler of the same brand as leathercrafttools sell, and i'm happy with them and see no reason to upgrade them, even though I have upgraded all the other tools I use. The approximate cost of the tools in this photo is around Skiving Knife: 2usd Adjustable creaser: 2-3usd Edge beveler: 2-3usd (With groover creaser edge beveler, different tips you can replace) wing divider: 4usd Stitching irons: 2-3usd Hammer: (From local hardware store) 10euro. But leather is expensive? Yes, but you can often buy good quality leather as off cuts or belly leather, and you don't have to start with making large bags. You can make key rings, watch straps, card holders, just small practice pieces to learn to stitch and finish edges and skive and such.
-
Working area in progress (Will keep updating here)
Danne replied to Danne's topic in Leatherwork Conversation
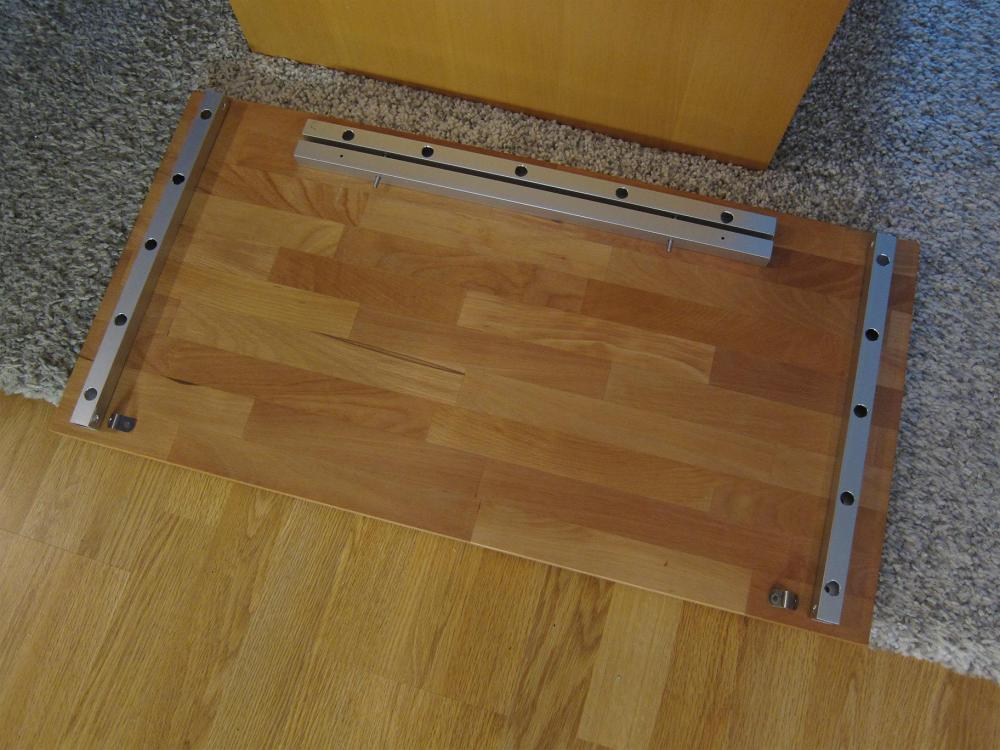
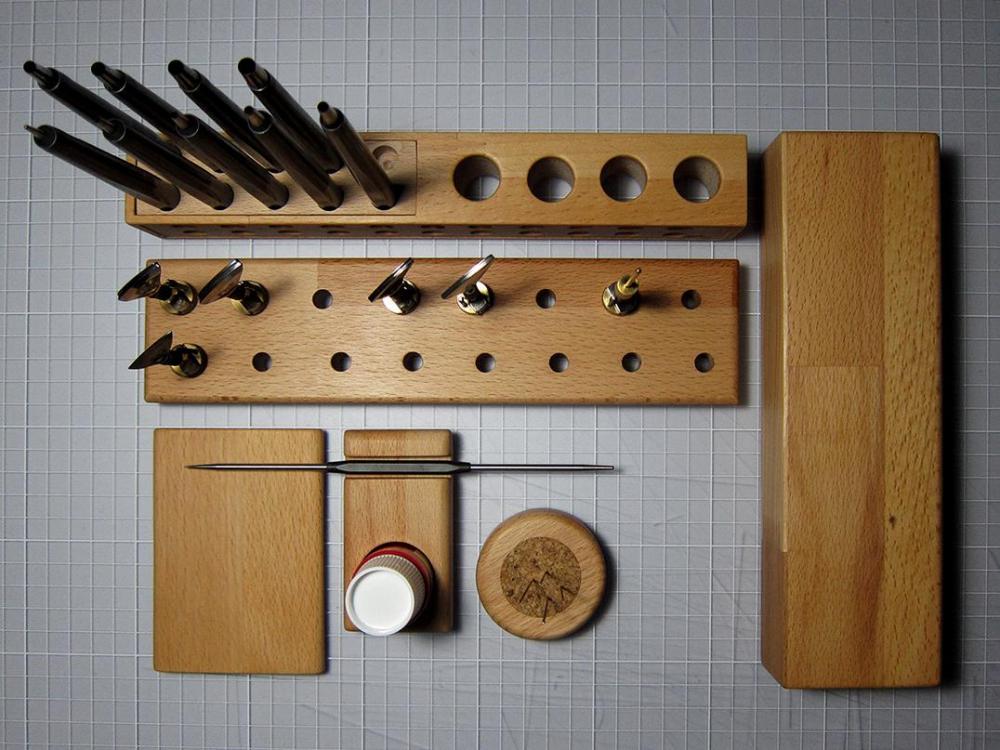
An update with the new table top (Ikea Karlby 2.8m in beech wood veneer) Also a tip (last photo) Ikea Karlby seems to be a quite good table top, and the price is good if you don't need more than 2.4m (Longer and you need to custom order them and quite expensive) The quality feels very good and it's 3mm veneer which makes it possible to sand and oil it again if it gets scratched or dirty from paint and such. But you will have to use a middle leg or reinforcement or it will sag over time, because it's veneer on chip board. I went for a middle leg and two "L-iron bars" 20x20x2mm the reason I also put the leg there is because I prefer to have a leg under my granite plate (It will answer a little better when you use it as a base for punching.) -
I see nothing negative with having a taller work bench, you can just raise your chair. And also at least I tend to stand up sometimes when I do some cuts and such. For me it did make sense to use the same height as my cabinet from Ikea (So it's 70cm in height) but if I would build a frame I think I would make it a little taller.
-
Since you have the lock screws, you can measure the dimension, and pick up a cheap thread gauge to measure the pitch (It's also possible to measure the pitch with a caliper) If it's metric (Patentado = Made in a metric country?) it's probably M3x0.5mm and a tap cost a couple of usd.
-
I have a King 1000/6000 and i'm not happy at all with that stone. It needs constantly flattening, and the worst part is that the 6000 side "clogs" up with metal instantly. But the stone you are linking looks like a premium version of their stones. Btw, I use wet and dry sand paper from Mirka 1000-2500 grit (and rougher grits if I need to) and finish with stropping on flat grain leather with green chrome oxide, and my knives are razor sharp.
-
Can You Recommend Leather for a Newbie's Watch Straps ?
Danne replied to Schick's topic in How Do I Do That?
Doesn't District leather supply split also? I just want to add something to "A paring machine is helpful up to a width of 1 inch, beyond that you'll need a splitter" You already know this of course, but maybe not Schick, if you decide to start to make a lot of different straps and want to be able to split leather yourself (and different types of leather) a bell knife skiving machine is awesome for this task. (A question to you Hardrada, is it correct that a paring machine will be hard to use with softer stretchy leather? I haven't used them, it's just my guess.) And yes stay away from Tandy, Yes they might have some premium tools that are decent, but at least the tools I bought from them when I started this craft was useless, and good quality budget tools from goodsjapan and leathercrafttools wasn't more expensive. I still use some of the tools I bought from them, other tools I have updated, not because the quality wasn't good enough, but for example the diamond pricking irons from Goodsjapan is awesome, but for thin straps with really thin thread, I wanted smaller holes and the European style of holes. But still use my cheap skiving knives and edge bevelers from Goodsjapan, and see no reason to replace them. -
Can You Recommend Leather for a Newbie's Watch Straps ?
Danne replied to Schick's topic in How Do I Do That?
Using veg tan leather that is not too soft is a good start. I make watch straps, and making them in softer leather is harder, because it stretches a little bit and it makes it harder to cut and skive consistently. And I can relate to the skiving, I struggled a lot with skiving in the beginning, and the reason was because I believed my skiving knife was sharp. How do I sharpen my skiving knives? I made a simple jig of a couple of pieces of wood, I also placed a piece of rubber in between (easier to adjust the knife) I use wet and dry sand paper 1000 grit and 2500 grit, and finish with stropping on grain leather with green chrome oxide. I slide the fixture on the granite plate outside of the sandpaper, and since a skiving knife is quite wide it works awesome. I do the same thing with woodworking chisels but it's way harder because they are more narrow. I also made a jig to set the distance. I have a primary bevel and a very small secondary bevel, which makes it quick to sharpen the edge when needed. -
Working area in progress (Will keep updating here)
Danne replied to Danne's topic in Leatherwork Conversation
Thank you, I really like the contrast of beech wood against a darker wall. -
Working area in progress (Will keep updating here)
Danne replied to Danne's topic in Leatherwork Conversation
Thank you, I should have said almost finished though. There will be a holder for a hammer (black Hultaforts STFS) and also a holder for rulers. But haven't bought the hammer yet so I don't have the exact dimensions. -
Working area in progress (Will keep updating here)
Danne replied to Danne's topic in Leatherwork Conversation
-
Working area in progress (Will keep updating here)
Danne replied to Danne's topic in Leatherwork Conversation
Thank you Bob, The tool board is soon finished. The glulam board warped slightly, not much but I tried to figure out a way to keep it straight without cracking, so I combined it with a "hidden wall mount" solution I did from some alu square tube. Holes are oversized on edge pieces so it can expand and contract between summer and winter. -
Working area in progress (Will keep updating here)
Danne replied to Danne's topic in Leatherwork Conversation
-
Google Sketchup is very easy to use for planning things like this. Just open it and choose feet or inches. Choose Camera/Standard views/top. Use the line tool and draw a line and type the dimension for the line. And if you draw the dimensions for your work table, to make it easy to move around just make a selection around it and right click and make group, and you can use the move tool to move it around.
-
Working area in progress (Will keep updating here)
Danne replied to Danne's topic in Leatherwork Conversation
Not much, apart from testing some materials and small prototypes for things. -
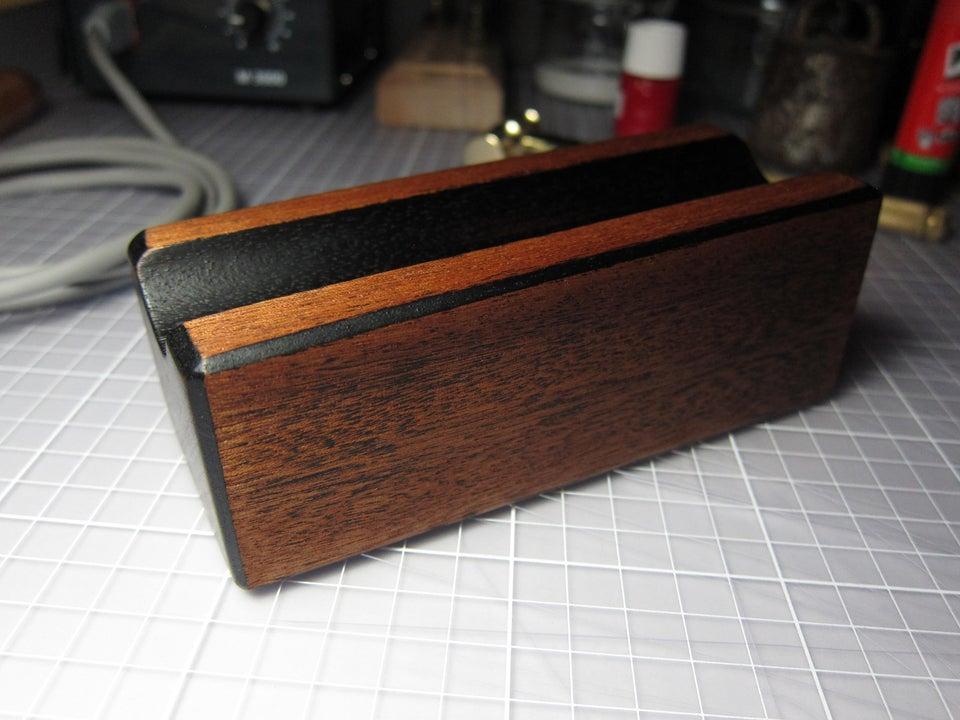
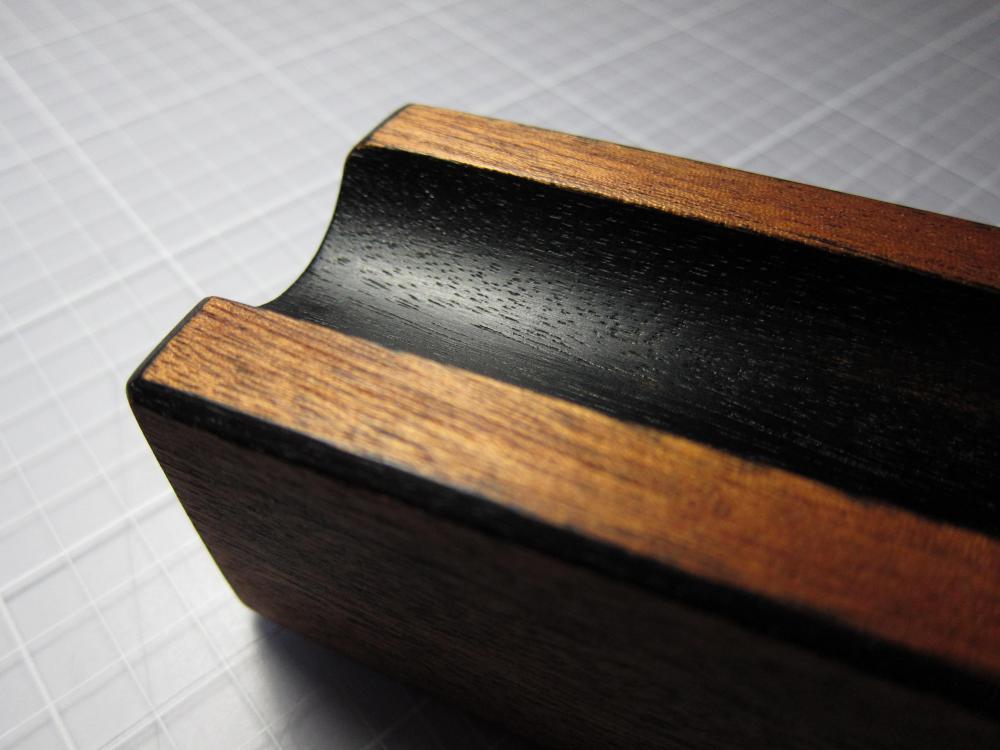
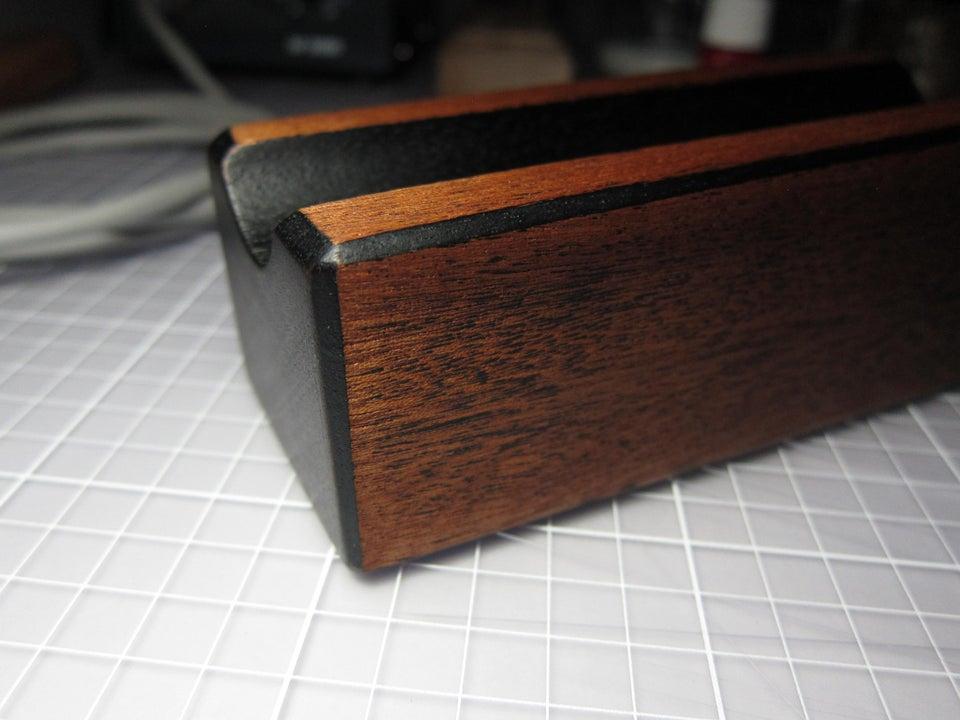
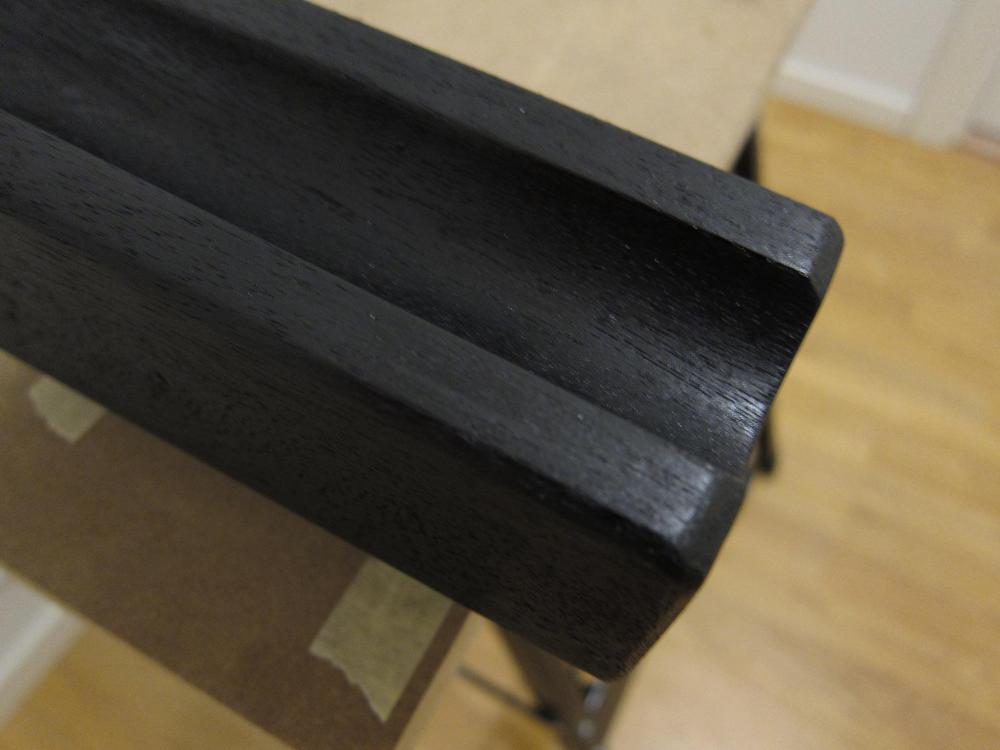
Bought it from Mando Paris. Reshaped the chamfers so they are even, then ebonized it black, sanded some surfaces so it gives a "vintage wood look" then oiled. It hasn't been used since I refinished it. And it would look really good especially with a black handle. I'm in Europe. Give me 25 euro + shipping costs and it's yours.
-
Working area in progress (Will keep updating here)
Danne replied to Danne's topic in Leatherwork Conversation
-
Since you live in France Cuirtextilecrea seems like a good choice, and you can call them and ask if they also split leather you have bought elsewhere, which it seems like they do from the description. https://www.cuirtextilecrea.com/leather-splitting-c2x21848419
-
Working area in progress (Will keep updating here)
Danne replied to Danne's topic in Leatherwork Conversation
Yes those applicators look really good, but i'm so used to using a regular awl. I do regret not buying a palm router with a plunge attachment instead of my larger plunge router, because it gets a little bit more complicated to route small pieces with that larger router. -
Working area in progress (Will keep updating here)
Danne replied to Danne's topic in Leatherwork Conversation
Yes, and since my other tools from Ksblade is black, and I plan to buy other tools with Grenadilla wood, I think black will be best -
Working area in progress (Will keep updating here)
Danne replied to Danne's topic in Leatherwork Conversation
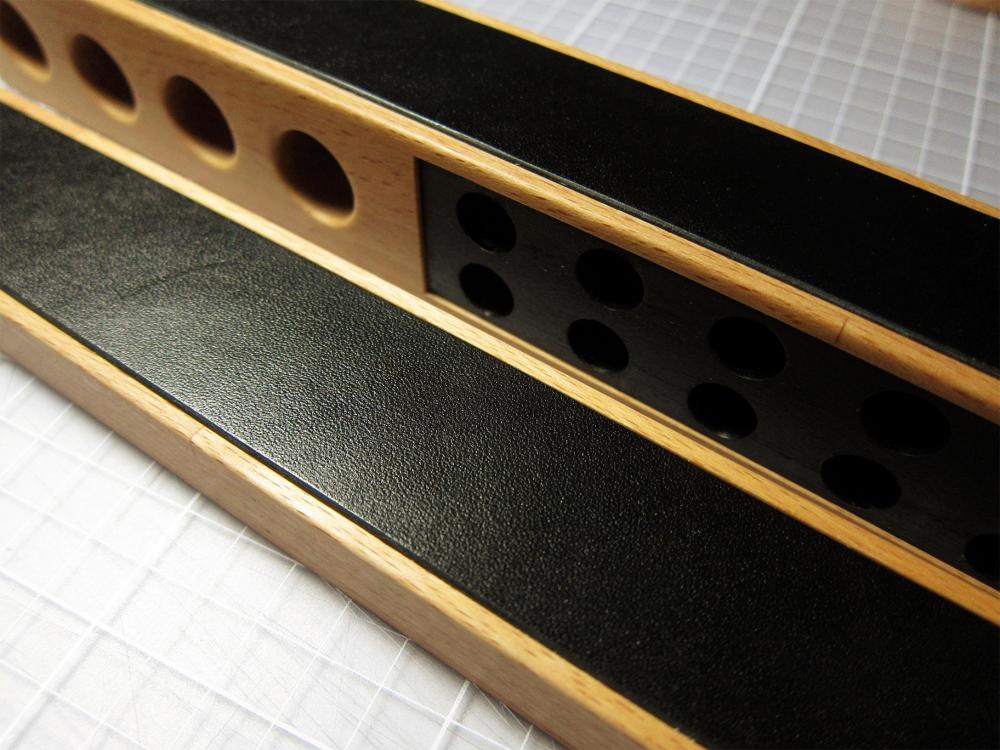
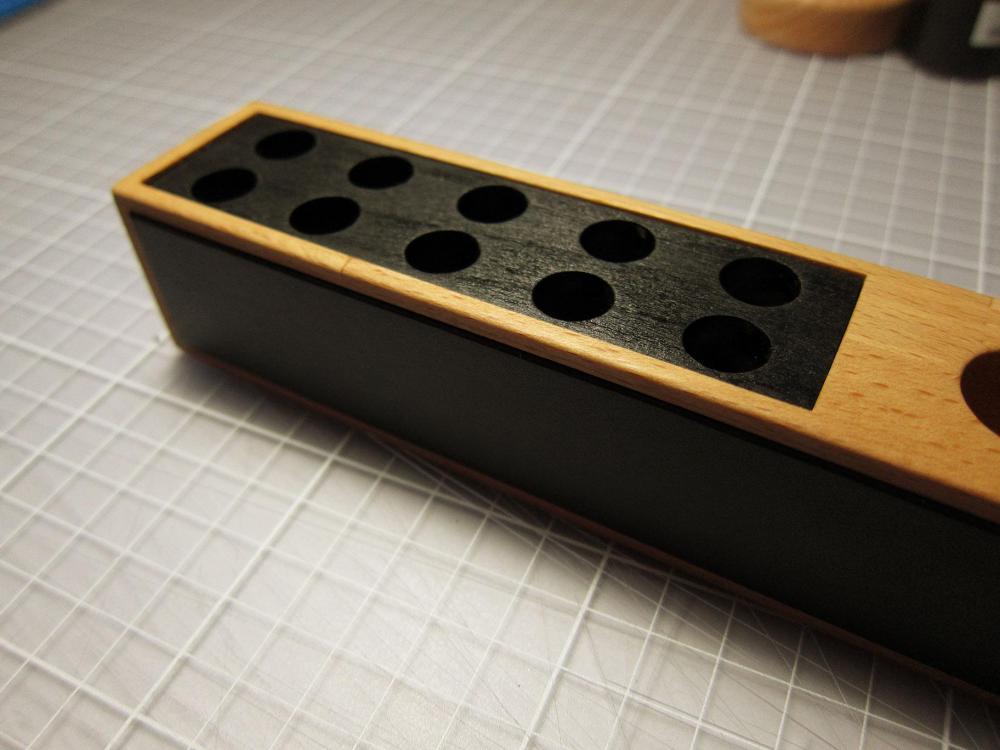
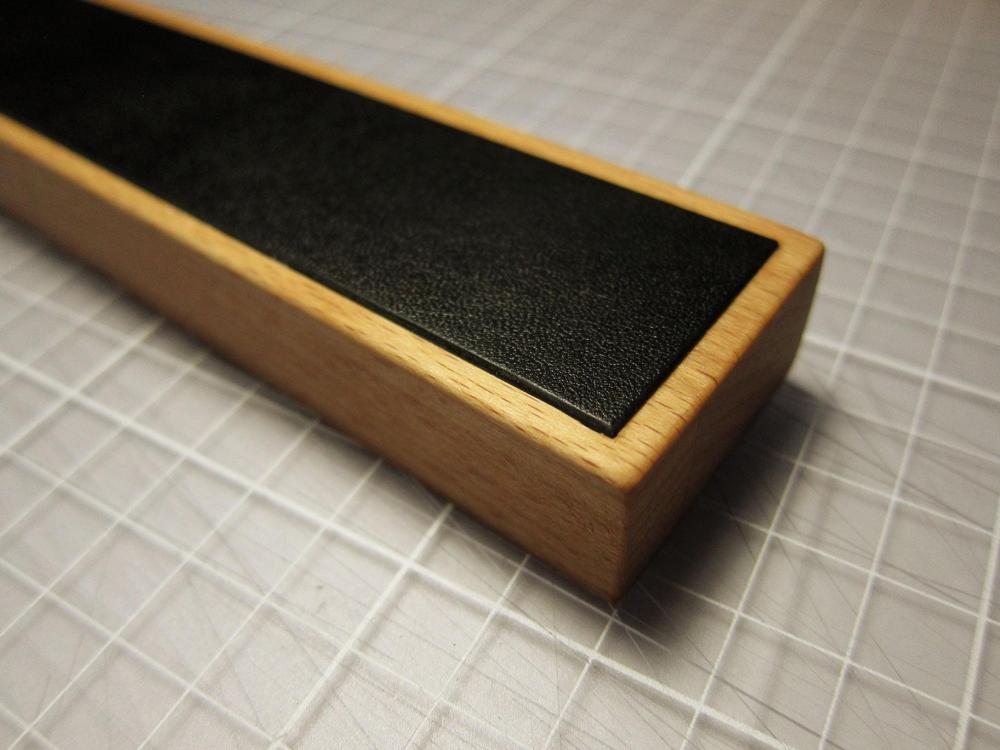
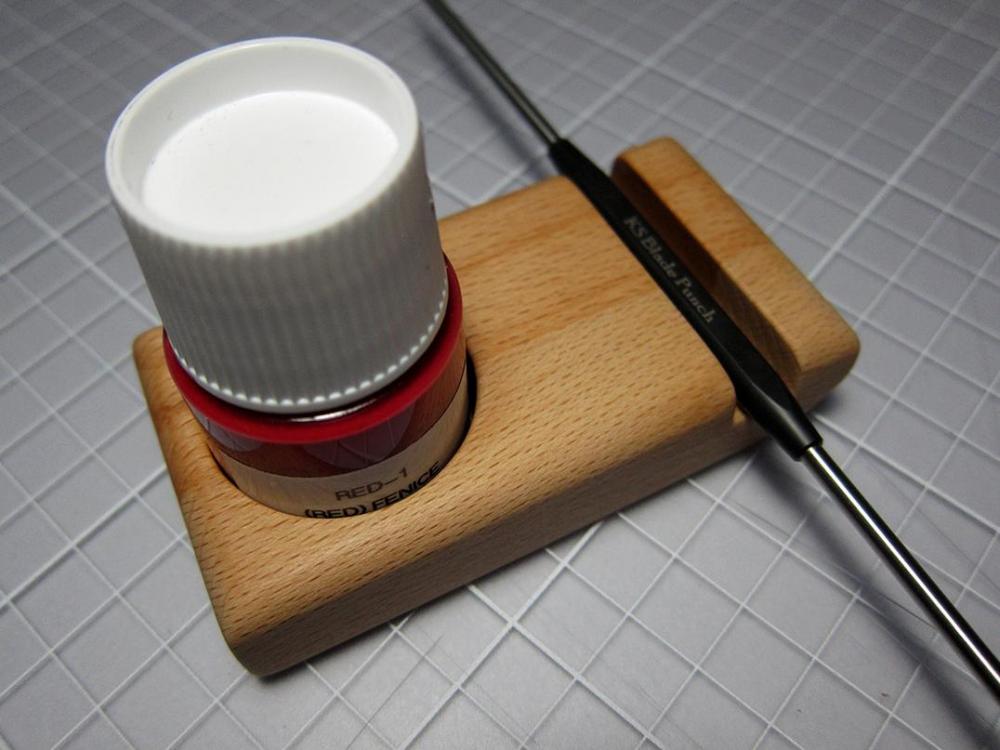
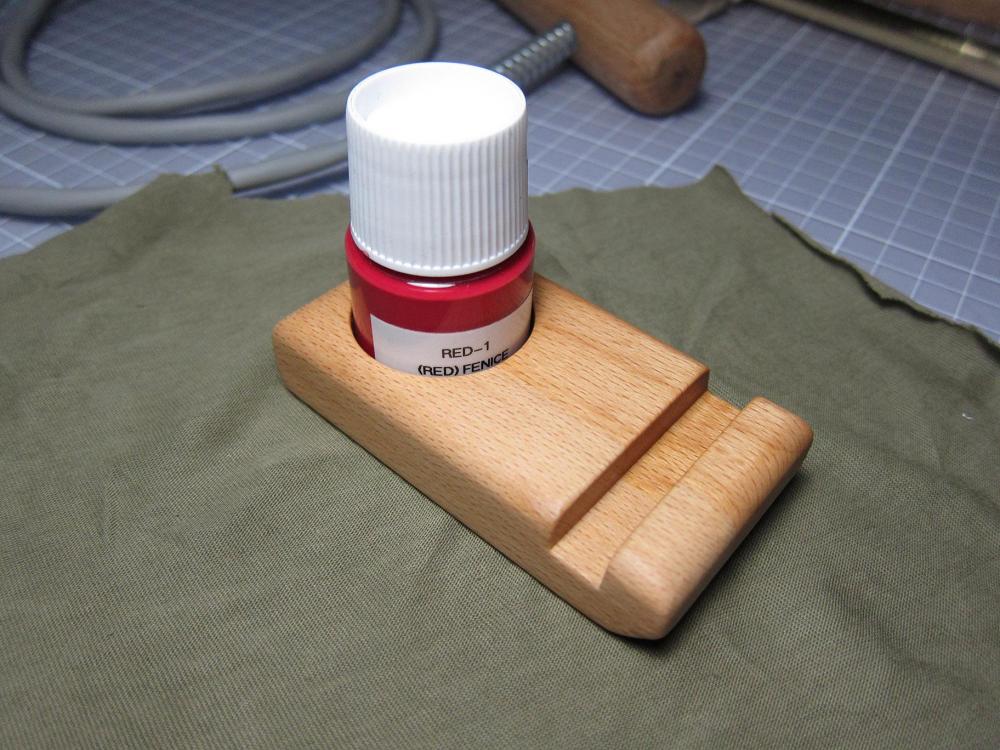
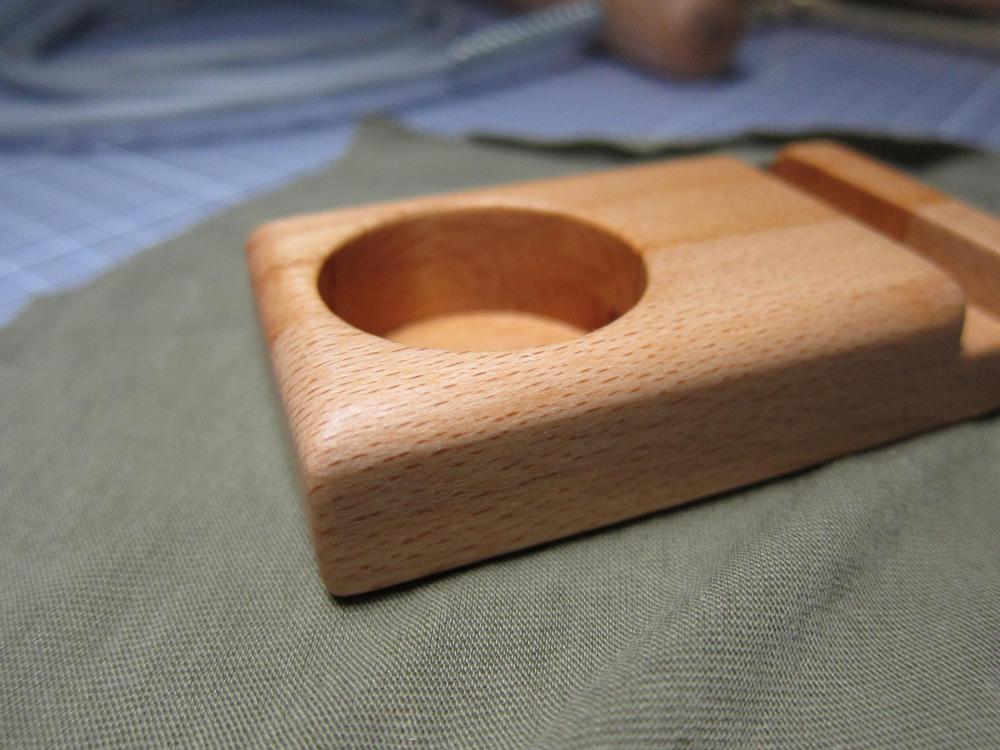
Not sure if you want more updates or not, but I made a holder for my edge paint bottles. I can't decide applicator. Brass or black. (Oil is still drying, hence the reason for the cloth) https://ksbladepunch.com/product/edge-paint-applicator-brass https://ksbladepunch.com/product/edge-paint-applicator ' -
Working area in progress (Will keep updating here)
Danne replied to Danne's topic in Leatherwork Conversation
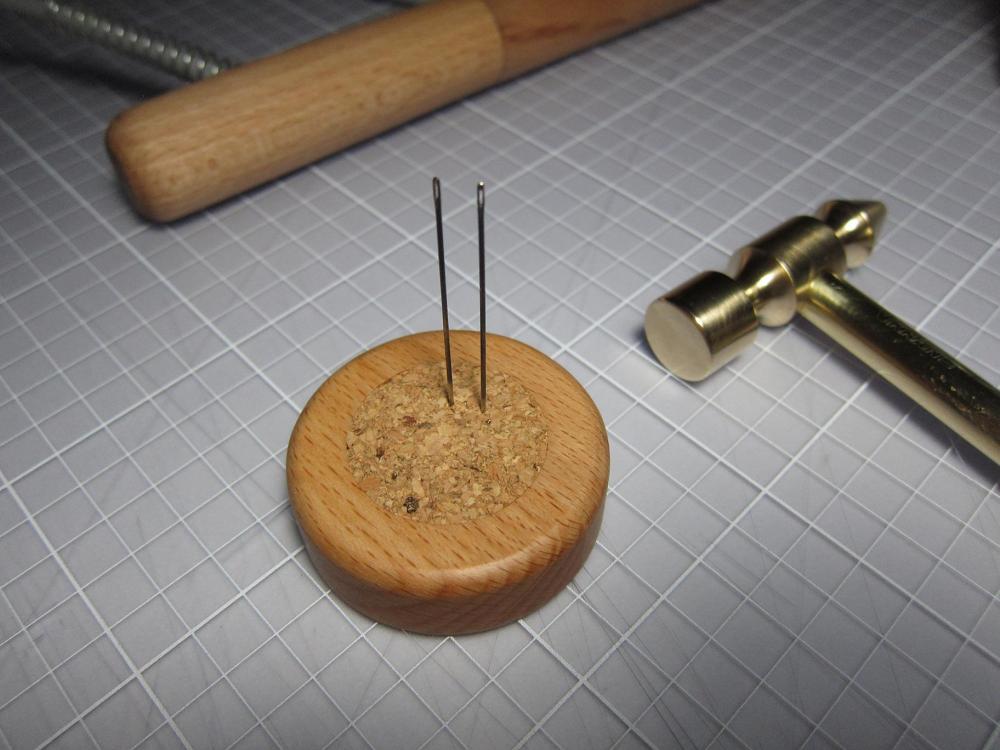
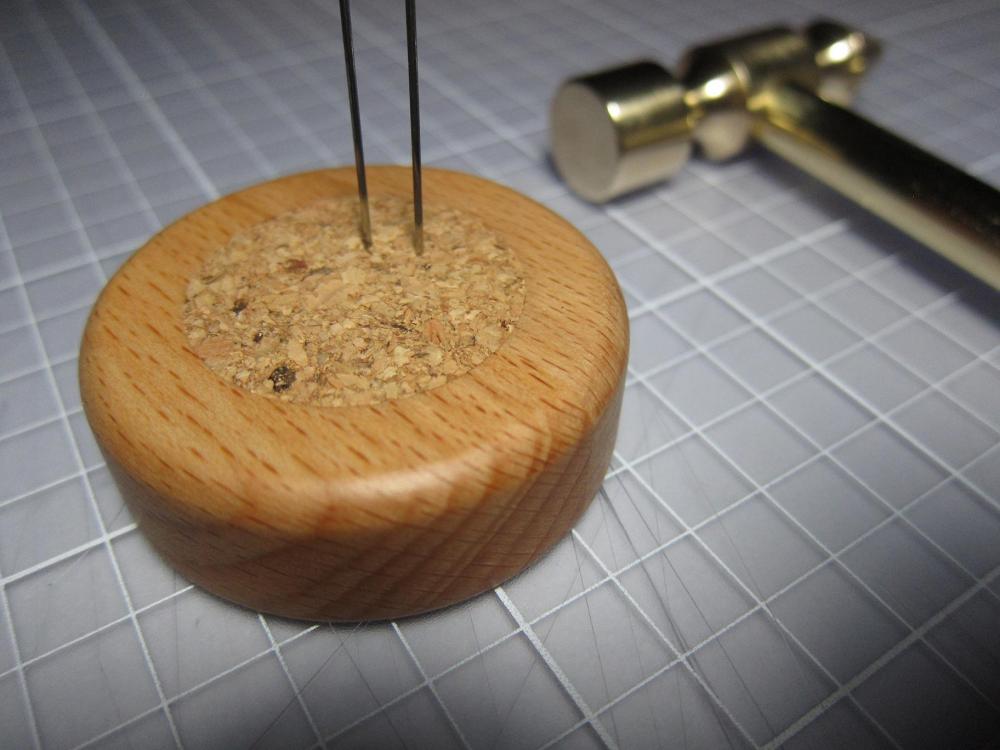
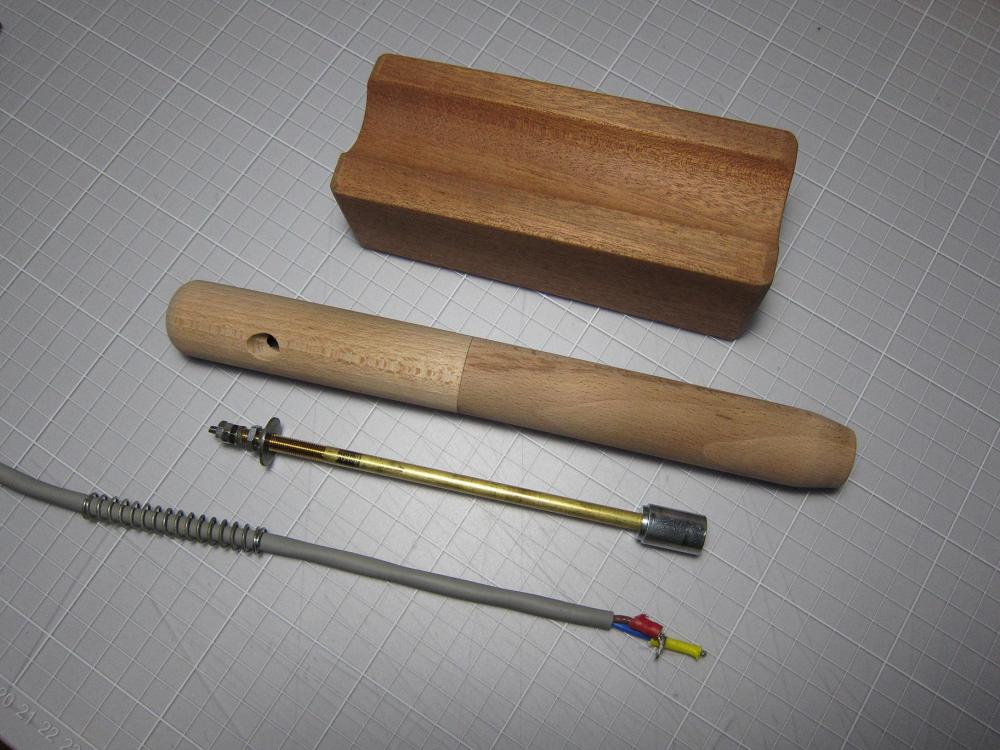
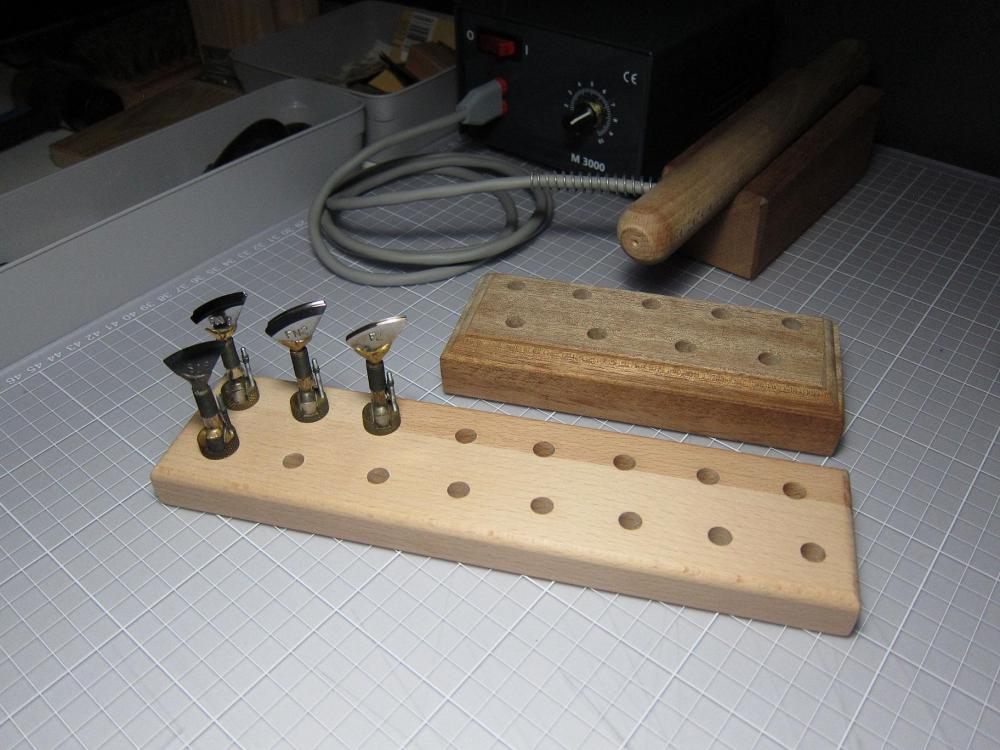
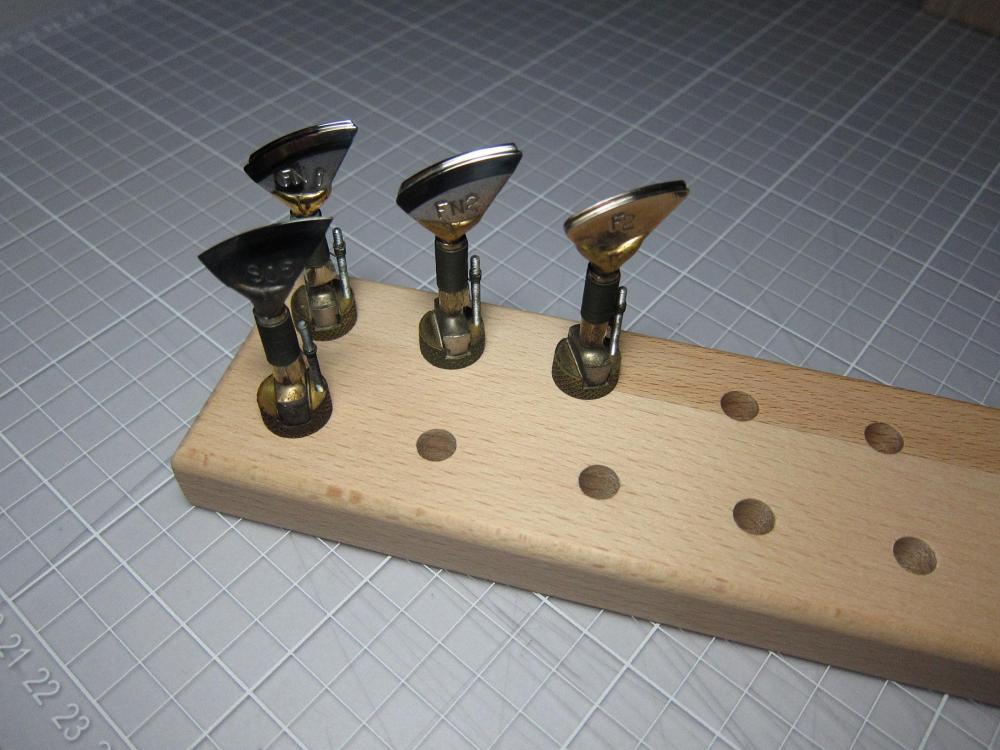
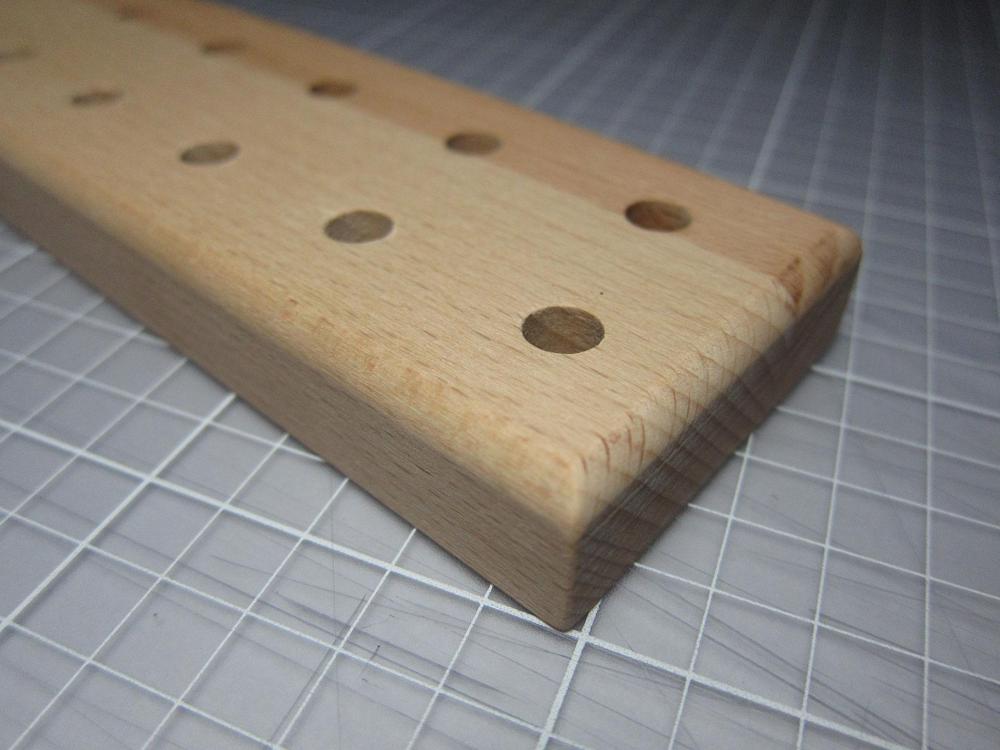
I did regret ebonizing Fileteuse, I didn't like the look. It was not that fun to sand it down... Made a needle stand. -
Working area in progress (Will keep updating here)
Danne replied to Danne's topic in Leatherwork Conversation
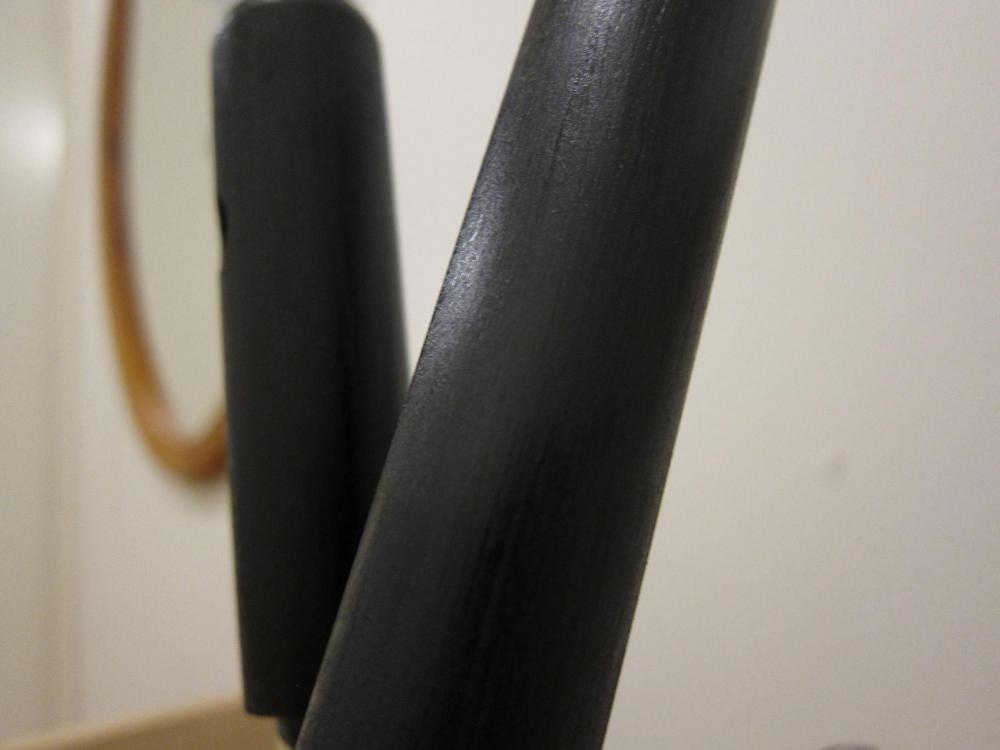
Update: Fileteuse handle and stand sanded and getting ebonized black (First coat is just applied and drying) -
Working area in progress (Will keep updating here)
Danne replied to Danne's topic in Leatherwork Conversation
Thank you, now I have two different jigs to combine them for some constructions (I talked about it earlier in this thread) But the most common is to glue lining against exterior leather at 90 degrees. The reason is because let's say you have 1mm exterior and 0.5mm lining, when you fold your wallet, the the interior leather have to be shorter, which it can't because it's glued, then you get wrinkles at the fold, also in the beginning it will be hard to keep the wallet closed (which is no problem if you have it in a jeans pocket, but let's say a ladies wallet worn in a purse. Here is an example, he glue bonded leather in this case (to remove stretch from the exterior is my guess) and then he will glue lining in place. But it would be the same if you glued let's say veg tan cow and a lining. https://www.instagram.com/p/CQp_mmSlOqh/ -
Working area in progress (Will keep updating here)
Danne replied to Danne's topic in Leatherwork Conversation
The gap is super small, it might look larger than what it is. And it did work awesome with wood glue and wood from sanding. But I didn't get it deep enough, I did fix another small defect on another thing I made, and instead of mixing wood with glue, I pushed down glue and put "saw dust" on top and pushed it down in the glue, and the result was really good. But will keep your solution in mind if I would do other mistakes where it's larger. -
Working area in progress (Will keep updating here)
Danne replied to Danne's topic in Leatherwork Conversation


