Danne
Members-
Posts
772 -
Joined
-
Last visited
Content Type
Profiles
Forums
Events
Blogs
Gallery
Store
Everything posted by Danne
-
New: After use, cleaned but not restitched: Restitched with Xiange Twist:
-
Ps also order the sample pack from Meisi (You get a couple of full spools and also sample packs) and you pay shipping. I think you Will like Xiange Twist, it's a synthetic thread that have a linen look. (I have some photos of products I've used it on, if you wanna see) It depends, if I bartack a watch strap (like loop around the edges) I either tie it inside, och use some super glue before I pull the thread tight, and also some on the back side in the hole. On a wallet I back stitch and some white glue on the thread before I pull tight and also som white glue in the hole.
-
This is no critique. I'm just curious. What type of linen thread is this? Because my experience from linen thread (thinner thread around 0.5mm) is that for example a wallet that have been used 1-2 years in a jeans pocket needs to be restitched if I used linen thread. The thread is this case have been Fil Au Chinois 632. And this is the reason I now prefer to use synthetic thread instead.
-
Make nice straps: https://www.instagram.com/vellealexander/ And he also sell template kits: https://www.vellealexander.com/templates
-
I also melt wax on the edge as the last step and polish. An alternative to bees wax is paraffin. I prefer paraffin, but try both
-
I wouldn't use thread without wax. And there are a lot of options to choose from. I have tried a decent amount of different threads. The ones I use is Meisi linen and Meisi Xiange twist (Poly thread with a linen look) When it comes to linen thread I switched from Sajou Fil au chinois. (Lin cable) to Meisi, because Meisi is a lot more consistent. Some people say that Lin cable is a more durable thread, linen thread is not durable no matter who produce it. Not compared to a synthetic thread. Ps Meisi have a free sample pack with a couple of full spools and a decent amount of smaller "sample size" you pay for shipping. Can be worth to try if you do small leather goods. But of course there are a lot of good alternatives out there depending on the style you are looking for. For example if I would make knife sheats and gun holsters, I would probably have a look at Ritza25 (Tiger thread)
-
Isn't Meisi the producer of RMLS Twist and Yue Fung?
-
I don't know what my version is, we have small bottles here in Europe, and I have used them, we also have the larger 1l bottles. But haven't used them. Fenice products: https://docdro.id/ruxXTCD Uniters also have different viscosity. EP1000 (PU based glossy) EP2000 (PU based matt) Standard and high viscosity EP5000 (PU acrylic based matt) EP Thinner EP Thickener And primers EP Filler EP Full One coat of EP Full and one coat of EP2000 give a rounded nice edge. And a lot of other products like EP sealer, EP fiber glue, EP paste, EP anti-foam, EP fluo, EP metallic.
-
I usually do 5-7 coats. And never used primer. Don't quote me on this, but for example I don't think Nitz use primer for regular leather and alligator/croc and he use mostly Uniters. I think Hermès use Stahl (Might not be the same formula we would get) Delvaux use Fenice, Moynat and Goyard no idea. Also if you look at the edge finish on Hermès products, or Santoni watch straps (IWC) for example, it's not perfect. I would say for example that my edge finish is way better than IWC, but still IWC Santoni straps look way better than mine. So it's important to not only focus on one thing. Sorry, I live in Europe. Campbell Randall sell Fenice in US though. If you would like to mix your own colors, ask them if they can order (if they don't have it in stock) The Fenice section lacquer kit, it's not super expensive, and you get the mixing base colors, primer, a bottle for diluting paint, and also a mixing chart. https://campbell-randall.com/shop/edge-paint
-
I put my vote on Fenice, because I know it works good. Good durability (without primer and just heat on first layer) I can get a good finish with that paint. I also have started to use Uniters a little bit (EP2000) and so far I like that paint also. And I have done tests without primer, and with different types of primers from Uniters. But this question can be a little complicated. All the paints in your list have a good reputation, except Fiebings (This is my opinion, I have never seen a really good result with Fiebings, and I think other brands are better options, no matter how you use your paint. Questions you have to ask yourself. 1. How many coats of paint are you willing to use? (How much time do you want to spend on painting the edges) 2. Are you doing small or large things (For example if I made large bags with painted edges I would probably look into Uniters EP Full in combination with one coat of Uniters EP2000, or try one of the paints from Giardini. 3. Do you need to be able to mix your own colors. (Uniters, Giardini and Fenice give you this option from charts or with Uniters a color reader. And test different brands and see what you prefer to work with, and what is easy to source where you live. Keep in mind that Vernis 600 have an expire date where it goes bad. It doesn't happen with Fenice, I've had some bottles for five years (I do pour them into smaller bottles though, to not expose my larger bottles to oxygen and contaminate them with leather "dust". I have a guide here on the forum for Fenice, and I use that method for Uniters too, it might not be they way you prefer to do it, but check it out if you want too.
-
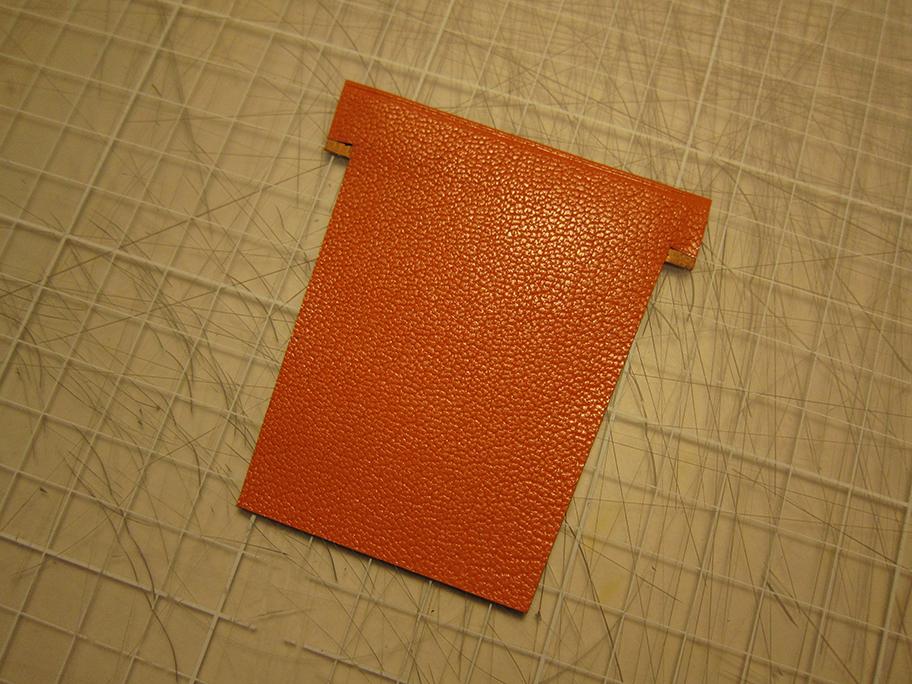
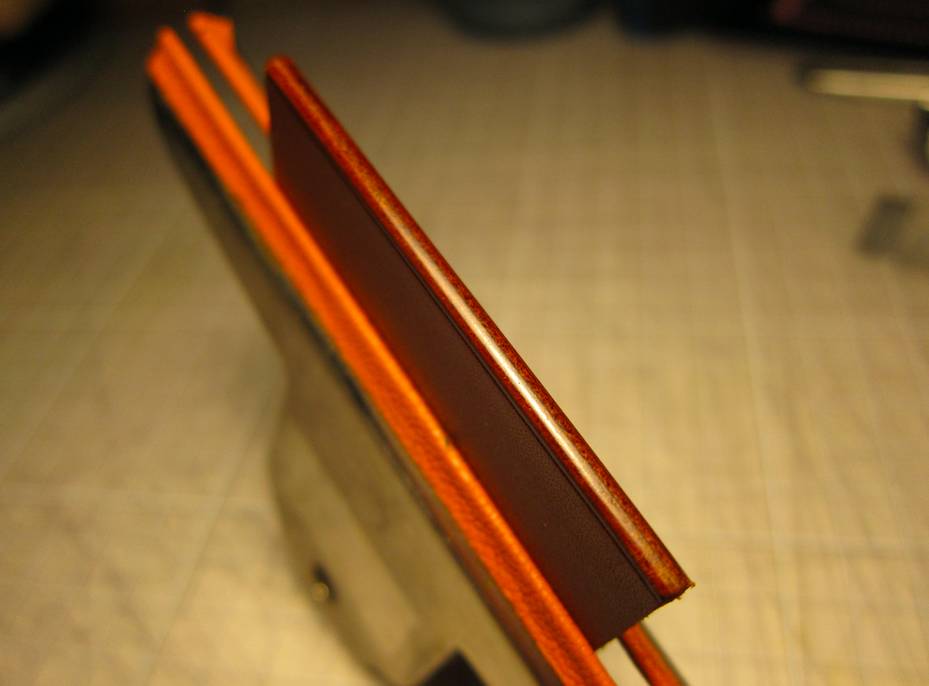
I haven't done turned edges, except just tried the technique. I would do the pockets like this. And the bottom pocket fully folded all the way. And what I did was basically to skive the folded part at the transition. You can have a look at eatsleeplay on Instagram, he have some photos of fully lined folded pockets, which also seems like a nice solution. Even though i see this as a good solution, because it keeps the bulk of the pockets down. (I used leather around 0.5mm here. No problem to go thinner, especially not with a leather like goat that have very good tear strength.
-
There are a lot of producers of this leather. You don't say where you are located, but it seems like you have looked at resellers in Asia. 3q usually have a couple of colors of Haas Derby in stock (send pm) they also sell Weinheimer Waprolux https://www.instagram.com/3q.leather/ Europelle also have some colors of Haas Derby in stock sometimes. https://www.instagram.com/europelle/ Ezer leather sell Perlinger Noblessa in matte version (grade A) https://www.instagram.com/ezerleather/ Here is French company that sell in smaller amounts (Not sure if they sell in larger sizes), they don't tell which tannery, but they say it's full grain. Haas, Roux, D'annonay are examples of French tanneries that produce this type of leather. https://www.instagram.com/p/B70zQIeiBjv/
-
It will thinner compared to making "t-pockets" because you will use fabric around maybe 0.15-0.2mm. Not sure which fabric I would use though.
-
With some fabric. I have never done any construction like this. One important part will be to make sure you use the correct glue/fabric combination for good adhesion. You can also stitch the fabric in place, my personal opinion is that it doesn't look that good with a stitch line under each pocket though. I searched Youtube for an example. (Clip starts at 3:44)
-
Yes, I make the stitching holes on my templates so I get them in the correct place. And when I open the holes with my awl, I can slightly angle the awl if needed to avoid cutting the edge. I wouldn't have that control if I punched the holes straight through with my irons. It's easier to start with punching the holes from the interior after assembled.
-
I punch from the exterior panel before I assemble the interior, and I plan the stitching lengths so it match up with the card pockets. And then when assembled I open up the holes with an awl. The reason I don't punch all the way through is because I skive edges so it would be hard to punch straight through and keep the edge distance.
-
Latest card holder
Danne replied to Danne's topic in Purses, Wallets, Belts and Miscellaneous Pocket Items
Thank you, I actually don't know, because my knowledge about different leathers are limited so I would have to do some tests. I really like mixing different leather. So I think I would prefer an exterior in shell, and interior in goat or alpina calf (epsom) or similar. -
Latest card holder
Danne replied to Danne's topic in Purses, Wallets, Belts and Miscellaneous Pocket Items
Yes, just like Hardrada said, it's lined with chevre. I'm certainly no leather expert, but the strongest part of the leather is the grain. And there is no problem to make a leather in 1mm goat leather (no lining) but if I instead line the pocket and use two layers of 0.5mm leather it will be stronger, and of course stretch less, so the wallet interior will keep it's shape better, and just like Hardrada also said it look better. -
I haven't had that problem. Maybe you need to burnish more after you put on wax?
-
I know there are other tutorials like this, and also tutorials that probably are a lot better than mine. But there are many ways to burnish edges, and I shared my way in a comment in a post. So I thought I share it as it's own post, and I hope it's okay and that someone appreciate it. (I usually paint my edges with edge paint, but have experimented a little bit with burnishing too) 1. Make sure you don’t use too much glue, use water based or solvent based contact cement and a thin layer. If you need, you can prime with a thin layer, and add another. But NEVER a thick layer of glue. Press together really firm. 2. Let dry (time depends on glue) if you don’t let the glue cure, you will push in the glue when you burnish and get a very visible glue line. 3 Flush cut or sand edge flat. 4. Bevel edge. 5. Wet the edge with water (use a brush) to raise the fibres for later sanding, and let dry. 6. (Optional) Crease 7. (Optional) dye edge, I didn’t do this on the test piece here. 8. Wet edge with water and burnish with canvas or other heavier fabric. 9. Sand with 800 grit. 10. Put a burnishing agent on the edge, I prefer Tokonole. And burnish. 11. Burnish with canvas or other heavier fabric. 12. "Burnish" with 1200 grit sand paper (wet and dry) and keep burnish until your sand paper ”clogs up” don’t move it to fresh sand paper. When your sandpaper start to clog up you will burnish, you hear it on the sound from the friction. 13. Keep doing step 10-12 until all imperfections are gone. 14. Melt paraffin wax on the edge. 15. Burnish with a soft cloth (Like t-shirt) The edge is smooth as glass, unfortunately I can’t take any good photos that really show how smooth the edge is.
-
Who Likes Two-Toned Leather Wallets?
Danne replied to Abdo's topic in Purses, Wallets, Belts and Miscellaneous Pocket Items
I think it looks awesome. The combination between the pull-up leather and natural veg tan looks awesome. Clean stitching and cutting. Well done. -
This website seems to be a good solution also, you can upload photos and choose file size, and you get them downloaded in a zip-file. https://bulkresizephotos.com/

.jpg.d60258221c476480a6e073a8805645bb.jpg)


