-
Posts
102 -
Joined
-
Last visited
Content Type
Profiles
Forums
Events
Blogs
Gallery
Store
Everything posted by olfart
-

First Holster - First Anything
olfart replied to cmdavis's topic in Gun Holsters, Rifle Slings and Knife Sheathes
As others have said, it looks great for a first effort! I also like your holster filler! I need to make a holster for mine. -
Got any leather filament?
-
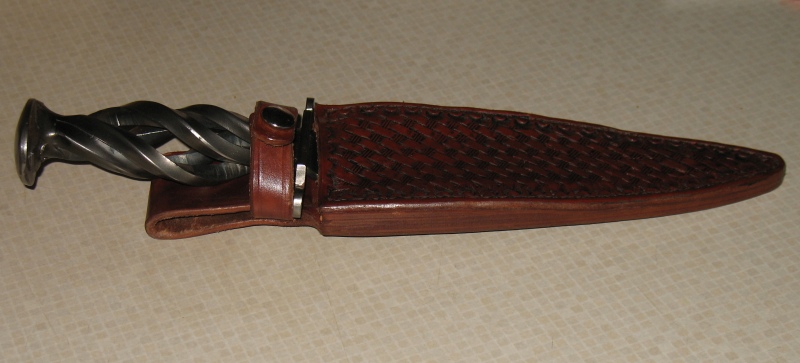
I added a tapered welt to my sheath for the same reason. My knife handle and guard are too thick for the knife to sit flat in a sheath. Here's what it looks like.
-

Hollywood rig for Dan Wesson 357 CO2
olfart replied to plinkercases's topic in Gun Holsters, Rifle Slings and Knife Sheathes
That rig would make any Hollywood cowboy proud. Nice work, plinkercases! -
Ooooh. Well, that's some good info to know. I'll try it on a few scraps before using it on the good stuff. Thanks for the input!
-

Holster and Gun Belt
olfart replied to Rolandranch's topic in Gun Holsters, Rifle Slings and Knife Sheathes
I like it! A LOT! That's some beautiful work.- 41 replies
-
Thanks for the nice comments, JLSleather! Yeah, my lefty friend is also my preacher, and he can be a little backwards sometimes. His birthday is this week, so we'll have the big unveiling in a couple of days. As for the stencil, I've just ordered a roll of frisket. Way back in the previous century I used red frisket for masking b/w negatives to block out backgrounds.
-
Keep in mind as Alpha2 said, you can practice airbrush on anything, even yesterday's newspaper, so you don't mess up leather for practice. If you've ever used a spray gun for painting, it's not that hard to finger out. Try it! You'll like it!
-
Thanks for the kind words, RegisD!
-
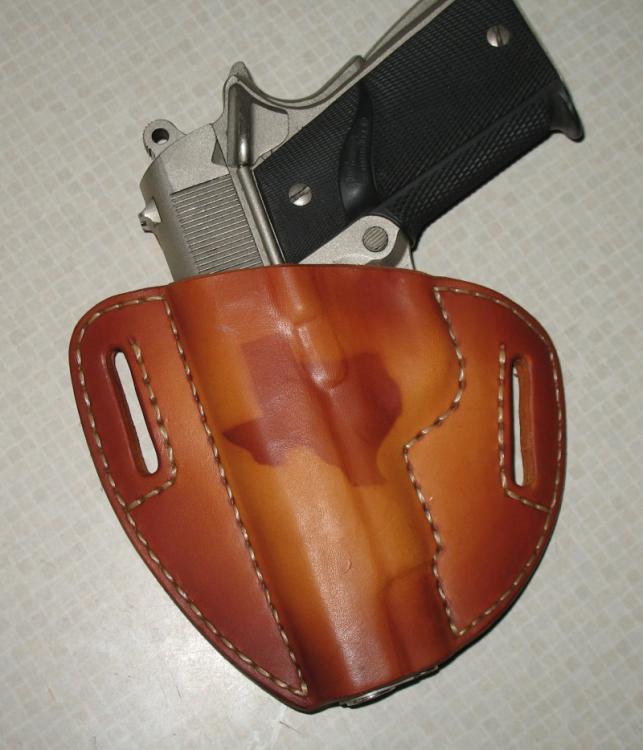
Thanks much for the positive reviews! The Texas image was done with a stencil I made, then laid it on the flat leather (before wet forming) and used the airbrush to fill in the image. Next time I'll try to figure a way to attach the stencil to the leather instead of just letting it lie flat of its own accord. The airbrush tends to lift it, letting some color get under the stencil.
-
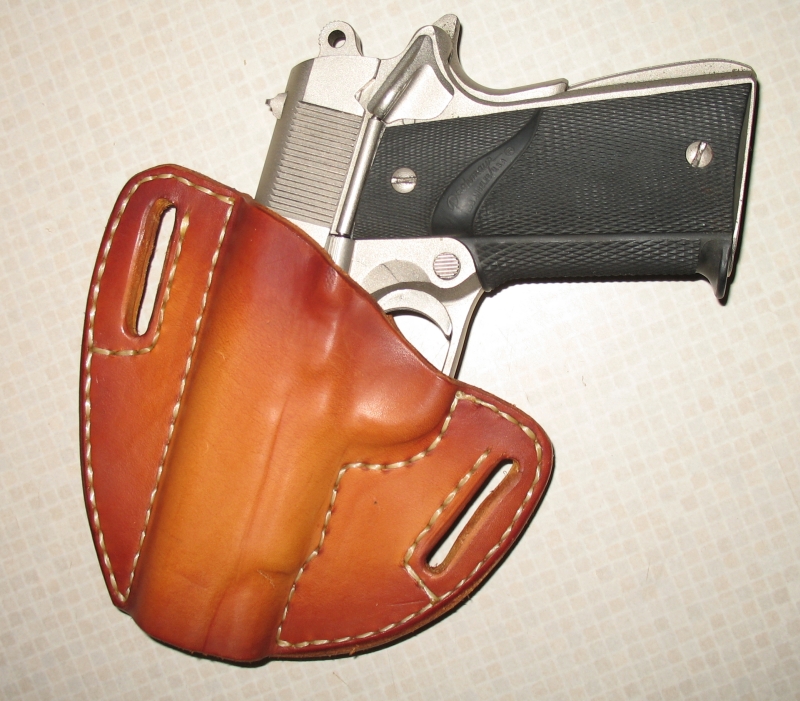
OK, here's another one from the same pattern but cut a little higher on the trigger. Also decided to try my hand at dressing it up a little, but that still needs some practice, too.
-
Blacksmithing is a handy skill to have. Not only can you make your own blacksmithing tools, but you can also make your own leatherworking tools (some of them at least). I've made a couple of hammers, several sets of tongs, punches, drifts, etc., as well as a coal forge and a gas forge. For leatherworking I've made a couple of punches for belt loops in holsters, a freehand stitching groover and a beveling tool, mostly out of scrap metal from the shop.
-
I don't do video, "fancy smancy" or otherwise. On a metered connection, 8gb per month, so I don't do much wandering around on Utube. I just downloaded your free pattern and went to work. Thanks for the pattern, by the way!
-
Yes, I had thought about that. This one was made strictly by the pattern from JLSLeather, but I'm planning to make a few mods to the next one.
-
Thanks, guys! This one's for a lefty friend, but his birthday's not for another couple of weeks yet, so I may just make another one to see if I can do it better.
-
Thanks to JLSLeather for the pattern, here's another holster. This one was an experiment to try the sunburst effect dye job. While it's a long way from perfect, maybe I won't be too ashamed to let it out of the house. It's unlined 7/8 oz veg leather with artificial sinew stitching. Dyed with British Tan in an airbrush, then trimmed with darker British Tan/Mahogany mix around the edges. I think a "lazy Susan" (and a LOT more practice with the airbrush) might help me to get the sunburst more even.
-
You can probably find a blacksmithing group (club) near you where you can learn blacksmithing for a lot less money. Then you can spend that money on forge, anvil, tools, etc. or the materials to make them.
-
I've been removing splinters (wood and metal) from my hide for years with 5 minute epoxy. Works like a champ.
-

Western Holsters and Adjustable Sights
olfart replied to bradkincaid's topic in Gun Holsters, Rifle Slings and Knife Sheathes
How about a plastic/Kydex sight channel stitched and/or glued into the front of the holster? -
If there's a blade tension adjustment, you might try reducing the tension to the lowest point it will still cut the leather. Or if you're up for an experiment, put one of the new blades in the oven at 400 degrees F for 30 minutes, then let it cool outside the oven. That should reduce the hardness and make the steel tougher.
-
My guess would be that the manufacturer changed sources for his steel supply somewhere along the way, and is not tempering the blades after hardening. I'd complain to the company that makes them and point out the problem of shattering edges.
-
Such a buckle would need to be waxed or oiled regularly to avoid rust, but I agree it would look nice with that belt.
-
I've found that solid waxes (beeswax, carnauba, etc.) work best if the tools are heated a little (hair dryer is plenty of heat) before applying. This serves two functions. It eliminates any water that didn't wipe off, and it ensures getting the paste wax into all the small nooks and crannies in the tools.
-
I'll preface this by saying I have no experience with carving, but I have read a book or two about it. What I'm seeing in the above image is the beveling tool not being moved smoothly. I'm seeing individual imprints of the beveling tool, which indicates to me that you need to move the tool in much smaller increments so they overlap into a smooth line.
-
I suspect my problem with the Flex Seal is extended exposure to UV.


