-
Posts
53 -
Joined
-
Last visited
Content Type
Profiles
Forums
Events
Blogs
Gallery
Store
Everything posted by Sperrier
-

Paddy Rock Trucker
Sperrier replied to AndyL1's topic in Purses, Wallets, Belts and Miscellaneous Pocket Items
I love the color, hardware, and entire piece, bravo, well done. I have not put a liner in that few projects I made because I love seeing the back side of the leather showing through. But what you did here looks so clean and professional that I will add that to my design considerations. Did you use an airbrush to apply the black to the edges?- 10 replies
-
- wallet
- long wallet
-
(and 2 more)
Tagged with:
-

First shield thats halfway presentable
Sperrier replied to Rfd2117's topic in Historical Reenactment
Just a frinedly piece of advice, cover that shield with something visisble when you store it. i keep kicking/tripping over mine. -
I am with you. I got interest in leatherworking at 45. So it is never to late as long as it makes you happy.
-
Thank you for sharing and welcome to the forum. I loved the bag.
-
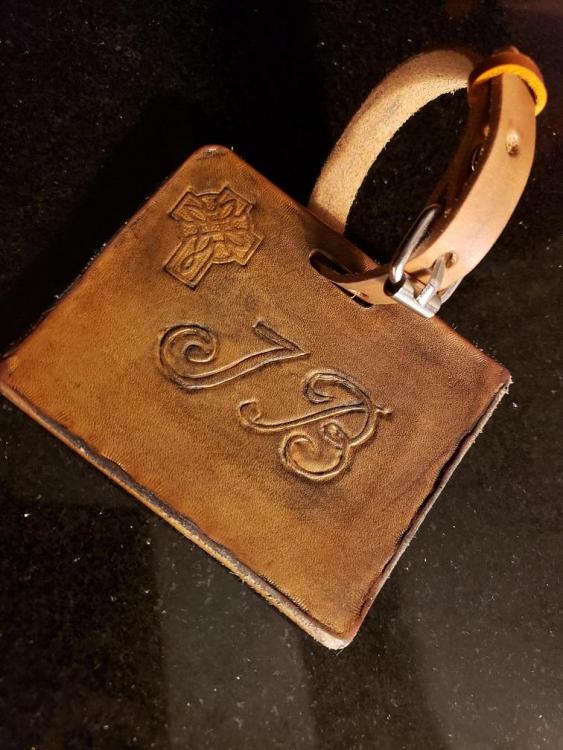
A friend of mine asked me for a luggage tag I got at an IT vendor conference, which i gave him It inspired my to go home a make him a custom one. i tried to make it look old and well travelled. This was my first attempt at cutting a strap and making a mini belt. All in all not bad for a few hours work and he loved it. it was terrible difficult to burnish the ID window area as the leather moved around and the corners e impossible, any tips?
-

Passport Covers
Sperrier replied to Sperrier's topic in Purses, Wallets, Belts and Miscellaneous Pocket Items
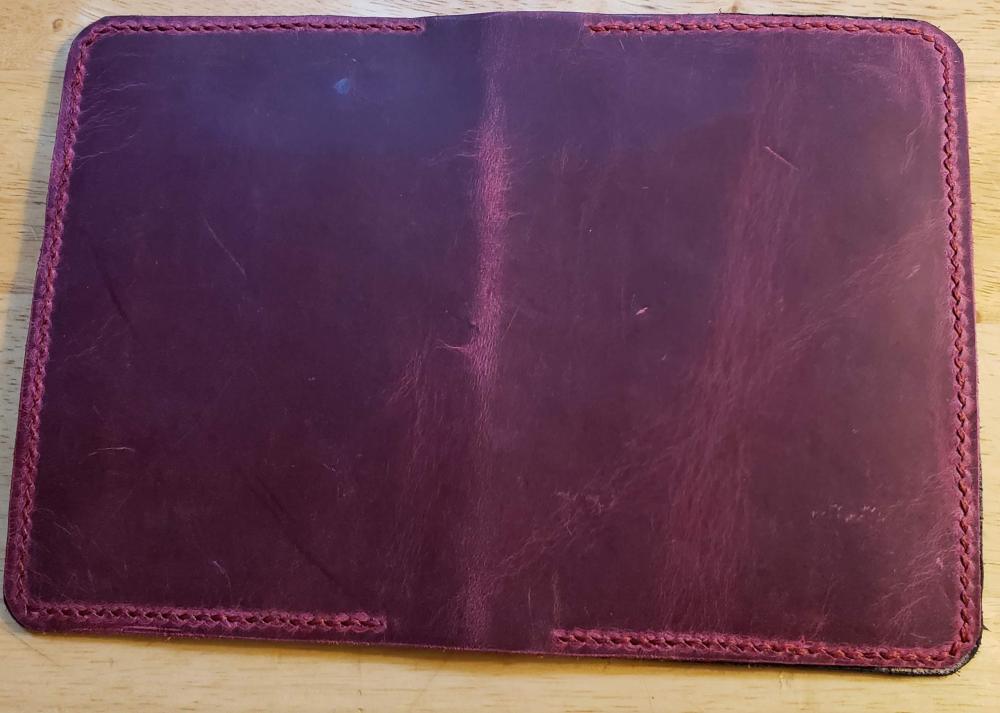
I did finsh the edges after I took the pictures to make them look more professional. i do not know why I did not take new photos. -

Passport Covers
Sperrier replied to Sperrier's topic in Purses, Wallets, Belts and Miscellaneous Pocket Items
-

Passport Covers
Sperrier replied to Sperrier's topic in Purses, Wallets, Belts and Miscellaneous Pocket Items
-
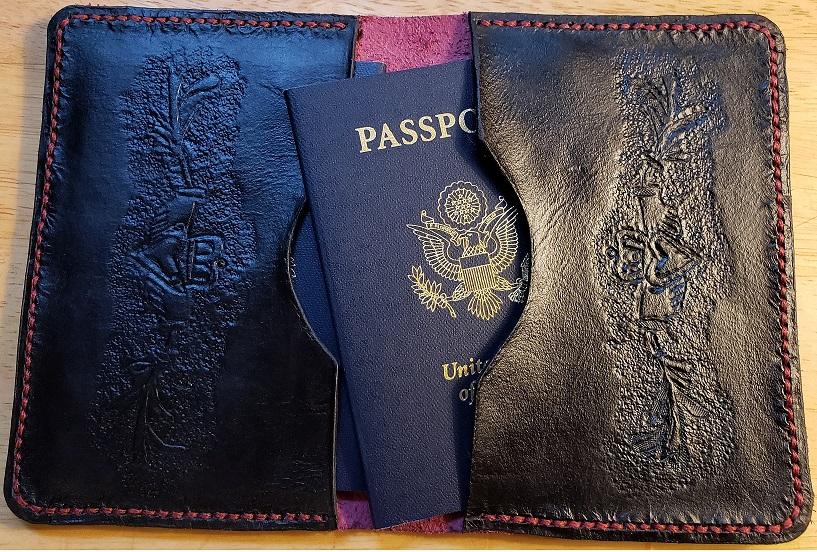
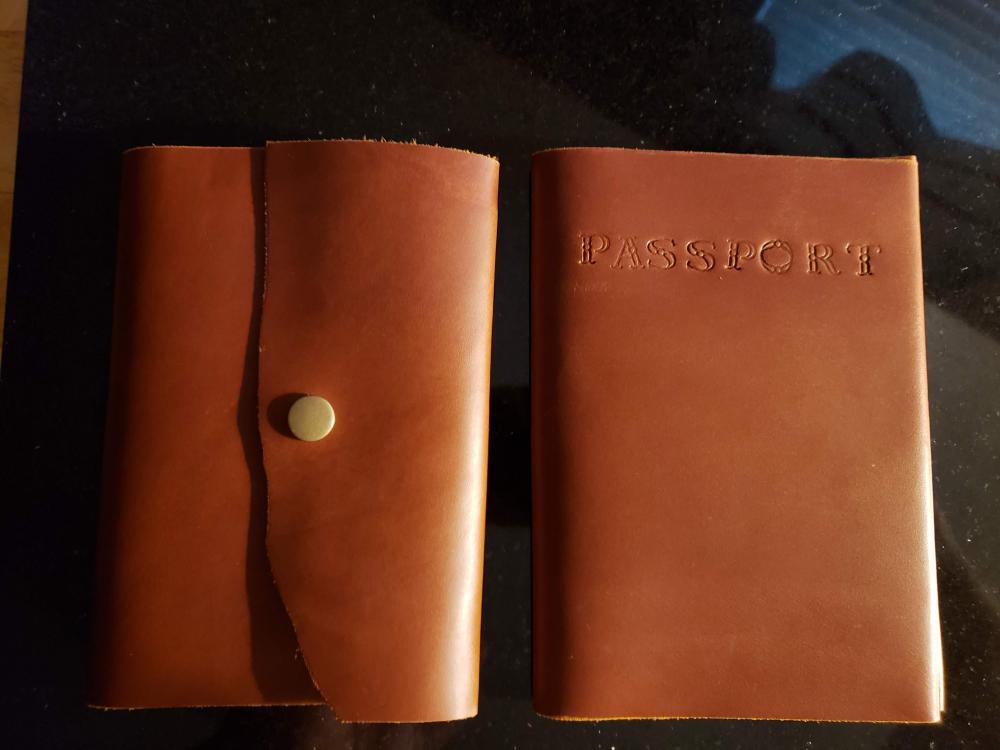
I travelled to Canada for a fishing trip and was inspired to make a few different style covers out some beautiful leather I got for father's day. I hope you like them.
-
stunning work. i am truely impressed with it all. Thank you for sharing.
-

Western Computer Bag
Sperrier replied to farns005's topic in Purses, Wallets, Belts and Miscellaneous Pocket Items
i love the detailed tooling and the coloring. It is a very impressive and only shows how much more i want to learn. Great job. -
Nice detailing and good alignment, Lawful good.LoL I love the design and coloring especaily on the center cup. These are now on my todo list of future projects as with a pouch for holding the dice that fits inside the cup. Thanks for the inspiration. Any tips you want to share on making a cup as this will be my first?
-
might i suggest a matching arm guard to complete the look. It looks great, well done.
-

Leather work swap who would be interested?
Sperrier replied to Rossr's topic in Leatherwork Conversation
I hope I can get involved in the next round. The rounder looks great btw. -
-

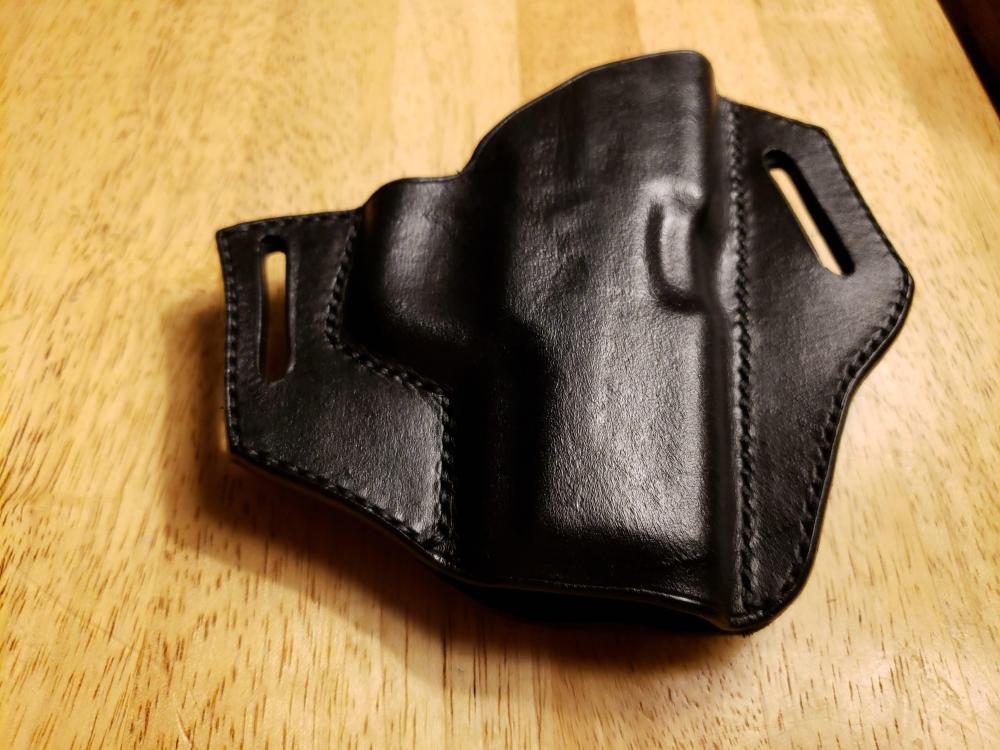
holster Walther PPS M2 Pancake Holster
Sperrier replied to Sperrier's topic in Gun Holsters, Rifle Slings and Knife Sheathes
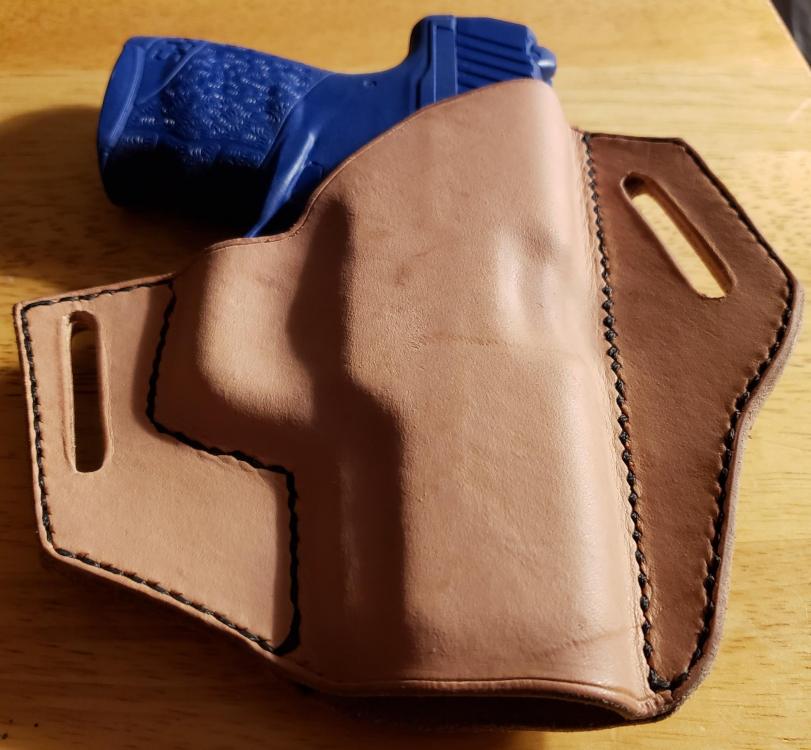
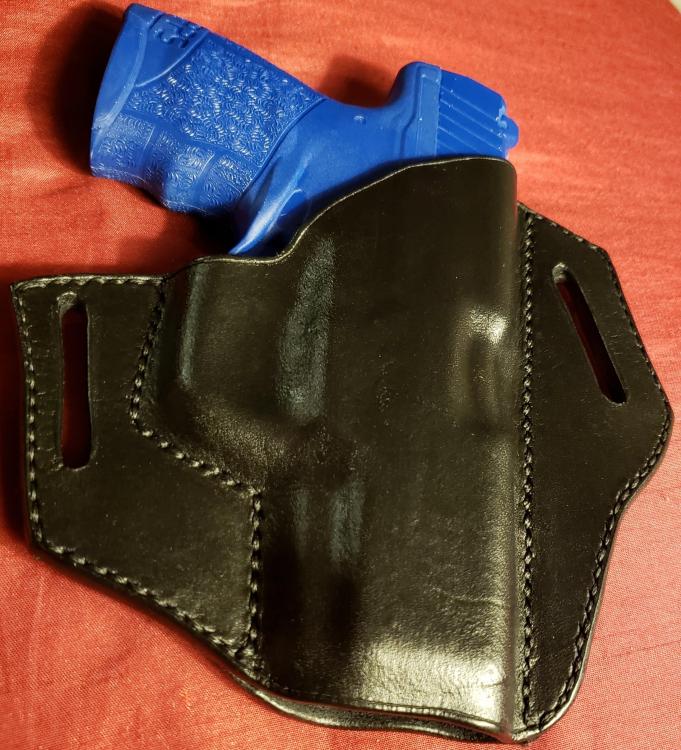
i did burnish the the edges. i had the outside looking like black glass. I burnished them 2 times, once before wet molding and then after it dried as the wet molding had undone some of my edge work. I cannot tell you how many people stressed the importance for professional looking pieces to have a nicely finished edge. Since I was paid for this piece, i wanted it to look its best. Thanks for the advice on the belt slots, i did not get them to same level as the outside edge. -

holster Walther PPS M2 Pancake Holster
Sperrier replied to Sperrier's topic in Gun Holsters, Rifle Slings and Knife Sheathes
I totally agree with you on the outer stitch line, it was very close when i was sanding to match up the to sides after they were glued. I had the same concern with mine fitting so i first made a paper version and moving the lines in closer because paper is thinner and used staples on the stitch lines. That is how i caught my problem and added room on the trigger side stitch line.. The belt slots do have some burnish but it was difficult to get in there like the outside, any suggestions? My next hurdle is he wants me to make a few more and figuring out what to charge. -
it is a very nice piece.
-
My very first holster and my very first commissioned piece. I think it turned out good. The customer loved it. I have to pay thanks to JLS holster patterns and instructions, the many hours of youtube videos, and the Tandy Leather holster/knife class to help inspire this work. Tell me what you think.
-

Mouse Pads
Sperrier replied to Sperrier's topic in Purses, Wallets, Belts and Miscellaneous Pocket Items
I saw those but wasnt sure how well they would adhere to leather. I will use those next time as it does take alot of glue to cover an 8"x8" or larger area. -

Mouse Pads
Sperrier replied to Sperrier's topic in Purses, Wallets, Belts and Miscellaneous Pocket Items
FYI . instead of suede backing, I used black craft foam sheets available at any craft store or walmart. I had no issue with the contact cement adhering to it and it looked more like a typical mouse pad since it does not need sewing. -

Mouse Pads
Sperrier replied to Sperrier's topic in Purses, Wallets, Belts and Miscellaneous Pocket Items
it works without issue. i used super sheen to seal it which I thought might help the light reflect.


