All Activity
- Past hour
-
Glad someone else has seen it too, I was going to replace the rivets with copper rivets but thought no they are a pain in the rear end to remove maybe damaging the saddle webbing in doing so making it a much bigger repair. So I decided to use a method that I had learned from repairing some race exercise reins for a American trainer who was training in the Middle East when I was there, the bit end was attached with Chicago screws, must add also the reins were double thickness lined with a strong metal insert bent around to make the bend. That's what I used for the billet with a good thread locker knowing the restitch was enough to of a repair in its self. Also forgot to mention who ever had replaced them previous billets before had stitched across the billet as well, that is a big no no. On the saddle you repaired I would think in a saddle of 25 years plus would have had the girths billets replaced a few times over the years before, but you never know sometimes. Just don't like the thought of a bigger hole in the saddle webbing that is needed that's why I checked before that the webbing was still okay and ran it by the tack shop owner who then contacted the owner of the saddle that they wanted stitching and rivets which they did also showed them where it had failed where previous repair had been stitched across the billet, yes that is where it had failed. Hope this helps JCUK
-
I'm always amazed and saddened at the same time. Knowledge that was commonplace and common sense for literally centuries has been lost in just a few generations. Higher learning they call it. We are smarter now or so they say and they actually have people believing it. Simple wax and paraffin were household staples and used for hundreds of common things we are led to believe need specialized products today.
- Today
-
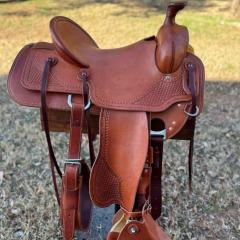
I recently encountered double cap rivets on the webs of a 25+ year old dressage saddle that was stamped Continental Walsall England. My online search didn't turn up anything specific about a maker. The client was the original owner of the saddle and I believe these were the original billets. The billets were machine sewn and I suggested that the rivets weren't necessary with hand sewn billets. She wanted the rivets. I guess they look strong. I used #9 copper rivets.
-
oh yea, you could harden that up, and it would be just as effective. I'll give it a pretty cool too.
-
Most of those arent soldered. I doubt you would need to in this case, there is not a lot of weight on it. But if ya want to, then tin them first before putting them on the wallet, then it's just a matter of touching a hot iron to them for an instant. Beware, solder isn't the same color, so it will show, so you have to be careful tinning just the seam.
-

spring flowers and good food
chuck123wapati replied to chuck123wapati's topic in All About Us and Off Topic
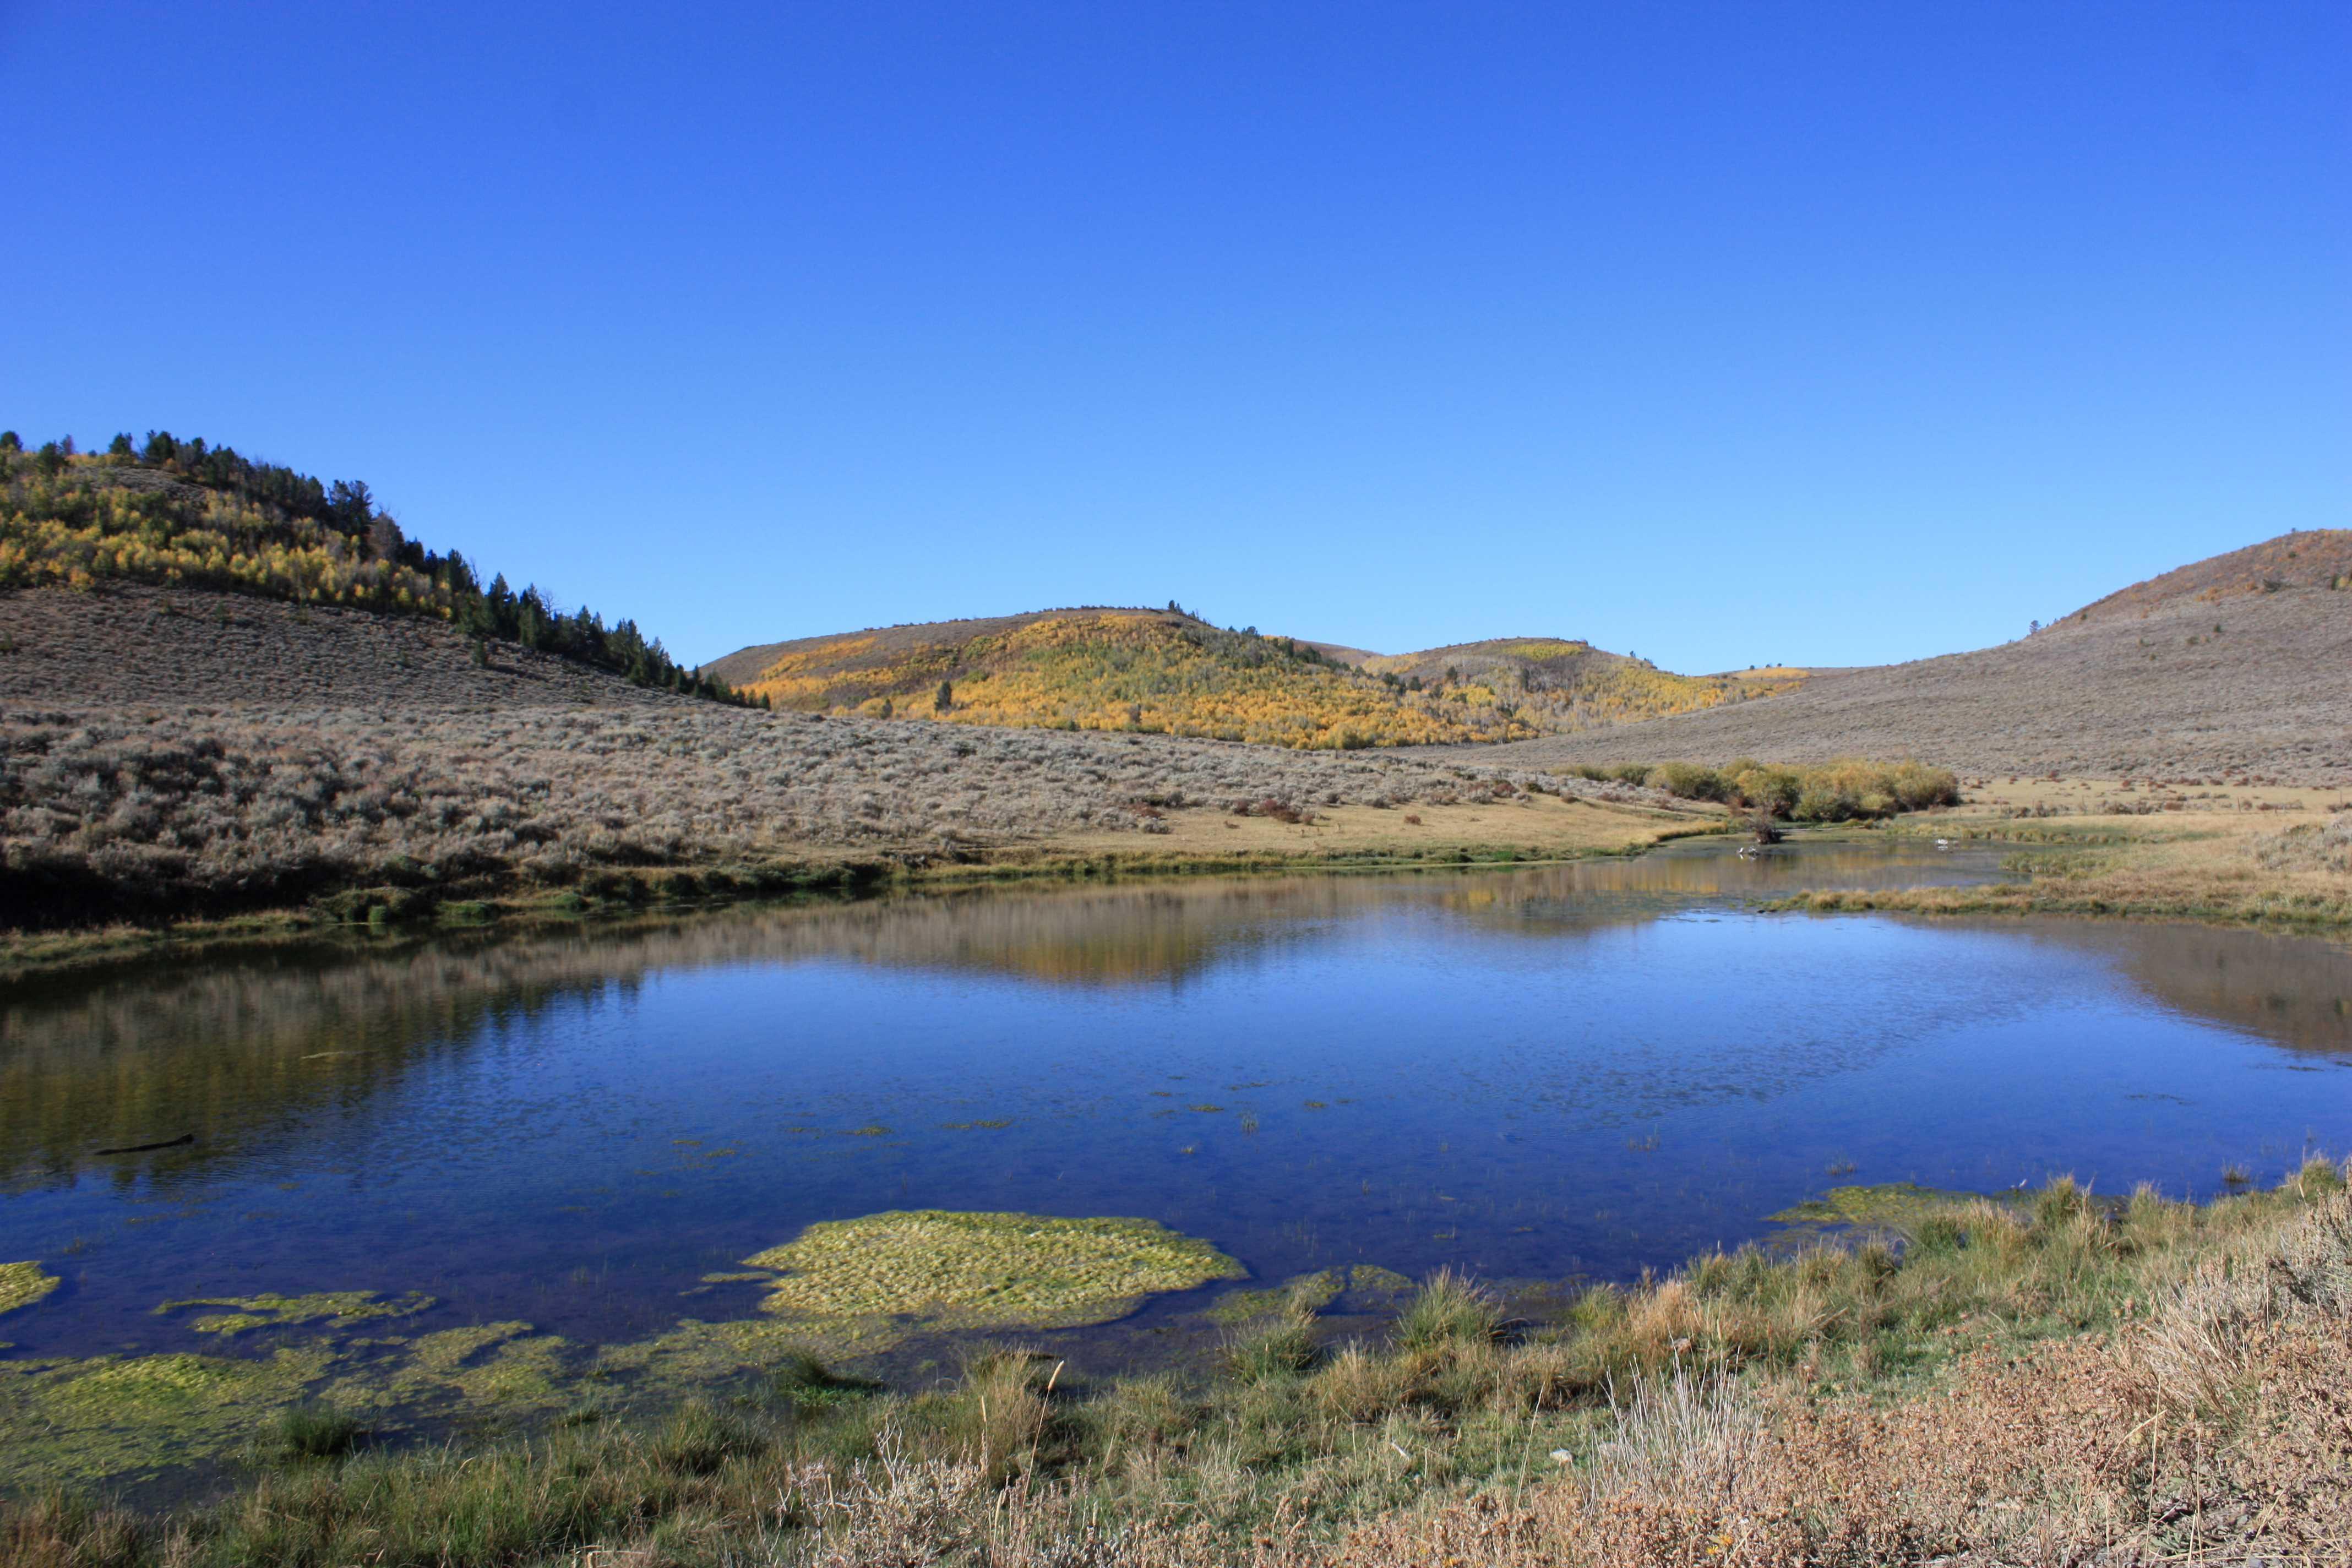
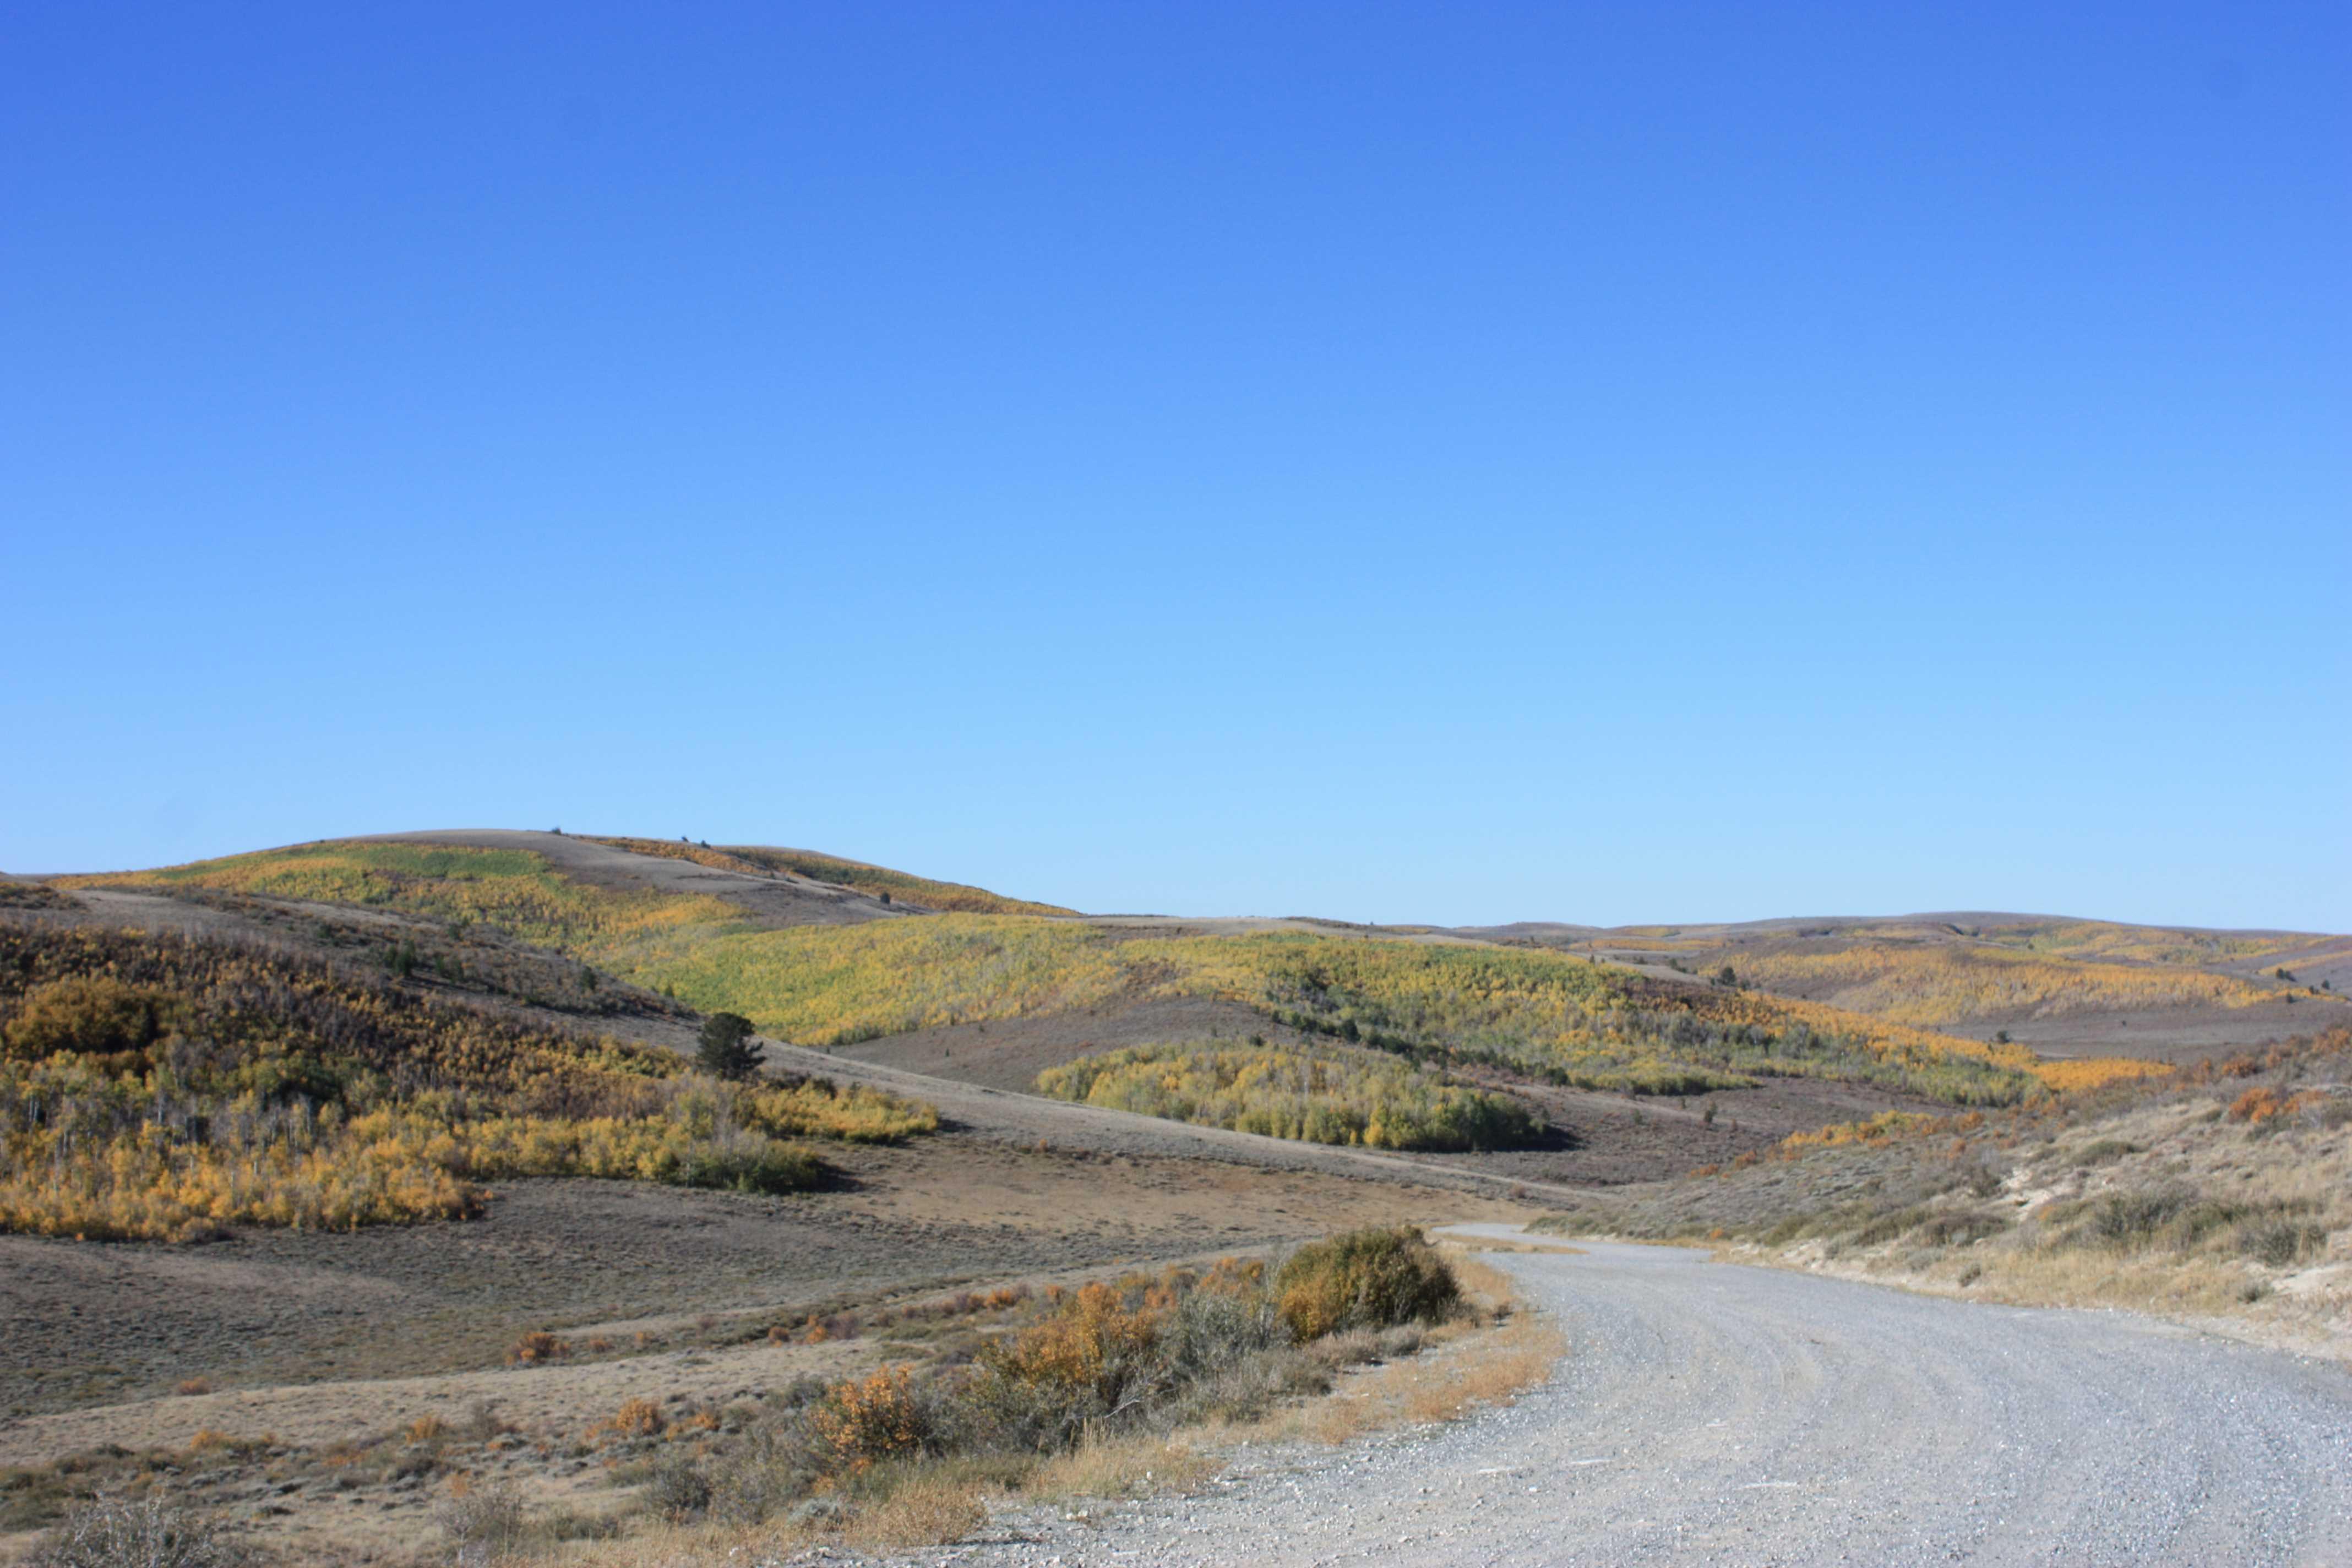
took the burb out for her shakedown run, it was a beautiful day yesterday, only in the 60s but no clouds and the leaves are changing big time lol. did you know Quaking Aspen stands are really one huge living organism not separate trees like pines and such. They grow from the roots of an existing tree so are all interconnected and actually the same living organism. You can see it in fall, as the colors change each stand changes at slighty diferent times and colors.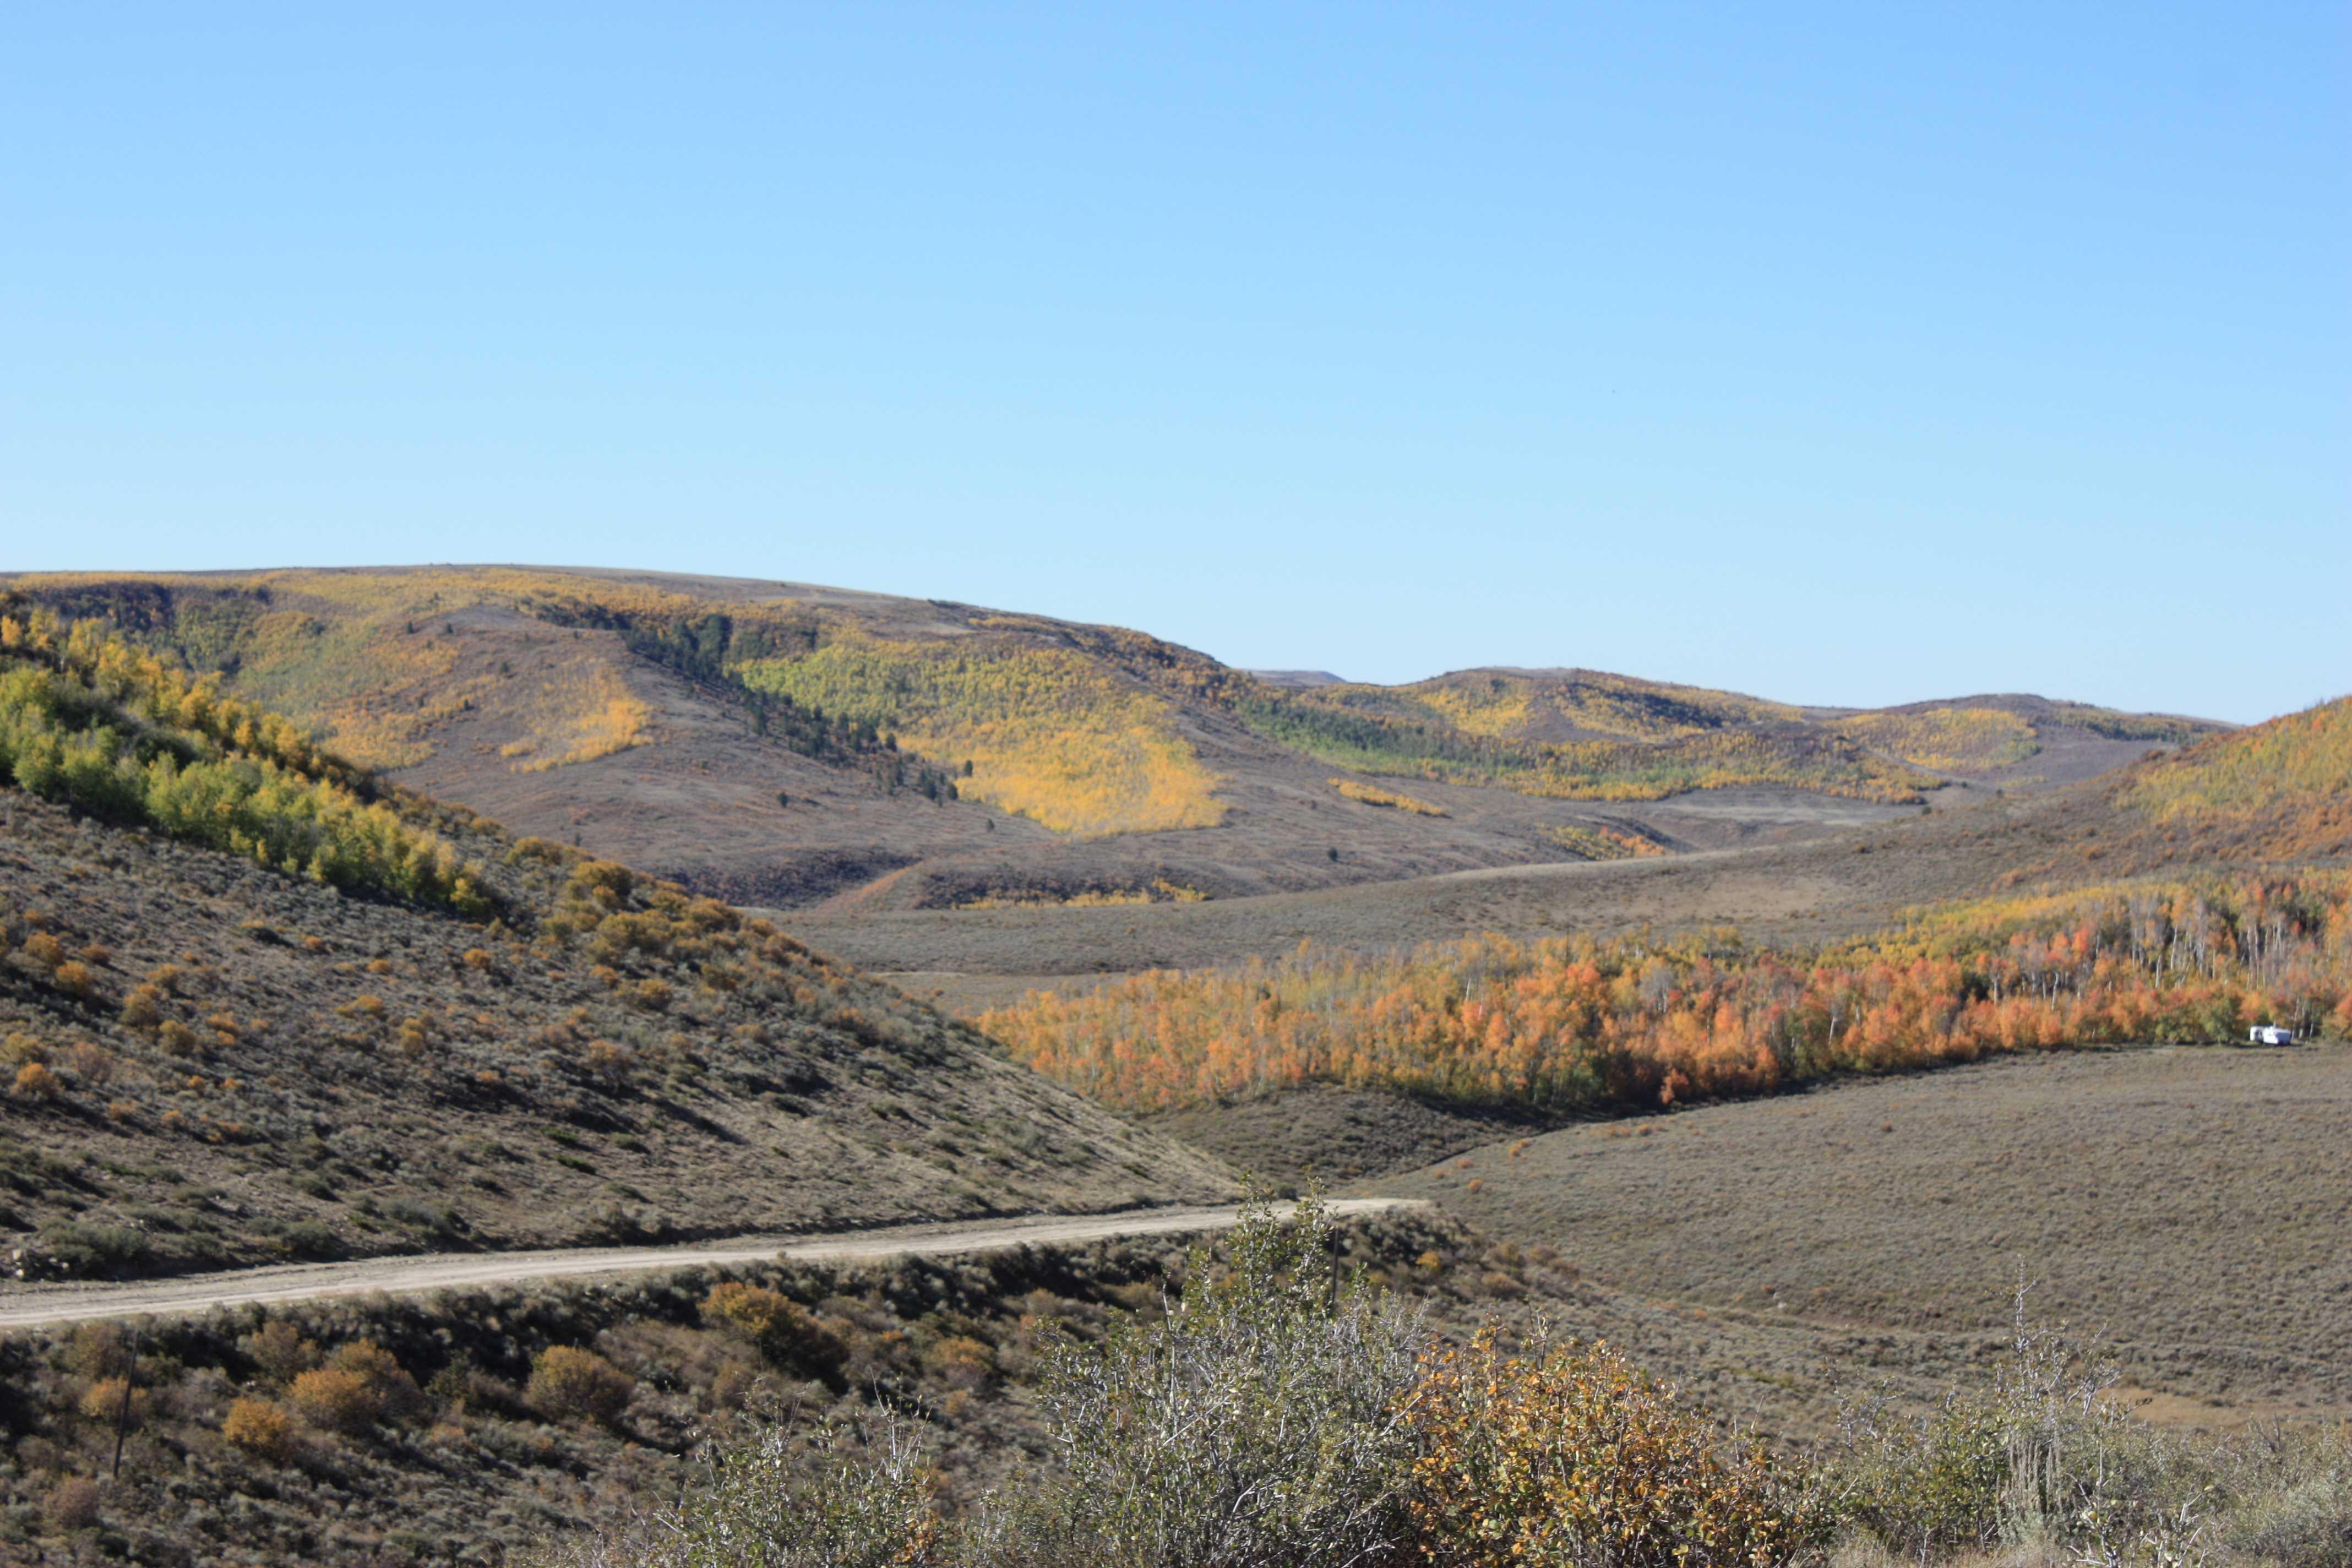
-
I remember scrolling past the post you quoted in the "All Activity" stream. It was there.
-
nfo and Feibings Golden Mink Oil its a water proofing and conditioner for outdoor gear.
-
On people not smoking.... maybe 1/3 of the people I've made pouches for in the last few years have now given up! Running joke is if you want to stop smoking buy a pouch off me
-
They look quite good well done, nice colours too 👍 I've stopped making tobacco pouches, no one is buying them or ordering them, which is no surprise considering the price of tobacco here in oz , anywhere from $70 to $ 120 for 50 grams. Glad I don't smoke HS
-

Snapshot 1 (9-14-2025 8-56 PM).png
Handstitched commented on LokiLeathers's gallery image in Gallery- Our Leatherwork
.png.acad8592b8808df46bcf437236c72272.png) So love the Harley belt , that took a bit of work 😀
So love the Harley belt , that took a bit of work 😀 -
Ah, I just noticed the date in your quote, I missed it before, my bad. Makes more sense as I thought it odd that you being a mod and all would reply to a 13-year old post. But it did seem funny at the time.
-
 CrookedCreekTack joined the community
 -

Is The Dot Snapmaster Worth It?
bruce johnson replied to Joon1911's topic in Hardware and Accessories
Actually there was a post yesterday to this thread from Ahahn about pull the dot dies for a hand press. I quoted and replied to that. I don't see the post now. My fear now is that I my have have deleted that reply accidentally as I quoted it (most likely), or it was deleted by the poster (less likely). -
 jaysleatherwork joined the community
 -
Anybody headed to Wichita Falls for the Boot and Saddle Show? I'm finishing a saddle to take and will post some pictures soon. Randy
-
 ferrissteve joined the community
 -
CREALTY 40W LAZER AND CUSTOM ENCLOSURE
ferrissteve posted a topic in New and Refurbished to Like New
I've got a new 40W Crealty Lazer Cutter/Engraver. I also have a custom metal enclosure made specifically for this machine. Also comes with a better/updated honeycomb tray. I've got 1500 into the whole setup - was never used as the project went a different direction. 1050 shipped CONUS (these are somewhat large boxes). Would also meet buyer in person - located in KC, MO. Unit was opened to look over but never turned on or setup. Its for all intensive purposes brand new. Steve -
 Roperking joined the community
 - Yesterday
-
I use beeswax on my thread to help reduce fraying, needle tips and awls to ease the stitching, on my hole punches and corner punches. I don't use clicker dies, but if I did, I'd use it on them. In addition to being a lubricant, a small bit of beeswax on the fingertips aids in keeping my grip on the sewing needles, too. I also sometimes use it on my edges, or to slick the flesh side when it's needed. I have seen it used as a finishing coat, as well, but I haven't tried that myself, yet.
-
The design is a pretty simple one but personally I would check what products are designed to meet the safety standards related to fire clothing and equipment before applying anything. I am sure their are standards to cover-off any and all things a fire fighter has on their bodies. Also ensure the leather thickness and sewing thread meets those standards. This for me work be a project best left to those certified and insured to do that type of work. kgg
-
Hey Bruce, is that a record - 13 years to answer a question?
-
Thank you. The thickness from the head to the base of the Chicago screw including the silicone washers and the wallets leather is a touch over 1/4" at 0.2814961" or 7.15mm. Personally I like 6 stitches to the inch. kgg
-
When I'm soldering anything very close to plastic or leather I wrap a piece of wet cloth around the item, just slightly past the area to be soldered. That keeps the rest from getting too hot
-
You could. That would have to be done once it was through the leather. Depending on the heat source it could be a challenge to not singe the leather
-
 Texas Leatherworks joined the community
 -
-
you could solder/braze or whatever to join it and make it more secure
-
You can see on the bottom center that it's not joined in any way. Just bent into place. Easy to duplicate since it doesn't need or have any strength.
-

Hello from Bantoro – Handmade Whips & Leather Gear
AlZilla replied to Bantoro craft's topic in Member Gallery
Welcome aboard. Whips interest me but by the time I look at the work and time involved, I just don't see myself going down that rabbit hole. Looking forward to your contributions.