

All Activity
- Today
-
 My best suggestion is that the needles are wrong. There have been an international shortage of the correct needles for those machines, and my guess is that the previous owner tried to buy and use some non original needles from another outsole stitcher. Where are you located in the world? perhaps some member near you have an original needle that you could try. I recently bought a small pack of needles from @Jennihaemae They are cheap and the correct needles. I think that her post got moved to "sold" due to the date (the posts will automatically be moved there after a certain time) You could try to send her a message. Brgds Jonas
 -
 @beefy i have in old Seiko stw 28-b, twin needle that I have had for many years, i have yet to find a manual for it, so I just use a consew 226 manual as a guide only instead . I contacted Seiko in Japan to find out the age of my machine using the serial number, turns out it's the same age as me......not telling 😅 HS
 -
 You're in it, the Leather Sewing Machine sub forum. I'm seeing quite a few responses to your post.
 -

Singer 111W103 - I am a nooby and just got my first sewing machine.
Rob R replied to a topic in Leather Sewing Machines
Please elaborate on: sewing machine sub forum where it should get some action. Where can I find that forum? Thanks Appreciated. -
If I could post pictures I would show you how to bring a 31k15 or 78-3 down to a nice speed for leather. I have done both. I used a flywheel / pulley from a junked small air compressor. Stuck them in the lathe and made the center hole fit over the hub on the hand wheel. and took enough off the fan type spokes to go over the pulley groove on the hand wheel belt grooves line up so no need to reposition the motor. No extra shafts or pulleys. just a longer belt. Loosen one set screw and pull off the big pulley and put on the original belt and you are back at full speed. All this with the original clutch motor.
-
Here is the comment that contains the video: https://leatherworker.net/forum/topic/36127-pfaff-545-safety-clutch-and-timing/page/2/#findComment-442262 It's the video that Adler 67 GK 373. Don't remember how far through
-
You can buy the spring steel rod in SS. Let's say 1/8" x 3' works great, but I just did one in Kydex, and it works great. Use a heat gun, mold it with your hands.
-
-
@bsshog40 Please read this sticky topic that I started several years ago, which describes the type of machine you need to sew leather.
- Yesterday
-
Rex 345-3L - Help with bobbin info or pre-wound bobbins
AlZilla replied to Beverly.deloach's topic in Leather Sewing Machines
@Beverly.deloach, I split you out into a new topic instead of tagging onto an old thread. Tweaked the title. Maybe we can get you some help. Welcome aboard! -
 Dale and Billi joined the community
 -
We would appreciate a copy of these manuals. The attachments say the are no longer available. They can be sent to doublespurranch@mail.com. Thank you so much in advance!
-
Yeah the grinding sound still happens by hand. I tried separating the gears and every time I tighten the screws the sound still persists. would you be able to send the the video where Uwe says that or is it in the hook timing video?
-

Looking for a service manual for a Seiko STW 8B (Consew 226R-1)
beefy replied to beefy's topic in Leather Sewing Machines
Thanks very much Bob, much appreciated. Some other interesting reading in that manual too. It is rather surprising that with all the clones of the singer, actual real service manuals are almost non existent. Keith -
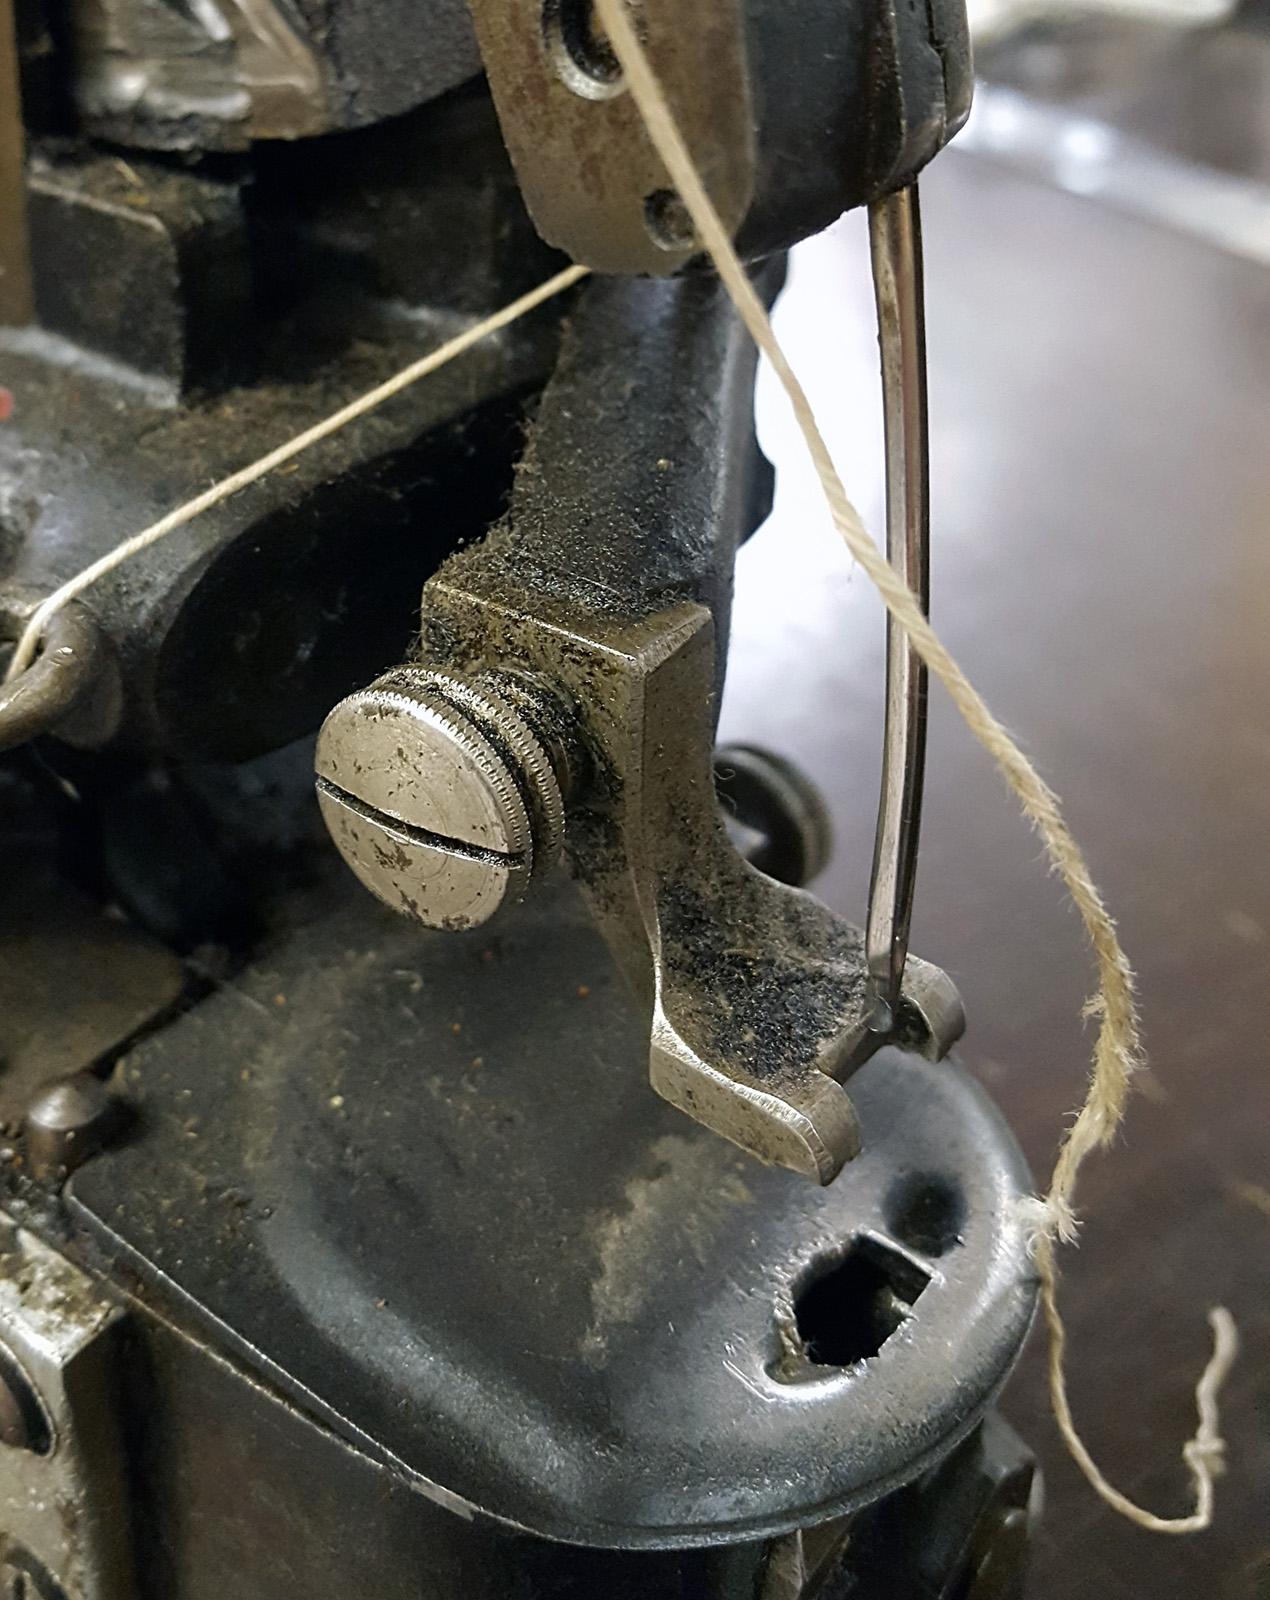
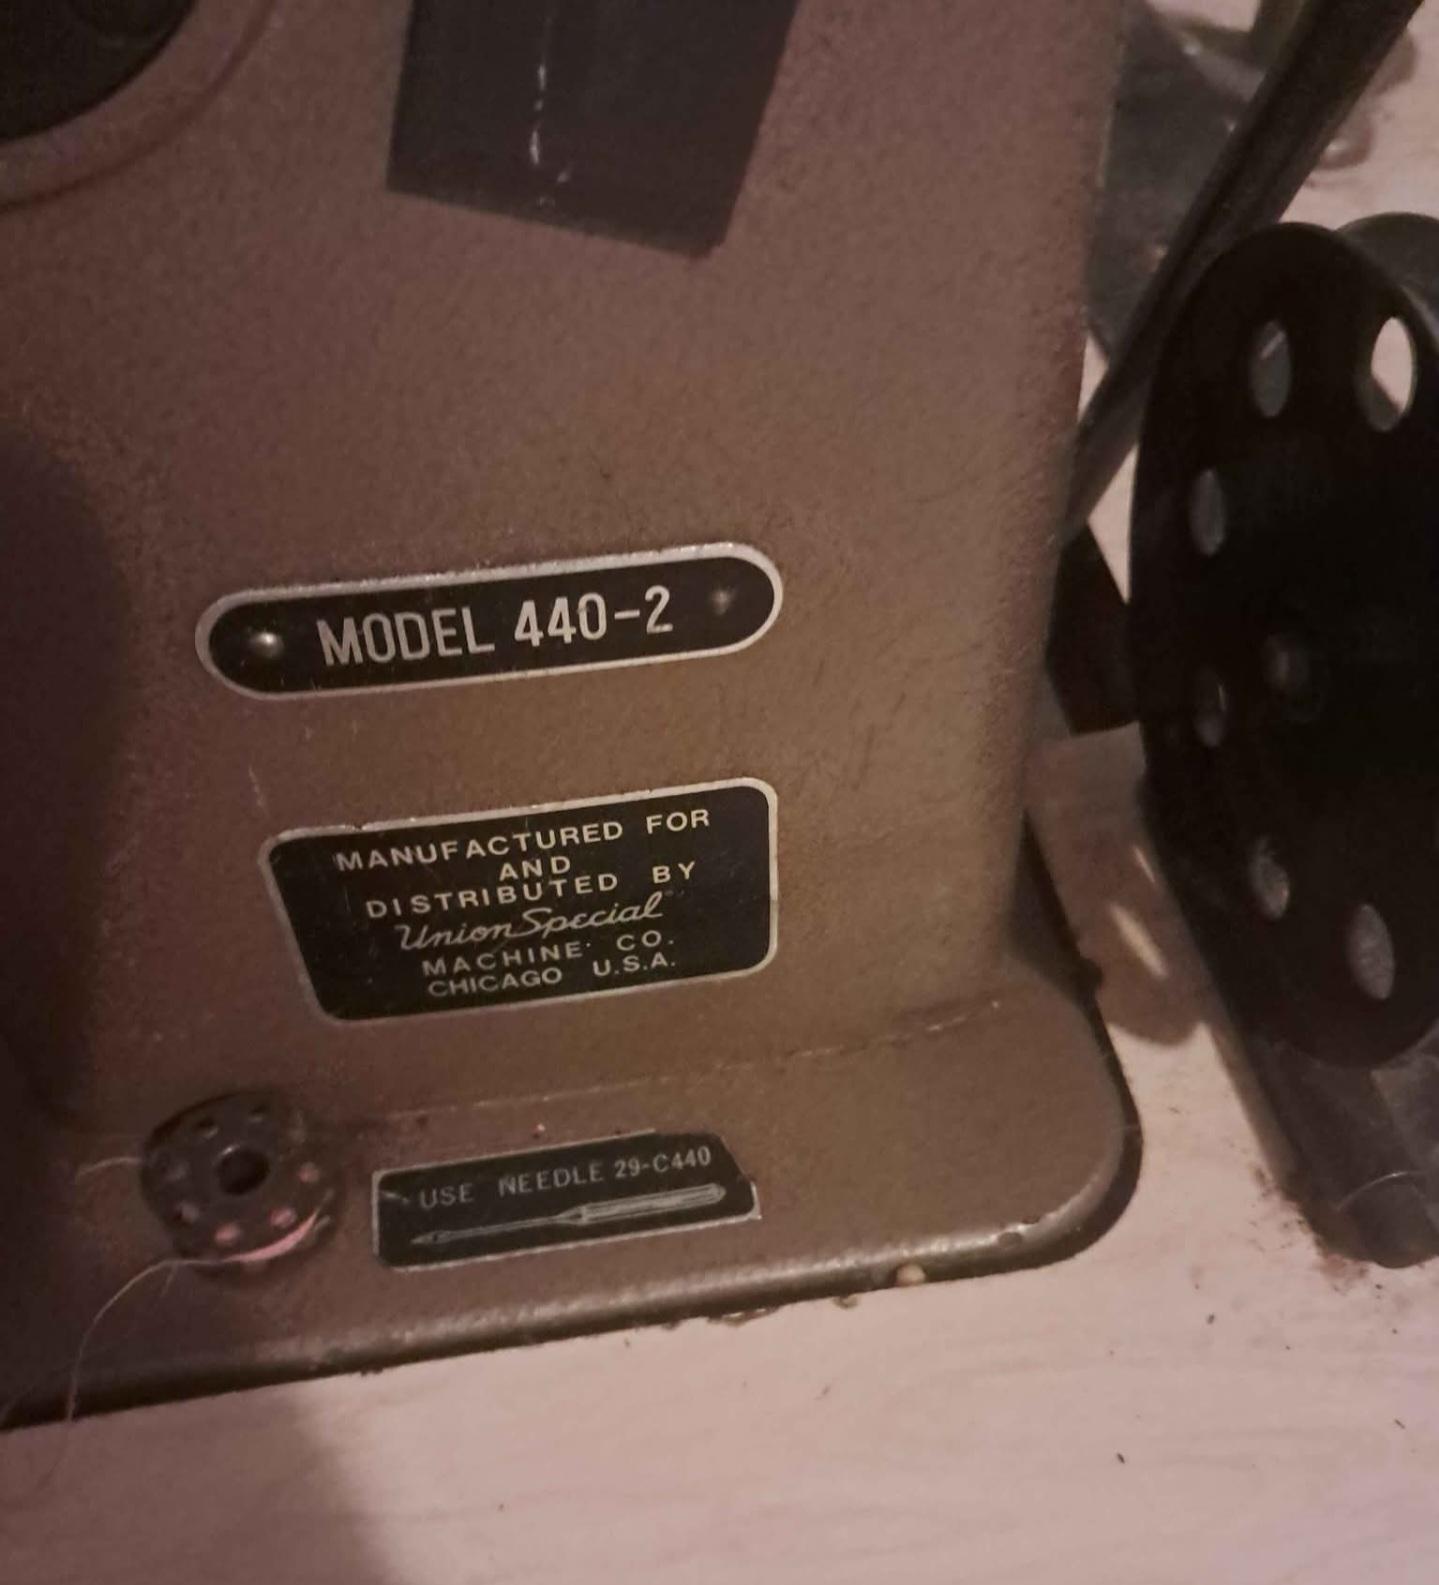
 I bought this Pedersen 308 (identical to Junker & Ruh SD 28) leather stitching machine, but there is an issue: The needle hits somehow too far back, it hits the foot and the edge of the needle plate. I was thinking the needle has bent too much somehow, so I tried with 3 different needles, same issue. The plate has some damage, so it seems like the previous owner has had the same problem. I can't see a way to adjust the needle position forward. It would need to shift about 5 millimeters to not hit anything and clear the bobbin case too. Any ideas?
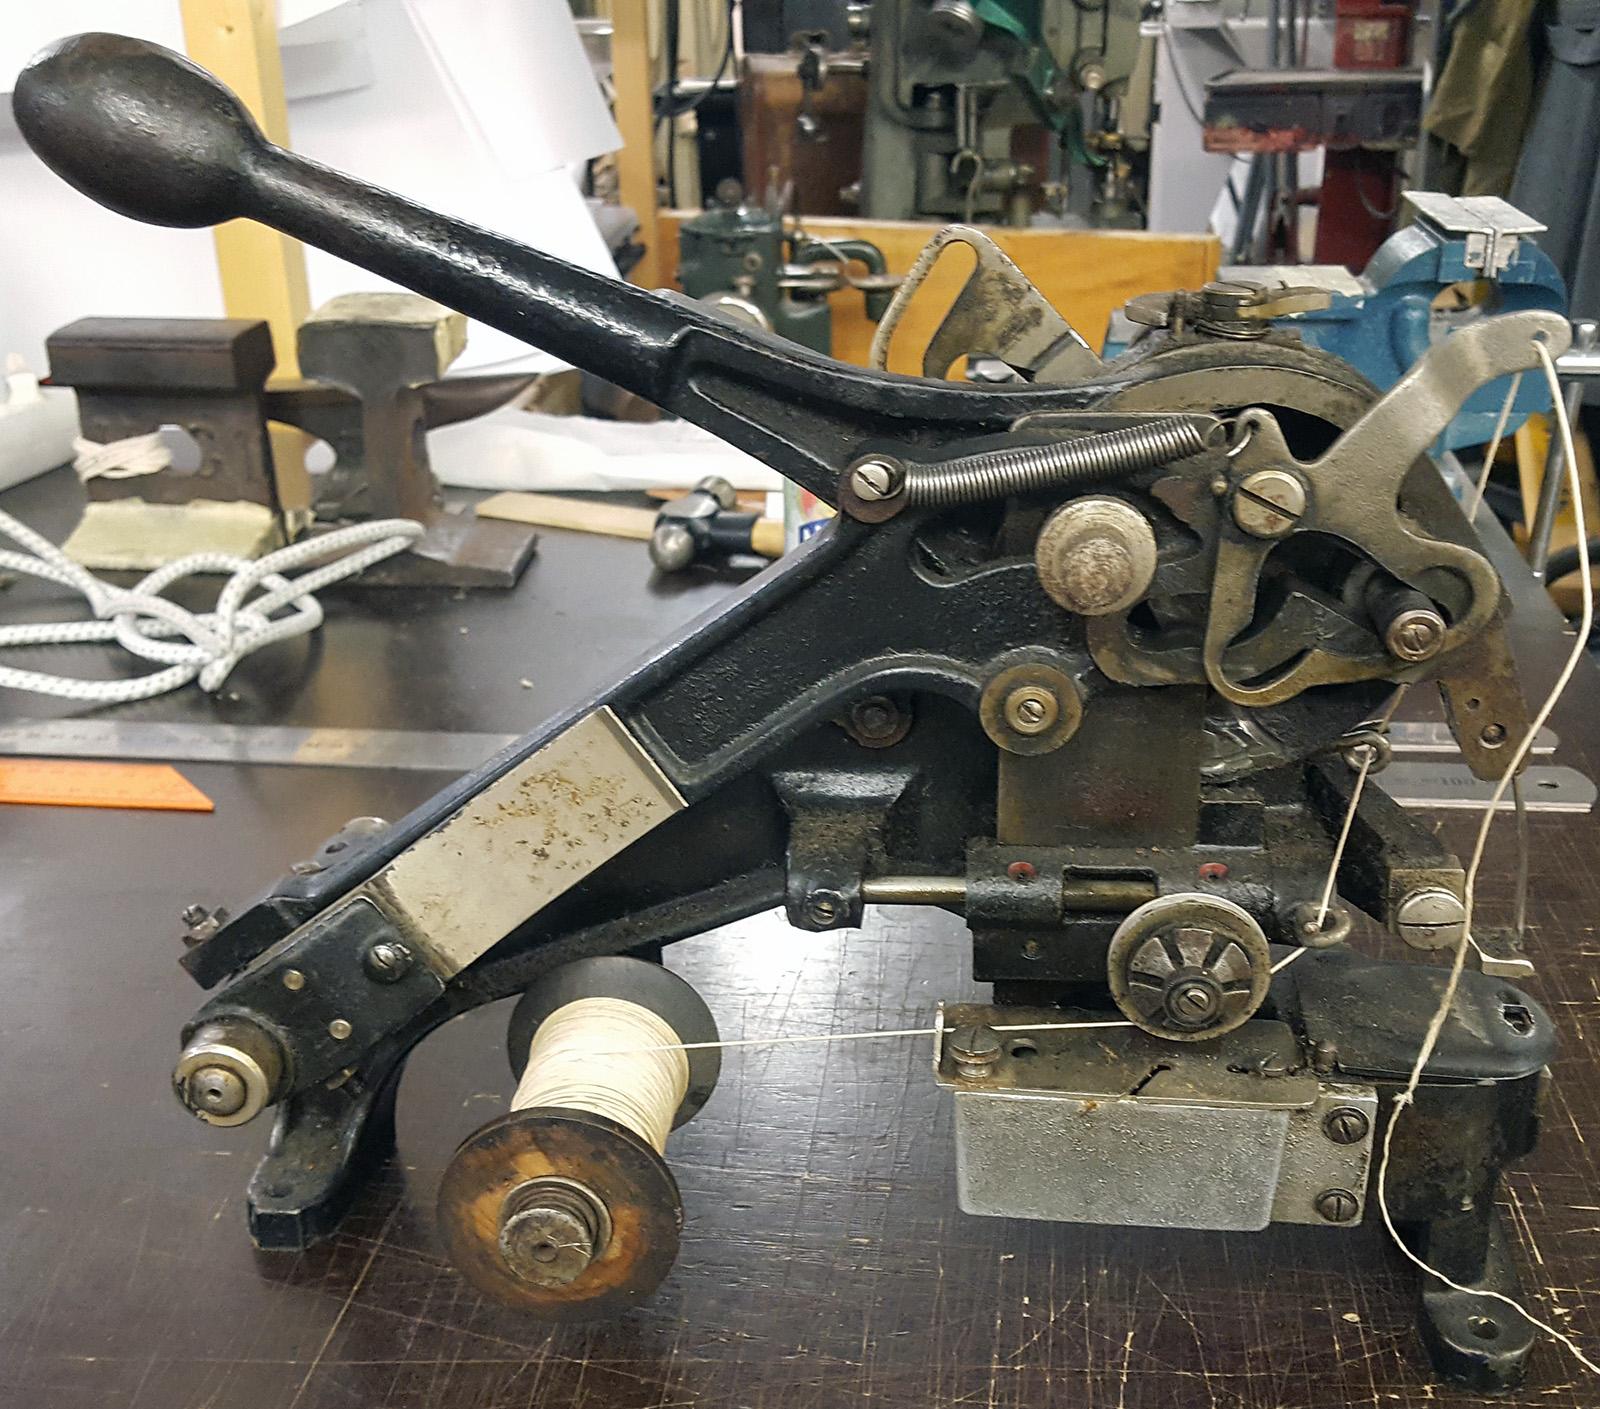
-
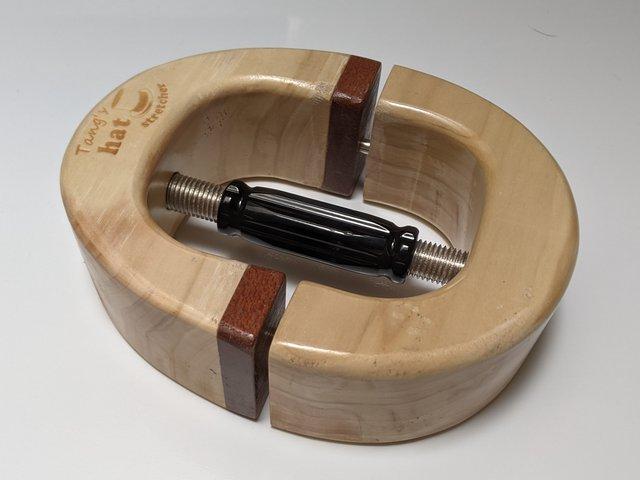
If you have a Boot Barn in your area, they seem to have a good selection of hats. Some locations even have someone who can fit it for you. Everyone's head is a little different. I got one of the wooden hat stretchers and shaped it to fit inside my best fitting hat. Now I have the perfect fit and all I need is my wife's clothes steamer to do the job. If I get a new hat from a good shop, I take it with me so they can make it fit right. I also use it to keep my hats from getting out of shape. If I make a leather hat some day, it will insure a good fit. Good work on the wallet back. That's first class tooling.
-
 destefano84 joined the community
 -
I’m in need of someone either (preferably) local to me (Oklahoma City) or relatively close to my state, to A: downsize two leather backpacks I just had custom made. B:remake my custom bags Current measurements are approx 12.5” Length x 6” Width x 14” Height. Please contact me with any additional questions/cost estimates. I can also provide photos. TIA and Merry Christmas! 🎄
-
Photos Please 📸
-
Thank you sir!
-
 spadebrown joined the community
 -
The simple answer is it will not be suitable for leather work. This is a drop feed machine made for sewing fabric at high speeds. kgg
-
You have a belt pulley,feed cam & needlebar crank to take all the screws out of & then you have to get in there & clean the 50 yr old crud off of the shaft so it will slide out the tight tolerances that these parts are in.I usually slide shaft in & out,clean,slide,clean,cuss!
-
I don't do a lot of leather work, occasional knife sheaths, small holsters. I'm just a hobbyist. I would like to do a belt but I only hand stitch and don't want to attempt a belt that way. I seen this machine on FB and was wondering if anyone has seen one of these or know if it would be good for my projects. Btw, I only work with veg tan and my thickest stuff is usually about 1/4" thick. Thanks for any help! Bobby
-
Thank You, this is the site I went to and can not find it. Leather Sewing Machines - Discussion, Tips & Resources am I in the wrong site . Thank You
-
 Prankster517 joined the community
 -
spring flowers and good food
Handstitched replied to chuck123wapati's topic in All About Us and Off Topic
@Sheilajeanne i showed that pic to my elderly Father, he was quite amused at the snow on the barby ( we put steaks and snags on ours , lol),while we were having our new air cond installed this morning, its working beautifully. While it was 40+ outside, it was a lovely 24 degs C inside. Bliss 😊 It's going to get hotter in the next few months no doubt . To be expected . HS -
Even though I've only been on here a short time, so many speak very highly of him reading the many posts. God bless, HS
-
 Beverly.deloach joined the community
 -
Can anyone tell where I can find pre-wound bobbins for the Rex 345-3L machine? Or at least: what style/size bobbin? thx!


.thumb.jpg.6e903dd66163ad5672f00f144058c571.jpg)


