All Activity
- Past hour
-
Once you determine that the machine is turning in the correct direction, you can adjust the walking foot mechanism per this excellent video from @Uwe Gross. His video on setting the hook timing for the Juki 441 class machines is also very instructive.
-
Compare your video to this one. Looks like yours is going the wrong way. EDIT: The needle is going up and down at the right time but the foot isn't. Looks like to me, anyway. Somebody here will know exactly what it is.
- Today
-
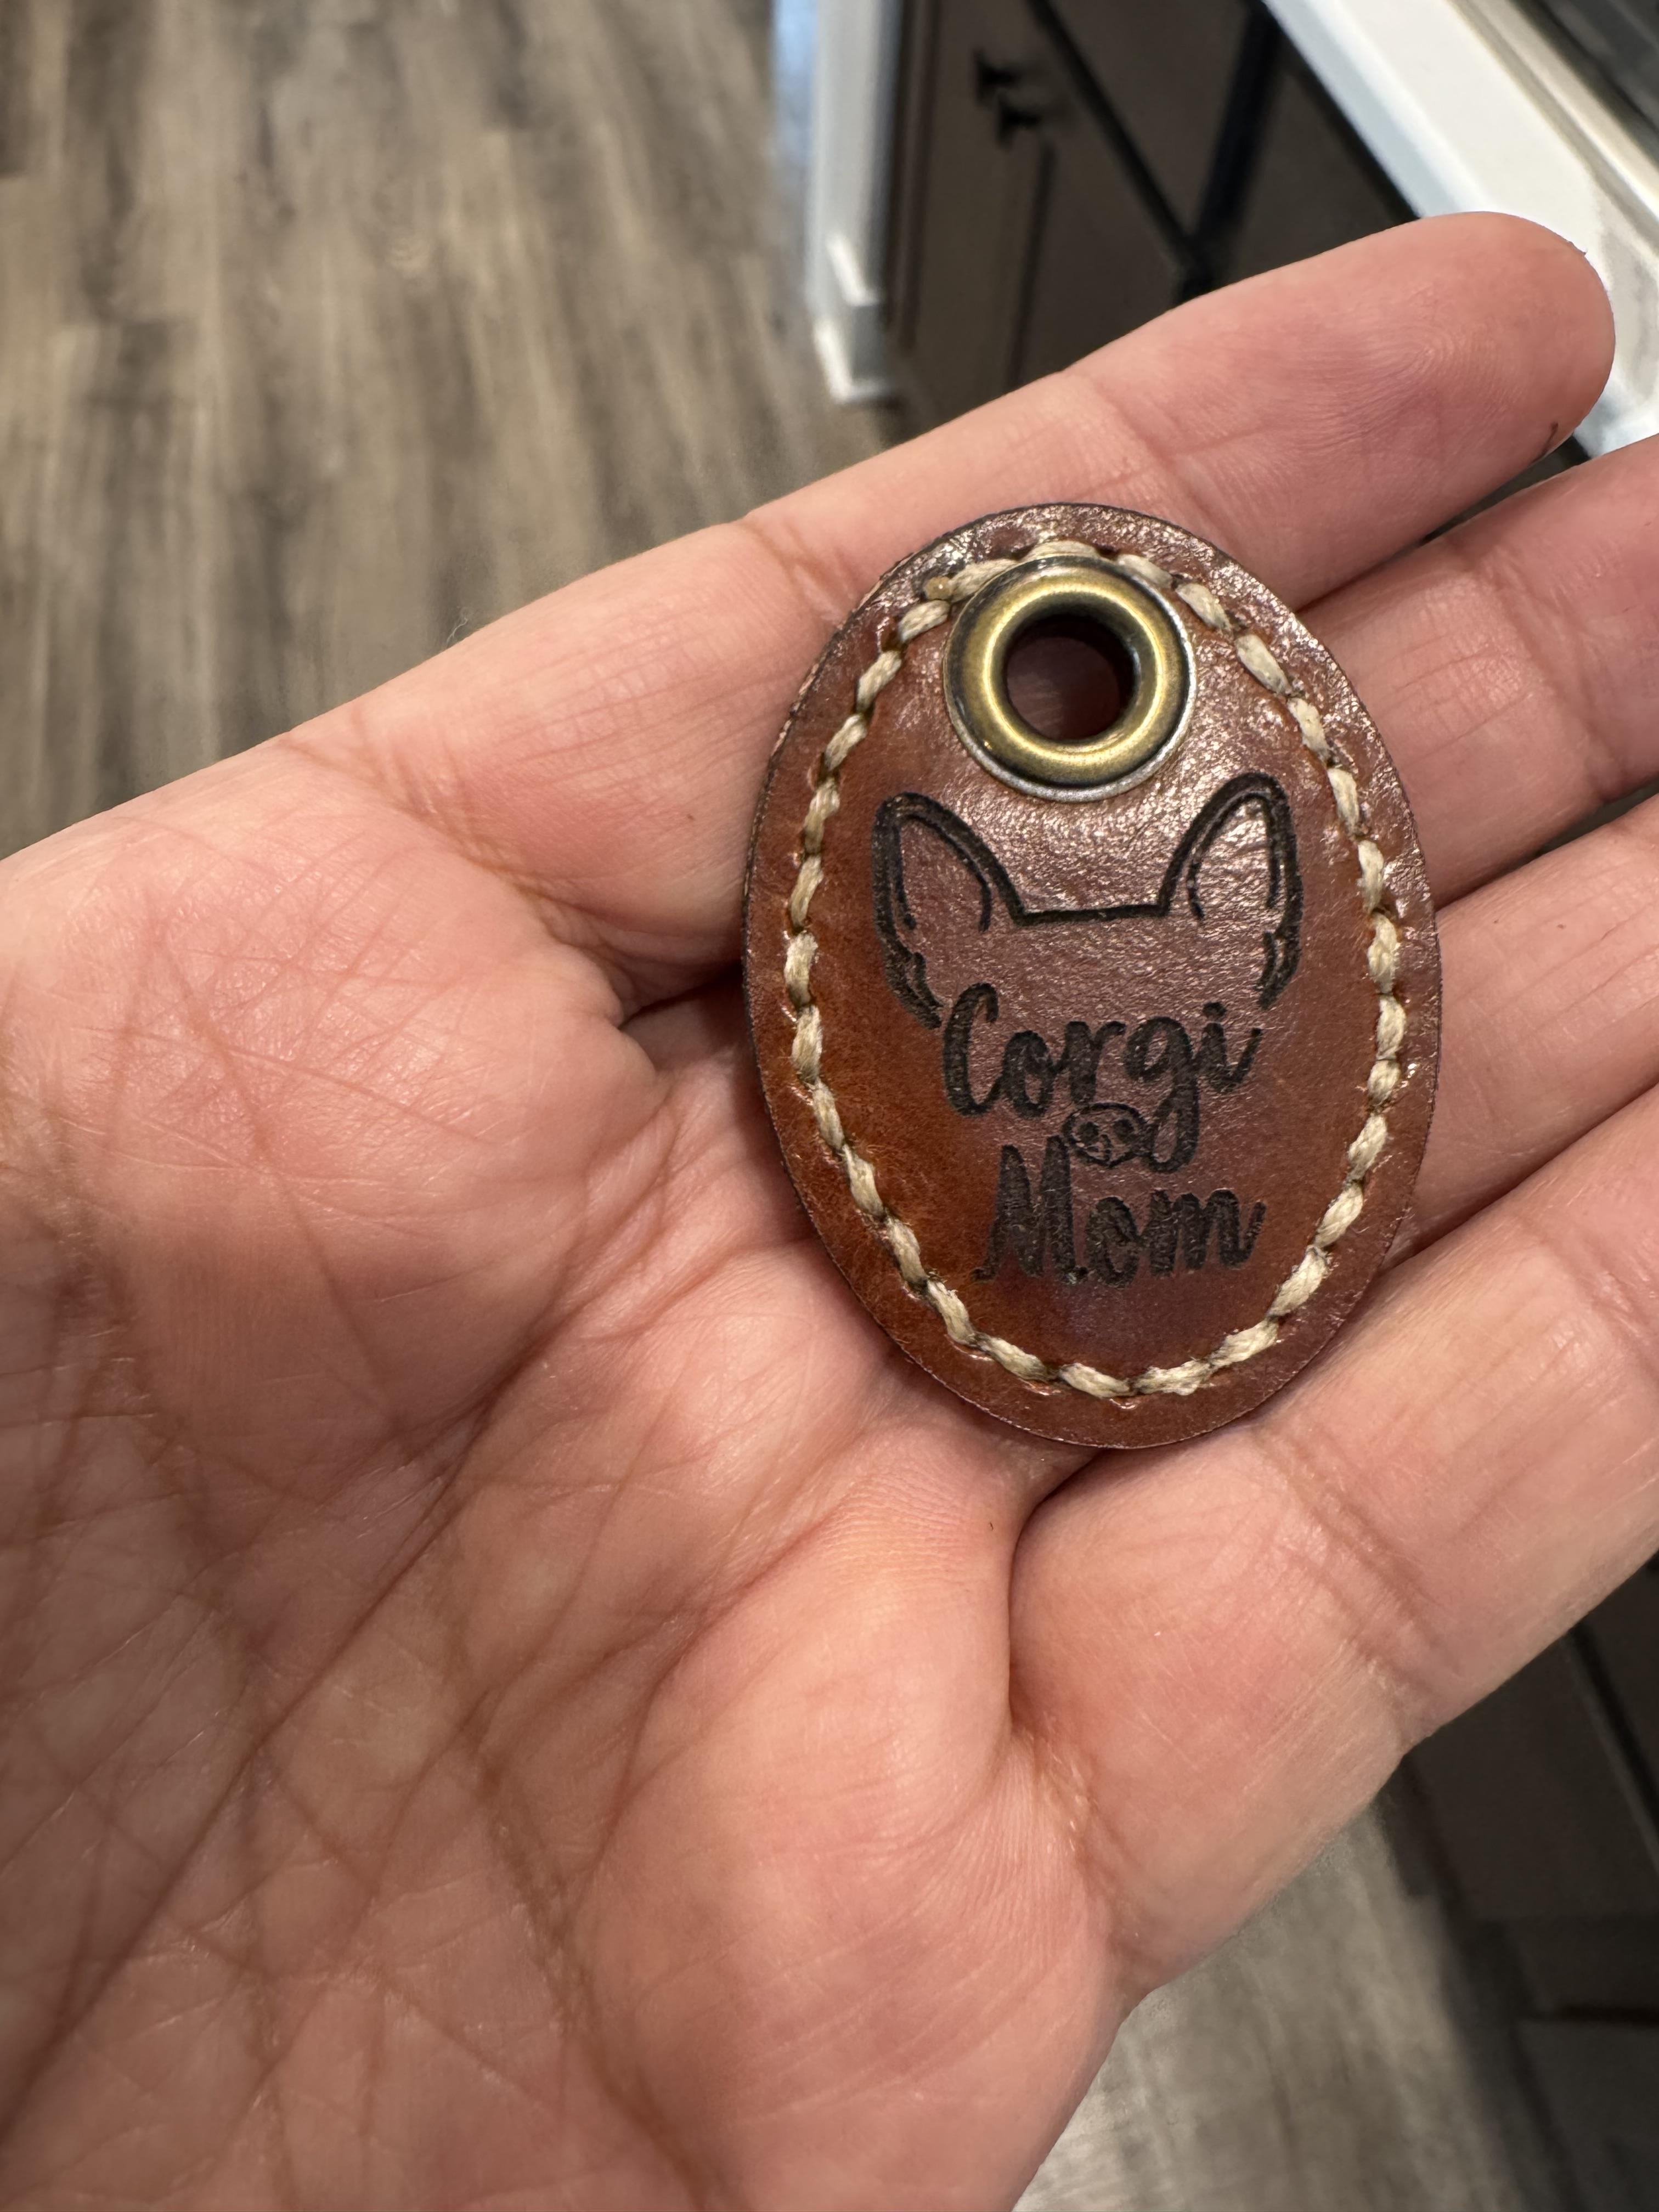
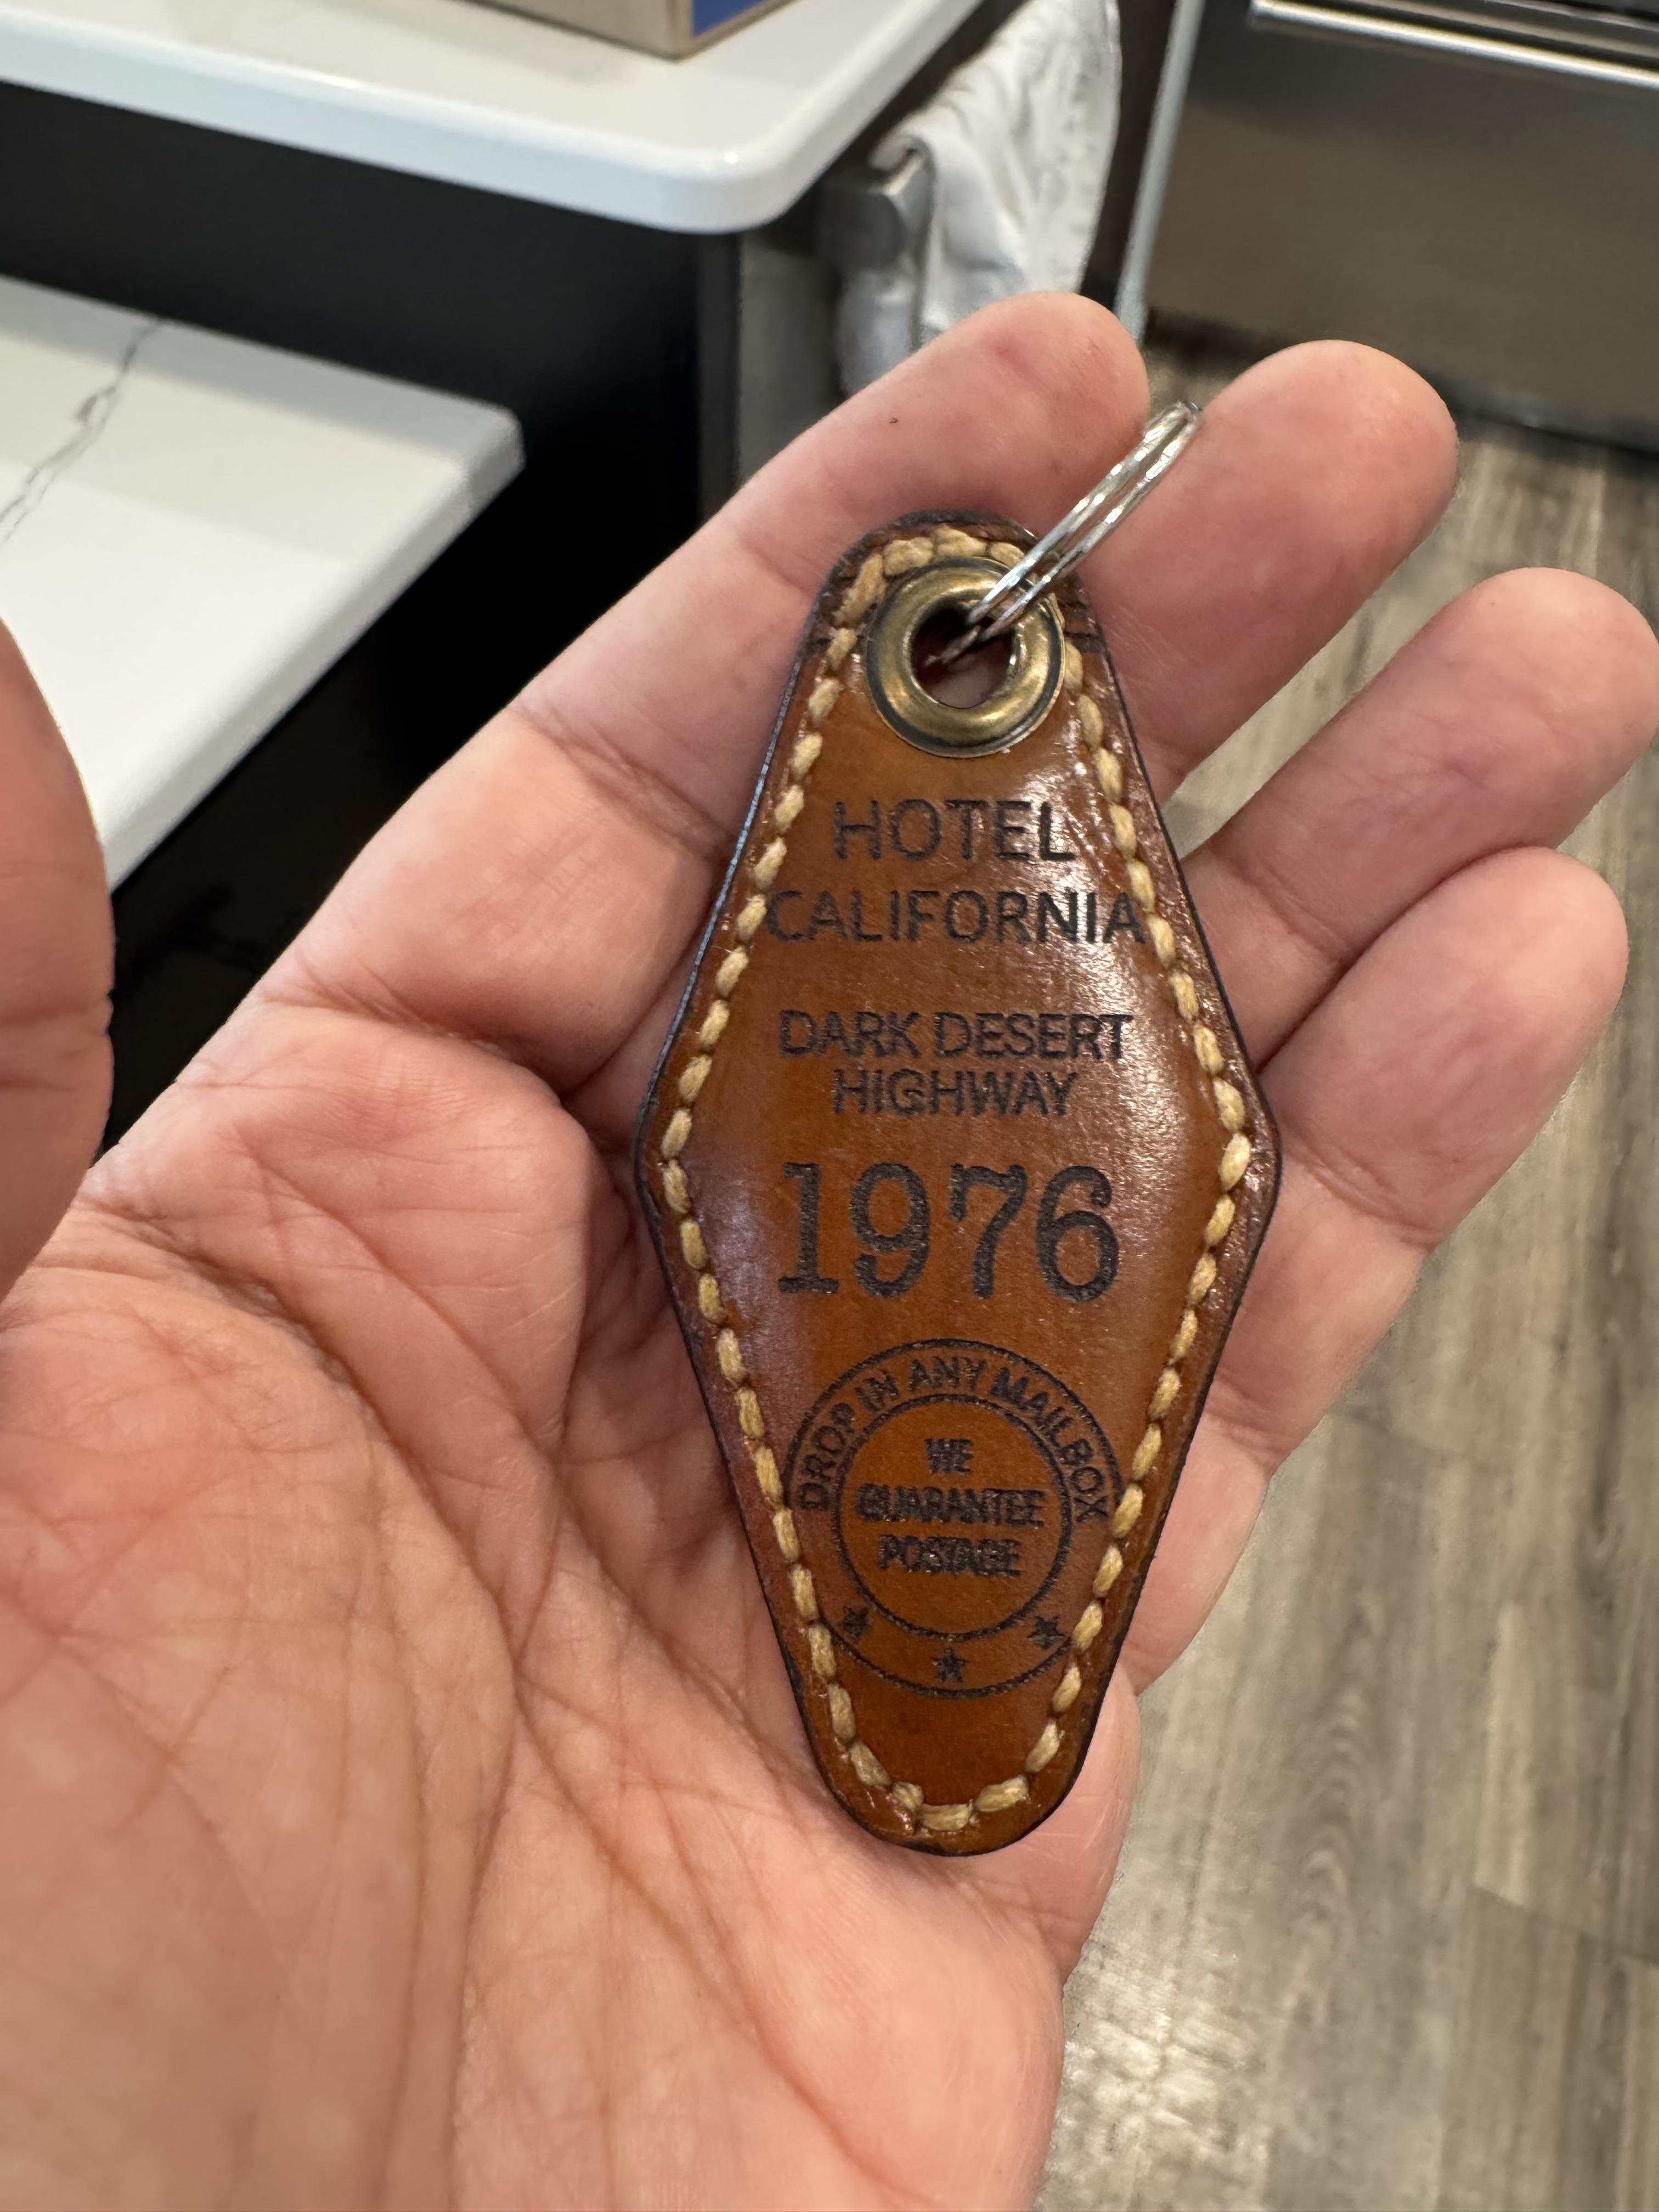
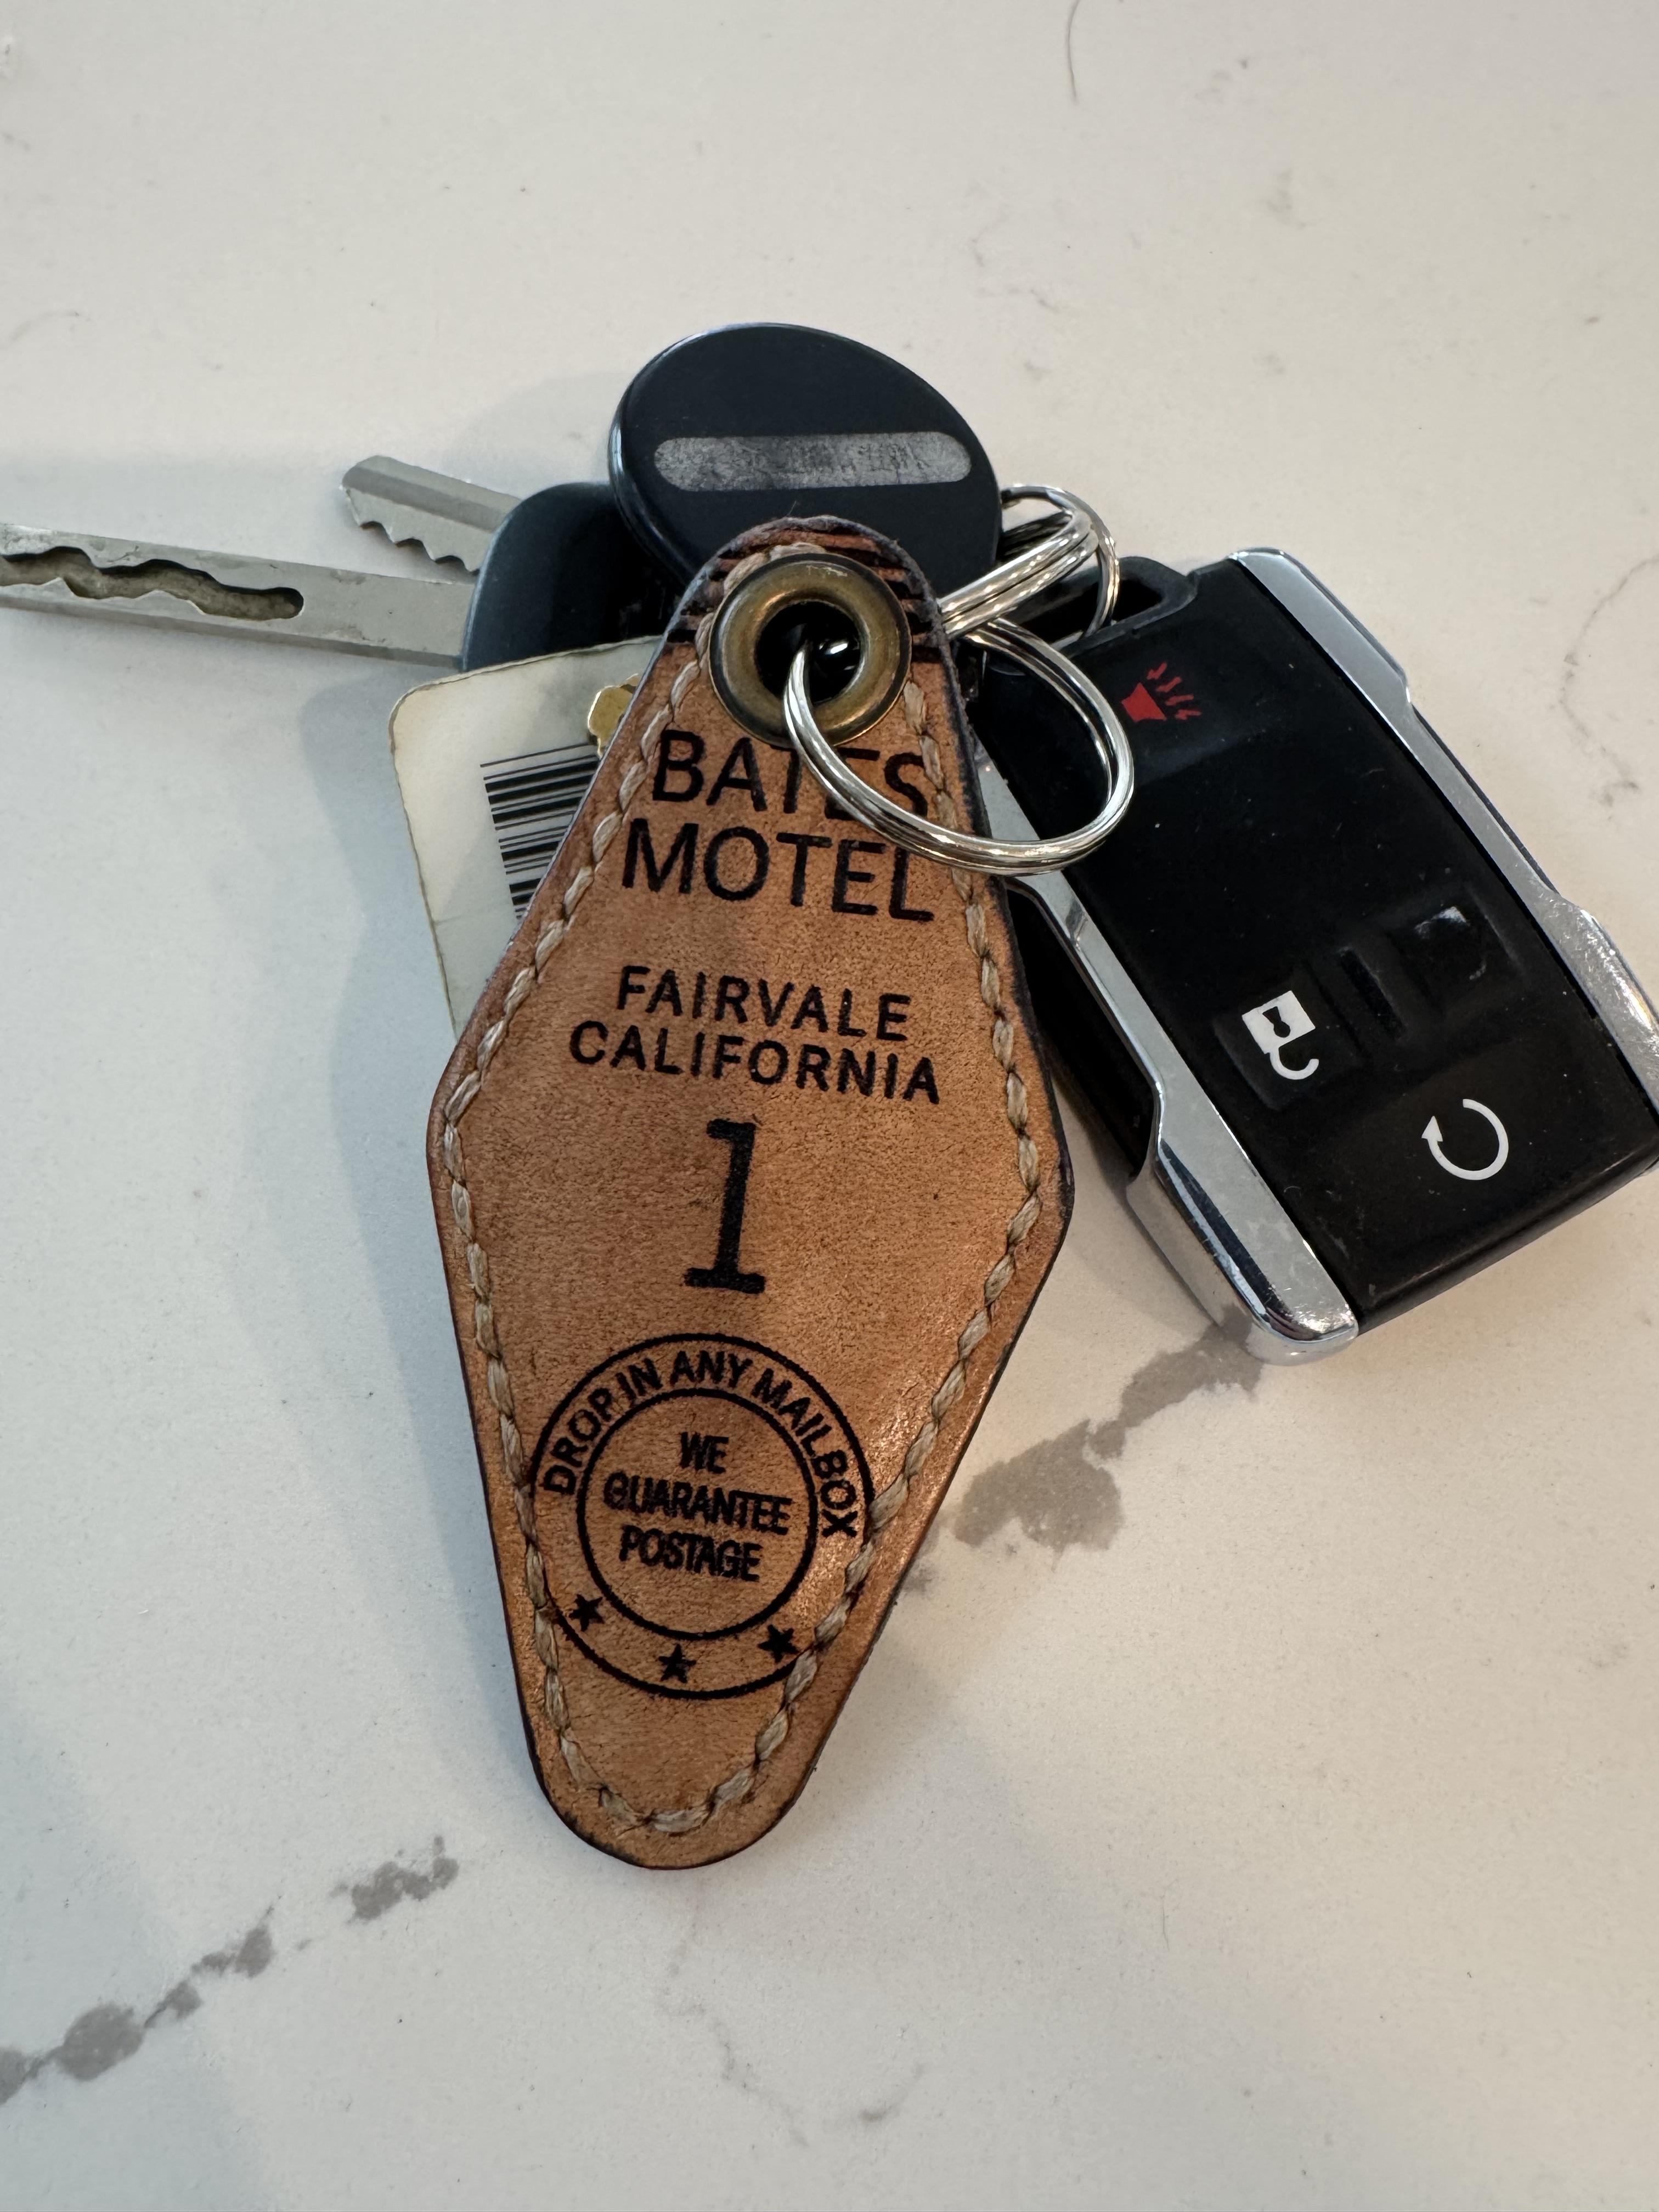
For your first project, I am very impressed with your stitching. It looks like you nailed the process out of the gate. I am not a fan of laser, old school here. I believe in carving and stamping. You have a nice product!
-
The motor is definitely running in the correct direction. Sitting in the operators position the wheel is turning in the correct direction. It is not running backwards.
-
 Andyw76 joined the community
 -
Good catch. Go look at his video. It looks to me like the machine is running backwards.
-
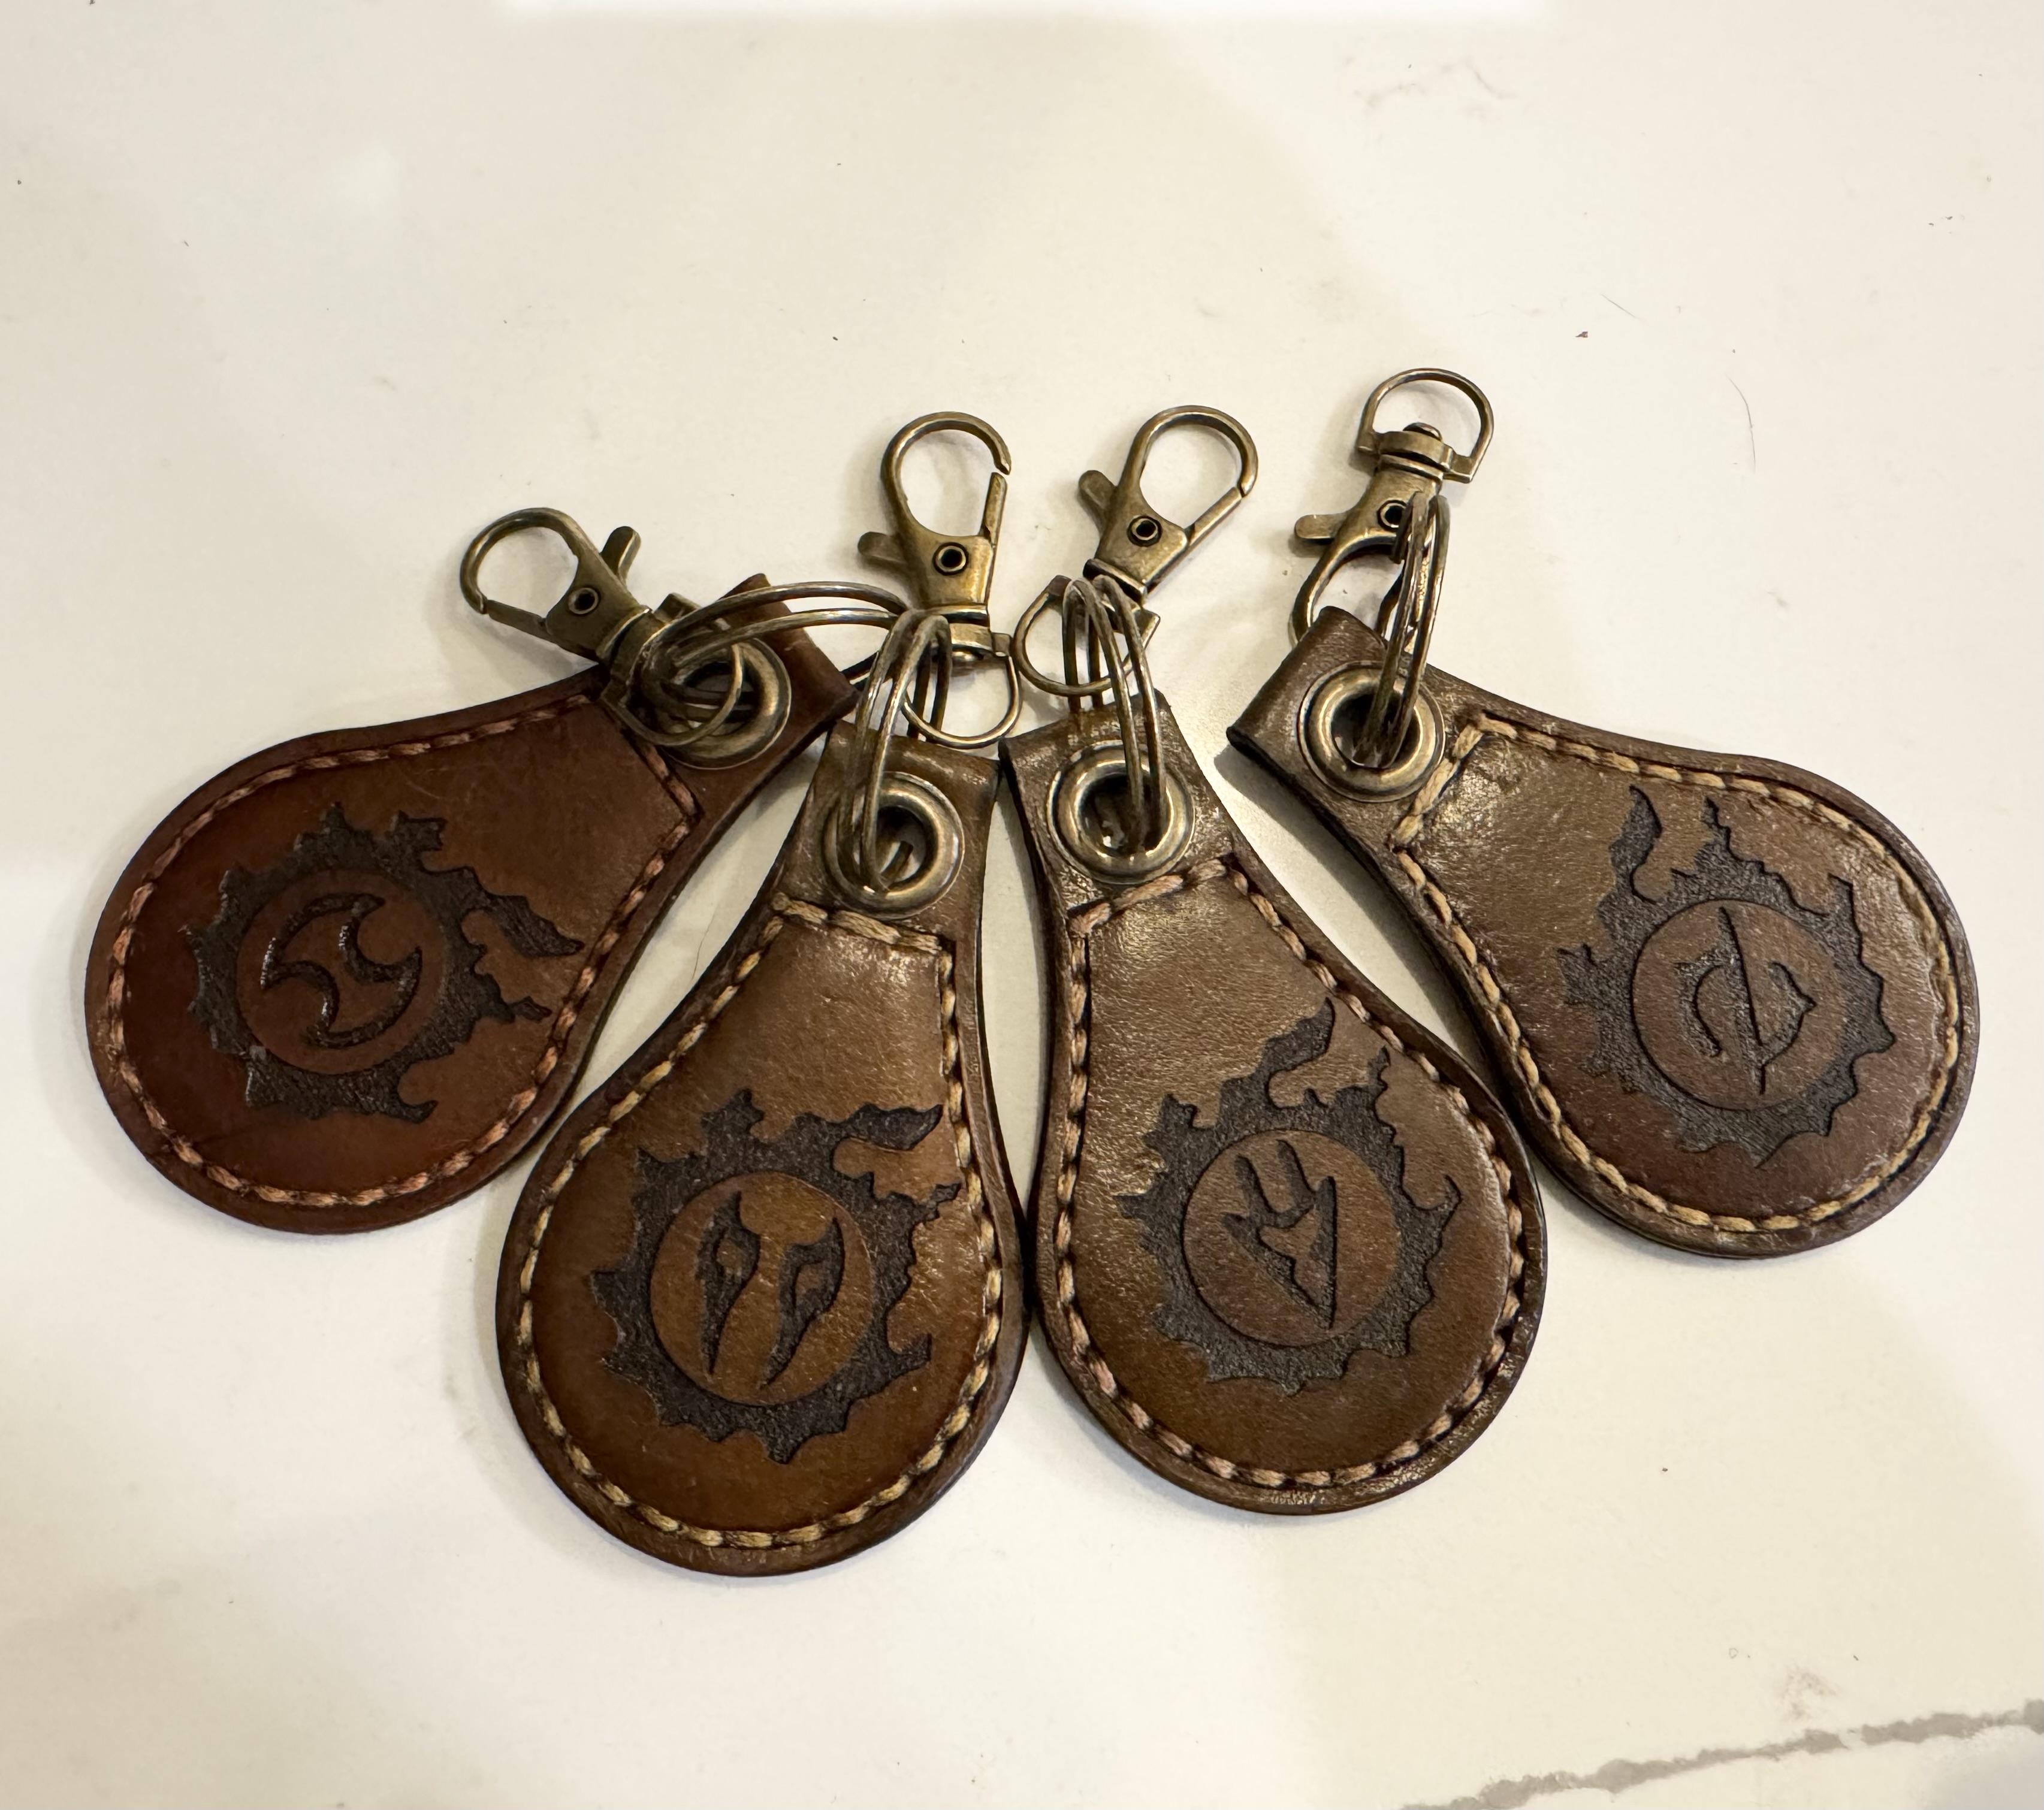
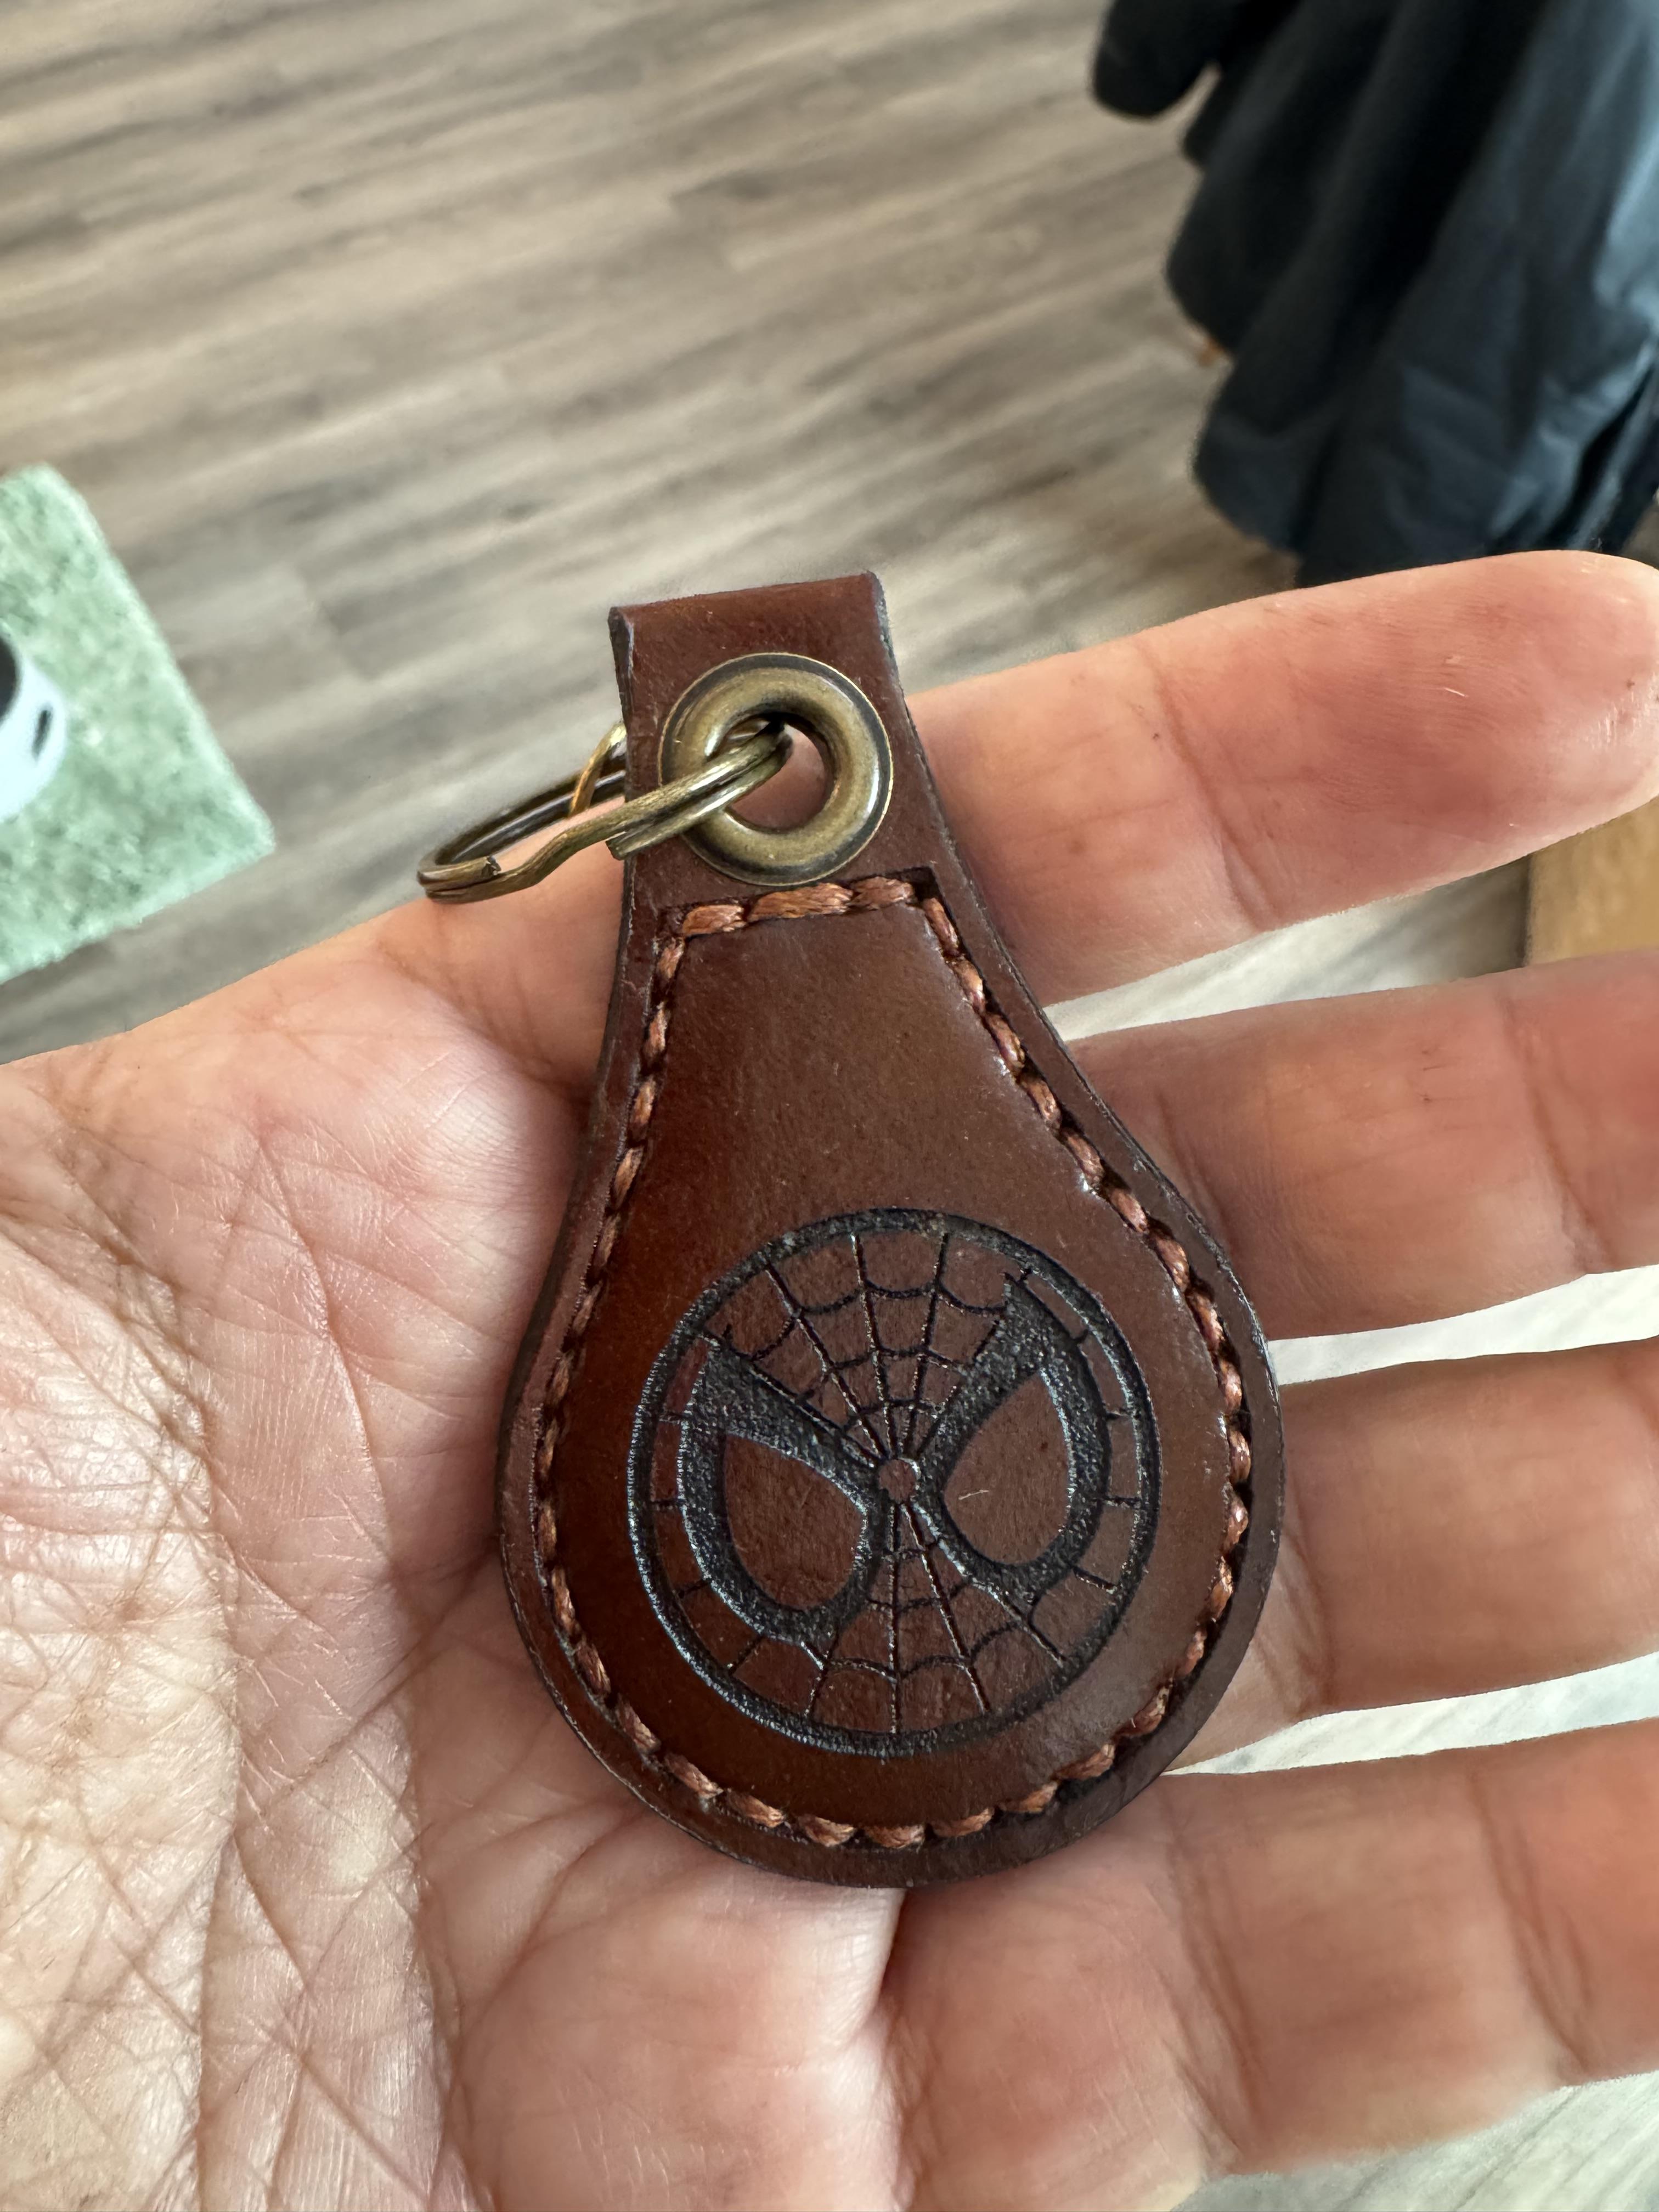
Here are some keyfobs I designed for my first foray into leatherworking. I designed them in CorelDraw and cut them out on a Boss LS1416 70 watt laser.
- Yesterday
-
Hey folks, Have you ever experienced Art block when it comes to leatherwork? Creating leather goods has been my passion for years and I love it. Whether making it for myself or doing it for my customers, it is my passion. Lately, I've been feeling like my head and hands are operating independently and I'm missing my creative flow. I'm still working through orders but with less efficiency. Have you ever experienced this? Was there anything that helped you escape the slump?
-
Sweet. I'm going to order a pack and see if those screws fit the conchos I have.
-
What he said, remove the head and use plenty of padding to support it. I always removed everything from the table for transport. You may need a new belt for the servo as the existing one might be too long, other than that have fun.
-

spring flowers and good food
Sheilajeanne replied to chuck123wapati's topic in All About Us and Off Topic
Frodo, that's a cypress tree in your previous post, right? Have never seen one in real life... -
The handwheel, that has the drive belt from the speed reducer, should turn towards you in a counter clockwise motion. If it is moving in the clockwise motion it can / will cause damage to the machine. kgg
-
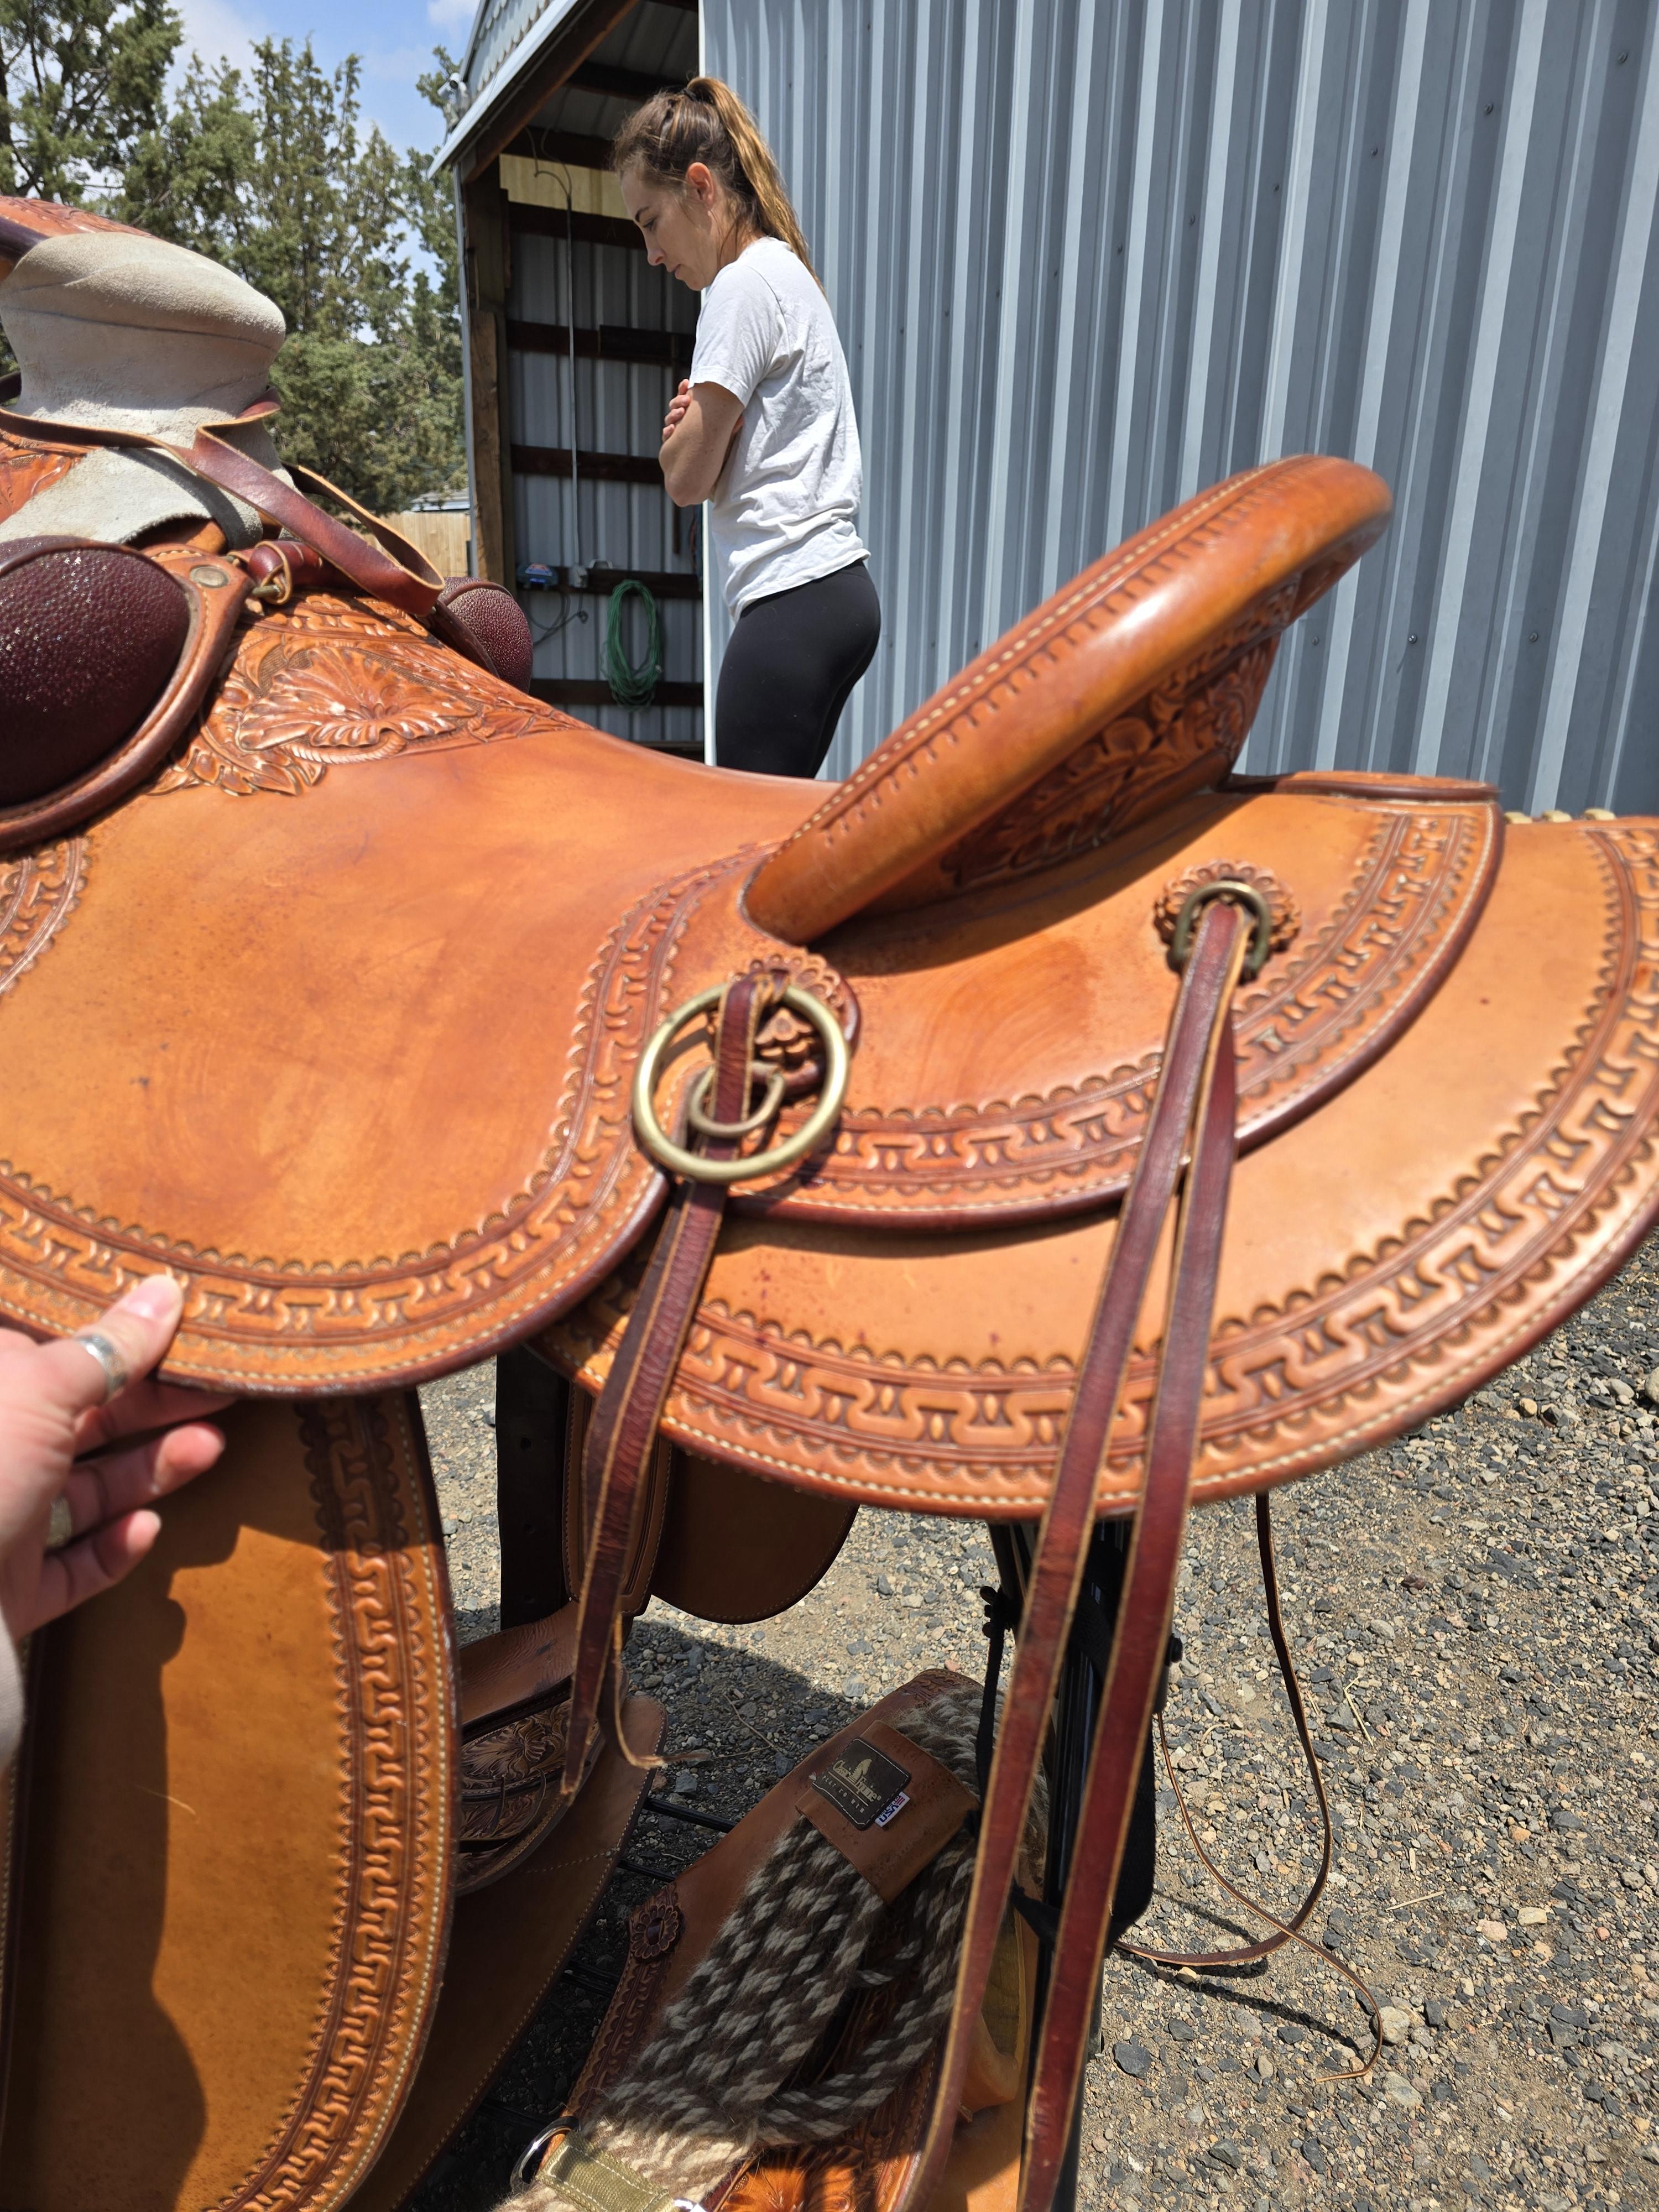
 Could one have a back cinch added to this wade? I'm a novice leatherwork enthusiast who's done more small projects, never torn down a saddle or anything, so this seems like something I'd need a professional saddle maker to do. Is such a thing cost prohibitive if possible? Would it devalue the saddle? I think a lot depends on the tree etc.? The gal selling it doesn't know much about the saddle. It is a handmade saddle out of Pendleton, OR. The craftsmanship seems high quality. Any thoughts appreciated!
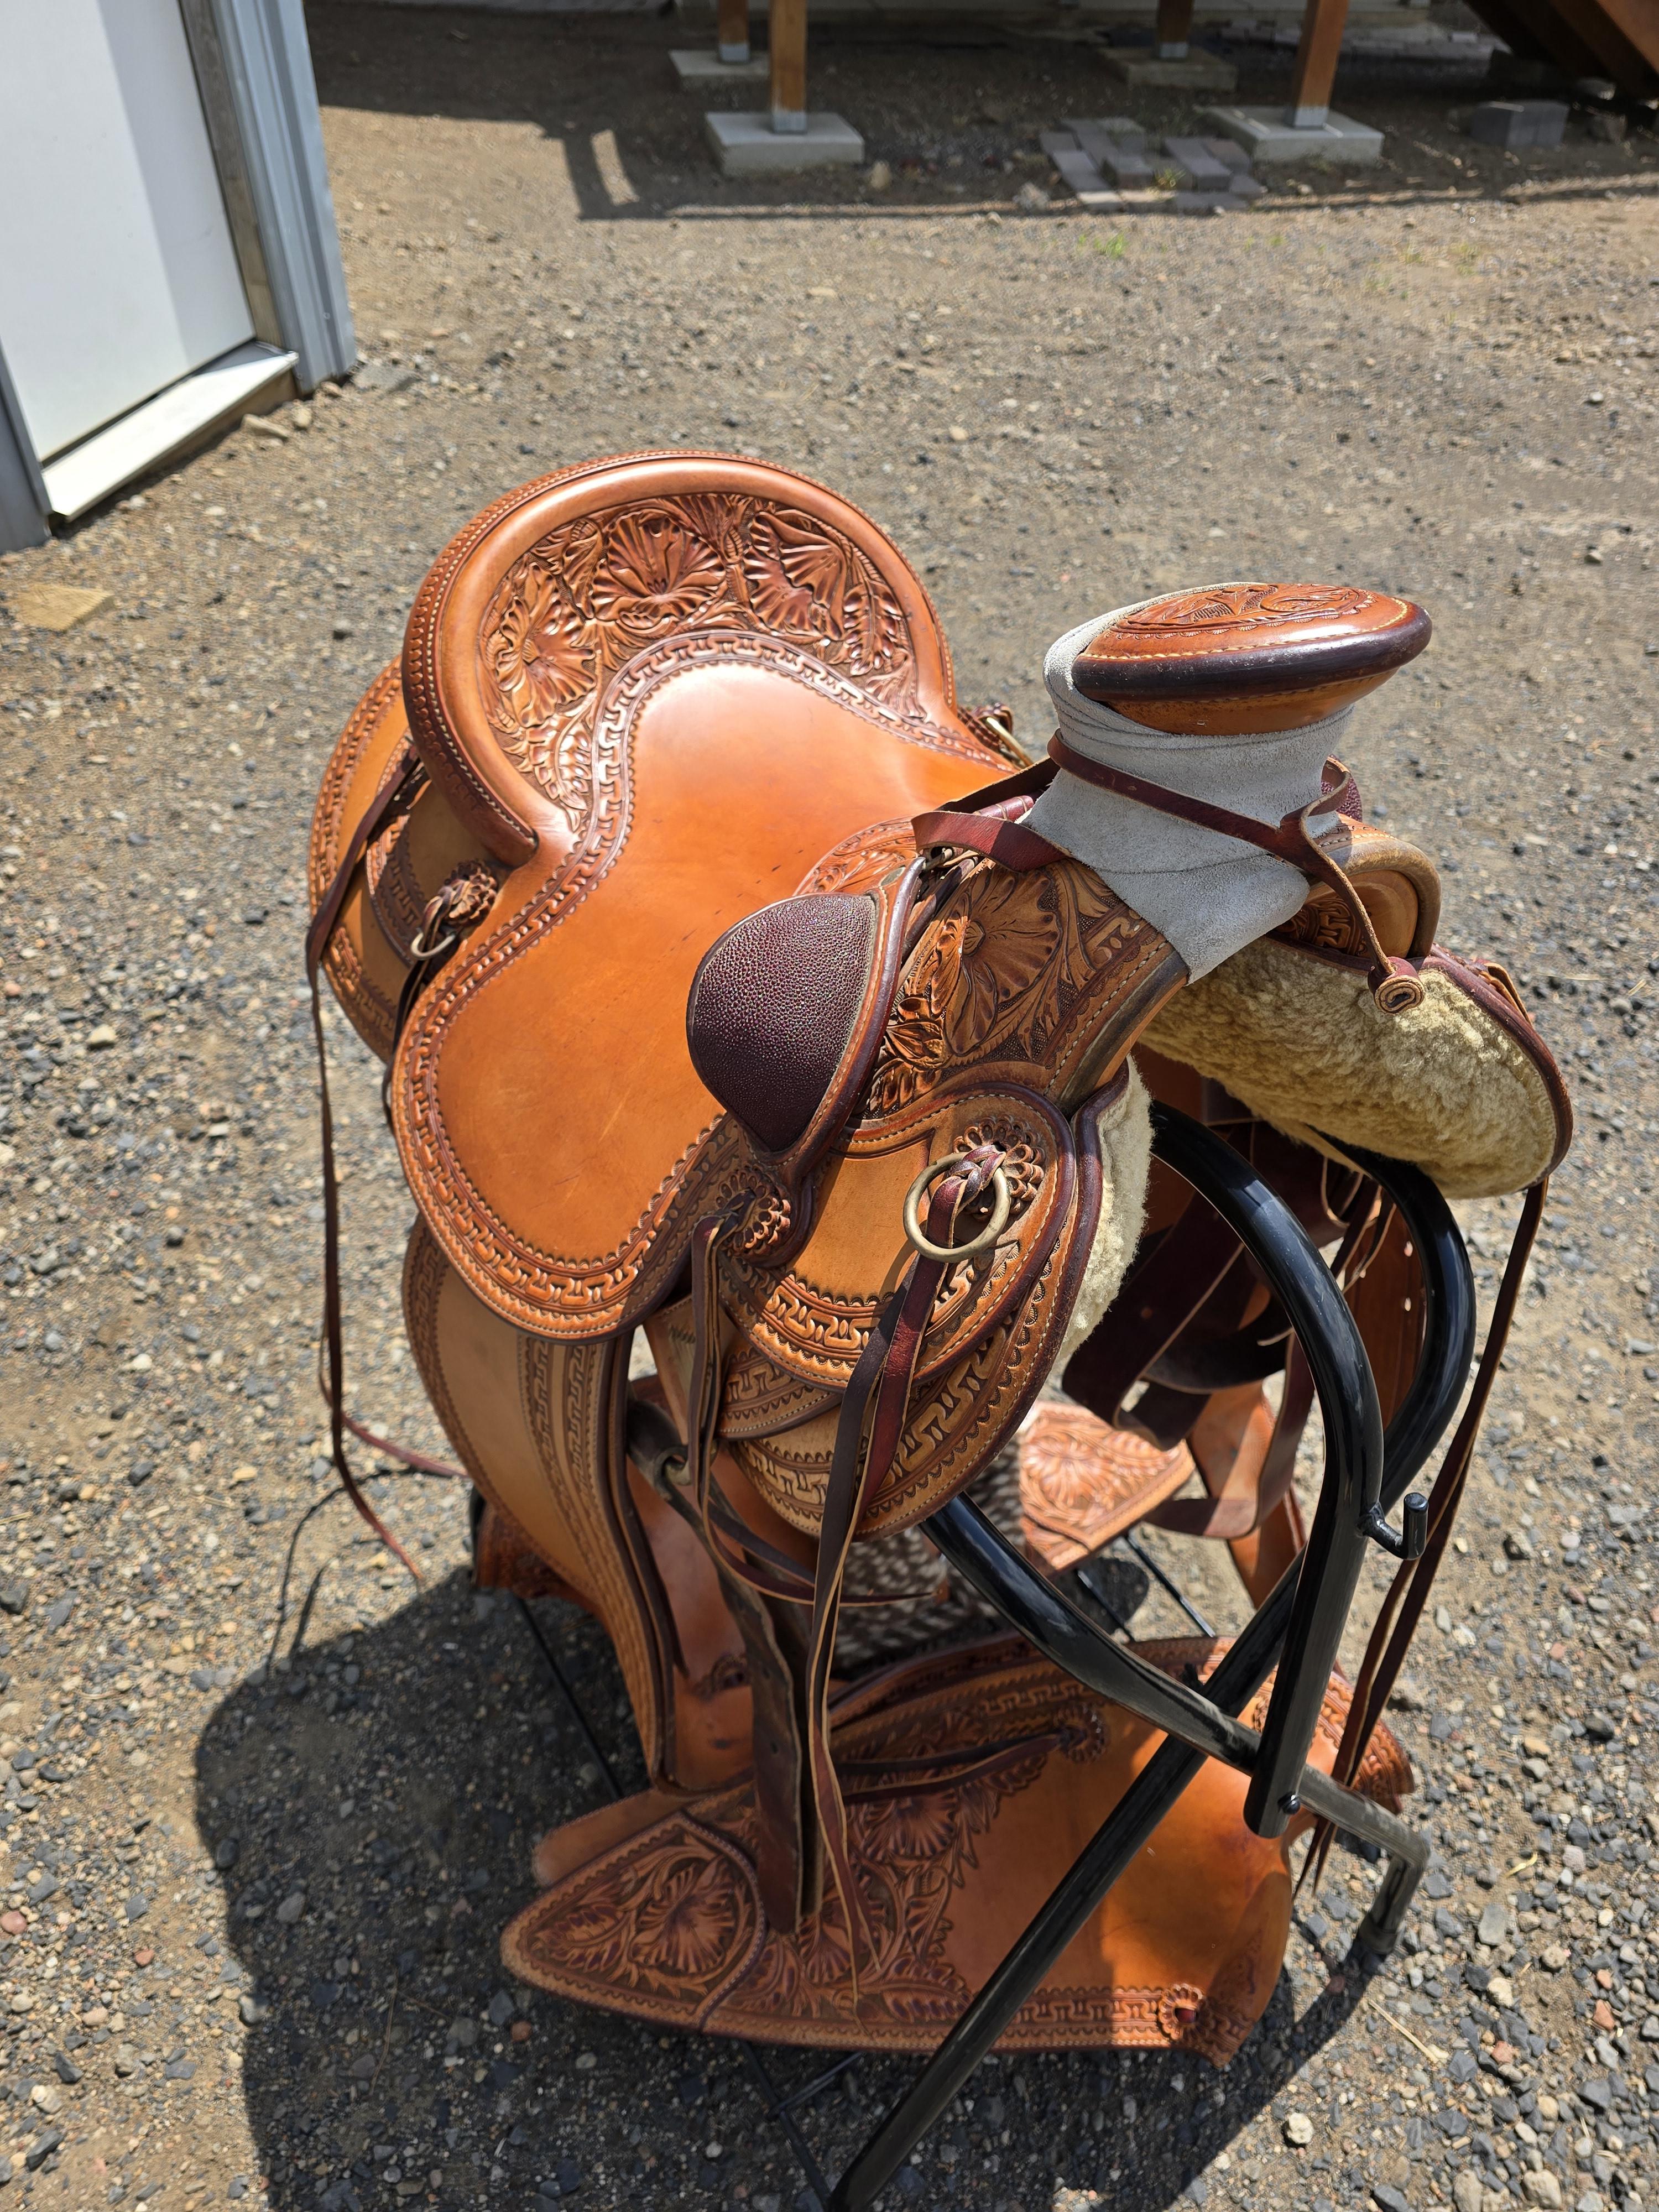
-
Thanks! They were from the surplus store at the university I live near - I picked them up for $140. The bottoms were water damaged and moldy, so I cut the bottom off and replaced it with a frame on wheels that I can move about the shop.
-
 @chuck123wapati I guess I'll bite the bullet and order me some side (I haven't used anything except for shoulder until now). I'll be sure to report back when I've given that a go.
 -

Renia Colle de Cologne vs Syntic Total a Superfix
kgg replied to Yukonrookie's topic in How Do I Do That?
The best I can figure is an off yellow. The color really shouldn't matter as you should never see it when you are gluing two pieces together just be careful not to put too much close to the edges. When making a belt I use two layers of 6 1/2 oz leather glued together, as I like a heavier belt and then stitch along both outside edges with V138. When I wet mould I do that before putting the pieces together then decide whether to glue, use double sided 1/4 binding tape or just sew. kgg -
Great. Thanks.
-
 NewfoundArtisan joined the community
 -
Welcome, you have a nice shop. I Love the cabinets, you will fill them up quick,lol.
-
His contact info is 865-258-3376 esterltristin@gmail.com
-

spring flowers and good food
MarlinDave replied to chuck123wapati's topic in All About Us and Off Topic

-
Right, should have said only the edges are glued! Gotta have something holding it together!
-

Renia Colle de Cologne vs Syntic Total a Superfix
Yukonrookie replied to Yukonrookie's topic in How Do I Do That?
Yup, it’s sure cheaper and easier available. What colour is it when dry? Thanks a lot for the advice! -
That looks like a mighty fine knife. The shape is much like one I have that works good except that it doesn't hold an edge well. Does he have a website or phone number for those who don't have a FB account?
-
 Anja joined the community
 -
Hey Pavel, I am also from Switzerland and I contacted them. They answered that they don't have a retailer, but would sell directly in rolls or sheets depending on the thickness. I have asked for their prices yesterday. Are you still interested in their products? Maybe we could make an order together. Best, Anja
-
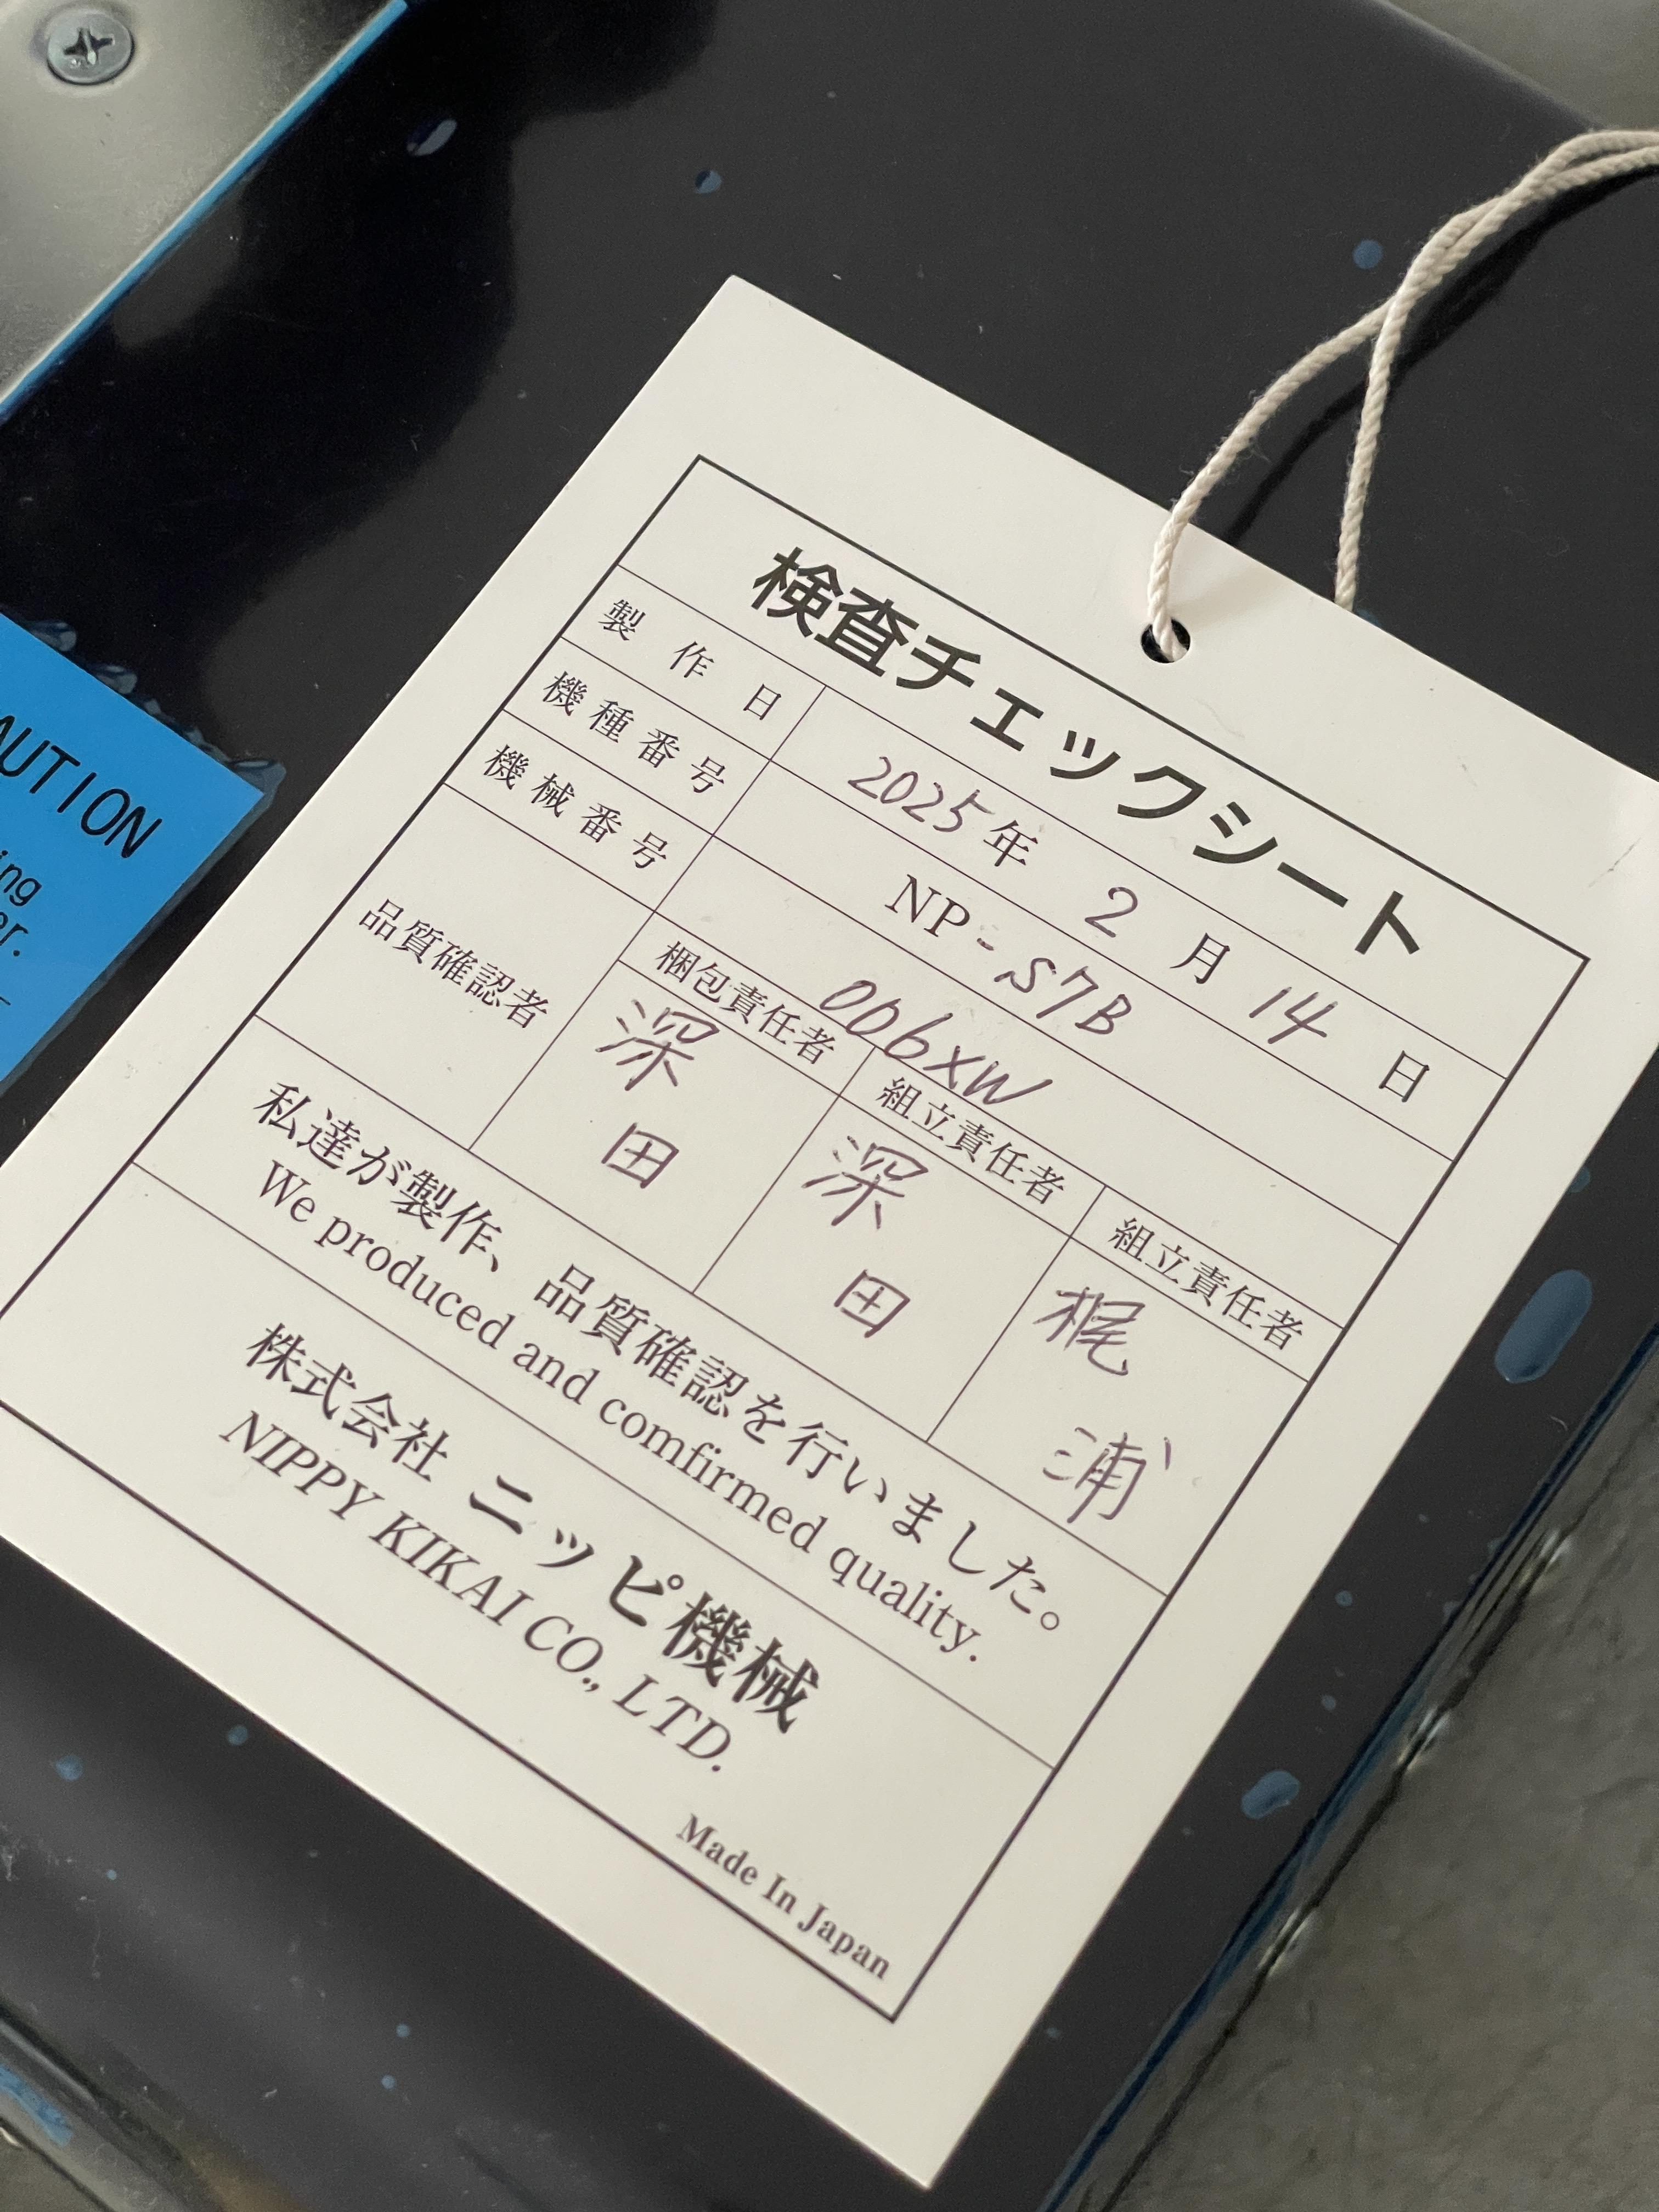
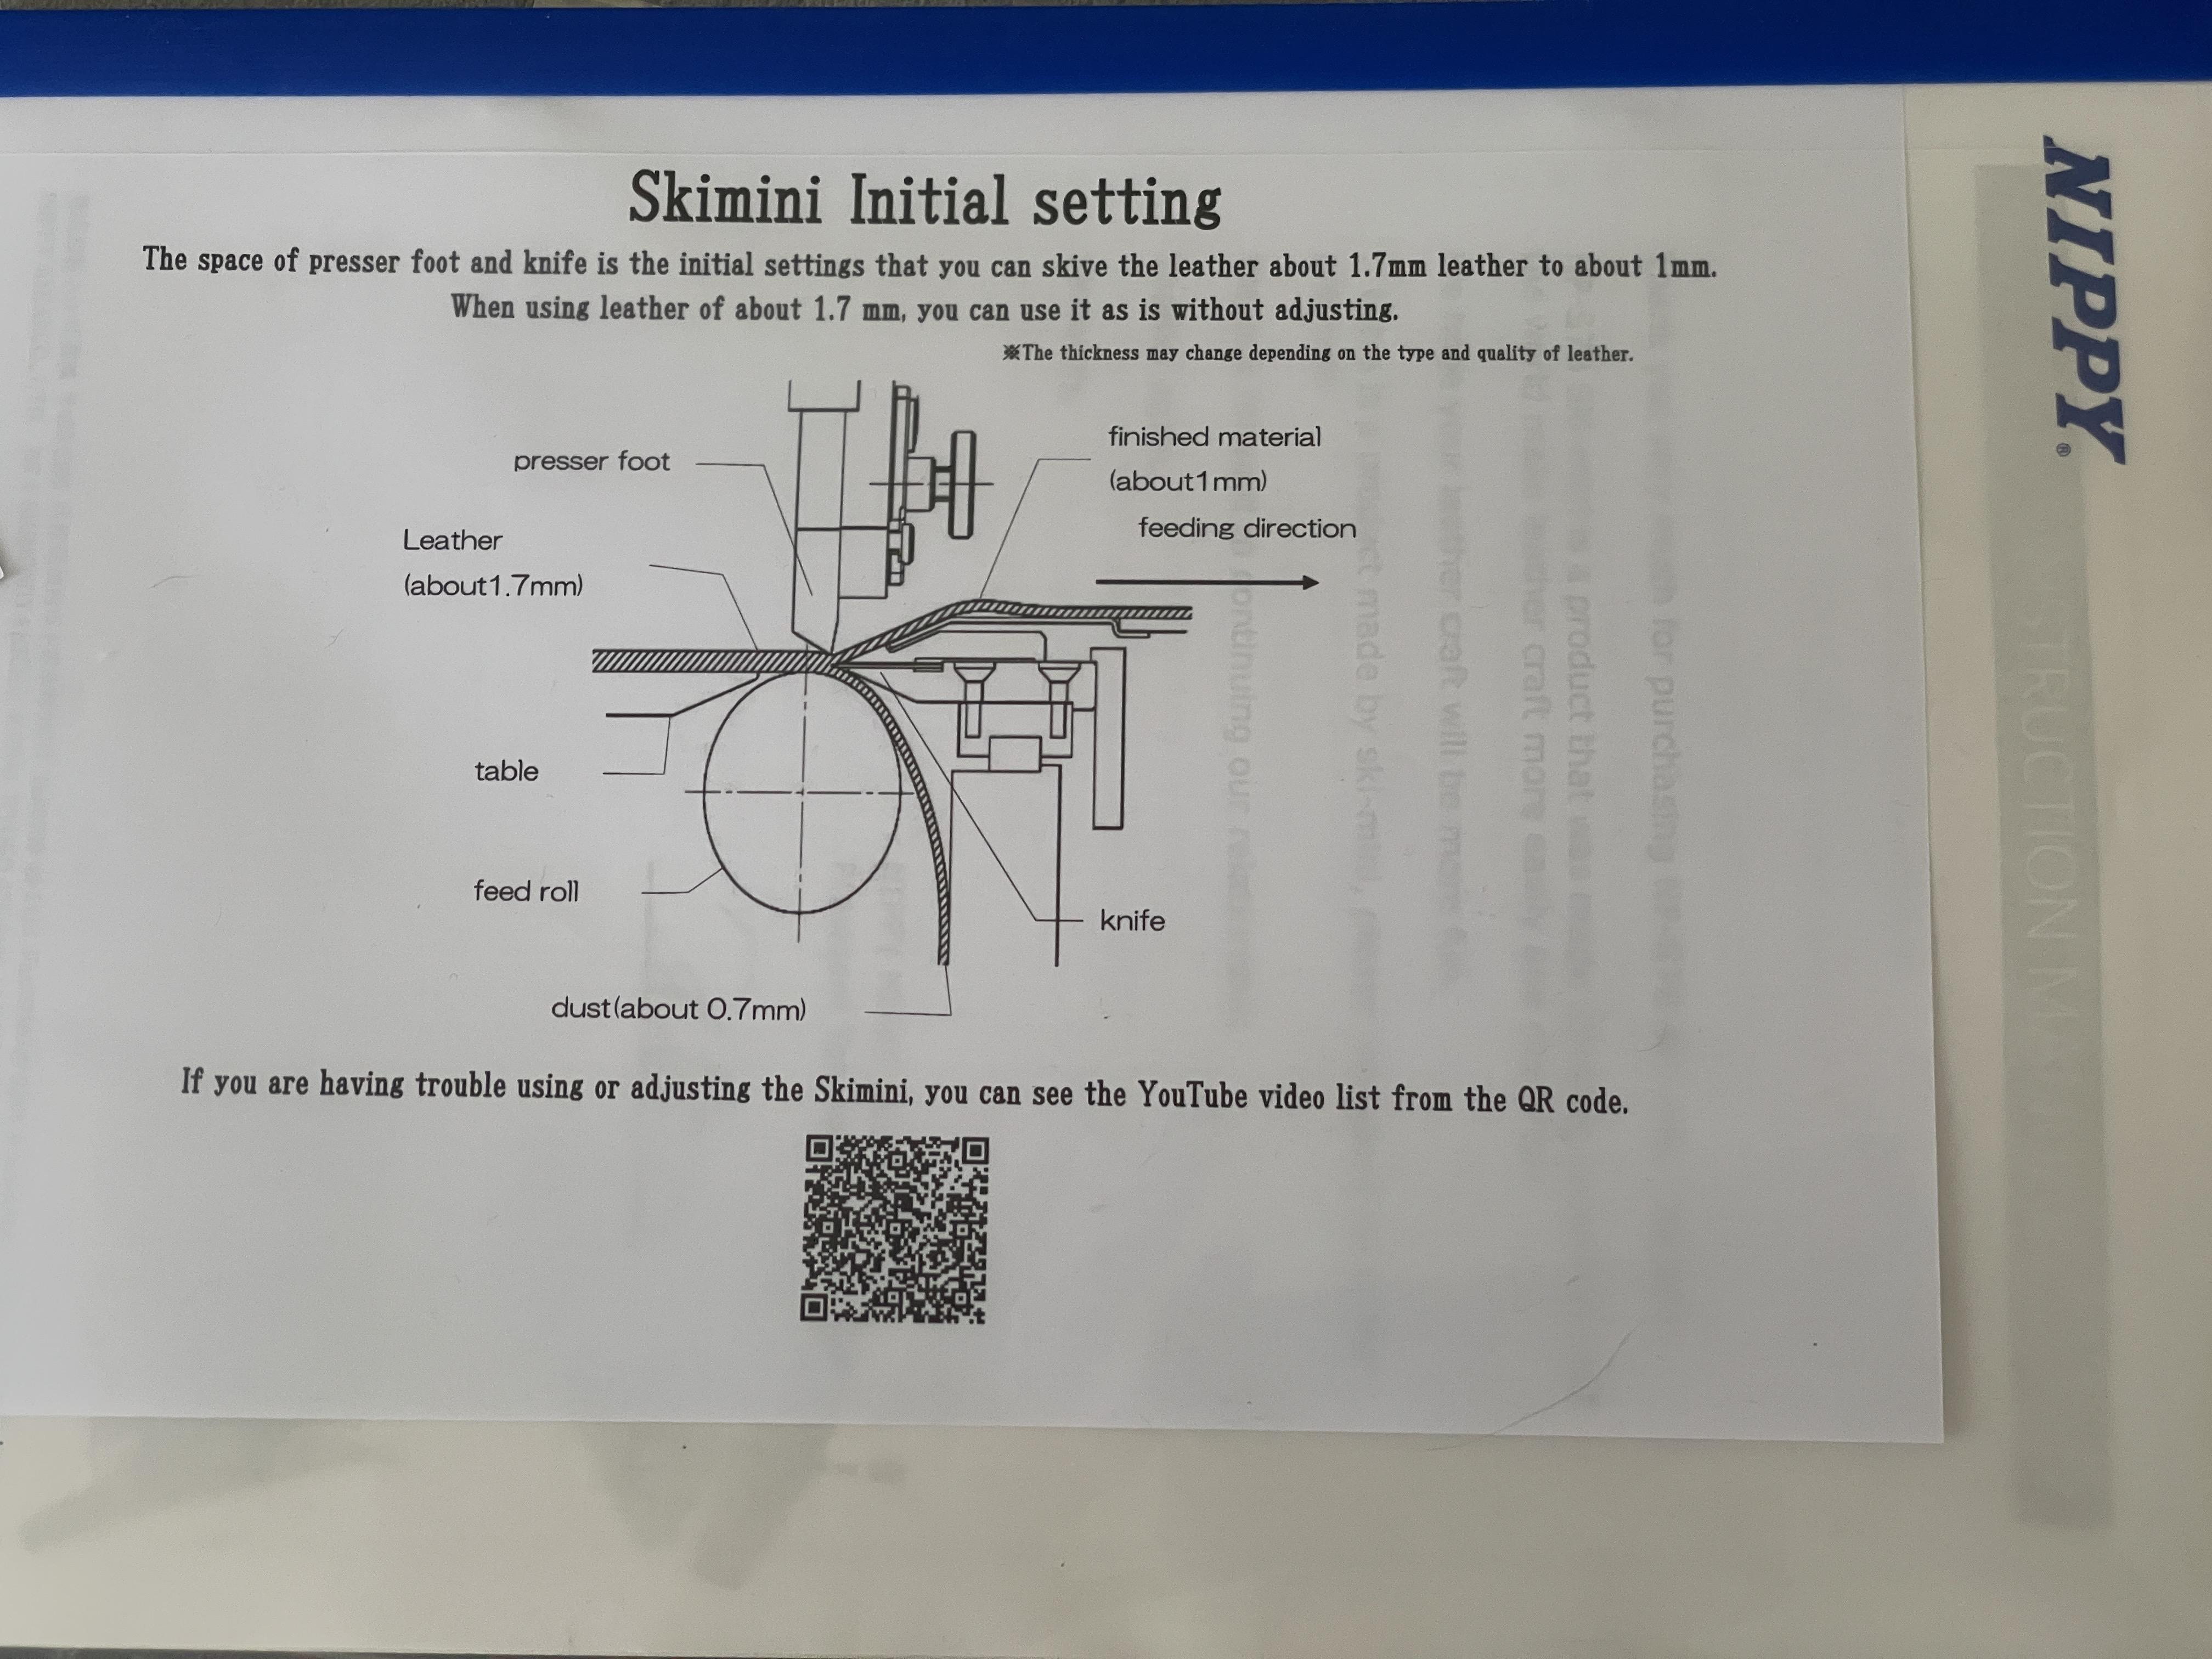
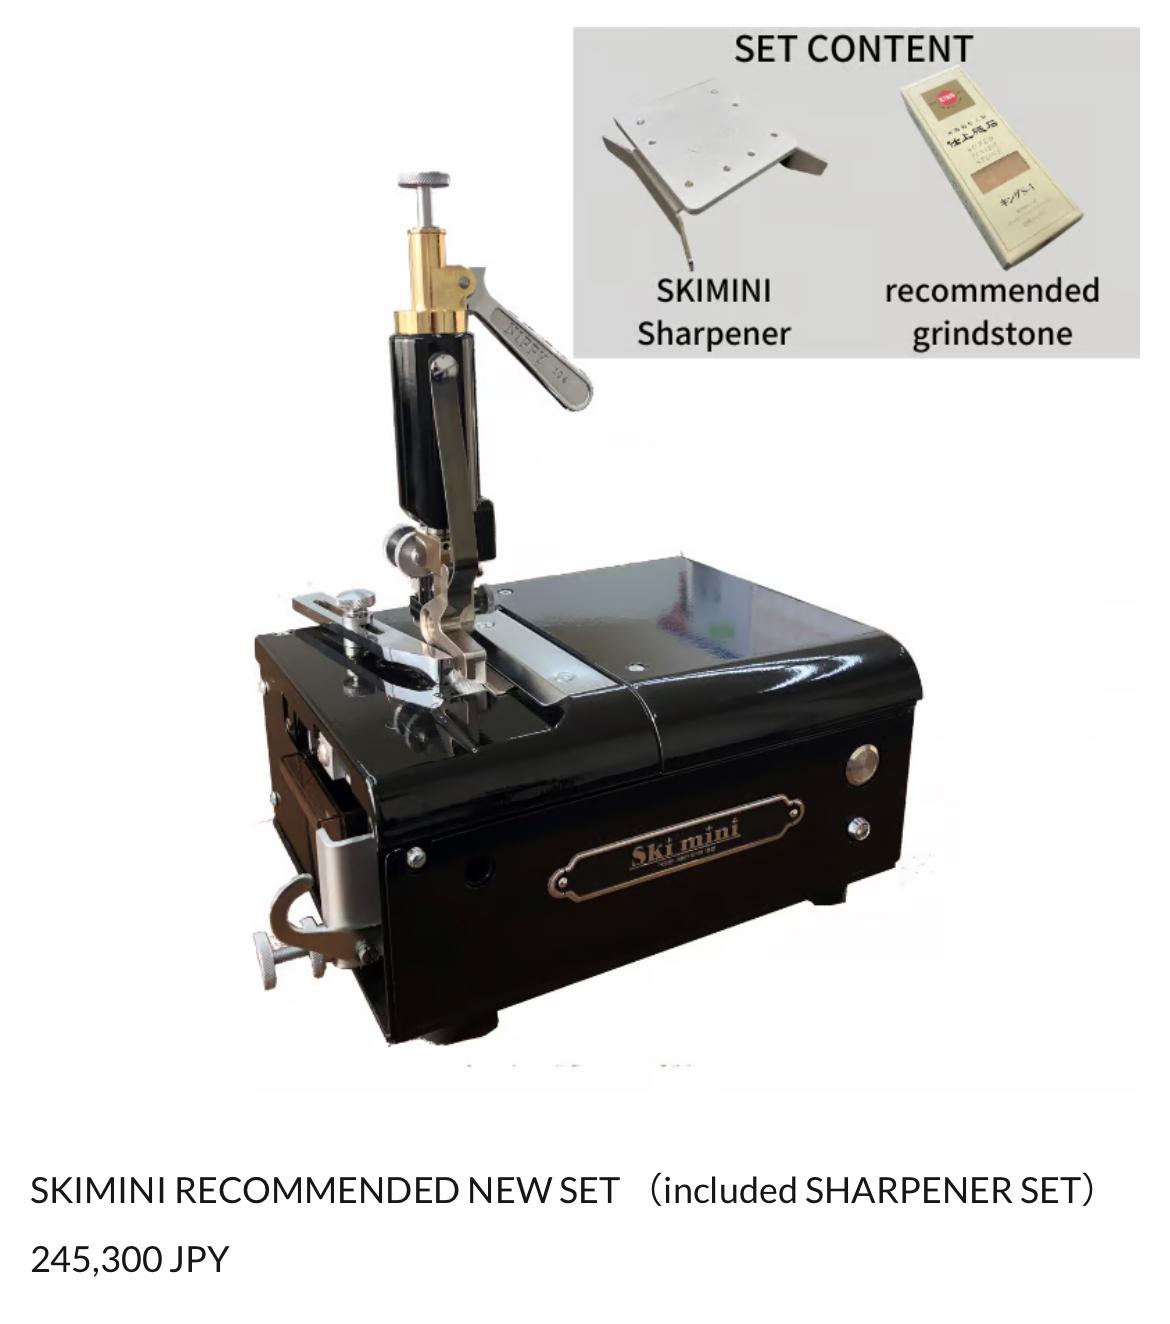
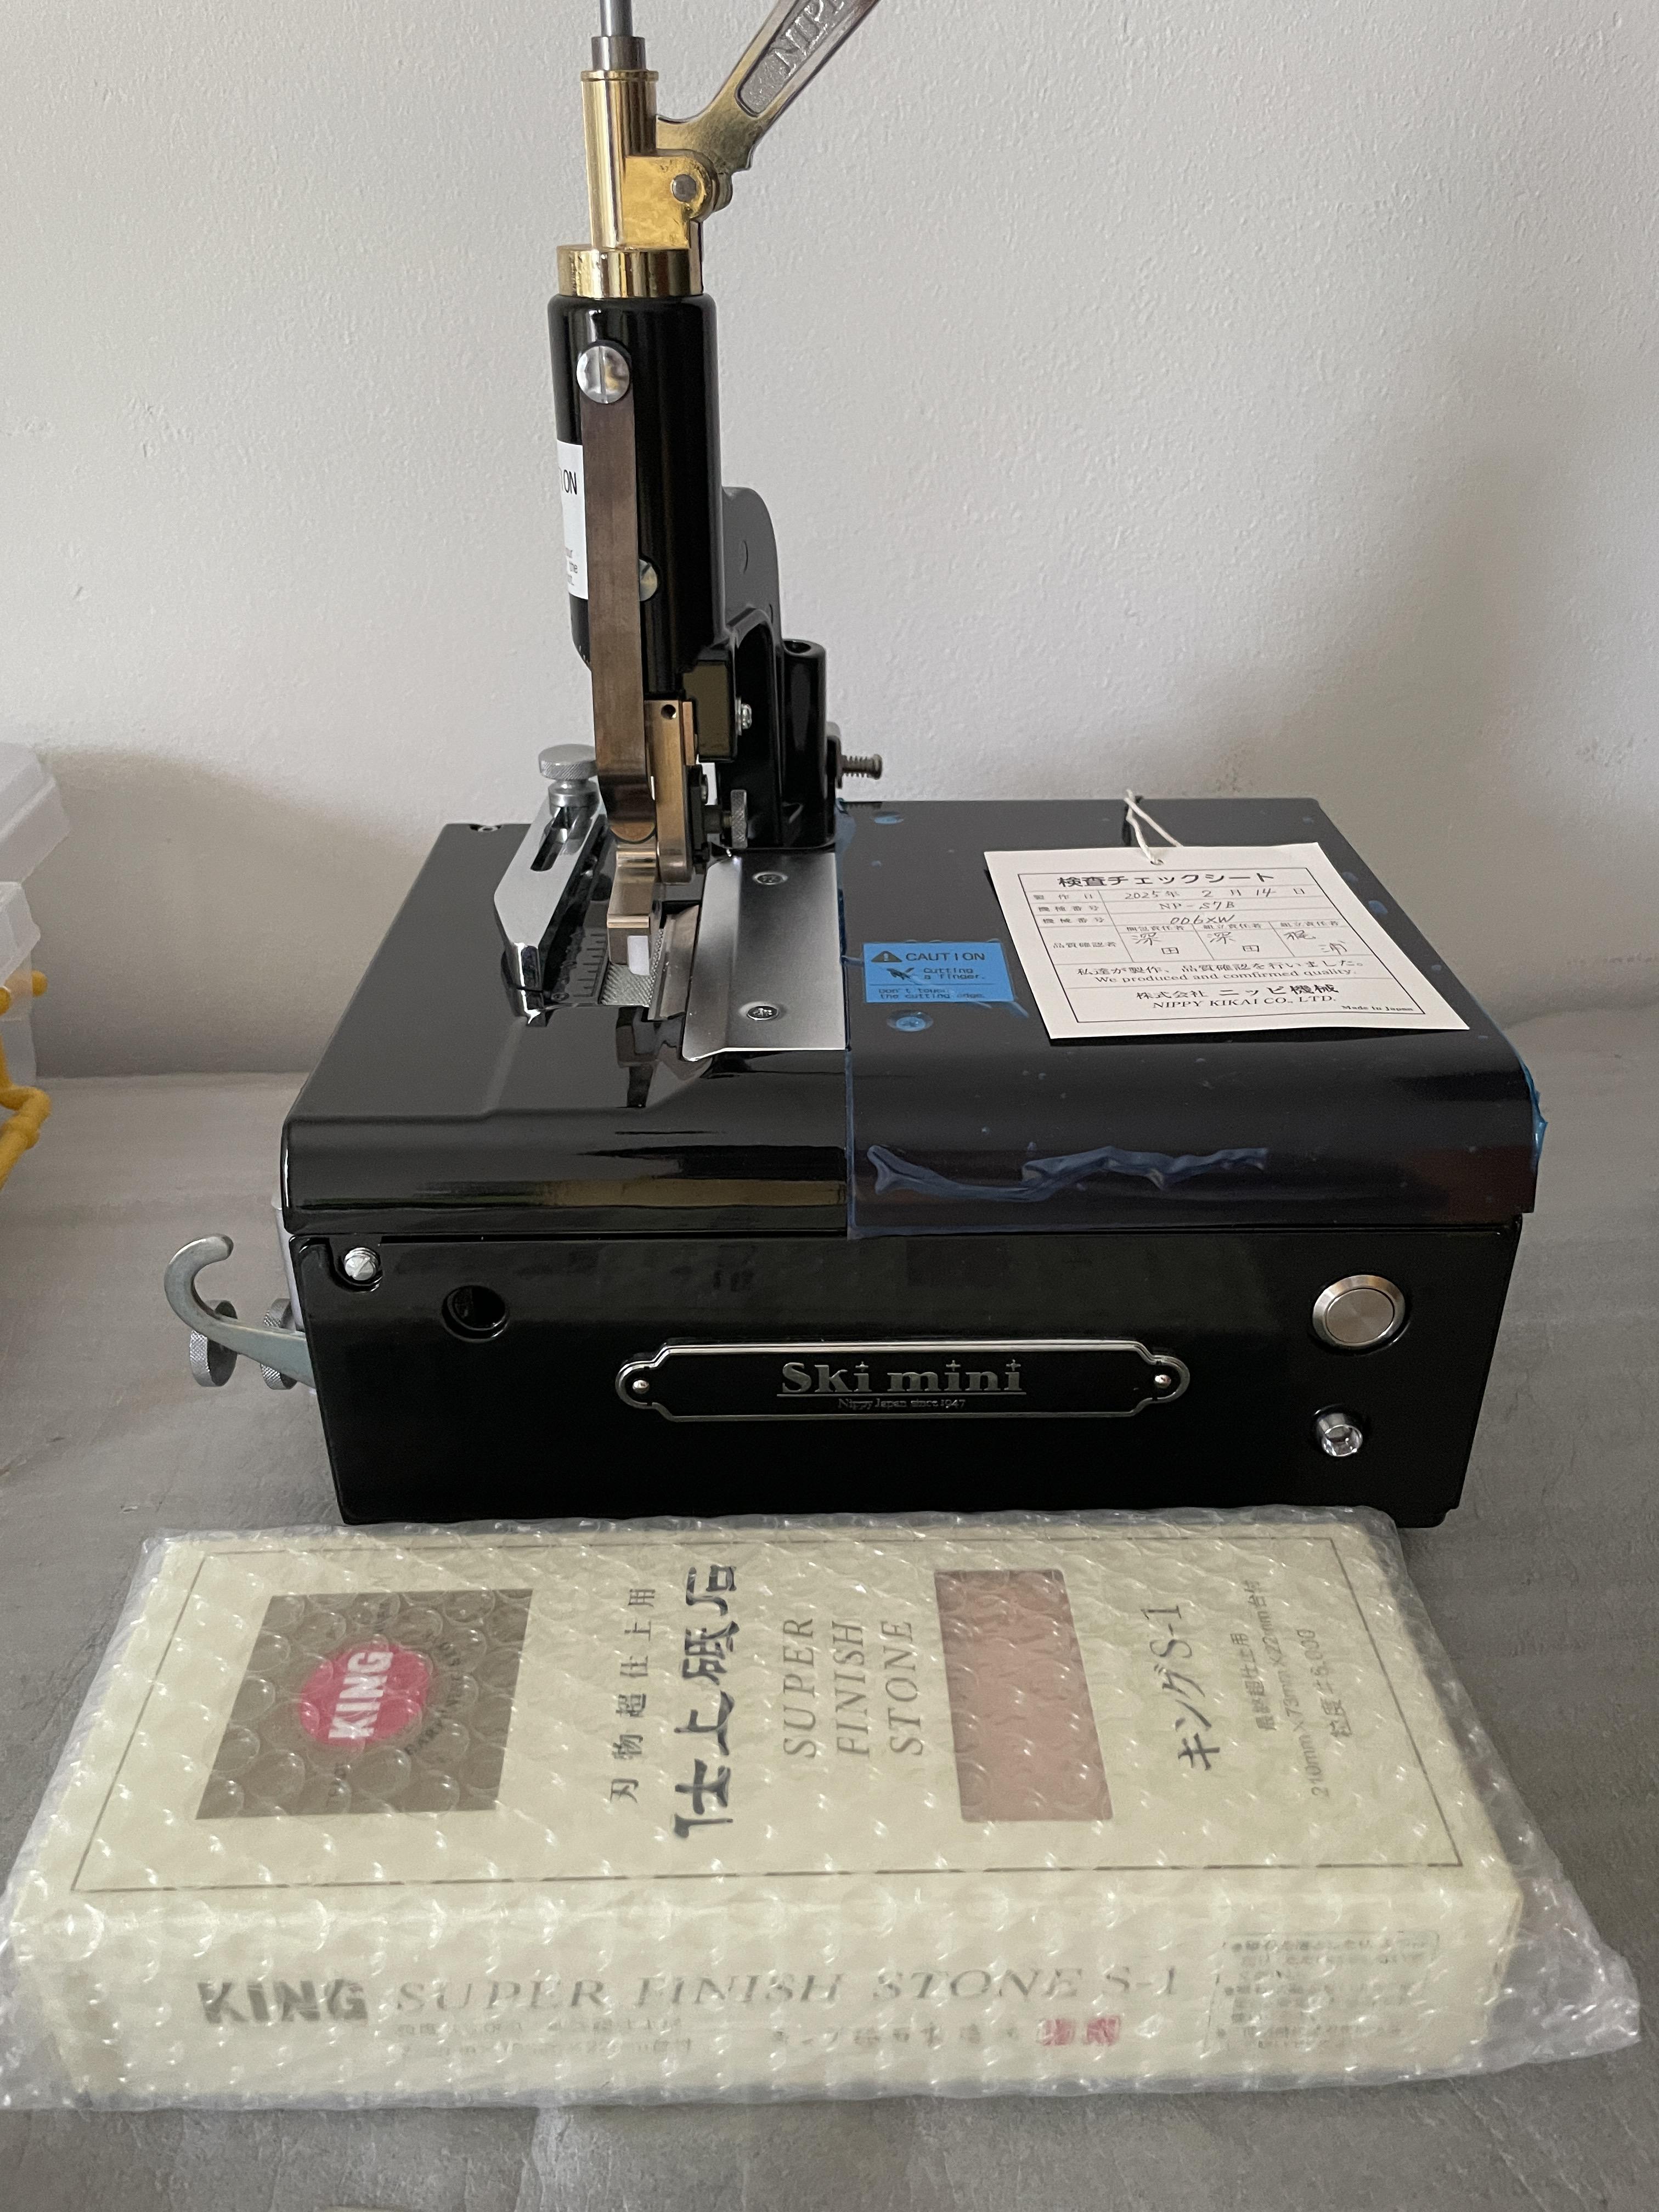
Selling my Nippy Skimini, a compact skiving machine made in Japan, purchased in February 2025 and still under warranty until 2026. The machine is in excellent condition and comes with the full official set, including: ✔️ Skimini Sharpener ✔️ Sharpening stone ✔️ 5 replacement blades The machine is in excellent working condition. However, I’ve realized I rarely use it, so I’ve decided to sell it while it’s still under warranty. I tend to need a finer skiving edge, so I often reach for my skiving knife instead. That said, I’ve used the Skimini a few times and can share some insights based on my experience: Who This Machine Is Best Suited For: Crafters working with leather thicknesses of 1.3mm or above. In my experience, the Skimini performs better with thicker leather. It skives cleanly when starting from around 0.4mm and up. Vegtanned leather users. It skives vegtan beautifully. I’ve tested it with Badalassi Carlo leather, and the results were smooth and consistent. It can even skive down to 0.3mm thin. (I personally don’t use much vegtan in my products.) Those who work with quality chrome-tanned leathers. It handles some chrome leathers well—Alran Chevre, for instance, skives nicely. Anyone with limited workspace or who need to rearrange their setup often. At just 10kg and roughly A4 paper-sized, the Skimini is very compact and easy to move around. Additional Notes: Skiving thinner leather (under 1mm) requires more precise adjustments—especially of the presser foot and knife-to-roller distance. There are YouTube tutorials showing how to dial in the settings. The guy demonstrates skiving from 0.8mm down to 0.6mm. That’s a summary of my experience with the Skimini. If you’d like more details or specific photos/videos, feel free to contact me here or better to message me on Instagram: @adithpr The official price is at ¥245,300 exclude shipping. I’m selling it at $1200, exclude shipping. This will be worth considering for you who’d like to try this Japan technology 😃 Thanks for reading!