All Activity
- Past hour
-

help choosing first leather sewing machine
TakashiOkada replied to TakashiOkada's topic in Leather Sewing Machines
it says in the video that it can use size #14 to #24 needles, some other places say the smallest needle it can use is #18. I often use size #12 for very thin straps or watch bands and leather accessories with my father's old seiko TF-5. will this machine be able to handle such material/needle? something like this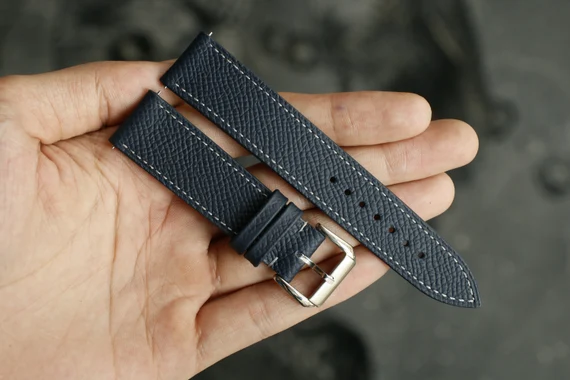
- Today
-
Hi, I recently purchased a used Juki 1541 that I now realize was in poor shape. I downloaded the engineers manual and watch a lot of YouTube videos, as well as missing, broken and worn parts. I have timed the hook/needle and adjusted the forward/reverse stitch length to be the same. The issue i have is when testing the forward and backstitch (not using thread), the backstitch will enter the same needle hole for 5 -6 stitches and then start moving further away from the front stitch holes. This is on stitch setting 6. Increasing or reducing the stitch length makes it worse with only the first 2 - 3 stitches going into the same hole. I ran some stitches only forward and then another row in reversed and checked the spacing with calipers and the spacing was equal. Is this normal with the Juki? Or is there a specific time to hold the reverse lever to accurately backstitch in same hole - like only when the needle is down to start the reverse? I was testing on 2mm veg leather. I’m not sure if i need to adjust presser foot or dog to get better results. Thank you in advance for your comments. Jon
-
Repositioned the throat plate so that it aligns better with the overall shape of the cylinder bed, and adjusted the feed dog and needle positions to match. The thread now enters the latch cleanly about 60% of the time (Reverse, max stitch length), but the thread is no longer riding in the shoulder. (So many compromises!) The camera angle is different this time. I tried to get a directly top-down view (as close to orthographic as possible) to show the relative angles of things. The bobbin case is not square with the throat plate. I'm not sure if this is how it should be. I'm thinking on how I can test with different throat plate geometry to see if I can get the best of both worlds (thread riding in shoulder, with clean thread entry into latch) attempt-2__small.mp4
-
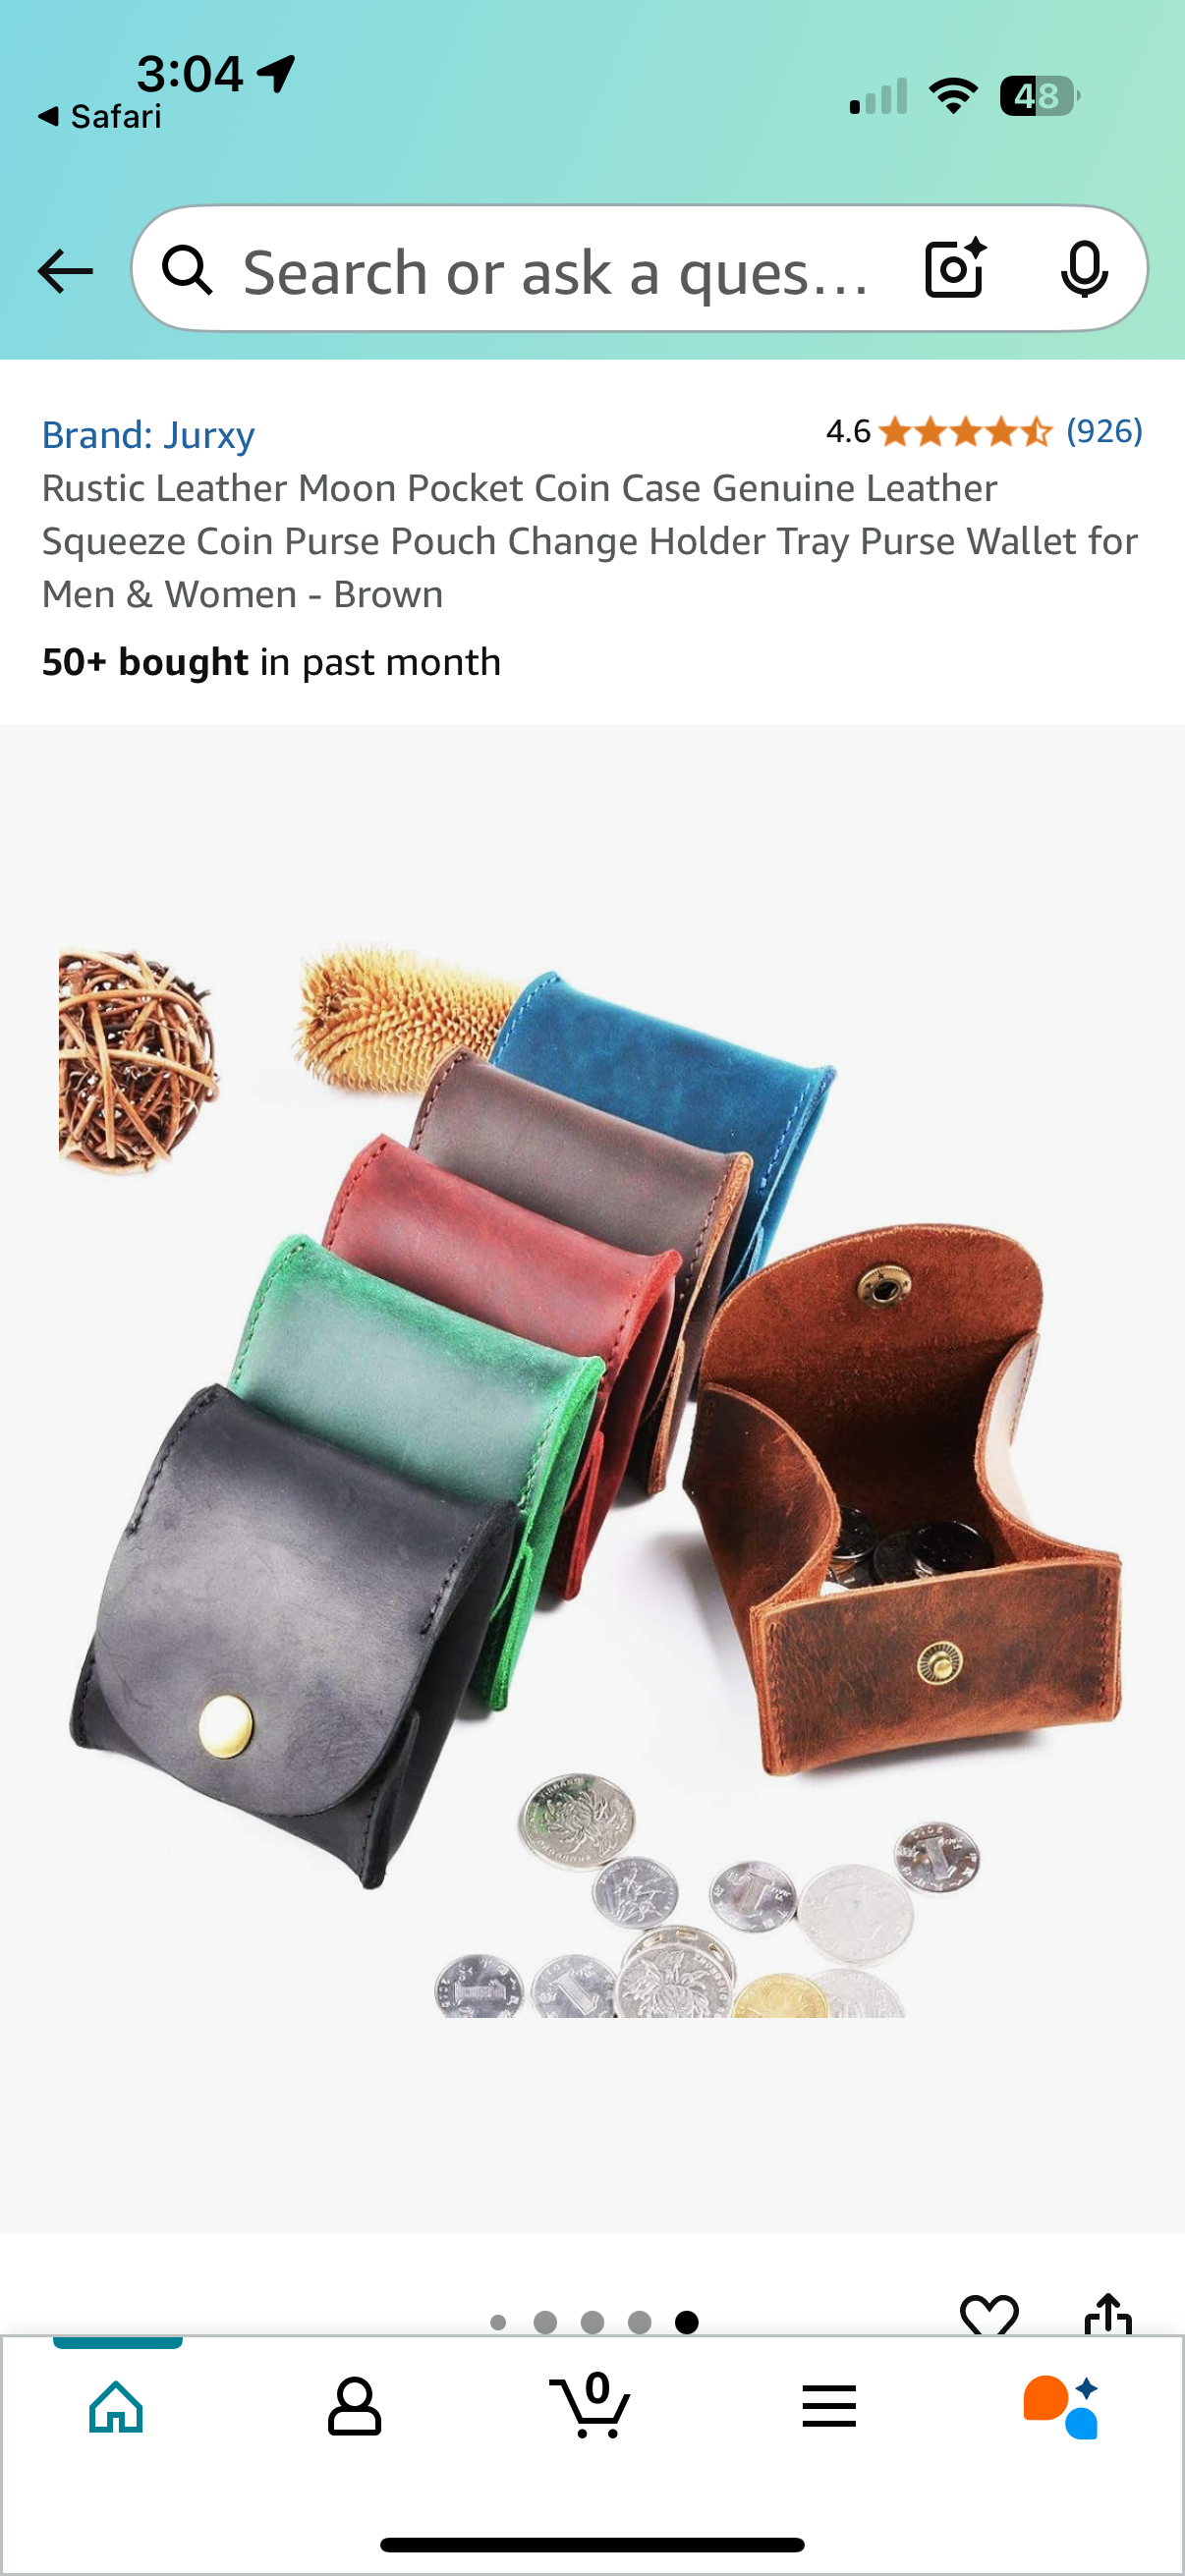
I’m going to make some diabetic cases. I’d like to have some leather pockets inside of it. I understand how to make a pocket of these types I think but but how do I sew it inside of a case (that I haven’t finished conceptualizing) once I’m done sewing the pocket itself? Pictures for references only. Thanks

-
Dying the background would certainly do the trick. It wouldn't even have to be very contrasting, either.
-
Naw, it be ok. I just zip past anything I don't want to read
-
 Further observations: SS: color hasn’t returned to liquid yet. Dipped a swatch this morning. At first, started to darken. As it dried, some light staining on flesh, only a hint of shade on grain. Cu: surprisingly vibrant color, similar to a new penny, but can clearly see through. Dipped a swatch last night. Darkened some initially, now a slightly pale blue color wash. Tossed outside again today, color seems to be fading from jar. 2nd Fe: Still relatively clear, nothing to settle out. Dipped a swatch last night. Initially turned relatively dark. This morning, disappointingly faded out. Outside also, almost seems to be a soapy dishwater appearance. 1st Fe: Black at top few inches, black sediment settled, gray-black but translucent. I cheated and dipped the faded Fe swatch from last night. A rather hazy navy blue color. Outside also, the jar is an opaque charcoal gray. All swatches buff veg tan. Will update observations as I think about it… AZR
 -

help choosing first leather sewing machine
AlZilla replied to TakashiOkada's topic in Leather Sewing Machines
Well, here it is on Alibaba. I've never bought anything big from them: https://www.alibaba.com/product-detail/typical-tw3-341-heavydutysewing-machine-cylinder_1600595645634.html And here's a video that shows a clutch motor, Most will want a servo: -
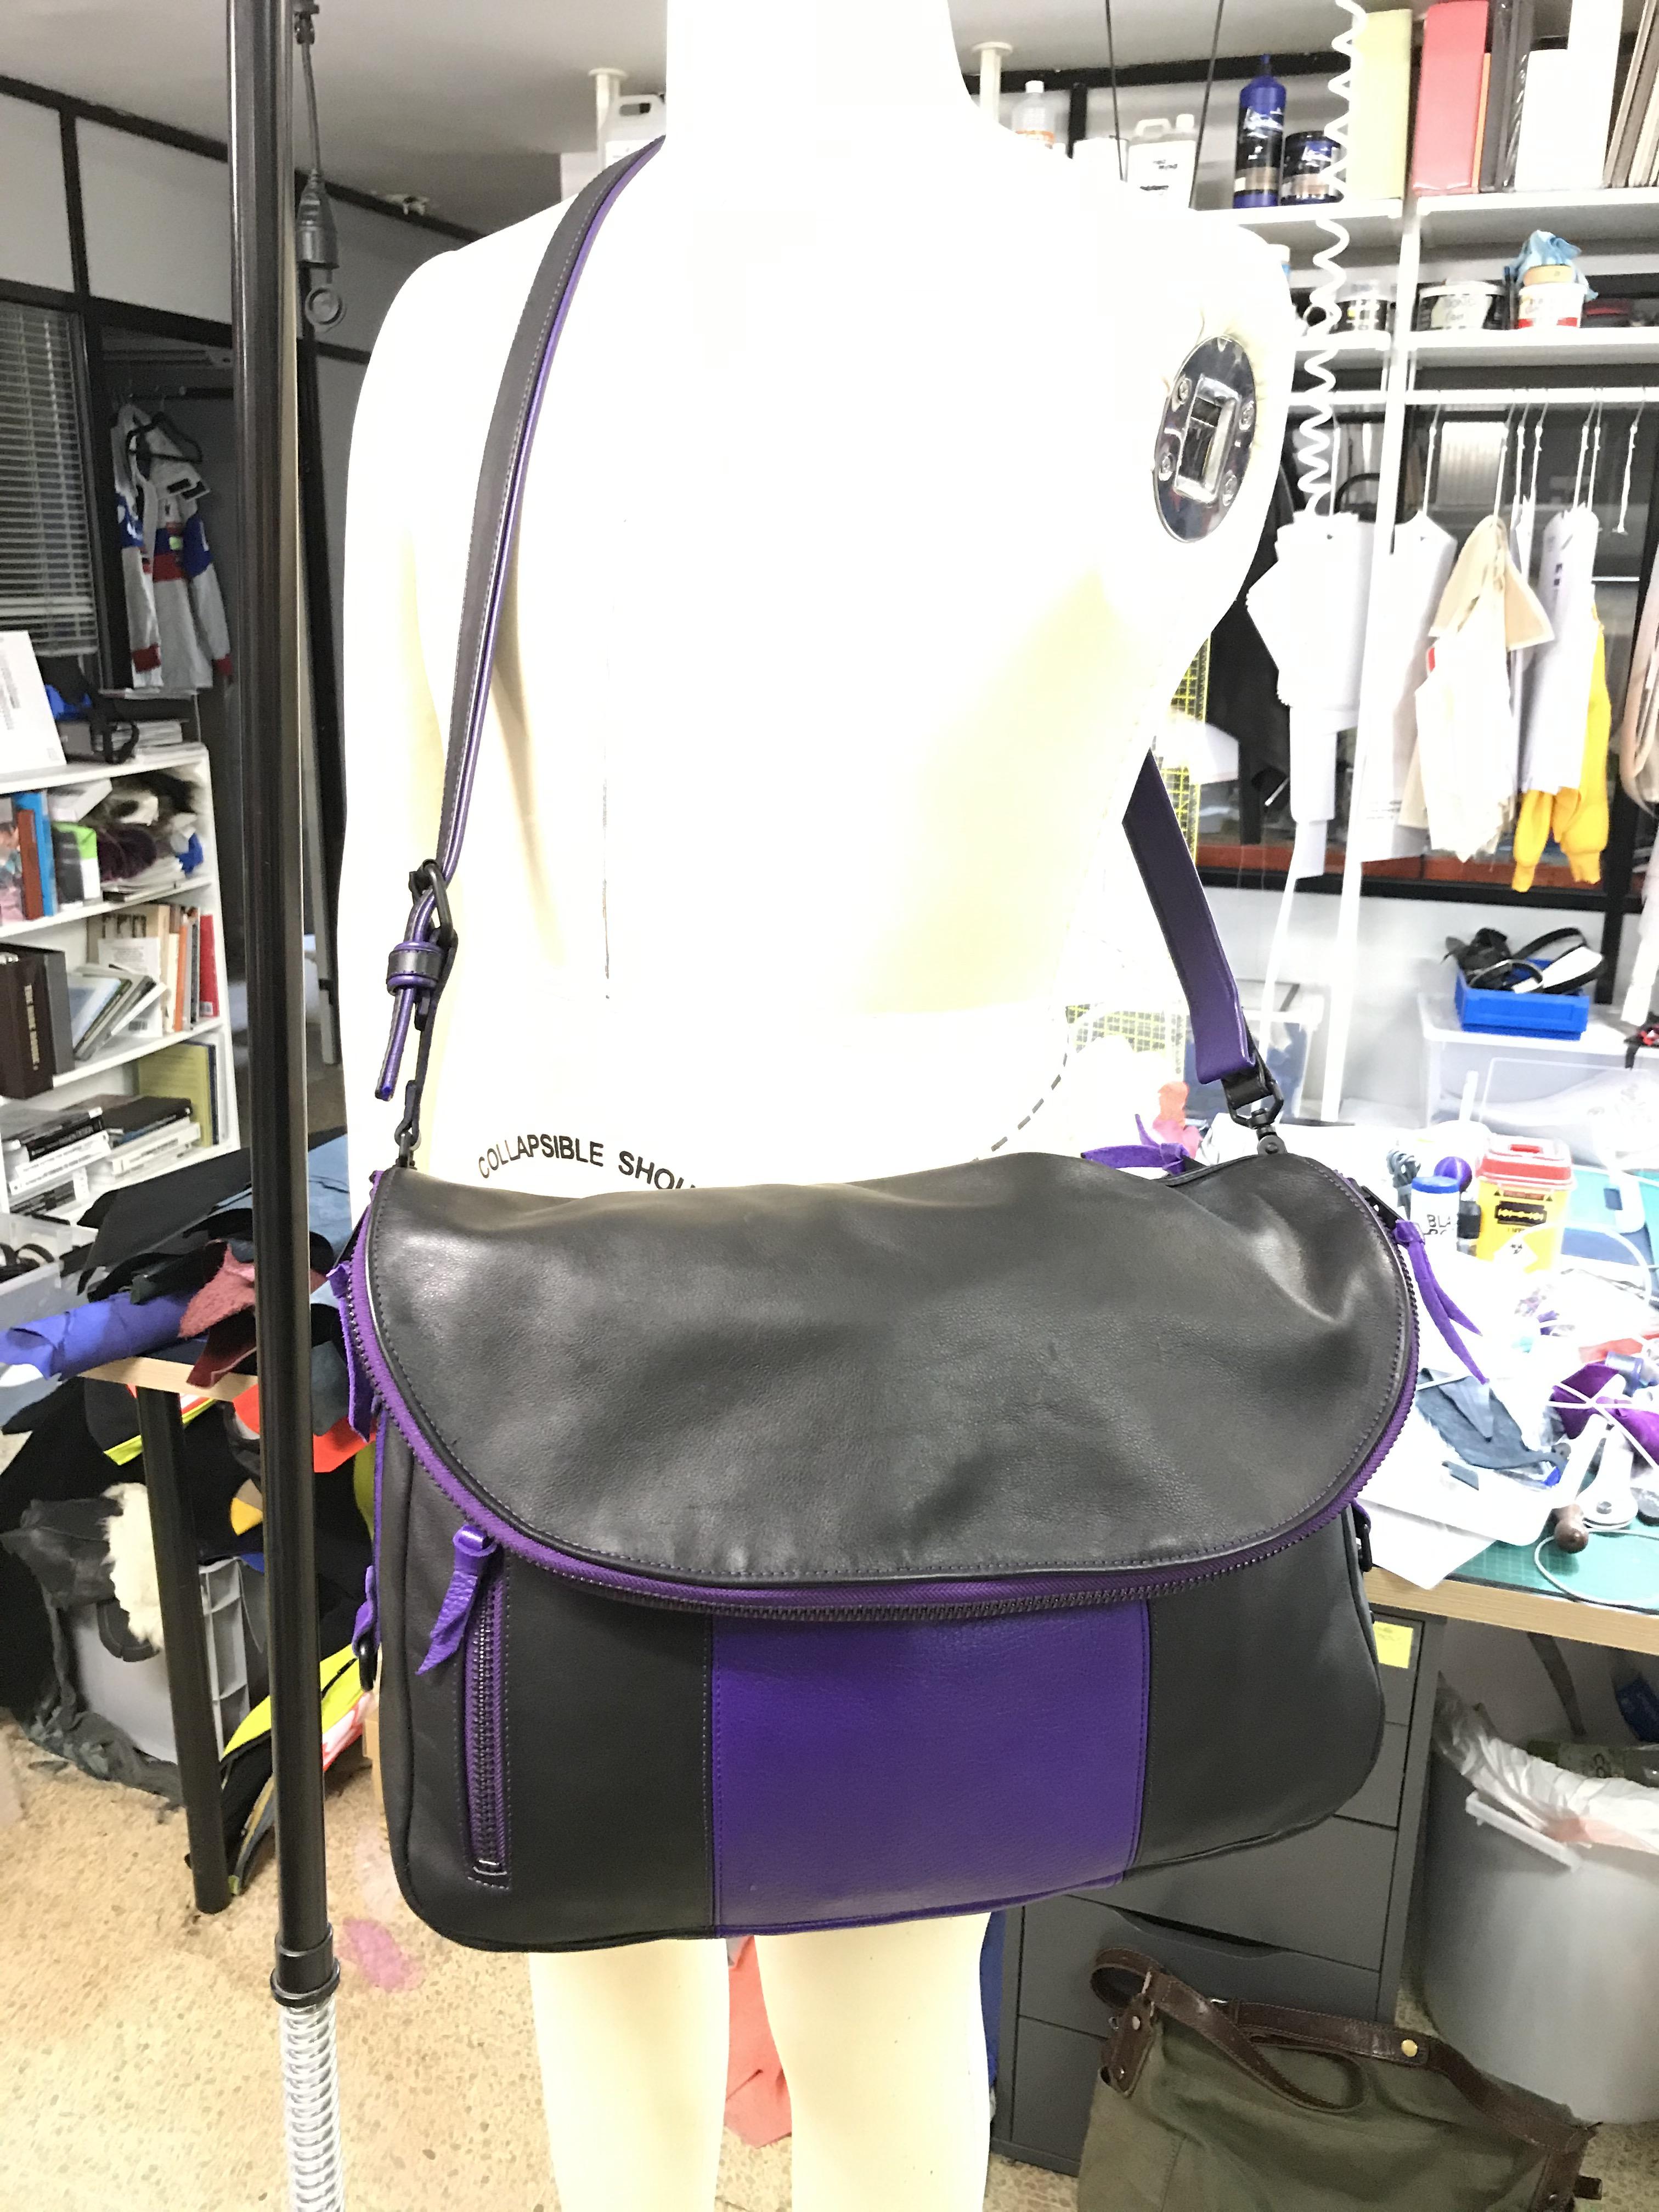
Thank you, Pastor Bob. I am a huge fan of the dark purple. It’s not an easy color to find in leather. Heh. Thank you, Deanr. The zipper on the flap is how one accesses the main part of the bag. It was my first bag I had bade so Logistically and utilitarian uses were not my primary focus. I just thought is was a cool idea. I don’t know if I would make that type again. It was nice and secure but took a slight amount of effort to access as opposed to just tossing stuff in. I ended up gifting it to a friend for their birthday so I didn’t get to ‘road test’ it myself. Yes, it was done on a machine. It was my very first industrial machine, a SunStar KM-????-BL. I’m afraid I can’t recall the model number. It was just “my sewing machine.” I was newly arrived in Barcelona at the time and my Spanish was “malo”, but there was this fantastic gentleman named Faustino and his shop Co Ma Tex was indispensable to me. As long as I had two hot cups of strong espresso waiting for him, he did house calls on my marching when I would have a problem. Of course I paid him for the service call but he was patient since he couldn’t explain things over the phone and had to physically show me due to the language barrier. In The States if I would have called with a similar I problem I would have been immediately hung up on and ignored. We don’t realize how cut-throat business is here. We just kind of accept it and take it for granted that we are mostly on our own. Except for this wonderful BBS!!! But I digress, looking for more pictures took me down Memory Lane. Now my ‘workhorse’ leather sewing machine is a Juki 1541. I wouldn’t run a shop without it. (Or them, i have 3. And yes they all have names.) The center panel I think you are referring to is the two black panels on both sides of the purple? If I am correct in my assumption this is one of two types of seams that make up 99.999% of all leather sewing seams. The garment industry has about a quadrillion different seams to joint two pieces of fabric together but in leather our main challenge with seams is for them not to become bulky. The seam on the bag is an “open seam”. With a seam allowance, I use 10mm ubiquitously, edges lined up and ‘right sides’ facing each other (meaning the two finished sides of the leather are touching and the flesh side is visible) you sew 10mm from the edge. Then unfold the seam and allow the underside (seam allowance) to fold over on its own side of the seam. Then sewing on the ‘right side’ you top stitch both sides of the seam to catch and secure the seam allowance underneath. It’s a very clean and low bulk seam. It may sound crazy complicated when reading it but once you see it and do it once or twice you will understand it completely. It will become your second most used seam only to the ‘felled seam’ which is stronger as it has two (or more) lines of stitching securing the pieces of leather together but is more bulky. Here is another picture I found of the bag. Less detailed, but full of nostalgia for me as it shows more of my very first leather workshop ever. (Sigh) I hope I’ve answered your questions adequately.
-
help choosing first leather sewing machine
TakashiOkada replied to TakashiOkada's topic in Leather Sewing Machines
I've asked the store and they told me they can import a machine for me! thanks for the idea! the store said they can import this machine for me. it's the typical tw3-341 😄they haven't given me a price yet but I hope it doesn't cost an arm and a leg haha. fingers crossed!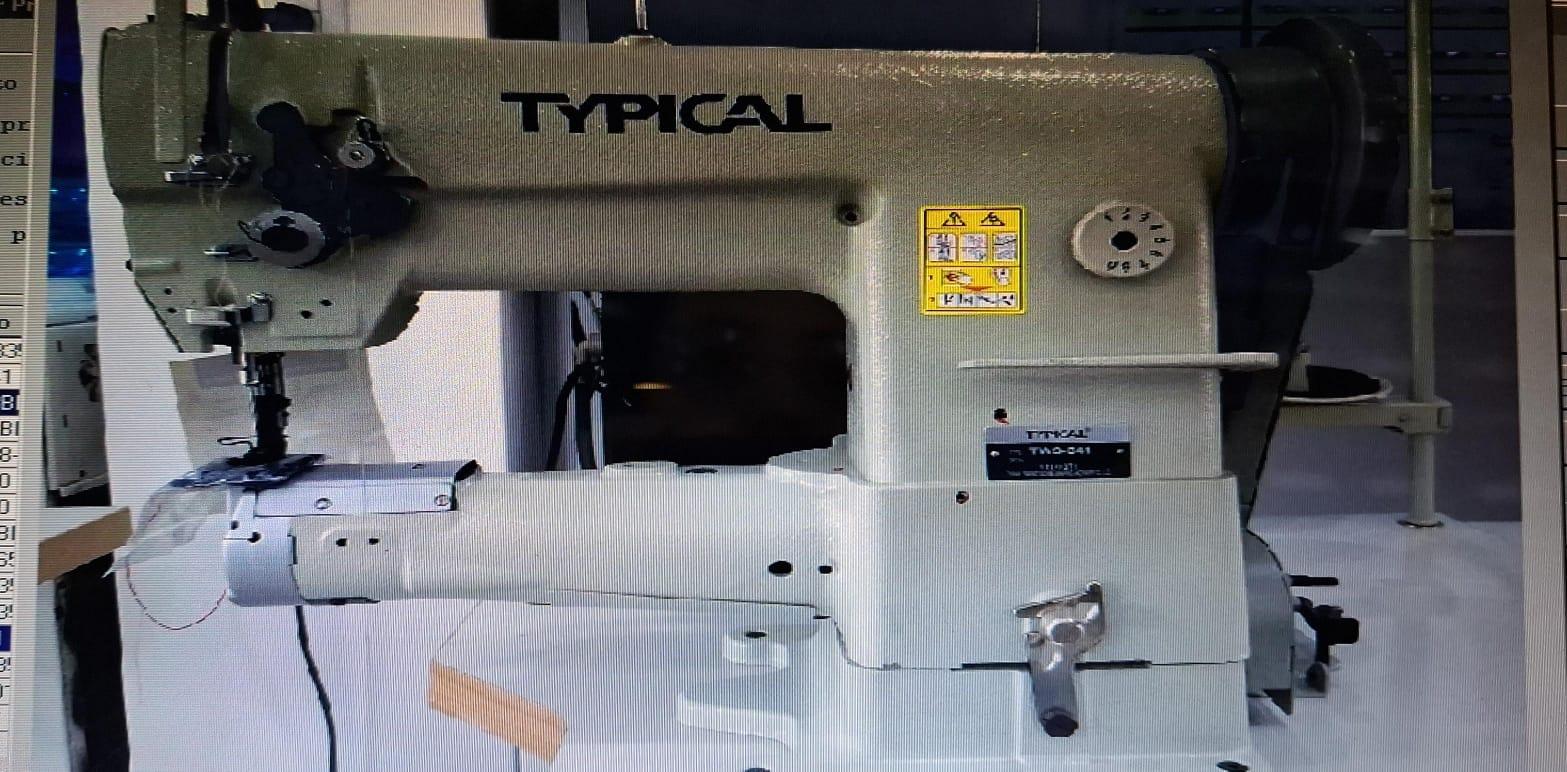
-
Have you found a quality wheel? I’ll admit that mine are bottom-of-the-barrel price and most likely quality to match, but the few I’ve found don’t necessarily match the spacing of my irons, and tend to wobble on the axle. AZR
-
Thank you for the table, great reference. I use almost strictly 1.2mm Ritza myself, but still use basic blunt harness needles. My hand stitching is improving though, so it may be time to start practicing with more delicate techniques. As far as the range of irons, I’ve seen a few different descriptors, and per Nigel Armitage, there are a handful more that I haven’t come across yet, primarily of various European styles. Any insight into this? I haven’t bitten the bullet yet to experiment myself , as $60-$100+ per iron is a rather pricey let’s-see-what-happens, and I don’t know any other leather workers enough to ask to borrow their tools… Primarily, I guess between stitching chisels vs stitching irons, and stitching vs pricking (though that’s a little more obvious). Or to step up my overthinking skills, Jap vs French vs Brit vs etc. Nigel does have a detailed text comparison of irons here https://armitageleather.com/wp-content/uploads/2021/12/Pricking-Iron-Review-Jan-2020.pdf, though he doesn’t define here the styles, or identify which irons are what. AZR
-

Tutorial, replacing zippers in riding boots.
Mulesaw replied to Mulesaw's topic in How Do I Do That?
@TomE I have never tried a compound foot machine. I only have two patchers and an old SInger class 7 with a spring loaded foot (can't remember the actual name). I ought to treat myself to a compound machine one day :-) The small patcher is with a threadle and I really fint it easier to use compared to the newer one that has an electric motor. There is just something that works well for me with being able to go ultra slow and that there is just a cozy clicking sound. Even my wife thinks it sounds homely and cozy. (Good thing since I keep it in the dining room which is adjacent to the living room). I do 80% horse repairs on the patcher. blankets, boots, rubber bell boots, etc. The only jobs on the class 7 are sewing the leather ends on elastic girths, adn that accouint for maybe 5% maximum, the remaining 15% are hand sewn saddle repairs or bridle repairs etc. I find the hardest thing on the patcher is to keep a really straight sewing line, but practise goes a long way. Before I found a place to buy those bottom stops for zippers, I would also melt the teeth to form a stop, that is a good method. A couple of times per year I am asked to alter the width of the shaft on riding boots, I have started to charge by the hour for those jobs. Sometimes people manage to buy new boots of the wrong size in the leg/shaft, and if they can't return them, I can make them fit. Or they sustain a damage to a leg and suddenly hte leg is thicker than what it used to be. I'll check if I have any pictures of those repairs, and make a post about it. -

Adult area on Leatherworker.net
Johanna replied to Johanna's topic in Announcements and Administrivia
@fredk You will see that area unless I take you out of the super secret controversial forum. You have secondary permissions. If you want me to remove them, let me know. -
I have all the manuals for 30-1,5,7,15,10,50,70. Parts list, operations manuals, mechanics manual, extras info. Cost is $15.00 plus shipping. glenn
-
Logged out and in again and I still see the Adult stuff
-
I really like the sewing detail on your bag. Excellent work. What does the zipper on the flap access? Just the flap or is that how you open the bag? I assume it was done with a machine, what type? How do you do the seam on that center panel? I would also like to see more pictures.
-
 Stipecro joined the community
 -
My old 49 Massey Ferguson tractor is literally right outside my workshop, unfinished, i walk past it every day. I even have a few pics of my late mother sitting on it. One day....I'll finish it
-
Adult area on Leatherworker.net
Johanna replied to Johanna's topic in Announcements and Administrivia
The NSFW area "Oh No, Don't Stop!" is password protected so the content does not show on activity feeds and recent posts. Just type "adult", sans quotes, and you're in. @BenOrsonLeather just posted a unique piece that made everyone remember we had an adult area again. Great work, Ben! I'm going back to work dealing with the spammers. ~J -
Easy peasy. Nice work.
-
The adult forum "Oh No, Don't Stop!" is now password protected so that it doesn't show on activity streams and new posts etc. If you want in there, type "adult" sans quotes. I hope this solves the issue.
-
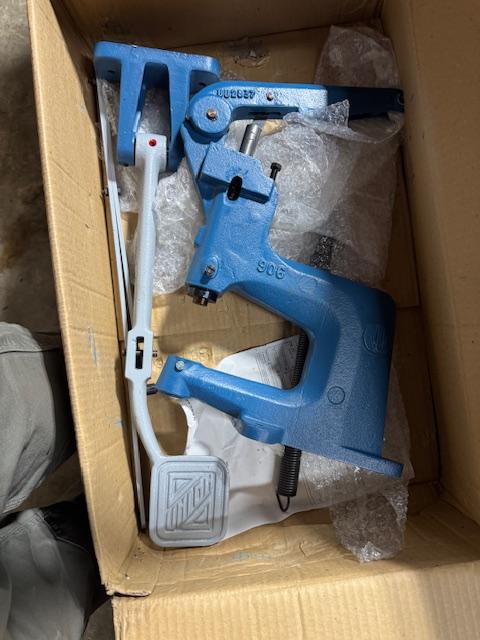
 Looks like a rivet press with a foot peddle attachment Something like this https://www.goldstartool.com/foot-press-for-grommets-snaps-buttons-and-rivets-with-stand.htm?campaign=21363438166&content=&keyword=&gad_source=5&gad_campaignid=21359363180#830-011_11500_11261_7851_1278300881
 -
Thank you for all the tips, Jonas. I've been buying a roll of continuous zipper and cutting to length then adding stops. With the Vislon/formed tooth zippers I've seen videos from Sailrite where they melt the teeth (using a heated nail or similar) to create stops. I've raised my prices for zipper replacements as I gain more experience and demand grows. I am becoming friends with my patcher as I use it more. Has a different rhythm than the compound walking foot machines. We have a visiting horse who wears rubber bell boots continuously (has an undiagnosed skin condition that is aggrevated by sunlight) and he rips the rear boots regularly. I've been patching them with 4 oz leather - they have a hook and loop closure - this seems to last and saves quite a bit of money.
-
 Google is failing me and It doesn't appear to have instructions. If anyone has some ideas let me know!