All Activity
- Today
-
Most of those shows and movies use 1892 and 1894 Winchester’s, which were developed in those years. Sometimes they take the forearms off and pretend they are Henrys. The movie Joe Kidd has bolt actions with scopes, a Broomhandle Mauser, and an 1895 Winchester.
-
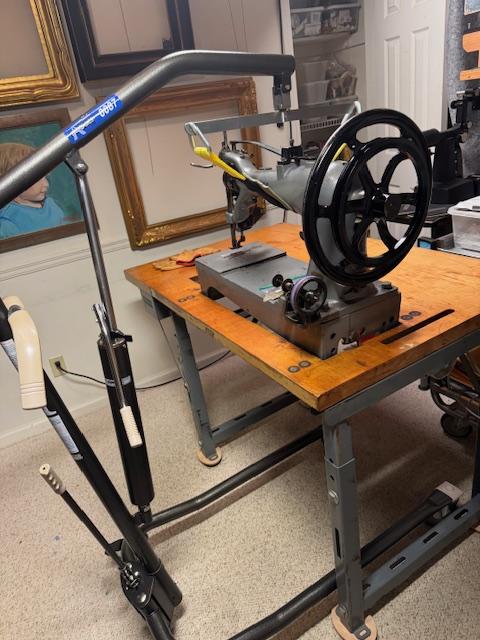
Well, now you're just showing off... I think that's called a "Hoyer Lift" and it's used for lifting medical patients. Not a bad idea. Some insurance company probably paid big money for that thing.
-
For shorter lines, you can use a compass and swing an arc on both sides of the line from both ends with the compass set at a distance greater than half the line length. Connect the intersections of the two arcs on each side of your line, and you have a line perpendicular to the original line directly thru its center. Helps if you don't have a ruler. For longer lines, make a compass from a piece of string and a pencil or marker.
-

How to Lift a Sewing Machine Safely
MyOldHyde replied to friquant's topic in Leather Sewing Machines
Here's my solution to moving my gargantuan Singer 7-33. $50 at Habitat for Humanity Restore... 450lb capacity and rolls easily with full load on 5" wheels. My back-saver!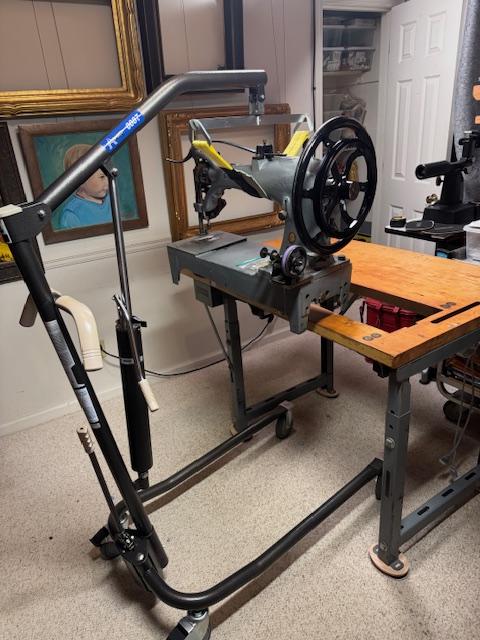
-
@toxo and @fredk The more options the better. Like when I am doing a dog lead I use a 6' steel ruler. kgg
-

spring flowers and good food
Handstitched replied to chuck123wapati's topic in All About Us and Off Topic
That lump of beef was......ok , hardly restaurant quality. Quite tough in fact. I'll do a slow cook curry on monday with the leftovers . I will never buy a "discount " lump of beef ever again 😒 thing is, I have one more lump to use up in the freezer . Lesson learnt. HS -
This class of machines i lift by hand. but for the heavier ones I sometimes use this device
-
@kiwican I know how you feel . Stuff happens often out of our control. Glad you're still keeping up with your leather, working with leather can often be therapeutic. i went to my leather supplier a few weeks ago he pulled out an old invoice....from 2004, just reminds me how much has changed, price wise, and how much I have changed. HS
-
I've been watching 'Rawhide'. Its sort of set about 1870 They too use the SAA. And the '73 Winchester. Sometimes you see a character using an older style Colt pistol
-
DONE! And no tears. Cut the two apart where sewn together, and now have the top skirt off.
-
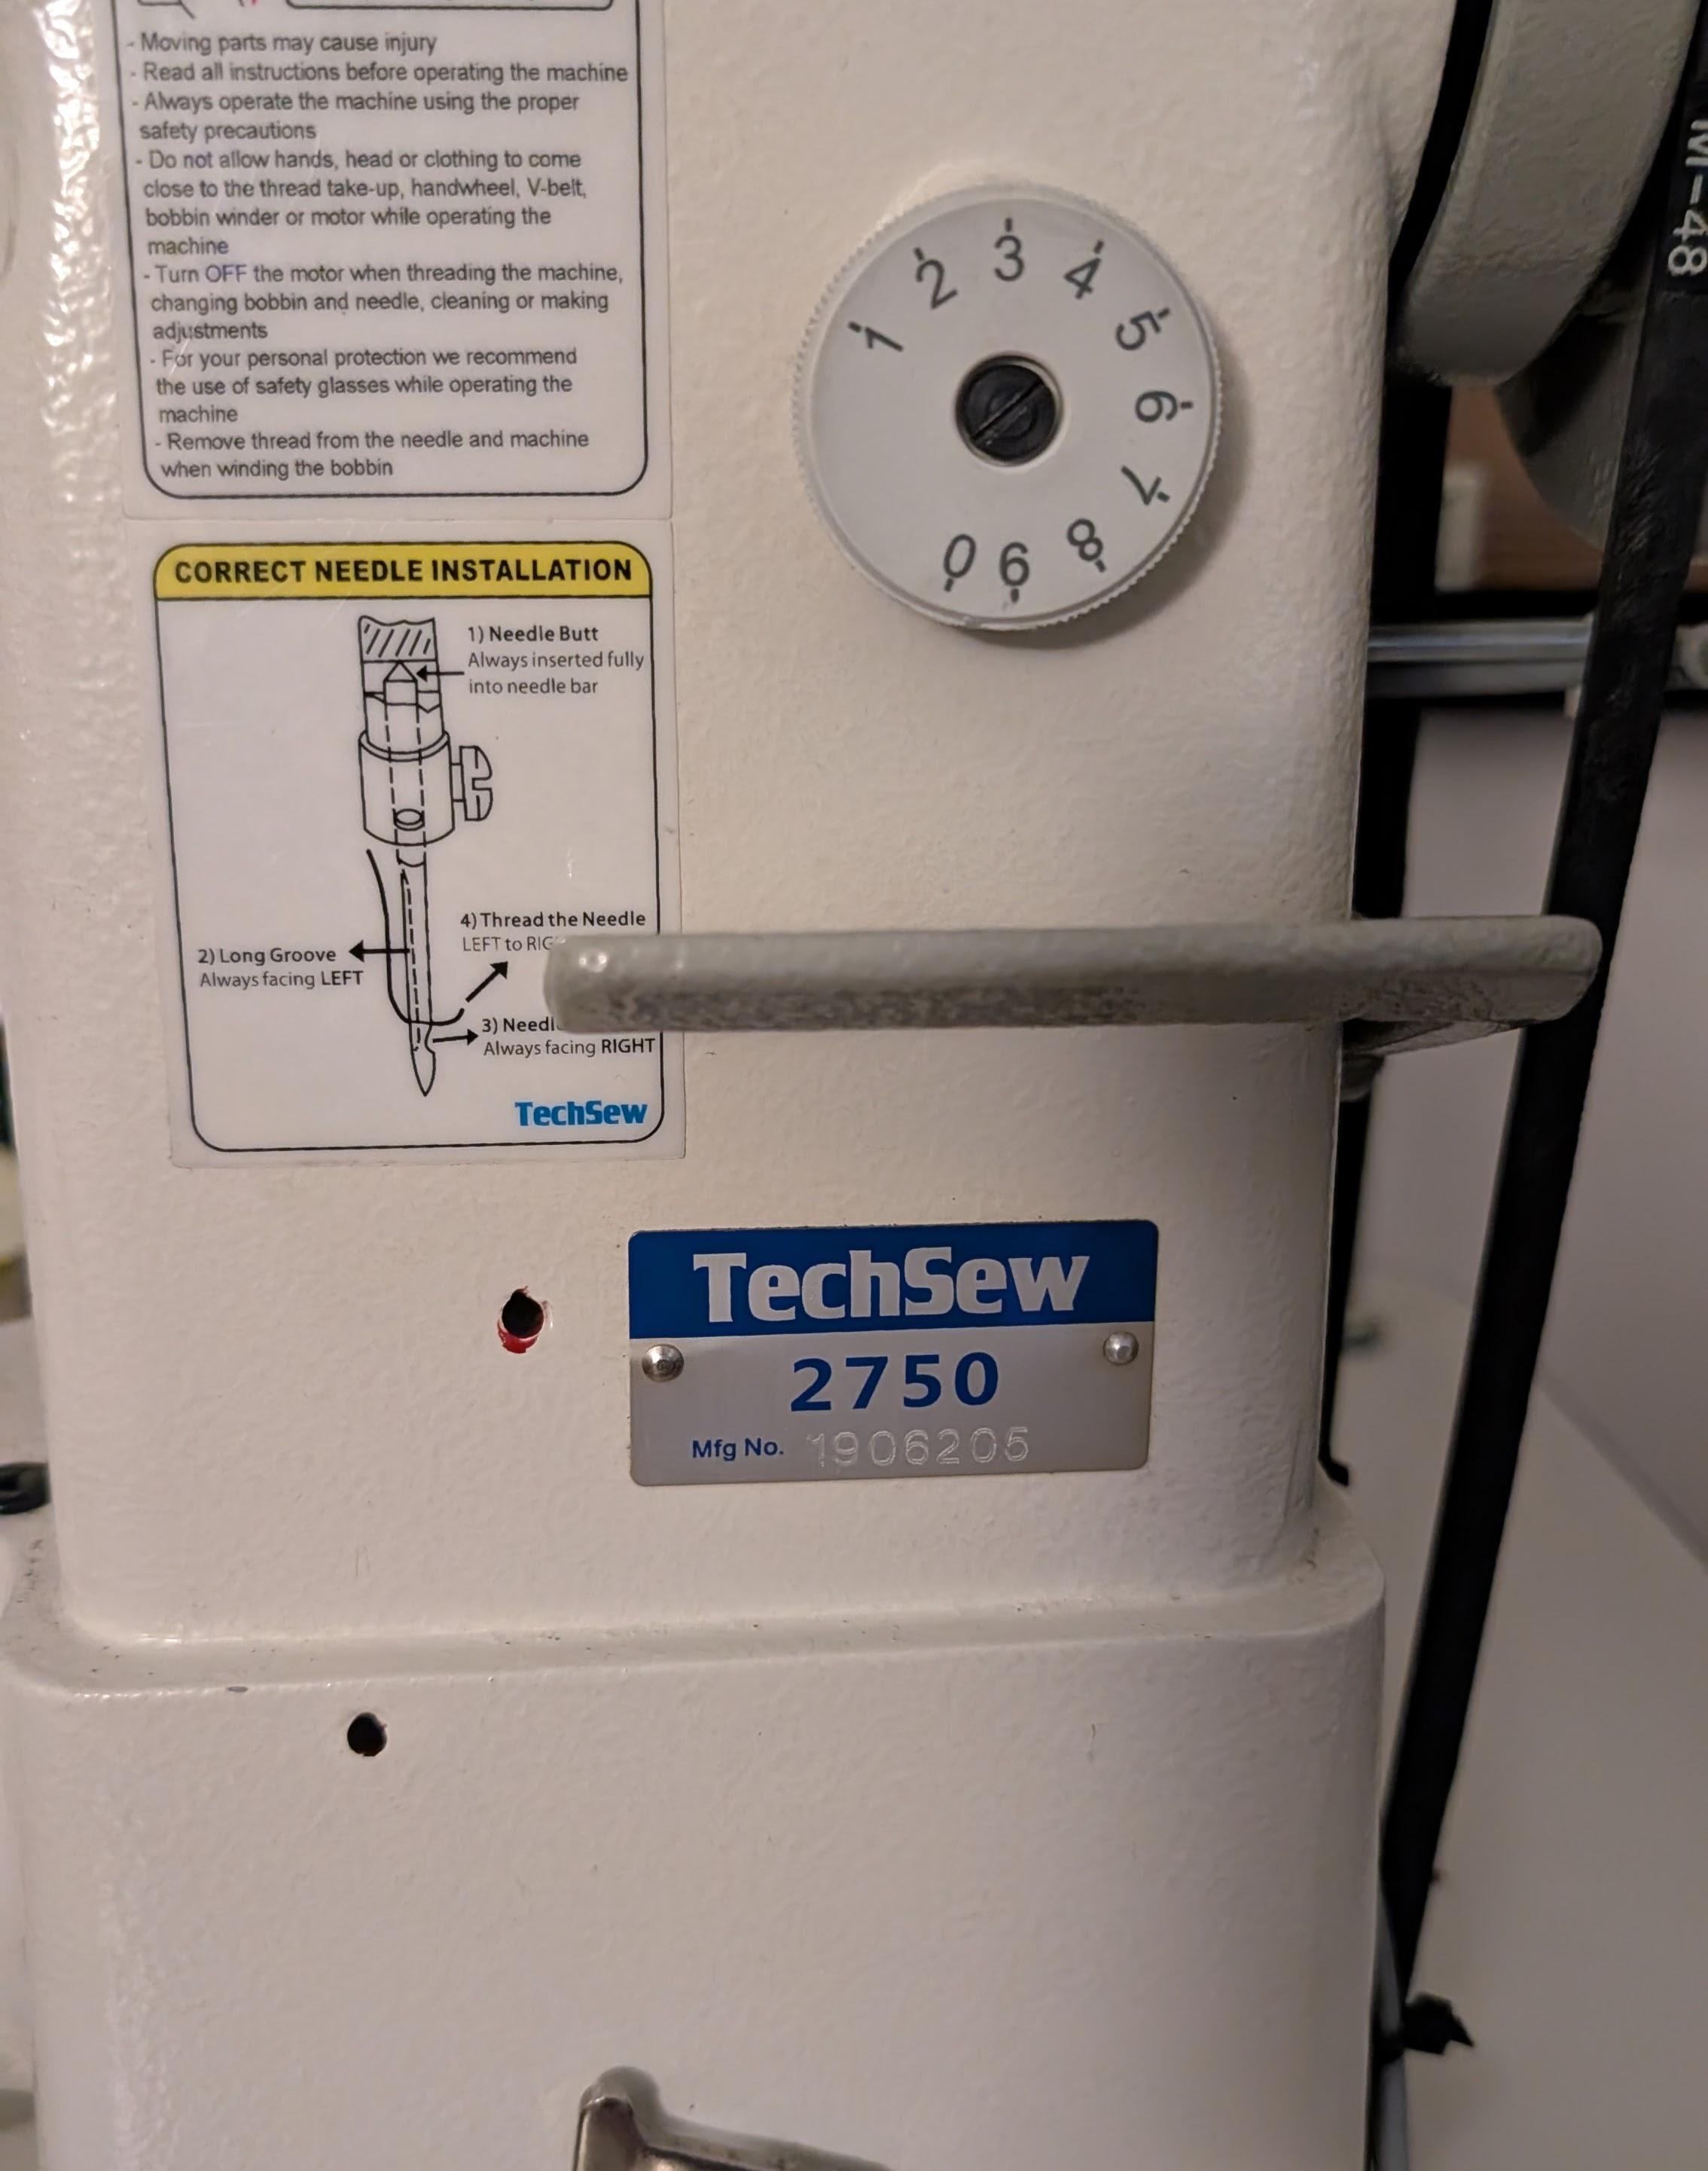
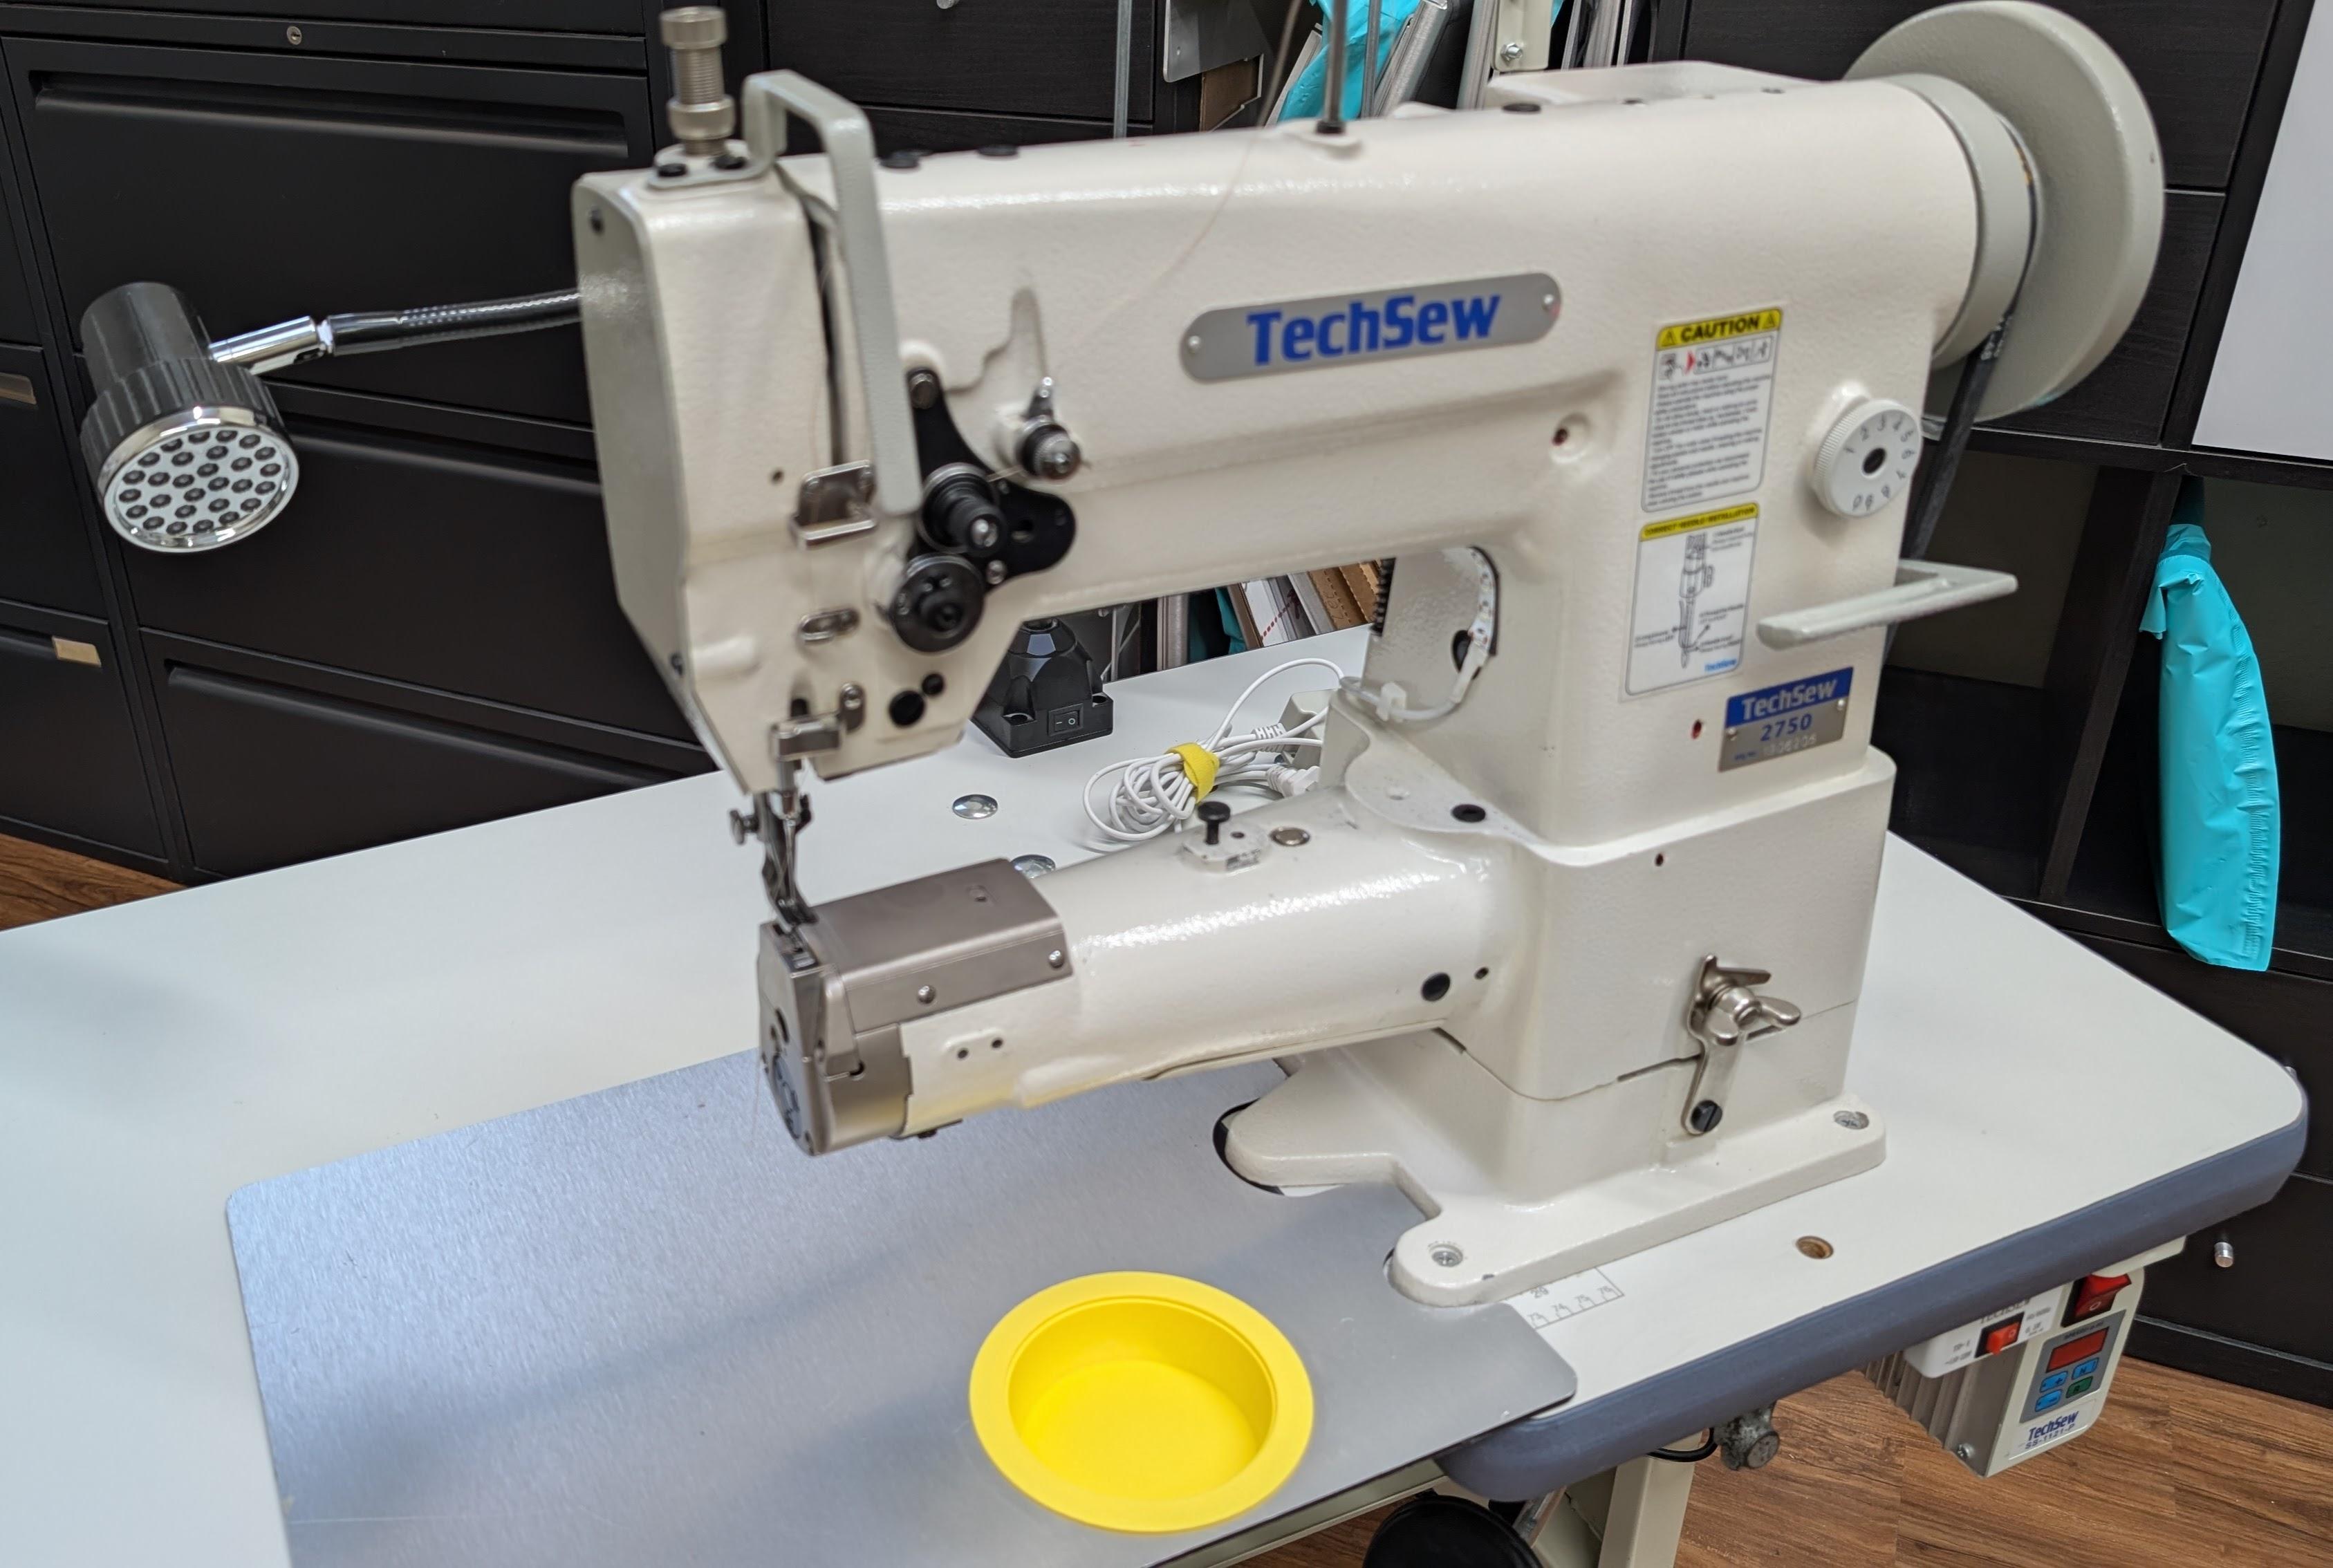
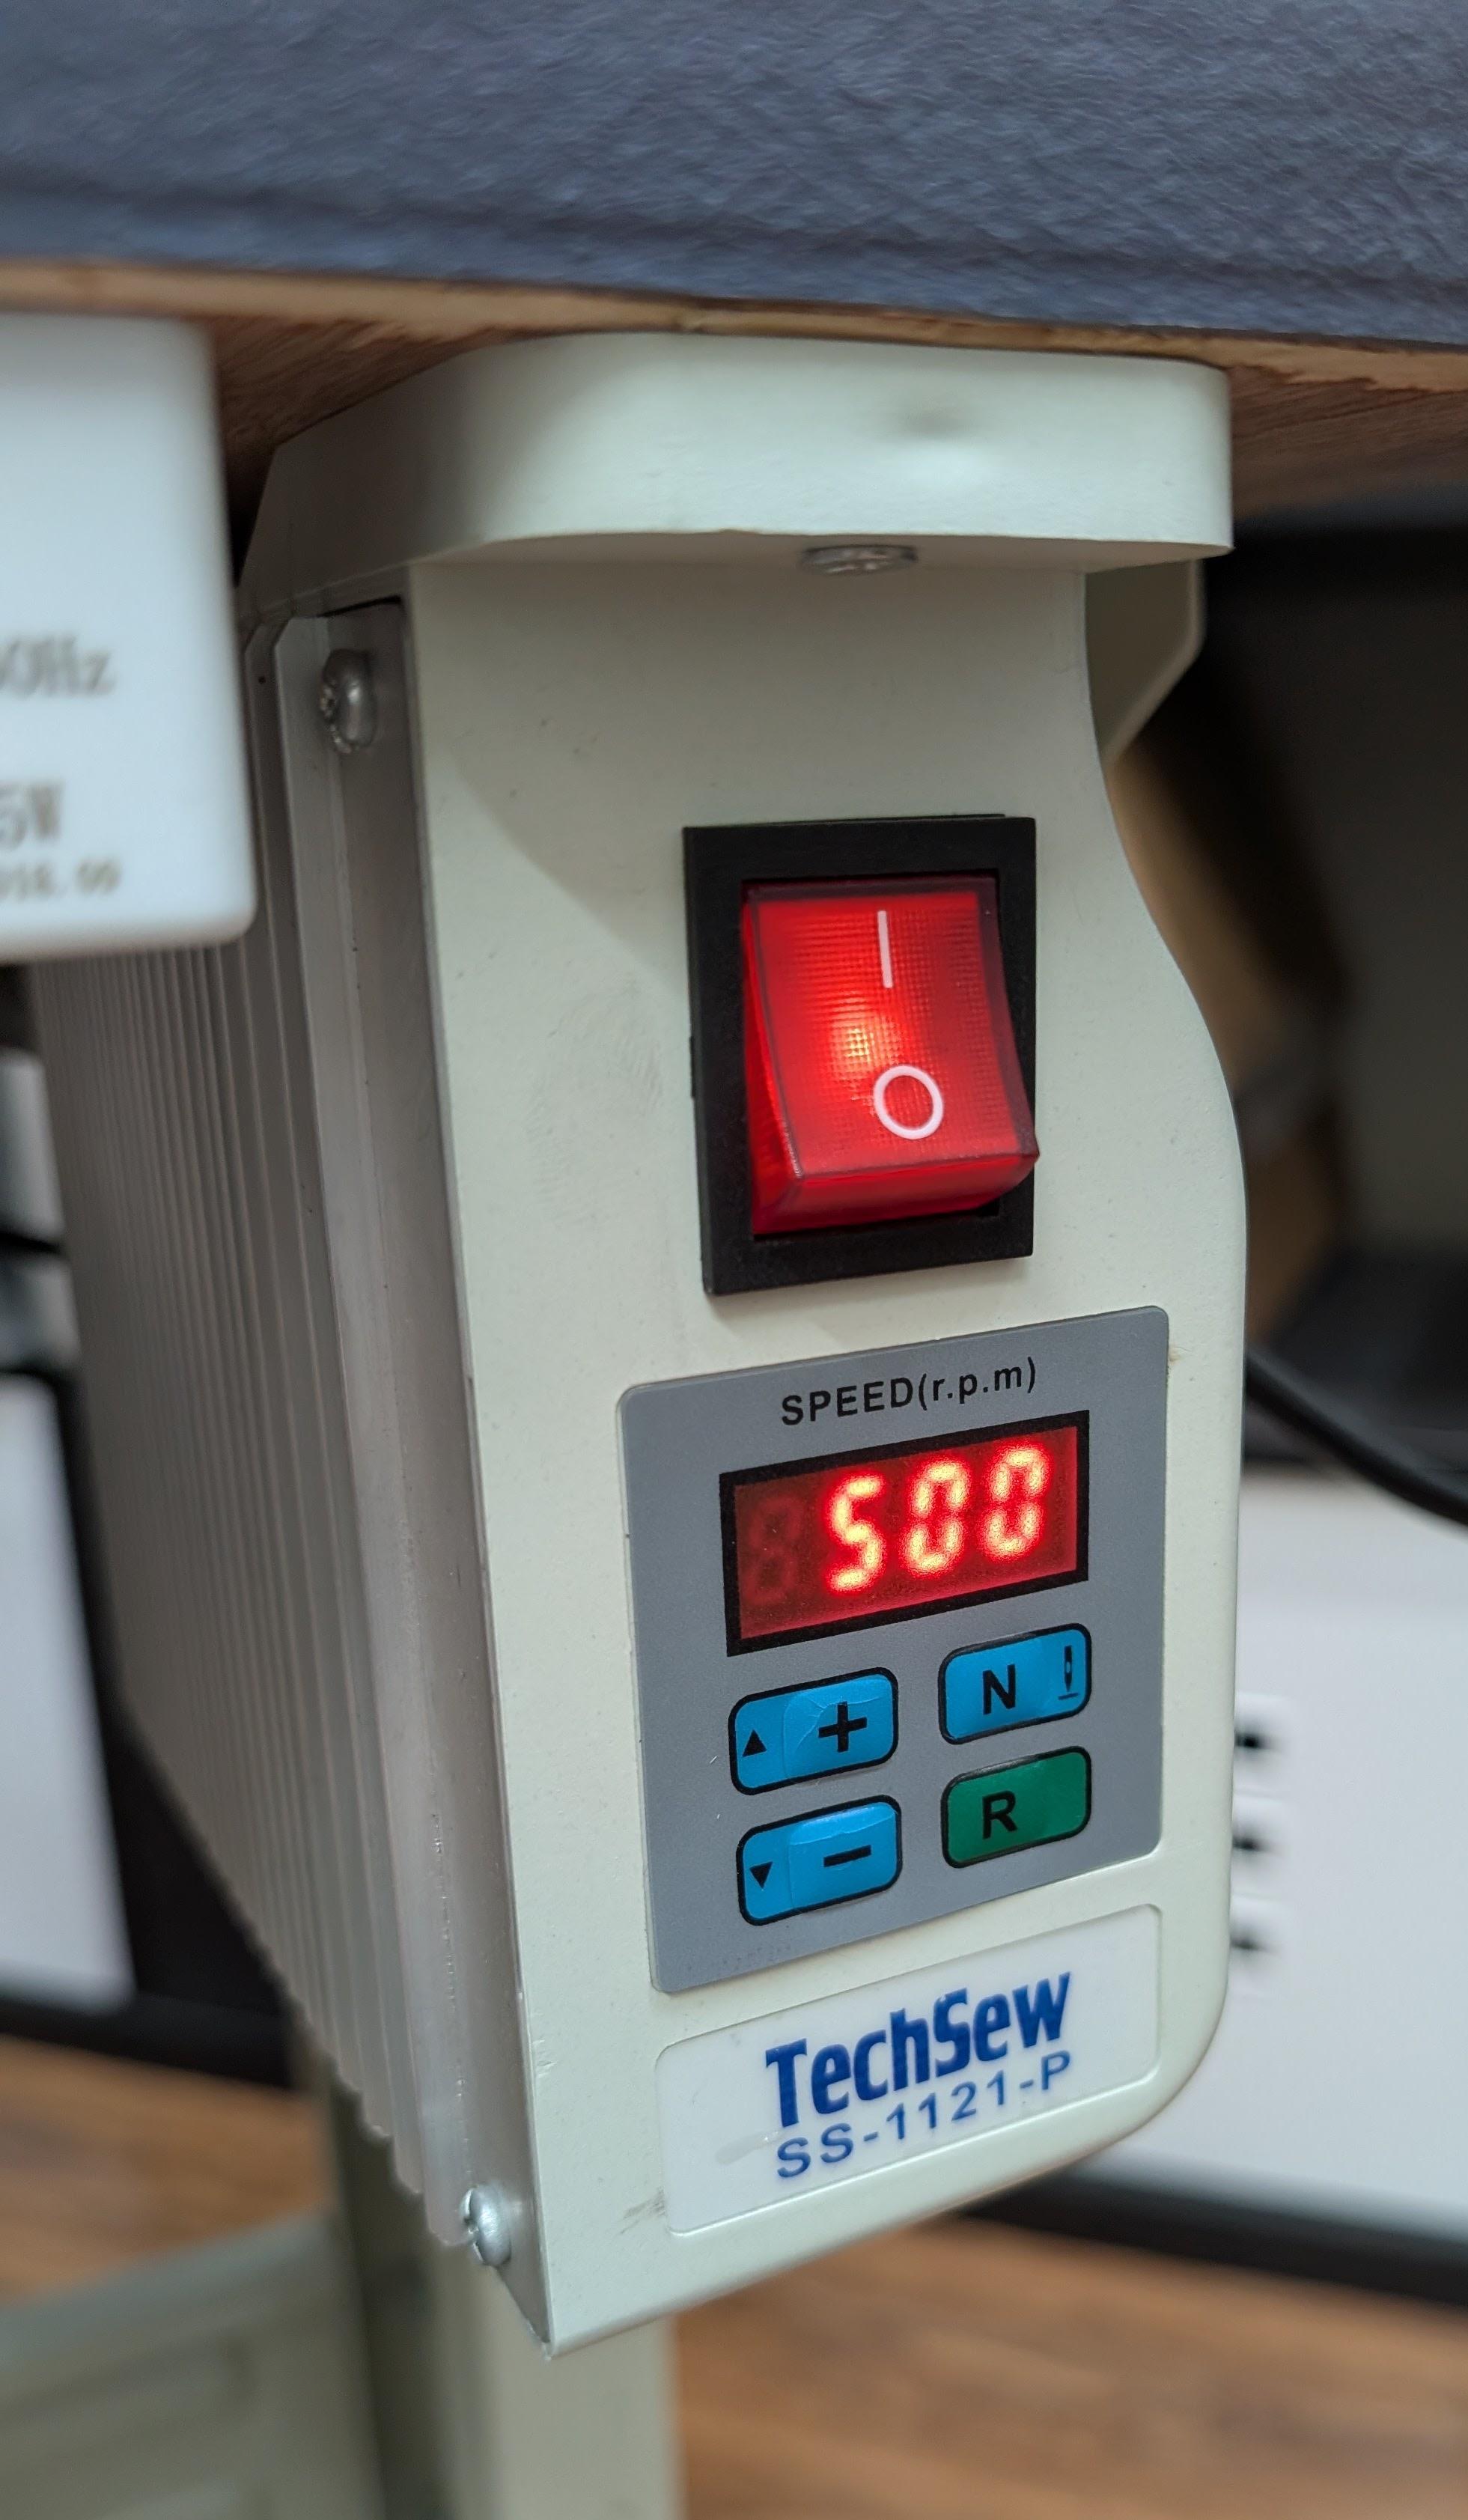
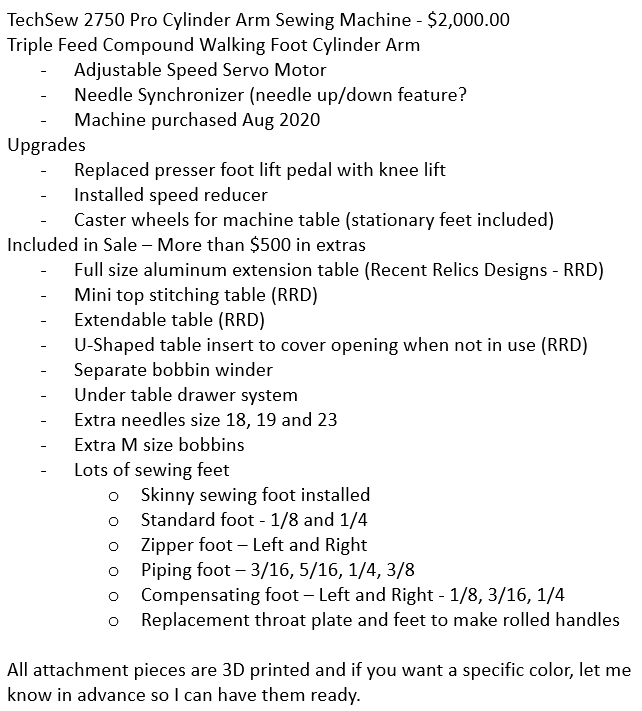
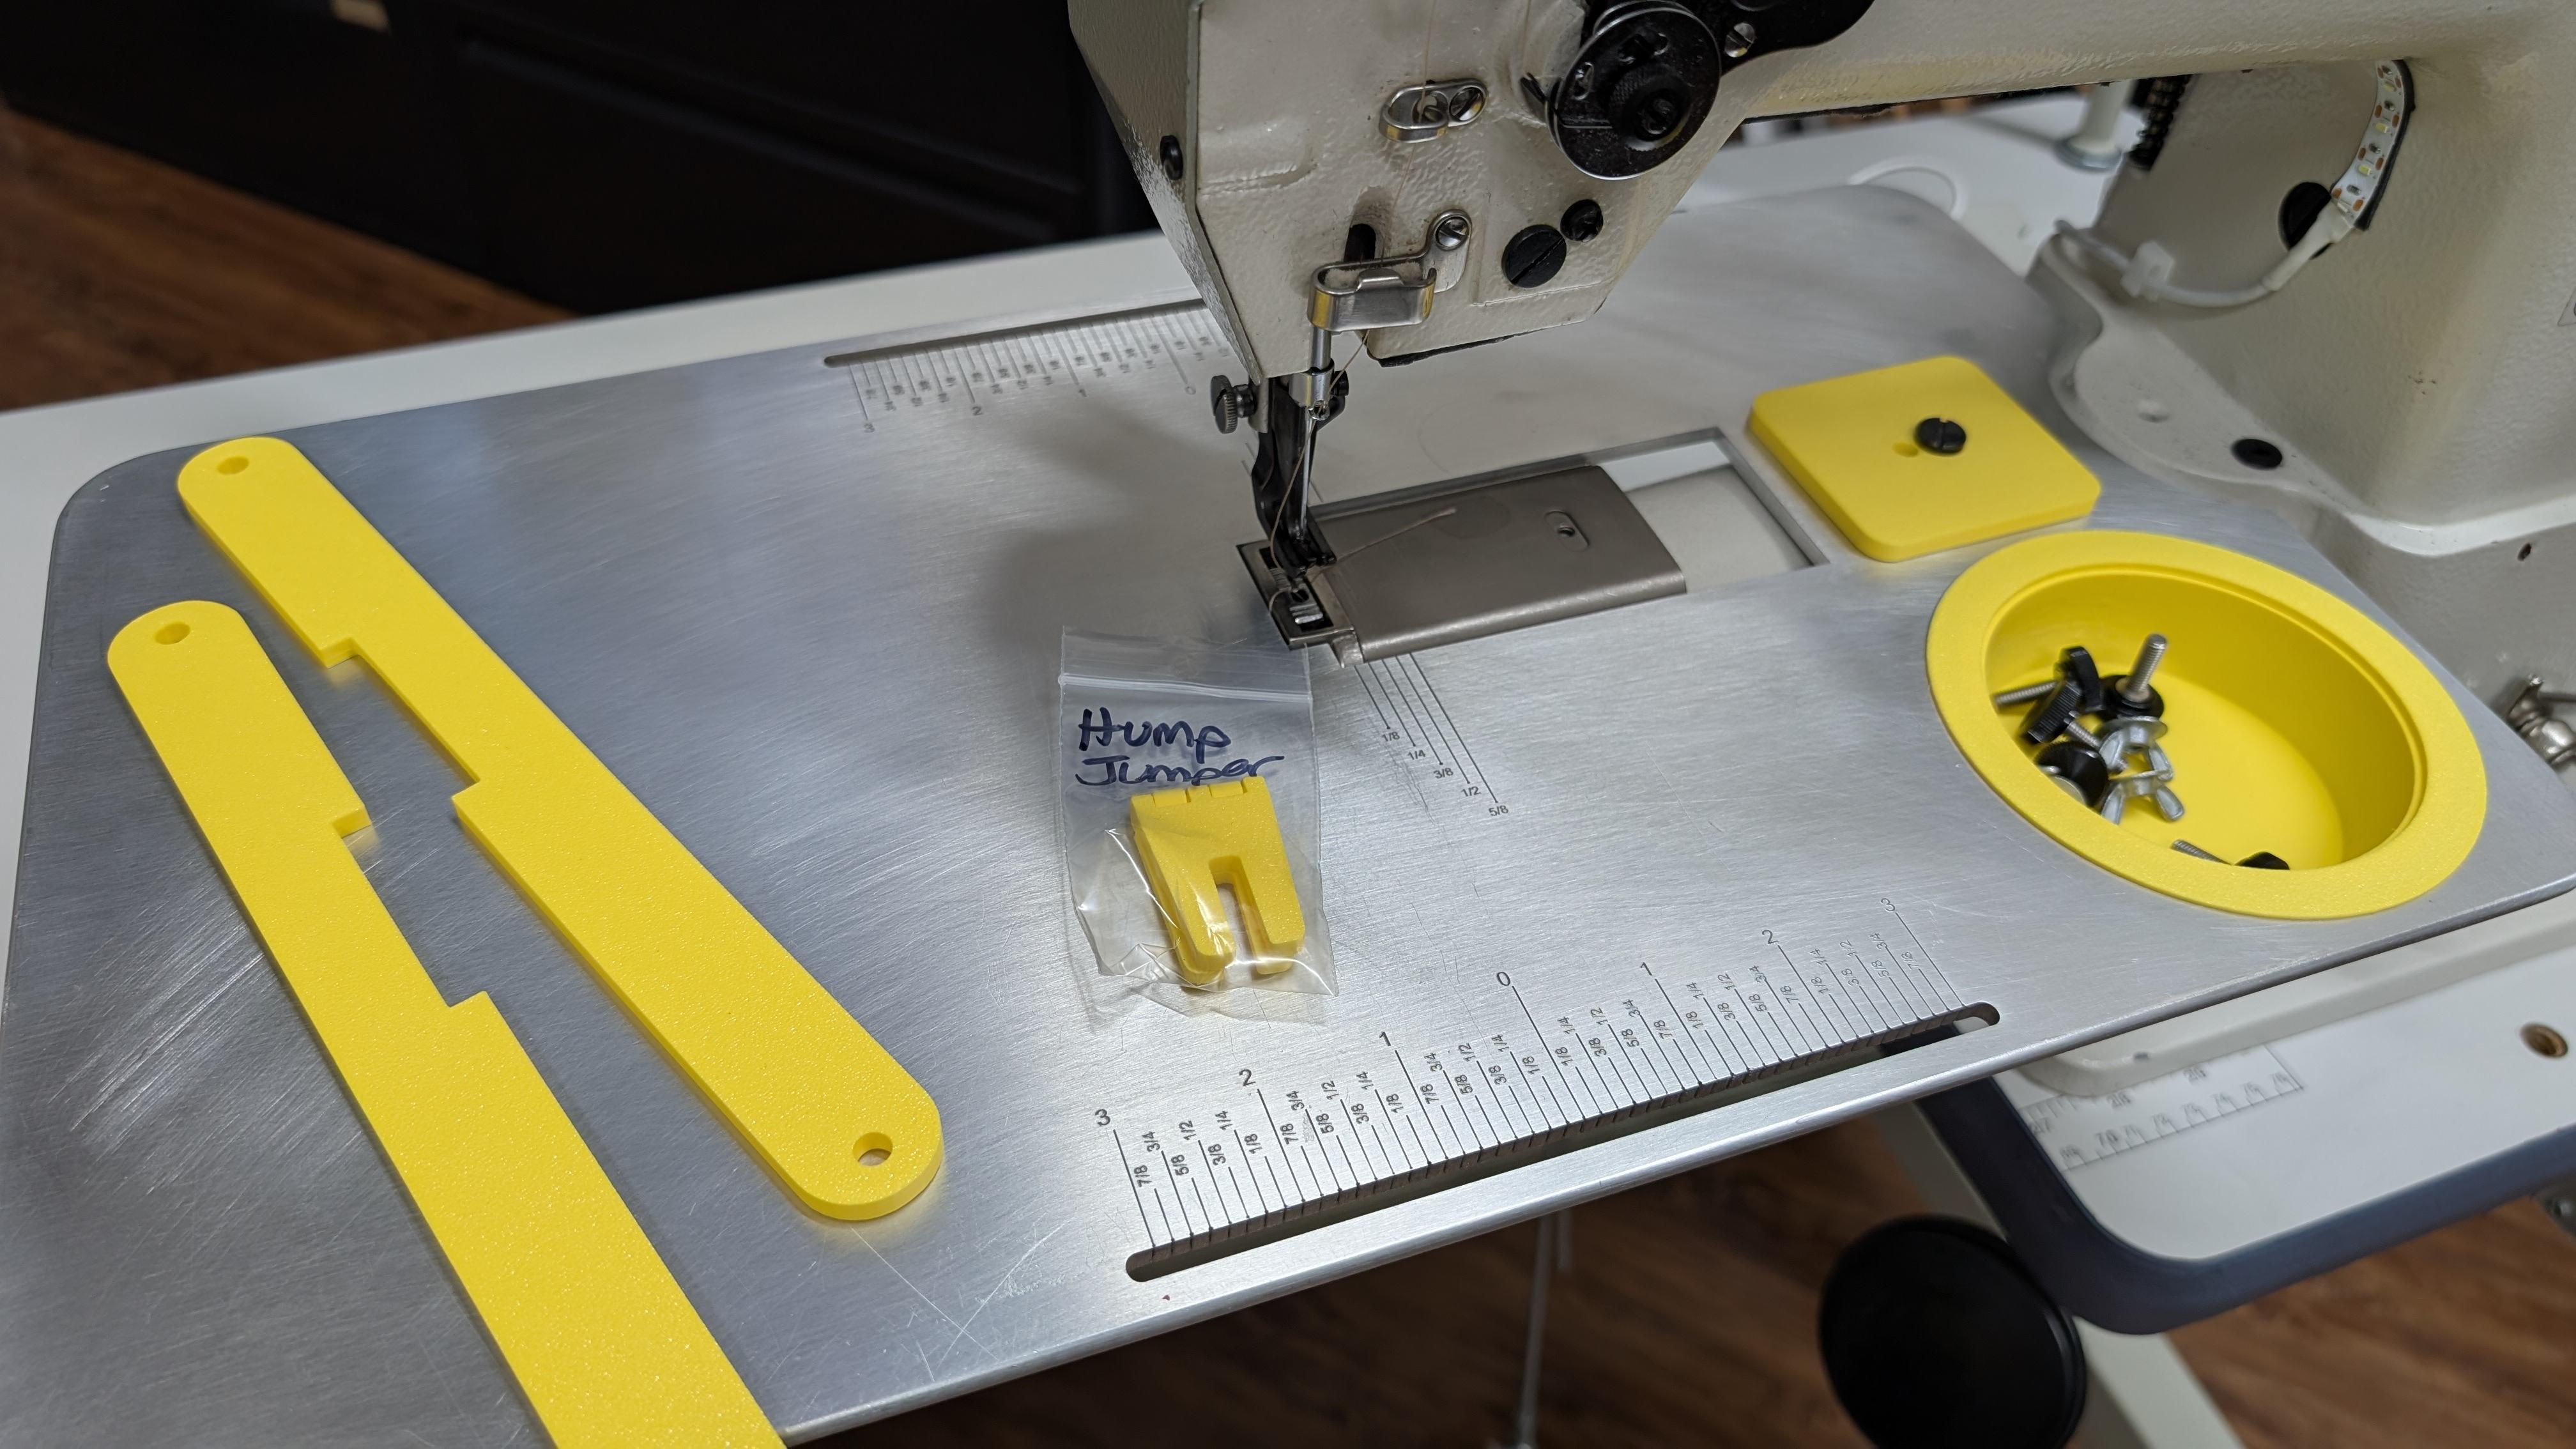
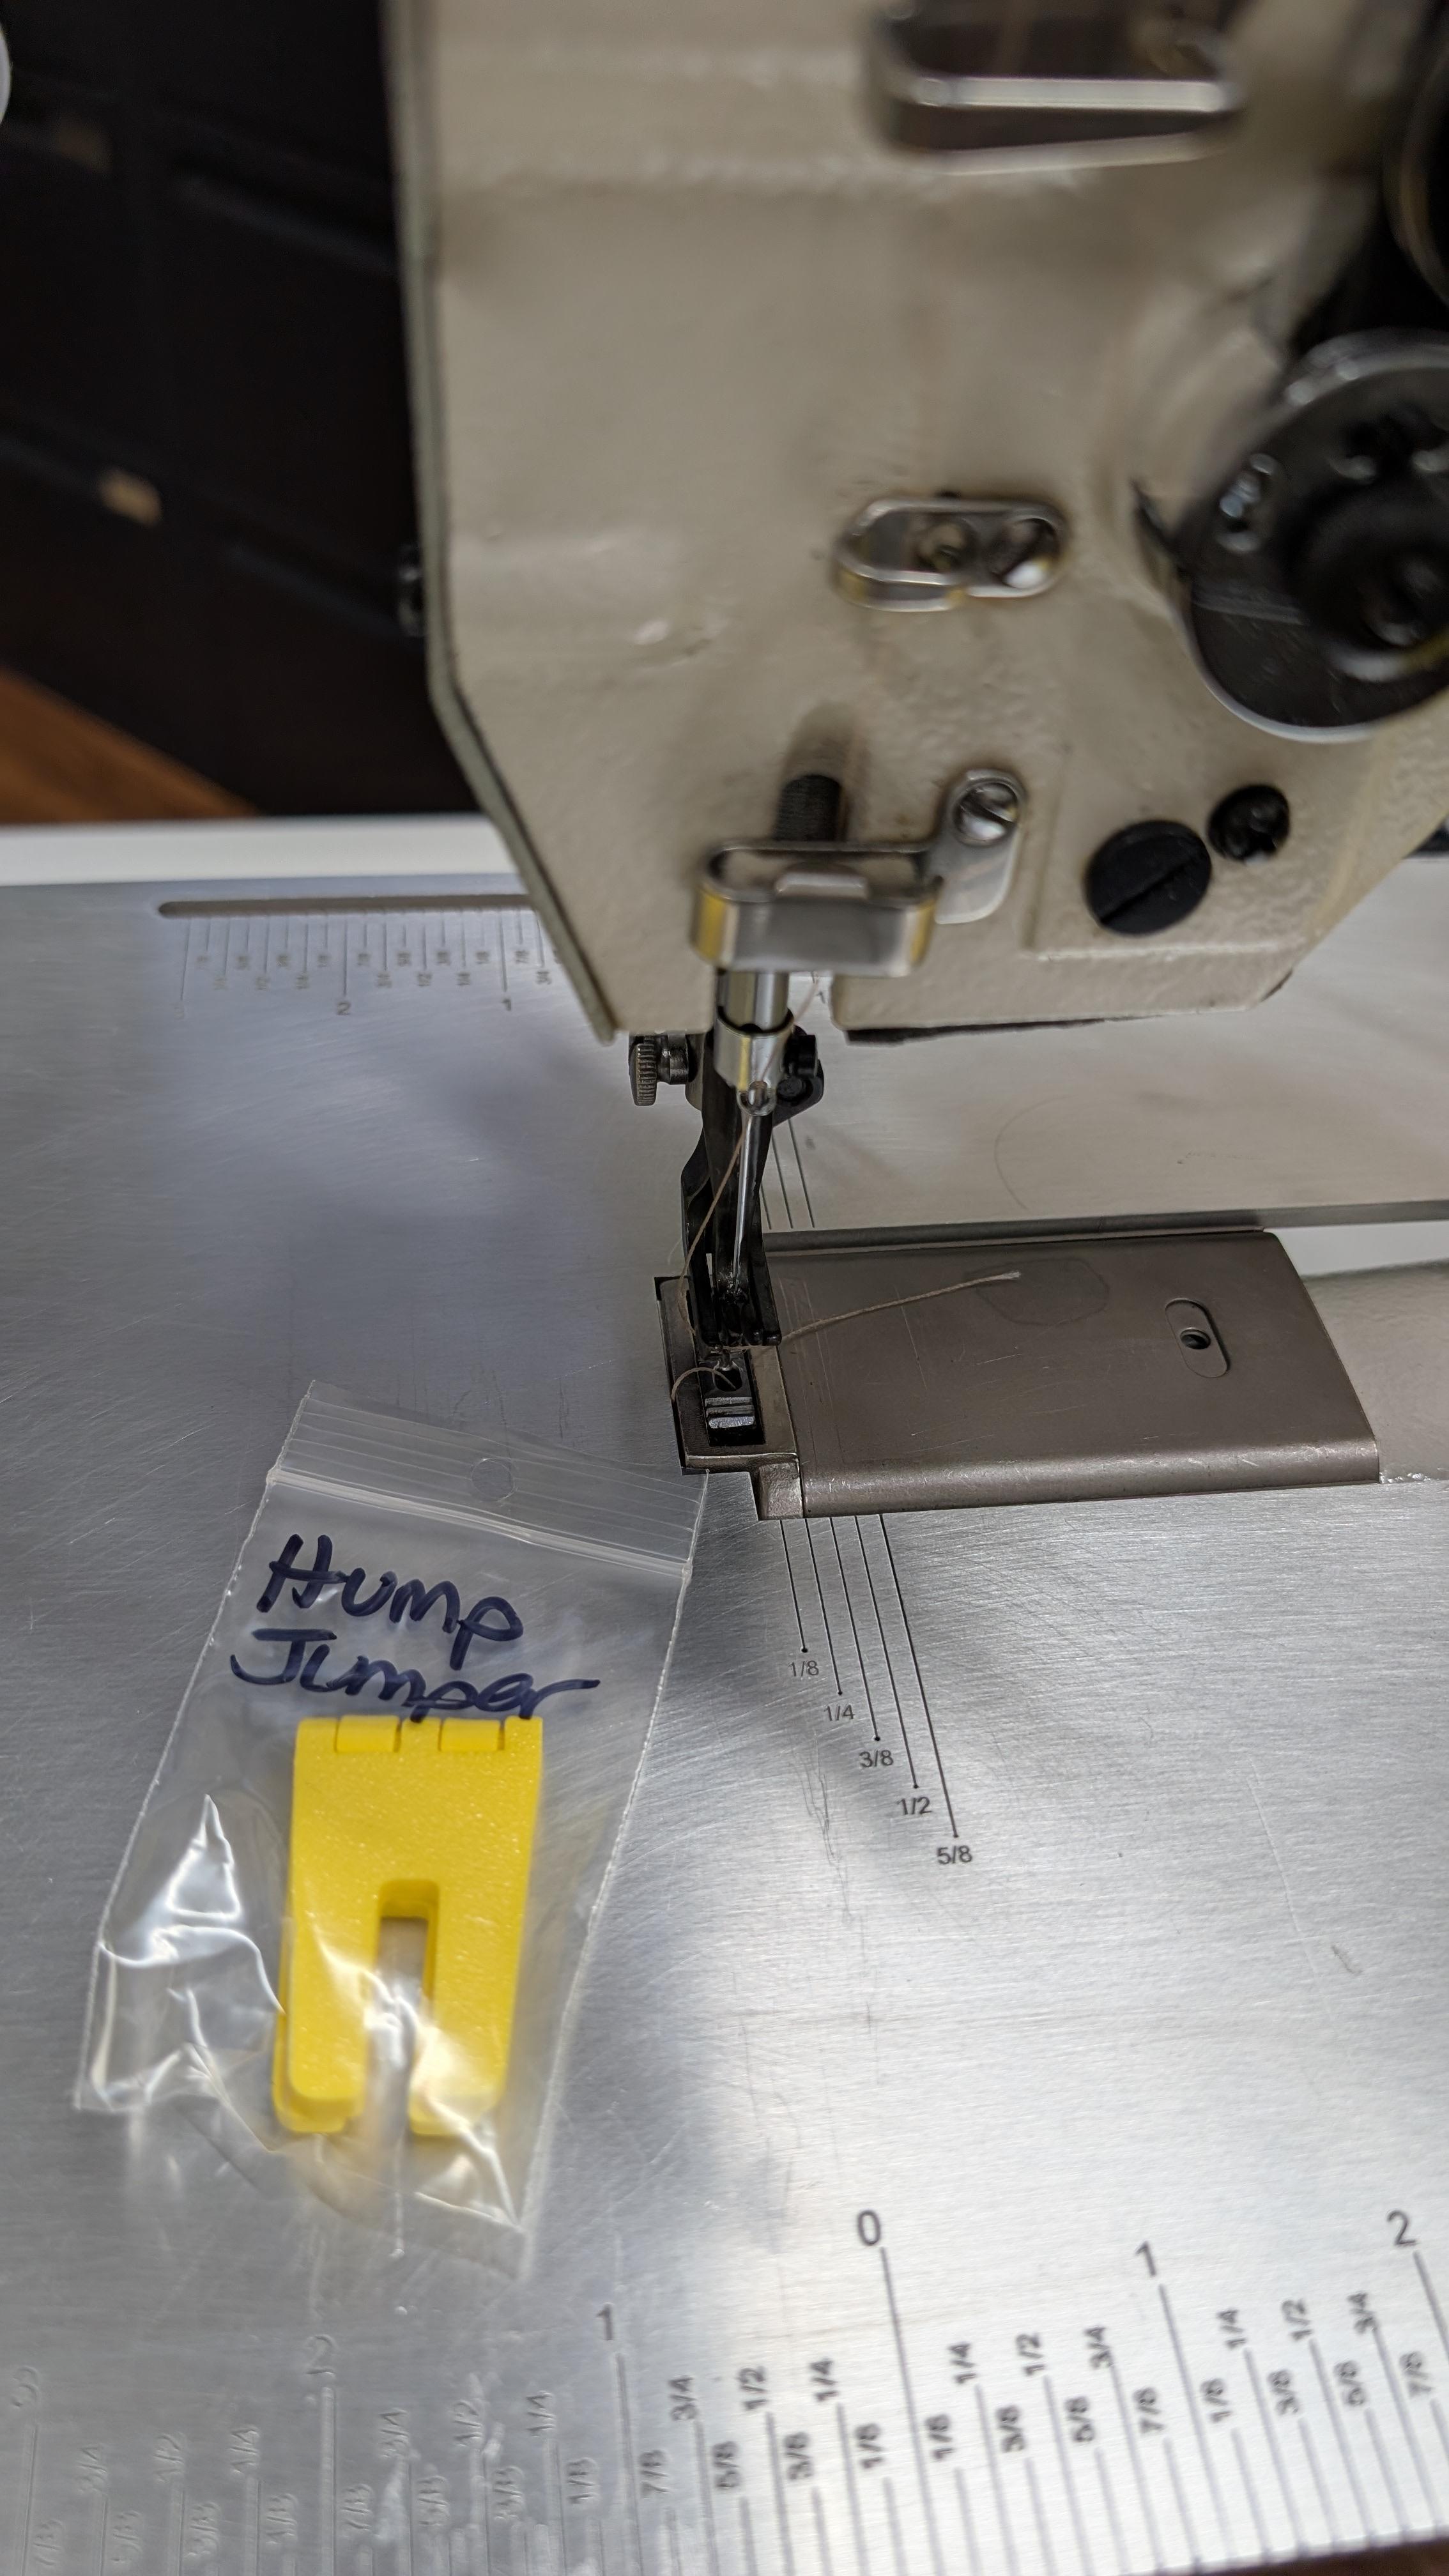
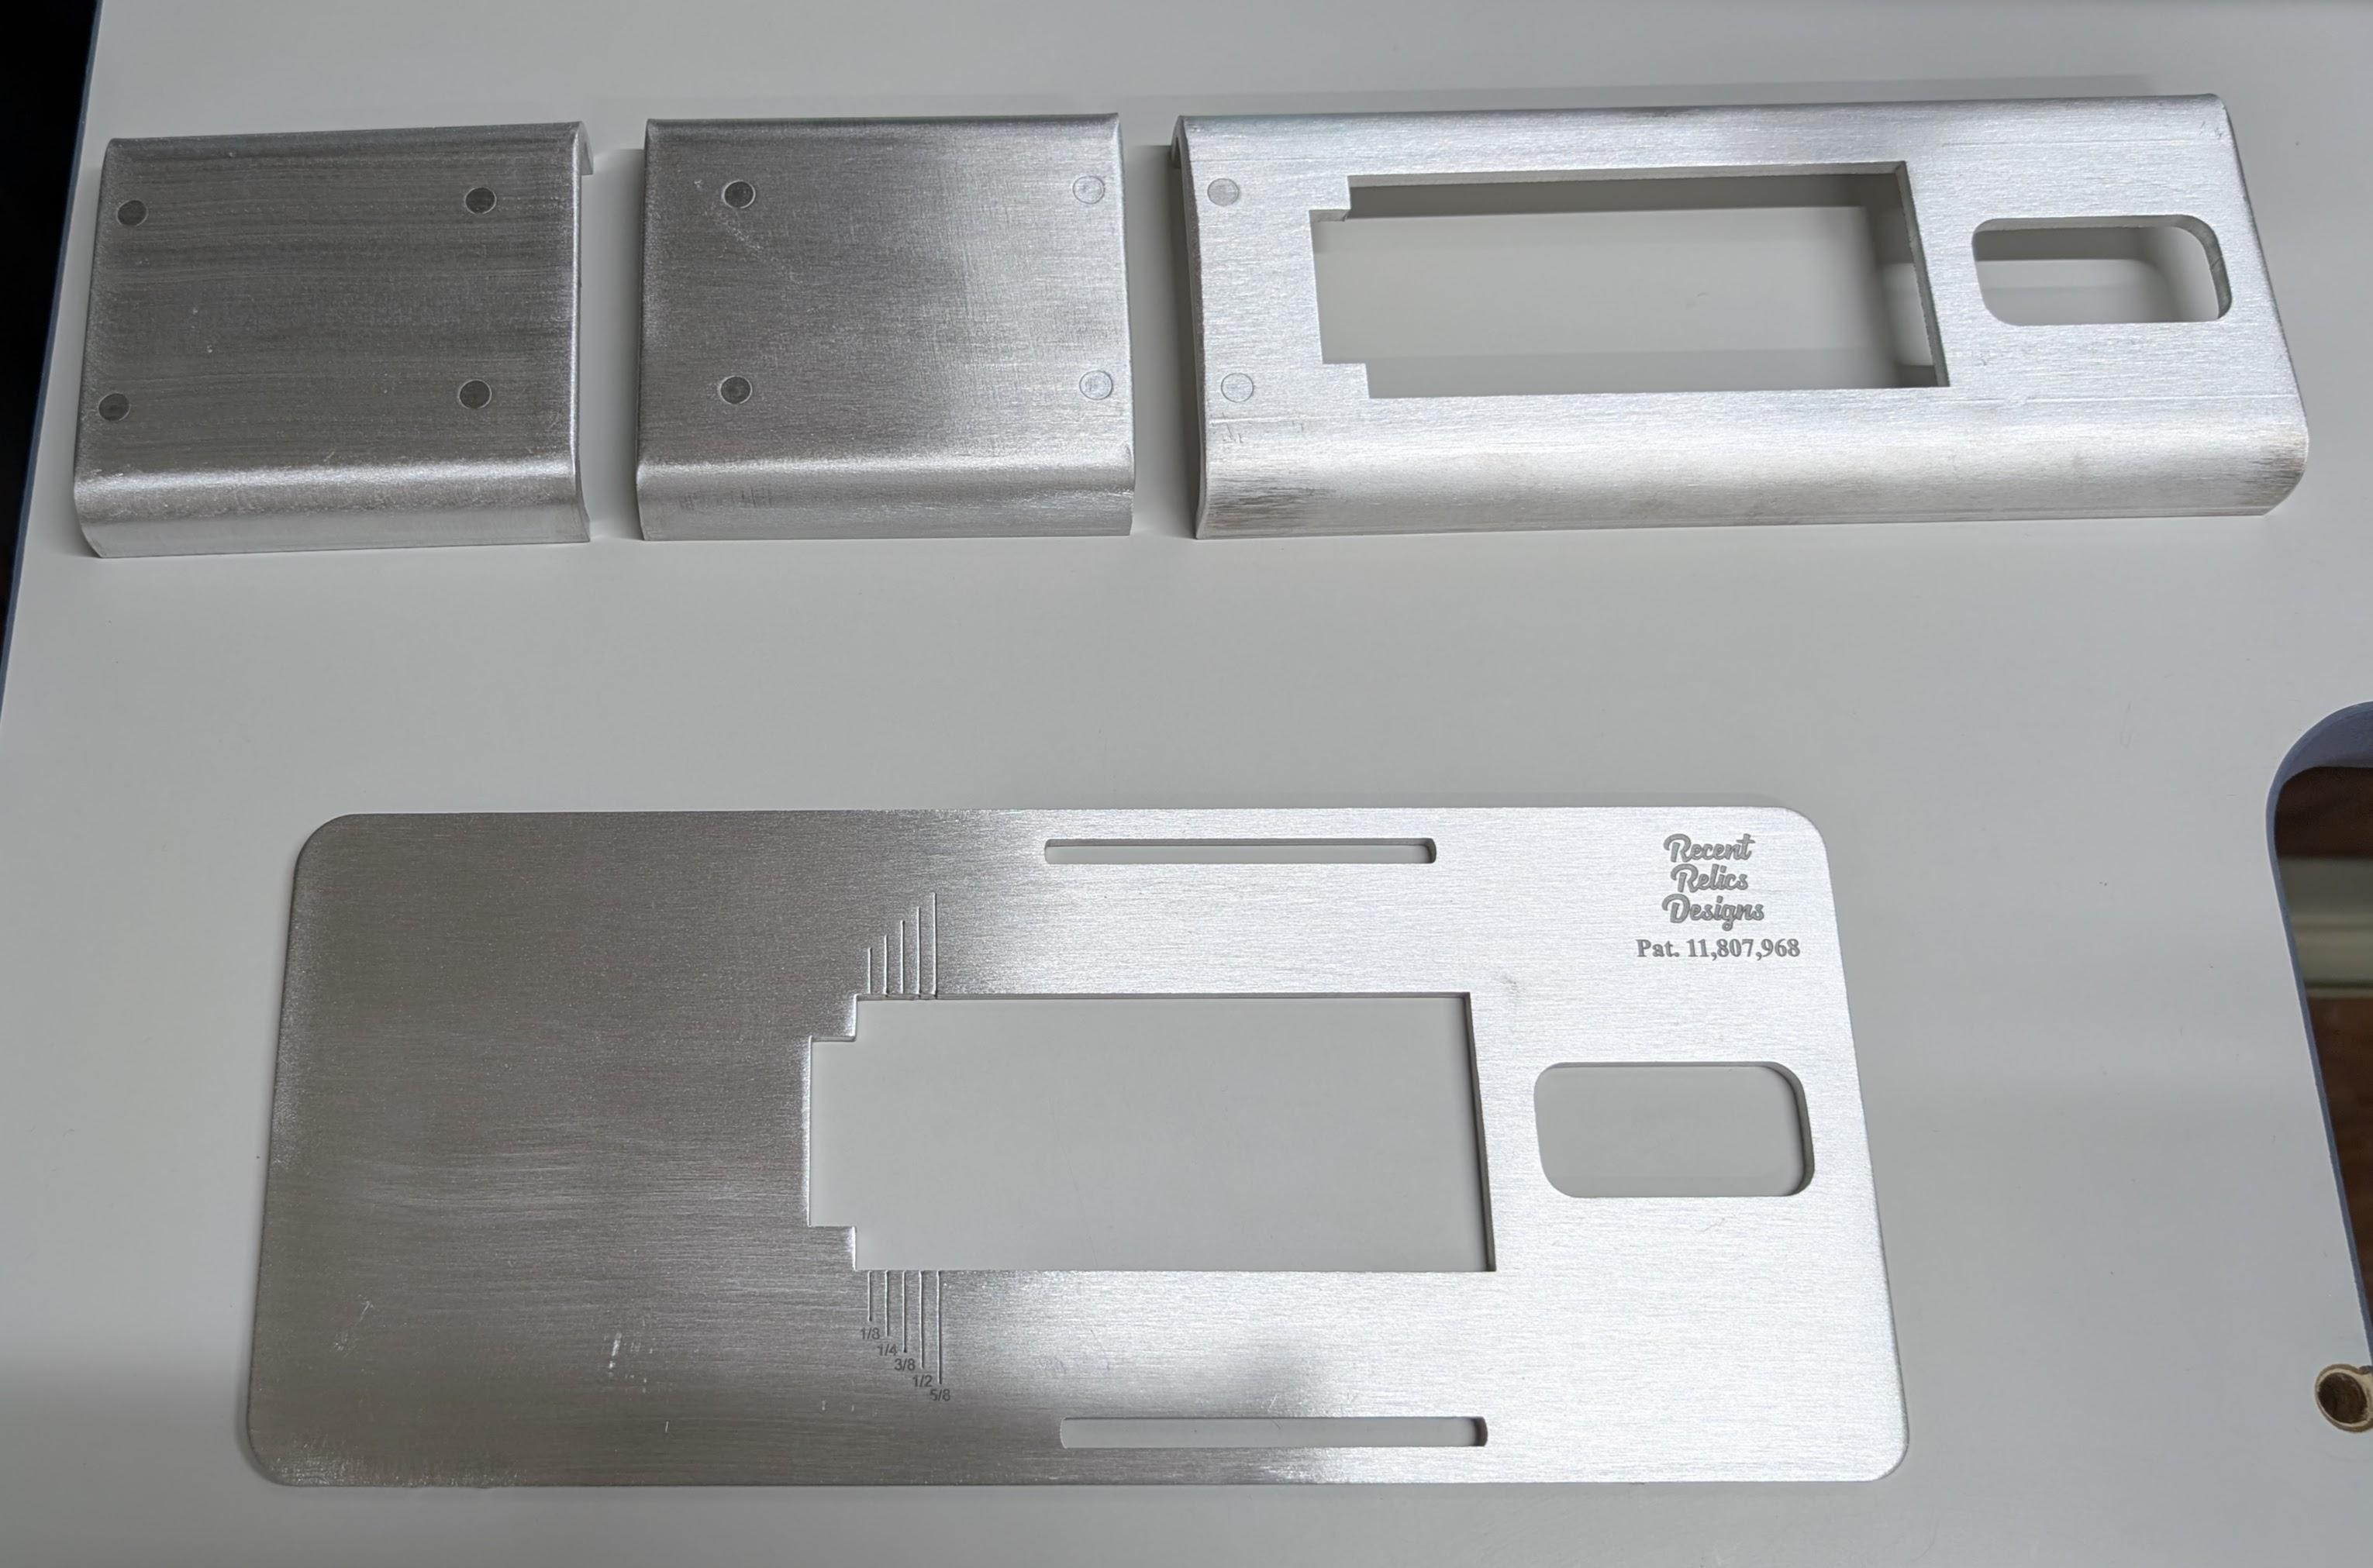
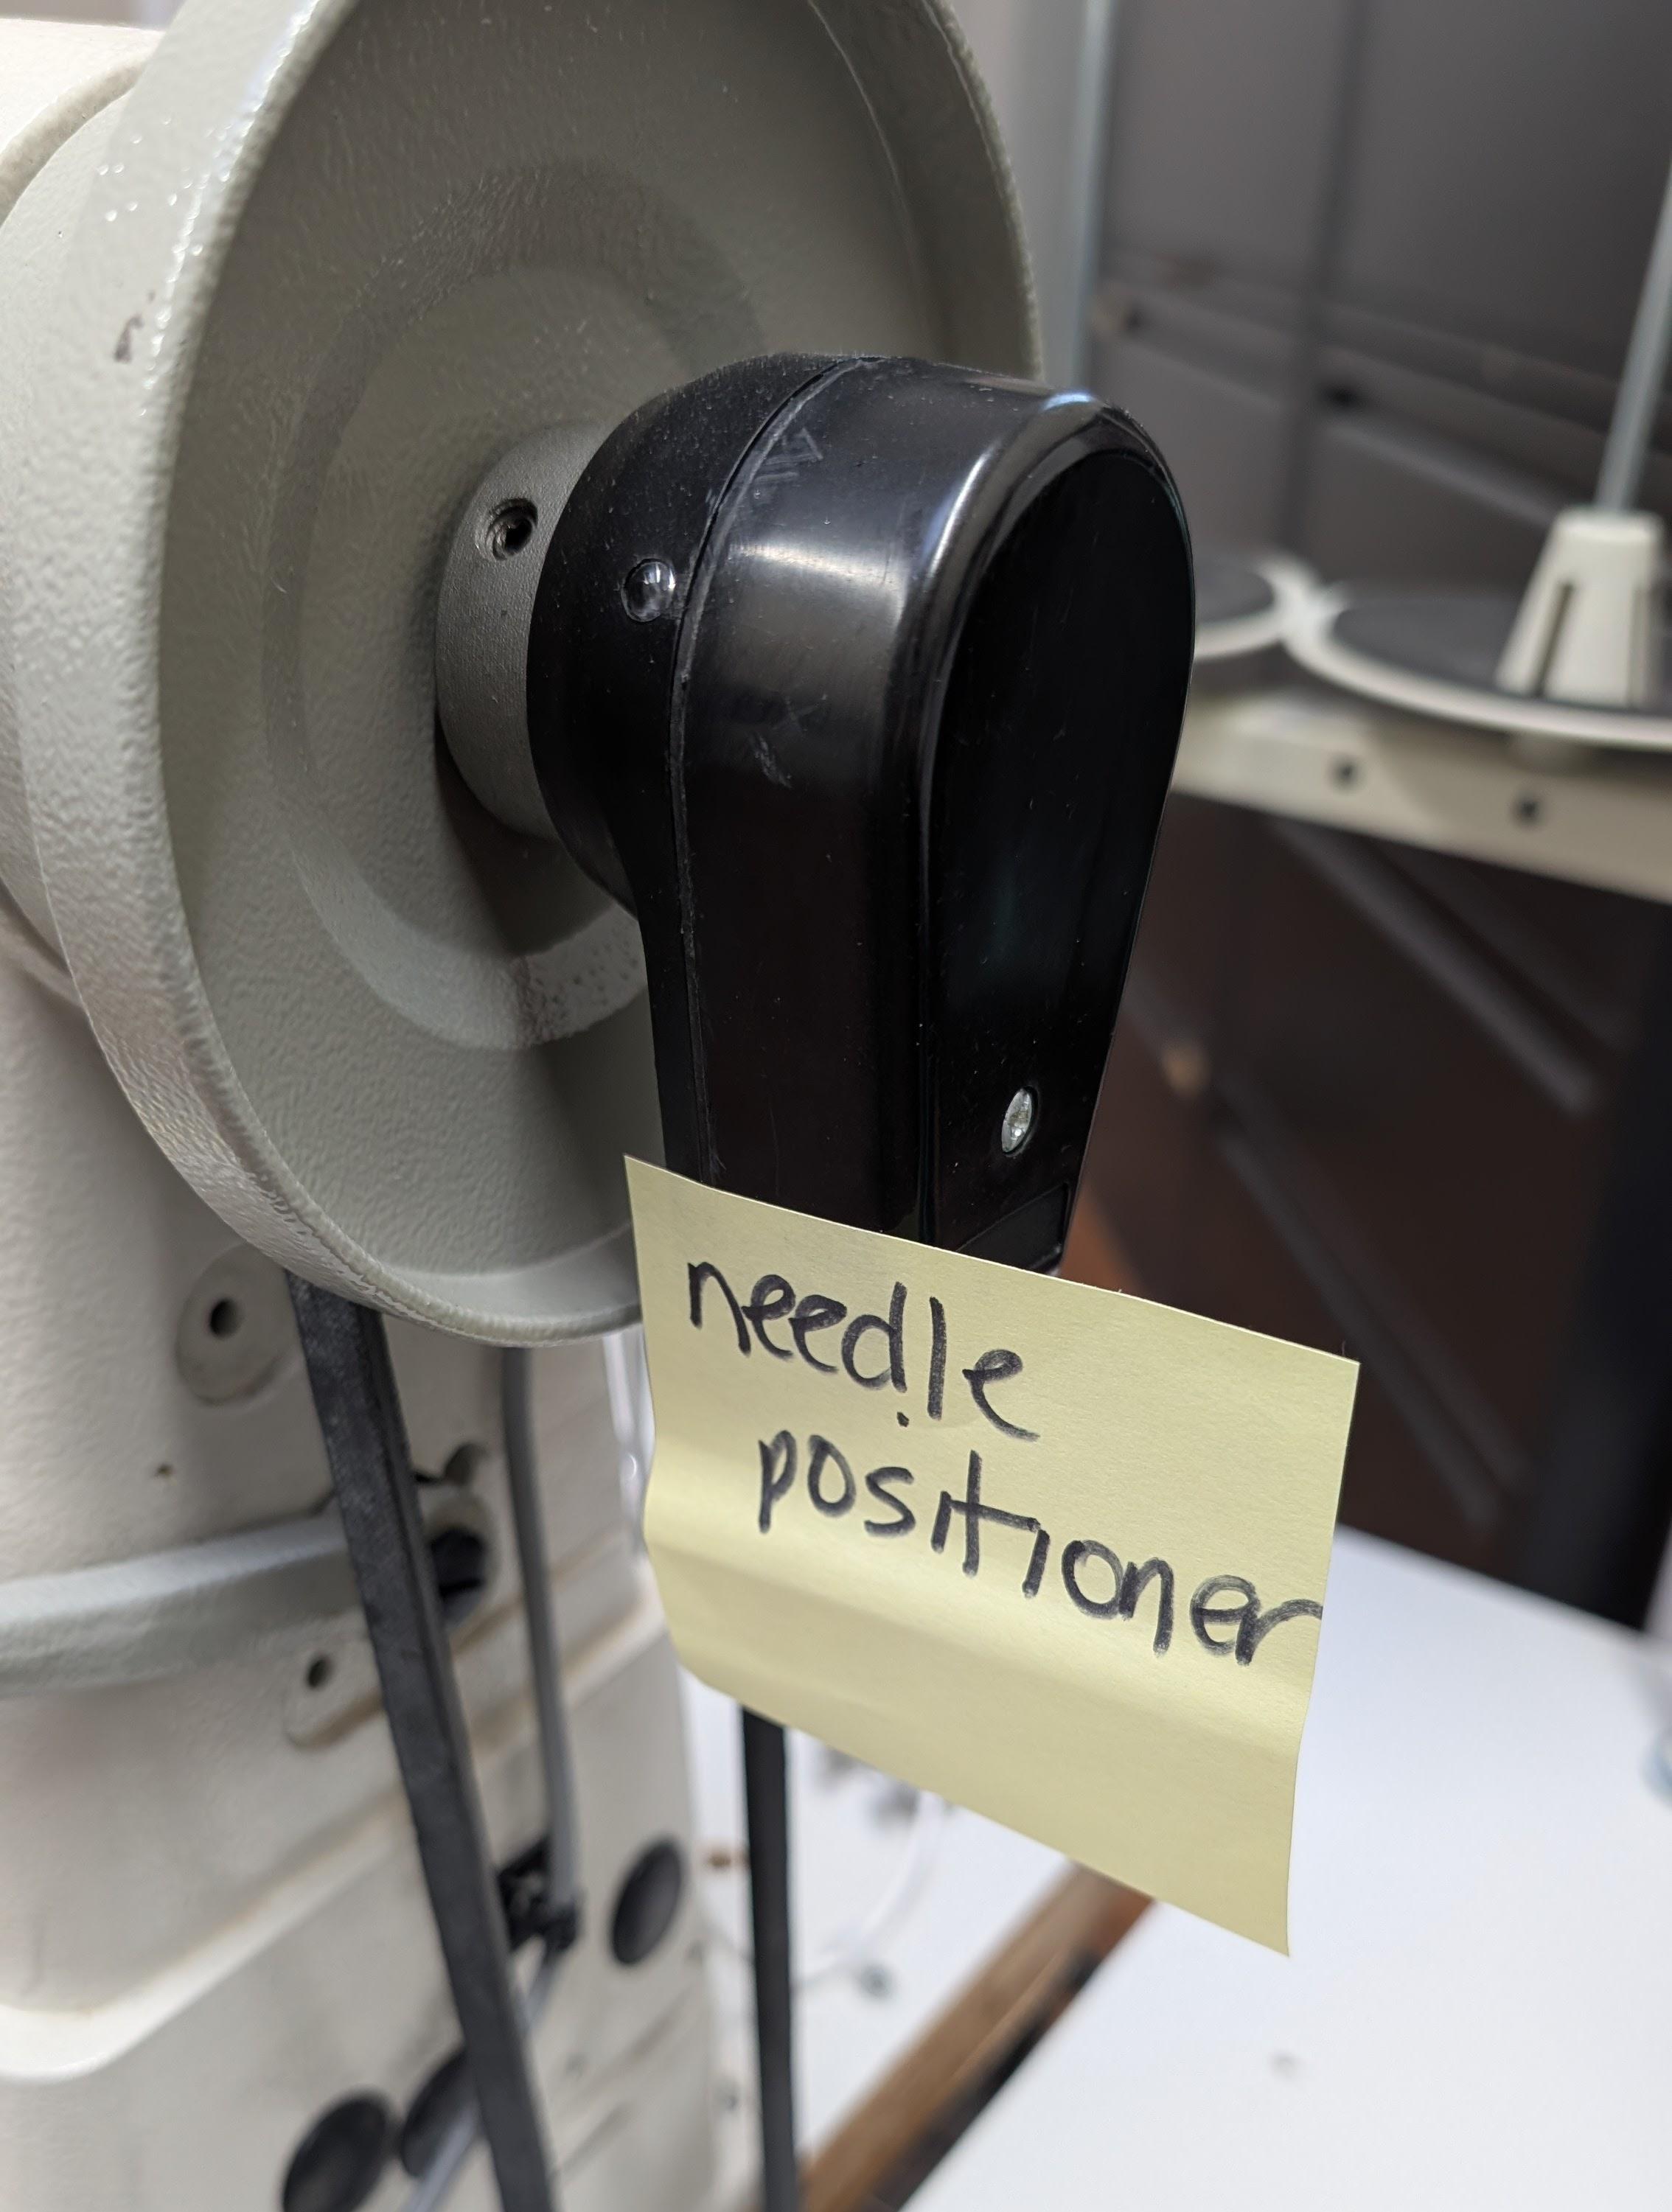
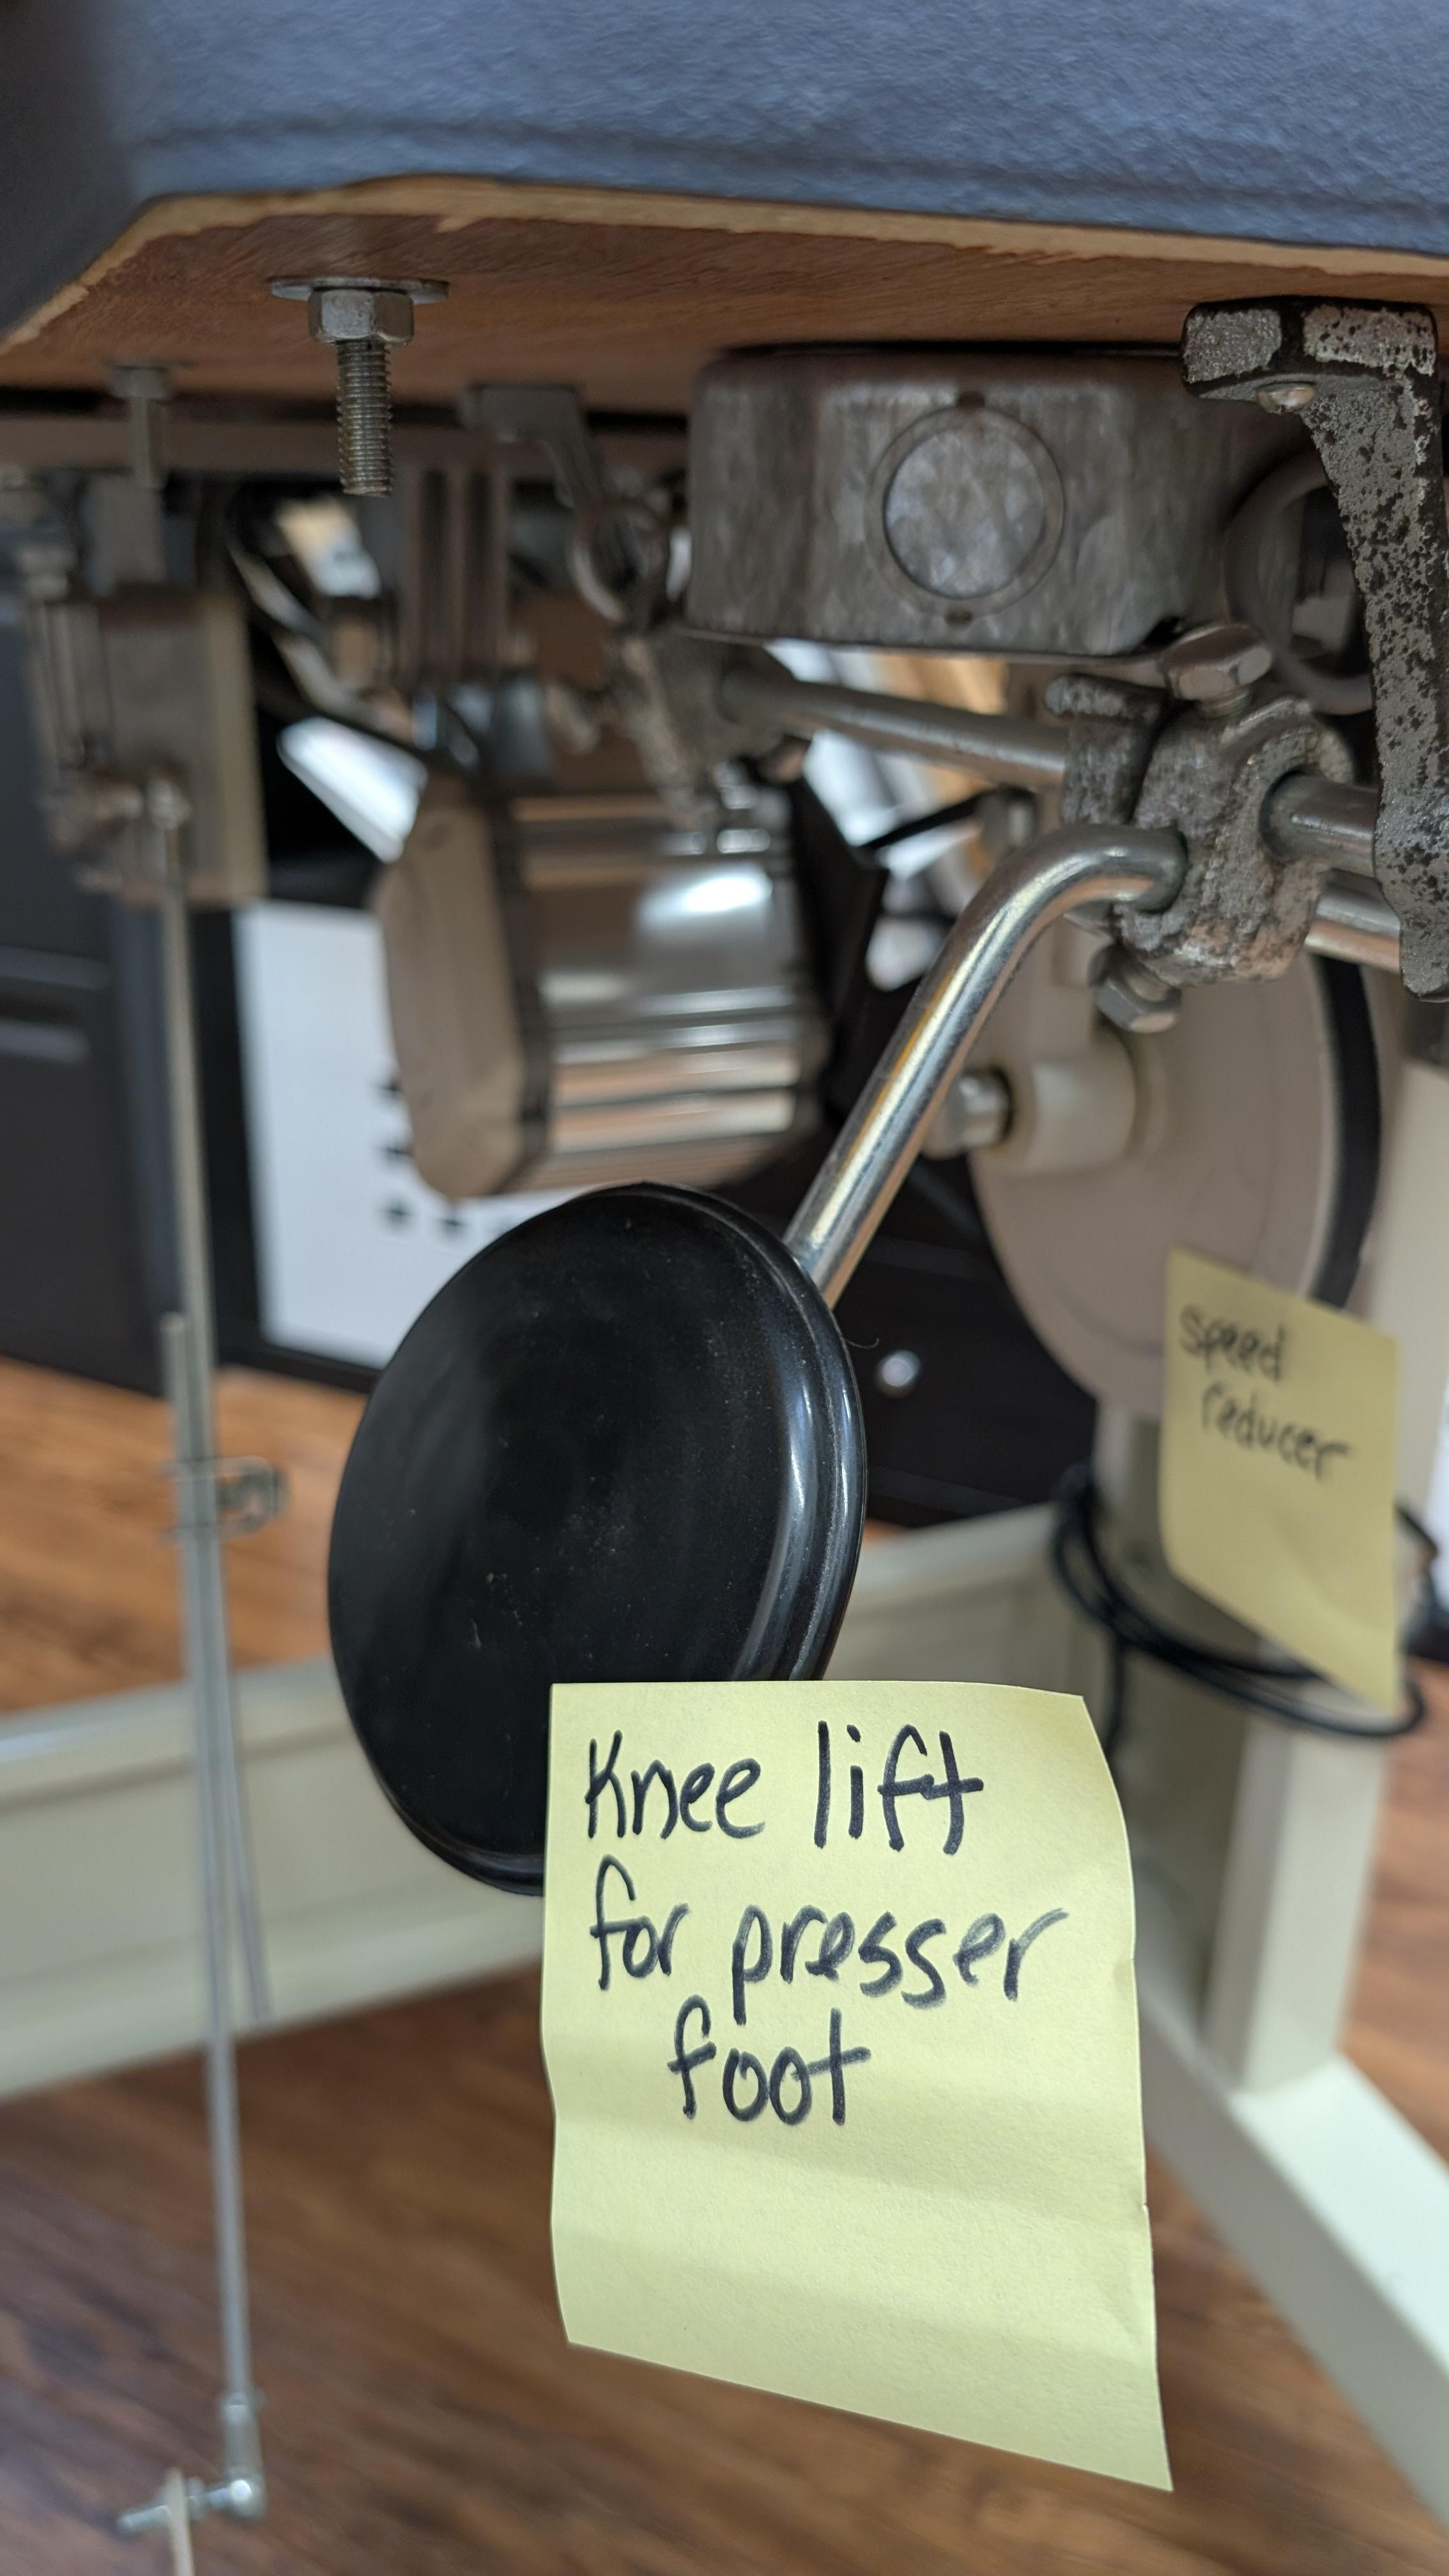
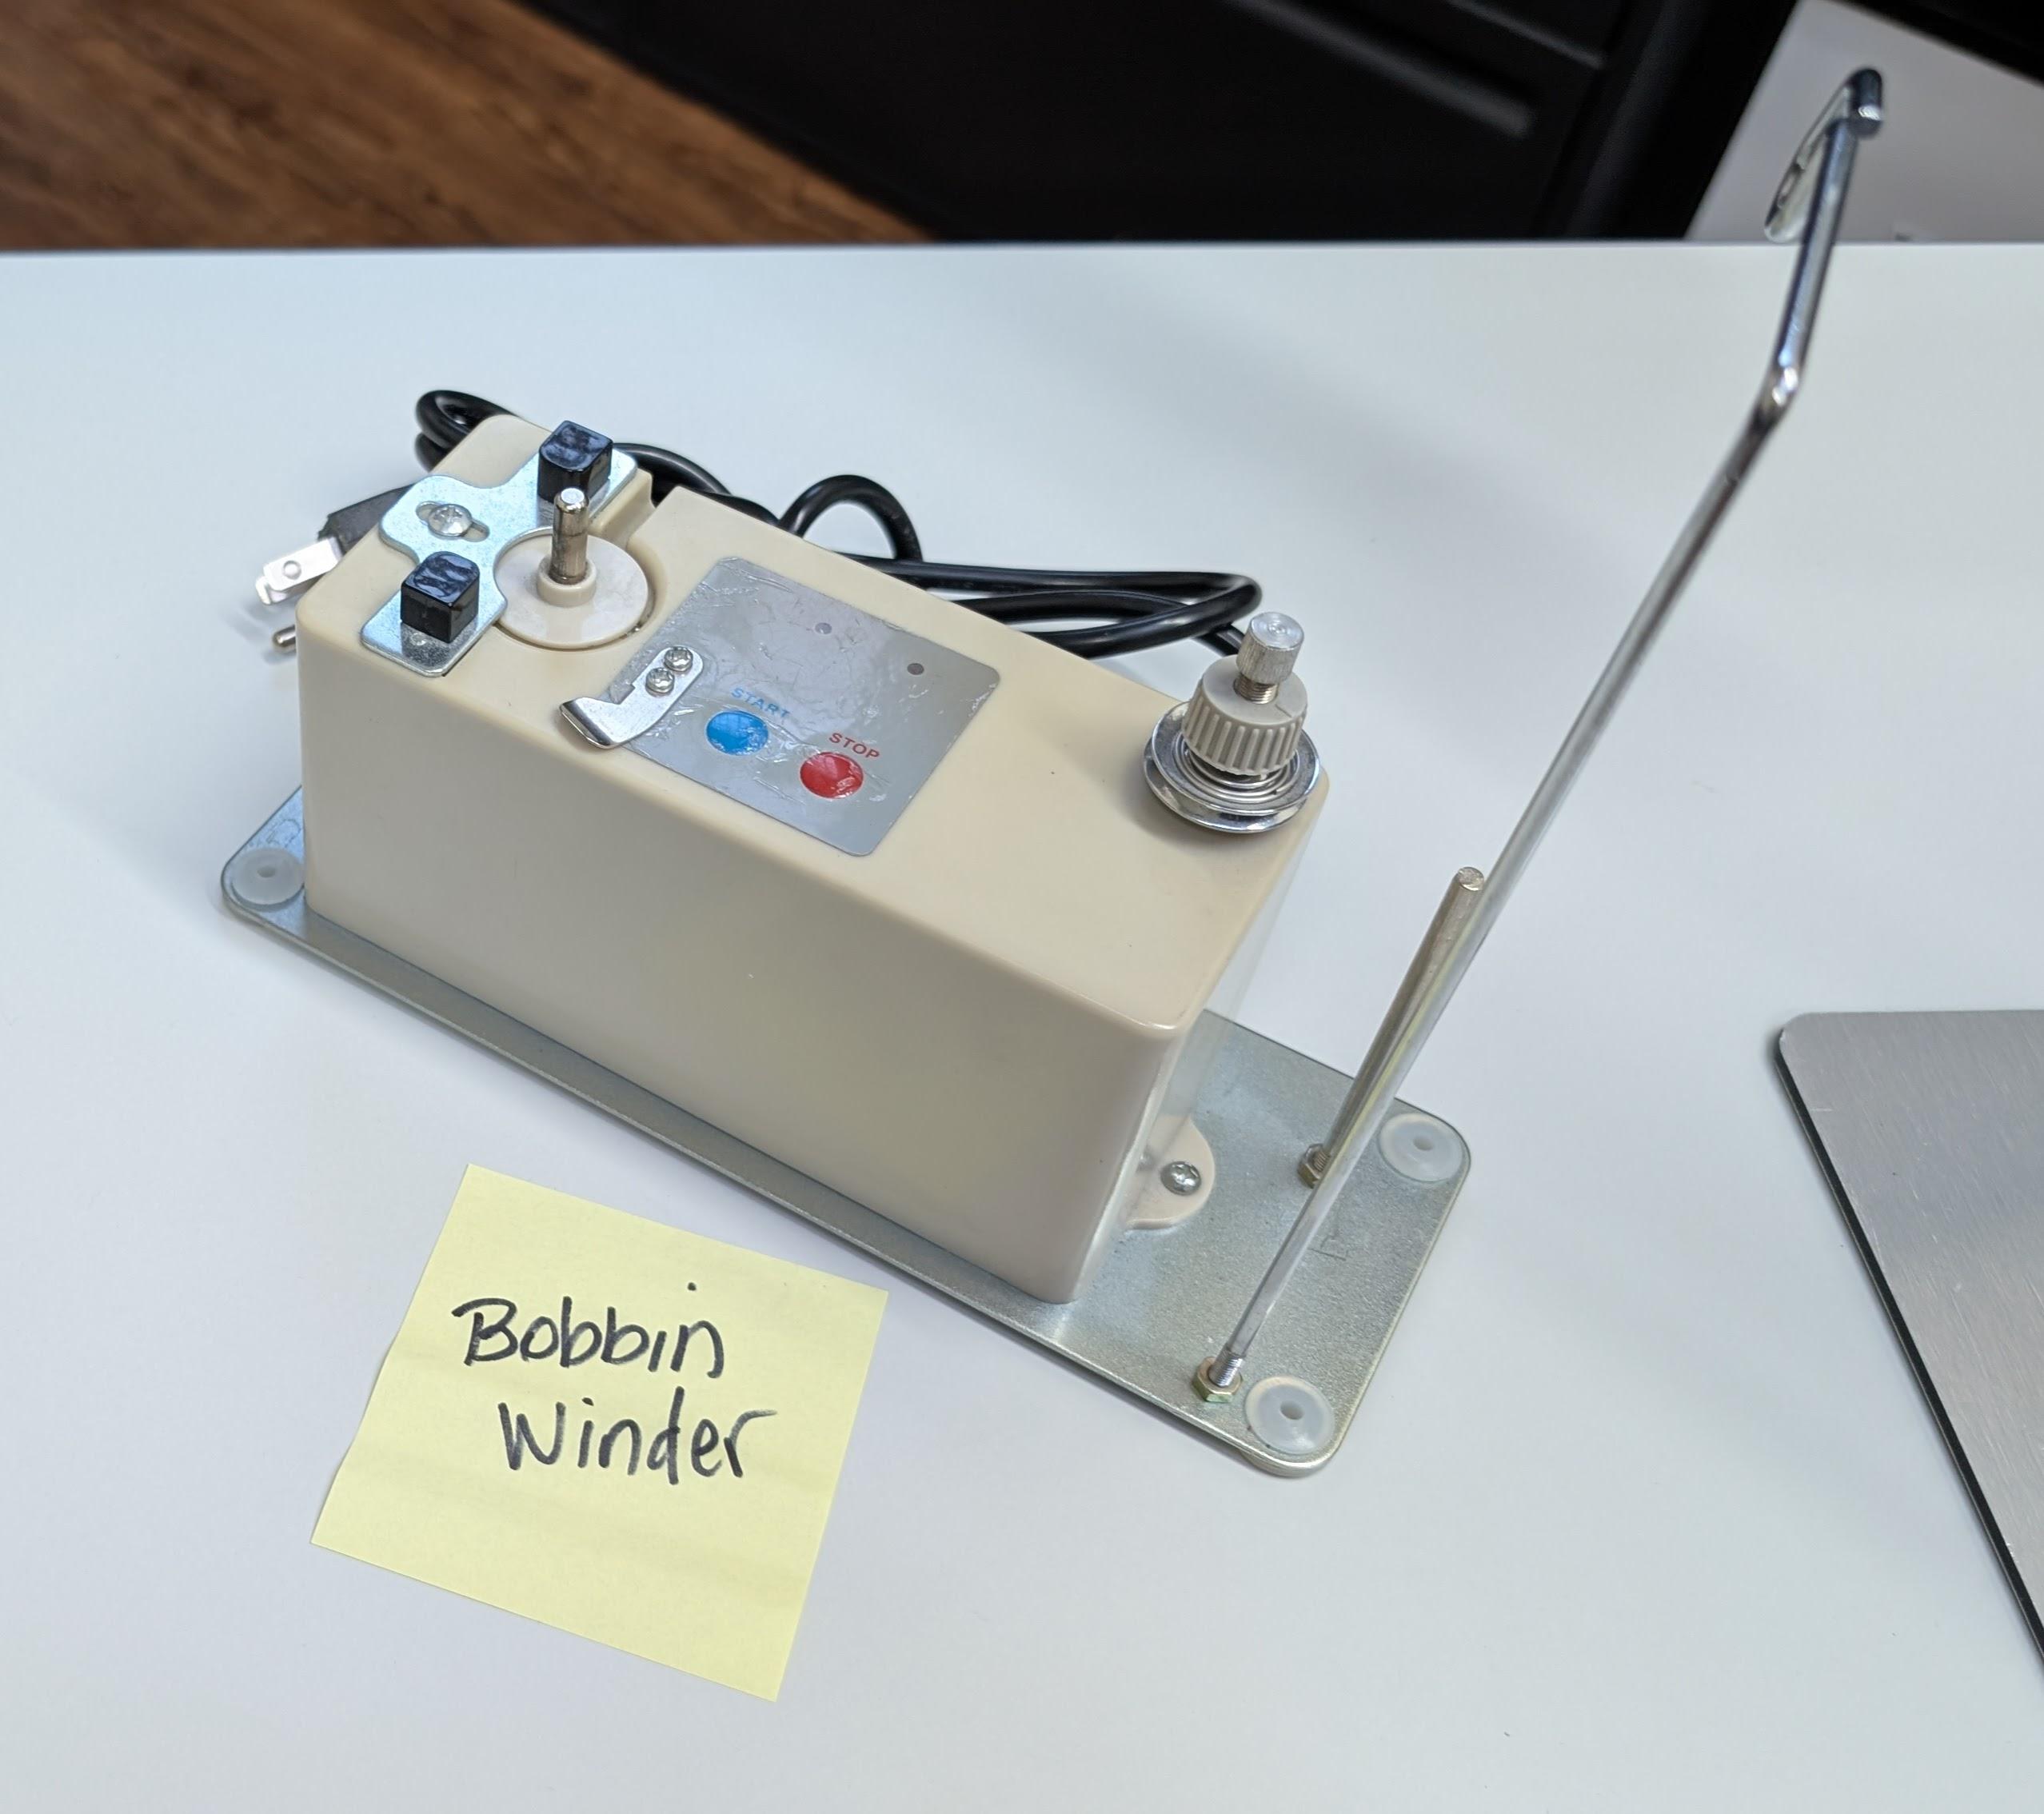
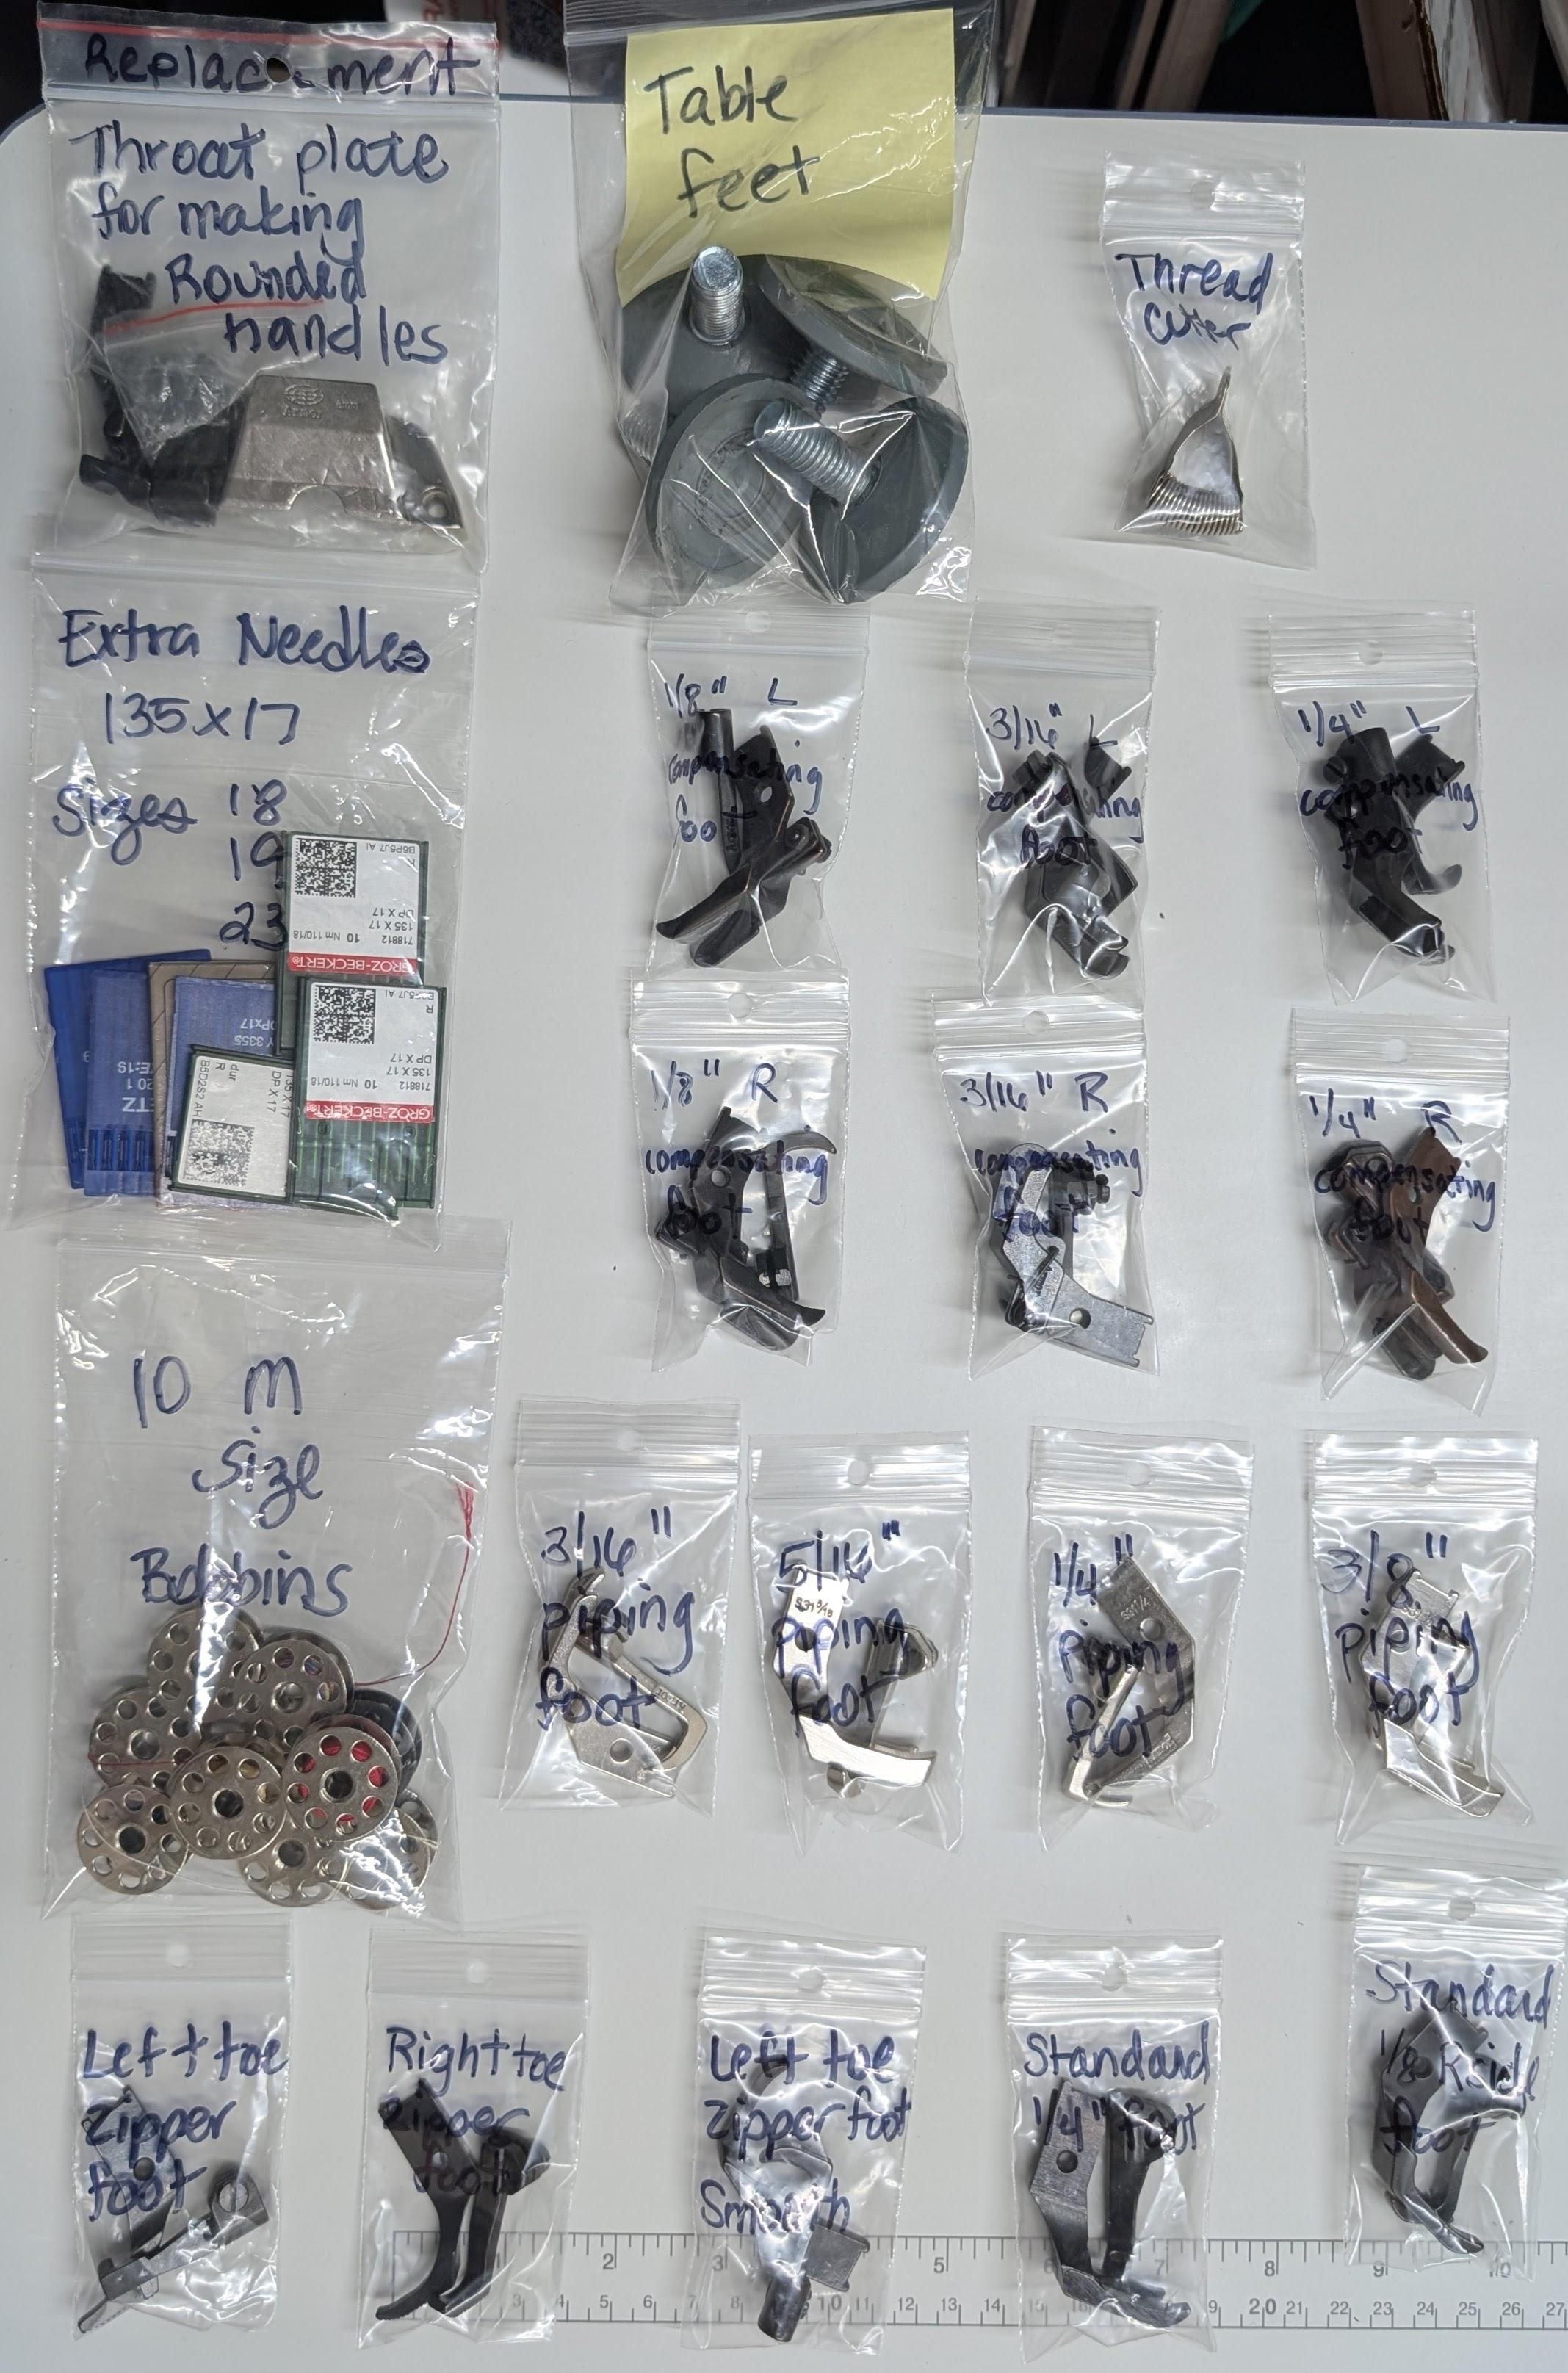
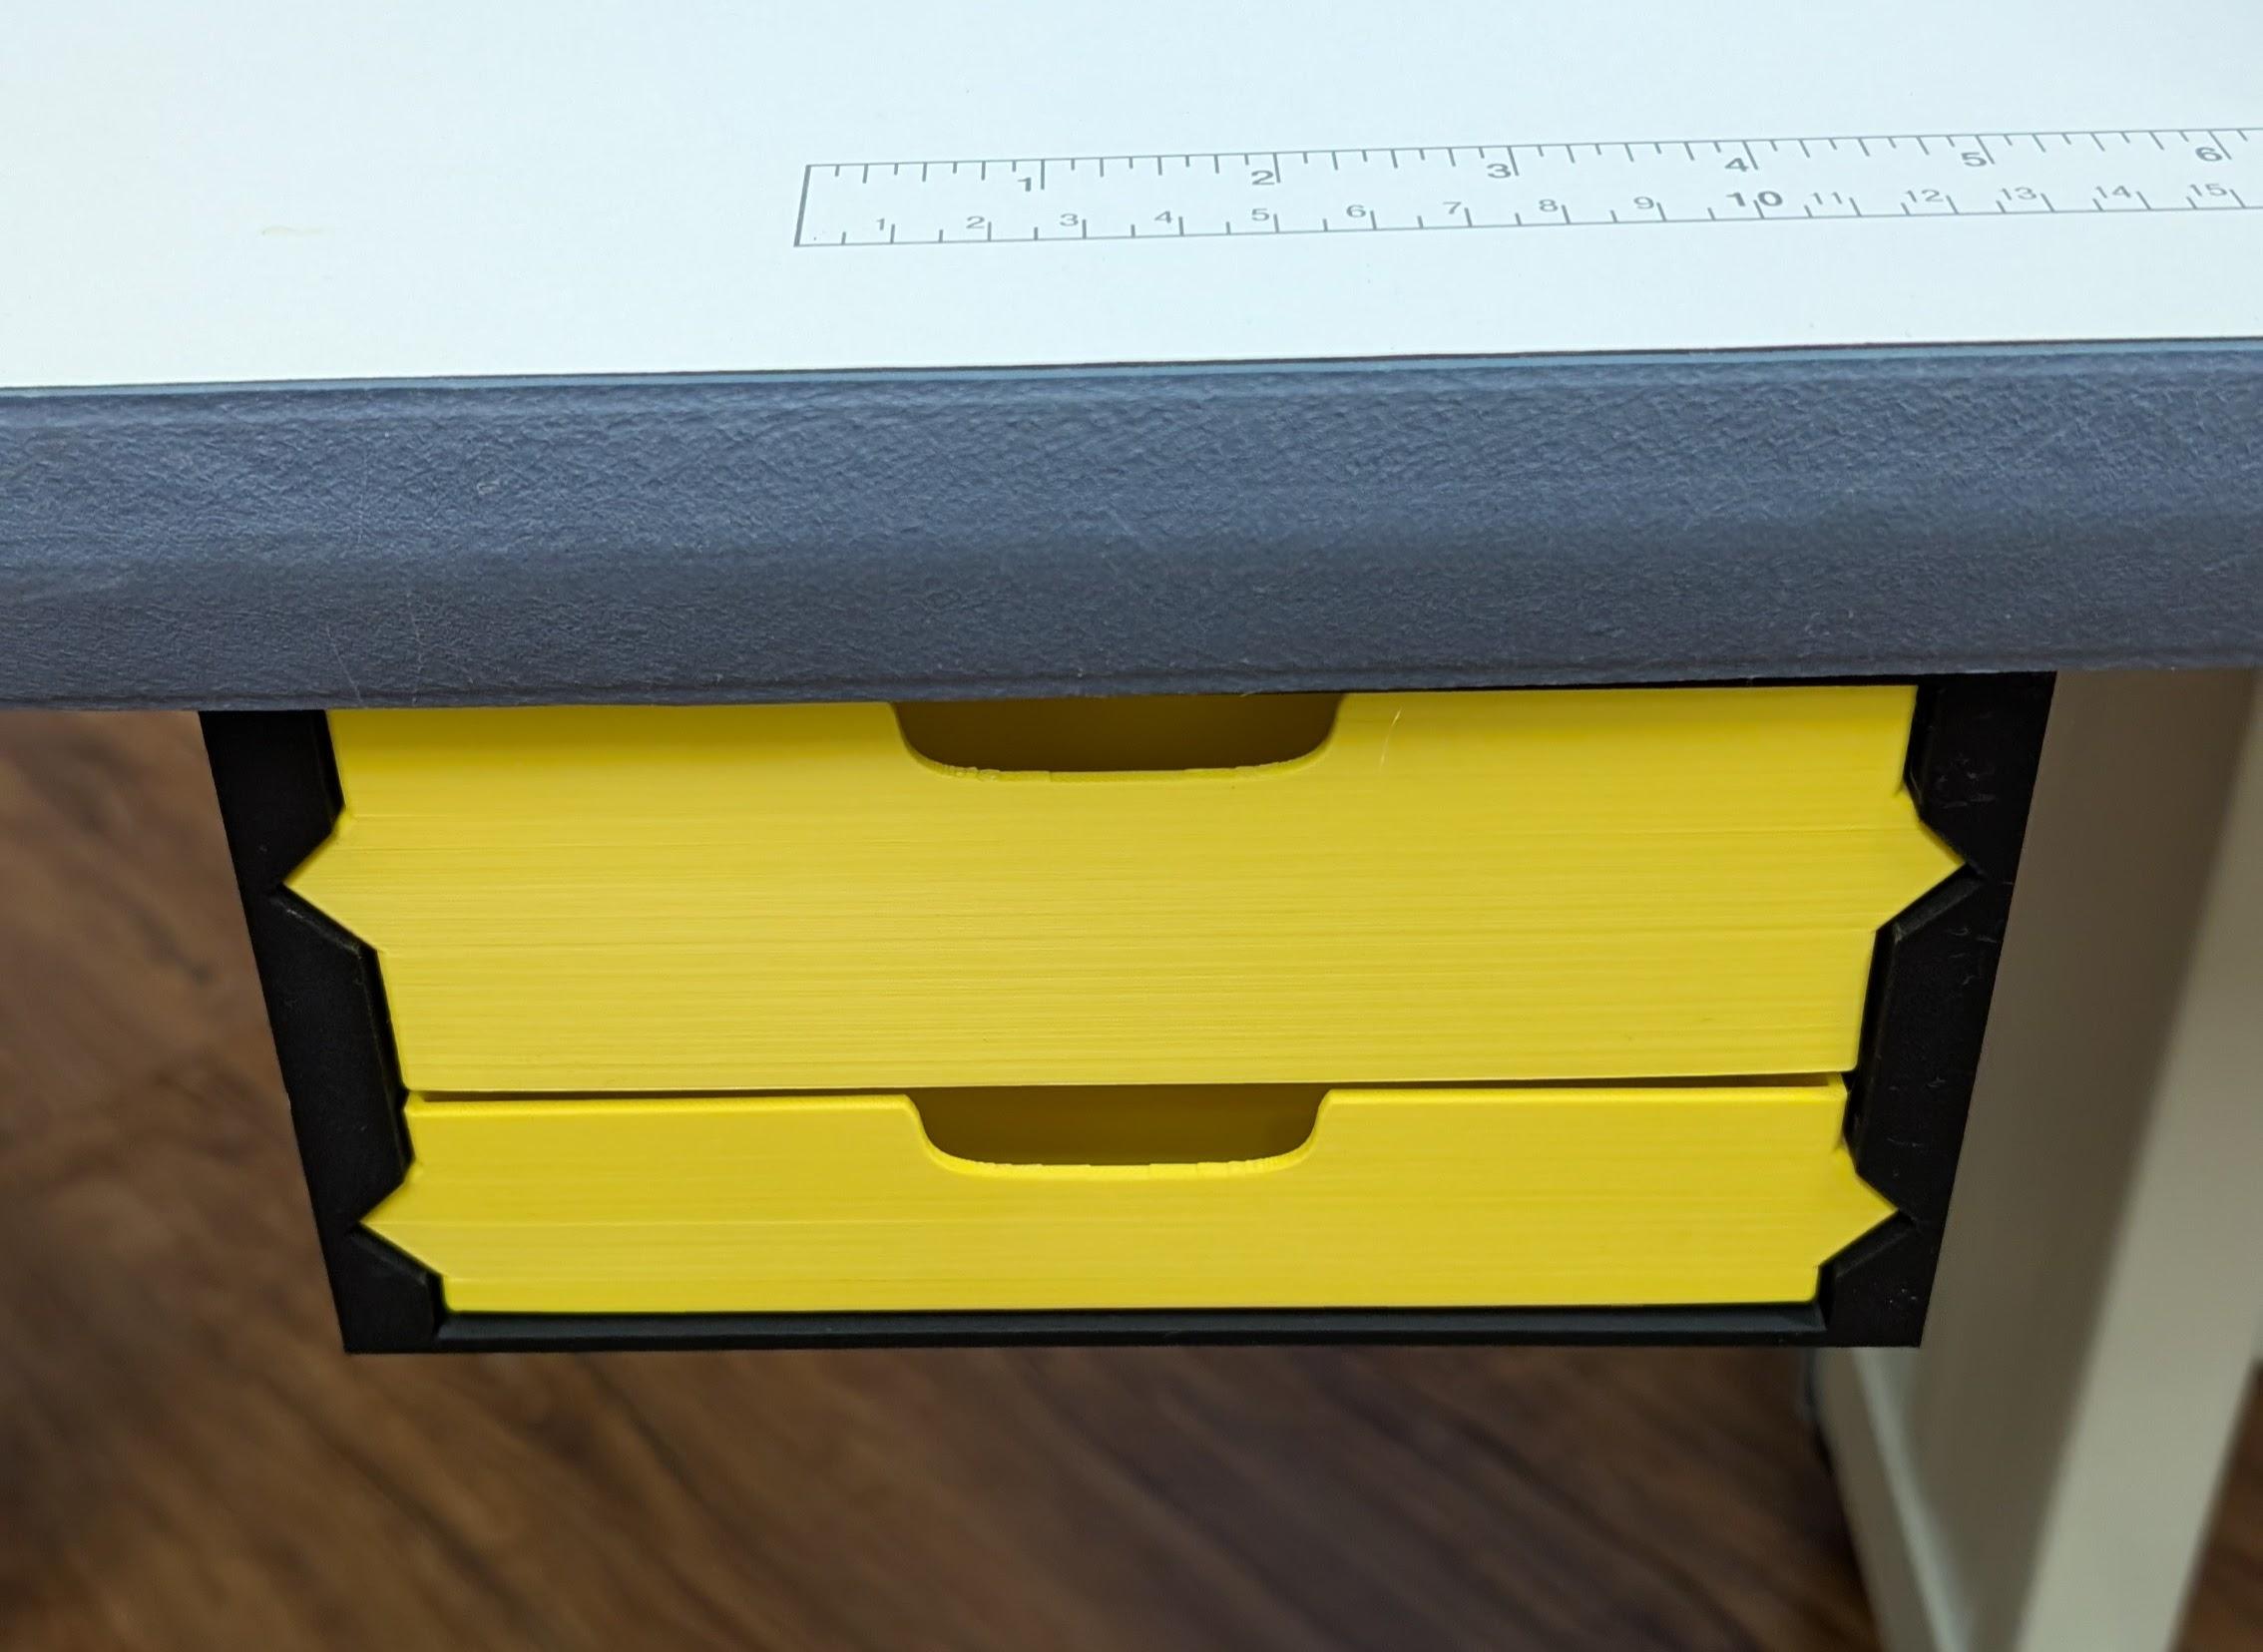
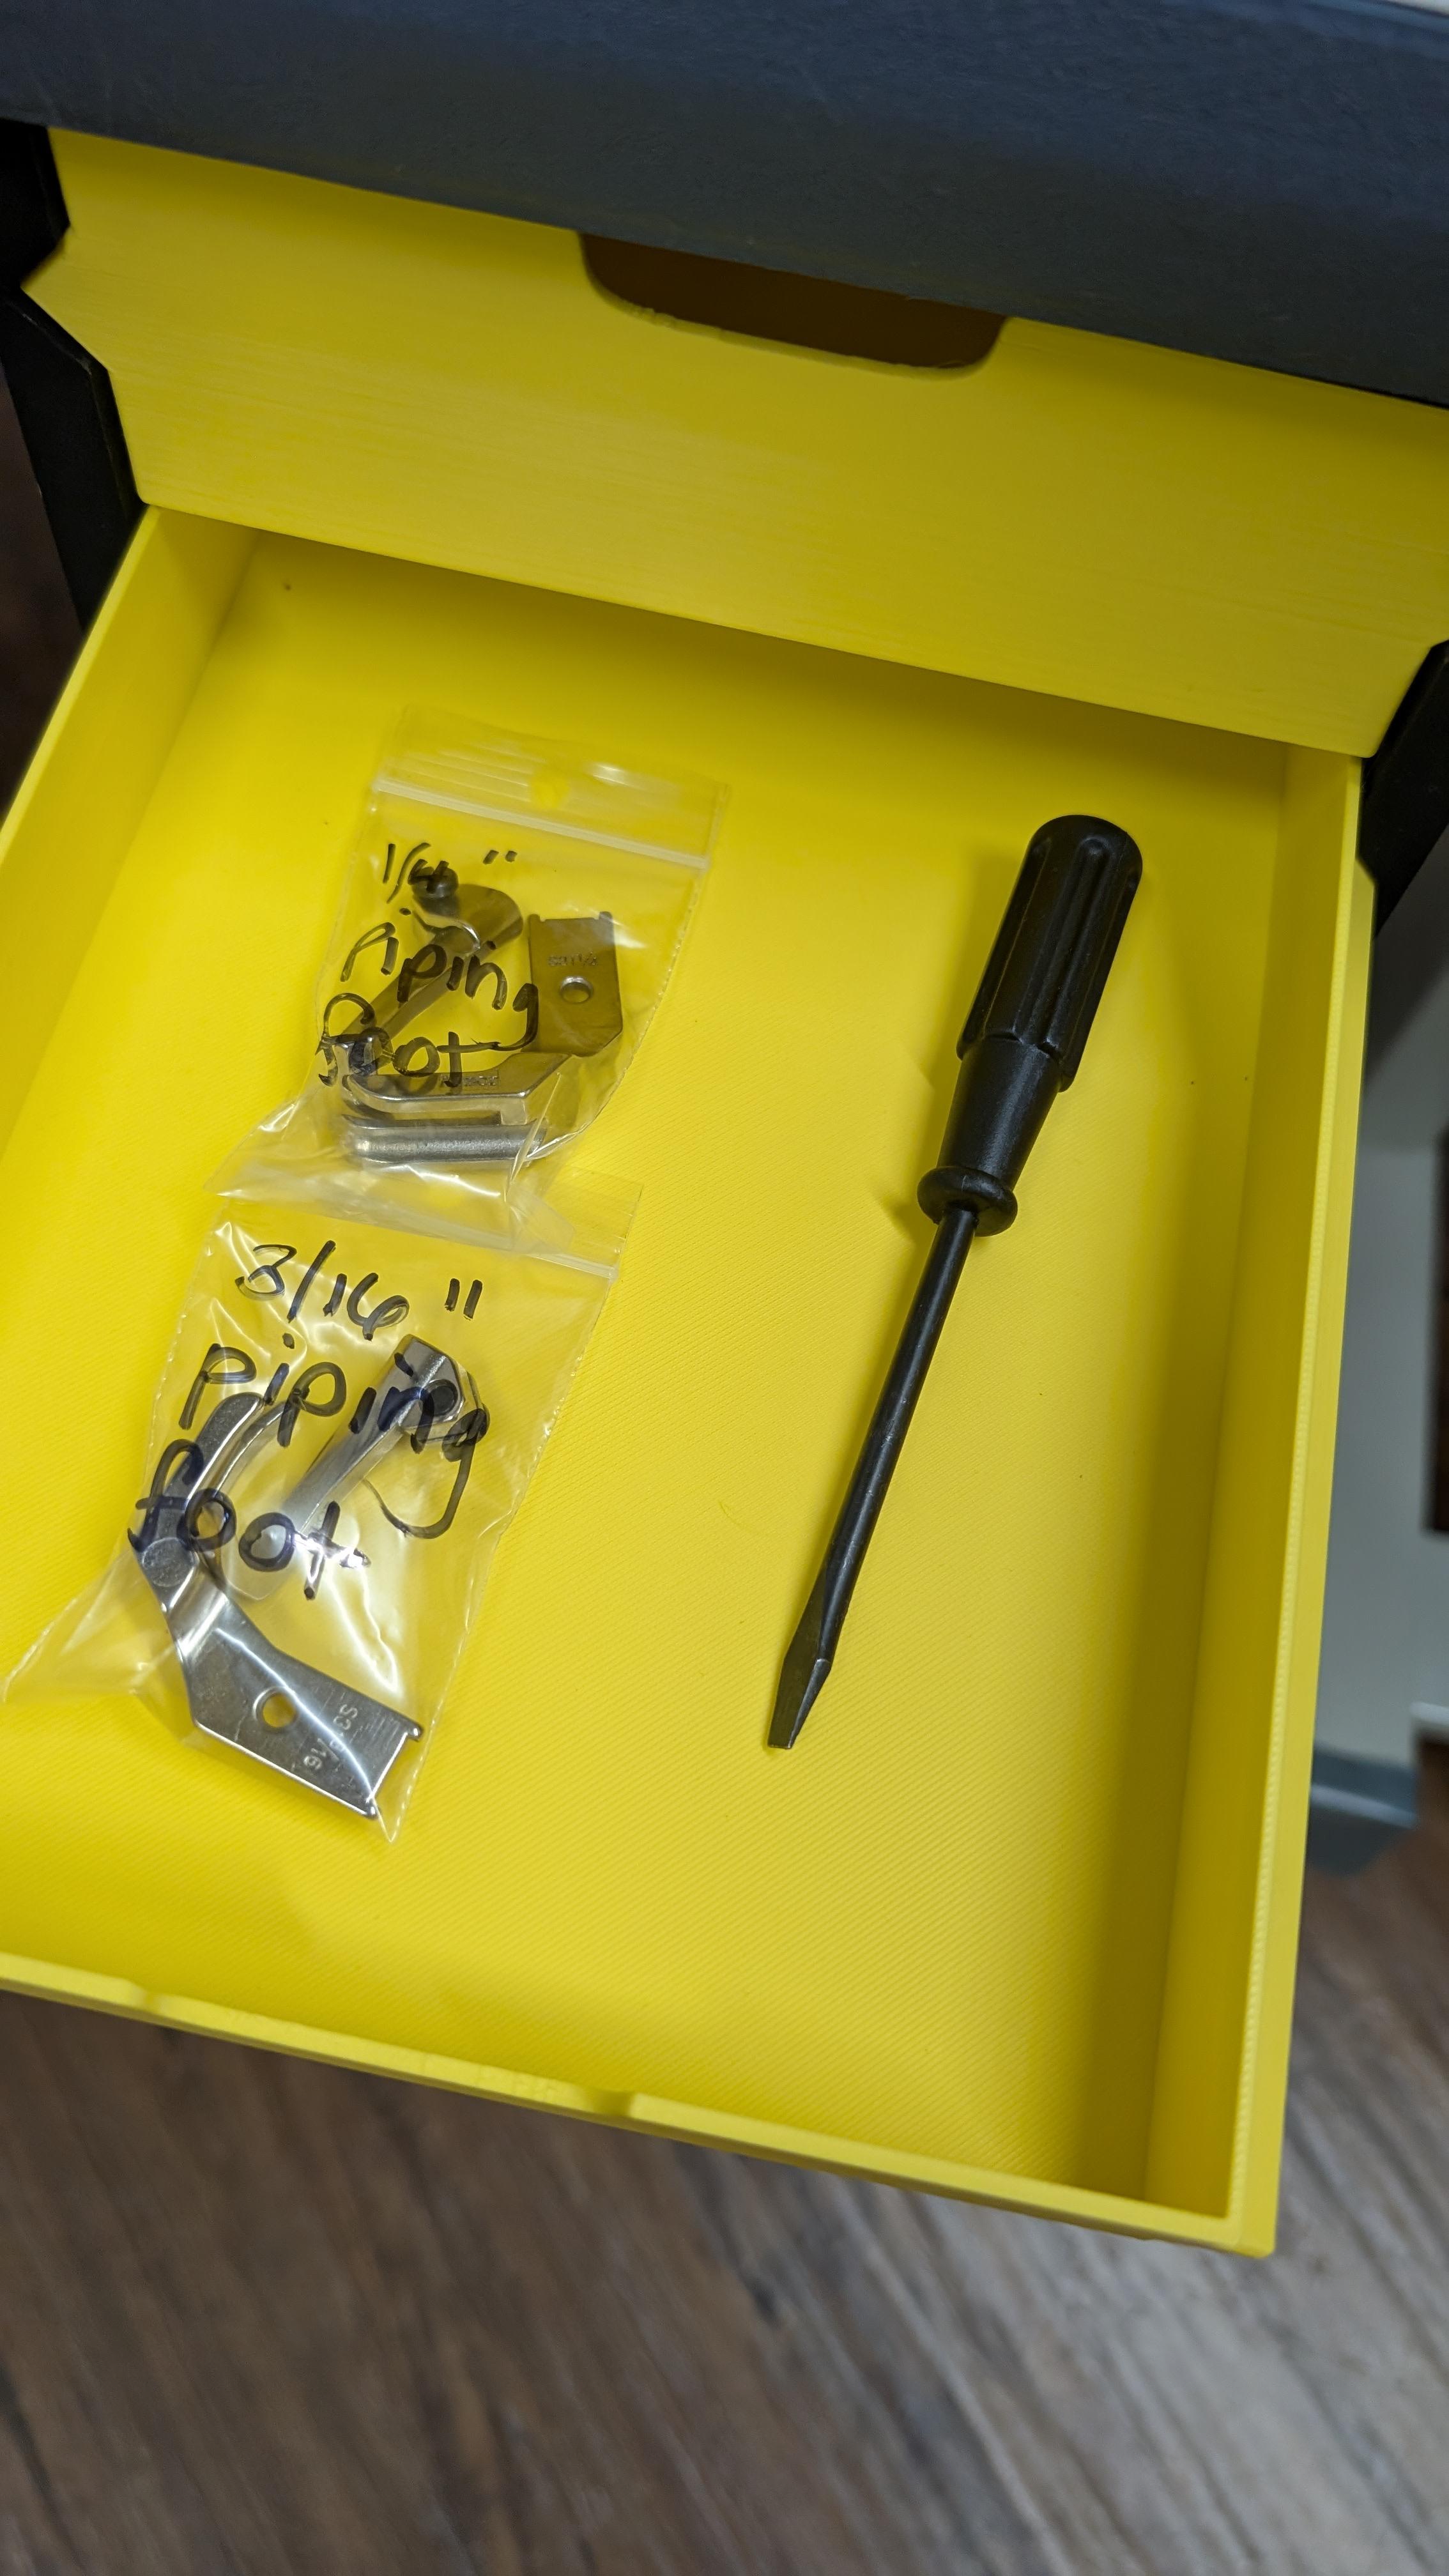
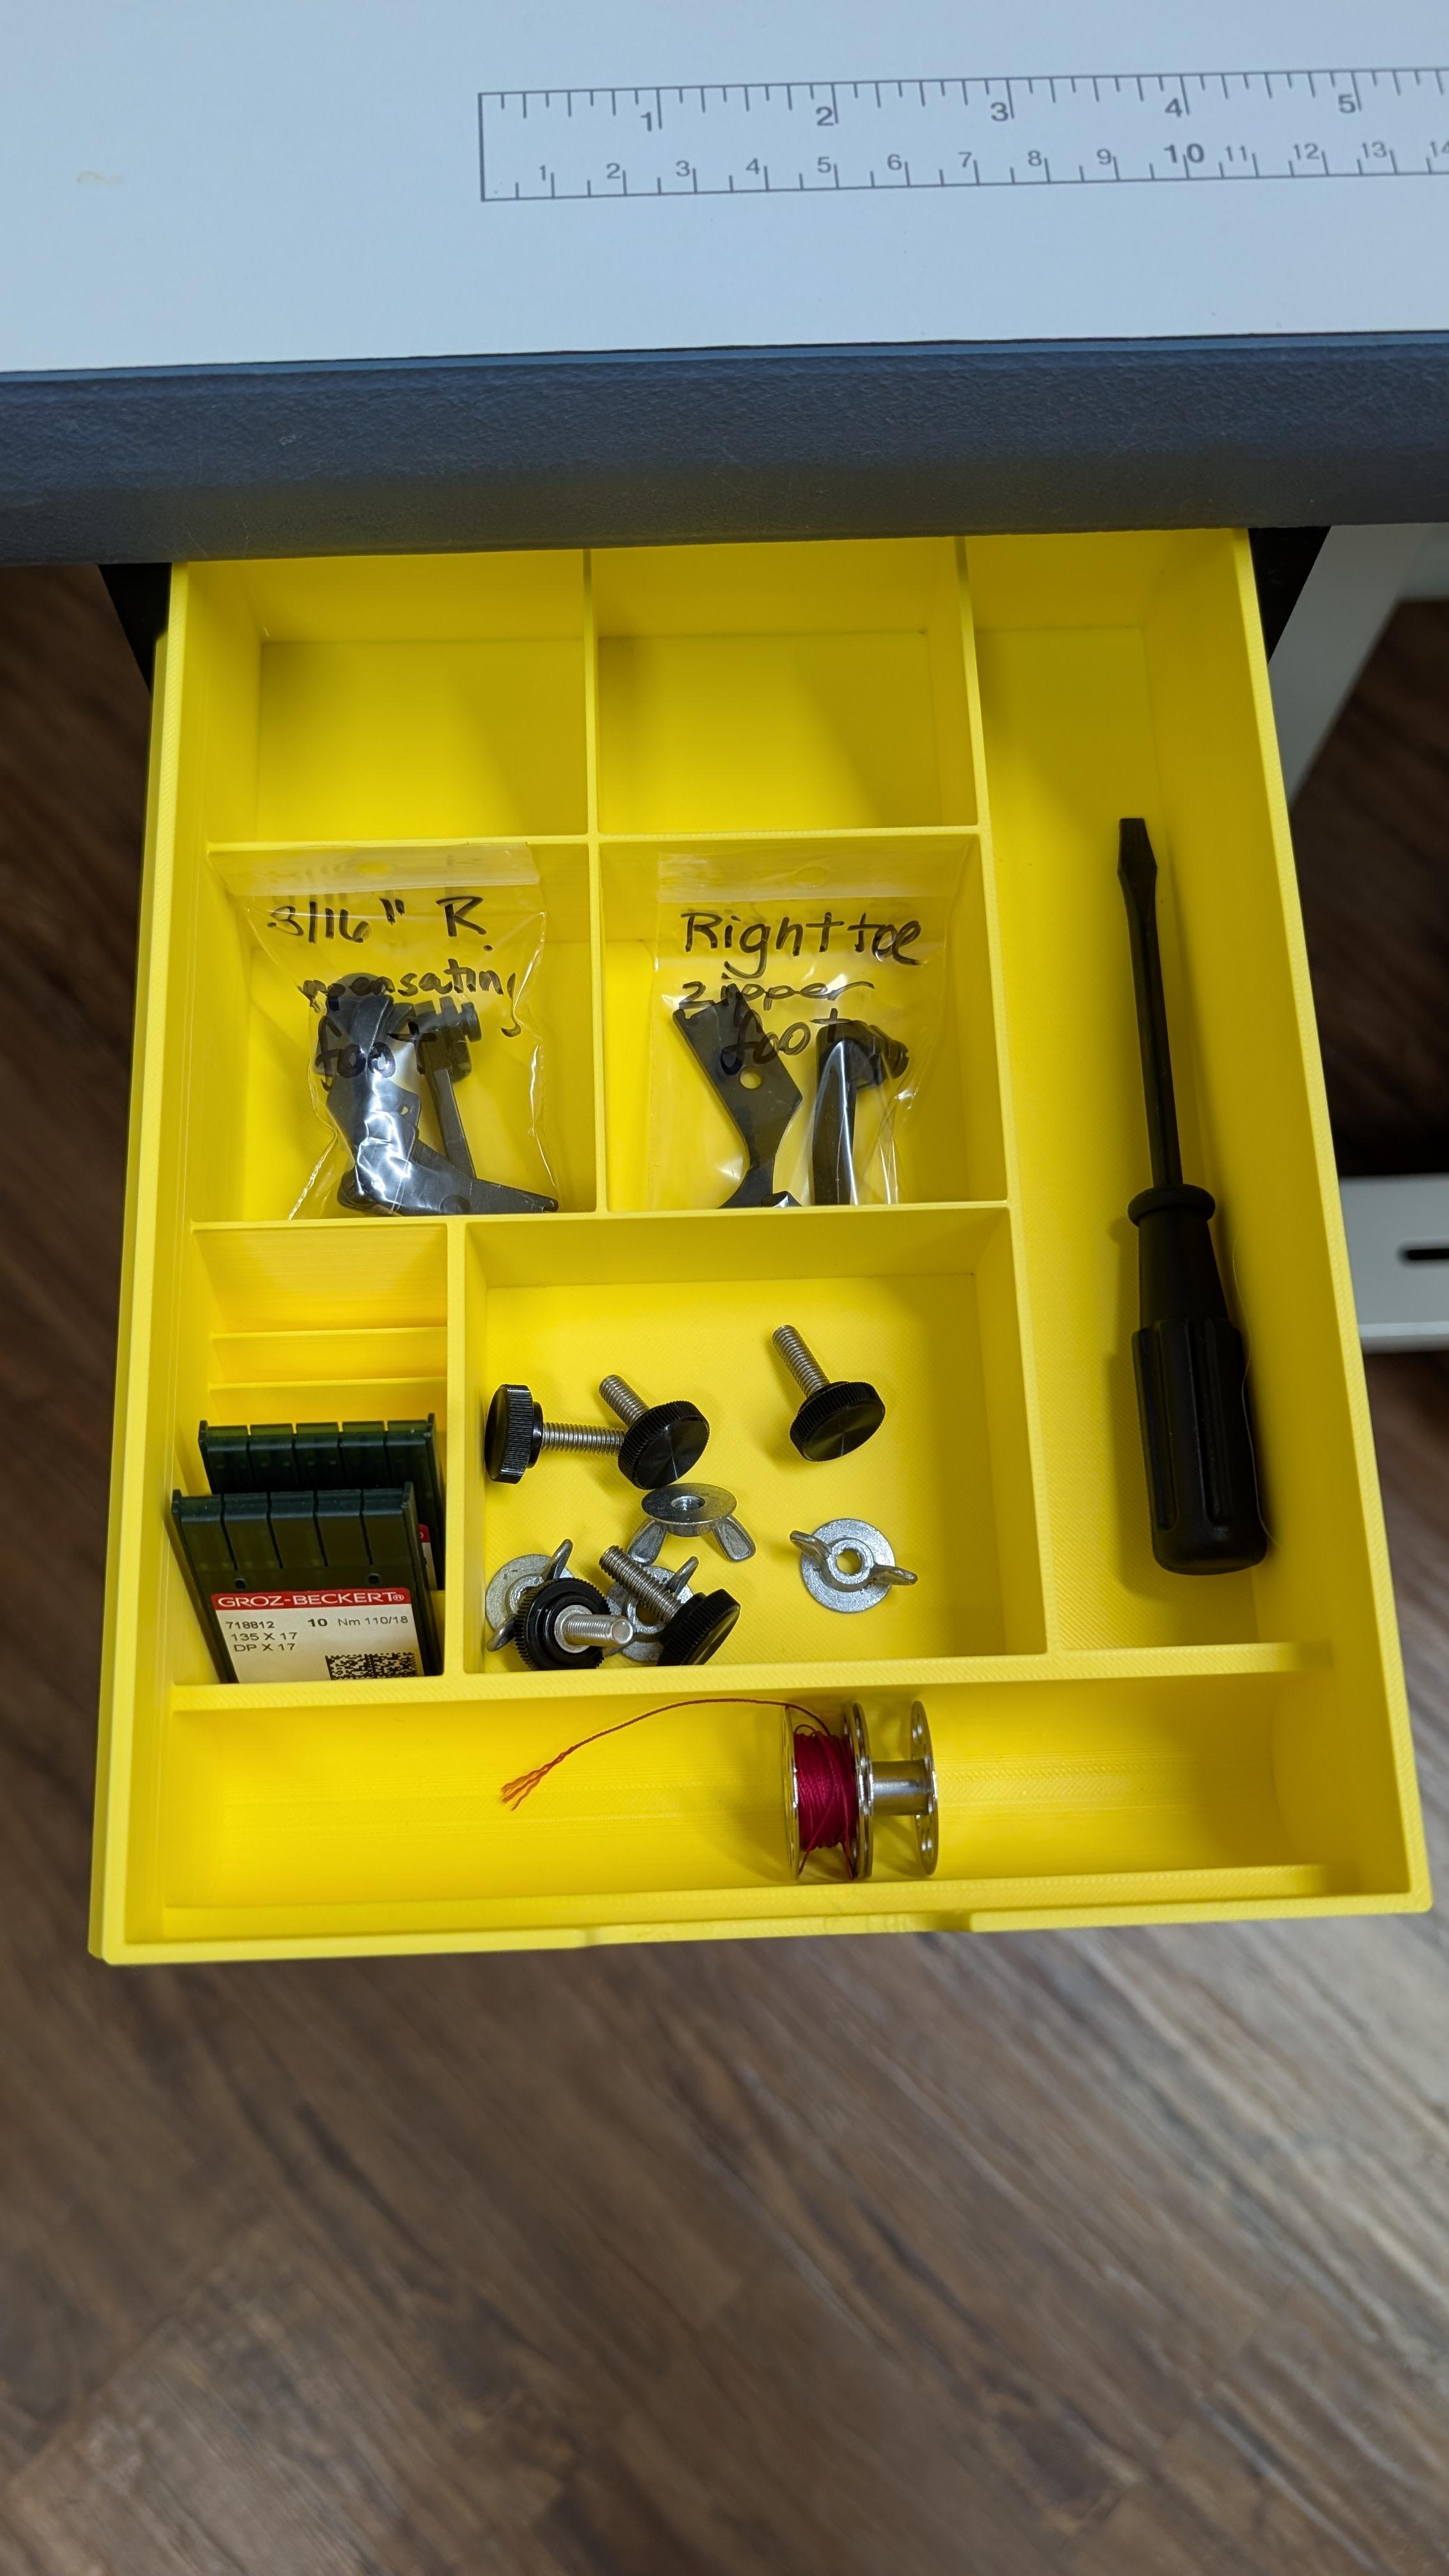
 TechSew 2750 Pro Cylinder Arm Sewing Machine - $2,000.00 cash only The machine is used but in great condition. I have made many handbags on this machine, from canvas to leather. I am upgrading to another machine, so I no longer have space for this one. Lots of extras included in the sale. More than $500 in extras. See pics for what is included. If you buy the machine and want the attachment pieces in a different color than yellow, let me know in advance so I can have them ready at pickup. Located in San Pedro, CA so you must pick up (delivery is not an option). Must be able to carry it – The machine head and table can be separated, but the Machine head weighs 70lbs.
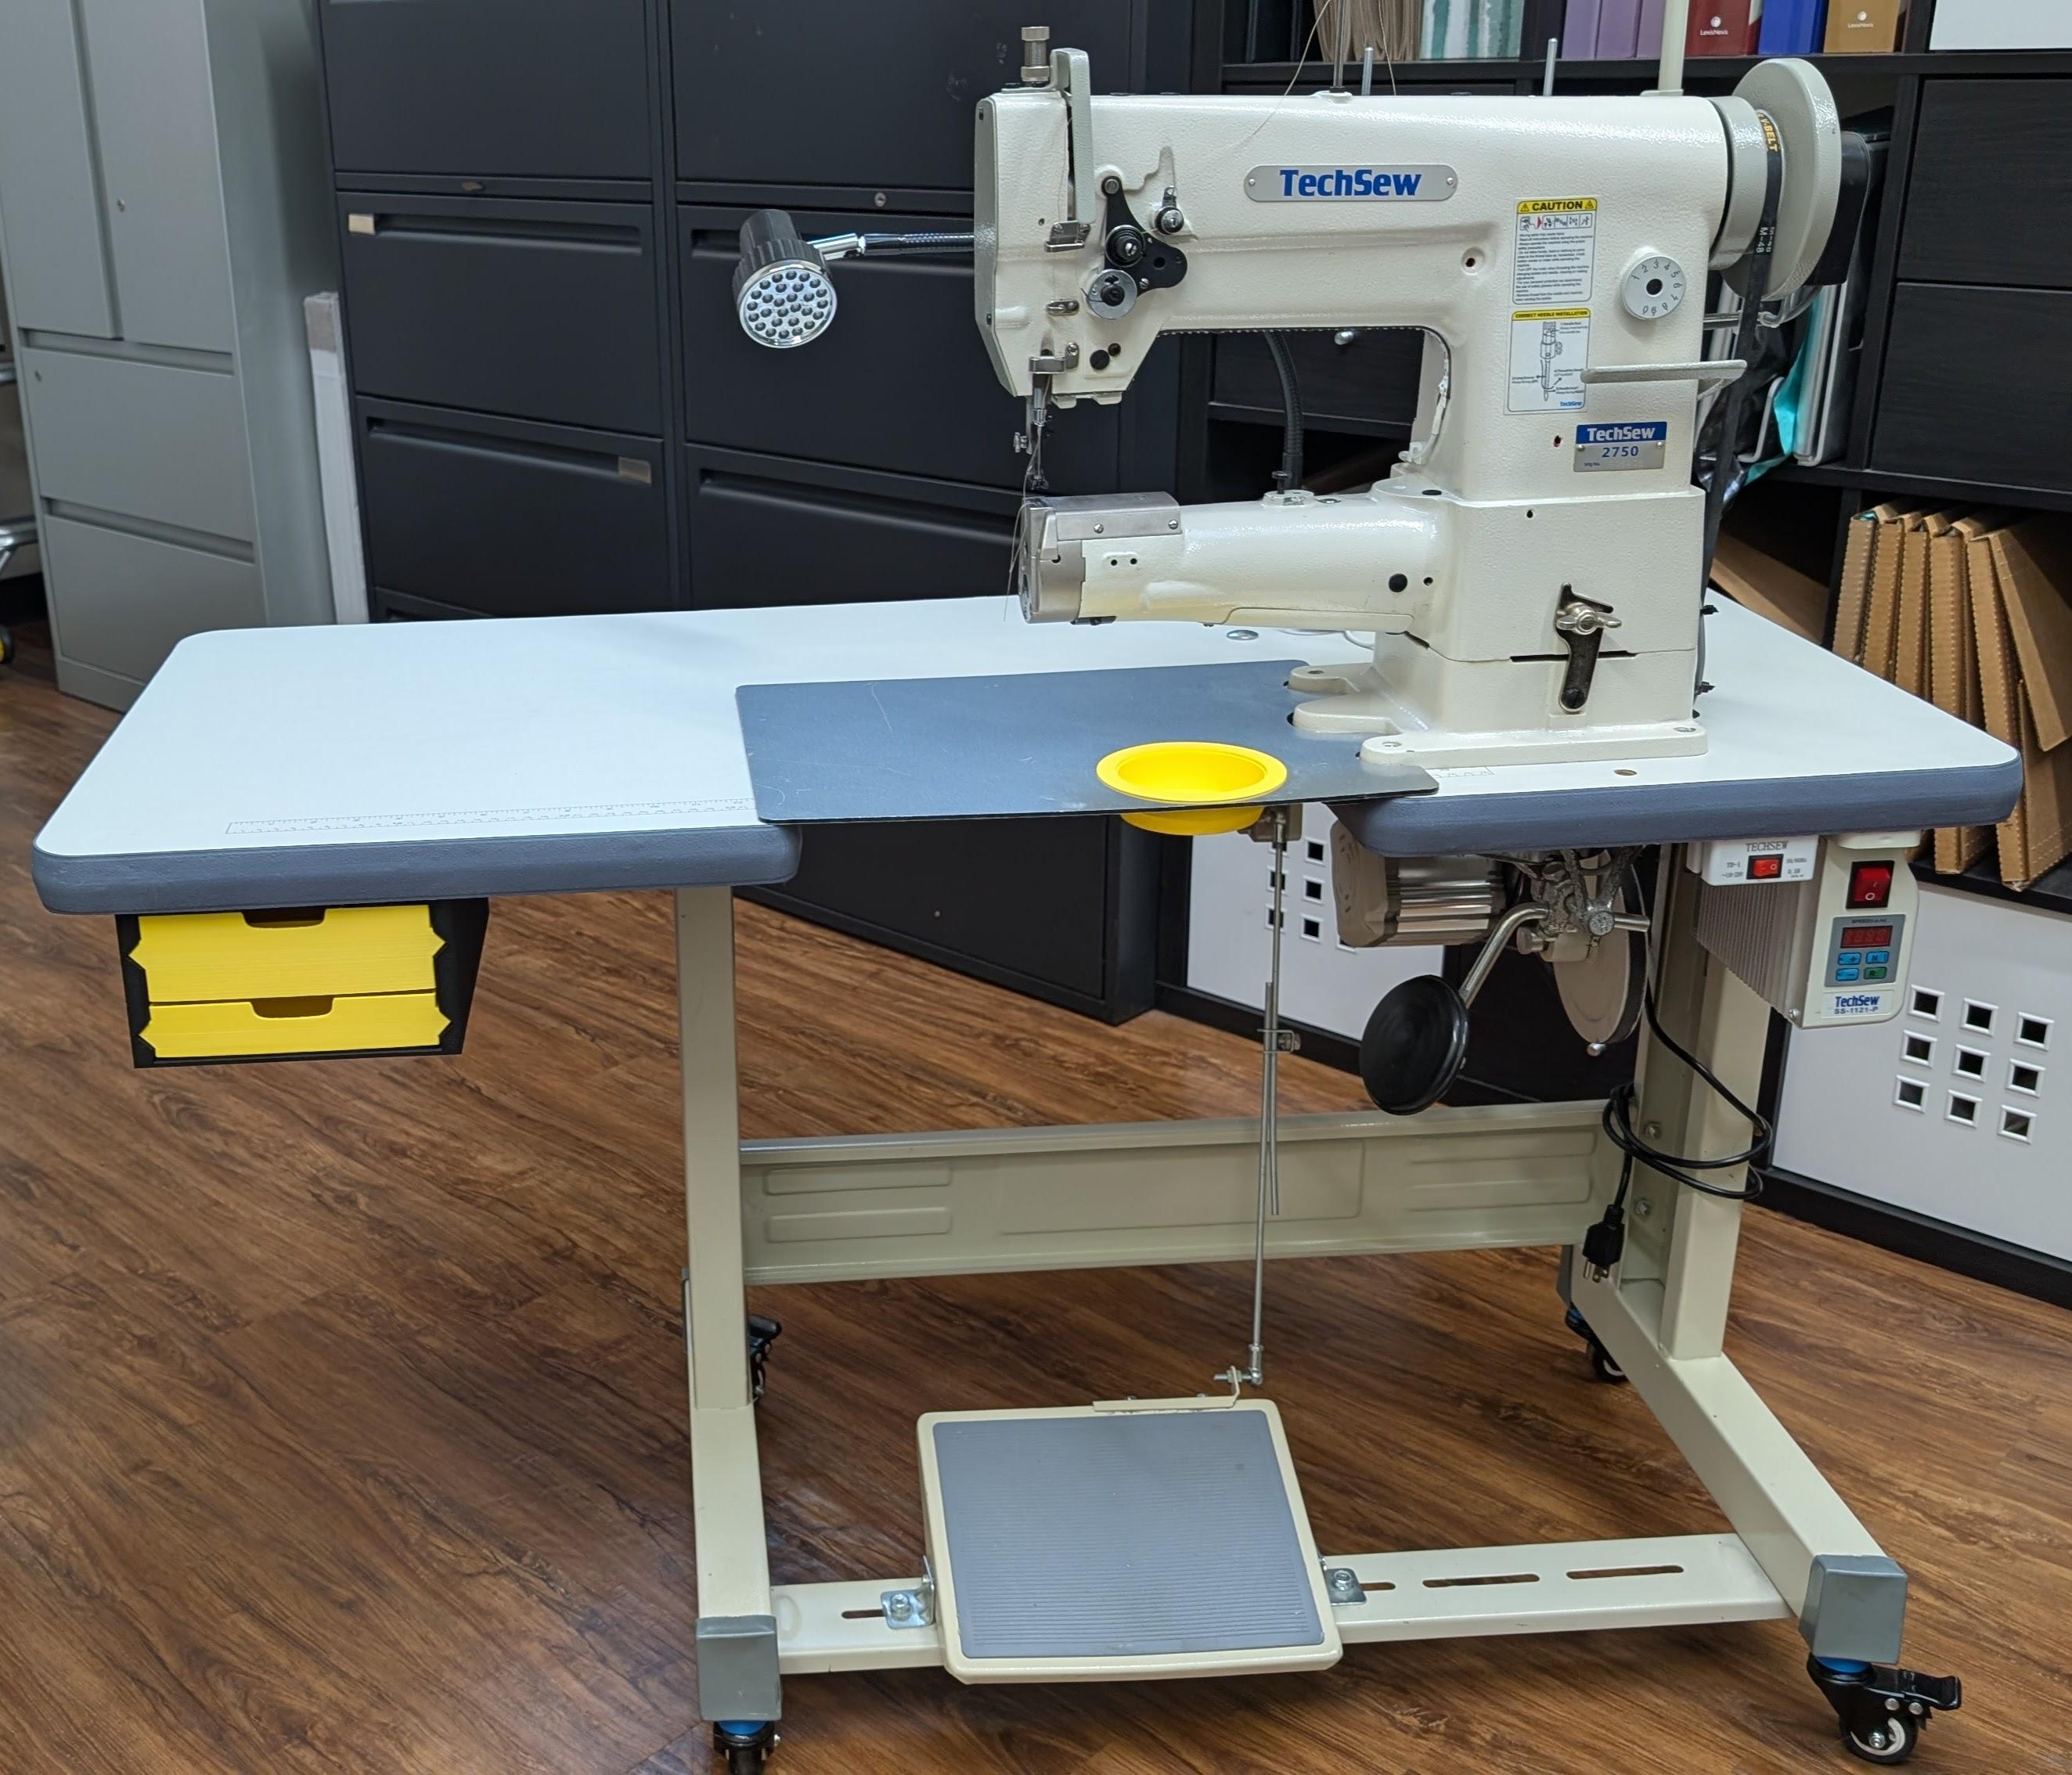

-
🤣🤣😁.... Dwight, I too, many years ago when a boy thought it very strange the Bonanza bunch didn't have "cartridge belts". That is until I was a young adult and realized the "era" the show was supposedly portraying 1861 through 1867. The issue wasn't their belts, it was their guns. those Colt model P Peacemaker SAAs hadn't been invented yet! That said, they didn't have a cap or cartridge box either.😉 Yes my wife and I still enjoy the old reruns occasionally.🤠
-
I have used glue, but only to put in liners. Stitching or lacing and stitching has been what I've used to keep the holsters together. I haven't made very many to sell. Most have been for my own personal use. I like coming here and hearing how other people do things and how I might improve mine.
- Yesterday
-
@Northmount Yes. @Montanadave Yes.
-
Thanks to all, I always appreciate feedback...as the 1911 holsters are so short and the double leather very stiff, you can't fold the holster into the skirt as you would with a longer revolver holster, the unit has to be sewn first and then the strap fitted, hence the rivets and screws have to go in after...this is the only way I could think of to do this.....other than one other ( unfinished ) revolver holster, these are the only holsters I have made. Yes, the pics aren't that clear, but I don't have a good camera or smart phone. If I was to do photo's for advertising or whatever I would have to get them done properly. Again, thanks for the input. Roger
-
Looks pretty good. I think you're getting the hang of this leatherwork stuff!
-
The bottom pic with the a close-up of the shot shell looks great. The other pics are dark and lack a lot detail. The background looks a cream color and I am guessing that it is white or close to it. Can you lighten your pics up? Your work deserves it. There are many ways to do it, with better lighting or changing settings on your camera. I have saved or improved many of my phots using a Freeware program called FastStone Image Viewer. It is very flexible and It is not too steep of a learning curve. It has been invaluable to me. I do make donations to them once a year. https://www.faststone.org/FSViewerDetail.htm Oh, btw... nice work.
-
No glue? Well, then, that would be my first recommendation. I suppose there are other people who do not use any glue but that sure seems like the hard way to do it. I know some people say that the glue is only to hold the pieces together until they get stitched. Those people often use something similar to Elmer's glue. Personally, I feel that contact cement bolsters the integrity of the build and yields a longer life under harder use. I would recommend giving it a try. It's not cheap, it is a little messy until you get the hang of it and it has a somewhat foul solvent smell (kinda like some gun cleaning products). If you decide to give it a try, I would recommend watching some videos to understand it and pick up some tips. It is applied to both pieces of leather that you are joining. It has to "dry" for a few minutes and then the pieces are joined. It is an immediate bond. You only have one chance to get it right. I suggest laying a piece of parchment paper or wax paper (something that you can see through) over the bottom piece, covering most of it, with just a corner sticky out. Then lay the top piece on it, making sure it is registered with the bottom piece. Press lightly to tack the corner in place and check that all of the other corners and edges are in register with everything. Then, slide the paper out half an inch at a time, and tack down the newly exposed cement. Pull the paper out slowly and tack the leather down as you go. You don't want air pockets. When the paper is completely removed, use heavy pressure to fully bond the pieces. I usually just use my palms and my fists to complete the bond but if you have smooth roller that will not leave marks in your leather, that would work well. Your holster will be much stiffer overall. If desired, you can wet the leather and do more molding if you want. Contact cement is waterproof. I would wait overnight for the cement to fully cure before cutting belt slots or punching holes for sewing because the cement is rubbery and may stick to your tools. If necessary, you can clean up with Acetone.
-

Ron’s Round and Montana Edgers
AlZilla replied to AndreasB's topic in Knives, Blades, & Things That Cut
Let's tag @AndreasB to be sure he sees this. -
Just seen that ringbender on Temu. Looks exactly the same one I paid a lot more money for. I'd jump on it if I were you.
-
Yes I am! And still loving it!. It's good to see that leather work is alive and well
-
Exactly. I saw that the question was about conserving a family heirloom. I remembered reading a while back that museums had stopped using conditioners.
-
Thanks. I'll give the old college try.
-
Yes you will need to take the skirts off and separate them to reline them. These nails help to seal up that top edge and keep stuff from getting down in between that skirt pocket and tree. The strength is in the screws. Lift the nails out, don't punch around them. The idea of fasteners is to have the shank fill the hole in the leather so it doesnt work around as much. If you punch the leather you will have a hard time finding nails to fill that hole without being so big you risk splitting the tree. Start at the back nail and get under the leather around the nail with your puller, pry it up until the nail lifts a bit. Go to the top side and remove the nail with the puller. Work your way forward a nail at a time. Since they are smooth nails you should not have much of a problem.
-

Ron’s Round and Montana Edgers
HideDesigns replied to AndreasB's topic in Knives, Blades, & Things That Cut
Are they still available?