ClayB
-
Posts
2,063 -
Joined
-
Last visited
Content Type
Profiles
Forums
Events
Blogs
Gallery
Store
Everything posted by ClayB
-

Jesus and thorns wallet
ClayB replied to CarvedOn's topic in Purses, Wallets, Belts and Miscellaneous Pocket Items
That really is nice!!! -
Well, the short version is that I first met Kathy in the ladies room at a Federation show in Denver a few years ago. I'm very grateful that she didn't scream for security and get me listed as a sex offender! Instead, she just politely started a conversation. A year or so later, thanks to Johanna and this forum, we got back in touch and she's become one of the best friends a person could ever ask for. I pick on her a lot cuz I like her so much, and she finds really original ways to get even.
-
Thanks everyone for the nice comments on this piece. It would never have turned out that good without Kathy's help. Kytim, Yes the cavity is created by stretching the leather from the back side. This can be done with several different things but usually the first thing used is a marble. There are embossing tools made specially to work the leather from the backside too, but the back end of a stamping tool or other things can be used as well. I've got a couple tutorials on the main page of the forum that go into quite a bit of detail if you are interested in seeing how it is done.
-
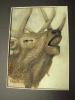
Last summer when we passed through Missoula, Mt. we stopped at the Rocky Mountain Elk Foundation visitor center and I picked up a book there called Rocky Mountain Elk Portfolio, the Photography of Donald M Jones. This book is full of great elk pictures that I thought might be useful for some leather carving patterns. The first picture I wanted to make into a carving is a close up of a bugling elk. My first attempt at this I wanted to do flat and uncolored for a change. All the time I was working on it, the leather was begging me to emboss it, but I resisted the urge and left it flat. Here's the first attempt. Almost as soon as I was finished with it, I just had to try it again to see how it would look embossed. I liked that one even better. When I attended Kathy's last class in Rapid City, I took this along to show her what I was working on and she asked if she could use it as part of Columbine's guild display and I agreed, but told her I wanted it painted when I got it back. I was just joking (well, sort of) but I got it back yesterday and it was painted, and I think it's amazing!!! Kathy did a fabulous job with the coloring. Thanks Kathy!!

-
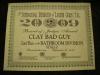
Ok, some of you know the story behind this, and if you don't, well, that's good! This certificate was delivered to me today along with my entries from the Fed show awhile back. You all need to be careful of what you enter in these shows, not necessarily what projects, but what doors. Some people will never let you live down your mistakes!! Thanks Kathy, you are WAY too funny!!
-
I think if I could only get one weight of leather, I'd get 5-6. It might be a little heavy for wallets or checkbook covers, but it would work. It would also work for light weight saddle bags or holsters. If you want them heavier, you could just line them with something, even the same 5-6 ounce leather.
-
untilFloral and oak layout and design class taught by John Simon and Carey Blanchard in Little Rock, Arkansas. Traditional and contemporary styles. Intermediate to advanced skill levels. For more info contact Carey-Blanchard Productions PO box 632117, Nacogdoches, TX Phone 936 5699 480 or email
-
If there was a guild calendar, or a guild section on the forum, yes, I'd do what I could to promote them. As for being green, nothing has changed there, so that's not an option. Sorry
-
I think this has been brought up before, but I wonder if it would be possible to have a separate calendar for guild events, regular meetings, etc. I think it would be nice to have a section where guilds could post meeting info and special events so that people can be made aware of them and I don't have a problem with them even being on the main calendar. The problem is, if several guilds were to post recurring events on the main calendar, it would get really cluttered and the other one time events might be hard to find. It might be helpful if there was a way that recurring events didn't show up more than once on the calendar and then once that one passed, the next one was automatically added, but I doubt that feature is probably available. If you look at the calendar right now, you will see what I mean. One recurring event shows up a few dozen times. I DO NOT want to cause anyone to stop posting to the calendar because I think it's a really valuable resource. I just wonder if there is a way we can make it work better.
-
Thanks Paul for another very well done and informative lesson. That's a very realistic rendition of a pine cone, and I'm gonna be giving it a try soon. I know that you put a lot of time into making up these lessons and offering them free to those of us that are interested in learning from you. I hope you know how much it is appreciated! For anyone that happens to read this, be sure to check out Paul's recently revamped website Painting Cow (you did a great job Kate!) In his gallery, you can see some of Paul's fabulous leather work. Paul has tackled some things that I haven't seen done it leather before and he does an amazing job with them. And, if you are interested in taking your own work to a new level, be sure to check out all the different lessons Paul offers for sale. The free stuff is great, the lessons he offers for sale are even better! Thanks Paul for continuing to share your years of experience and talent with the rest of us.
-
My eyeglass case
ClayB replied to SmilinJim's topic in Purses, Wallets, Belts and Miscellaneous Pocket Items
Hey Jim, It's nice to see you stopping by more often these days. That case looks nice. I might oughta make myself something like that for work too. It'd be nice to have a place to put the glasses when the sparks or the concrete are flying around. -
Looks great Ed. I really like your patterns with all the different kinds of leaves in them. Thanks for sharing.
-
Wish I was that creative when I can't sleep. Those are amazing!!!
-
Just wanted to let everyone know that Jim Linnell's website http://www.elktracks.net/ has been updated. There are a few new things on the site including a pattern area and a place to sign up for his mailing list to keep up to date on where Jim will be and what he will be doing. Be sure to check out the gallery area too. Jim does amazing work!
-
My Upcoming Workshops (Norway, Germany, Seattle)
ClayB replied to Rawhide's topic in Special Events, Contests and Classes
Hi Katja, We try to keep a list of all the upcoming classes and events that we hear about on the calendar here on LW so that's a good place to check for what's going on. Another person you might want to get in touch with on classes in Germany is Rene Berends. I think Rene is still doing some teaching but you'd have to check with him to see what his schedule is. Here are a couple links that might help you get in touch with him. Rene's website and The Bear Gallery If anyone out there hears of other classes or events anywhere in the world, please let us know by adding them to the calendar or announcing them on the forum. -
Good Luck Caroline!!
-
Acrylic Paint
ClayB replied to rickeyfro's topic in Dyes, Antiques, Stains, Glues, Waxes, Finishes and Conditioners.
I like to use Liquitex that I get from places like Hobby Lobby, but also use quite a bit of Delta Ceramcoat that you can get at places like Walmart. As the others have said, I dilute it quite a bit with water. It's better to add more layers than to get it on too heavy. -
Hmmmmm....... For the wire, I wonder if you could wet the lace first. Not sure if it would take water, but if it did, and you could keep it together until it dried, it might stay that way if you glued the ends together??? For the barbs, I think I'd try a dab of contact cement on the wire, then lay in the pieces for the barb, more contact cement and then the wrap. If I had some round lace I'd give it a try, but that's one thing I don't have. Good luck!
-
Chris, Another thing that you can do to make sure you get started in the right direction is to check out Paul Burnett's free lessons on his website. Paul goes into a lot of detail on the fundamentals of leather carving, from things like proper moisture content to how to walk tools. If you read through his lessons, I think quite a few of your questions will be answered. You can sign up for the free lessons here
-
That looks like the leather lace that Tandy sells (or used too). It doesn't look like it would be all that hard to do with some round leather lace. Just twist it together for the wire, and wrap some around that for the barbs. Then cut the ends at an angle to make it look sharp.
-
The elk is done in what is called "extreme embossing". The leather is stretched from the backside and filled with putty. There are several different techniques used in this style of carving and cutting the antler free from the background is one of those techniques. After the antler is cut and beveled, it is then cut loose from the background with a scalpel or a pro petal tool. The leather is just sliced part way through, the antler is then loose and the scar underneath can be tooled with a background tool to hide it. Once the antler is loose, a piece of thin wire was glued to the backside to help stiffen it up. Then a layer of putty (leather dust mixed with rubber cement) was applied to it. This putty can be shaped to give the antler a fairly realistic looking shape. On the second elk picture, Dave decided to just make the near side antler out of a seperate piece of leather. He then shaped it in a similar manner and is going to attach it by gluing the base of the antler to the elk's head, and gluing the tips to the background leather. Hope this gives you some idea of how it was done.
-
I did give the tools back, much as I would have loved to keep them. I know that they'll be back here in the future whenever Dave comes back to visit. And John is right, it is a dragon. Here's a little more info on that picture from Silva The picture from the Texas raffle was a challenge issued me many years ago by Roz Kohn (the dragon lady) and a couple of others. There's a lot of detail in a particularly small scene. The title is "Stagecoach Robbery" and when you do see it you'll notice a little dragon high tailing it out of the stagecoach to get away from the shooting action. That was not a part of the original challenge pattern. That's my version of Roz on the run.:-) I did beat the challenge, by the way. There really is a lot of detail in this small picture. One thing I don't think you can probably see from the pictures (I didn't even realize it in person for quite a while) is that the reins on all the small horses and the team are actually added on. It looks like they are possibly made from the scrap you get when you edge a strap, painted and attached to the picture. If you've never been to Silva's site, you should check it out. She's an amazing artist. If you look under the gallery, the North Dakota Mulie picture is one that my wife had Silva make for me and it's pretty special to me. This doesn't look like much in the picture, but it's the scrap of leather we were playing on.

-
Can't leave out Paul Zalesak or Bob Beard. If you aren't going to get a new knife with the blade, make sure you find out if the blade will fit your swivel knife.
-
You might check with Montana Leather. They had quite a bit last time I was there and I picked up 2 quarts. I really like the stuff too.
-
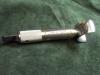
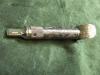
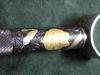
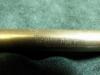
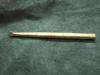
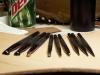
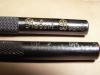
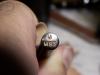
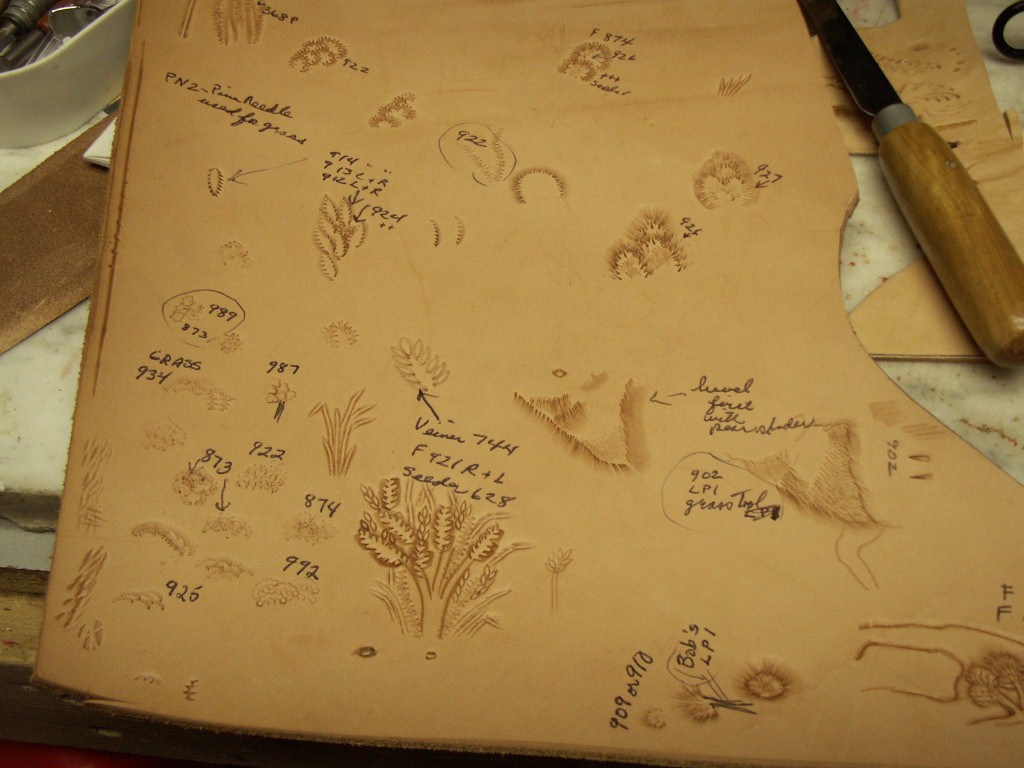
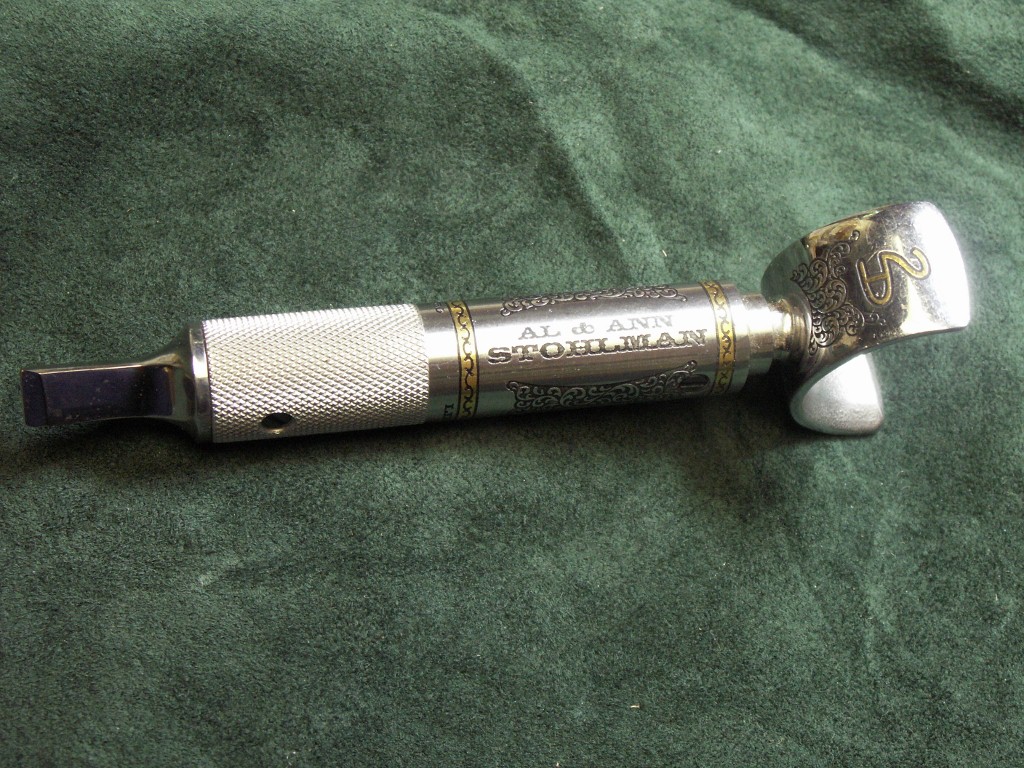
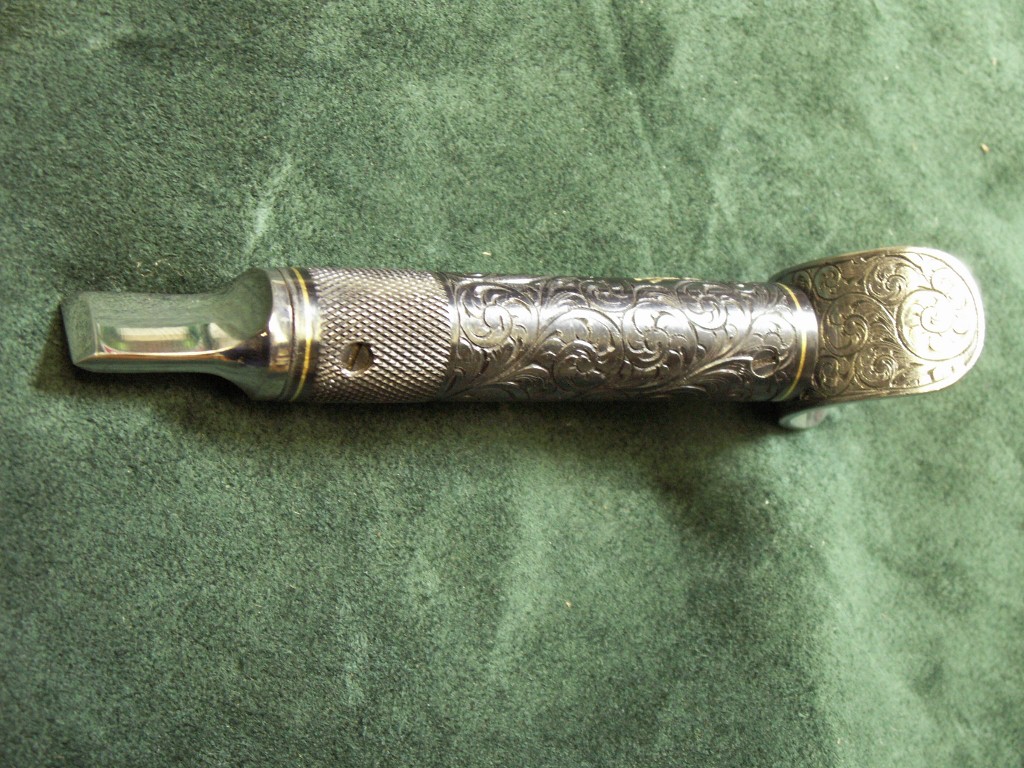
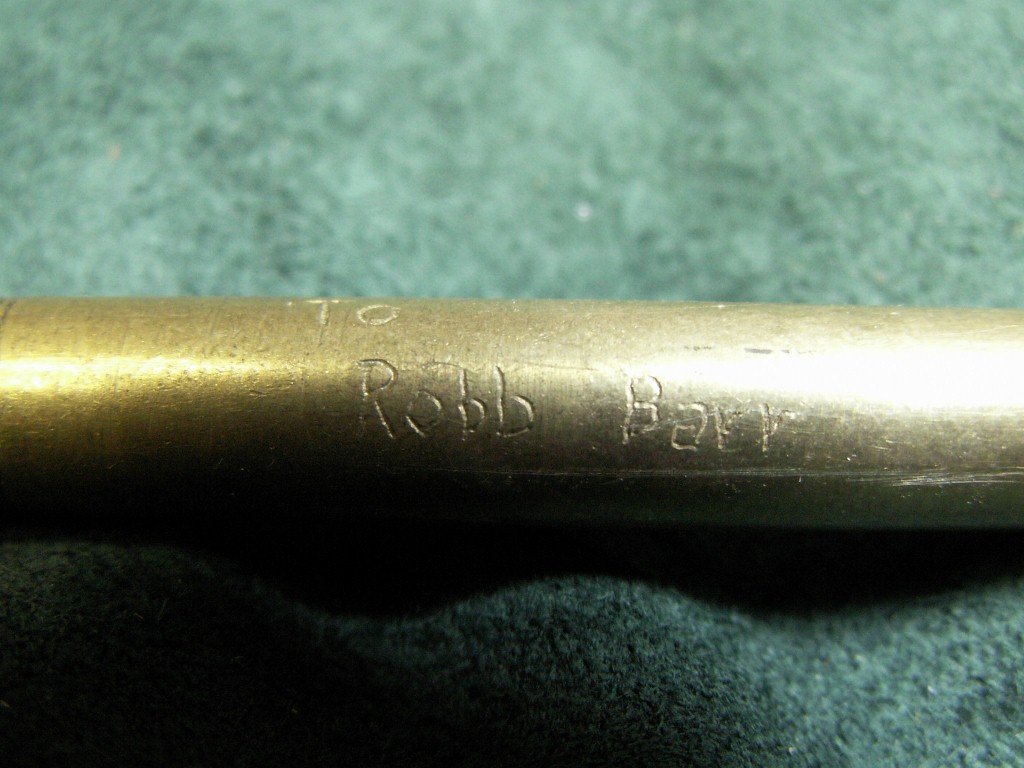
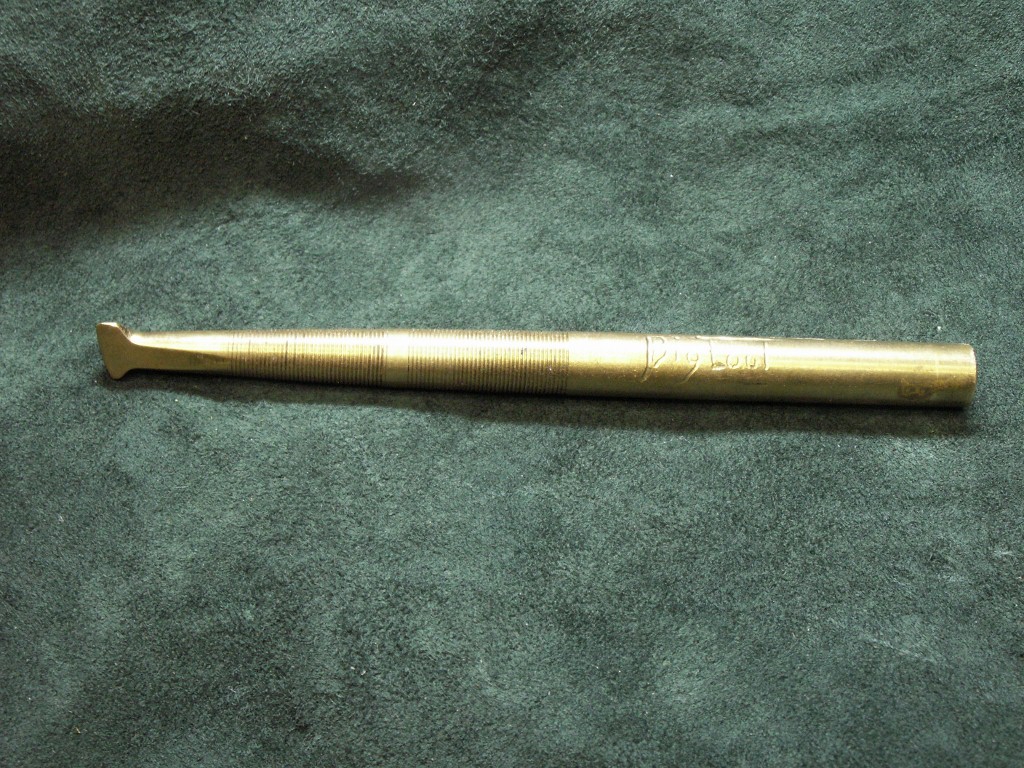
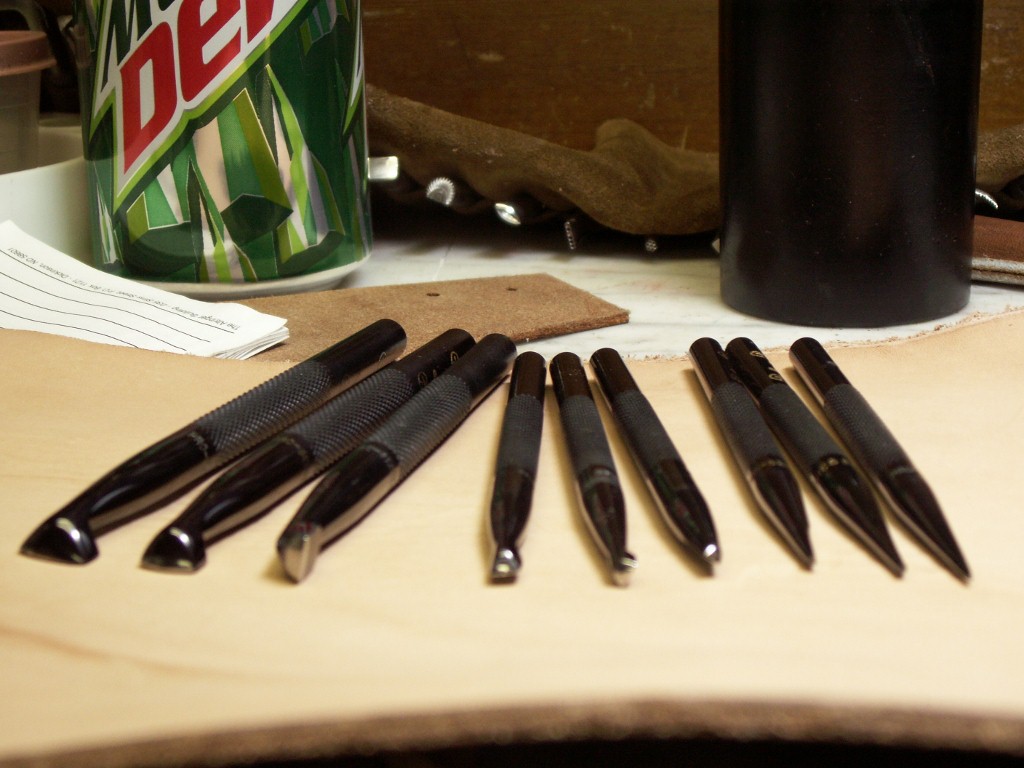
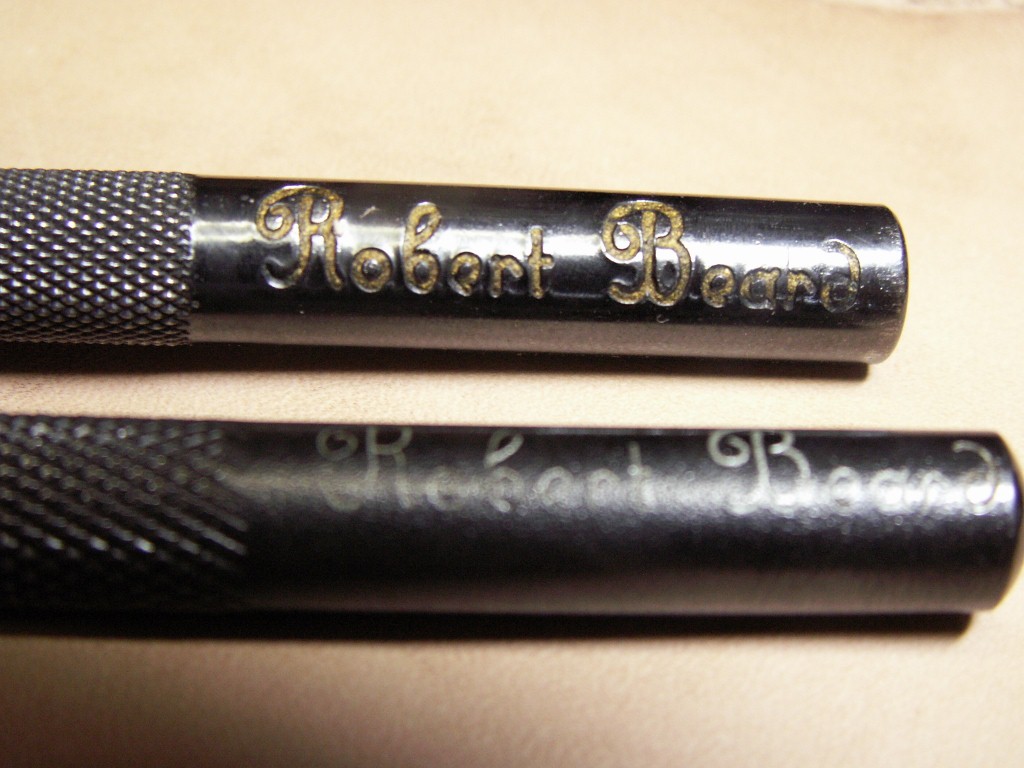
This isn't ancient history, but for some of you tool lovers, it might be kind of interesting. My friend Dave Peterson stopped by for a visit today and left a bunch of tools here overnight since he's coming back again tomorrow. Dave is married to Robb Barr's sister Cheryl so when he tools leather, he gets to use tools with some history to them. A big percentage of the tools Robb used were made by Bob Beard. While I was looking through these tools (and trying them out) I noticed that some of them were a little different. Bob's tools these days carry his signiture in gold letters. Several of these tools of Robb's had the signiture in silver. There was also one tool in the set that had a number on the end of the tool, and also said Pro Series LTD on it. Just some trivia. There are also a couple really pretty swivel knives. One is a limited edition Al and Ann Stohlman knife numbered 7 of 250. Somebody correct me if I'm wrong but I think it's a Chuck Smith knife. The second I think was a knife made by Bob Beard. Then there was a brass tool signed "to Robb Barr" from "Big Foot". I remember hearing stories about Big Foot and seeing some pictures in old Make It With Leather Magazines. If I remember right, he was from Sweden? Here's a set of figure bevelers that Robb used. The small one is so tiny I can't even make out the tip with my magnifiers on!!