rosiart
-
Posts
351 -
Joined
-
Last visited
Content Type
Profiles
Forums
Events
Blogs
Gallery
Store
Everything posted by rosiart
-
Already done in the previous posts and pcox has helped me solve this problem
-
Mine doesn't have this configuration at all. I think that is the case here.
-
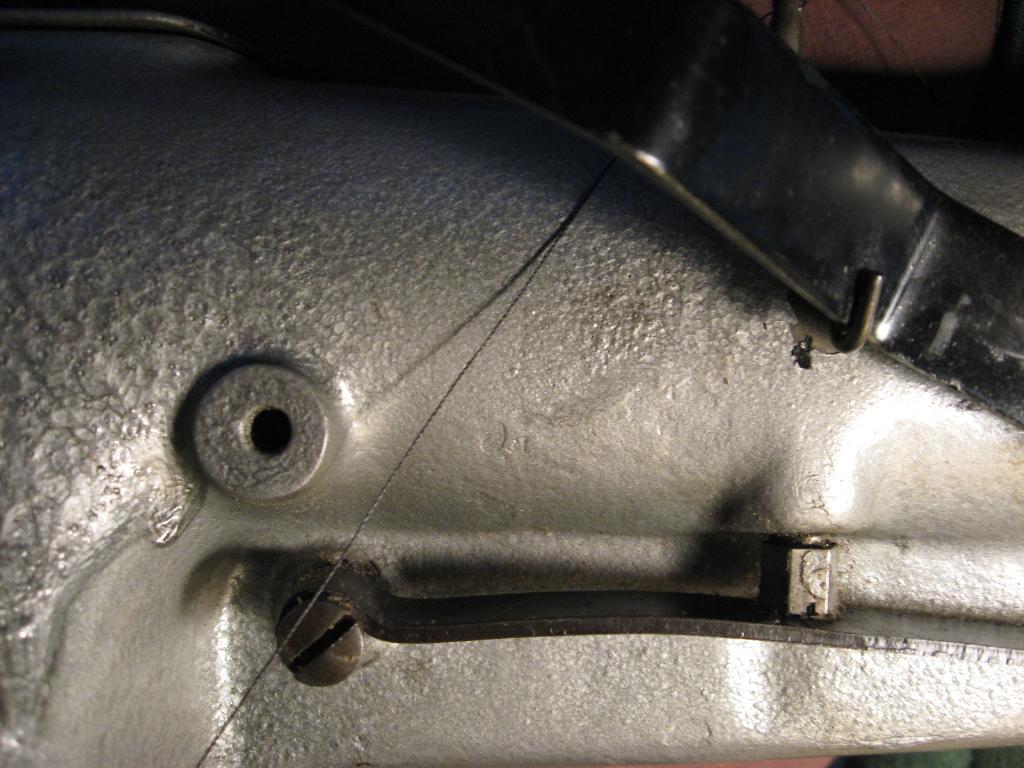
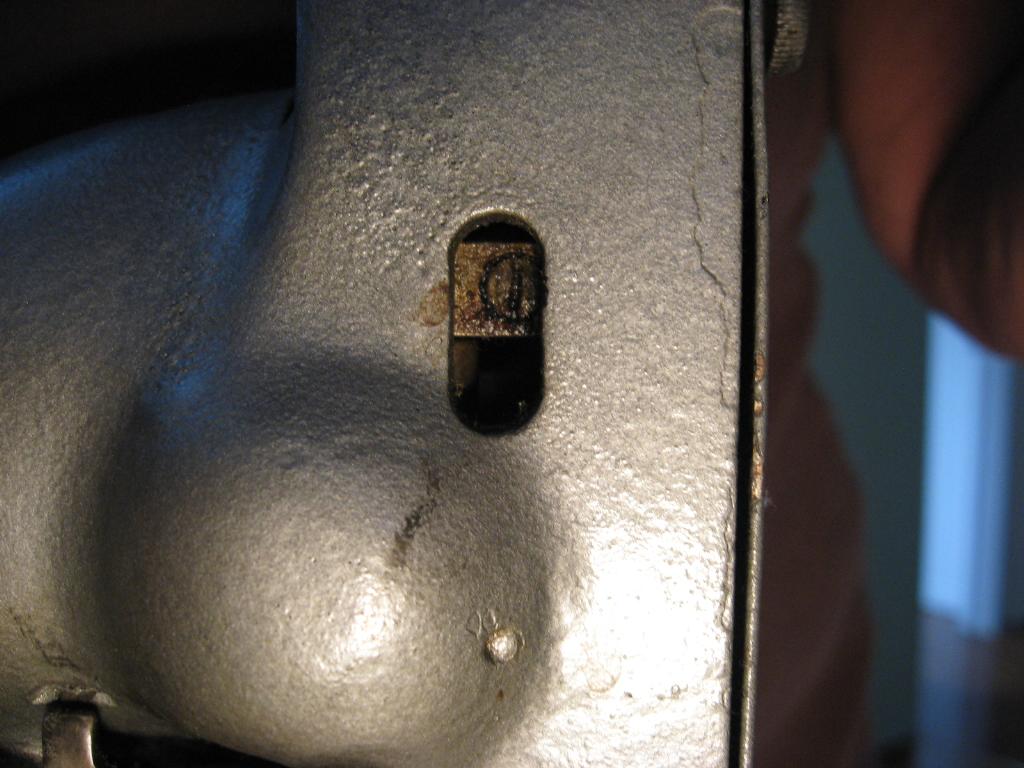
I also think there can be great confusion in the fact that many of these old machines were probably made for years and went through a few incarnations. For example, the small hole pcox referred to does not exist on my machine. The bolt/screw does but there is no place for an adjustment except on the bolt itself.
-
Thanks, that is the one I downloaded but it is impossible to see where C is on it. Fortunately pcox has posted a pic and a post for me that clarified where I need to do the adjustment. At some point, someone has repainted this machine and I was really afraid that the adjustment point had been painted over.
-
Thanks so much. This has been a great help.
-
Okay. Do I adjust the screw on the left that holds the spring on the machine ( where the thread is trailing down in my pic) or the bolt on the right (where you have the pencil in your pic)? I ask because I only see the bolt, no screw in that position.
-
pcox, is this where you mean? or am I looking at the wrong part of the machine? I don't want to monkey with any screws until I am sure. I guess I am leery about paying for one without knowing that it is indeed clearer than the download one, particularly since the manuals on these machines are pretty brief to say the least.

-
I have a Singer 153w100, the needlefeed cylinder machine without walking foot. Does anyone know where I adjust the foot pressure? The manual I was able to download says to look at C on Figure 3. Unfortunately, half of the points do not show on this photocopied version of the manual. Thanks.
-
Li'l Girls Purses
rosiart replied to Murray's topic in Purses, Wallets, Belts and Miscellaneous Pocket Items
These are great! I'll bet the girls love them. -
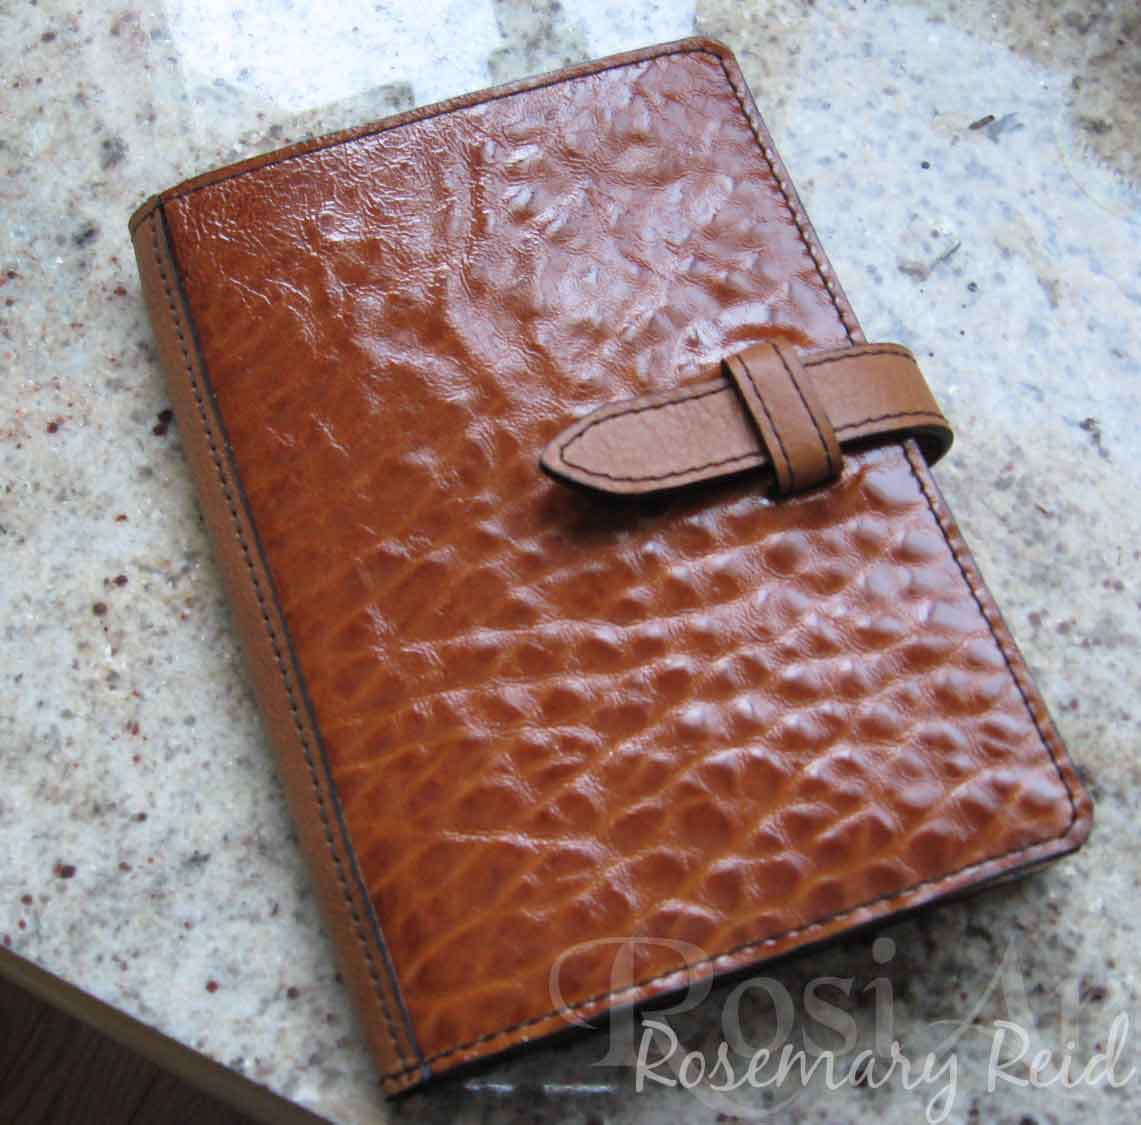
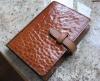
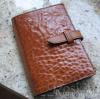
I decided to make a new e-reader cover. I like the way the texture of the lamb works with the tan upholstery leather. It's a pretty simple design but functional. I used the Tandy Professional Edge Paint to pull it all together. I have their spatula thingy but am having better success applying it with a bamboo skewer. Much cheaper too.
-
Might just be me but I think some of your issues with the stitching is the thickness of your thread. It seems a little heavy for the length of your stitches. Hope this helps.
-
Making Boston Bag
rosiart replied to hunio's topic in Purses, Wallets, Belts and Miscellaneous Pocket Items
Me Too! -
Making Boston Bag
rosiart replied to hunio's topic in Purses, Wallets, Belts and Miscellaneous Pocket Items
Were there ever pics of the finished bag at the start of this thread? -
LOL He sure is a cutie!
-
Very nIce. I like the fact that the shoes are wide. Most little people have wider feet and more cushion on the top of their feet than adults and a lot of the manufactured shoes don't fit very well. Does he like them?
-
Very nice! Thanks for sharing this.
-
Leopard On The Case.
rosiart replied to Samar's topic in Purses, Wallets, Belts and Miscellaneous Pocket Items
This is totally amazing . Thanks so much for sharing it. Do you use some sort of leather paste or filler to keep the embossed shape from collapsing over time? -
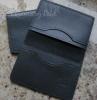
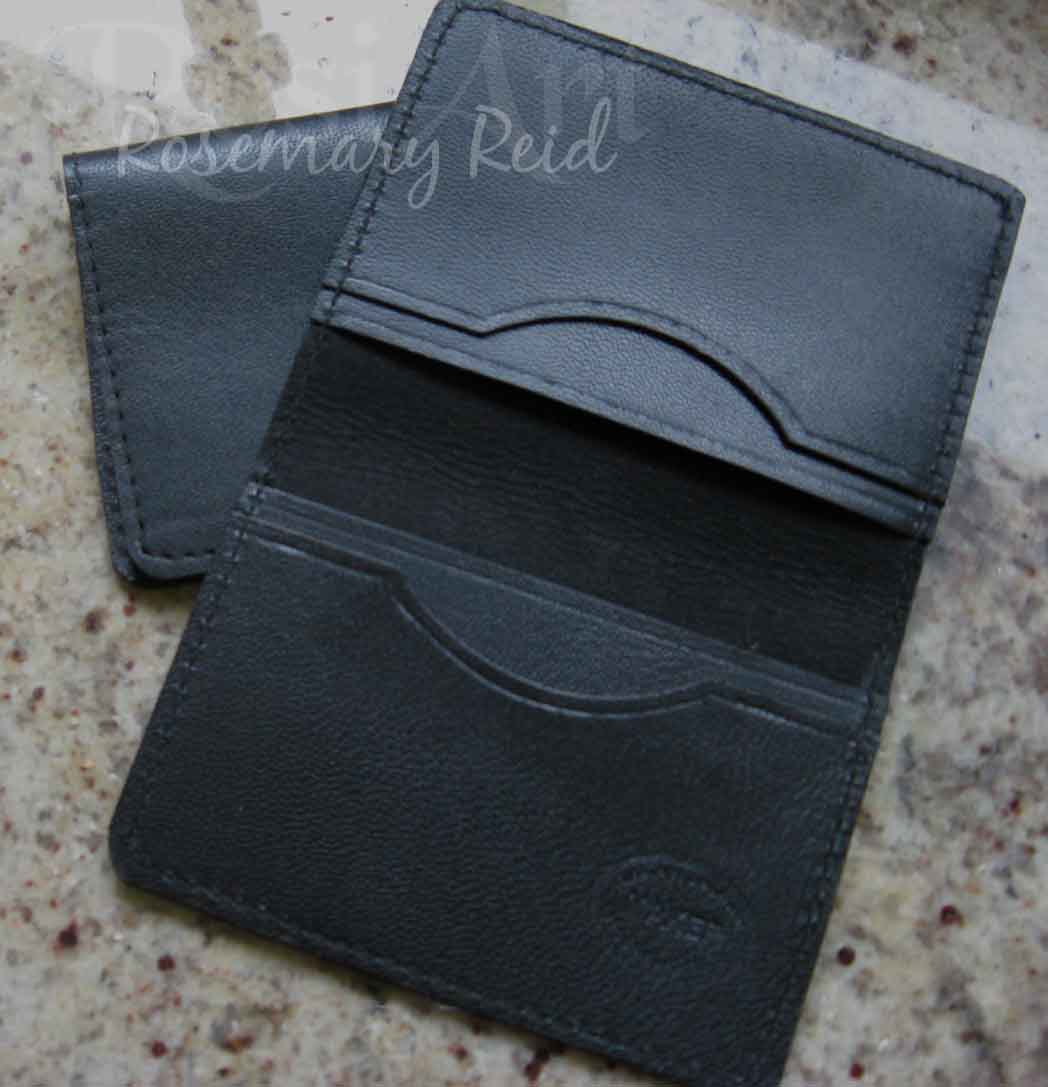
Card Wallet
rosiart replied to rosiart's topic in Purses, Wallets, Belts and Miscellaneous Pocket Items
Thanks everyone. Have a great day tomorrow. -
Card Wallet
rosiart replied to rosiart's topic in Purses, Wallets, Belts and Miscellaneous Pocket Items
Thanks so much. -
The flash is a bit annoying in the pic but I will not have time for this tomorrow. I think I like the 2 colour version better than the single colour ones I did. It certainly changes the whole feel of the piece. Finally finished with Christmas gifts with a little time to spare. Fortunately we did not loose our power as so many around us did or I would have been in BIG trouble.
-
Christmas Gifts
rosiart replied to rosiart's topic in Purses, Wallets, Belts and Miscellaneous Pocket Items
Thanks Bob. We did an early Christmas for the family that live close to here and they were a big hit. :-) -
Christmas Gifts
rosiart replied to rosiart's topic in Purses, Wallets, Belts and Miscellaneous Pocket Items
Wishful, you do the zipper first. I tried to include a link to a lady's tutorial but for some reason, it won't copy here. I will try to PM you with the link. -
Problem Purse
rosiart replied to rosiart's topic in Purses, Wallets, Belts and Miscellaneous Pocket Items
Thanks Tom. It will take some new thinking in construction planning on my part for sure. Thanks Tree Reaper. The design is sorta what I planned with many unscheduled changes along the way. Sure did teach me to pay closer attention to the attributes of the leather I want to use. Wishful, it's a good thing I have sewn for years and also made cards for years. One thing I have learned is that you can salvage almost anything and with the price of leather, recovery was decidedly on the agenda. At least it didn't get to the point that it had to be relegated to the dreaded bin 13. lol -
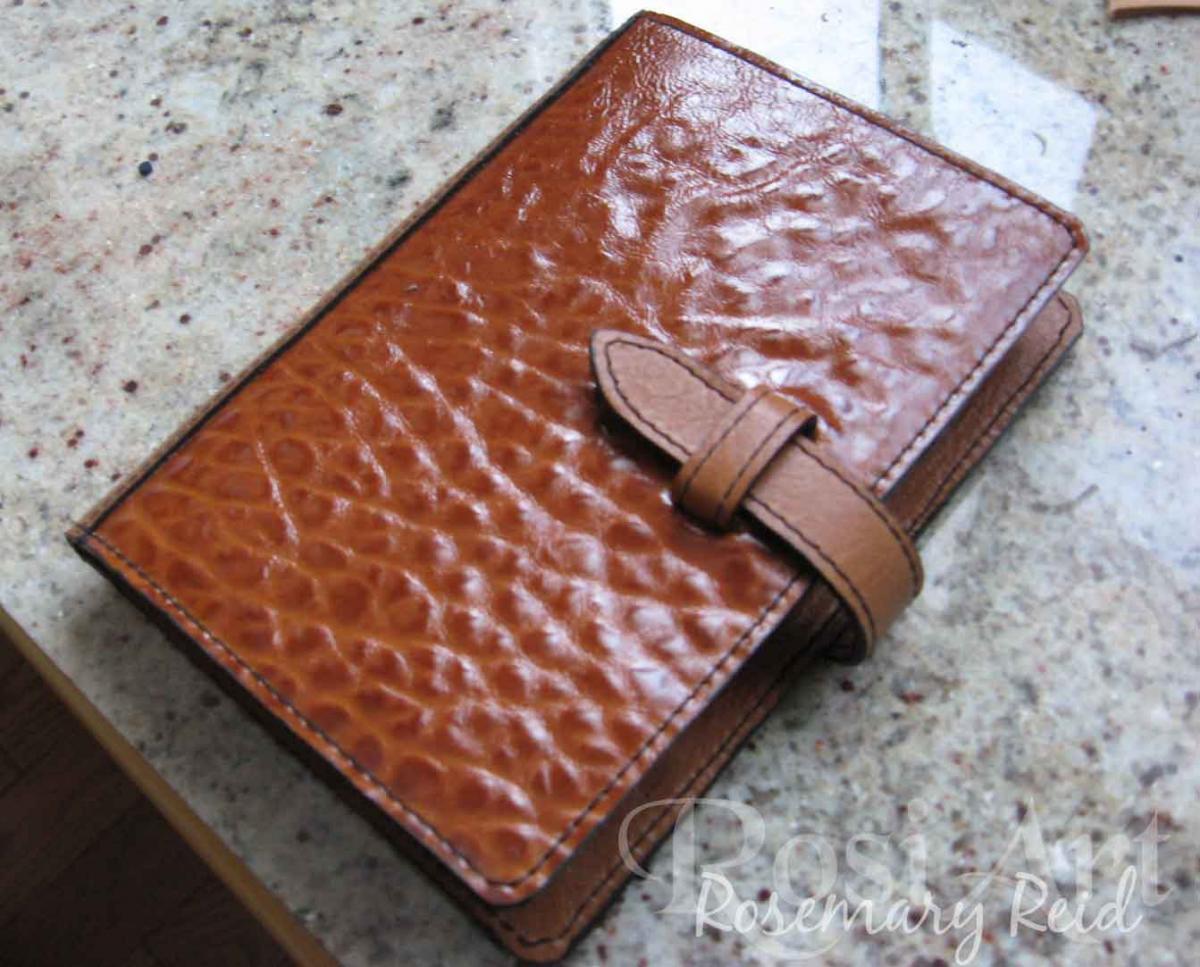
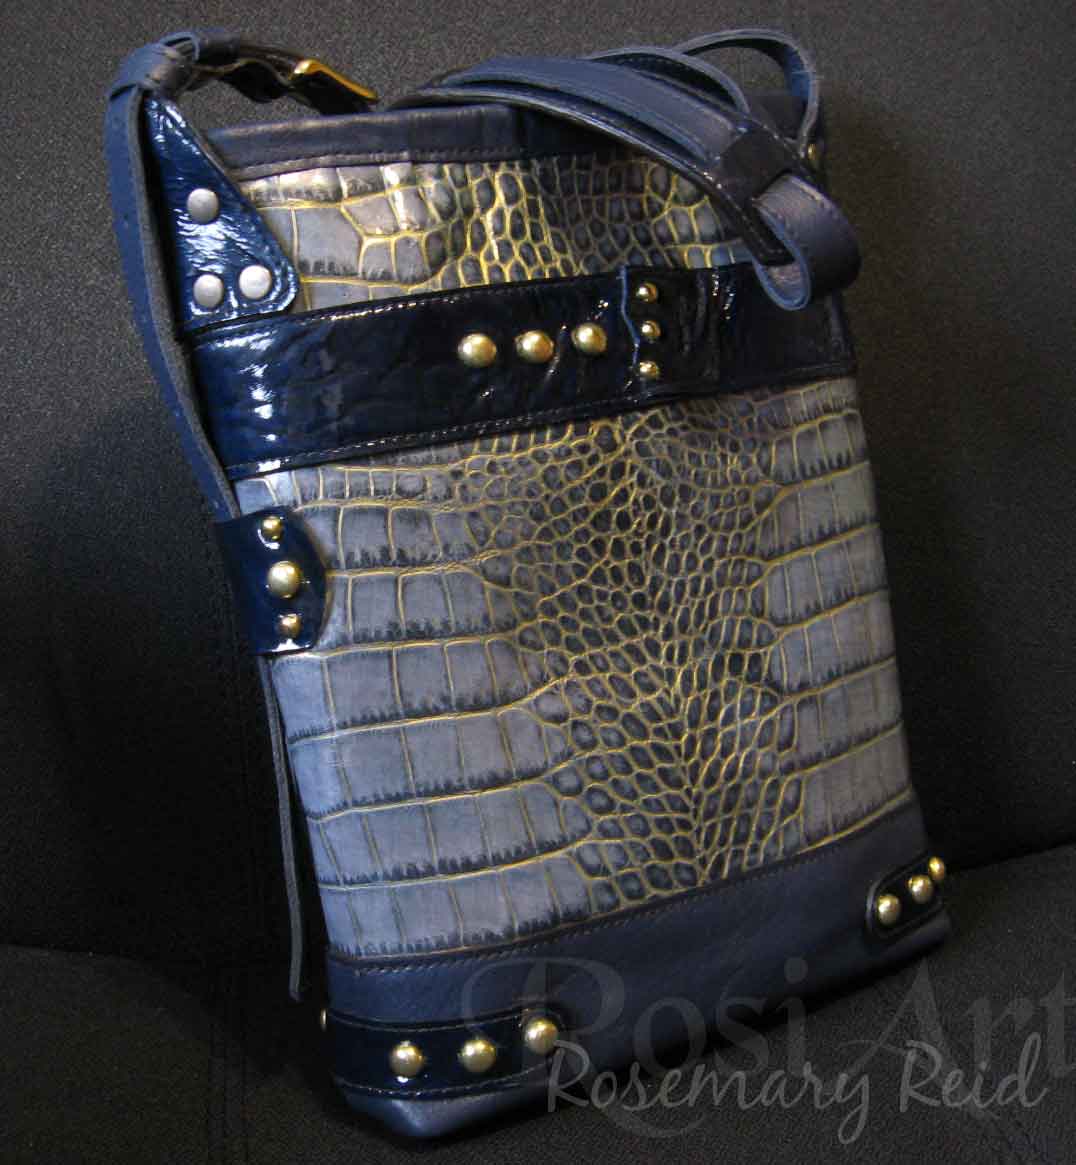
This was an exercise in frustration but a great learning experience. The design was wrong for the stiffest of the faux alligator, which led to many changes as I went along. Also, I am learning the ins and outs of the new to me industrial machine. The stiffness of the leather meant a rethink of many things as it just couldn't behave the way fabric or a more drapy leather would have. I have never understood the need for a patcher as well as I did doing this. Many of the things I wanted to do I couldn't because the leather would not bend that way and my machine did not want to cooperate and sew sideways. Also I did learn the need to glue everything, even if I didn't think it needed to be. Things shifted in unexpected ways. So, a great learning experience. I am stubborn enough I will use it anyway, warts and all.

-
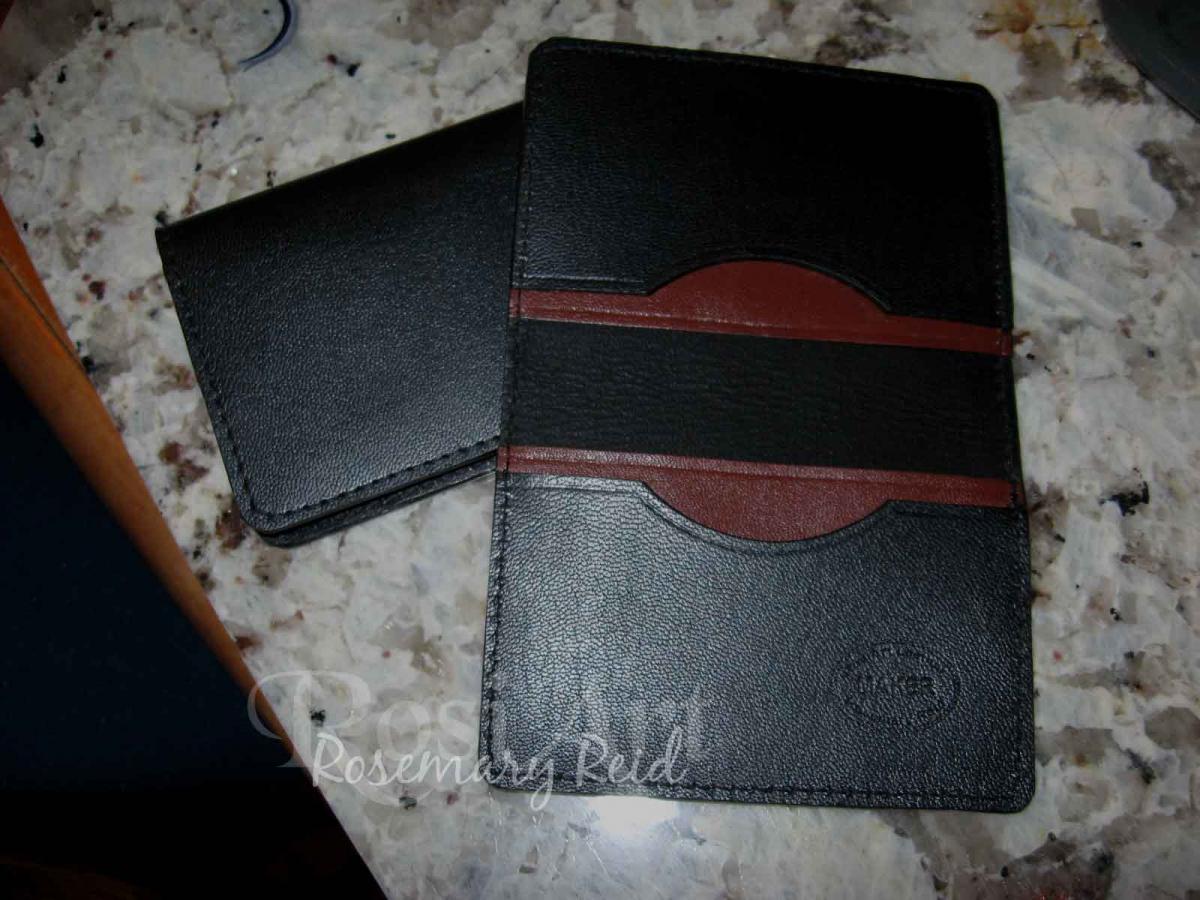
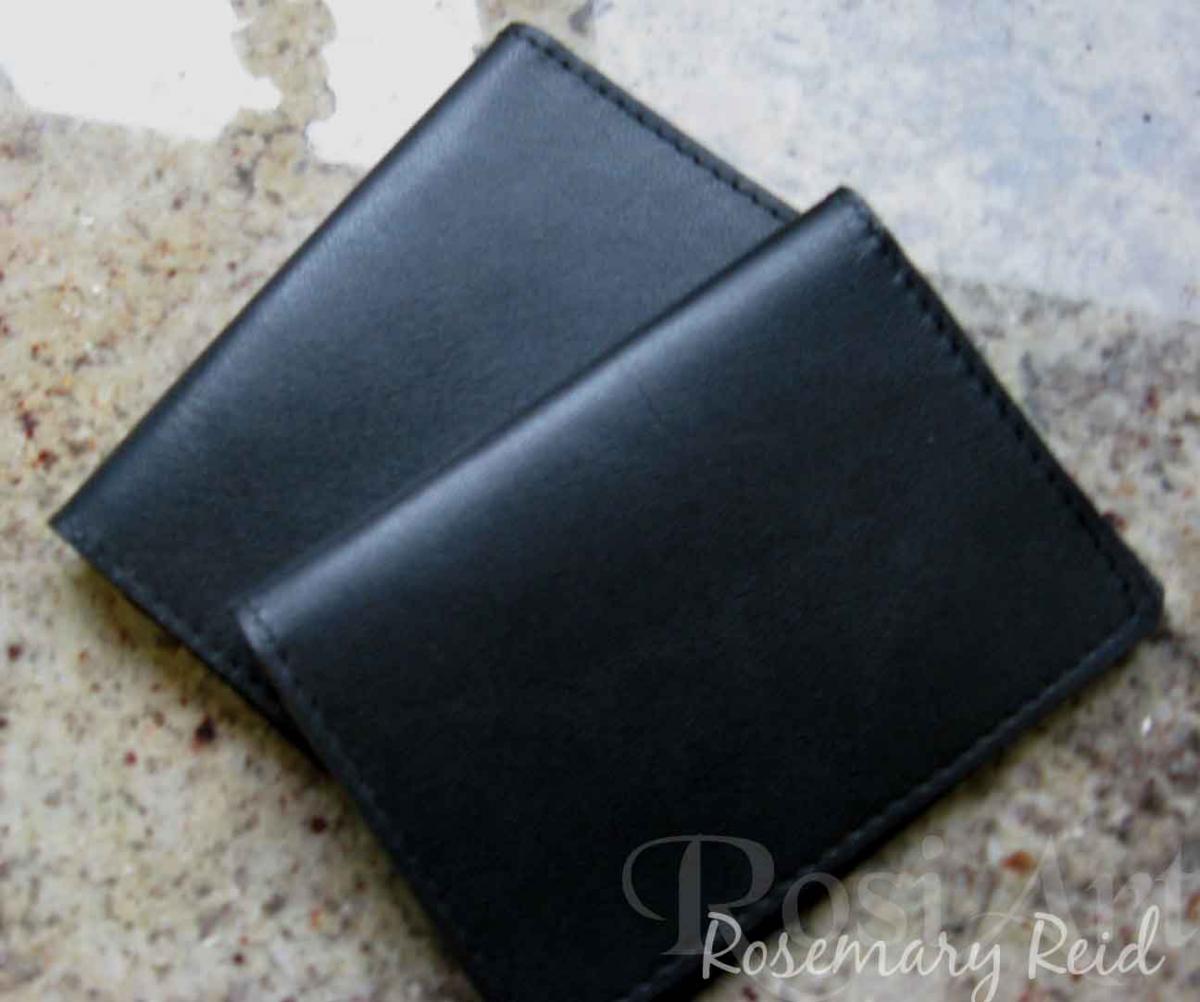
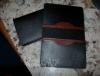
These are a couple of the things I made as Christmas gifts I thought I would share. The card wallets are made of goatskin and are really light. I am really pleased with them. The coin purses are of a lambskin with a patent type finish. Makes them look a little more showy than the other ones I have done like this.